
Whether you need a new color for a leather item or want to refresh an old one, the recommendations in this article will help you achieve the desired result quickly. Understanding the leather dyeing process will allow you to easily change the color of your favorite pieces. However, keep in mind that each leather item is unique and may react differently to dye.
Choosing Leather Dye
Step 1. Determine the type of dye.
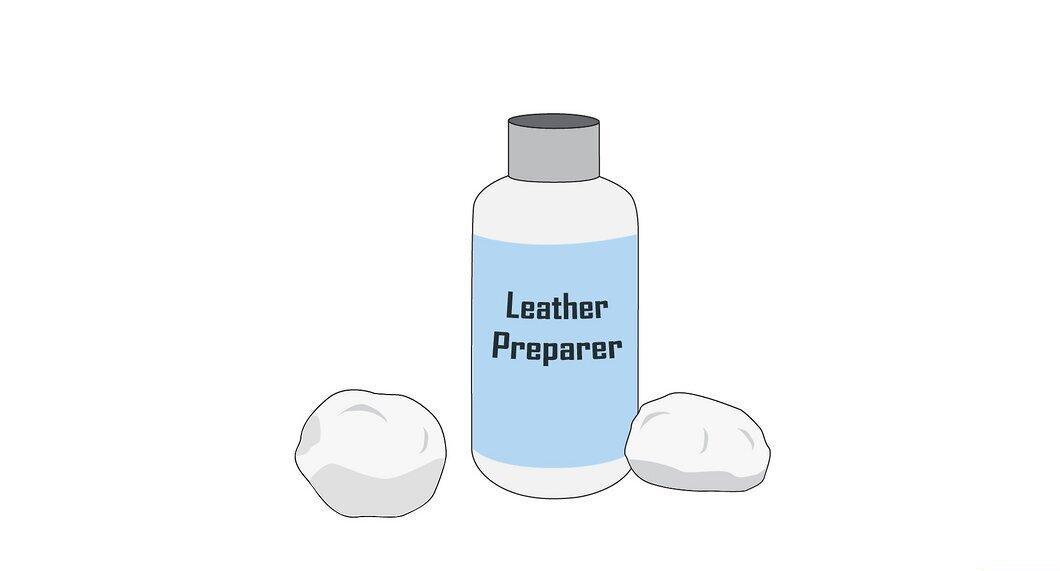
Select the appropriate leather dye. Most dye kits include a preparation solution, the dye itself, and a protective finish (topcoat). Consider the following characteristics of different dyes:
- Alcohol-based dyes make leather stiffer, while water-based dyes retain softness and flexibility. Many of these dyes create an outer protective layer that can drastically change the item's color.
- The color of the dye on the packaging may not match the final result, so it's a good idea to test it on a discreet area first. If you're looking to restore faded color, consult a professional to match the exact shade.
- Dyes can come in spray form, for application with a brush or sponge. Choose the option that suits you best.
Step 2. Protect areas that should not be dyed.
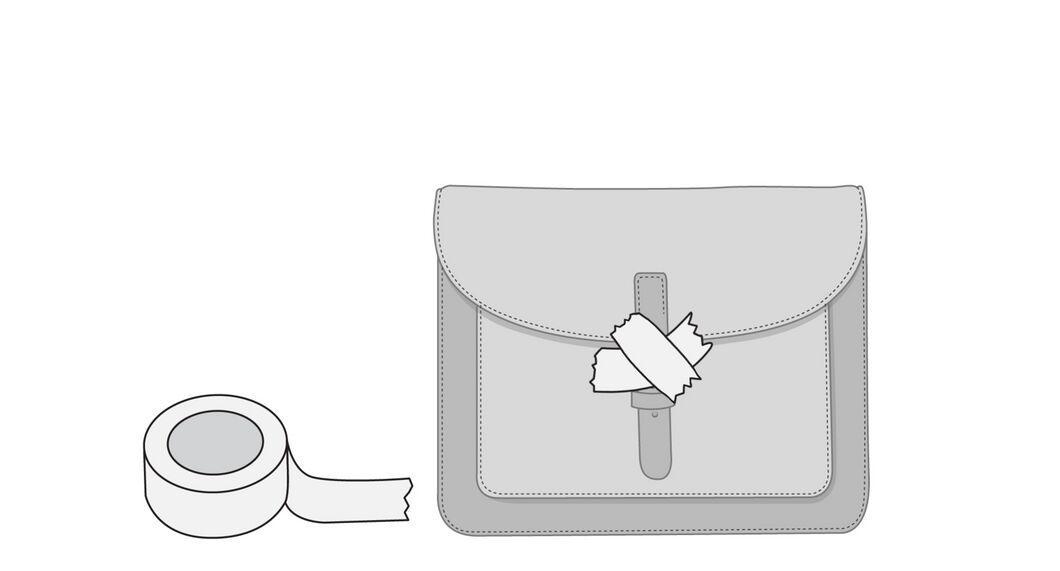
Use painter's tape to cover areas you don't want to dye, including buckles and metal parts. Tape may damage the top layer of the leather, but since you'll be removing it later, it's not critical.
Step 3. Work in a well-ventilated area.
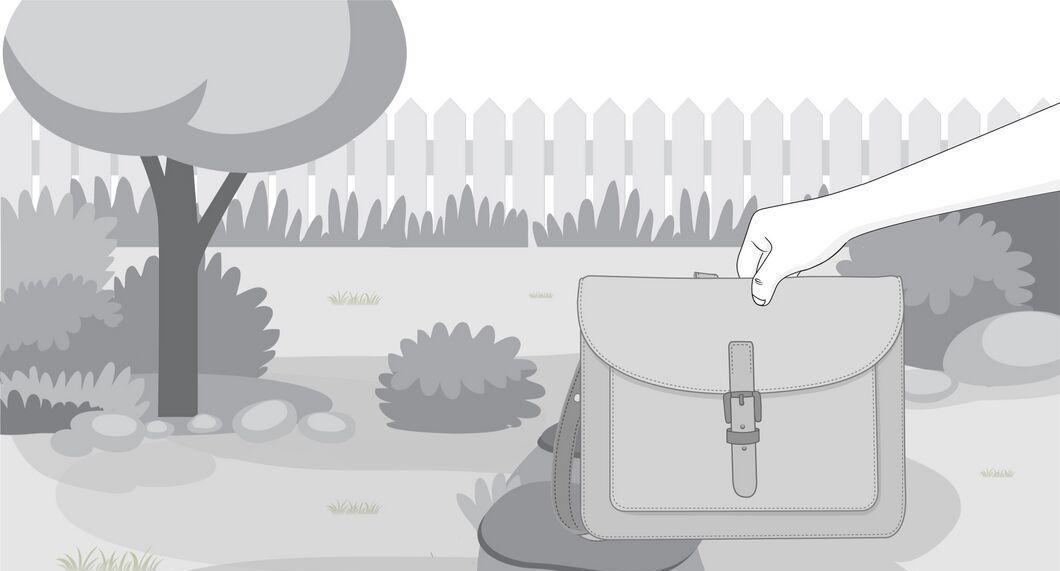
Choose a well-ventilated space for your work. Many preparation solutions and dyes emit harmful fumes, so it's important to work in fresh air. Avoid dyeing outdoors in direct sunlight and extreme heat.
- Most dyes are best applied when the temperature is 15ºC (59ºF) or higher.[1] X Information source
Step 4. Protect your hands and surrounding environment.
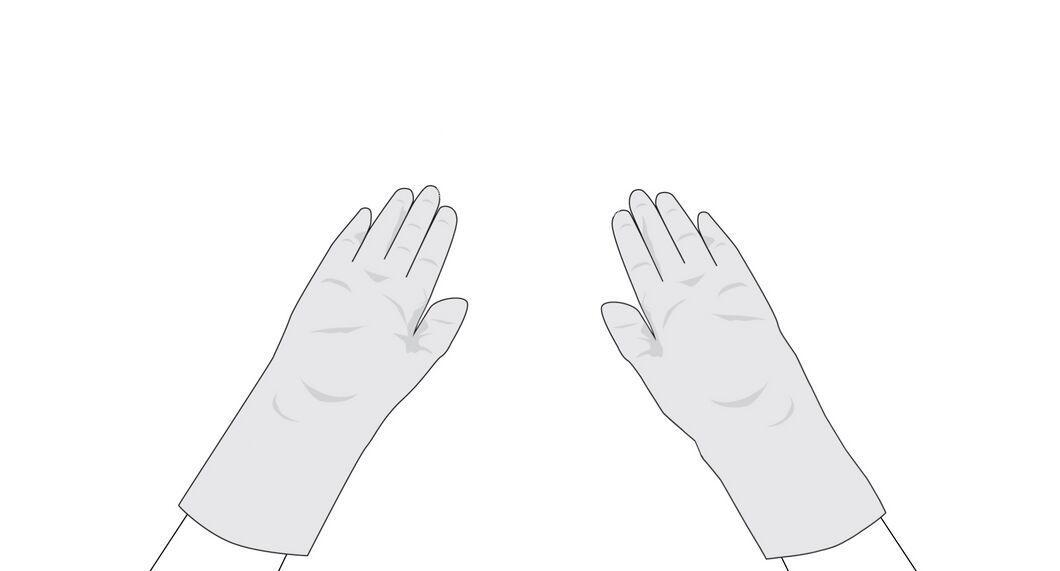
Don't forget to protect your hands and the floor from the dye. The dye can leave permanent marks on your hands and other surfaces. Wear two pairs of latex or nitrile gloves and cover the work surface with plastic.
Step 5. Prepare the leather for dyeing.
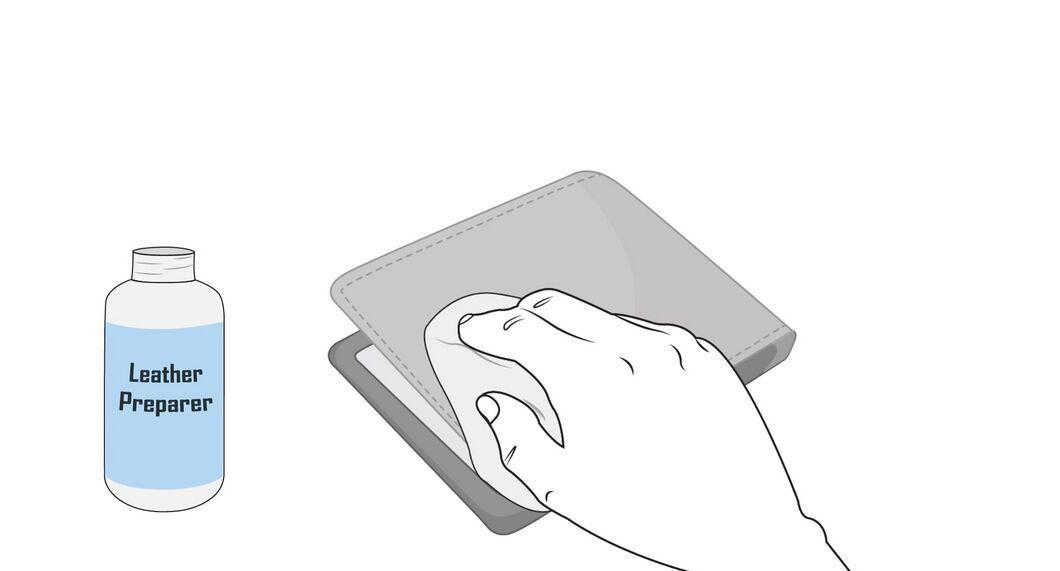
Clean the leather surface with a preparation solution. Wipe the item with a cloth soaked in this solution to remove the old finish and ensure even application of the new dye.
Step 6. Moisturize the leather.
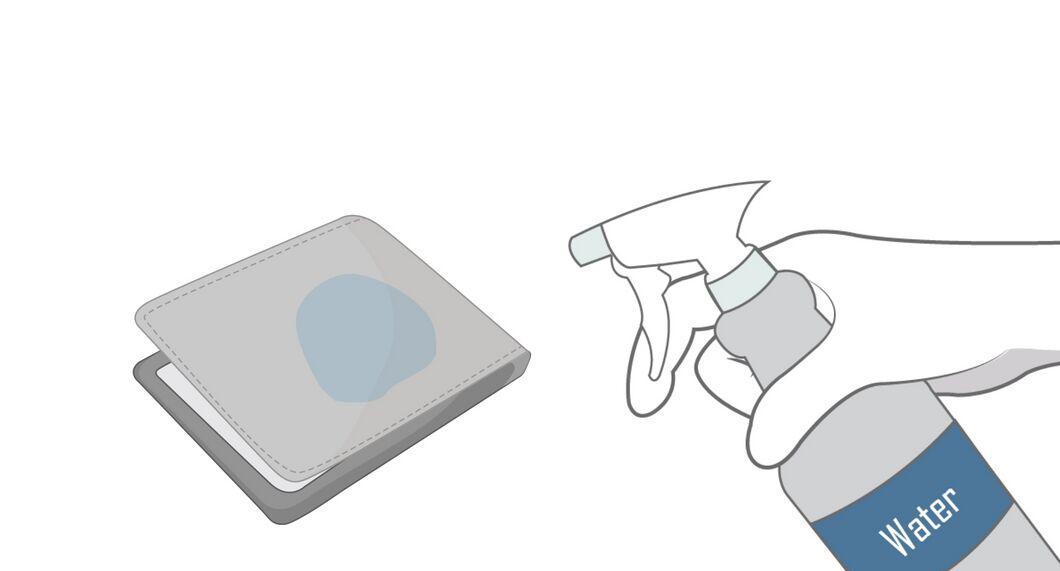
Moisten the leather. Use a spray bottle to evenly dampen the surface, but avoid oversaturating it. This will help the dye absorb better, leading to an even color.
- For some dyes, this step may not be necessary. Be sure to check the instructions for your specific product.
Step 7. Apply the first coat of dye.
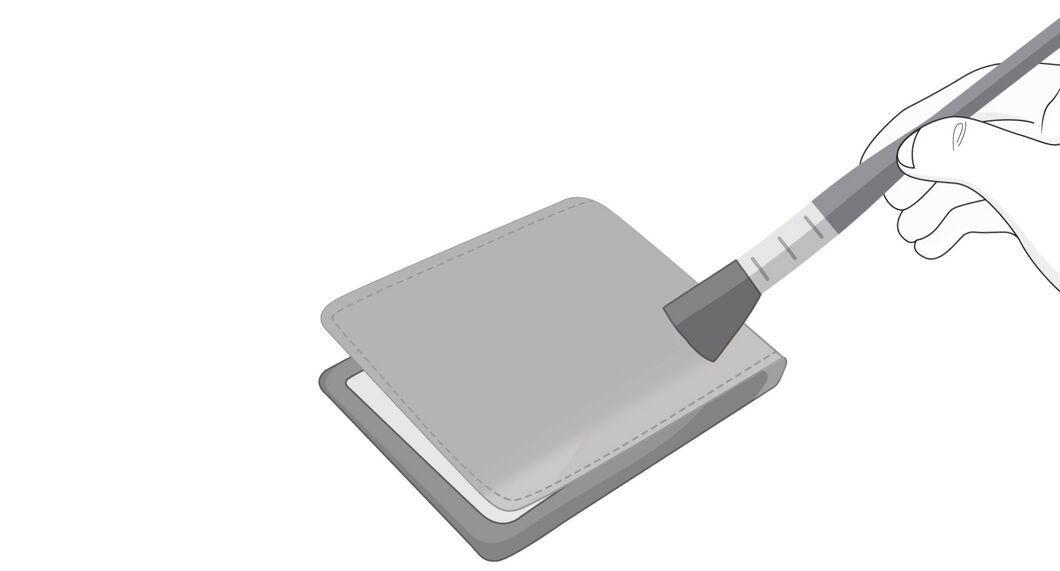
Start by applying the first coat of dye. Begin by dyeing the edges of the item with a brush, then evenly cover the remaining areas with a sponge, applicator, or spray bottle. Pay attention to the manufacturer's recommendations for choosing the tool.
- A sponge can create interesting effects or textures. For a smooth finish, use circular motions with the sponge.
- Ball applicators are great for dyeing small areas but may not be efficient for gel dyes.[2] X Information source
- Brushes are ideal for dyeing fine details, but may leave streaks on larger surfaces. For an even result, apply the first coat horizontally, the second vertically, and the third in circular motions.
- Spray dyes are convenient for touching up old items and working with multiple colors. A specialized airbrush can help you achieve maximum control.[3] X Information source Don't forget to check the packaging for spray compatibility.
Step 8. Apply subsequent layers of dye.
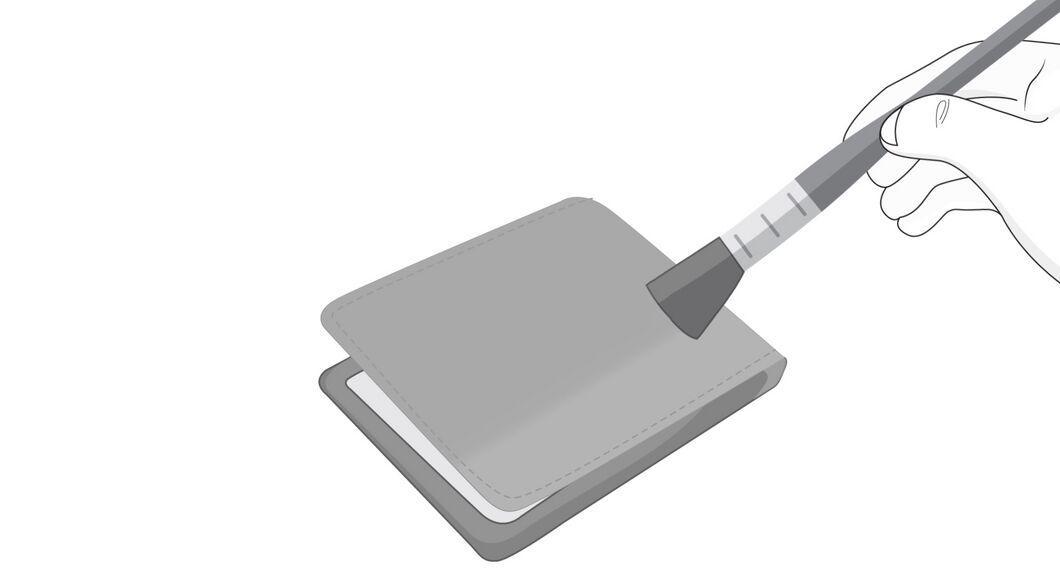
Continue to apply layers of dye. Let the first coat dry slightly, then apply the second coat. Repeat the process until you achieve the desired shade, usually taking between 3 to 6 layers. Applying several thin layers yields a more even result.
Step 9. Let the leather dry and soften it.
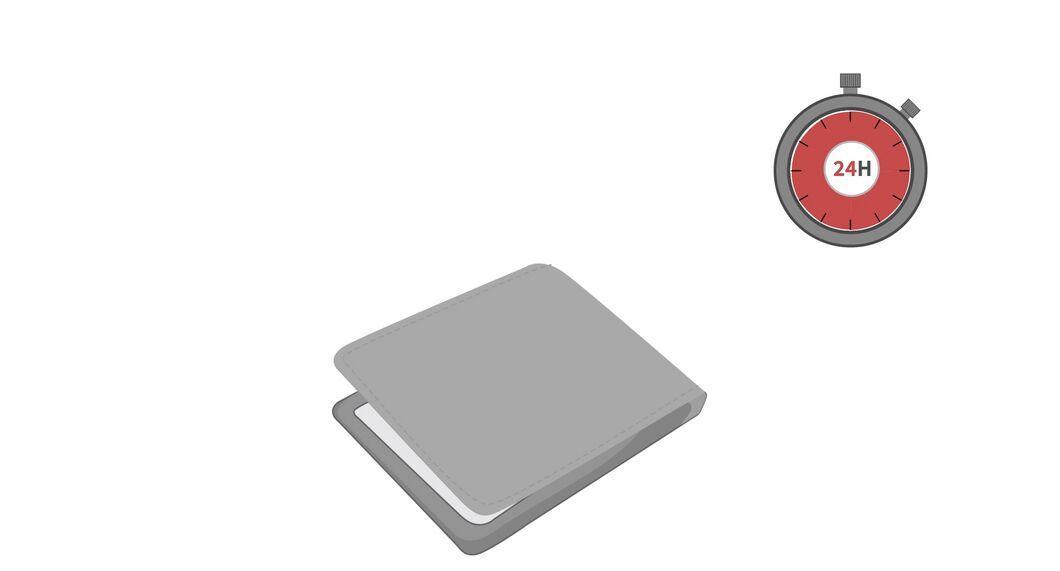
Allow the leather to dry completely, periodically massaging it to maintain flexibility. Drying should last at least 24 hours. Occasionally handle it (while wearing gloves) to prevent it from becoming stiff. Initially, the dye may feel sticky, but this will pass after polishing or applying a protective topcoat.
Step 10. Polish the leather or apply a protective finish.
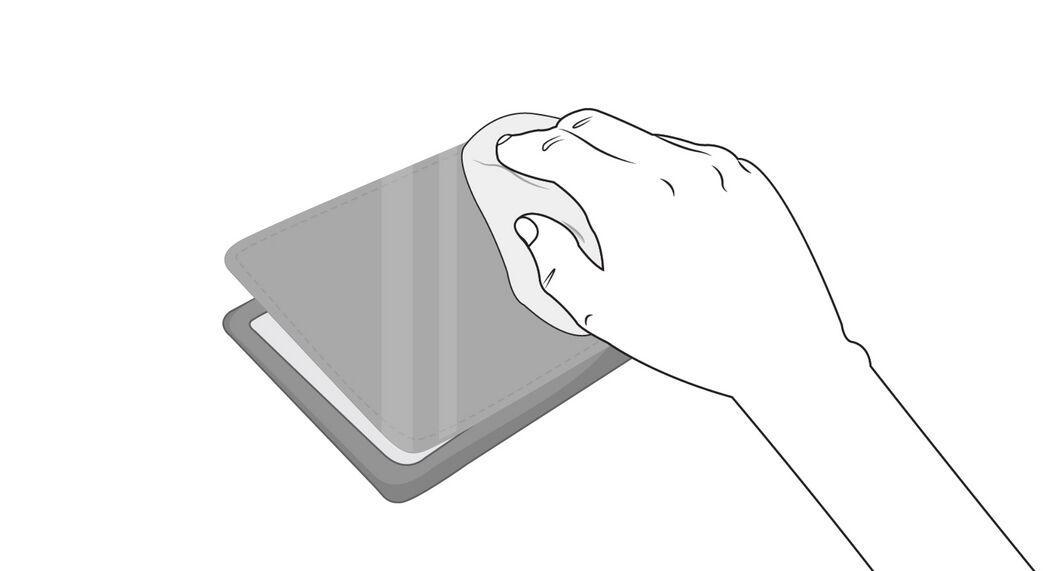
Polish the surface with a clean cloth or apply a protective coating. Polishing will help remove excess dye and smooth the surface. For shine, you can use a protective finish.
Dyeing with Vinegar and Rust
Step 1. Use vinegar and rust for black color.
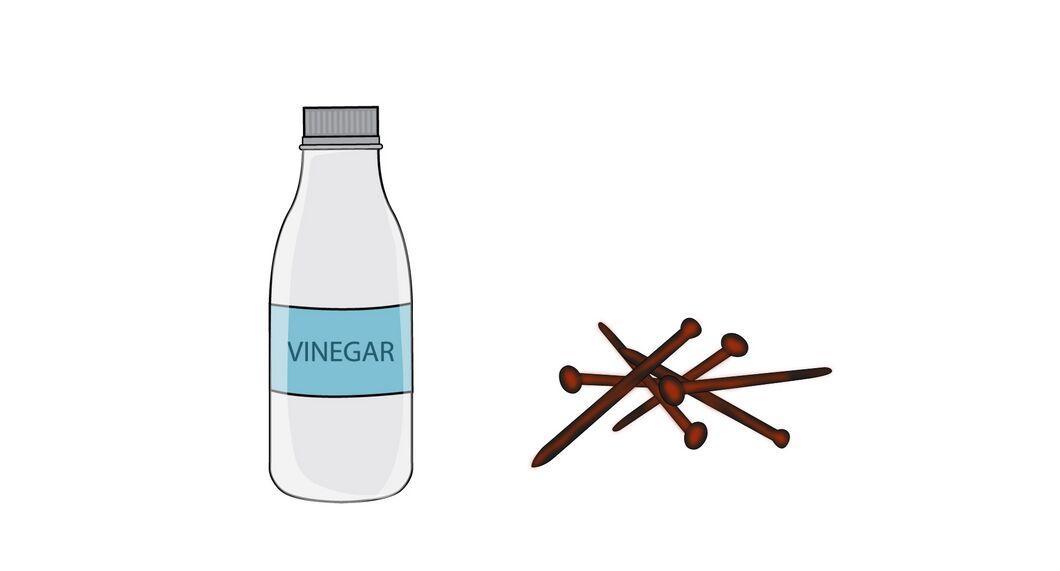
To dye leather black, you'll need vinegar and rust. This is a cost-effective and simple method that doesn't leave stains on your hands or clothes. Leftover dye can be stored for reuse.
- This method is more suitable for lightly tinted leather, using natural materials. If it has already been dyed with chrome and a protective finish, vinegar and rust may not yield good results.
Step 2. Prepare a rust source.

Find a rust source, such as iron nails or shavings. Steel wool will give the fastest results; however, before using, soak it in acetone, then wring it out and dry it.
- Acetone can irritate the skin, but brief contact is not harmful.[7] X Information source It is advisable to use latex gloves when working with acetone.[8] X Information source
Step 3. Heat the vinegar.
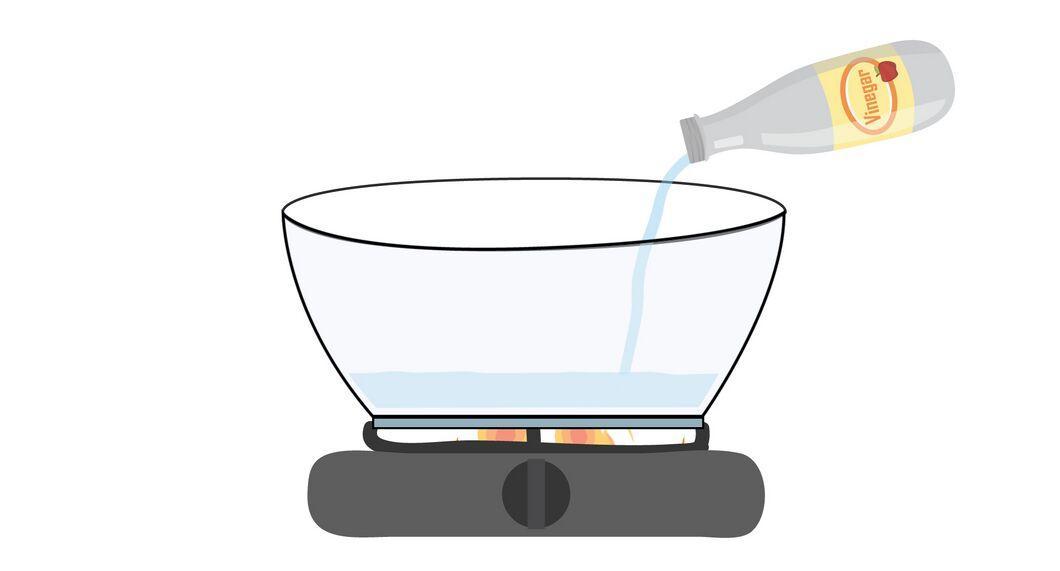
Heat about two liters of white or apple cider vinegar until hot, but not boiling. Pour it back into the original container or a safe container.
Step 4. Add metal items to the vinegar.
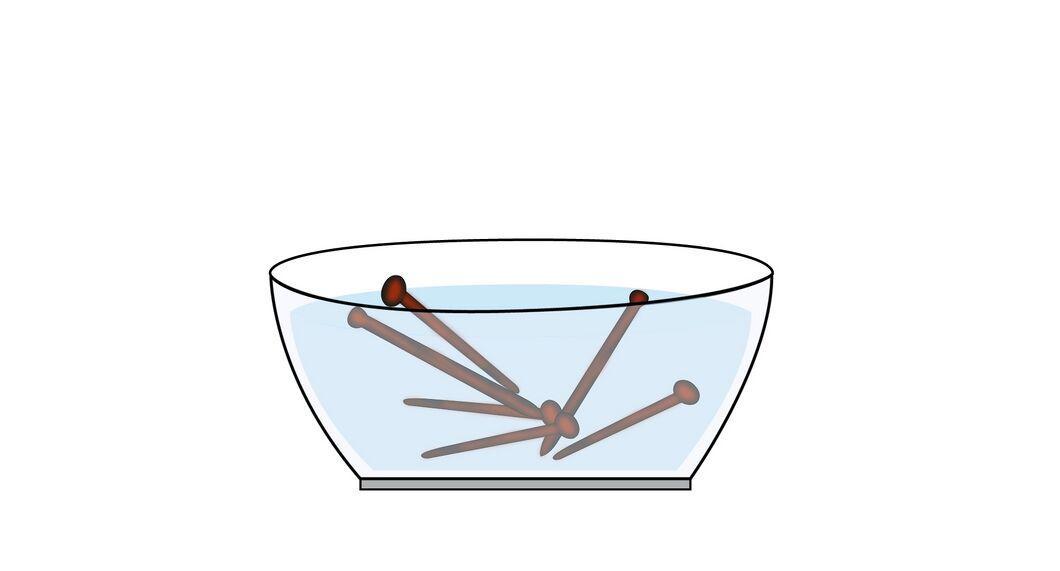
Place the metal items in the vinegar. The reaction between the rust and vinegar will create iron acetate, which will dye the leather.
- The amount of metal added depends on the concentration of the vinegar. Start with a large amount, such as thirty nails, and add until the reaction stops.[11] X Information source
Step 5. Leave the vinegar in a warm place.
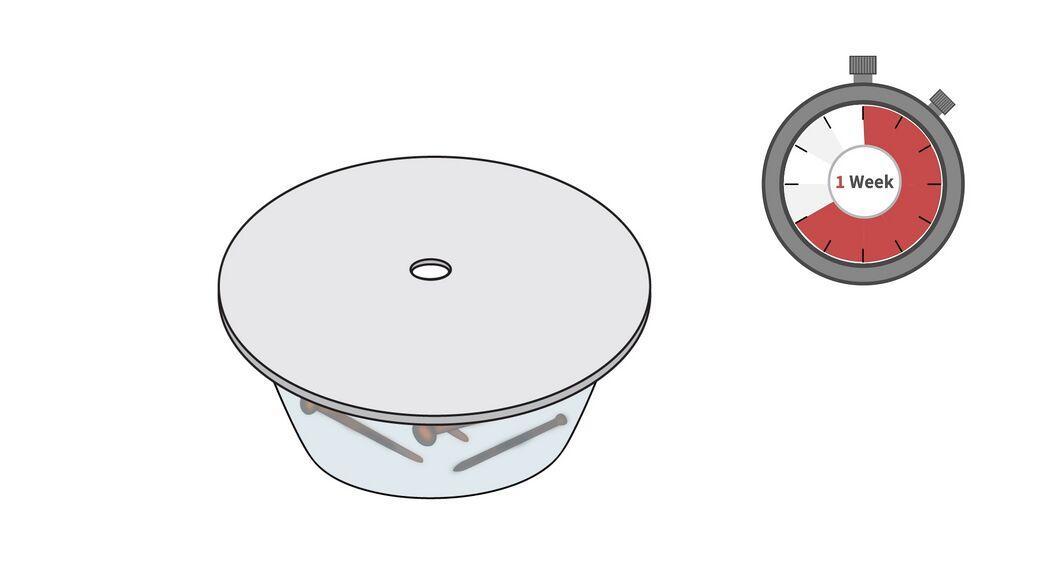
Place the container in a warm location for a week. Make sure to make a hole in the lid for gas to escape; otherwise, the container may explode. The dye will be ready when the metal dissolves and the smell of vinegar disappears.
- If the vinegar still smells, add more rust. If there are metal pieces remaining in the solution, heat it to accelerate the reaction.
- Once the acetic acid is nearly gone, the remaining iron will start to rust and give the liquid a reddish hue. At this point, you can leave the lid off for a few days to allow the last traces of vinegar to evaporate.
Step 6. Strain the dye mixture.
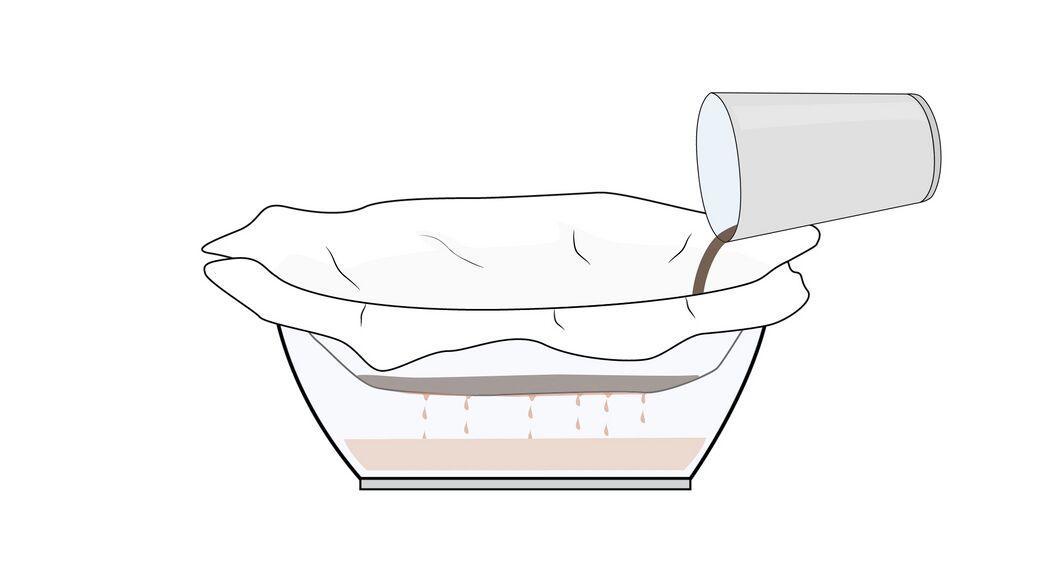
Strain the mixture through paper towels or filter paper several times to remove sediment.
Step 7. Soak the leather in black tea.
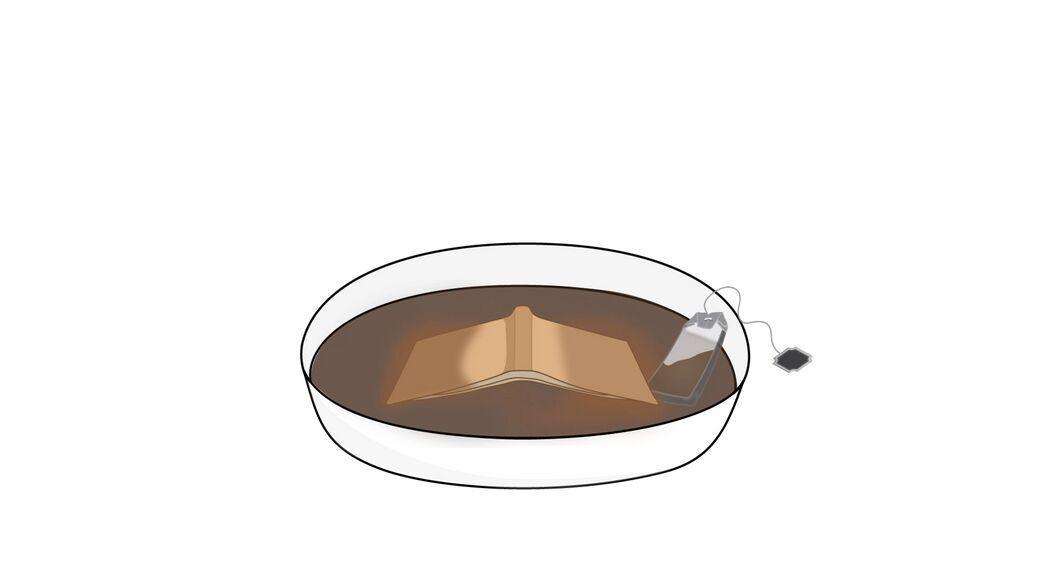
Brew strong black tea and let it cool. Soak the leather in it to saturate it with tannins, which will enhance the dyeing and protect against cracks.
- In professional dyeing, tannic acid or campeche extract is used instead of tea.
Step 8. Soak the leather in the dye solution.
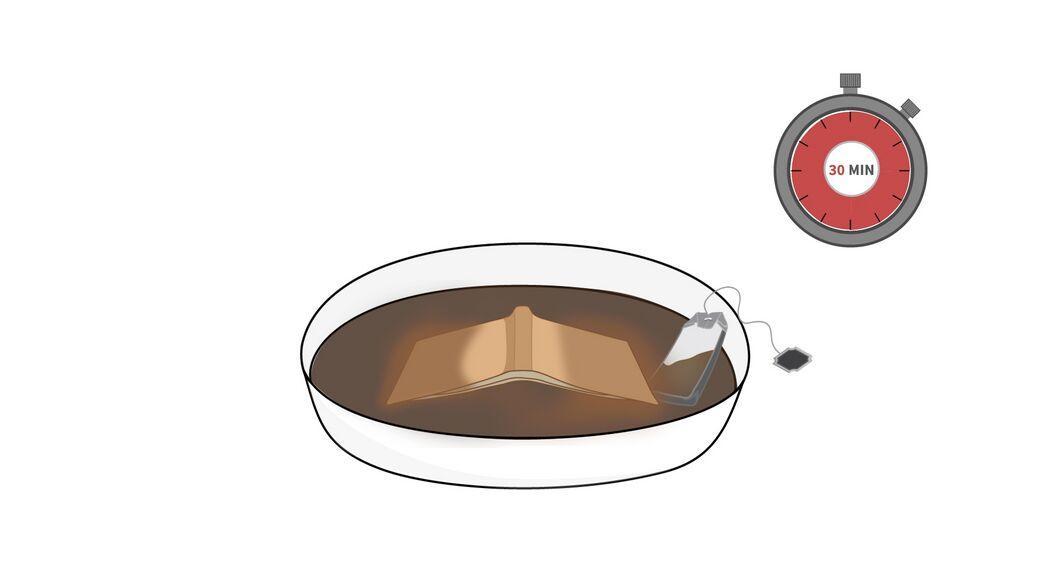
Place the leather in the dye solution for 30 minutes. The liquid will penetrate the leather and give it a lasting color. Don't panic if the color appears gray or bluish; it will become richer after processing and darken when oil is applied.
- It's recommended to test the dye on an inconspicuous part of the item. If cracks appear after a couple of days, dilute the dye mixture with water and repeat the test.[15] X Information source
Step 9. Neutralize the dye with a baking soda solution.
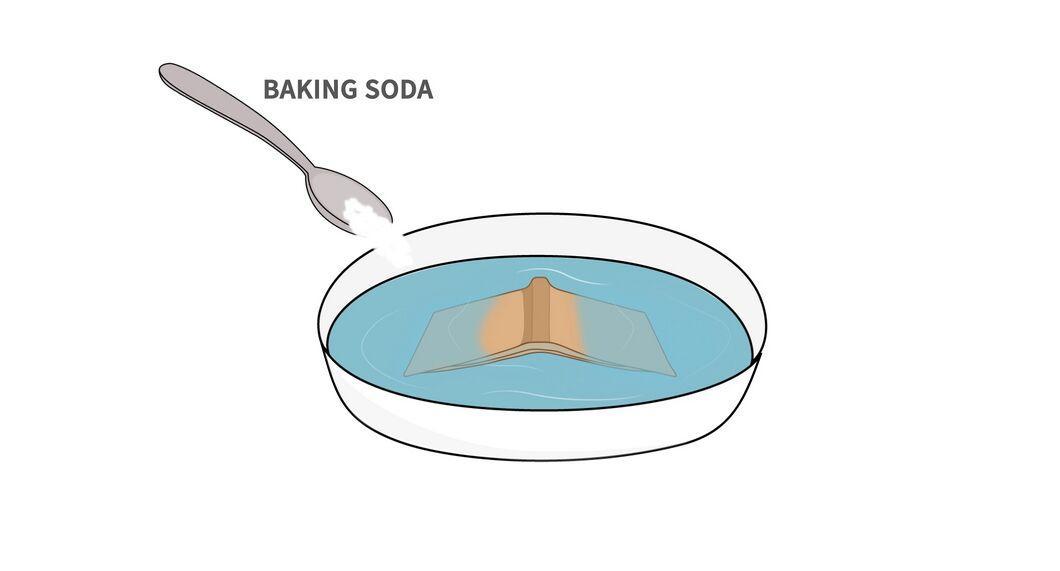
Prepare a solution of 3 tablespoons of baking soda in 1 liter of water. Moisten the leather with this solution, then rinse with clean water to neutralize the acid in the vinegar dye.
Step 10. Soften the leather with oil.
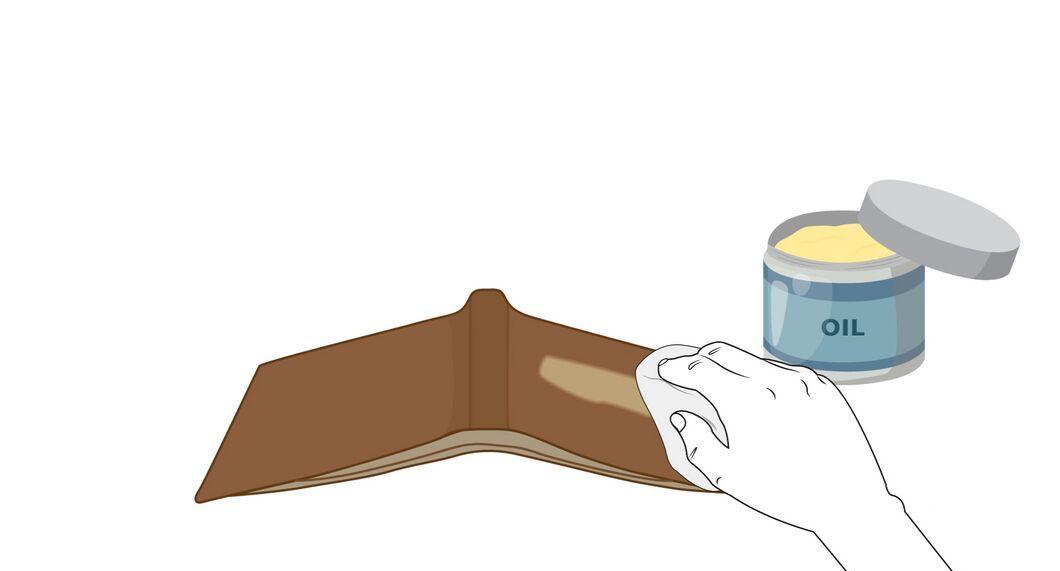
While the leather is still damp, apply your favorite conditioning oil (such as petroleum jelly, castor oil, or glycerin). For best results, you may need to apply two layers of oil. Choose an oil suitable for your item, testing it on an inconspicuous area first.
Dyeing with Mink Oil
Step 1. Use mink oil for light darkening.
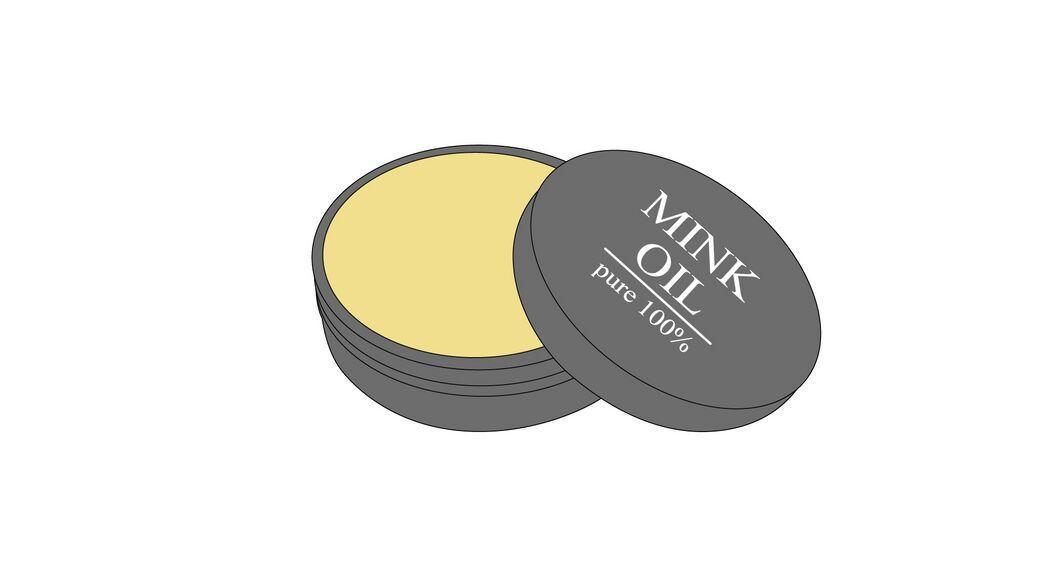
Use mink oil only if you want to slightly darken the leather. It penetrates the leather, softens it, and protects against moisture and mold, but it may make polishing future items more difficult.
- Note: Mink oil creates a film that may interfere with other conditioning products.[16] X Information source Additionally, not all products are standardized and may contain harmful ingredients.[17] X Information source
Step 2. Clean the leather.
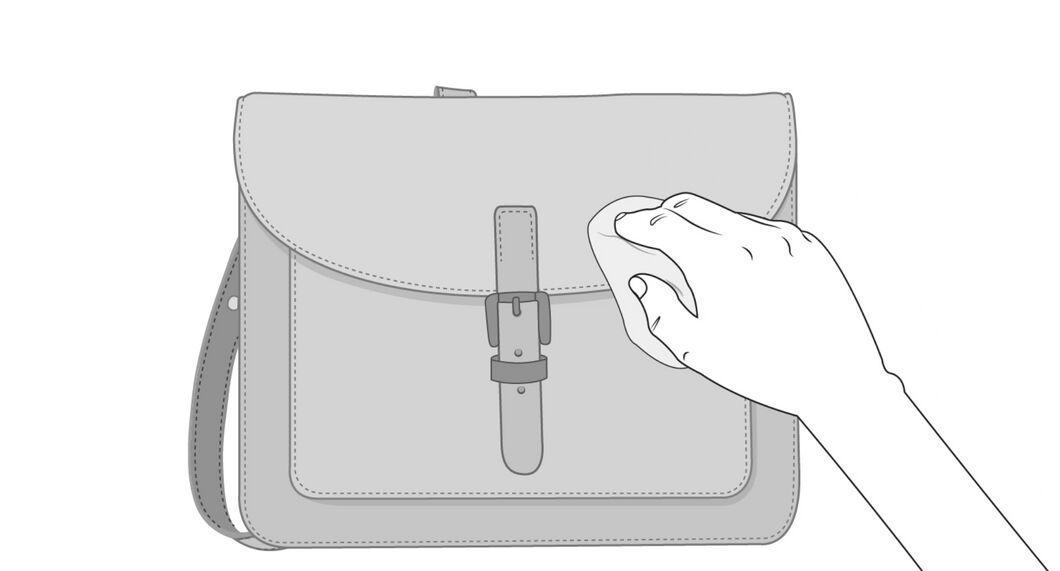
Before dyeing, make sure to clean the leather of dirt using a brush or a slightly damp cloth.
Step 3. Heat the item in the sun.
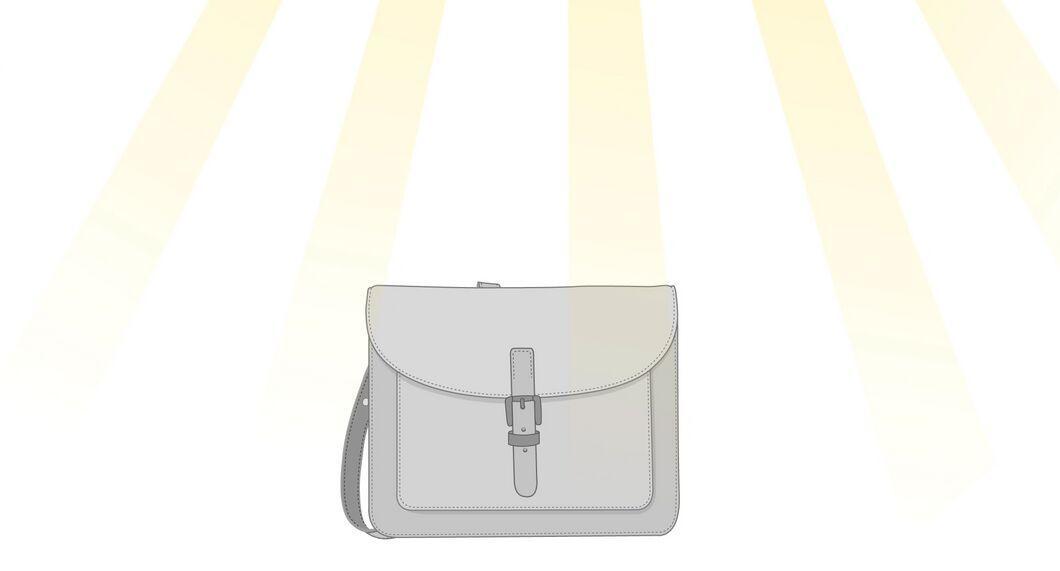
Place the leather item in the sun to warm it slightly. This will help the mink oil absorb better, making the dyeing more durable.
- Do not heat the item in the oven — this could damage it.
Step 4. Warm the mink oil.
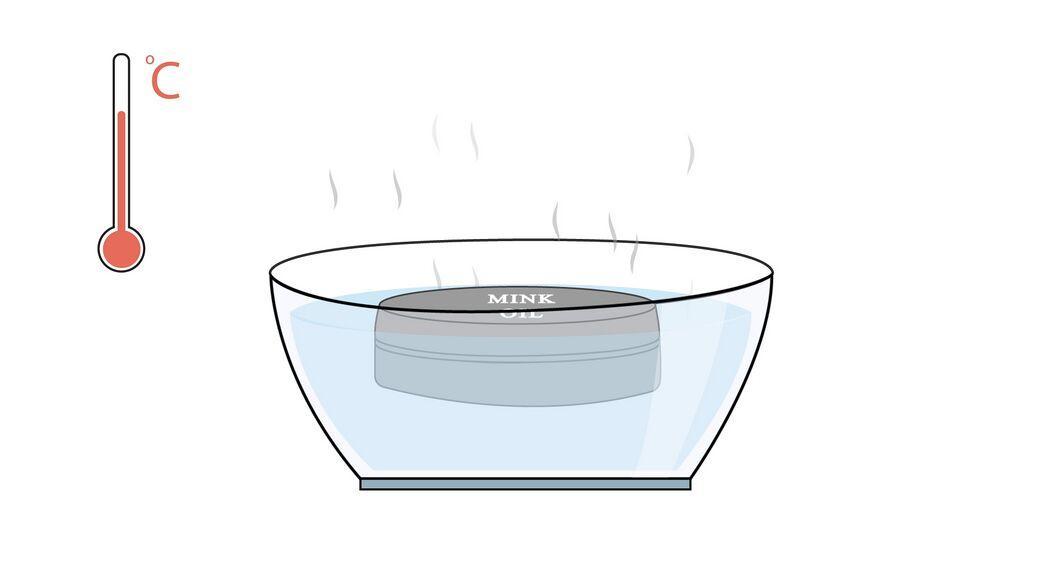
Place the bottle of mink oil in hot water to make it more fluid and easier to spread over the leather surface.
Step 5. Apply mink oil to the item.
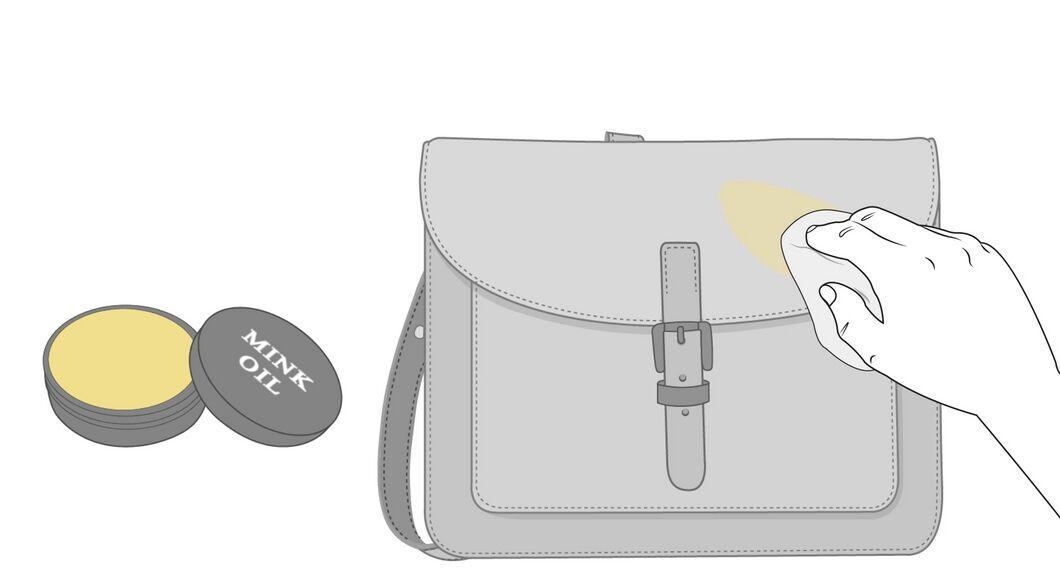
Dampen a cloth with the oil and evenly distribute it over the entire leather surface. To achieve a uniform color, the oil must be applied evenly. You may need several layers to attain the desired shade.
Step 6. Let the item dry.
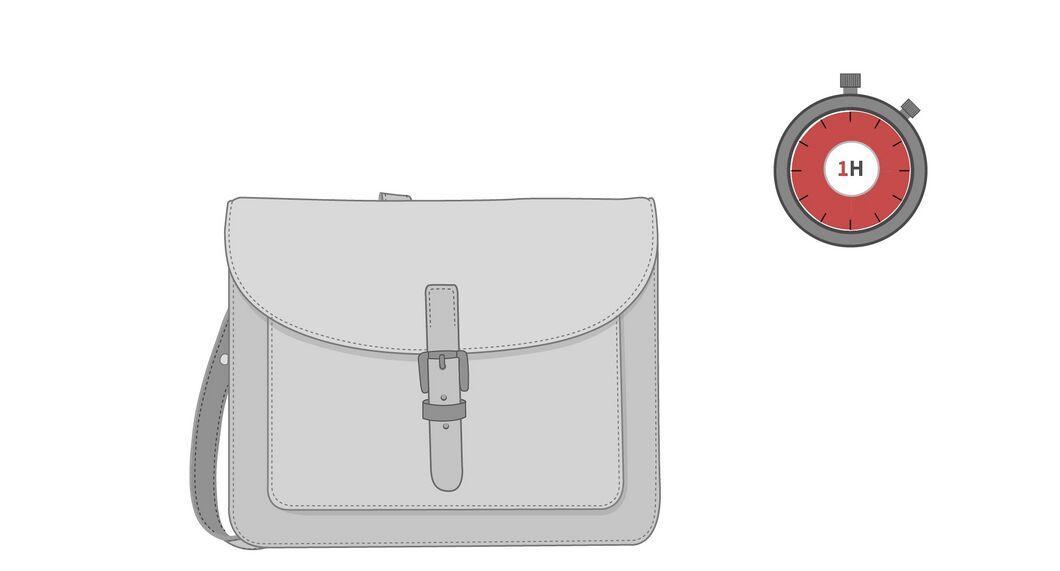
Allow the item to dry for 30-60 minutes, periodically massaging it for better oil absorption.
Step 7. Polish the item.
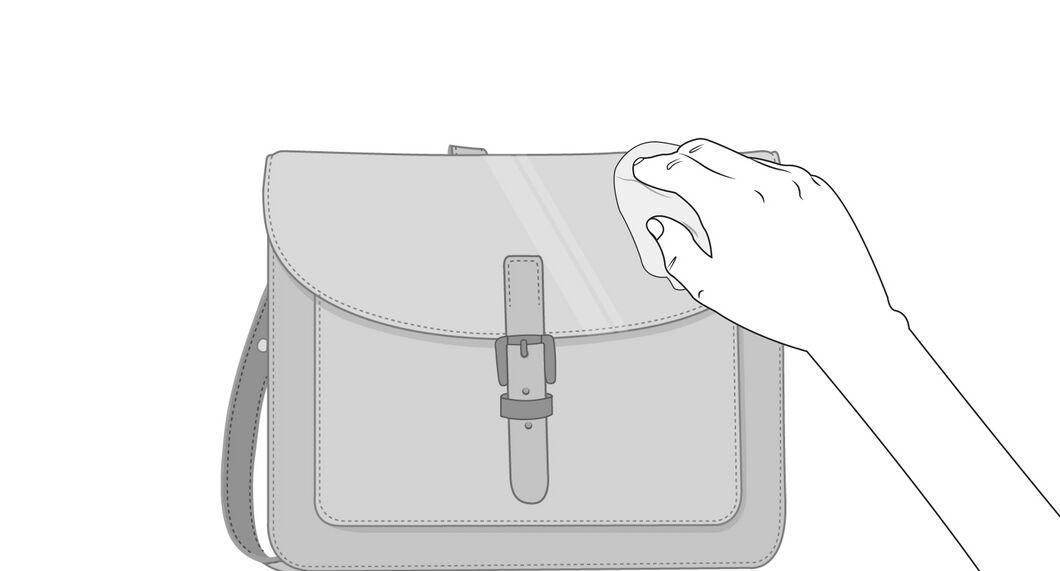
Polish the leather with a clean cloth or a shoe brush to give it shine. Polish in circular motions when the item is cool.
Step 8. Handle the treated item with care.

Handle the leather item carefully after treating it with mink oil. For the first few weeks, the treated item may leave marks on clothes and other surfaces.
- It’s best to store it in a safe place until it has fully dried and no longer leaves stains.


