A microscope is an amazing device that allows you to magnify images of objects and closely examine their smallest details. While optical microscopes come in various sizes, their structure is usually the same, including key components such as the base, eyepiece, objectives, and stage. Master the essential rules for working with a microscope to avoid damage and make the most of this valuable tool.
Setting Up the Microscope
Step 1. Familiarize Yourself with the Parts of the Microscope.
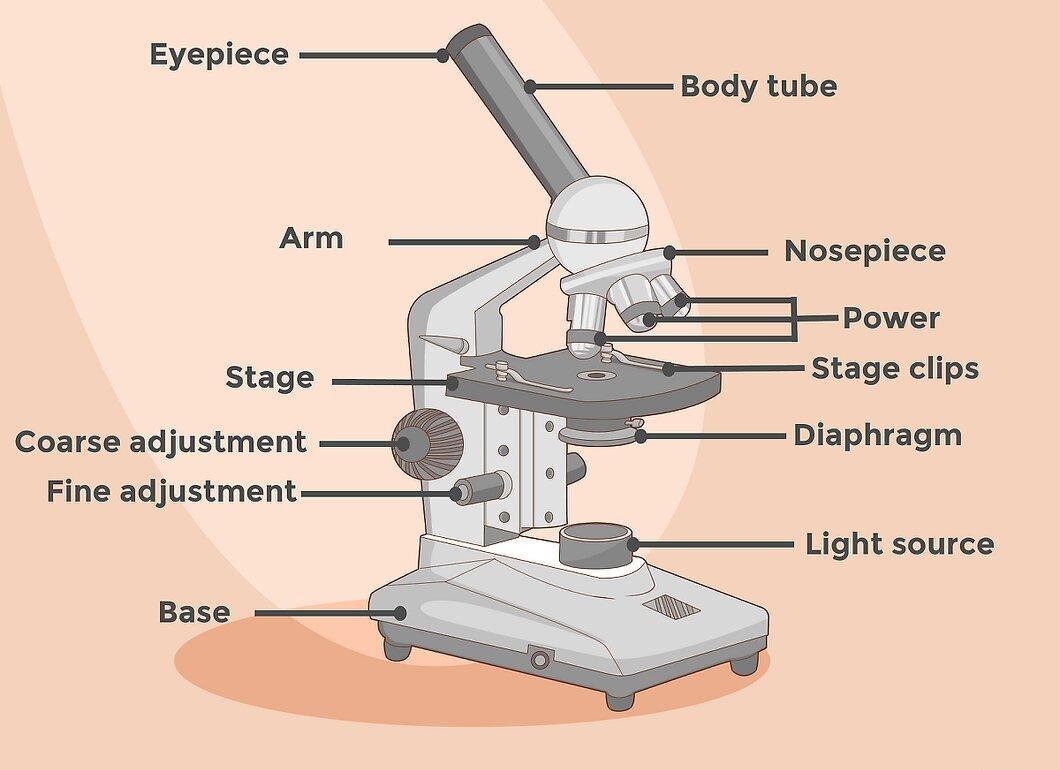
First, get to know the parts of your microscope. It consists of several elements that you need to recognize and use correctly. You look at samples through the eyepiece. Simple models have a single eyepiece, while more complex ones have two (binocular). The main components of an optical microscope include:
- Stage — the platform for placing samples.
- Stand — connects the base to the eyepiece.
- Objective — magnifies the image of the object. Typically, several objectives with different magnifications are included.
- Two focus knobs (coarse and fine). The coarse focus knob is usually larger and located on the side, used for initial adjustments. The fine focus knob allows for more precise tuning of the image.
- Light source, located in the base, illuminates the sample.
- Diaphragm under the stage regulates the amount of light hitting the sample.
Step 2. Place the Microscope on a Flat, Clean Surface.
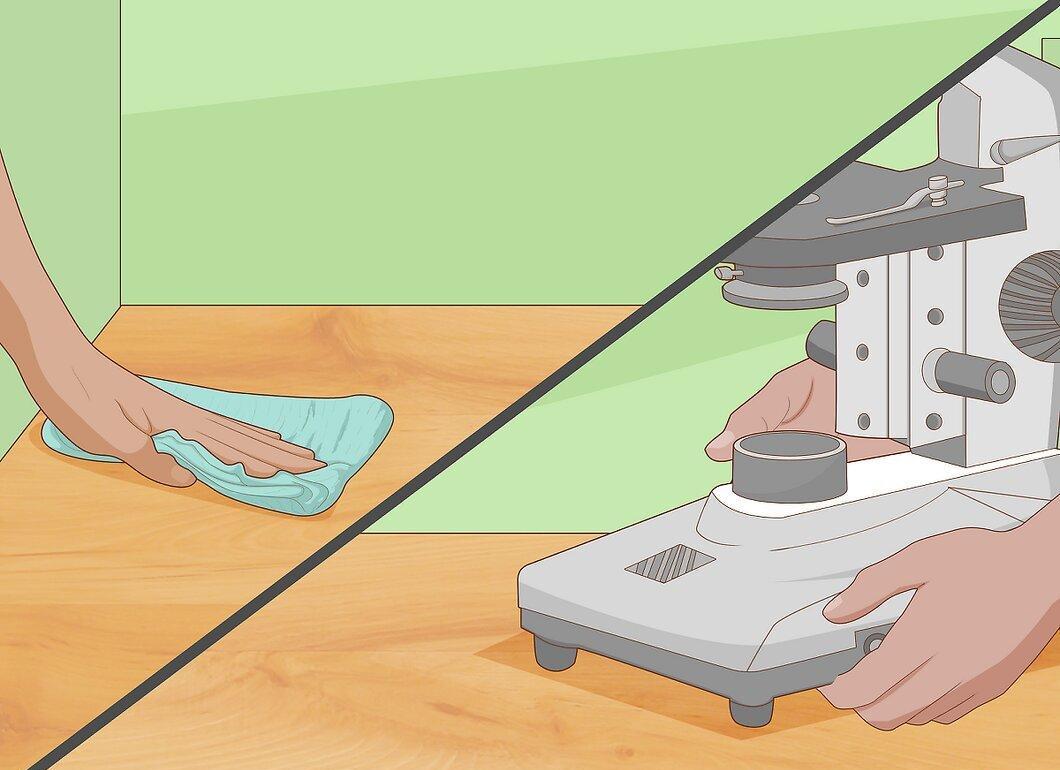
Make sure the microscope is positioned on a clean, flat surface. Remove any unnecessary items to avoid contamination. If needed, use a cleaning solution and lint-free cloth. Remember that the table should be near an electrical outlet.
- When carrying the microscope, hold it by the base and stand. Avoid carrying it solely by the stand.[3] X Source
- Set the microscope on the table and plug it into the electrical outlet.
Step 3. Keep the Manual Handy.
Keep the manual nearby your microscope. If something isn't clear, refer to the relevant section. The manual also contains information on caring for and properly cleaning the microscope.
- Keep the manual within reach for quick reference at any time.
- If the manual is lost, visit the manufacturer's website to download an electronic version. If you can't find it, contact the manufacturer for a new copy.
Preparing Slides
Step 1. Wash Your Hands Before Working.
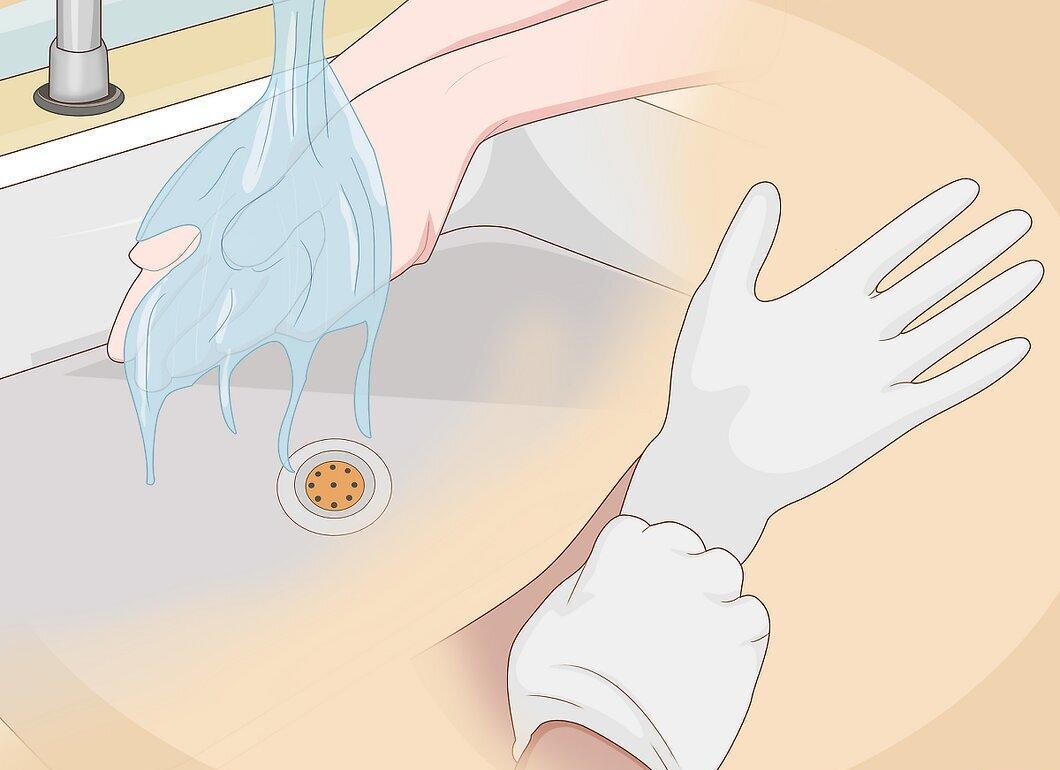
Before starting, make sure to wash your hands. Oils on your skin can contaminate the slides and samples. These contaminants can damage both the samples and the microscope itself. If possible, it's better to work while wearing gloves.
- Keep your hands and workspace clean, regularly wiping away dust.
Step 2. Have a Lint-Free Cloth Nearby.
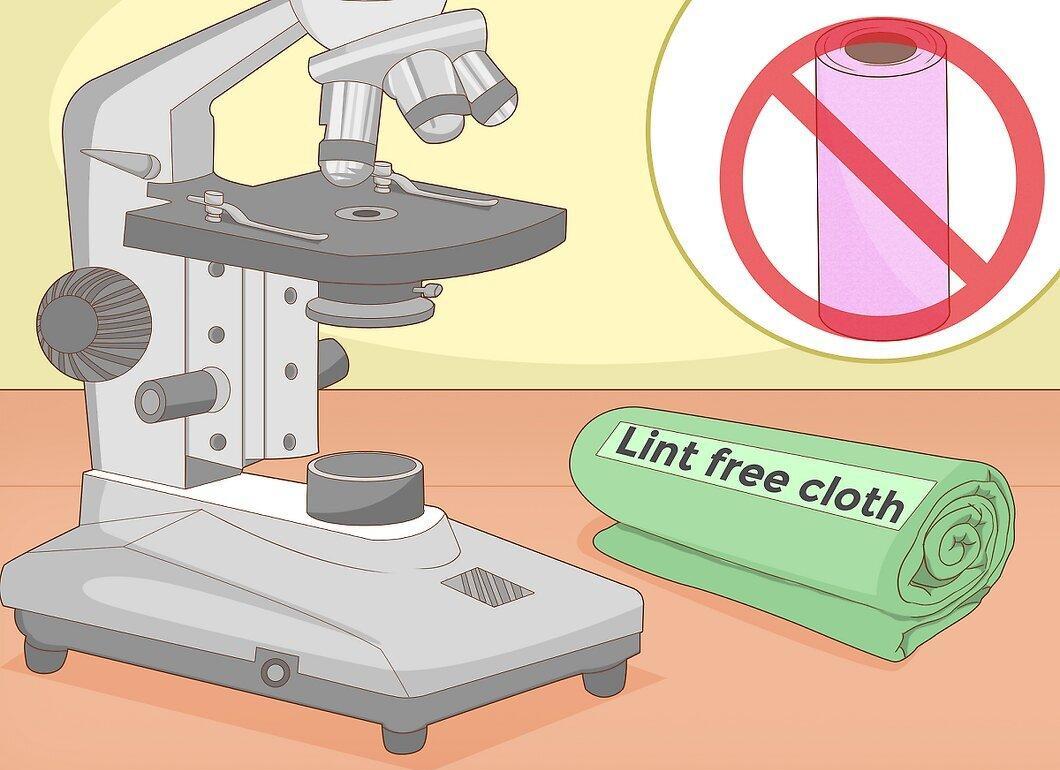
Keep a lint-free cloth handy for working with and cleaning the slides. This cloth leaves no lint behind. Many slides have a positive coating that attracts dust. A lint-free cloth will help you quickly clean them.
- Do not use paper towels, as they leave a lot of lint behind.
- If you are wearing gloves, you can handle the slides with your hands, but try to hold them by the edges.
Step 3. Start with Prepared Standard Samples.
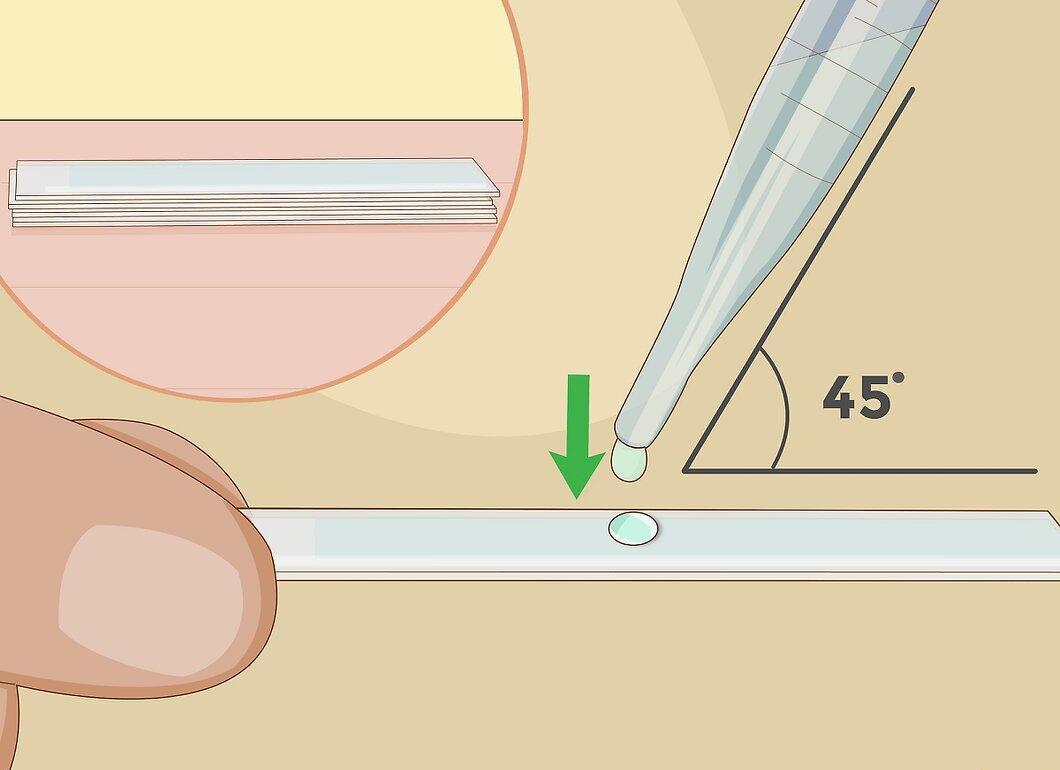
At the beginning of your work, use prepared standard samples, which can be purchased from specialty stores or may come with the microscope. Once you master the basics, try creating your own samples.
- Use samples like pond water or flower pollen.
- Place a drop of water or pollen on the slide.
- Position a second slide at a 45-degree angle and gently lower it so that the drop holds them together.[5] X Source
- To extend the sample's lifespan, apply some nail polish around the edges of the slides — this will help keep them together.
Step 4. Place the Slide on the Stage.
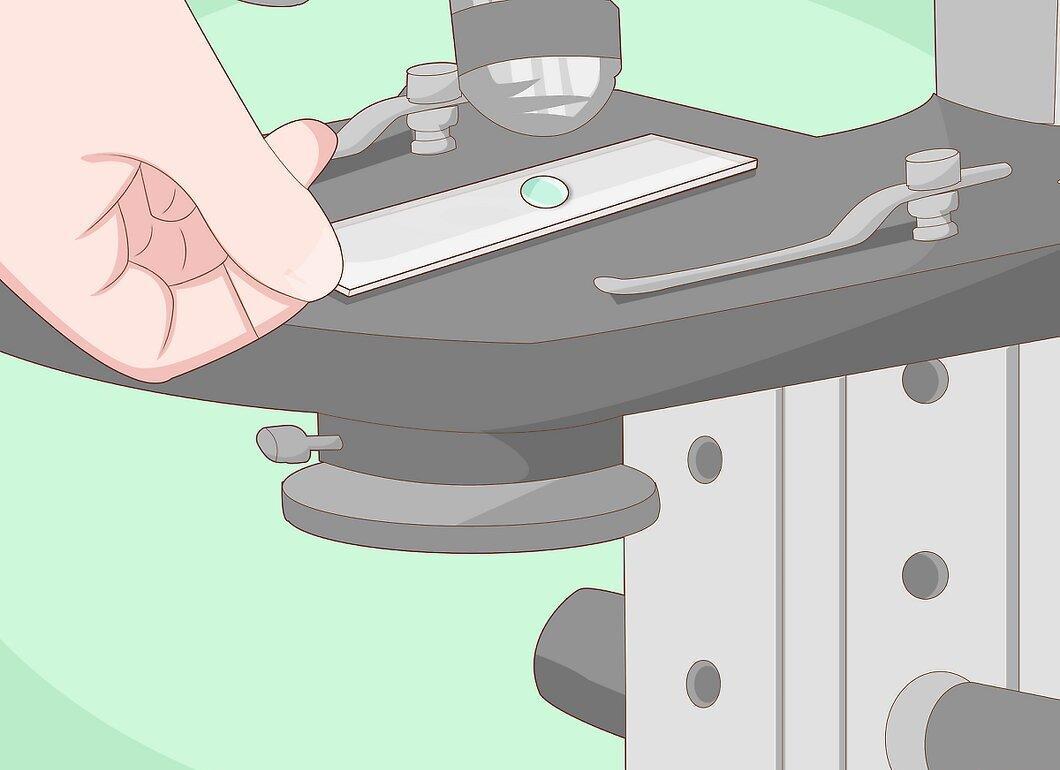
Set the slide on the stage, holding it by the edges to avoid fingerprints. Oil marks can smudge the glass. You can use a lint-free cloth to grip the slides.
- If the slide is dirty, gently wipe it with a lint-free cloth.
Step 5. Secure the Slide with Clips.
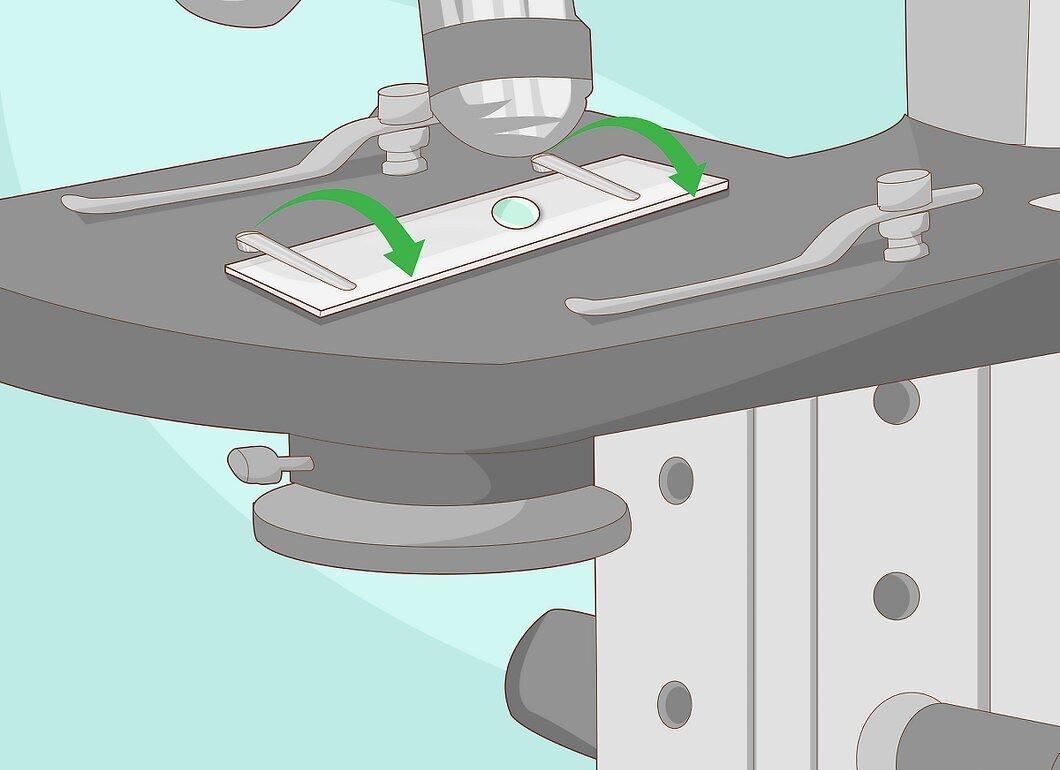
Secure the slide with two clips. These metal or plastic elements hold the slide in place, allowing you to focus without distraction. The slide should easily slide under the clips.
- Do not apply force to push the slide under the clips. If it doesn't fit, try moving it under one clip first, then the other.
- Be careful, as slides can easily break.
Step 6. Turn on the Microscope.
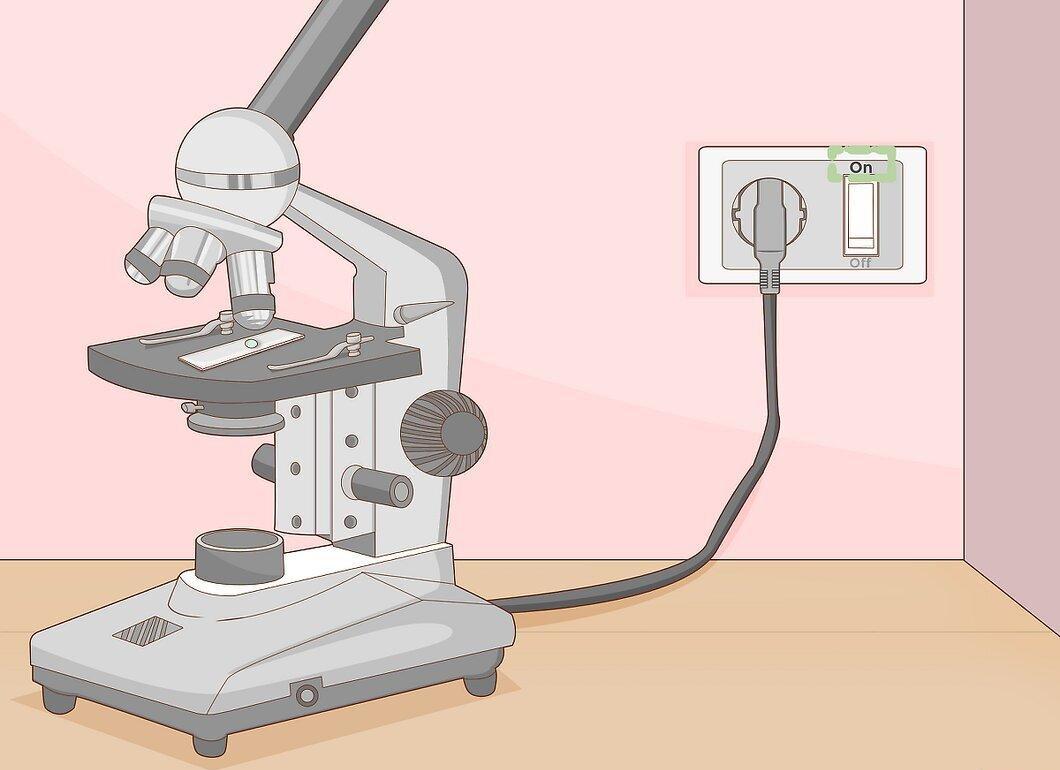
Press the power button, usually located on the side. A small light spot should appear in the center of the slide.
- If the light does not appear, try fully opening the diaphragm. It has a lever or wheel to adjust the diameter and, consequently, the illumination of the sample. If the diaphragm is closed, there will be no light. Try adjusting it.
- If there is still no light after this, contact your supplier — the bulb may need replacing.
Focusing the Microscope
Step 1. Adjust the Binoculars, if Applicable.
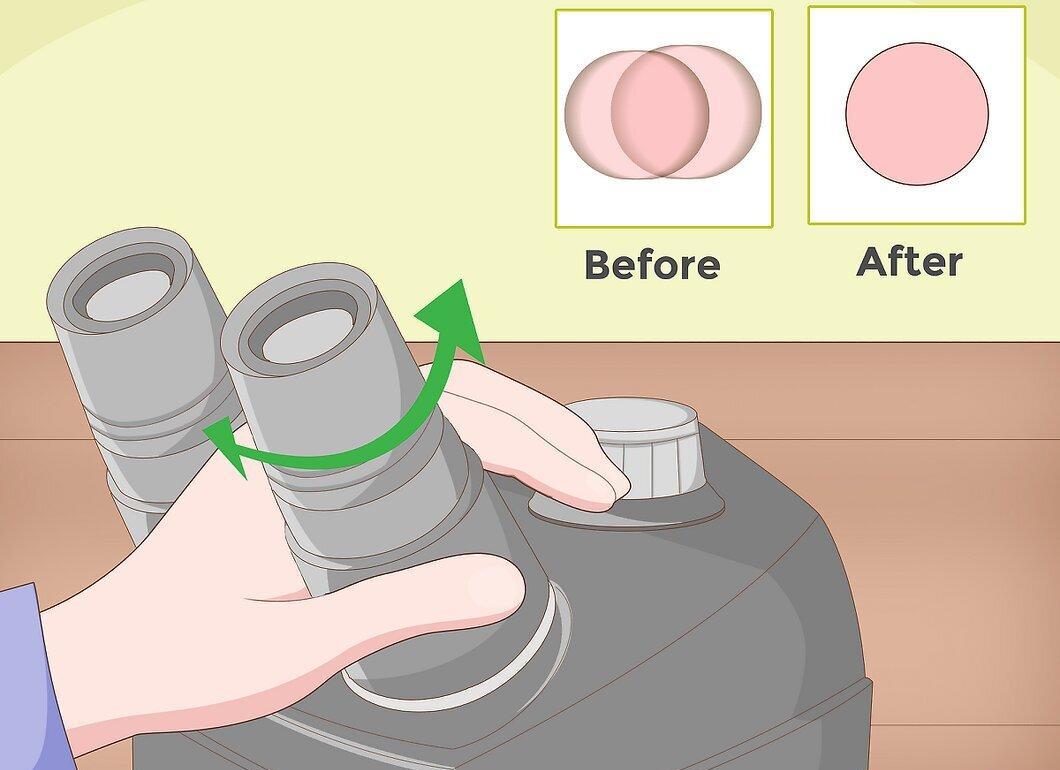
If your microscope is equipped with binoculars, set the correct distance between the eyepieces. This step is unnecessary if you have a single eyepiece. Proper adjustment will ensure you see a single circle of light when looking with both eyes.
- If you see two images, keep adjusting the distance until you see one circle.
- If you wear glasses, remove them and use the microscope's settings for optimal focusing.
Step 2. Open the Diaphragm to Maximum.
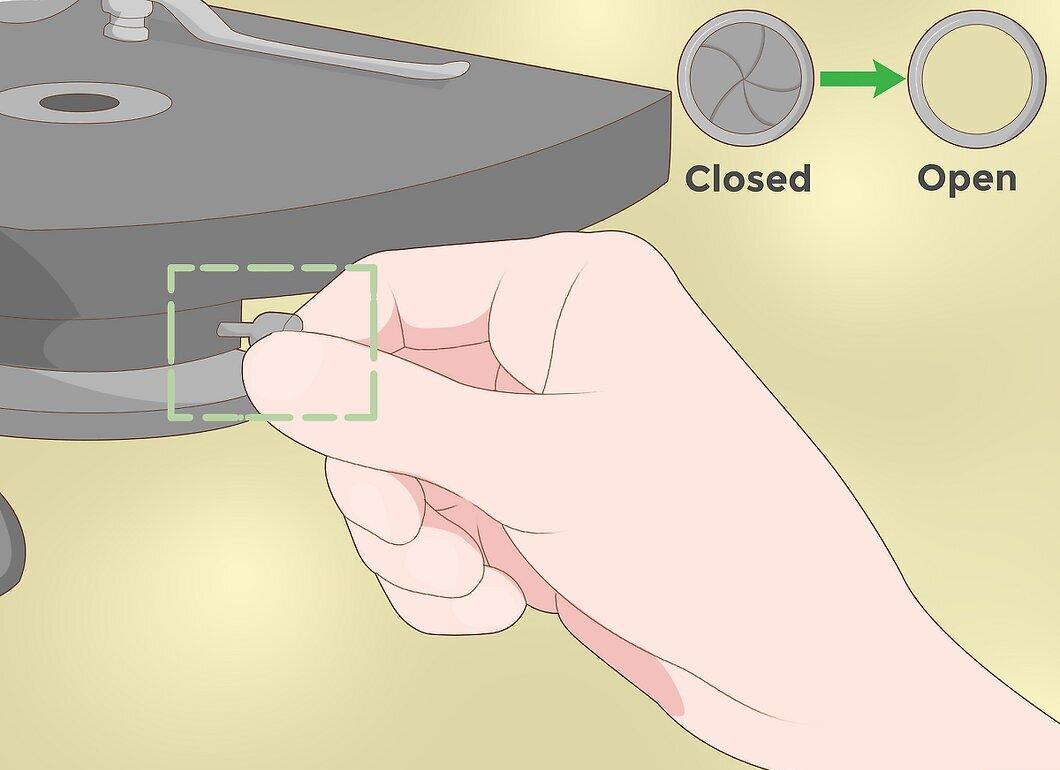
Open the diaphragm to its maximum. This will provide the highest illumination for the slide, which is very important for focusing. The diaphragm is adjusted using a lever or knob.
- Adjust the position until the diaphragm is fully opened.
Step 3. Start Focusing with the Minimum Magnification.
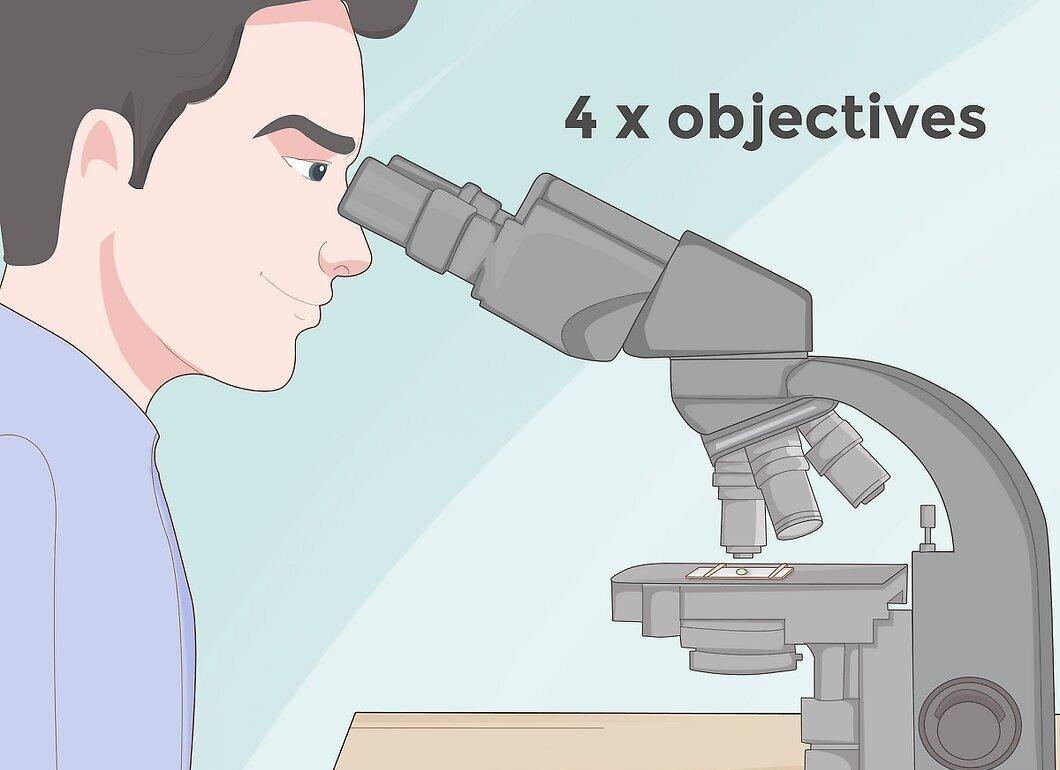
Begin with the minimum magnification by using the rotating disk with several objectives. Typically, the minimum magnification is 4x (sometimes 3.5x).
- The objective with the minimum magnification provides a wide field of view, making it easier to focus on the object. If you start with a high magnification, you may not see it at all or only notice a small part.
- For higher magnifications, objectives of 10x and 40x are commonly used. The eyepiece magnifies 10 times, so the total magnification is 40x with a 4x objective (10 multiplied by 4), 100x with a 10x, and 400x with a 40x.
Step 4. Center the Slide if Needed.
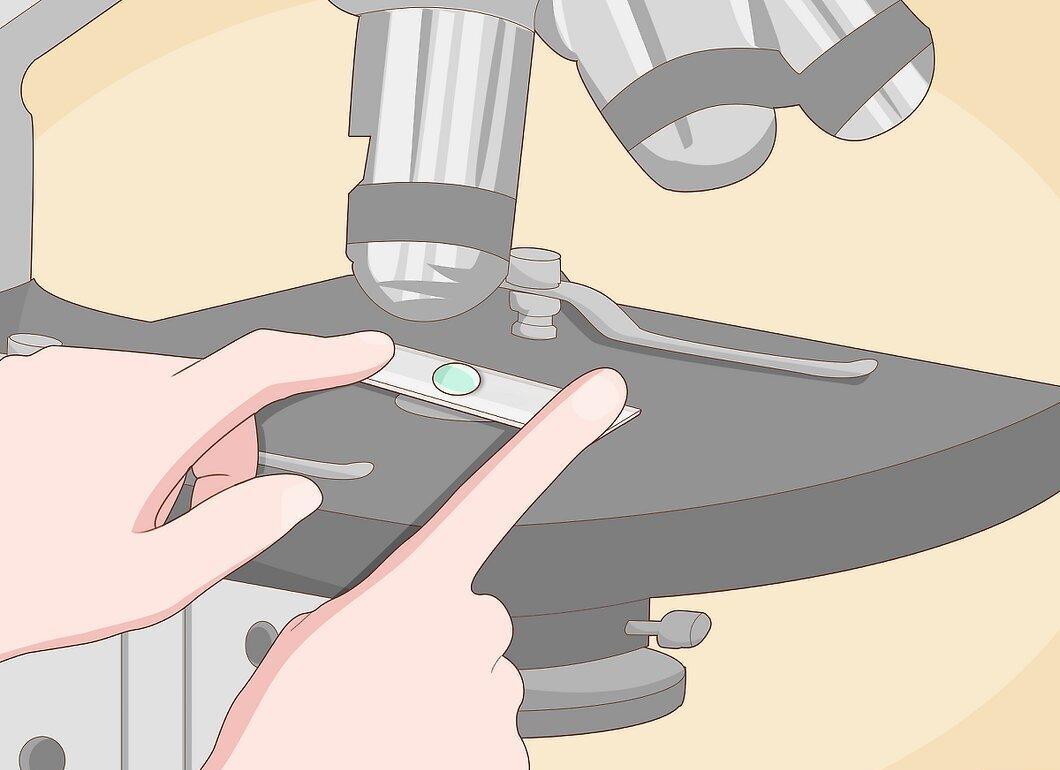
If the object is not centered, move the slide so that the object is in the illuminated field. If it's not visible, gently shift the slide while looking through the eyepiece.
- Keep in mind that the image is inverted, so move the slide in the opposite direction.
Step 5. Focus on the Object Using the Knobs.
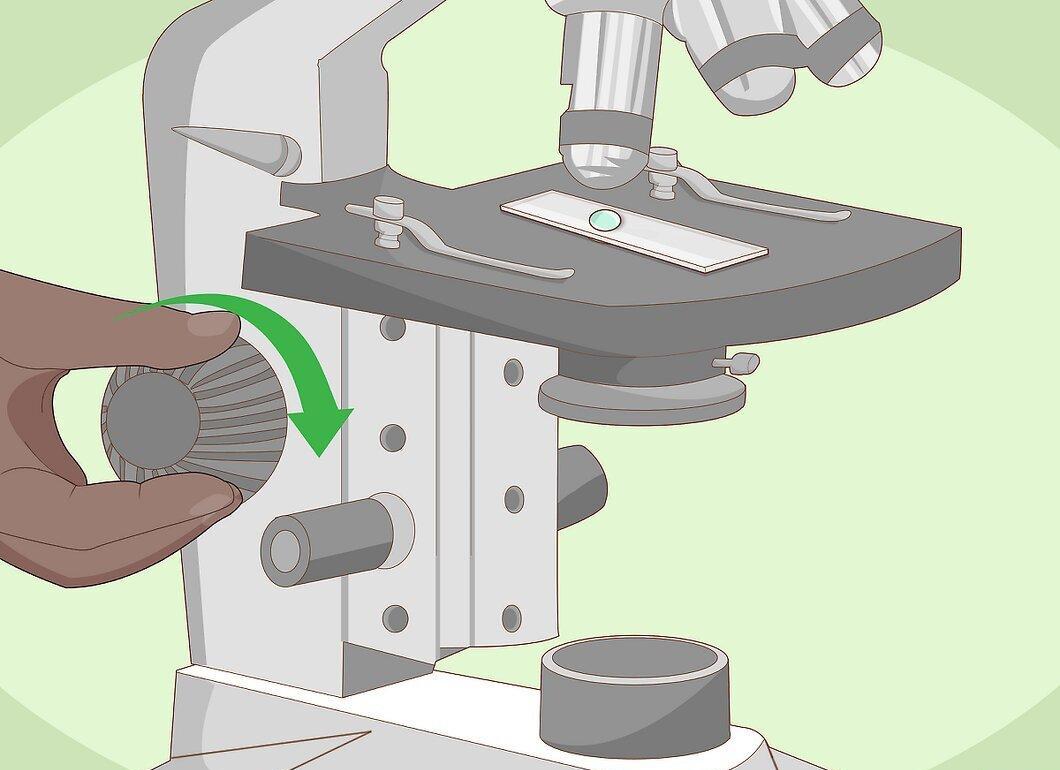
Use the focus knobs and diaphragm to achieve a clear image. First, use the coarse focus knob, then switch to the fine focus knob for precise tuning. Slowly turn the knob until you see the image become clear.
- Then use the fine knob for final adjustment.
- Be careful not to let the objective touch the slide, as this can damage it.
- Adjust the diaphragm under the stage for improved image contrast.[10] X Source
Step 6. Switch to a Higher Magnification.
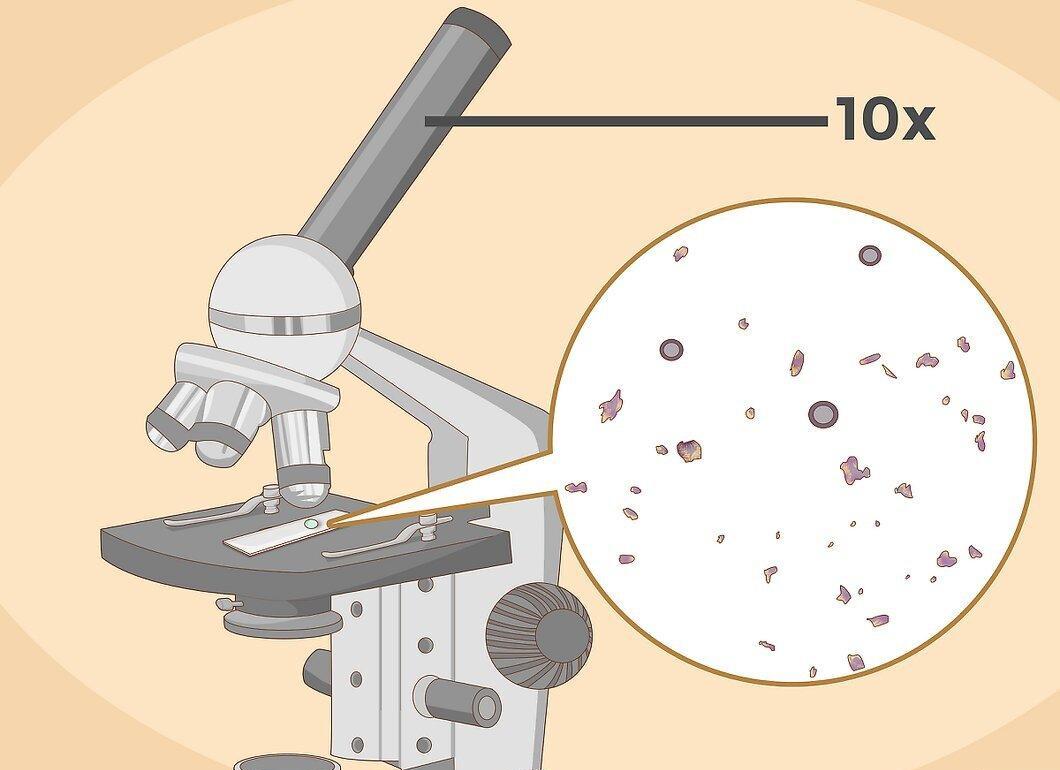
Switching to a stronger objective should only happen after you have located the object at a lower magnification. High magnification allows you to see the finest details, but not all objectives are suitable for all slides, as some may focus too closely.
- Be cautious when changing objectives to avoid damaging the slide.
- At high magnifications (e.g., 10x), use the fine focus for adjustments to prevent damage.
- Practice with different objectives and slides to master your microscope skills.
Step 7. Store the Microscope in a Protective Case.
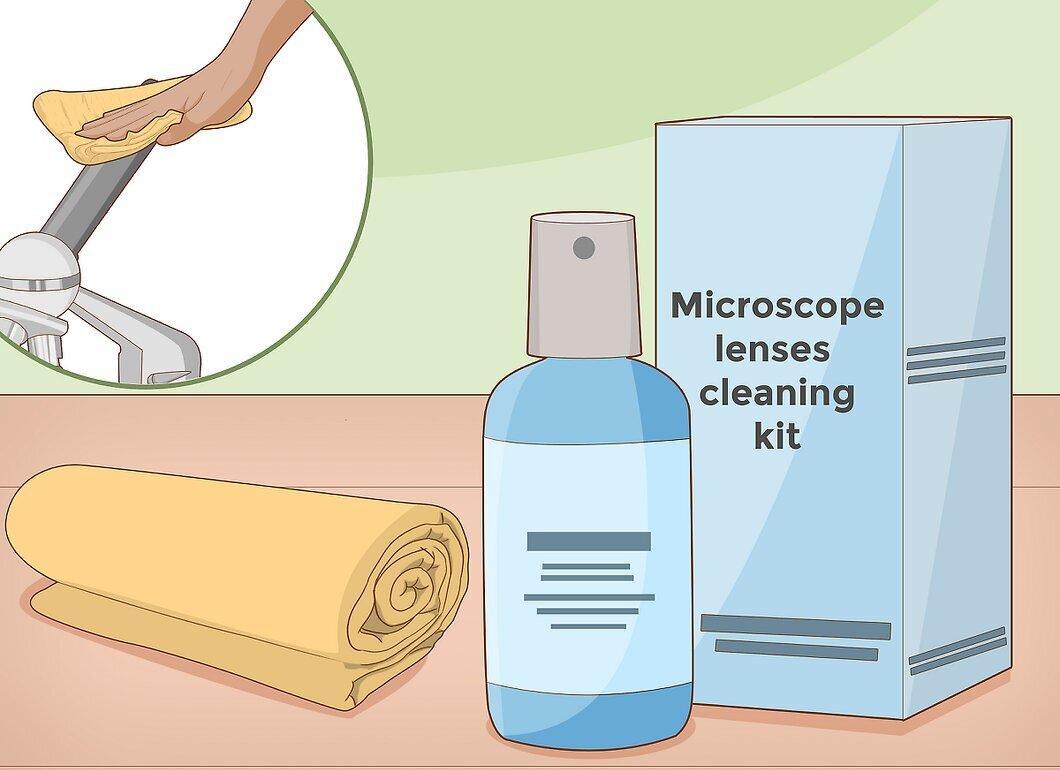
Always store the microscope in a case to protect it from dust. Dust can damage the lenses and mechanisms, so try to minimize its exposure. For cleaning, use specialized solutions and a lint-free cloth.