Vibrant Inspiration: A DIY Guide to Painting Ceramic Pots
Ceramic pots are crafted from clay that is fired at high temperatures. While most stores offer glazed pots, unglazed options are also available. In this article, we will provide you with a step-by-step guide to decorating both types of pots.
How to Paint Glazed Ceramic Pots
Step 1. Thoroughly wash the pot inside and out under running water.
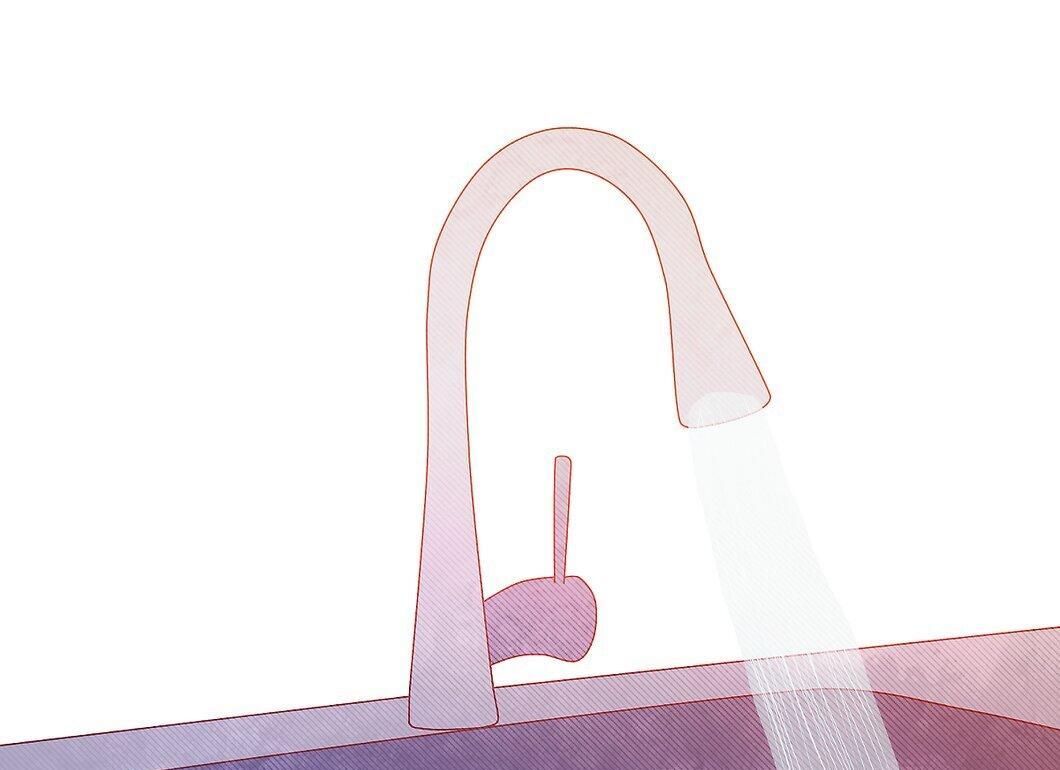
Step 2. Use soapy water and a brush or abrasive sponge to clean it.
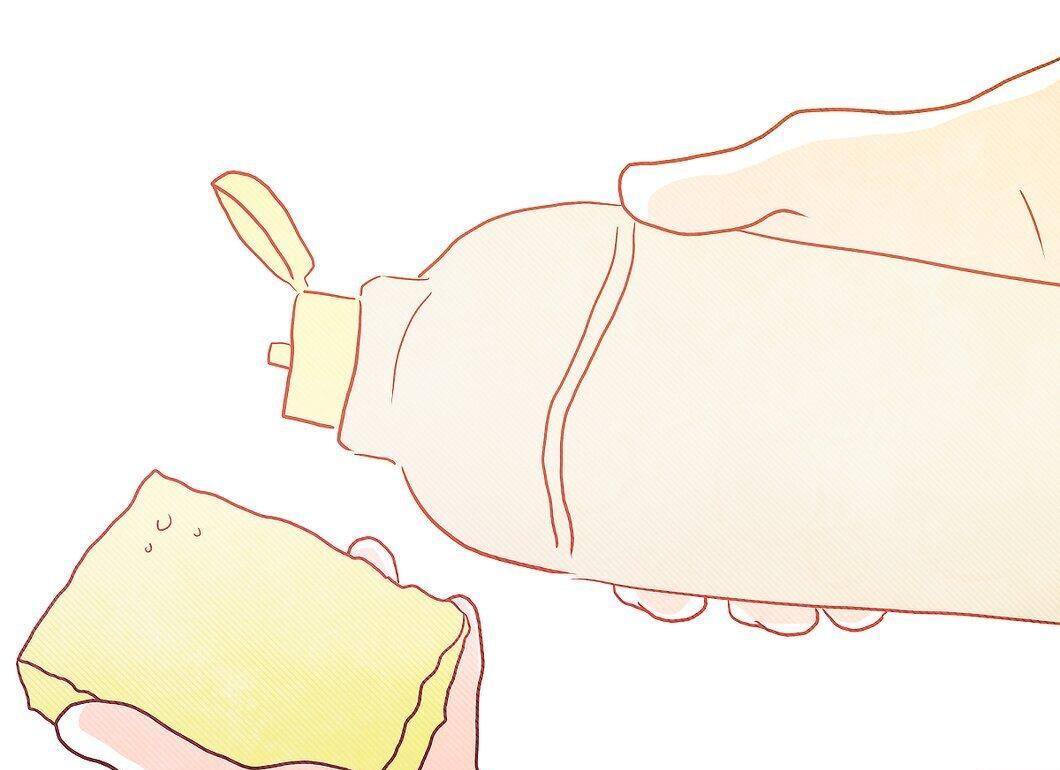
An old toothbrush can work well for this step.
Step 3. Rinse the pot thoroughly.
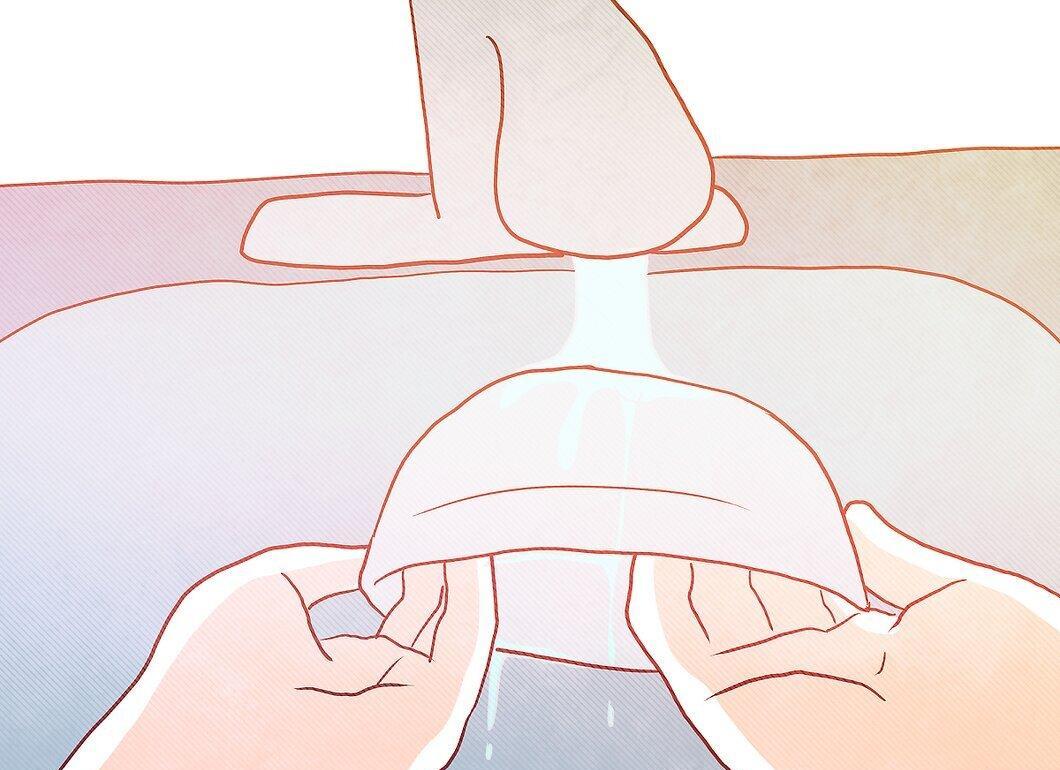
Step 4. Place the pot on a table and let it dry.
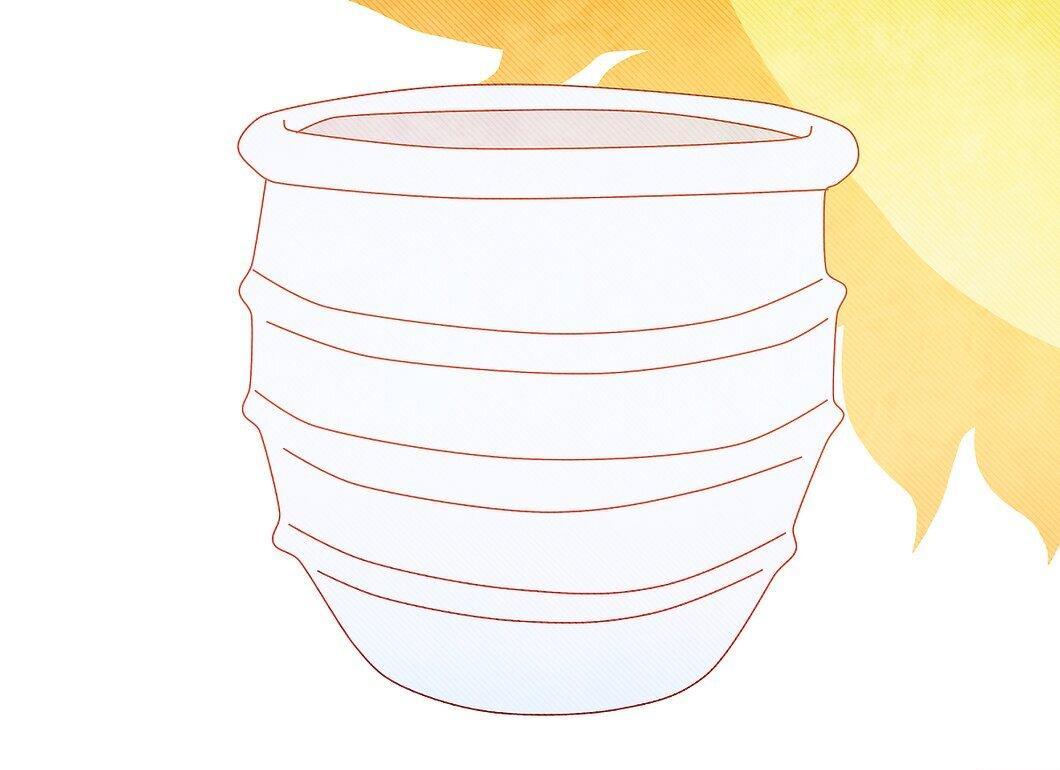
Step 5. Prepare a can of glossy wall paint, sandpaper (200 grit), brushes, and latex primer.
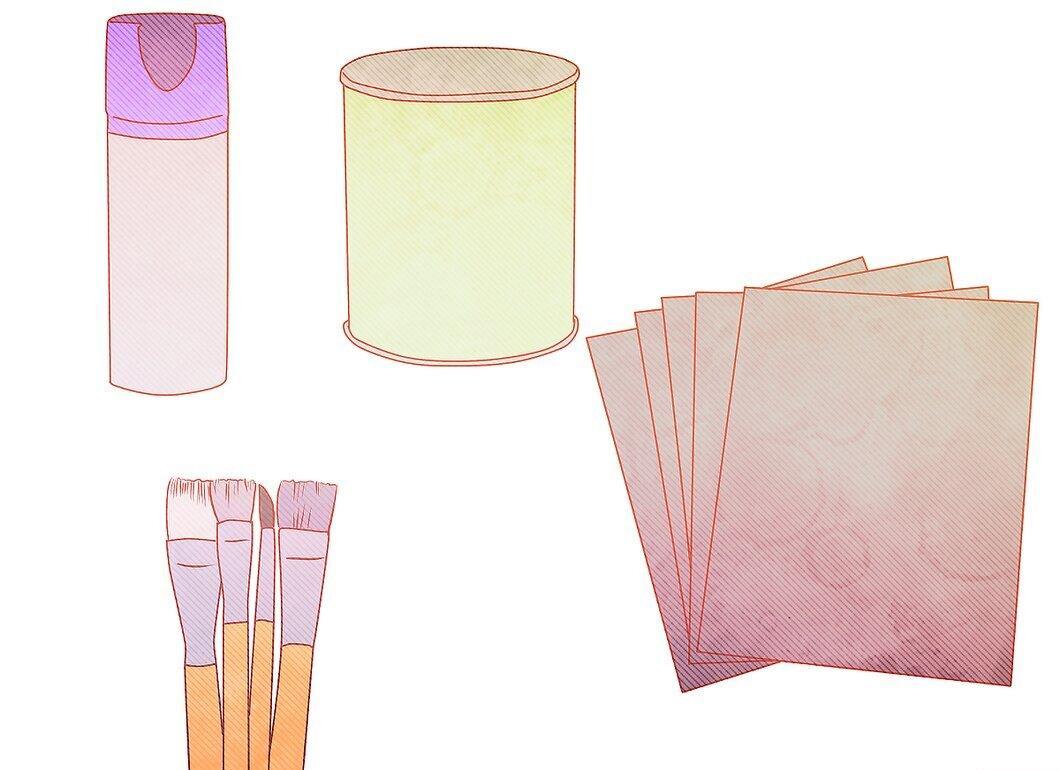
Step 6. It’s best to paint the pot outside in calm, dry weather.
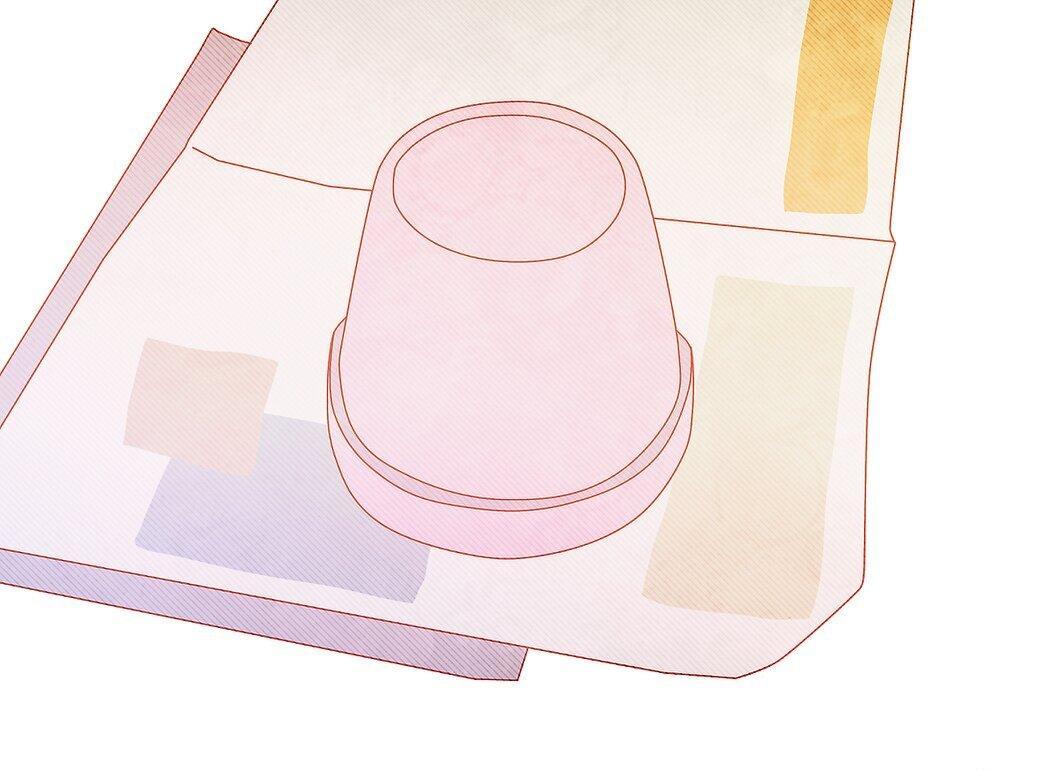
Place cardboard or newspaper under the pot to prevent mess.
Step 7. Start sanding the surface of the pot with sandpaper to make the glaze slightly rough.

Step 8. Wipe the pot with a clean, damp cloth.
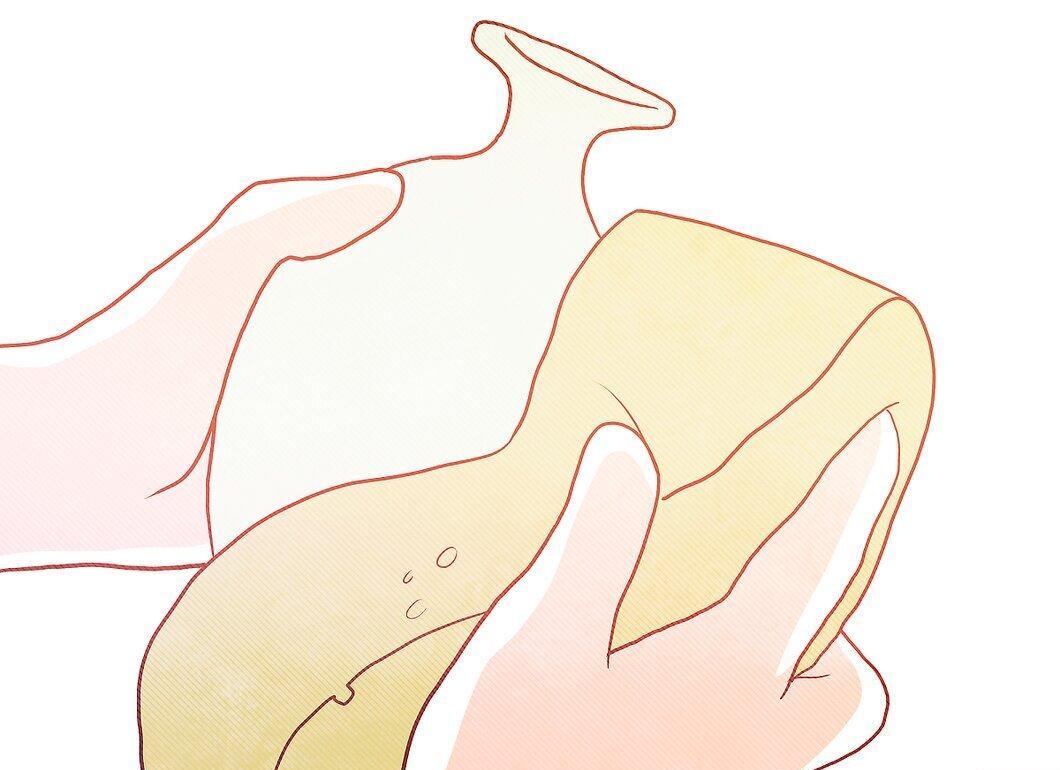
Step 9. Apply a coat of primer to the pot with a brush.
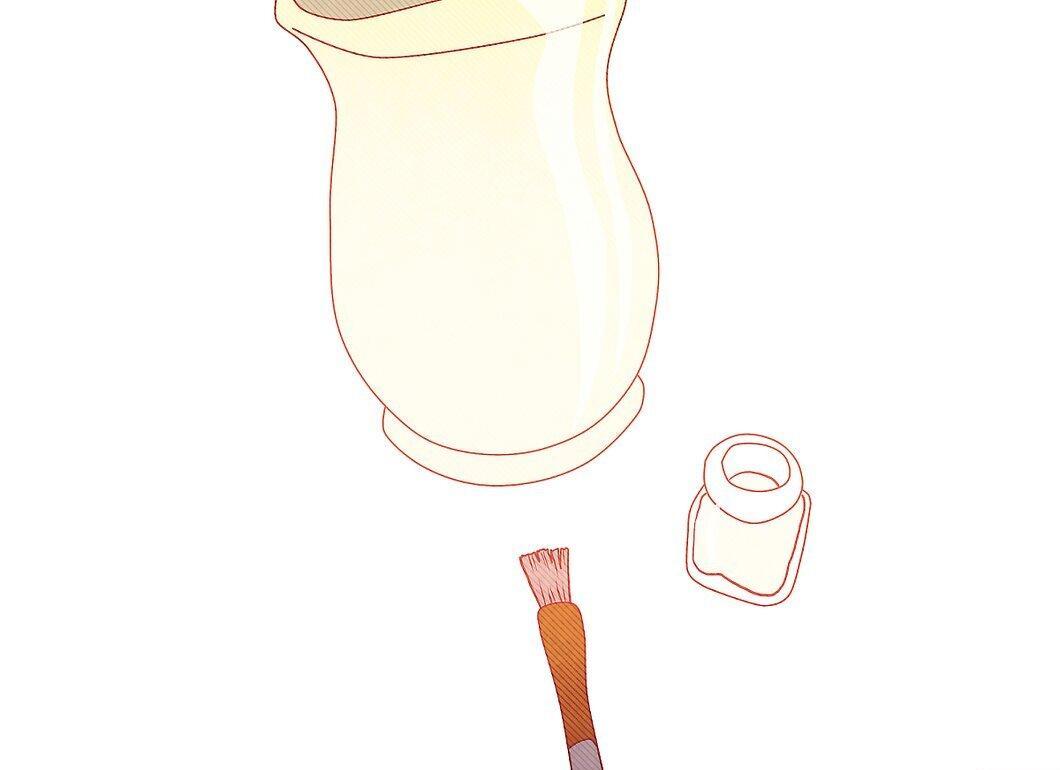
Allow the primer to dry completely. Thanks to the rough surface, the primer will adhere well. You can add another layer if desired.
Step 10. Before starting to paint, read the instructions on the spray can.

It’s usually recommended to shake the can well before use.
Step 11. Start by painting the inside of the pot, making smooth and even strokes with the brush.
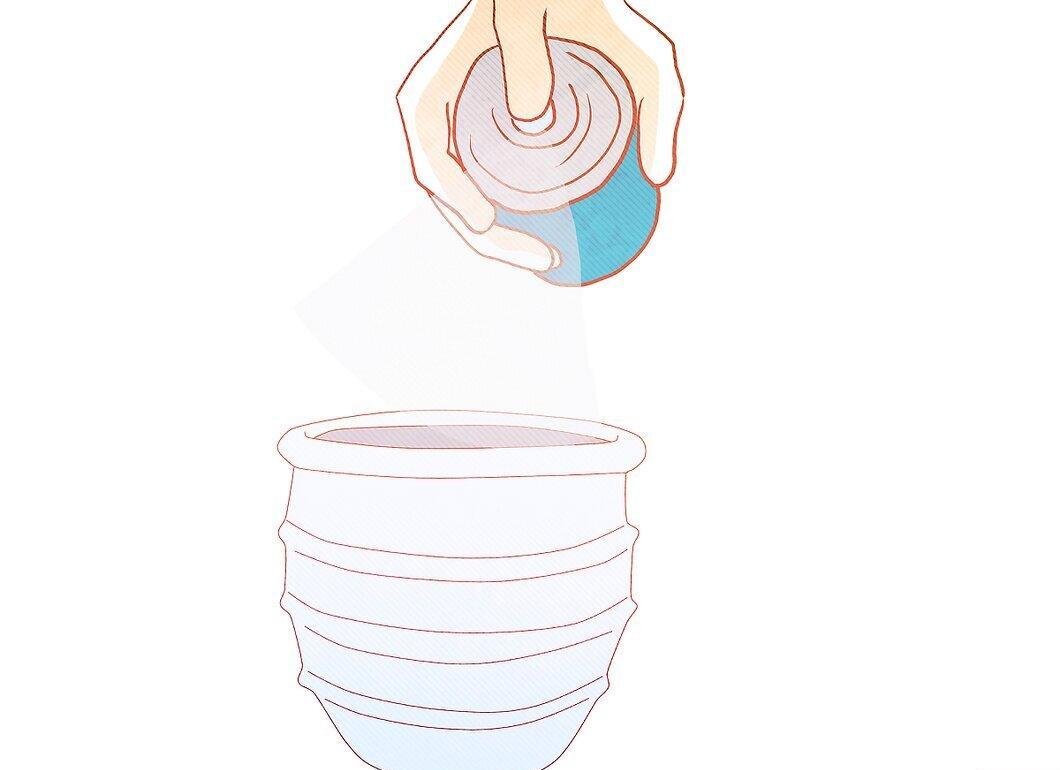
Step 12. Wait for the paint to dry completely.

Then flip the pot over.
Step 13. Spray the exterior walls of the pot with paint.
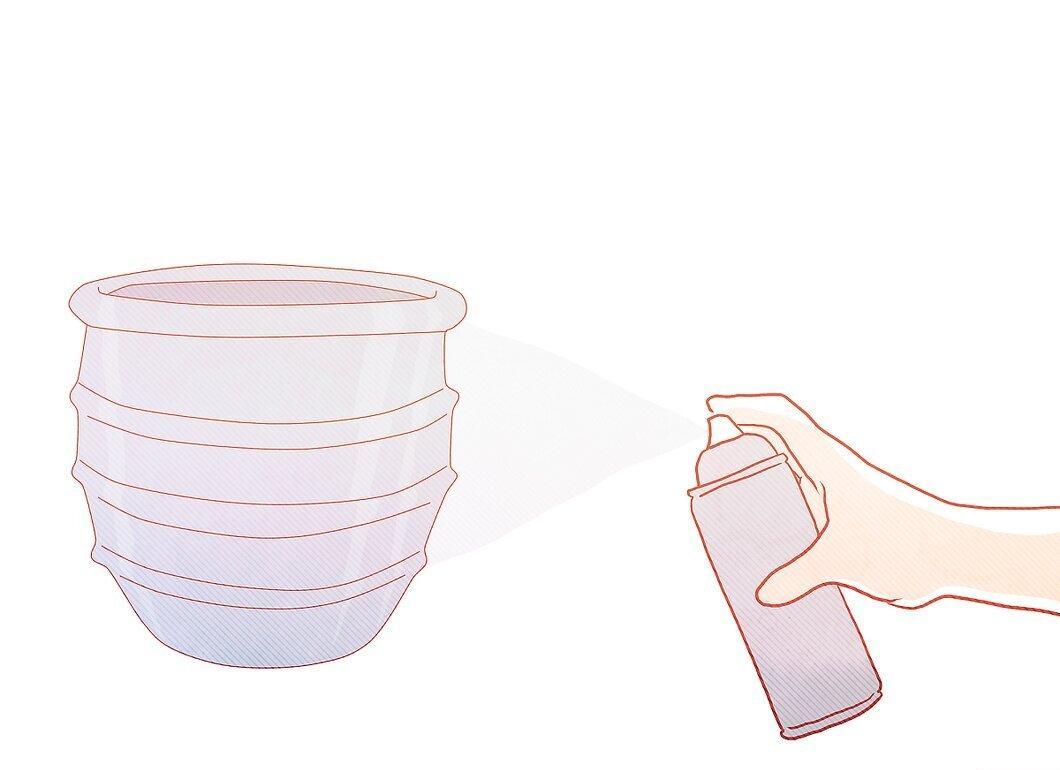
Apply the paint with broad, even strokes.
Step 14. Place the pot in the sun for quick drying of the paint.
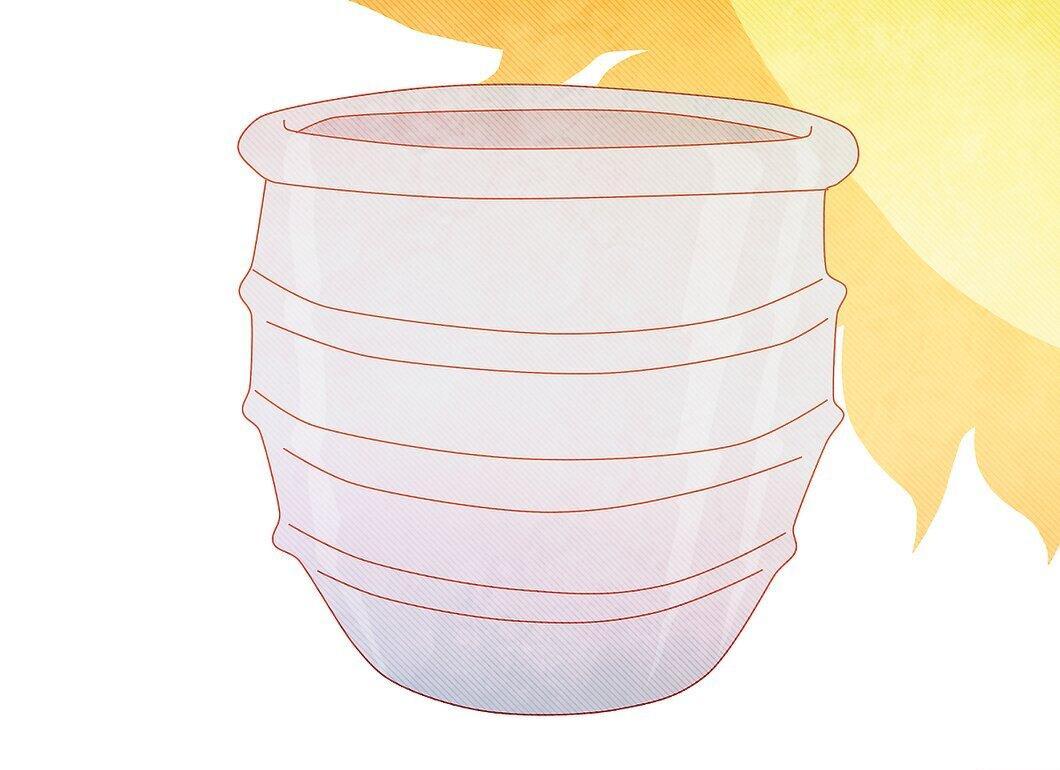
Step 15. Don’t rush to throw away the spray can — you may need it for touch-ups.

Step 16. Wait at least a day after painting before repotting any plants.

How to Paint Unglazed Ceramic Pots
Step 1. Purchase several unglazed ceramic pots.
You will also need paint, sealant, glaze, and brushes.
Step 2. Find a suitable place to paint the pots.
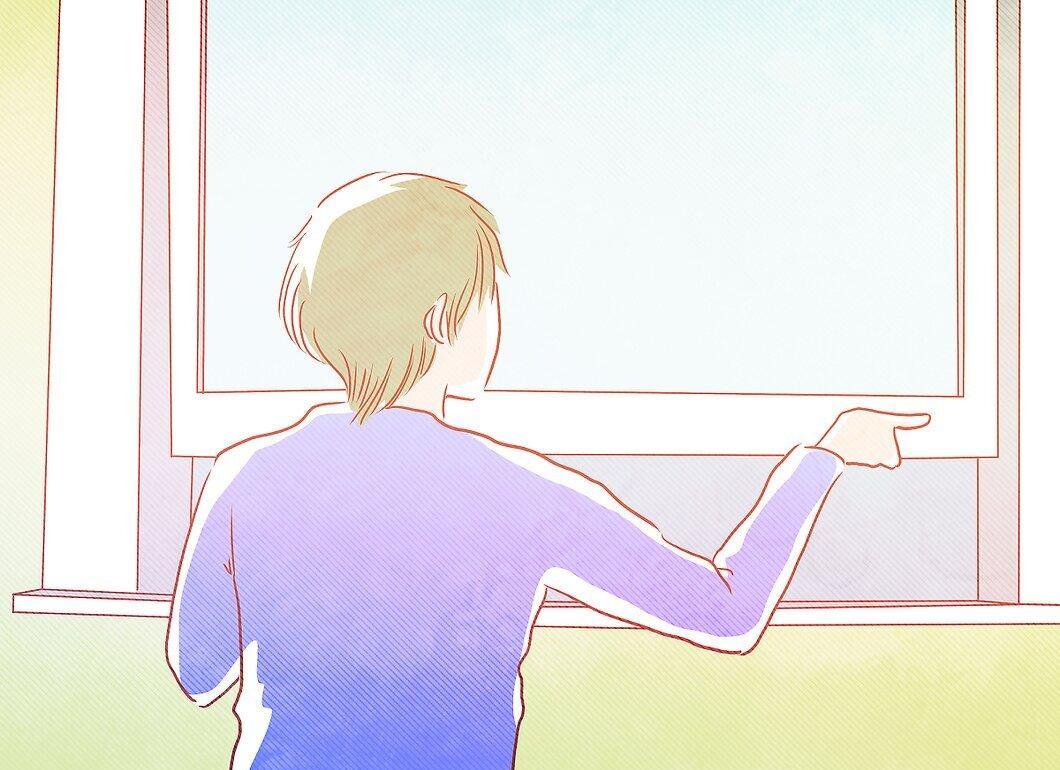
Make sure the area is well-ventilated.
Step 3. If using a table, cover it with plastic or newspapers to protect it from paint.

Step 4. Sand down all seams on the pot walls.
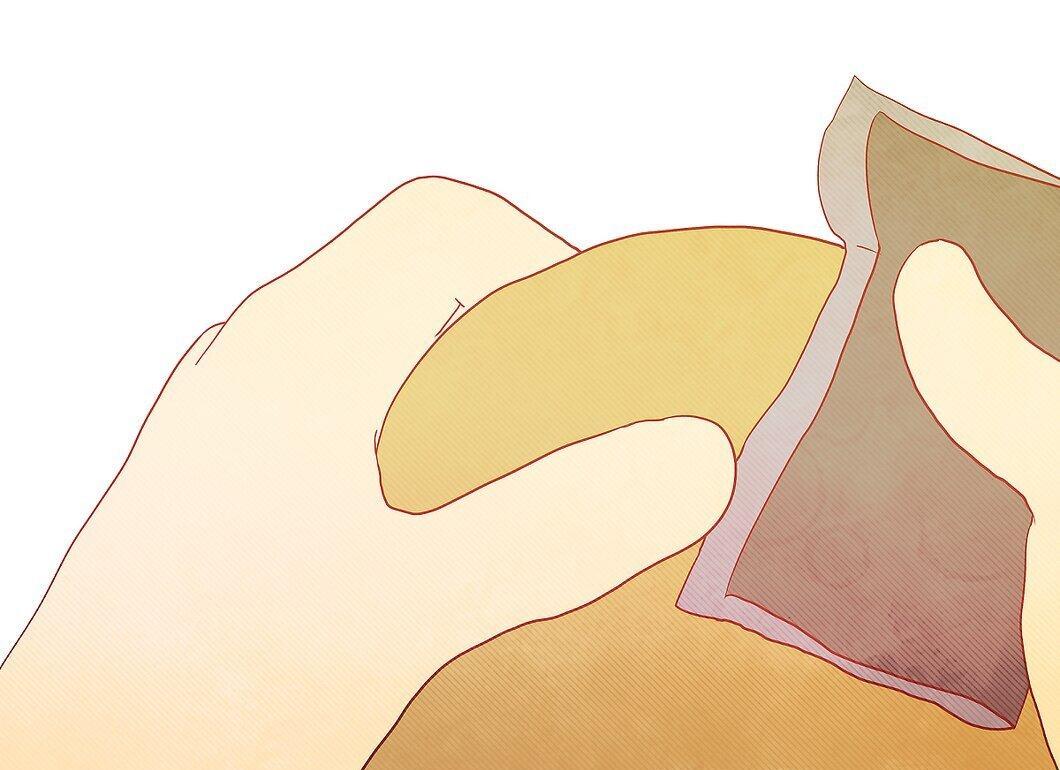
Use fine or medium-grit sandpaper. Sand the walls to improve paint adhesion.
Step 5. Take a dry cloth and wipe away dust from the pot surface.
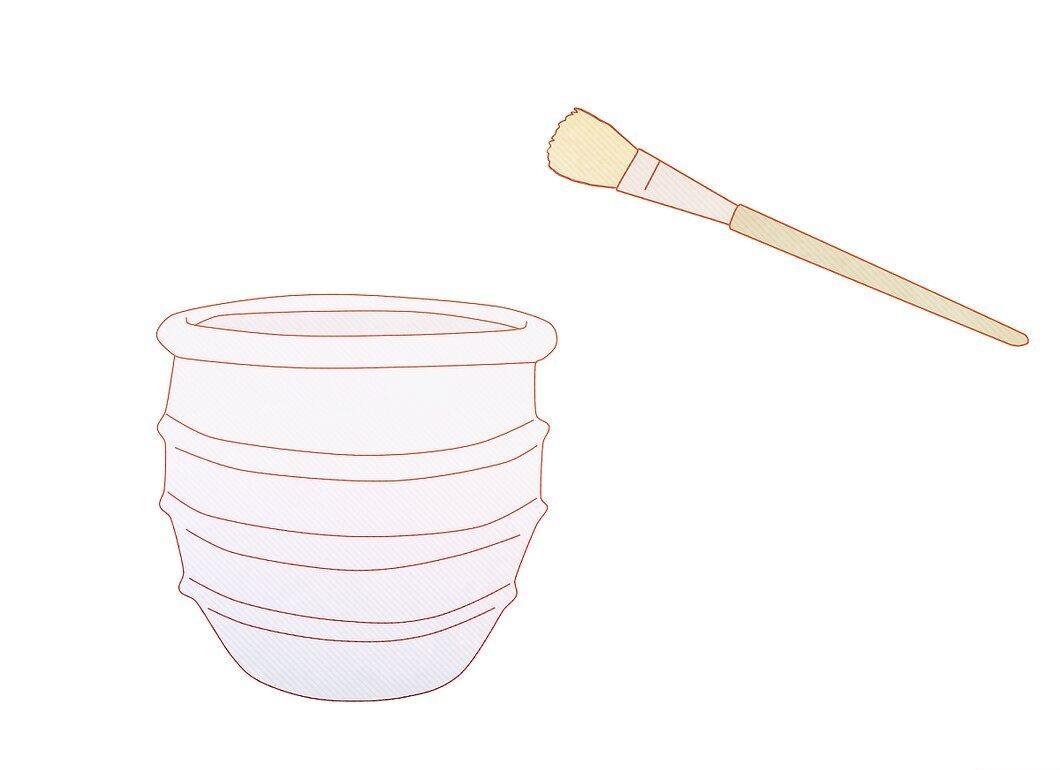
Alternatively, use a hairdryer to blow away the dust.
Step 6. Wipe the pot with a damp cloth.
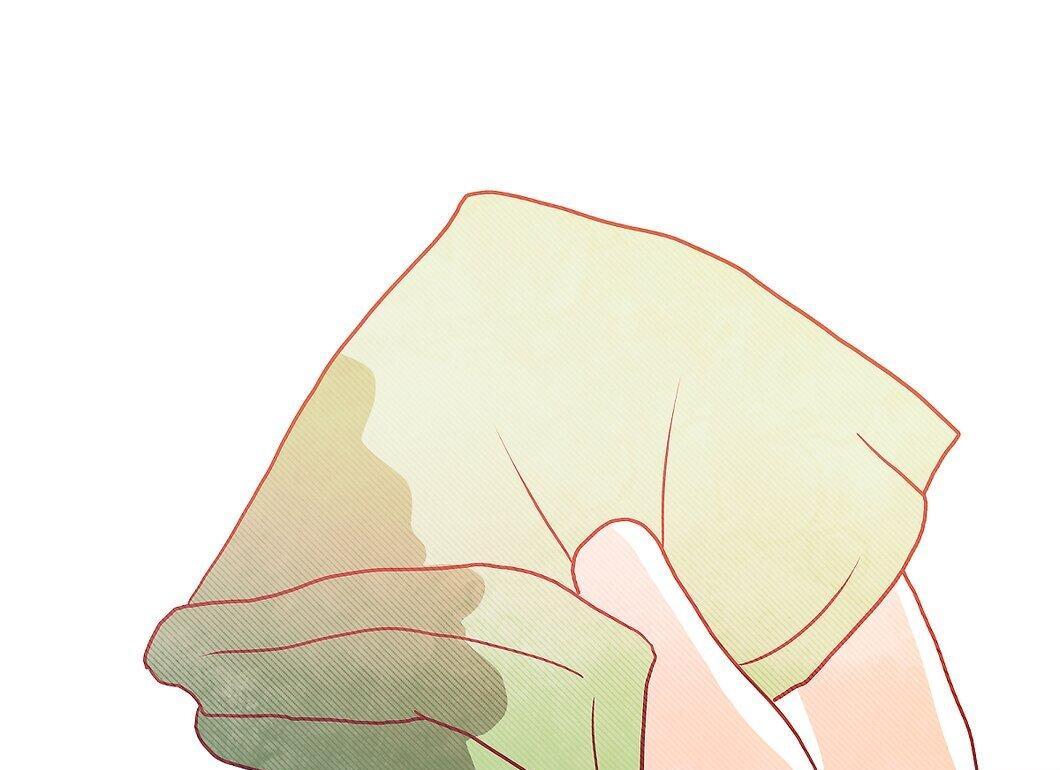
Step 7. Wait for the pot to dry completely.

Step 8. Spray the interior walls of the pot with a waterproof sealant.

This will prevent moisture penetration and protect your work.
Step 9. Ensure the sealant is completely dry.
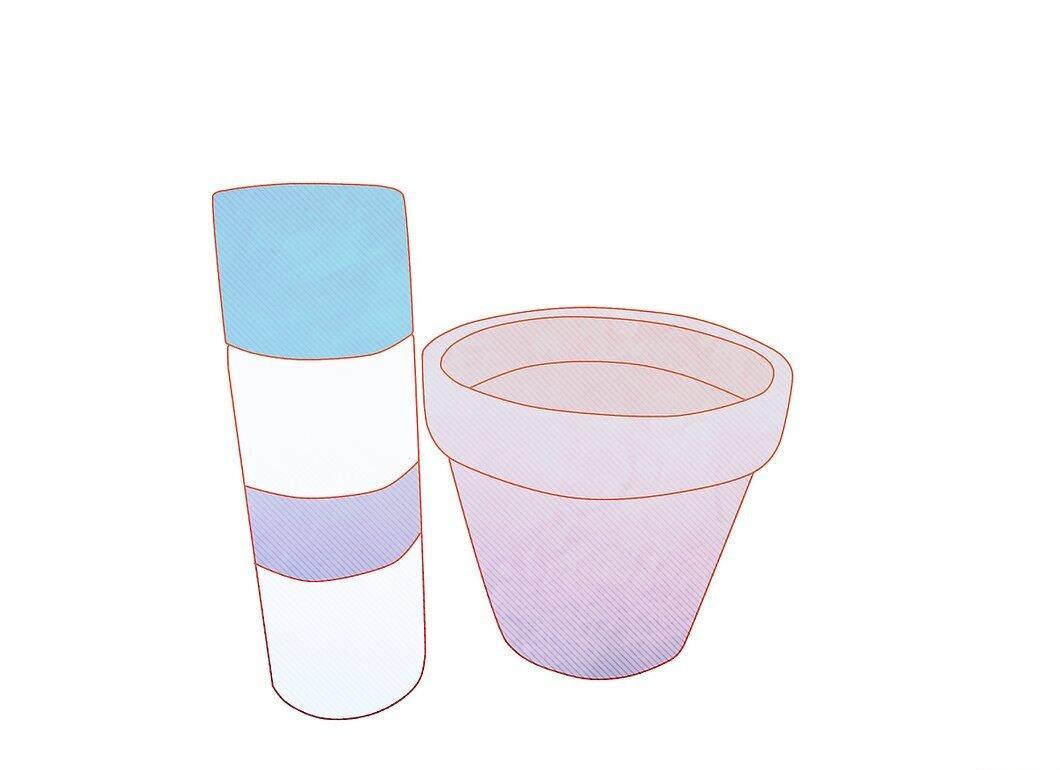
Step 10. Using a brush, apply primer to the walls of the pot.
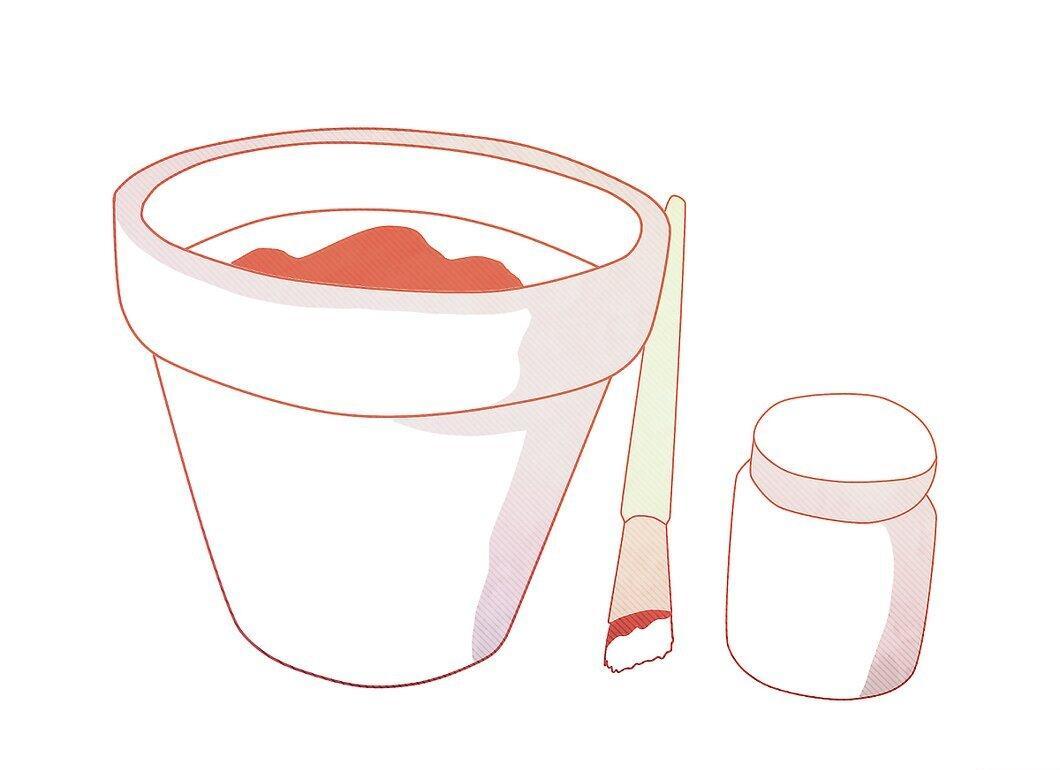
Primer will help smooth the surface and improve paint adhesion.
Step 11. Allow the primer to dry.

Step 12. Apply a thin layer of acrylic paint.
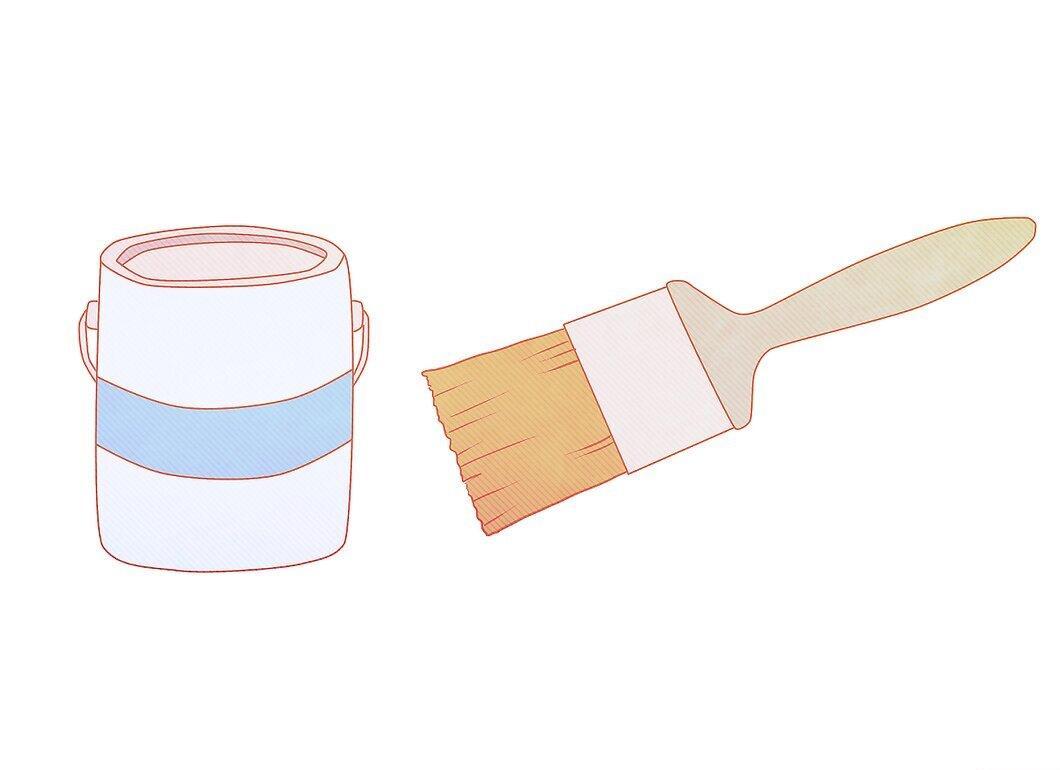
Use a high-quality brush to avoid shedding bristles into the paint.
Step 13. Wait for the paint to dry.

Step 14. Apply another thin layer of paint and let it dry.

Step 15. To protect the paint, apply a thin layer of acrylic gloss on top.
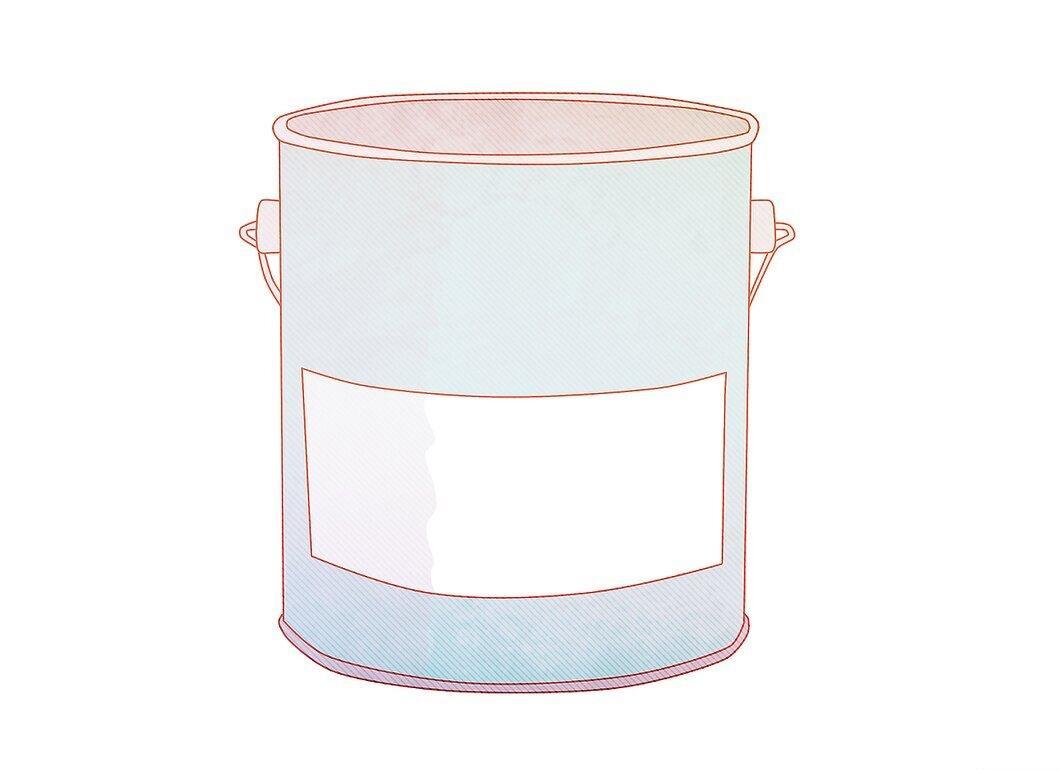
Step 16. Wait at least a day before filling the pot with soil.