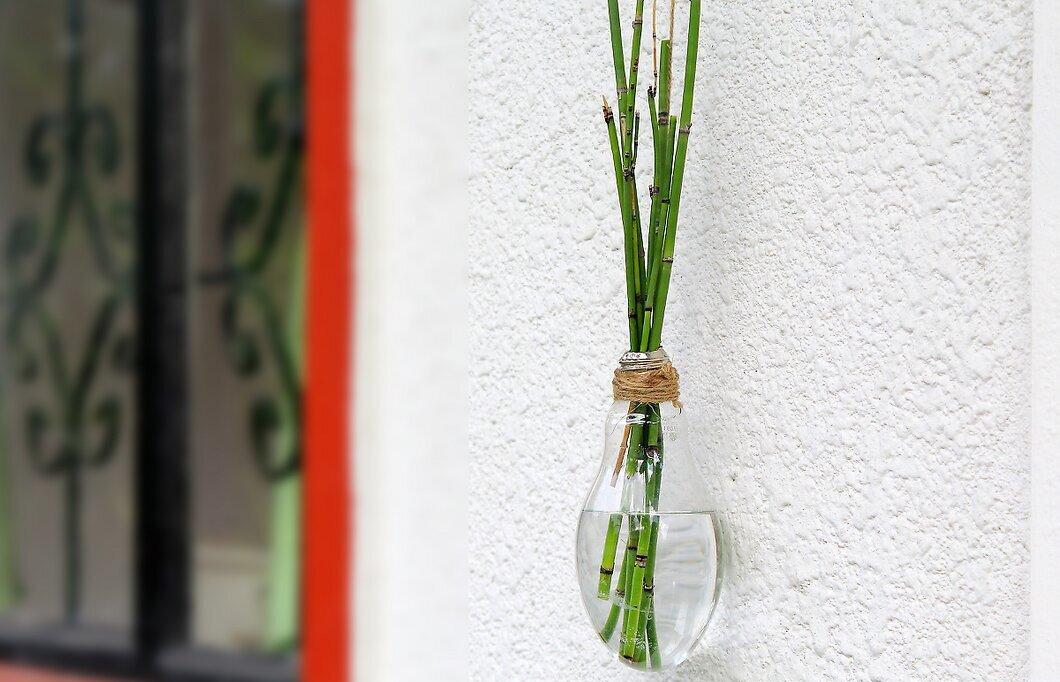
Want to add a special touch to your interior with handmade light bulbs? It's simpler than you think! You'll need at least one clear bulb rated at 40 watts or less, specialized heat-resistant glass paint, and your imagination. You can also use non-working bulbs to create unique accessories for your home. With any paint, you can easily turn an old bulb into a distinctive decoration.
Creating Colorful Bulbs
Step 1. Choose a Clear Bulb with 40 Watts.
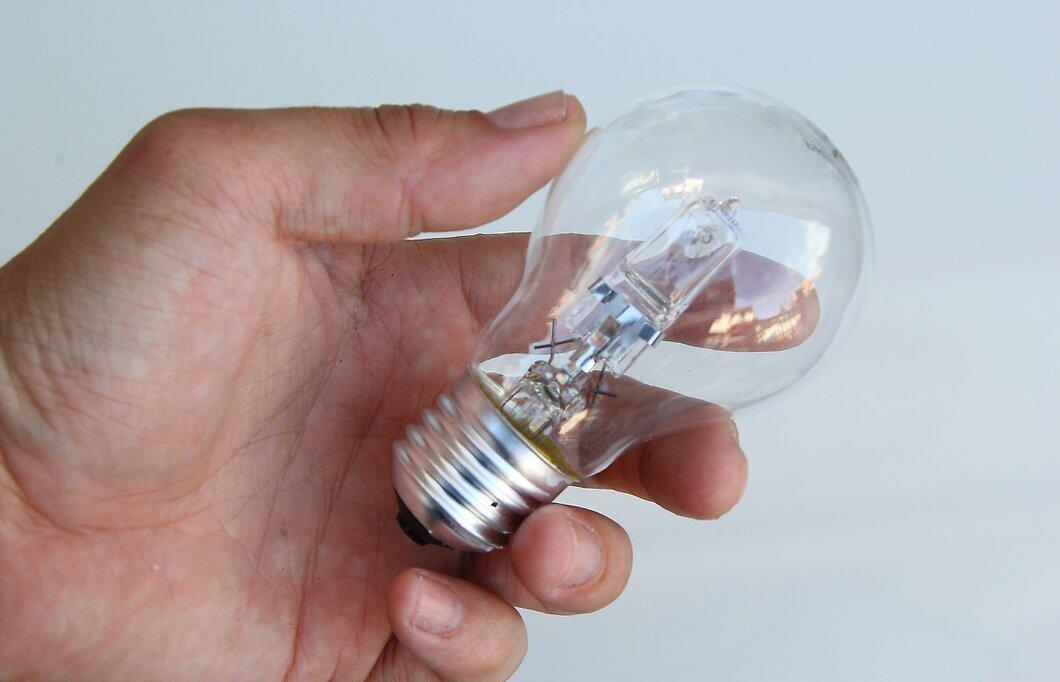
Start by selecting a clear bulb that does not exceed 40 watts. You can choose bulbs with lower wattage too. The main thing is to ensure that the chosen paint can withstand high temperatures when the bulb is on.
- A clear bulb allows light to pass through the paint, creating a beautiful effect.
- Using a frosted bulb is acceptable, but the light will be less bright.
Step 2. Purchase Heat-Resistant Glass Paint.
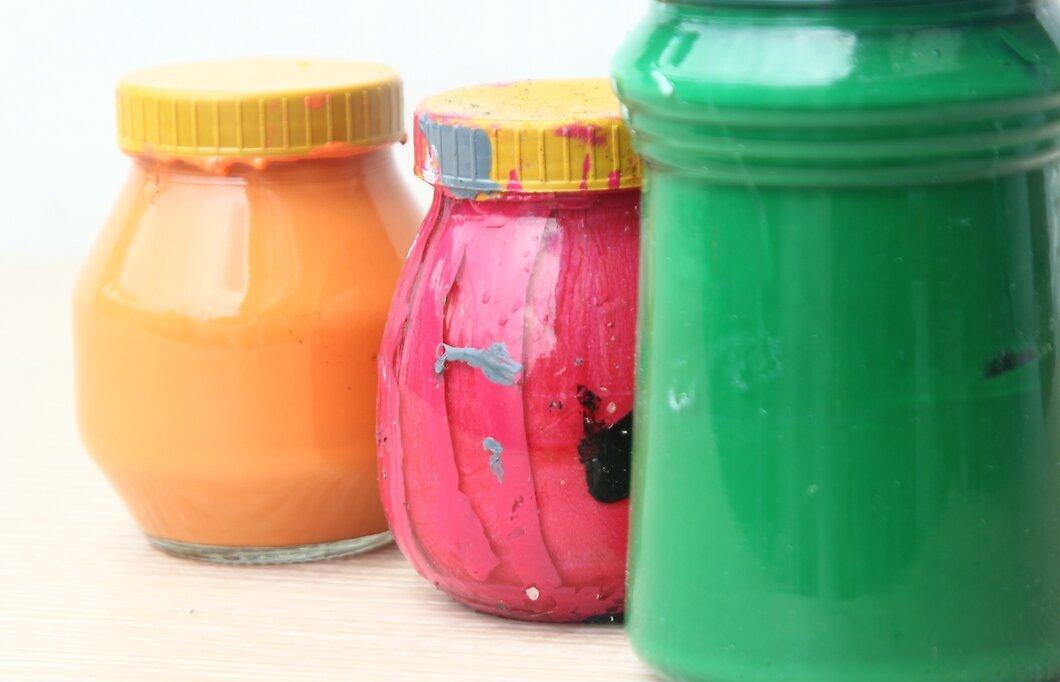
Select heat-resistant glass paint. In a craft store, find paint suitable for glass or ceramic surfaces. Avoid using regular acrylic or oil paints as they may cause the bulb to break down under heat.
- Recommended paint brands include DECOLA and Vitrea by Pebeo.
Step 3. Clean the Bulbs with Rubbing Alcohol.
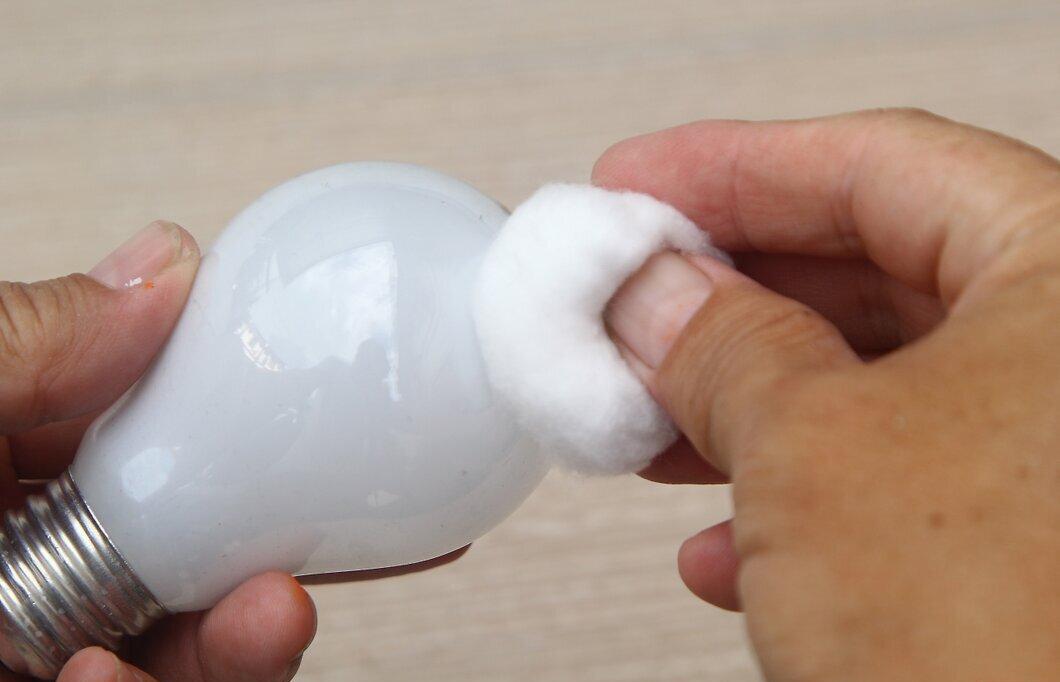
Wipe the bulbs with rubbing alcohol. A clean surface free of contaminants is essential for good paint adhesion. Use a cotton swab dipped in alcohol to wipe the surface.
- If you don't have alcohol, a soapy solution will work.
- Dry the bulb with a clean towel or let it air dry for 1-2 minutes.
Step 4. Secure the Bulb on a Blu Tack Stand.
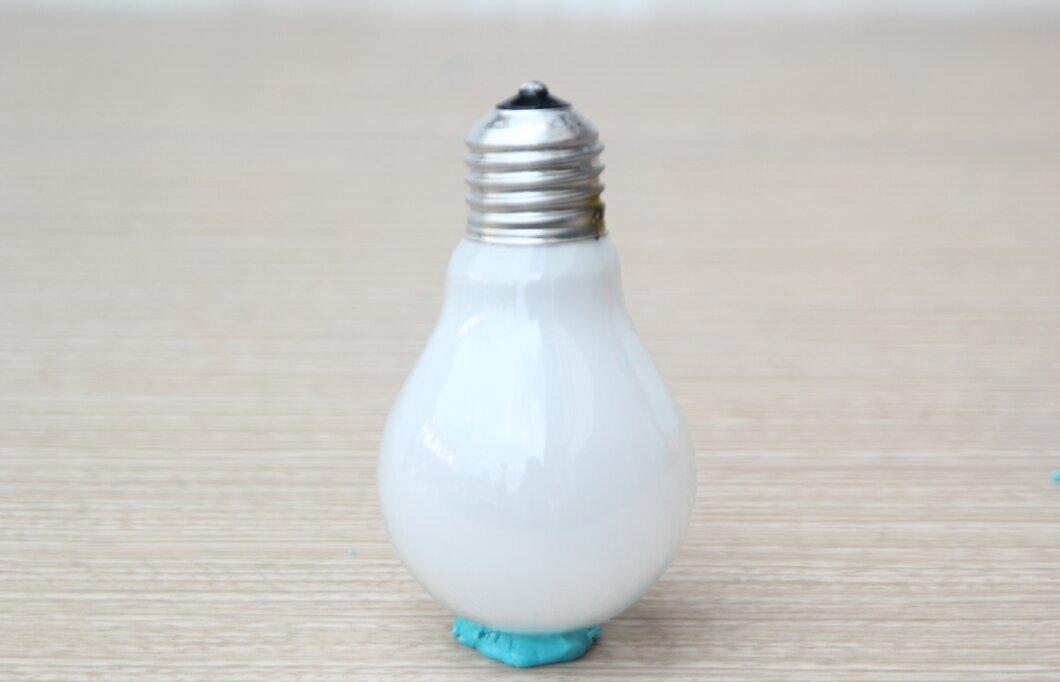
Use Blu Tack to hold the bulb in place, preventing it from rolling while you paint. Blu Tack can be found in office supply and home goods stores.
- Alternatively, you can use modeling clay or air-dry clay.
Step 5. Apply Paint with a Small Brush.
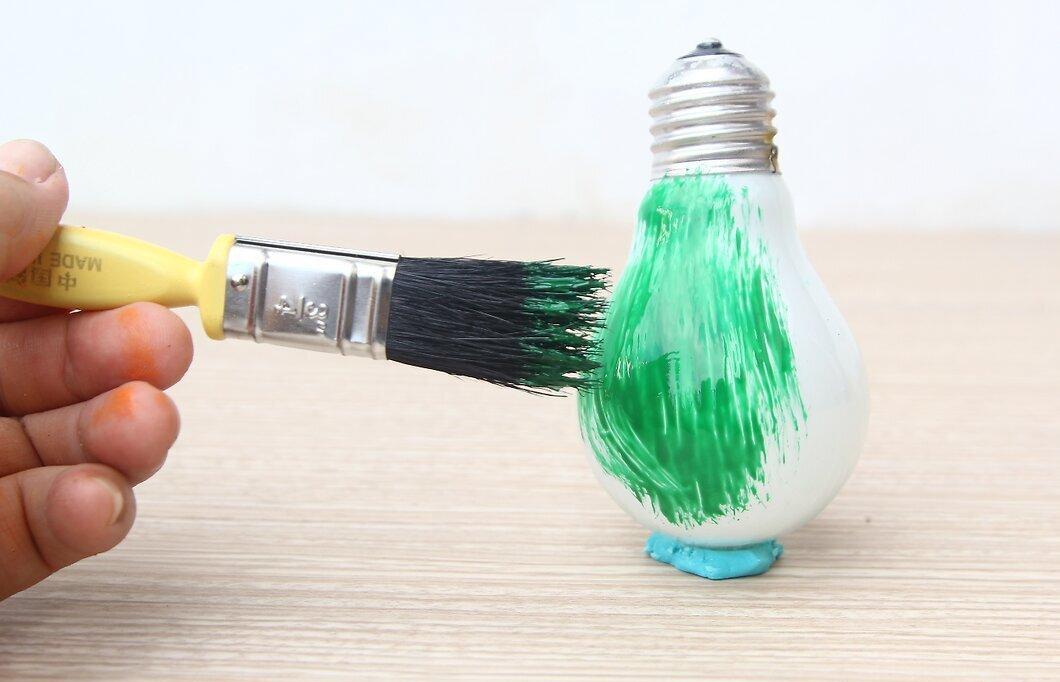
Start applying paint with a small brush. Apply the first color in a thin layer and assess the result. You can paint freehand or use stencils.
- Create a true work of art on the bulb: add stars, flowers, or paint in bright blocks for a stained glass effect.
- In the lead-up to Halloween, you can paint pumpkins or ghosts.
- For traditional holiday lights, paint bulbs in green and red or add snowflakes.
Step 6. Let the Paint Dry for an Hour.
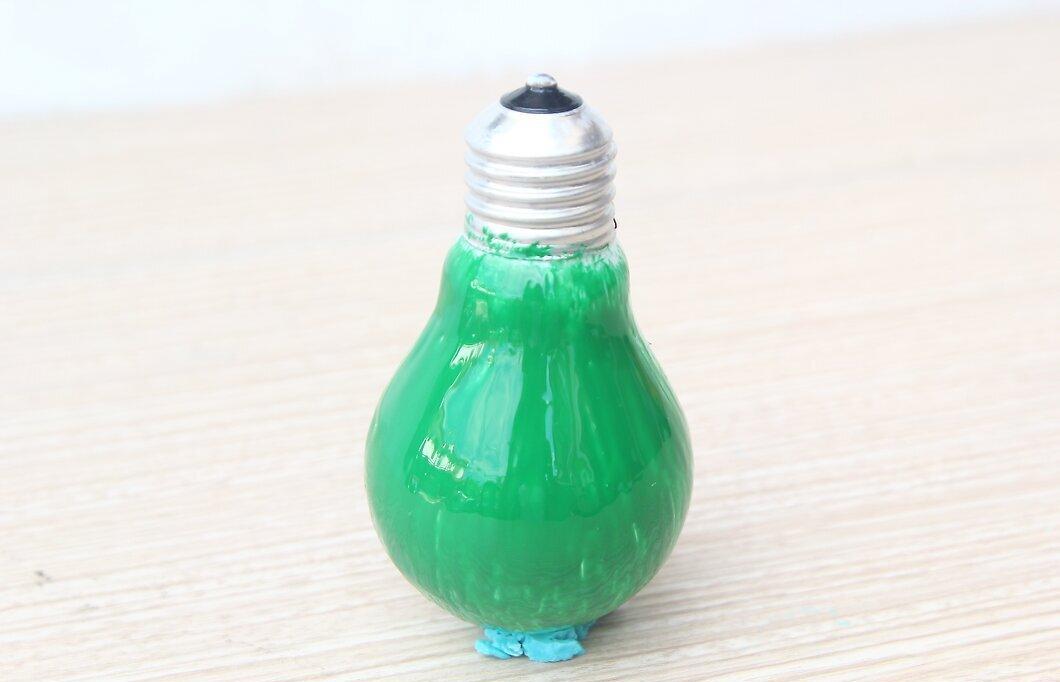
Allow the bulbs to dry for an hour if you're using paint that dries in the air. Do not touch the surface until it is completely dry.
Step 7. Add Additional Layers if Needed.
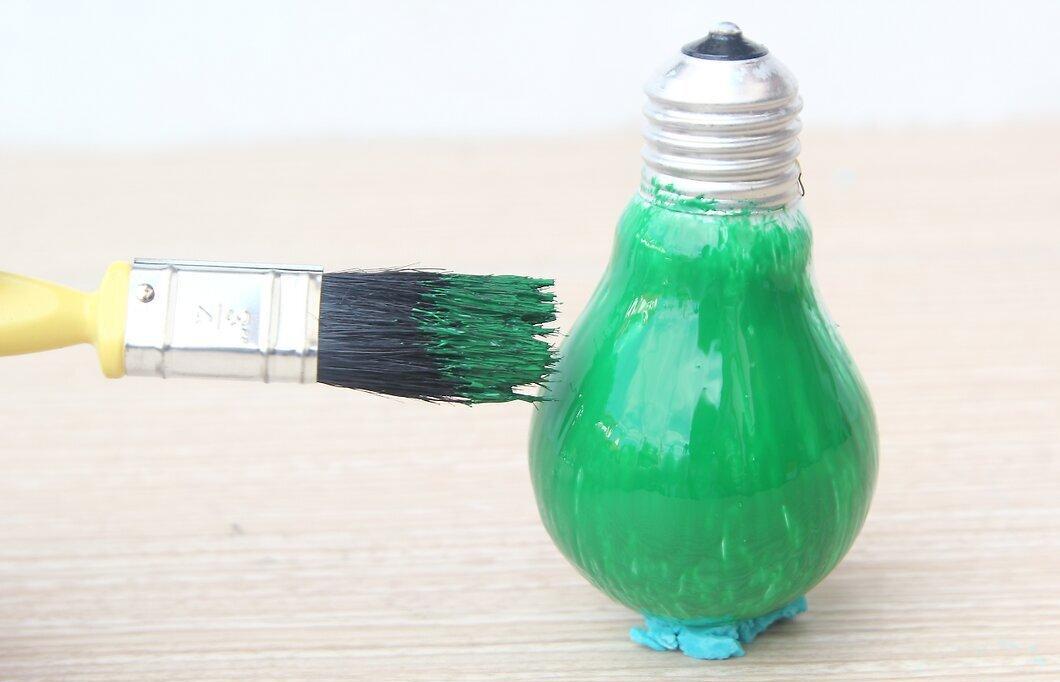
If you want the colors to be more vibrant, apply additional layers of paint. Ensure each layer is fully dry before applying the next.
Step 8. Heat the Bulb in the Oven if the Paint Requires Curing.
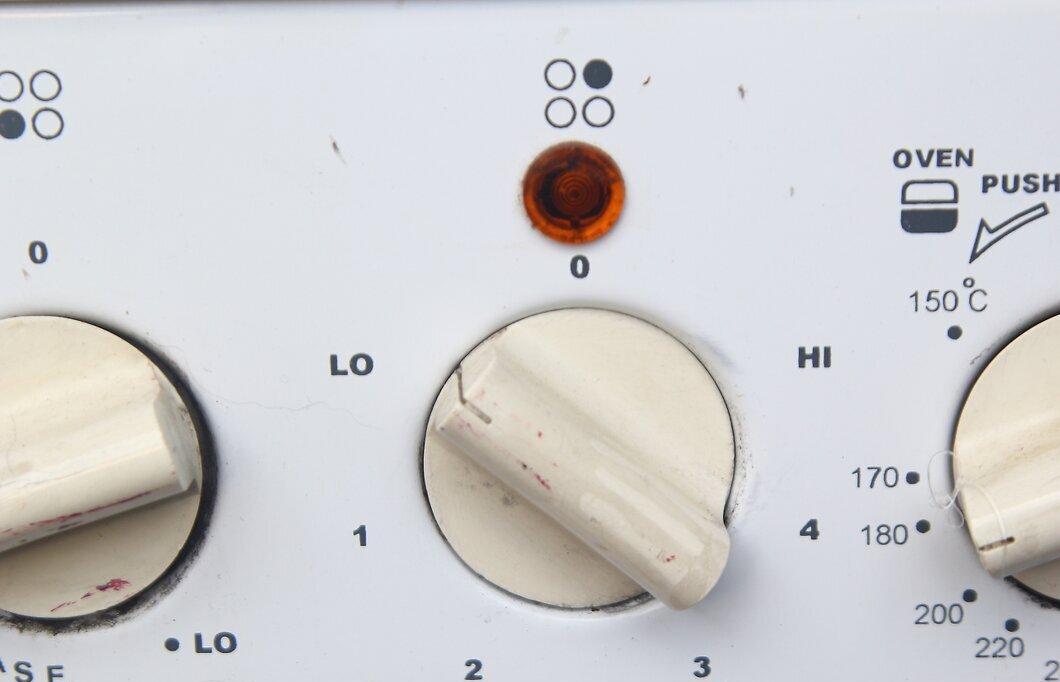
If your paint requires heat curing, place the bulb in the oven. Follow the instructions on the package regarding temperature and time. Make sure the oven is clean of food before using.
- Place the bulb on a special tray if specified.
- Leave the bulb in the oven until it cools completely.
Turn Bulbs into Creative Decorations
Step 1. Make Balloon Decorations.
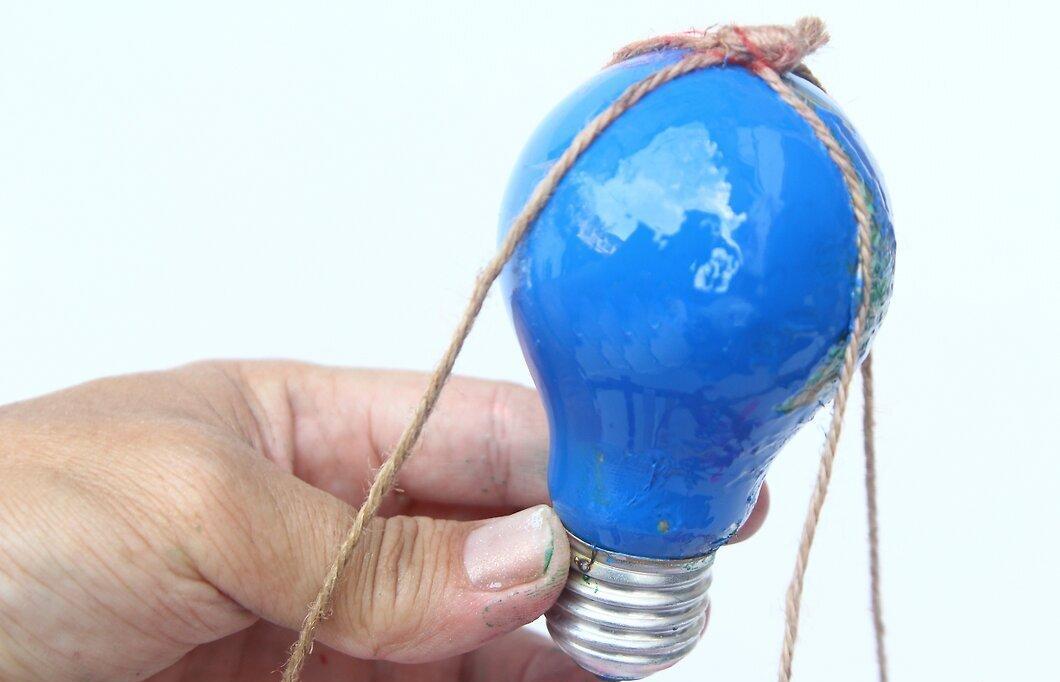
Create balloon decorations from bulbs. Use glass paint to color the bulb into a balloon shape. Attach four pieces of string to the sides and tie them in a knot at the top. Make one of the pieces into a loop for hanging.
- Instead of painting patterns, you can use decoupage.
Step 2. Make a Thanksgiving Turkey.
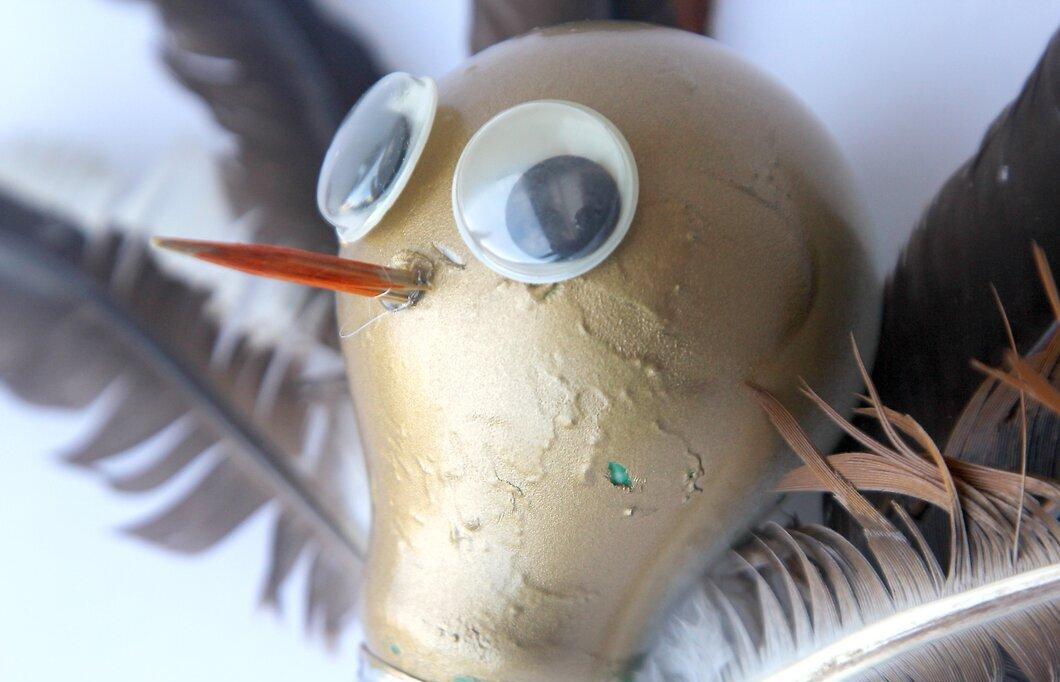
Paint the bulb dark brown and let it dry. Draw turkey legs with small wooden hearts and glue them to the bottom. Add plastic eyes and a beak to complete the look.
- Attach 6-8 feathers for the turkey's tail.
- You can add a small hat for a finishing touch.
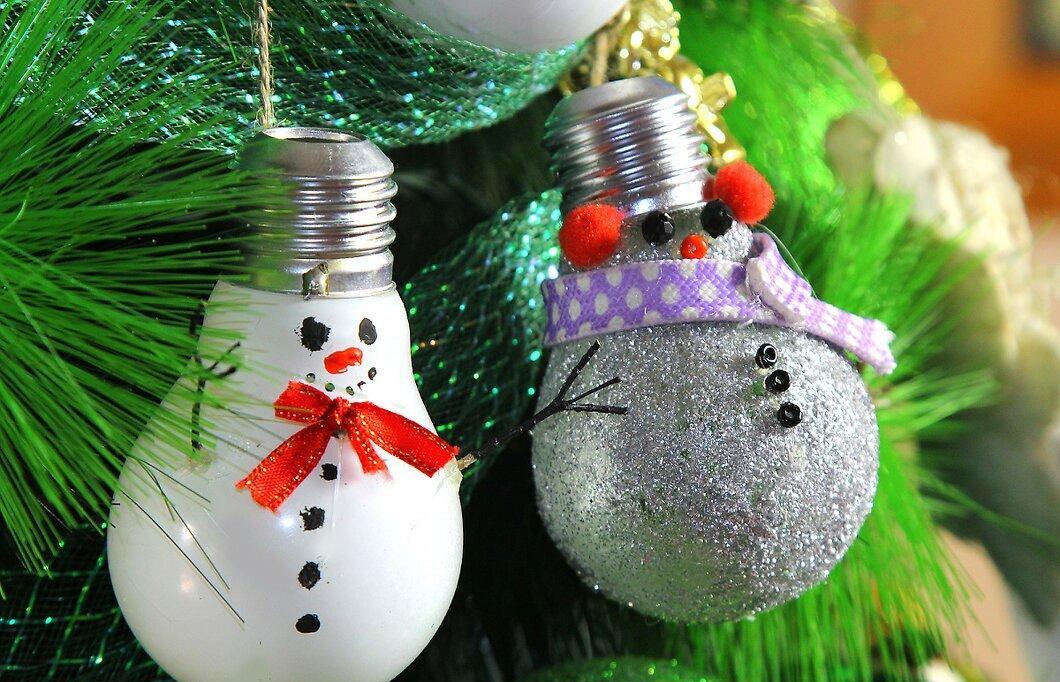
Step 3. Create a Snowman for Your Christmas Tree.
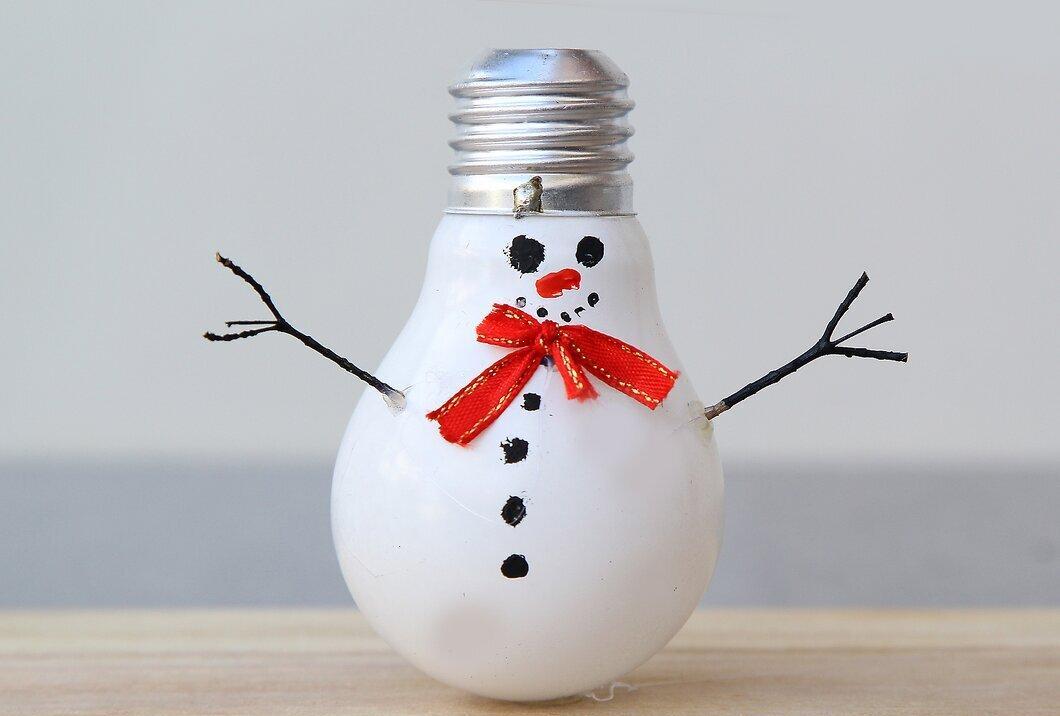
Coat the bulb with glue and sprinkle it with white glitter. After it dries, draw a face and buttons. Use small twigs for arms glued to the sides.
- A white frosted bulb works best.
Step 4. Make a Santa Claus Ornament.
Draw the outline of Santa Claus's face on the bulb with a black marker and fill it in with skin-tone paint. Paint the rest of the bulb white and red.
- Let it dry on modeling clay for an hour.
- Add facial details with a permanent marker and glue a cotton ball to the hat.
Step 5. Create a Penguin from a Bulb.
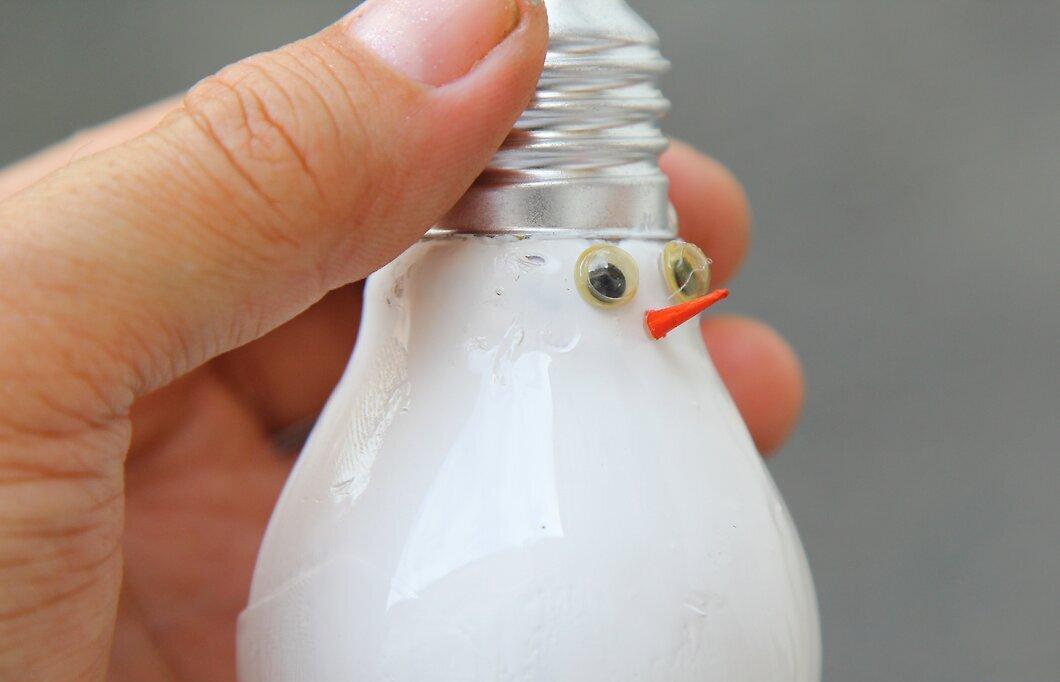
Paint the bulb black, leaving the front white. Use the tip of a child's glove to create the penguin's hat. Glue a pom-pom and draw eyes and buttons.
- Use a toothpick for the beak.
Step 6. Make a Reindeer for the Holidays.
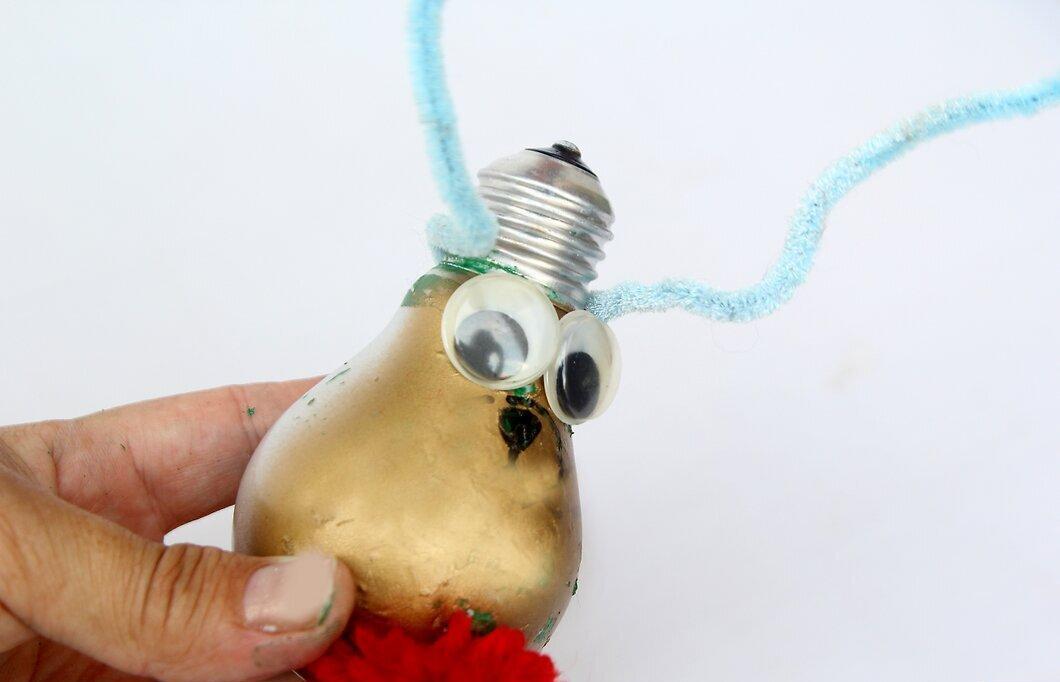
Use a colored bulb or paint it any color. Glue a red pom-pom on the wide end for the reindeer's nose and plastic eyes near the base.
- Glue wire antlers for a finishing touch.
Creating a Vase
Step 1. Remove Contacts with Needle-Nose Pliers.
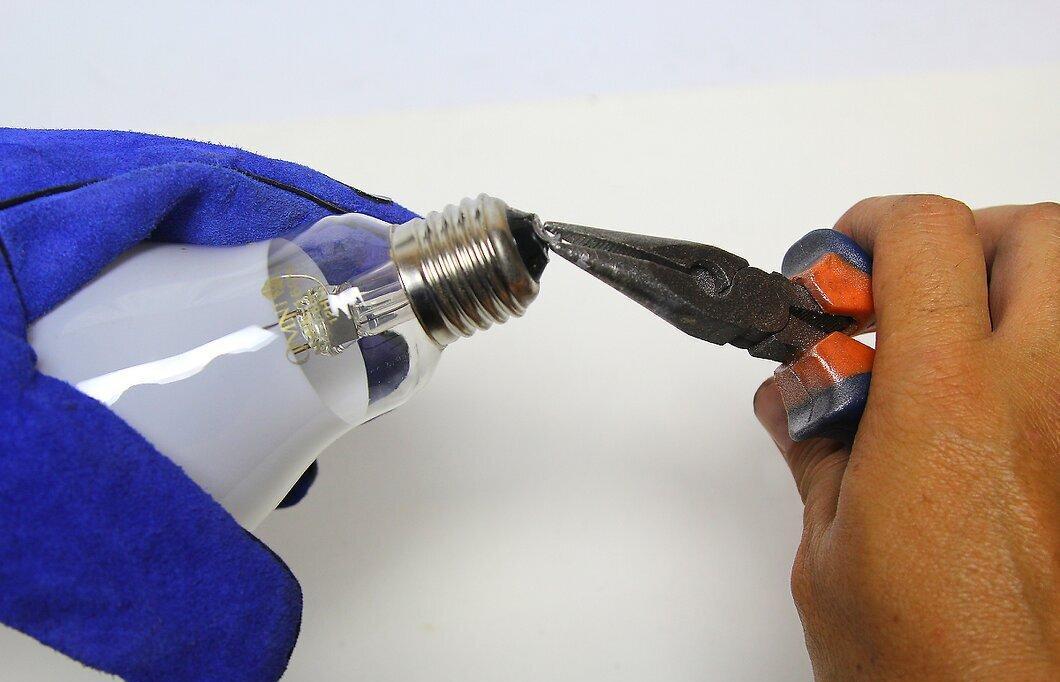
Using needle-nose pliers, carefully remove the contacts and wires from the base of the bulb. Do this gently to avoid damaging the glass.
- Be sure to wear gloves and safety glasses.
Step 2. Use a Screwdriver to Break the Tube Inside the Bulb.
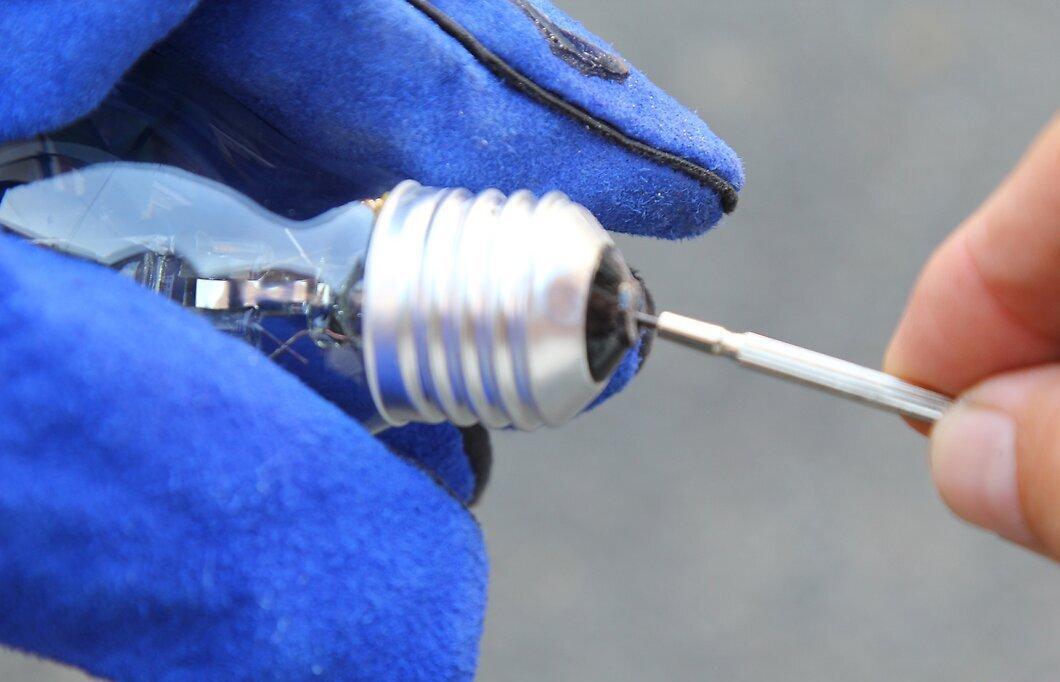
Using a screwdriver, carefully break the tube inside the bulb to free up space for the next steps.
Step 3. Clean the Inside with Soapy Water.
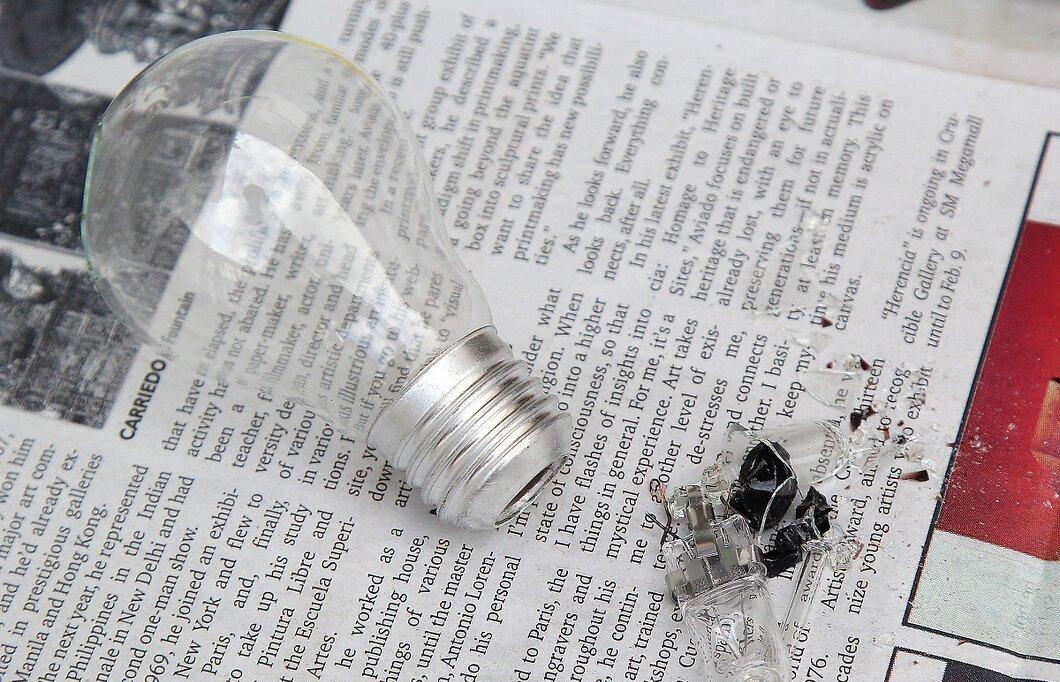
Fill the bulb with soapy water, shake it, and rinse thoroughly to remove any residue.
Step 4. Dry the Bulb.
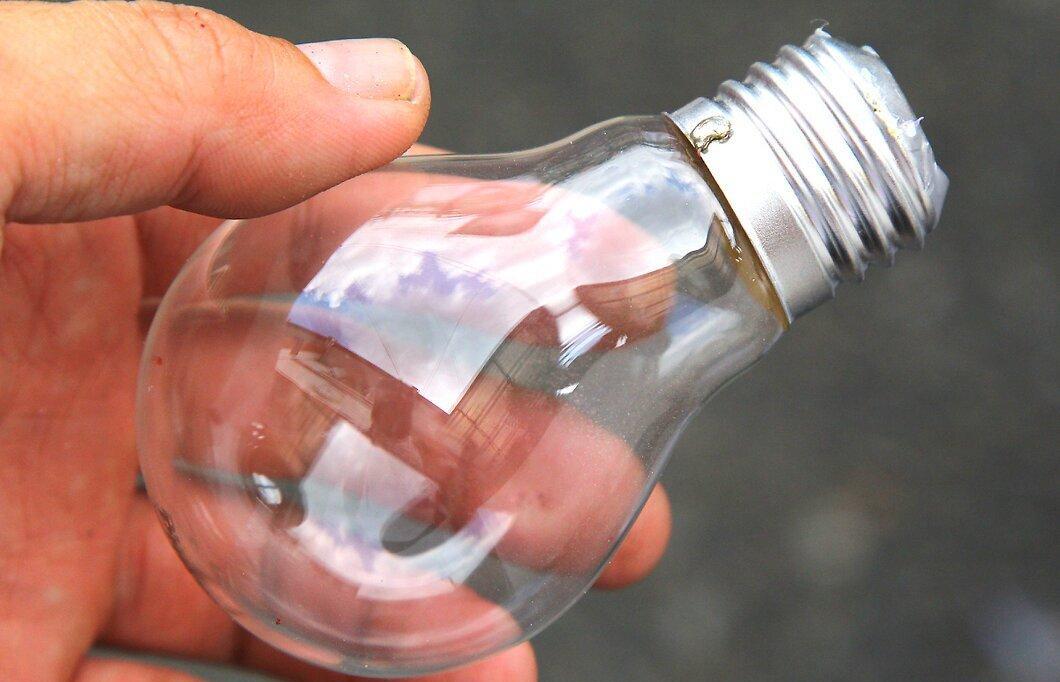
Place crumpled paper towels inside the bulb to absorb moisture and residues.
Step 5. Paint the Base or Glass for a Glossy Finish.
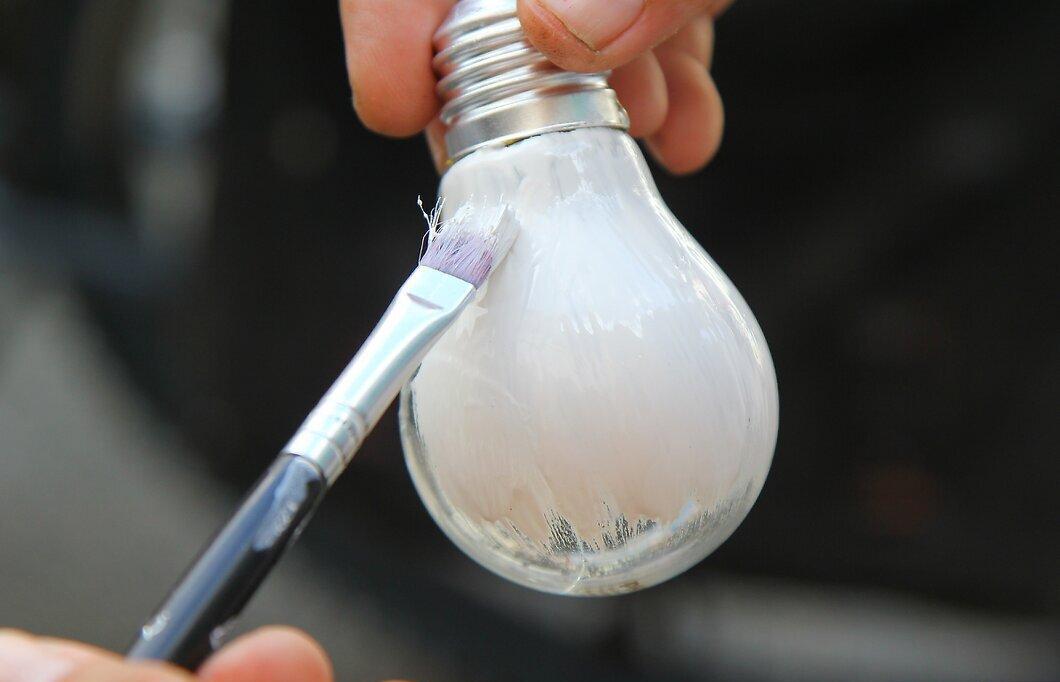
Paint the exterior of the vase with acrylic paints or nail polish to create a unique style.
Step 6. Wrap Twine Around the Base for a Rustic Touch.
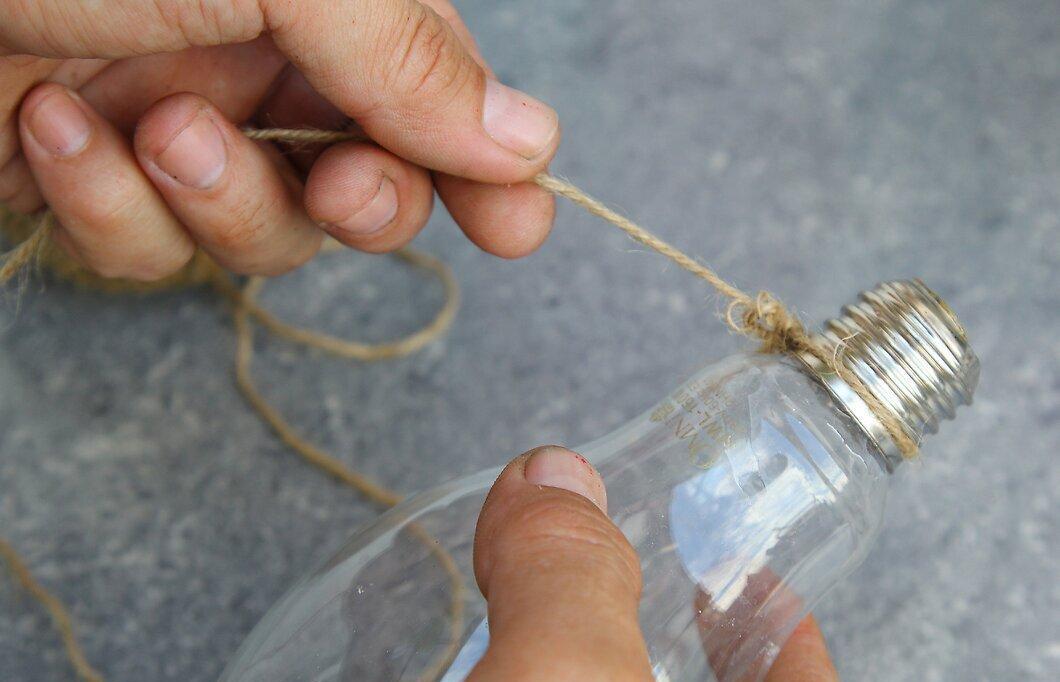
Wrap twine or ribbon around the base to hang the vase on a wall or porch.
Step 7. You're Done!