Creating your own galvanic cell at home is an exciting and accessible process that requires just a few materials. You'll need two different metals, some wires, and a conductive medium, which can be anything from salty water to lemons.
Galvanic Cell from Soda
Step 1. Gather the necessary materials.
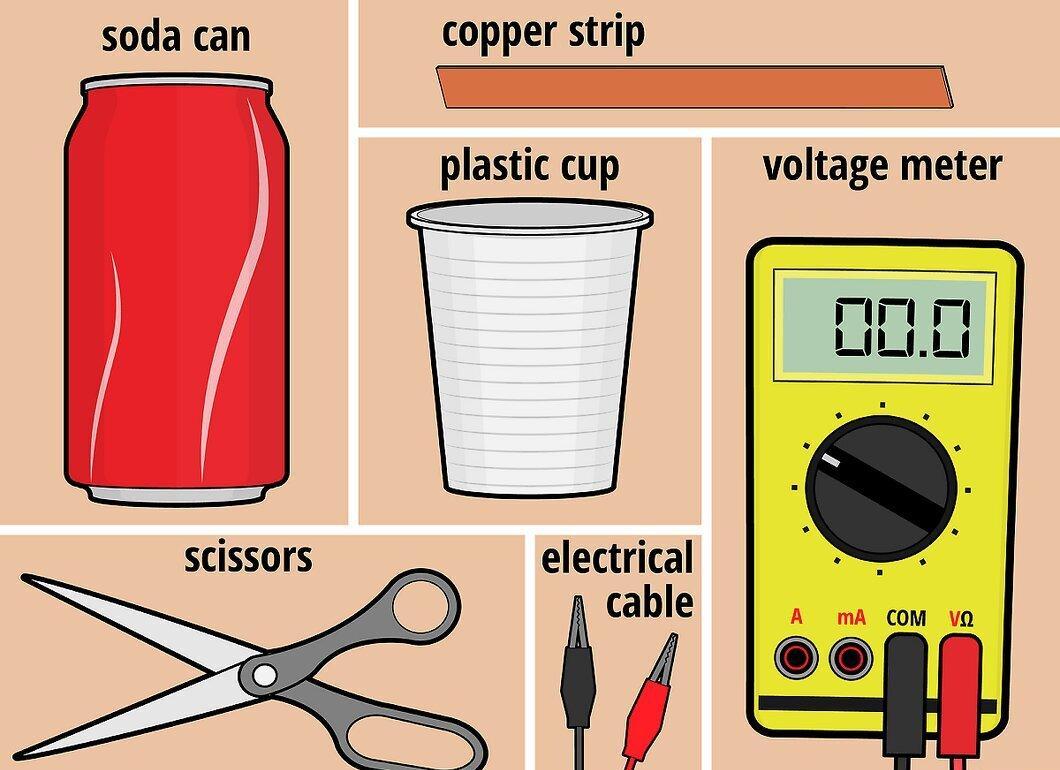
To assemble this galvanic cell, you'll need: one unopened can of soda (any kind), a plastic cup (between 180 and 240 milliliters), and a strip of copper that is 2 centimeters wide and slightly longer than the height of the cup. You will also need scissors, a voltmeter, and two wires with alligator clips on both ends.
- If you don't have the necessary items, you can easily find them at a hardware store.
- Instead of a copper strip, you can use twisted pieces of copper wire to achieve the desired width.
Step 2. Fill the cup with soda.
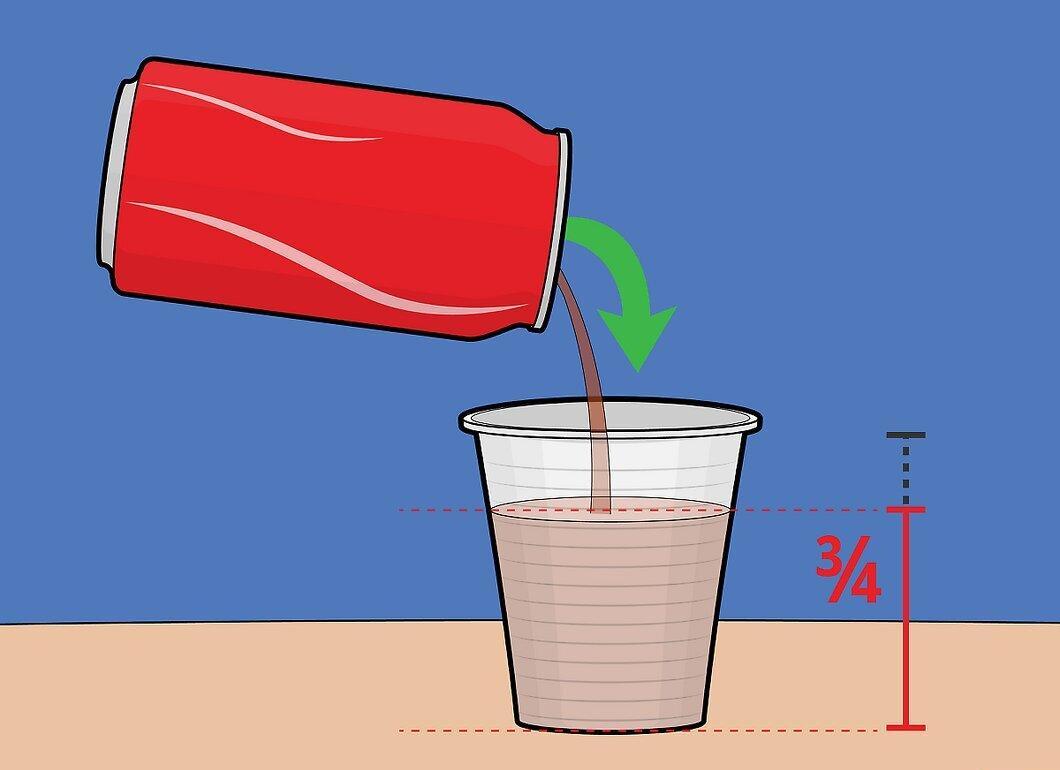
Fill the plastic cup with soda about 3/4 full. The cup does not have to be plastic; it just shouldn't contain metal. A styrofoam or paper cup will also work.
Step 3. Empty the soda can.
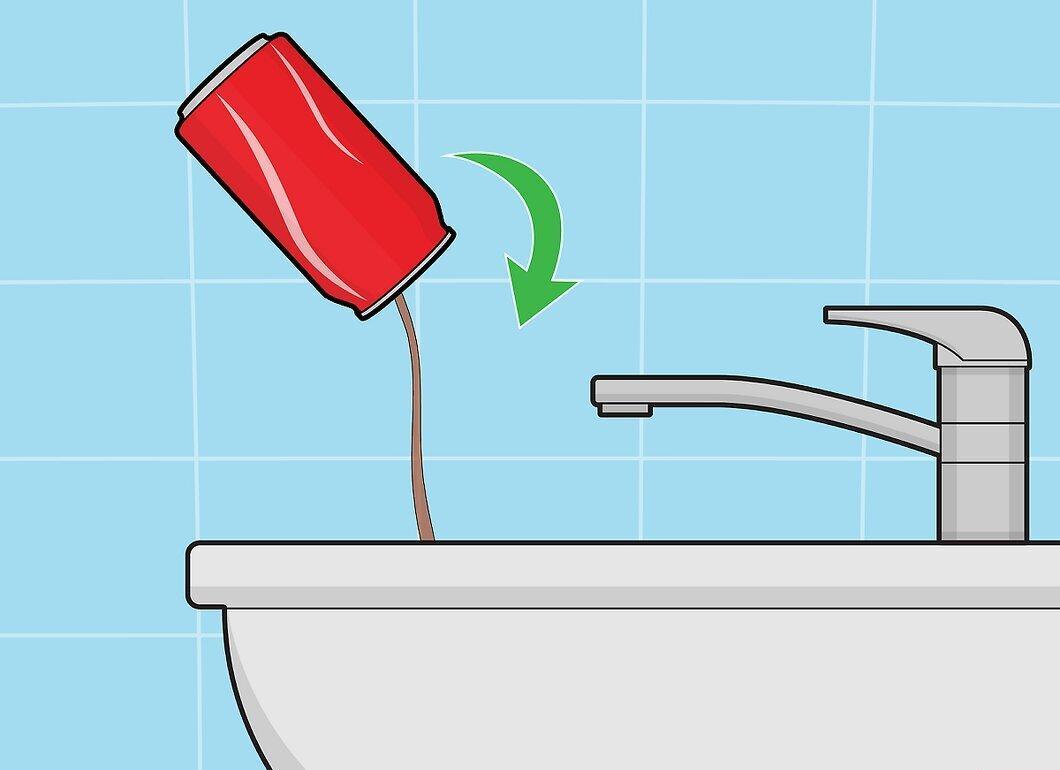
Completely empty the can. If there is soda left in it, pour it out or drink it. Turn the can upside down over the sink and shake it several times to remove any remnants.
Step 4. Cut an aluminum strip from the can.
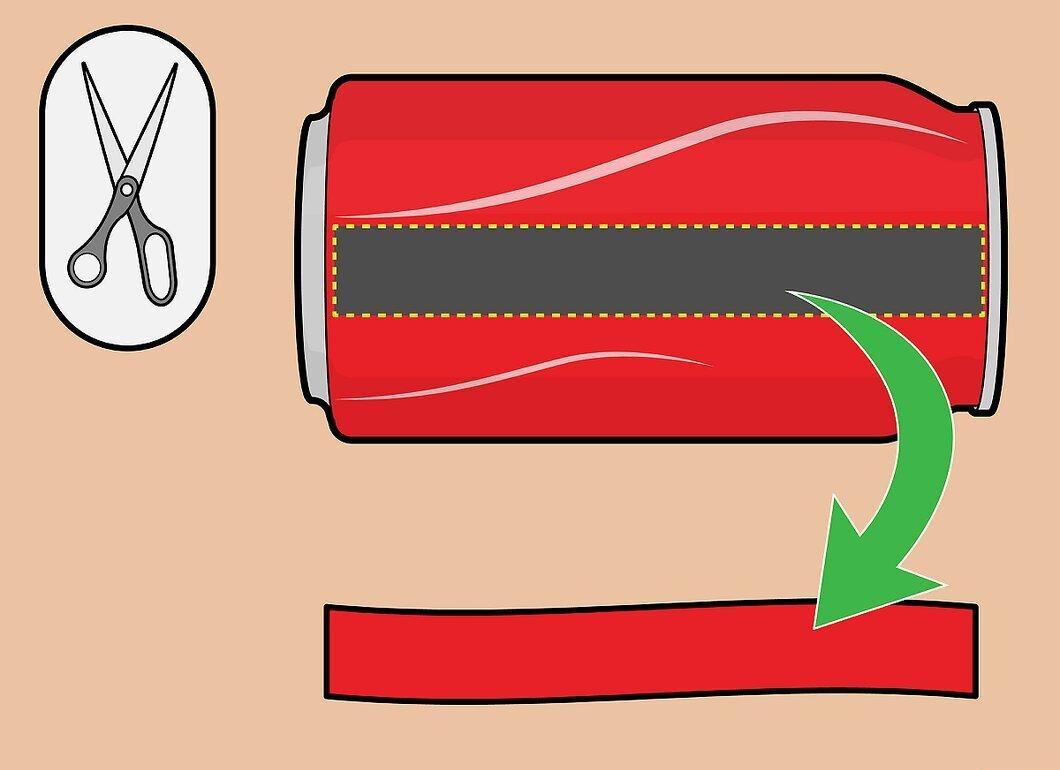
Cut a strip of aluminum from the empty can that is 2 centimeters wide. This strip should be slightly longer than the height of the cup. If you can't achieve the desired length, simply bend the top edge of the strip and hang it over the rim of the cup so that it dips into the liquid.
- You can buy an aluminum strip at the store if you don't want to cut the can.
- Do not use aluminum foil, as it is not suitable for this purpose.
Step 5. Sand the aluminum strip (optional).
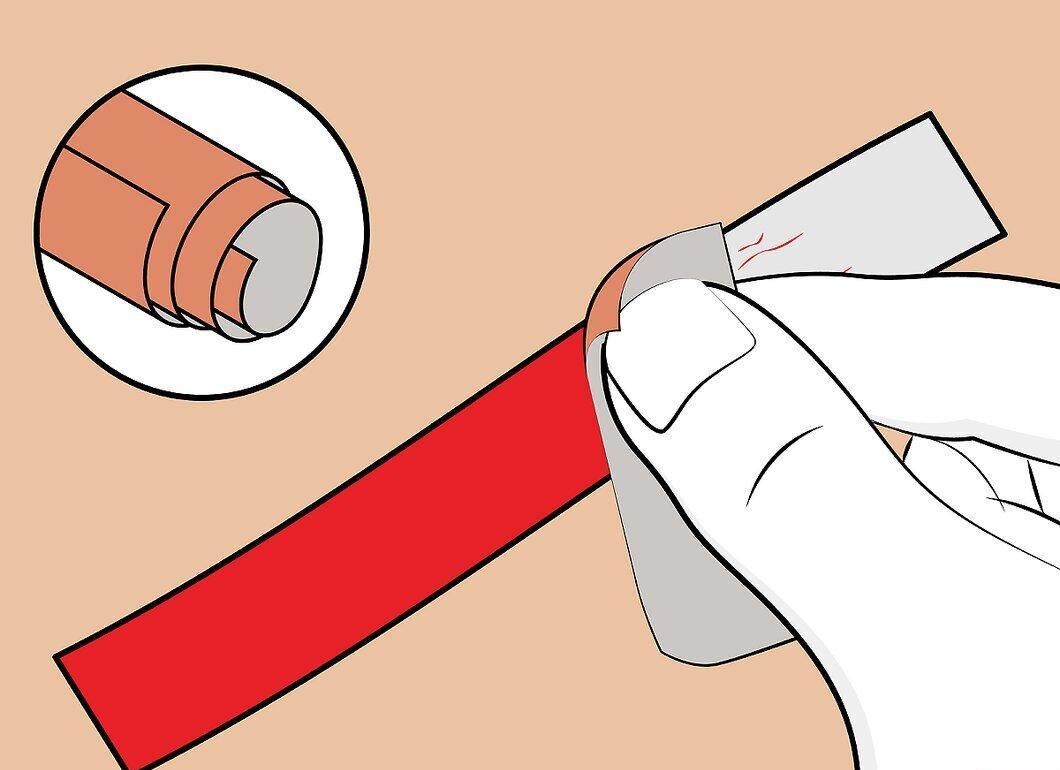
If you wish, you can rub the aluminum strip with sandpaper, especially if you cut it from a can. If you purchased a ready-made strip, you can skip this step.
Step 6. Place the strips in the liquid.

Carefully lower the strips into the cup so that they do not touch each other. Position them opposite each other to avoid a short circuit.
- Make sure the edges of the strips are slightly above the liquid and protruding over the rim of the cup. If they are not, bend one edge of the strip and hang it on the rim.
Step 7. Connect the wires to the strips.
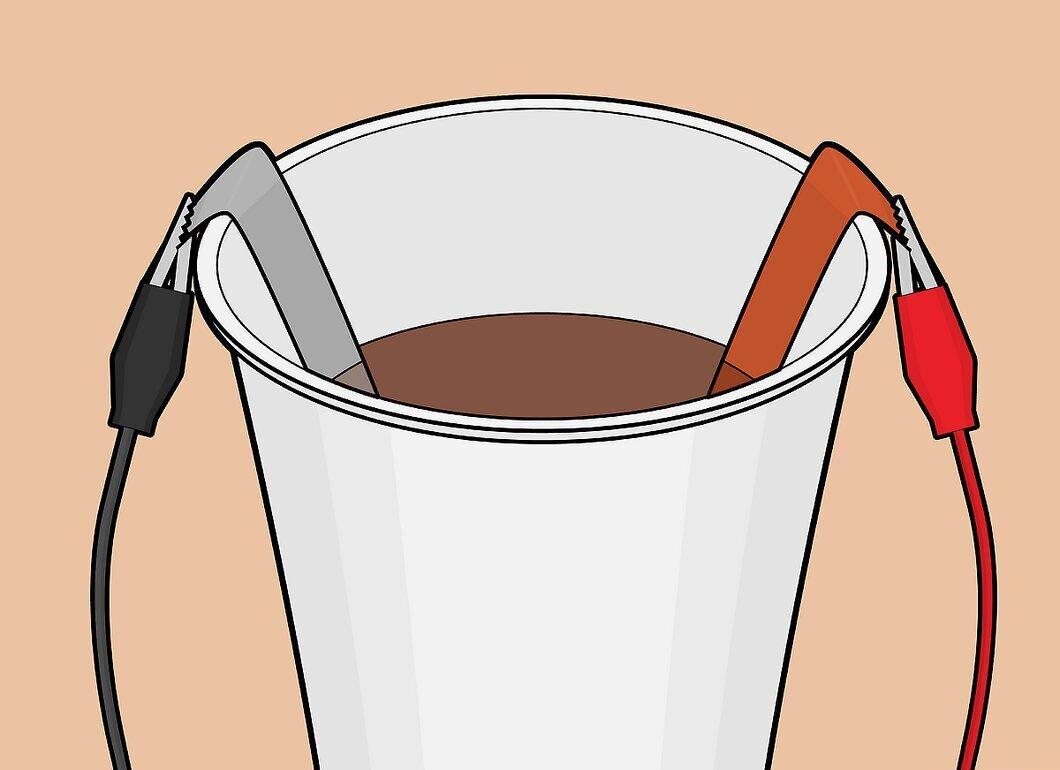
Attach one wire to one of the metal strips and the other to the second strip. Be careful that the clips do not touch the liquid.
- It doesn't matter which wire is connected to which strip.
Step 8. Test the galvanic cell.
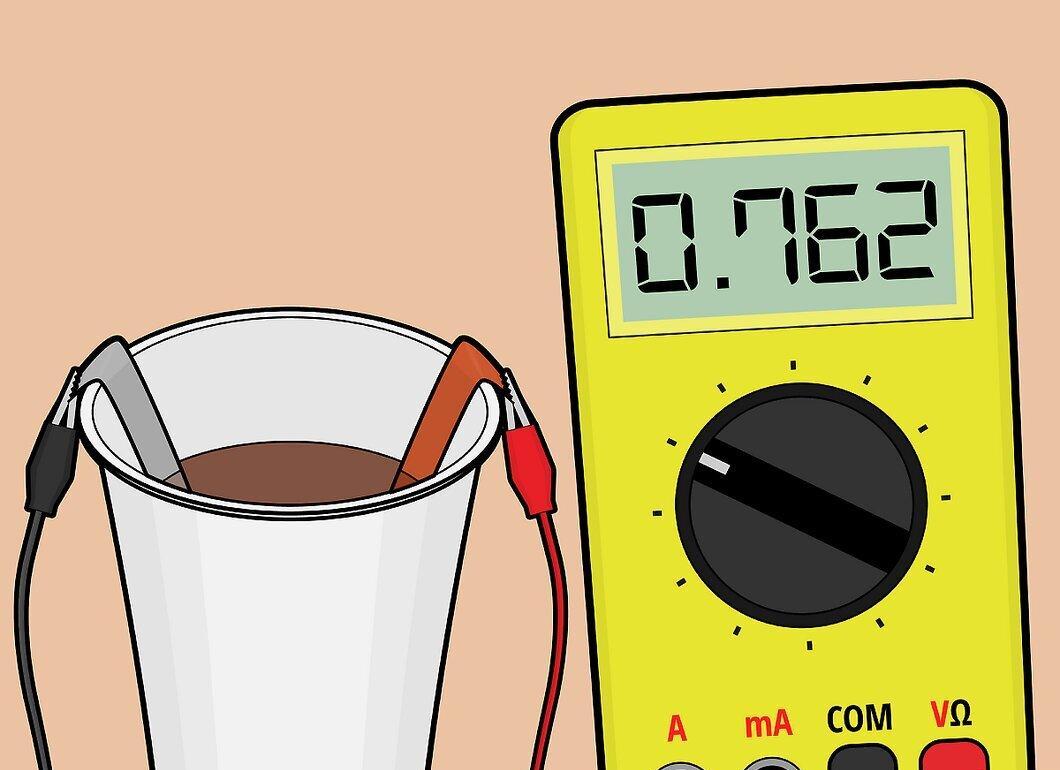
Following the instructions for the voltmeter, connect the wires to the device. The voltmeter should show a voltage of about 3/4 of a volt, confirming the operation of the galvanic cell.
Galvanic Cell with Salt Water
Step 1. Gather all necessary materials.
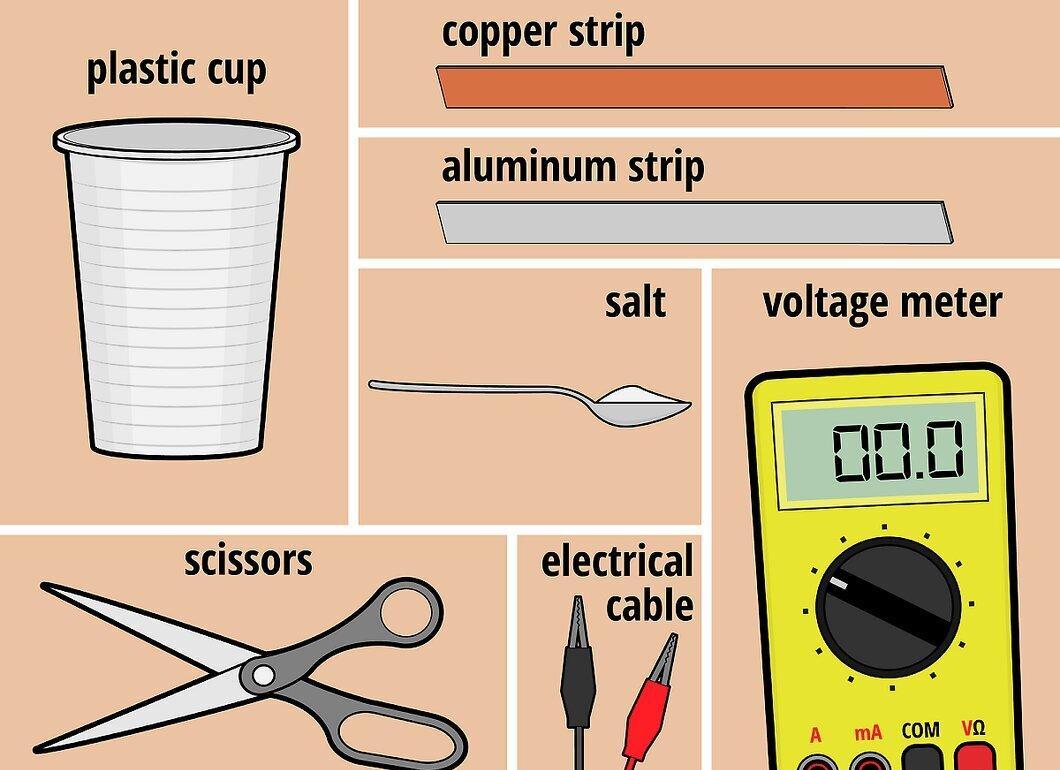
For this cell, you will need: a plastic cup (between 180 and 240 milliliters), two metal strips that are 2 centimeters wide, and one tablespoon (20 grams) of salt. The strips should be made of different metals, such as zinc, aluminum, or copper. You will also need scissors, a voltmeter, and two wires with alligator clips.
- You can substitute 1 teaspoon (7 grams) of salt with 1 teaspoon (5 milliliters) of vinegar and a little bleach. Be careful with bleach, as it is a hazardous substance.
- Metal strips, wires, and voltmeters can be found at hardware stores.
Step 2. Fill the cup with water.
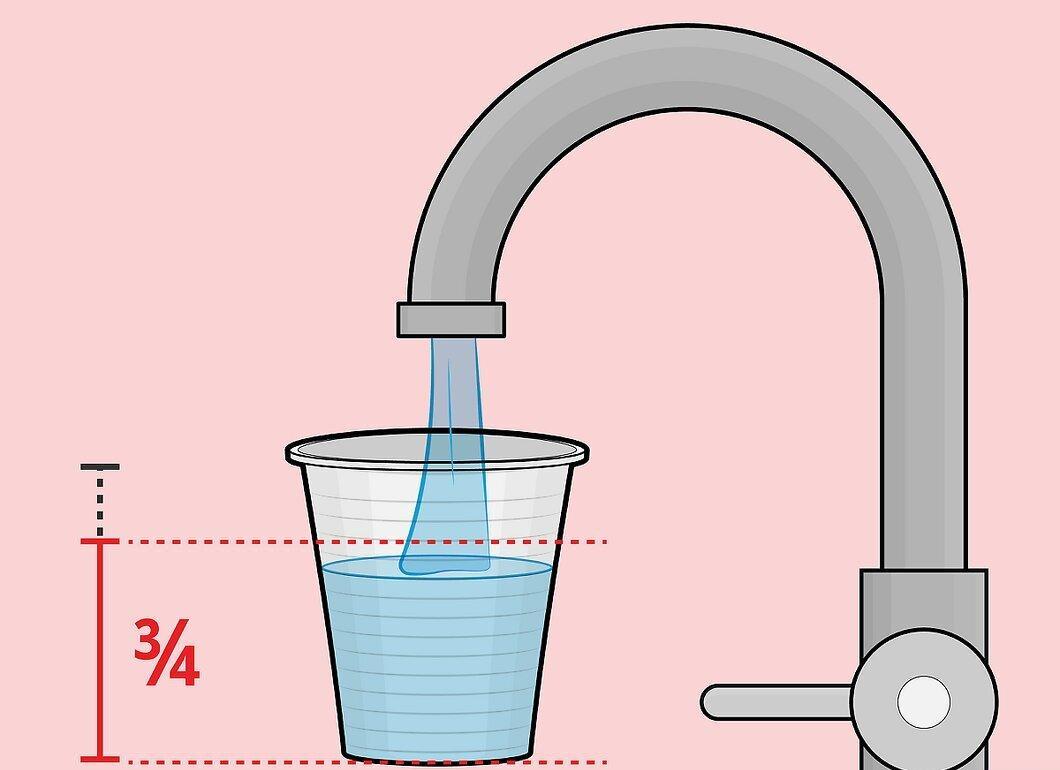
Fill the plastic cup with water about 3/4 full. The cup should be non-metallic, so paper or styrofoam options are acceptable.
Step 3. Add salt and stir.

Add 1 tablespoon (20 grams) of salt to the cup and stir the water thoroughly. This also applies if you decided to use vinegar and bleach.
Step 4. Dip the metal strips into the cup.

Place the metal strips into the cup so that their edges are above the water. If the strips are short, bend their edges and hang them over the rim of the cup.
Step 5. Connect the wires to the strips.
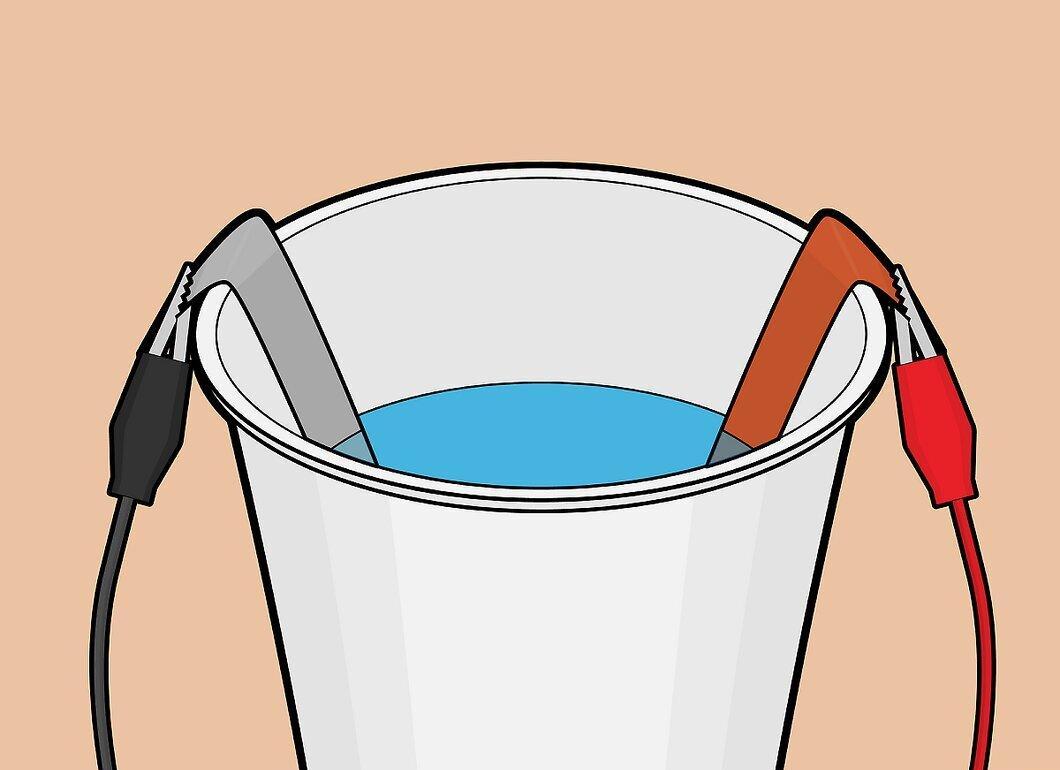
Attach the wires to the strips using alligator clips. Make sure that the clips do not touch the water.
Step 6. Test the galvanic cell.
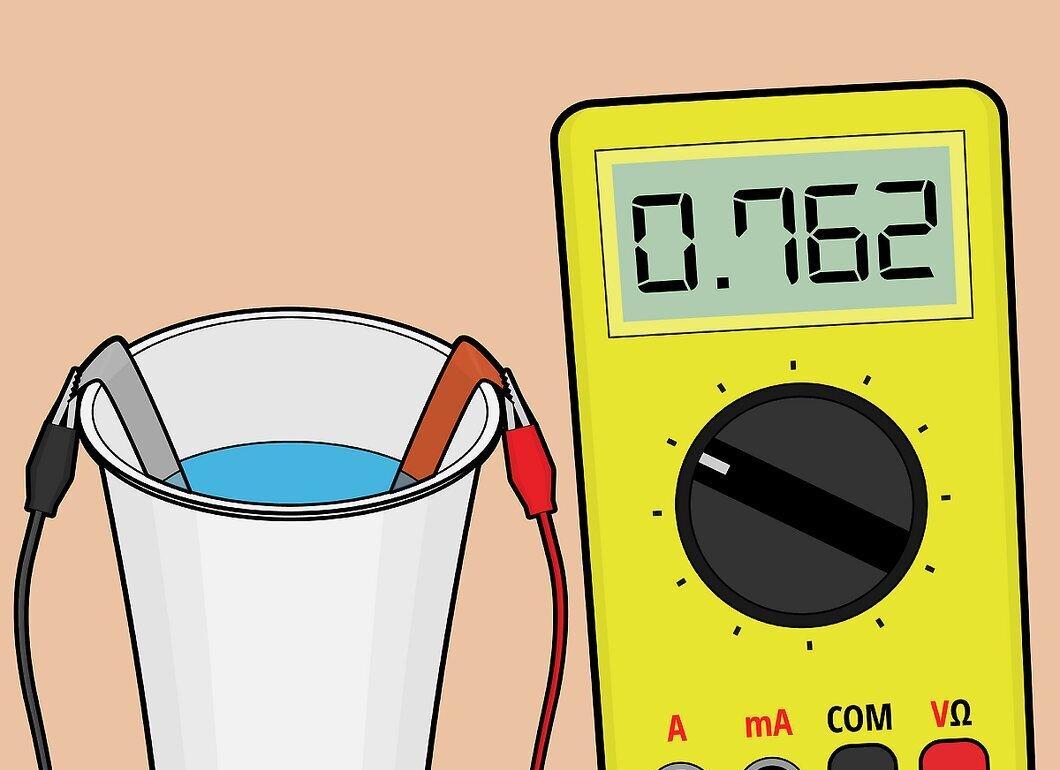
Connect the wires to the voltmeter. It should show a voltage of about 3/4 of a volt, confirming your device's operation.
Galvanic Cell with 14 Cells
Step 1. Gather all necessary materials.
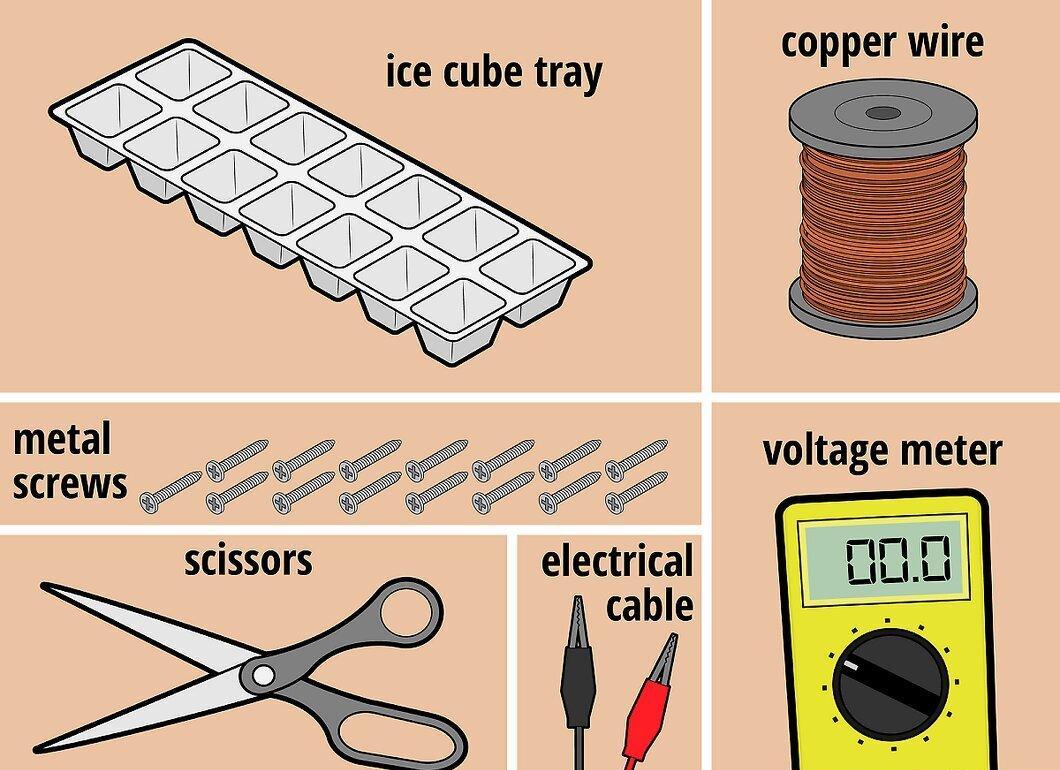
For this cell, you will need copper wire, 15 screws, an ice cube tray, and water. You will also need scissors, a voltmeter, and two wires with alligator clips. Be sure to wrap all screws with copper wire, except for one, which will serve as the negative terminal.
- The number of screws depends on the number of cells in the ice cube tray. In our example, we use a tray with 14 cells.
- The screws can be made of any metal except copper, such as galvanized steel or aluminum. The screws should be about 2.5 centimeters long.
Step 2. Wrap the screws in copper wire.

Wrap 14 screws in copper wire, making two turns of wire under the head of each screw. Bend the free end of the wire to create a hook for hanging the screws on the edge of the ice cube tray.
Step 3. Place the screws in the ice cube tray cells.
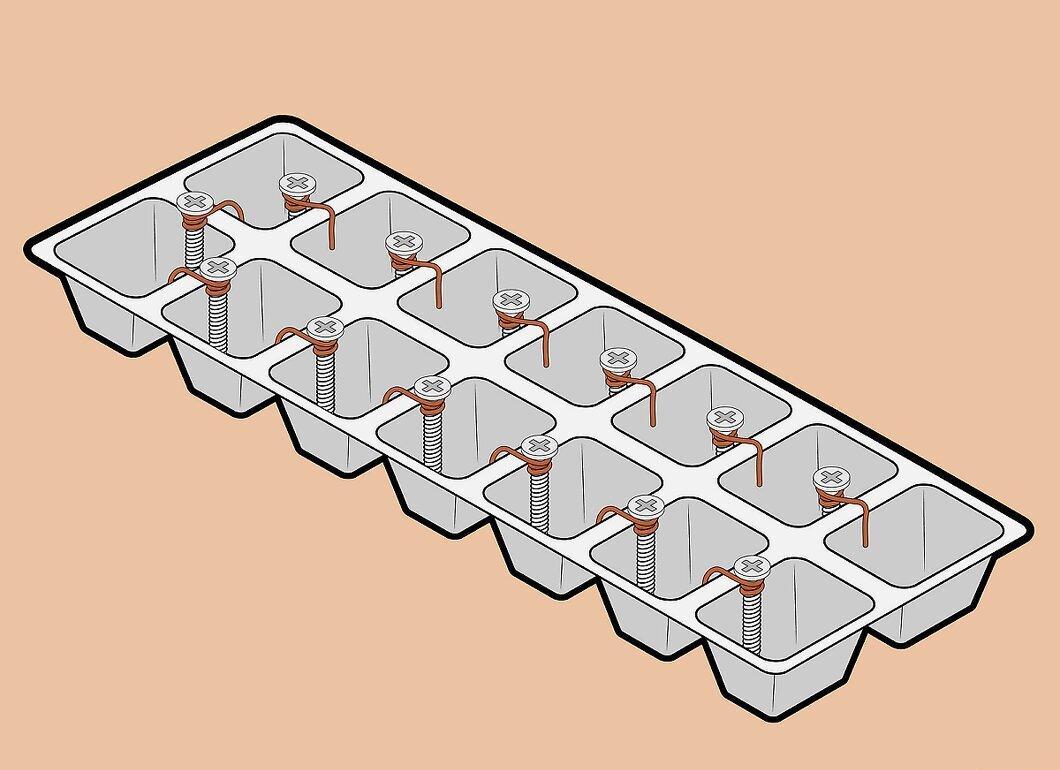
Place one screw in each cell of the ice cube tray. Make sure that only one screw is in each cell.
Step 4. Connect the positive and negative terminals.
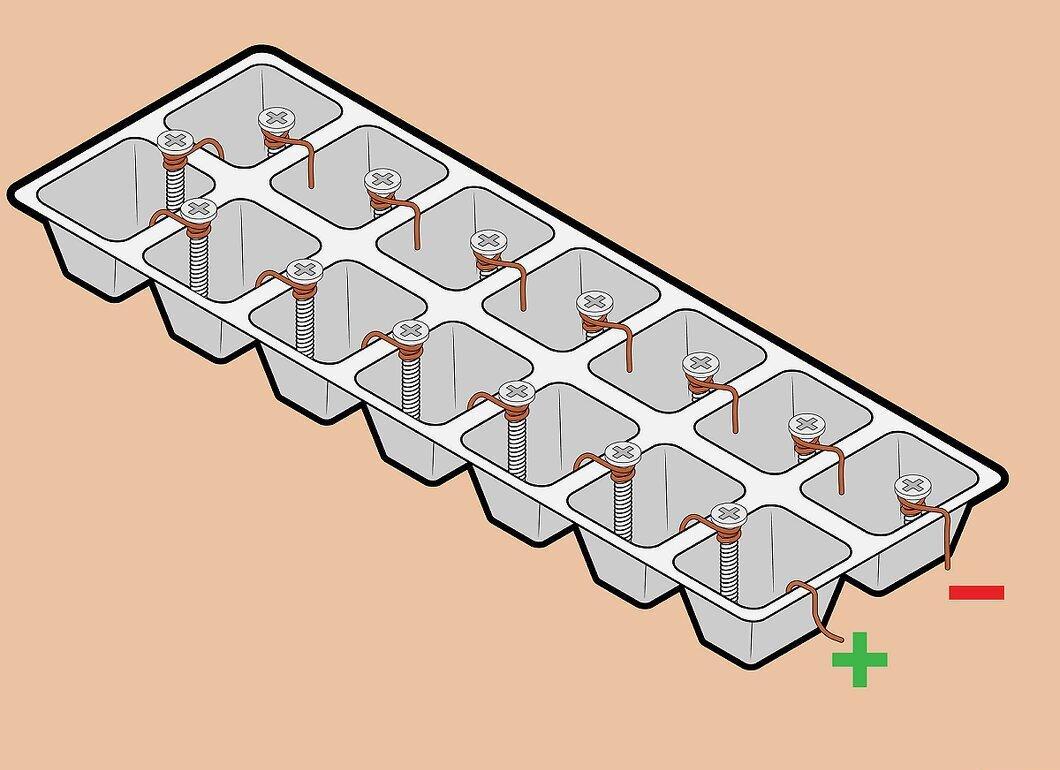
Attach the copper hook to one of the cells in the ice cube tray, and on an adjacent cell, attach the screw, which should protrude over the edge of the tray for connecting the wire.
Step 5. Fill the cells with water.
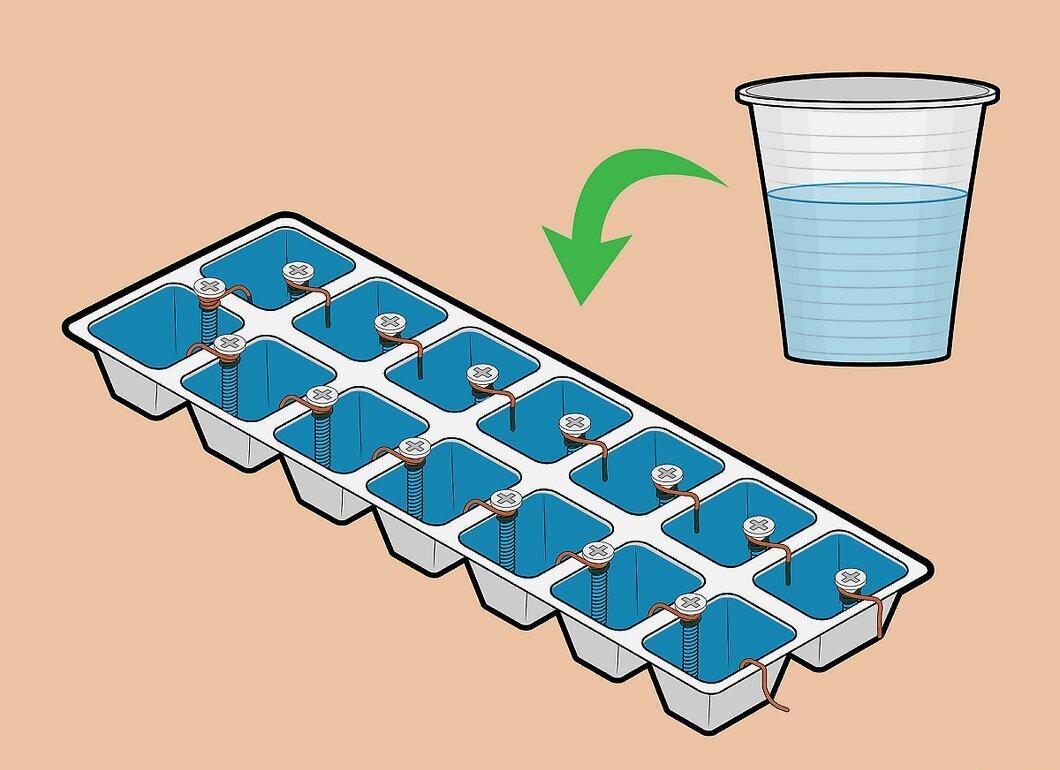
Fill each cell with water to submerge the copper hooks and screws.
Step 6. Connect the wires to the terminals.
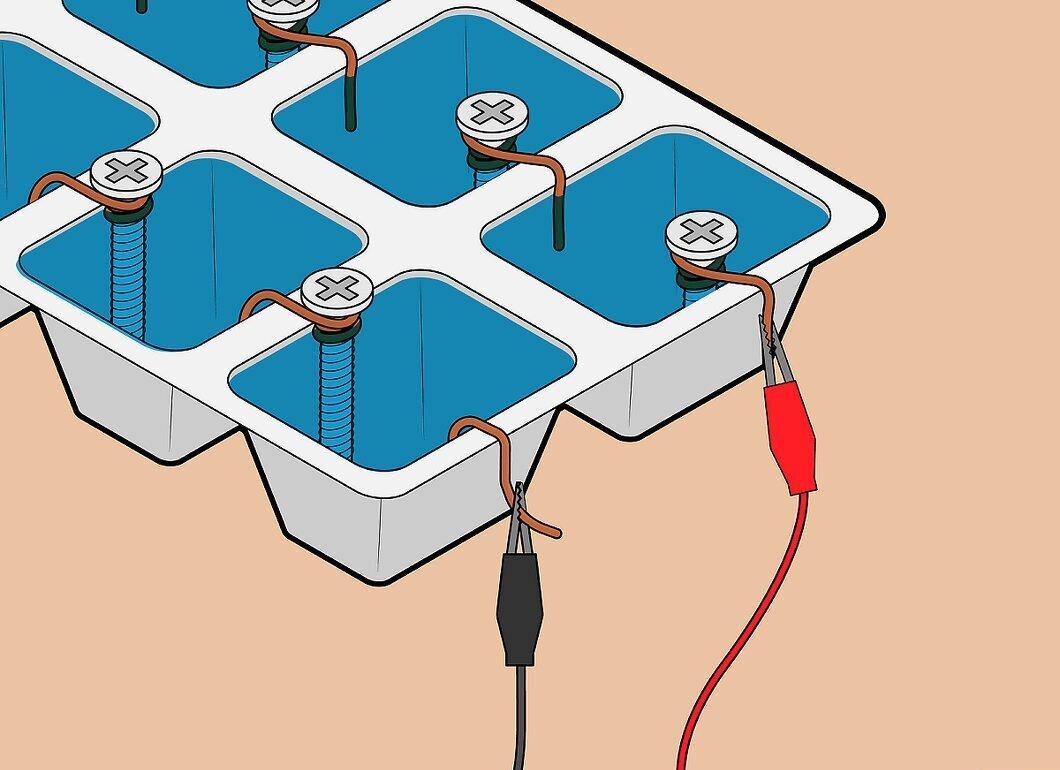
Attach one wire to the copper output and the other to the screw. Be careful that the clips do not touch the water.
Step 7. Test the galvanic cell.
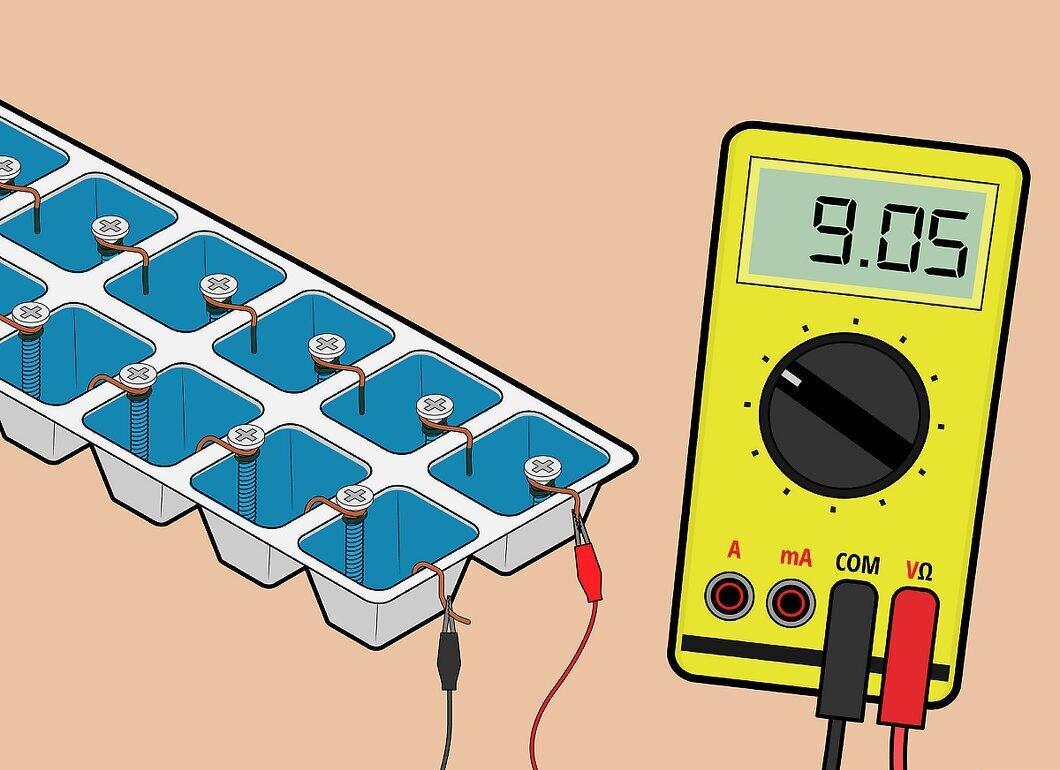
Connect the free ends of the wires to the voltmeter. This battery should generate about 9 volts.
Step 8. Increase the voltage.
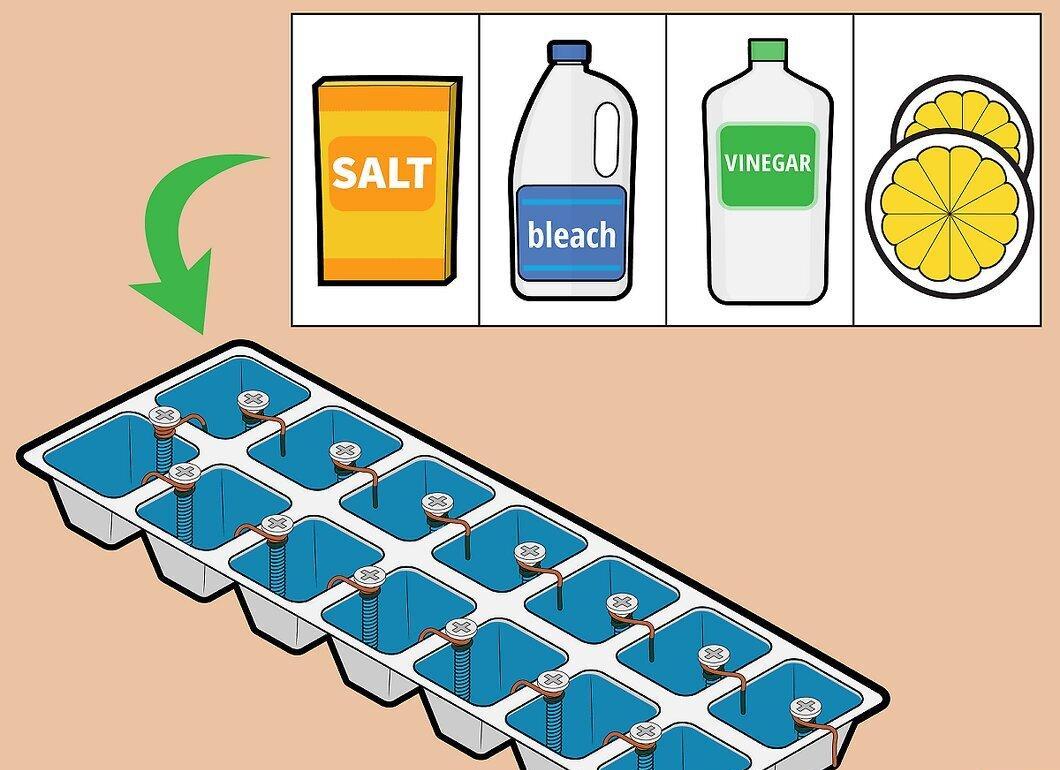
To increase the voltage, use a solution of salty water, vinegar, bleach, and lemon or lime juice, or increase the amount of copper wire.
Galvanic Cell Using Your Hands
Step 1. Gather the necessary materials.
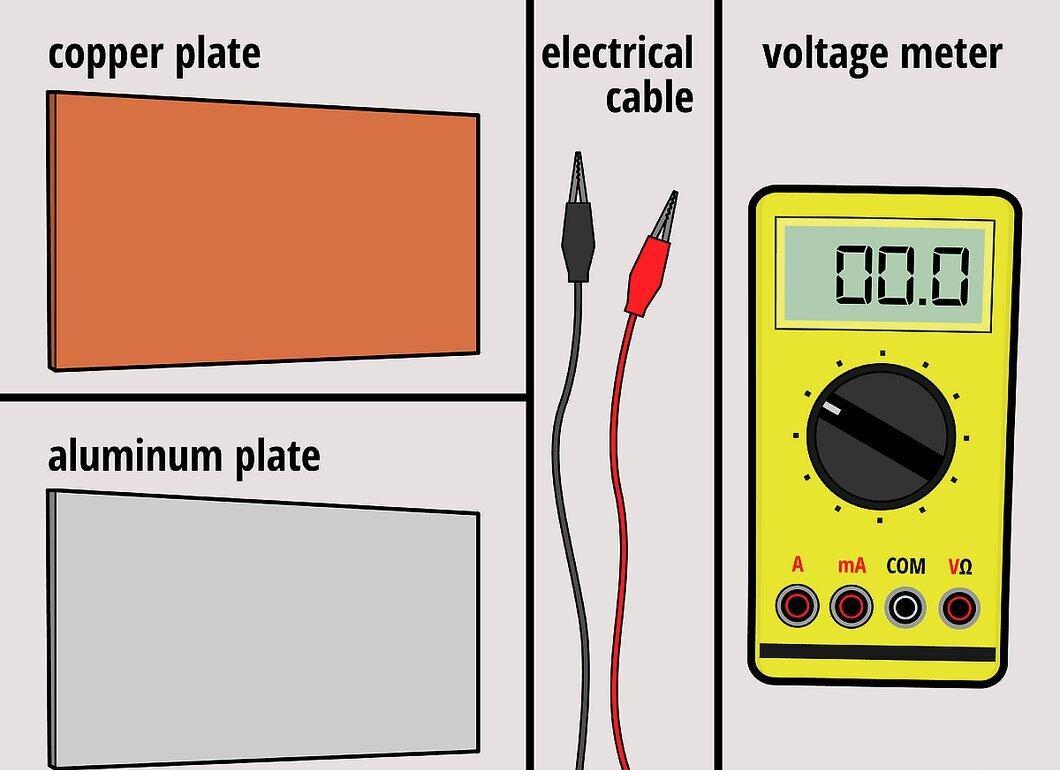
You will need copper and aluminum plates the size of your palm, as well as a voltmeter and two wires with alligator clips.
- All necessary materials can be found at hardware stores.
Step 2. Place the plates on a wooden board.
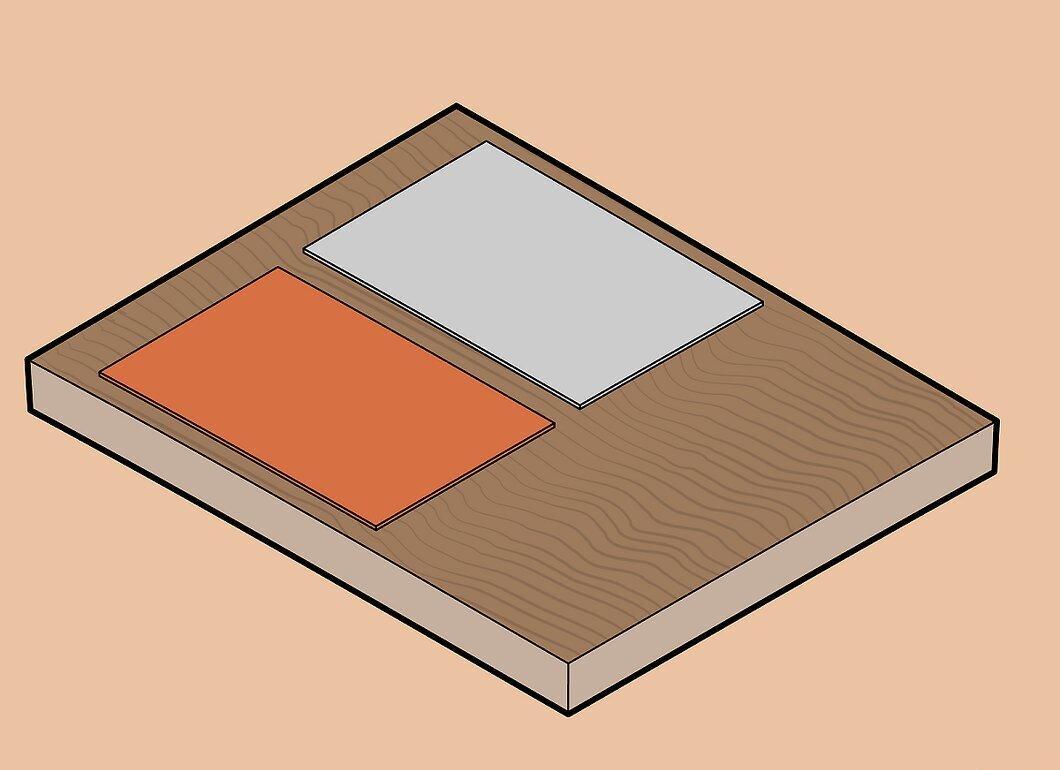
Place the aluminum and copper plates on a wooden board or any flat surface made of non-conductive material.
Step 3. Connect the plates to the voltmeter.
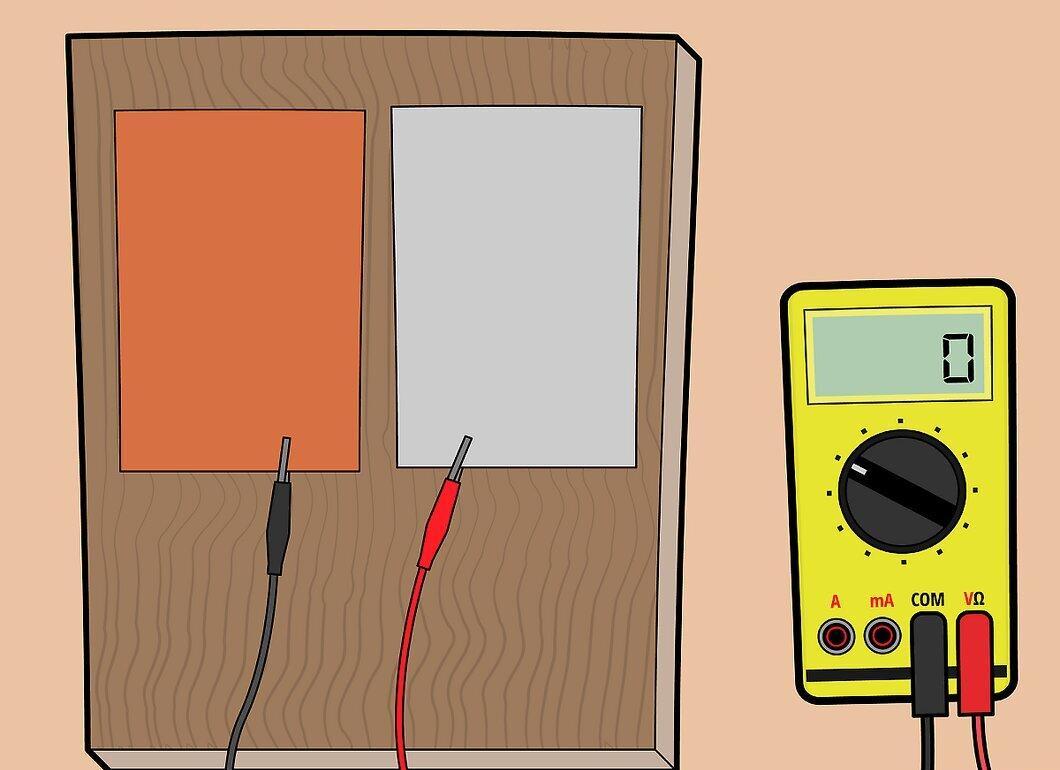
Using the clips, connect the copper plate to one terminal of the voltmeter and the aluminum plate to the other. If you're unsure about the connections, refer to the voltmeter instructions.
Step 4. Place your palm on each plate.
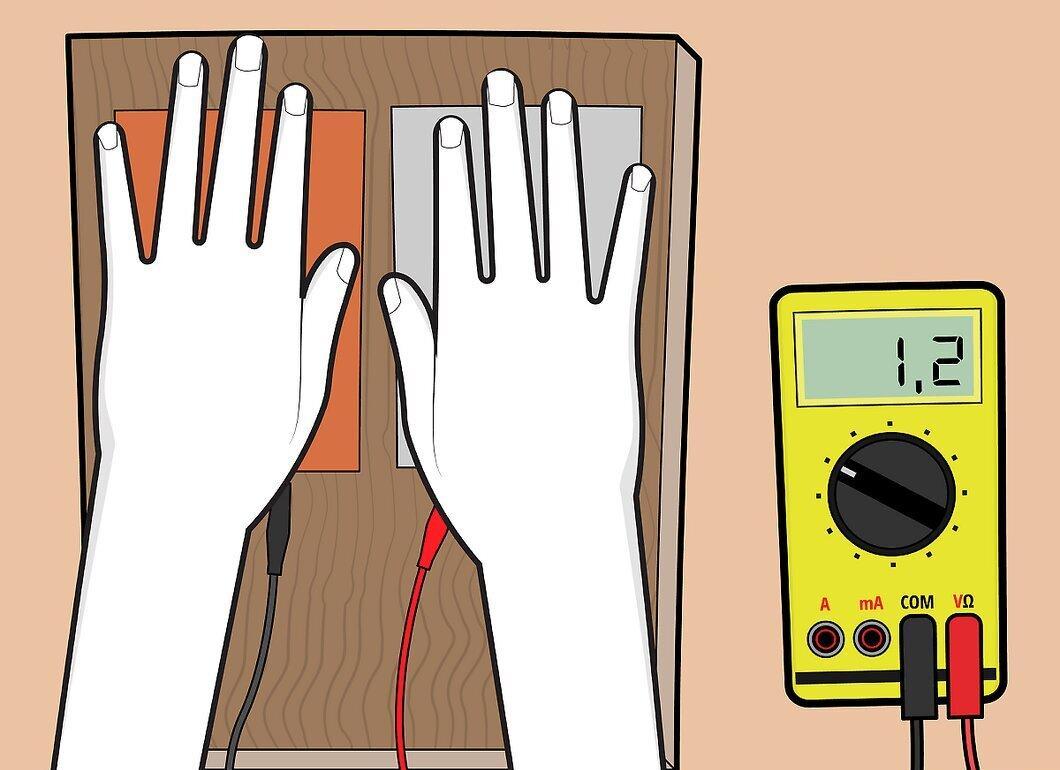
Place one palm on each plate. The sweat on your hands will react with the metal, and the voltmeter will show some voltage.
- If the voltmeter reads zero, swap the wires: connect the wire from the copper plate to the terminal where the wire from the aluminum plate was connected, and vice versa.
- If the voltage is still zero, check the contacts and wires. If everything is fine, the plates may have oxidized. In this case, just wipe them with an eraser or steel wool.