
In this article, you'll learn how easy it is to extract files from a ZIP archive and move them to a regular folder on your computer. Working with archives can be cumbersome if you don't unpack their contents. Note that ZIP files differ from other archive formats, such as RAR, and no additional software is needed to extract them. If you want to extract files from a ZIP archive on your iPhone or Android device, you'll need a dedicated app.
On Windows
Step 1: Locate the ZIP File.
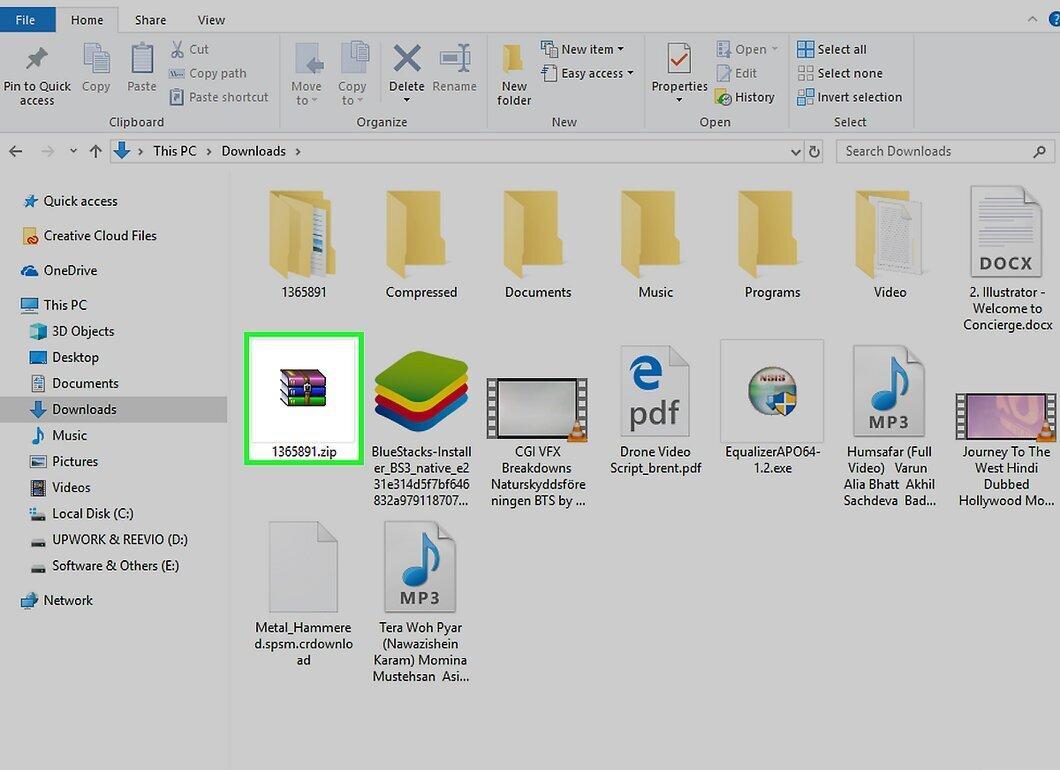
Go to the ZIP file. If you downloaded the archive from the internet, it should be in your downloads folder, such as "Downloads" or on your desktop.
Step 2: Double-click the ZIP File to Open It.
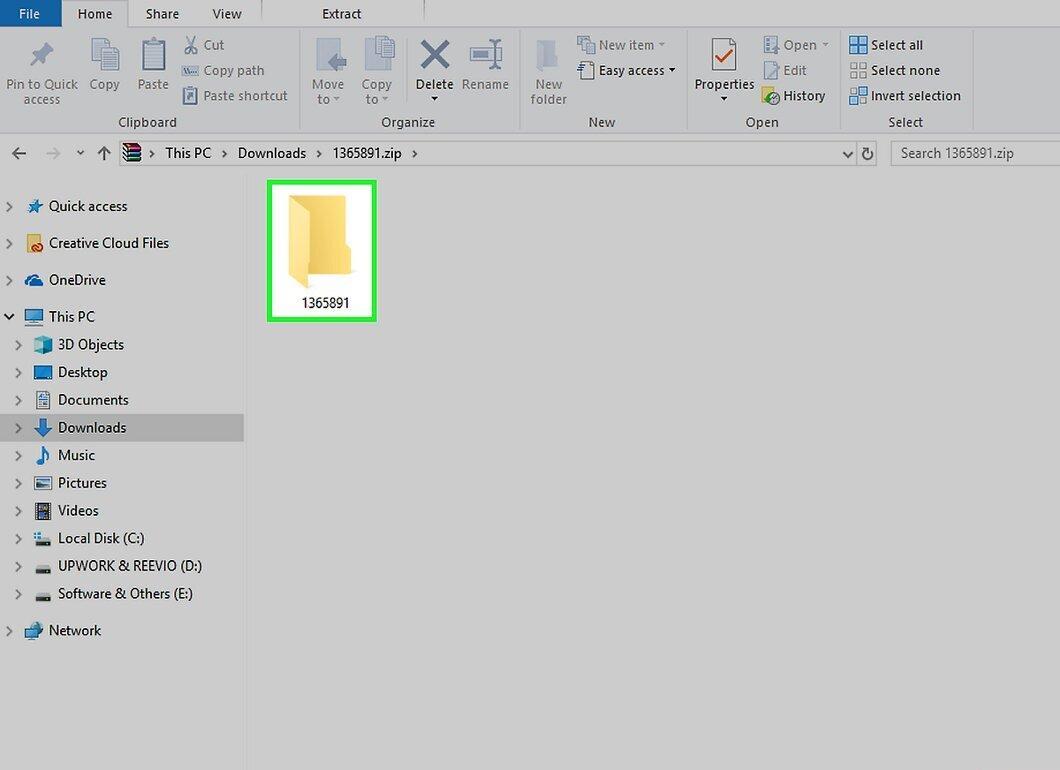
Step 3: Click the "Extract" Button
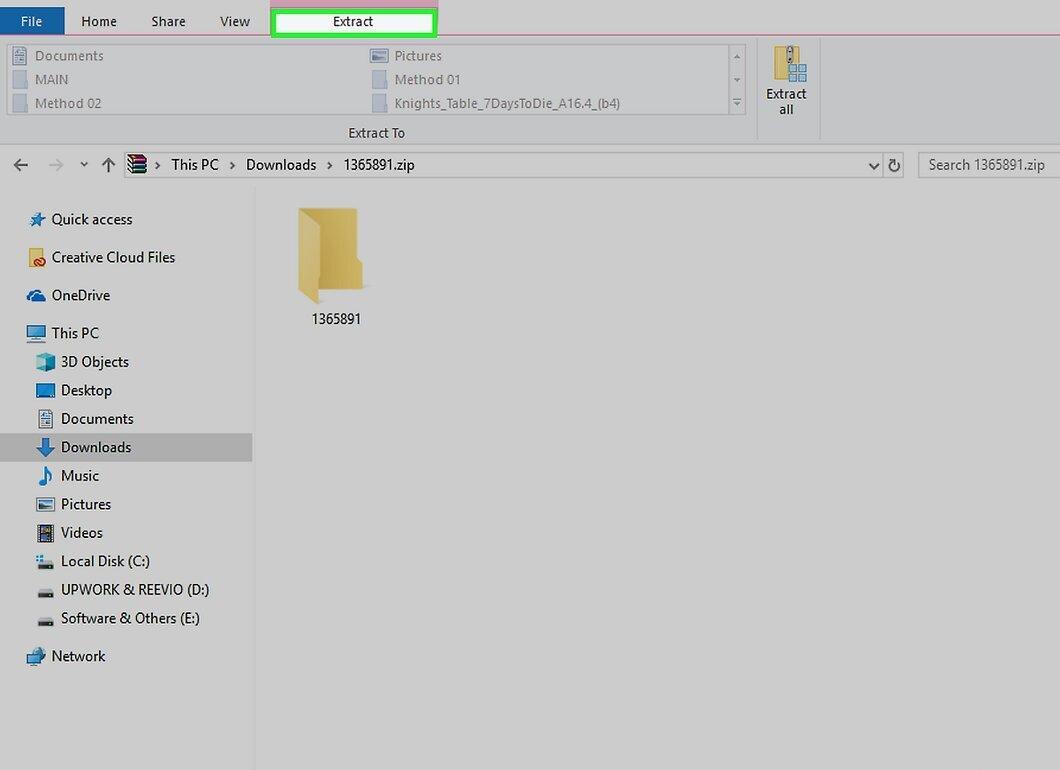
Select the "Extract" button located at the top of the ZIP archive window. A toolbar will appear afterward.
Step 4: Click on "Extract All"
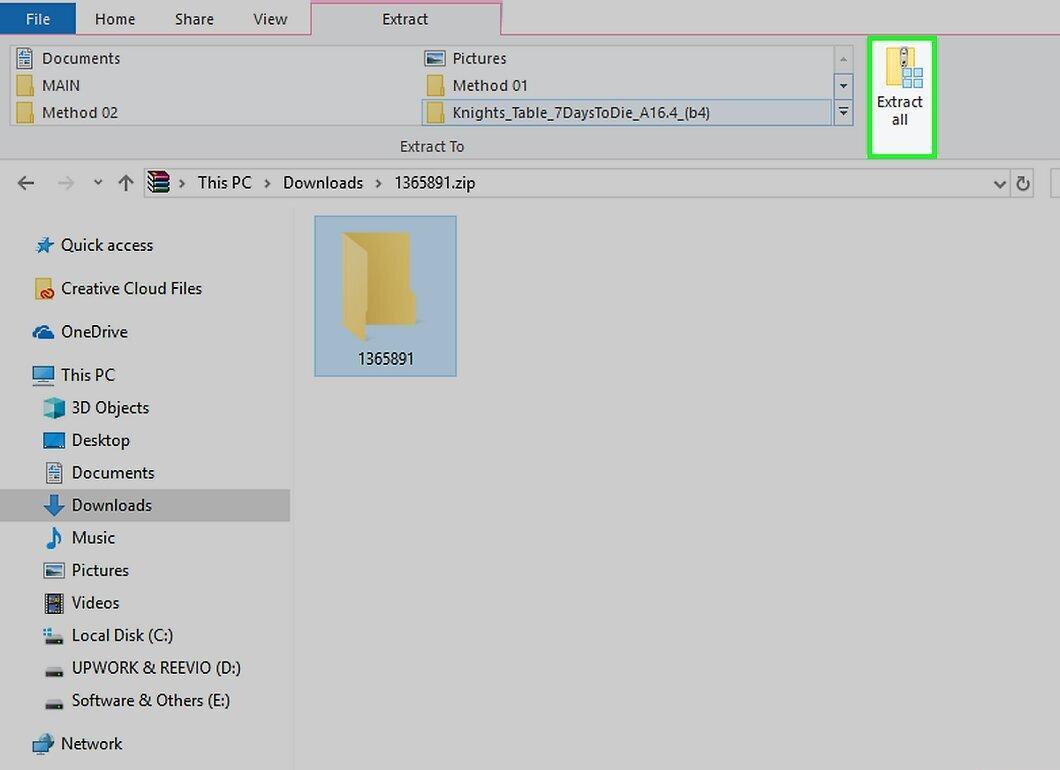
Choose the "Extract All" option from the extraction toolbar. A pop-up window will open.
Step 5: Click "Browse"
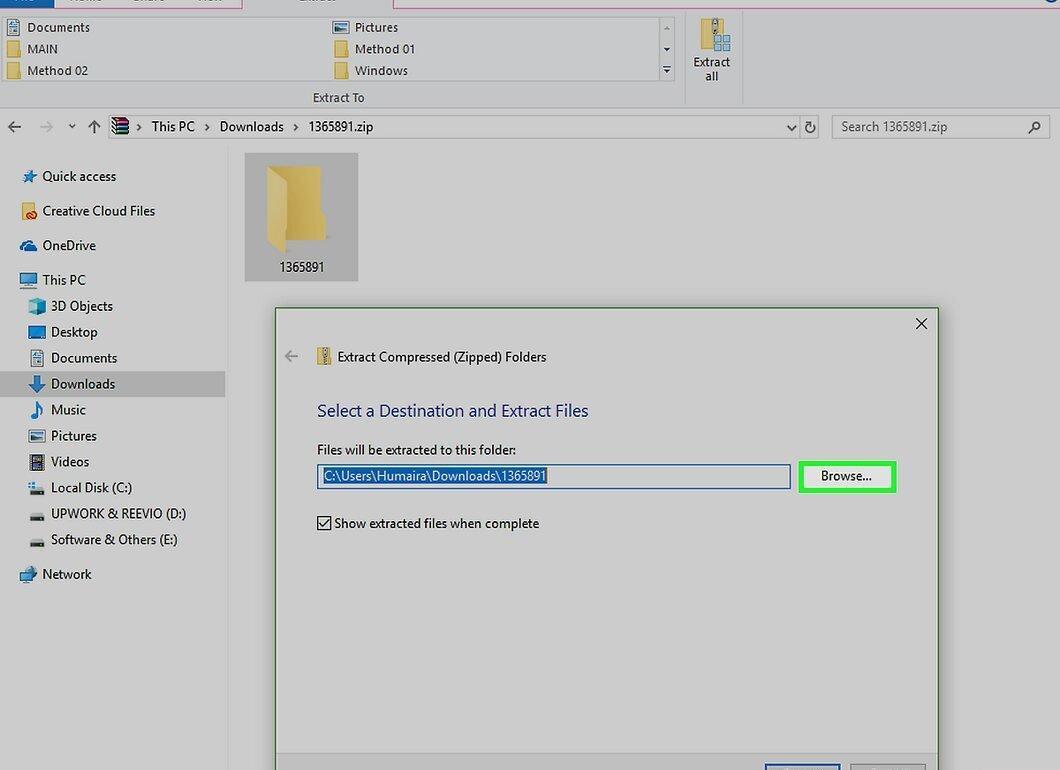
Click the "Browse" button located to the right of the address bar at the top of the "Extract Compressed (Zipped) Folders" window.
- If you want the files to be extracted to the same folder as the ZIP file, skip this and the next steps. In this case, a new folder with the extracted files will be created.
Step 6: Choose a Folder for Extraction.
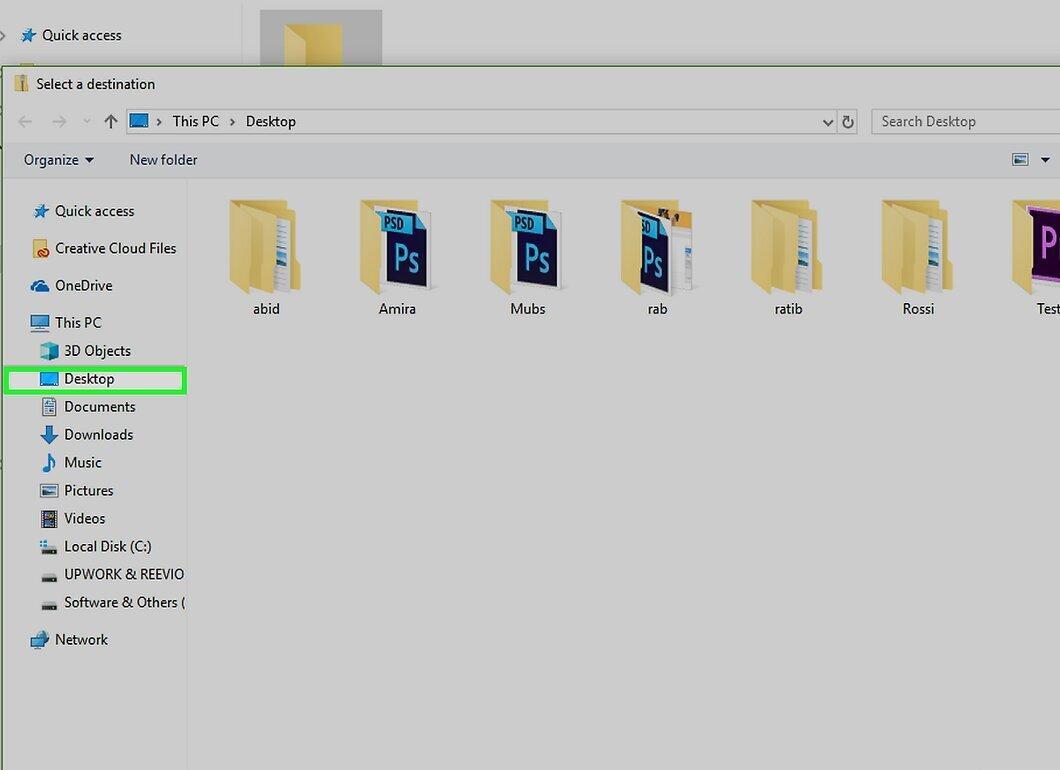
Select a folder to save the extracted files. Simply click on the name of the desired folder (like "Desktop") in the left panel.
Step 7: Click on "Select Folder"
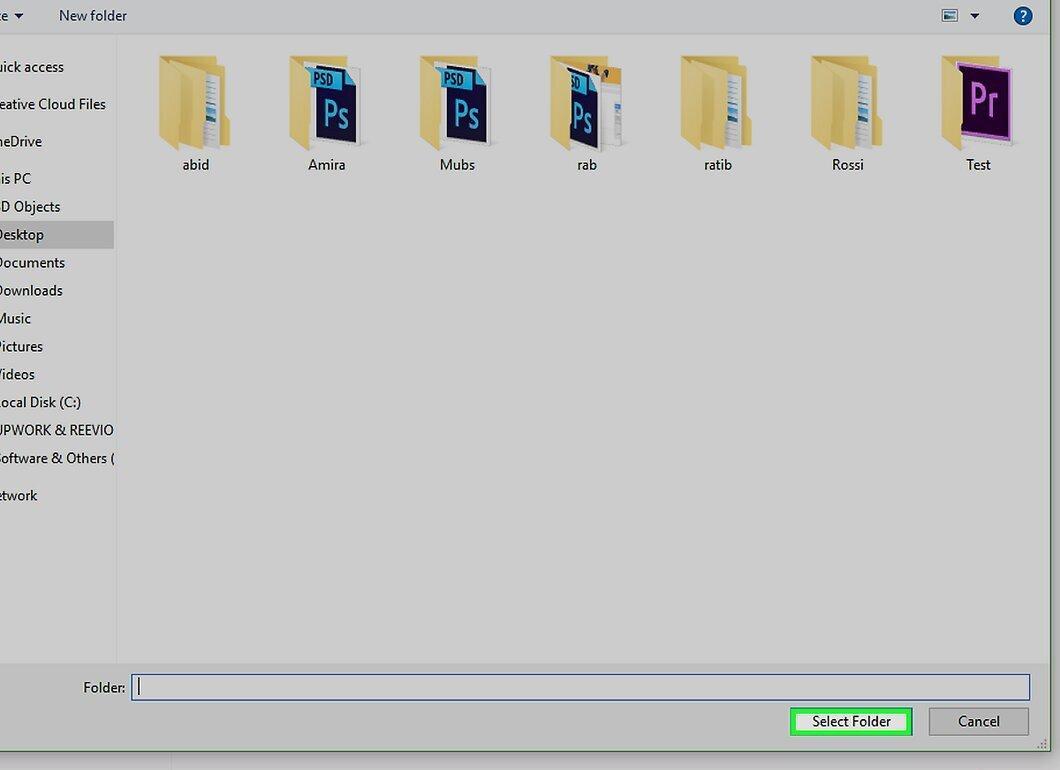
Press the "Select Folder" button at the bottom of the window to return to the "Extract Compressed (Zipped) Folders" window.
Step 8: Click "Extract"
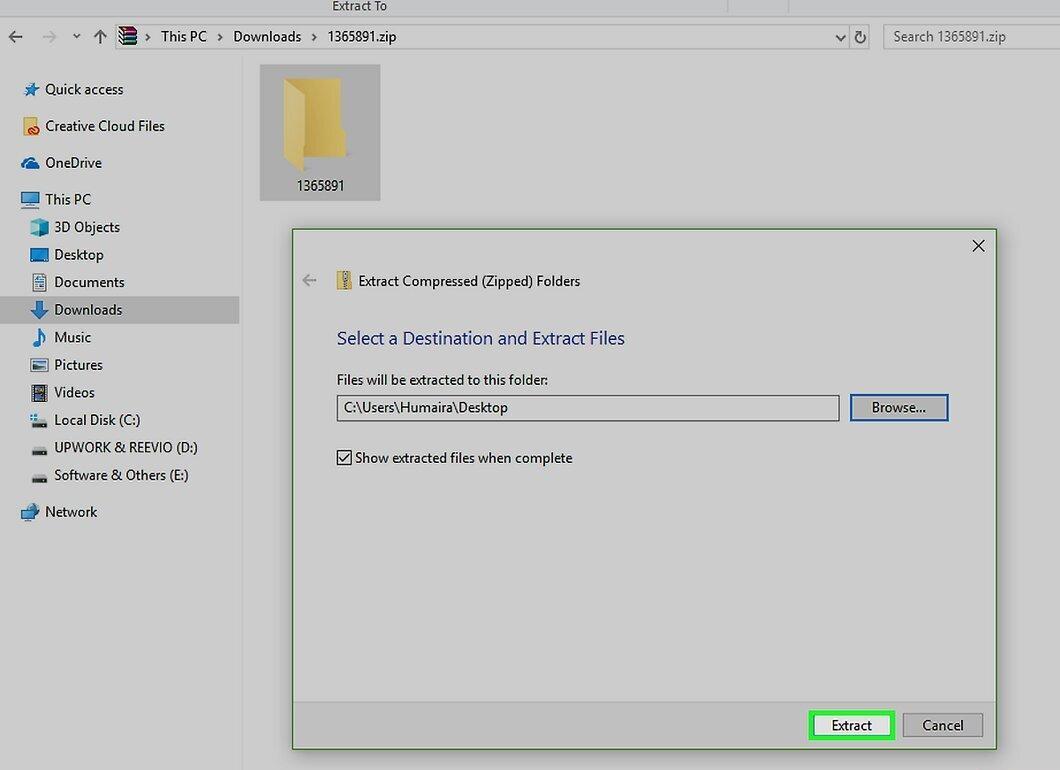
Click the "Extract" button in the lower right corner of the window. The files will now begin to extract from the ZIP archive and will be sent to the folder you selected.
- The extraction time depends on your computer's speed and the size of the ZIP file.
On Mac OS X
Step 1: Locate the ZIP File.
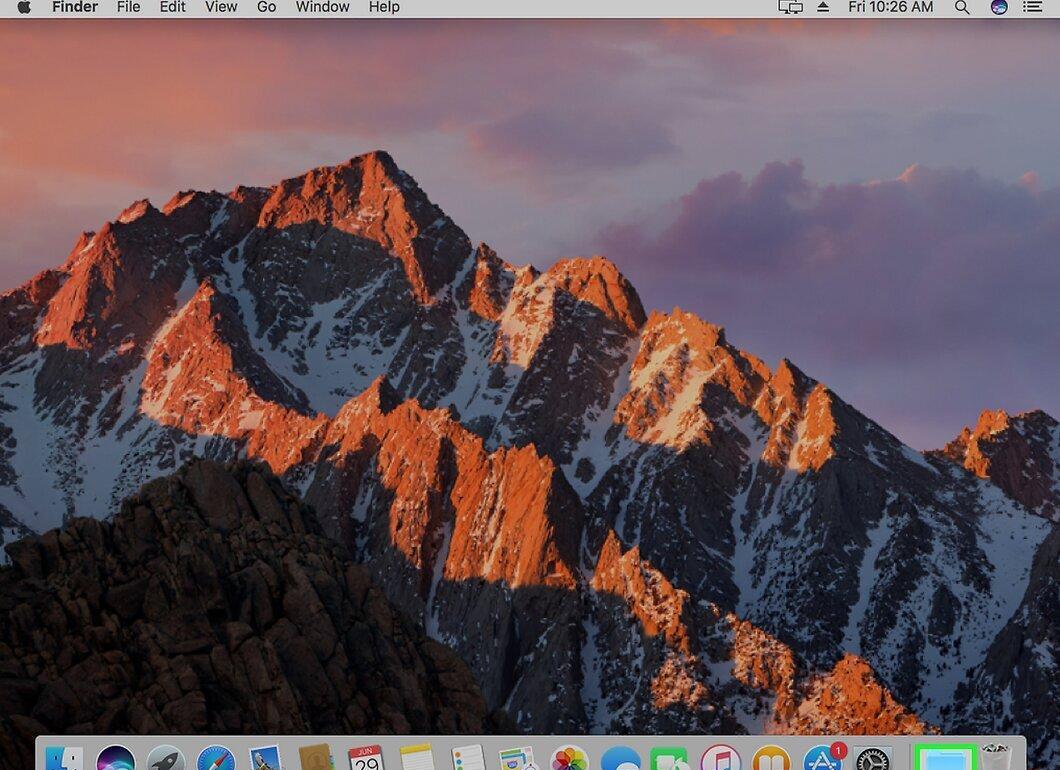
Find the ZIP file. If you downloaded the archive, it should be in the "Downloads" folder. To access it, open a Finder window and select the "Downloads" folder on the left.
Step 2: Move the ZIP File if Necessary.
If needed, move the ZIP file. When you extract the archive, its contents will be copied to a new folder that will be created in the same location as the ZIP file. So simply drag the archive to the desired location, like your desktop.
- For example, if the ZIP file is on the desktop, the new folder with the extracted files will also appear on the desktop.
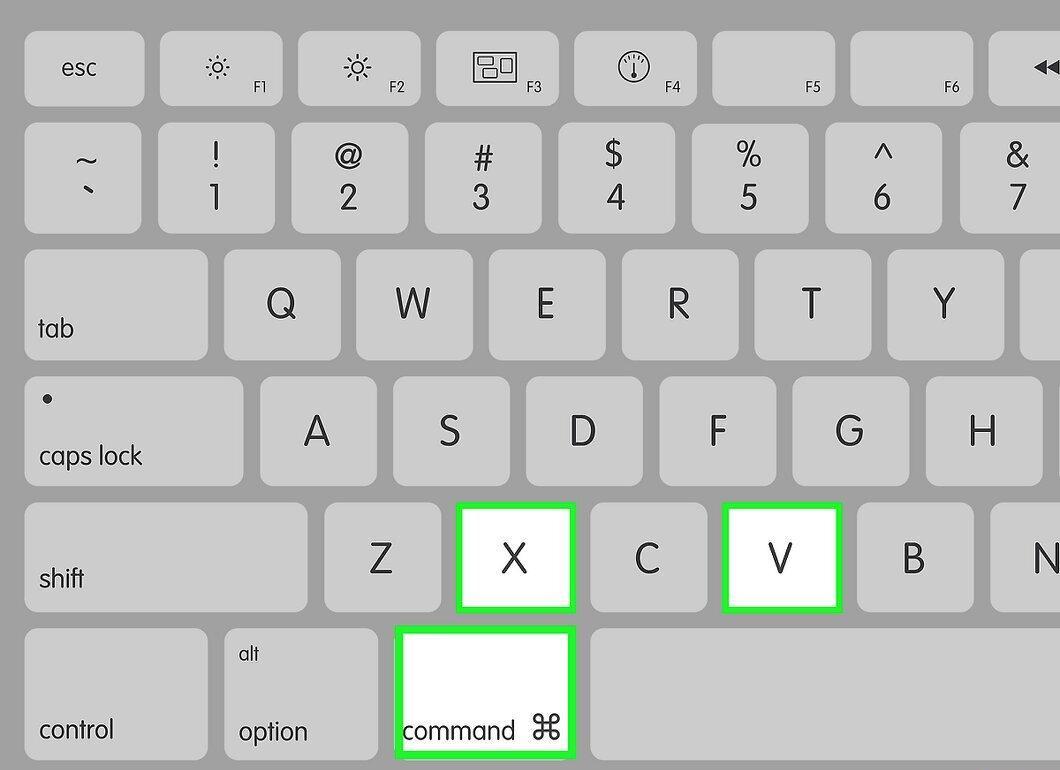
- You can also cut the ZIP file using the ⌘ Command+X shortcut, navigate to the desired folder, and paste it using ⌘ Command+V.
Step 3: Double-click the ZIP File.
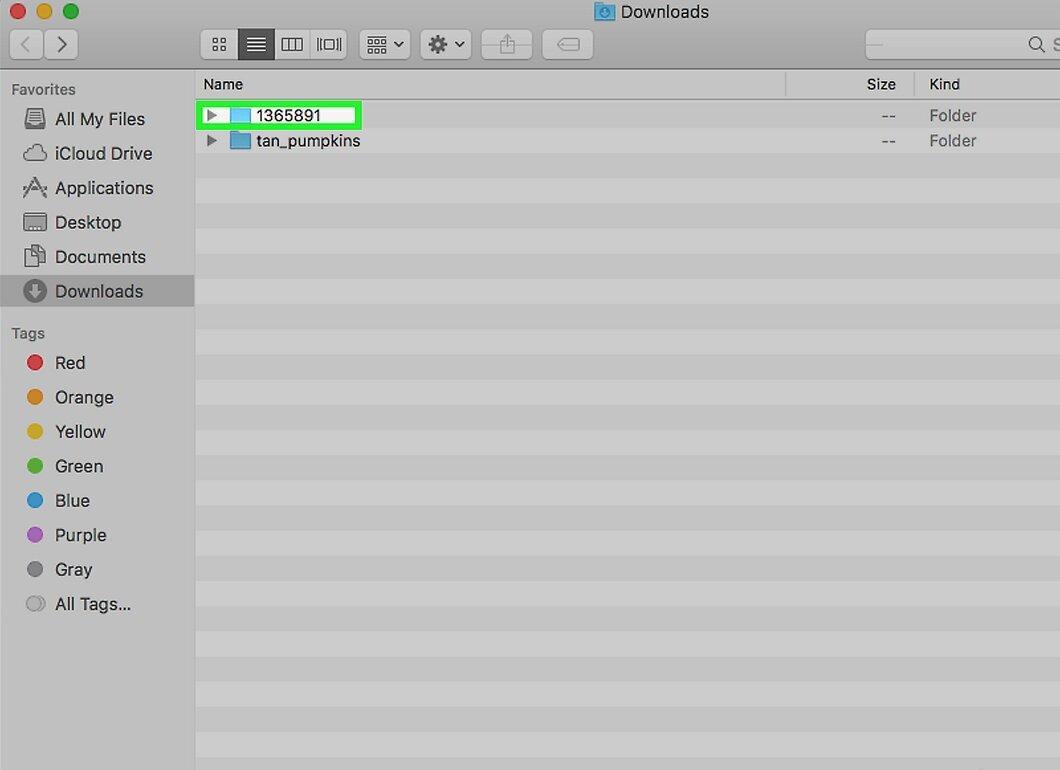
Double-click the ZIP file. The extraction process will begin, and its contents will be extracted to the current folder.
Step 4: Wait for Extraction to Finish.
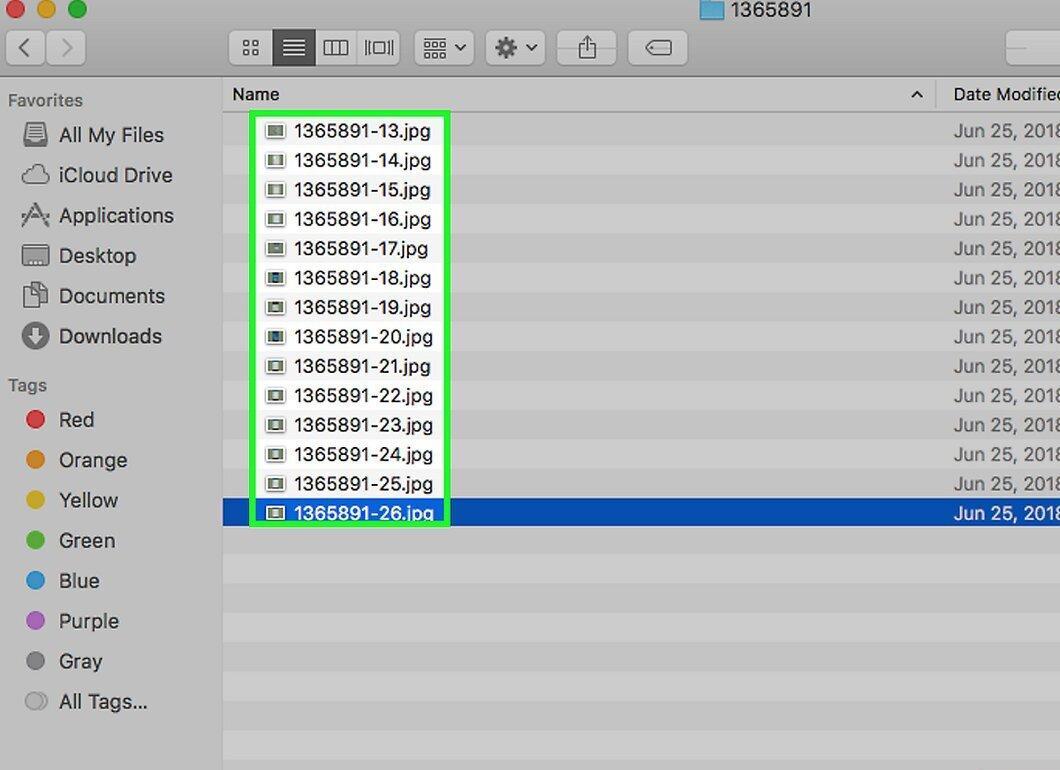
Wait for all files to be extracted. The time needed depends on the size of the ZIP file. Once extraction is complete, you will find new files in a regular folder alongside the archive; the new folder will have the same name as the archive.
- To open the new folder, just double-click it.
On iPhone
Step 1: Install the iZip App.
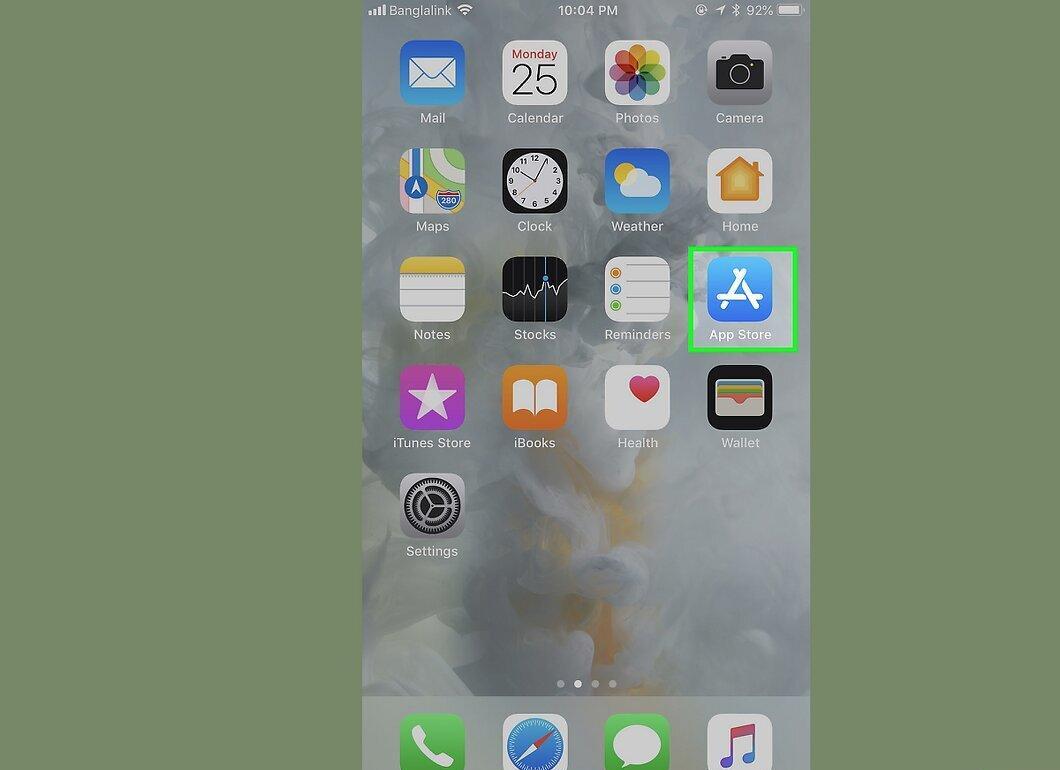
Install the iZip app. To do this, open the App Store and follow these steps:
- tap on "Search";
- touch the search bar;
- type in "izip" and press "Search";
- tap "Get" next to "iZip";
- when prompted, enter your Apple ID or use Touch ID.
Step 2: Open the ZIP File.
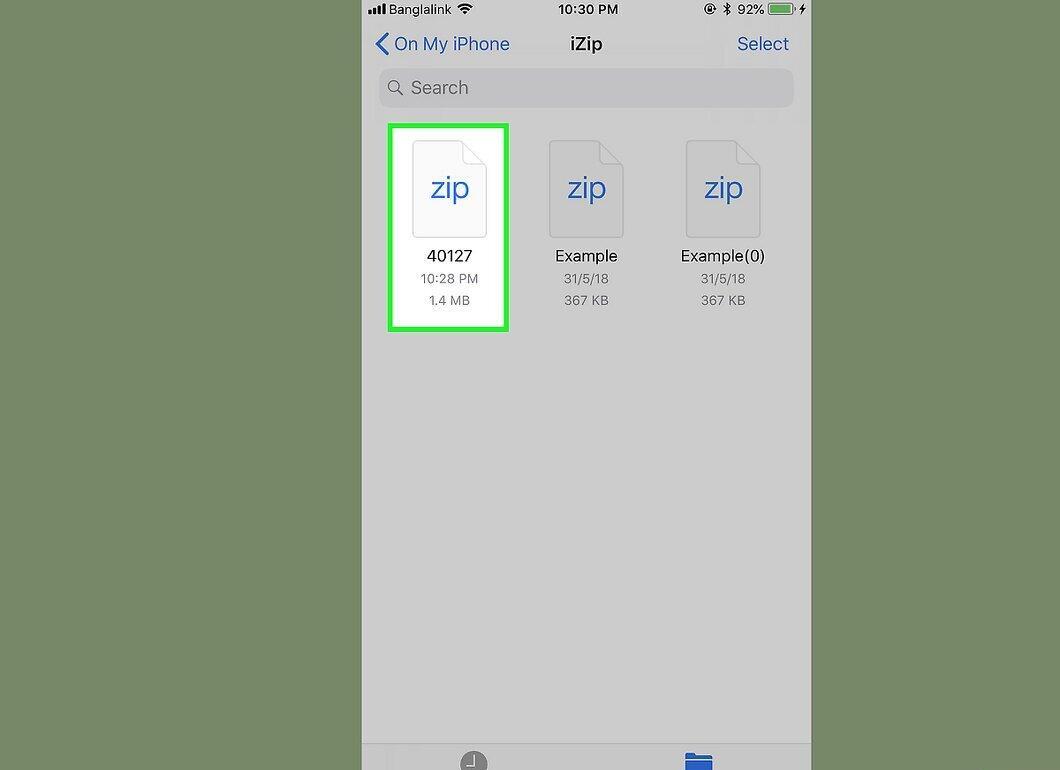
Navigate to the folder containing the ZIP file or open an email and touch the archive.
- Note that iZip does not support archives stored in the "Files" app.
Step 3: Tap the Icon
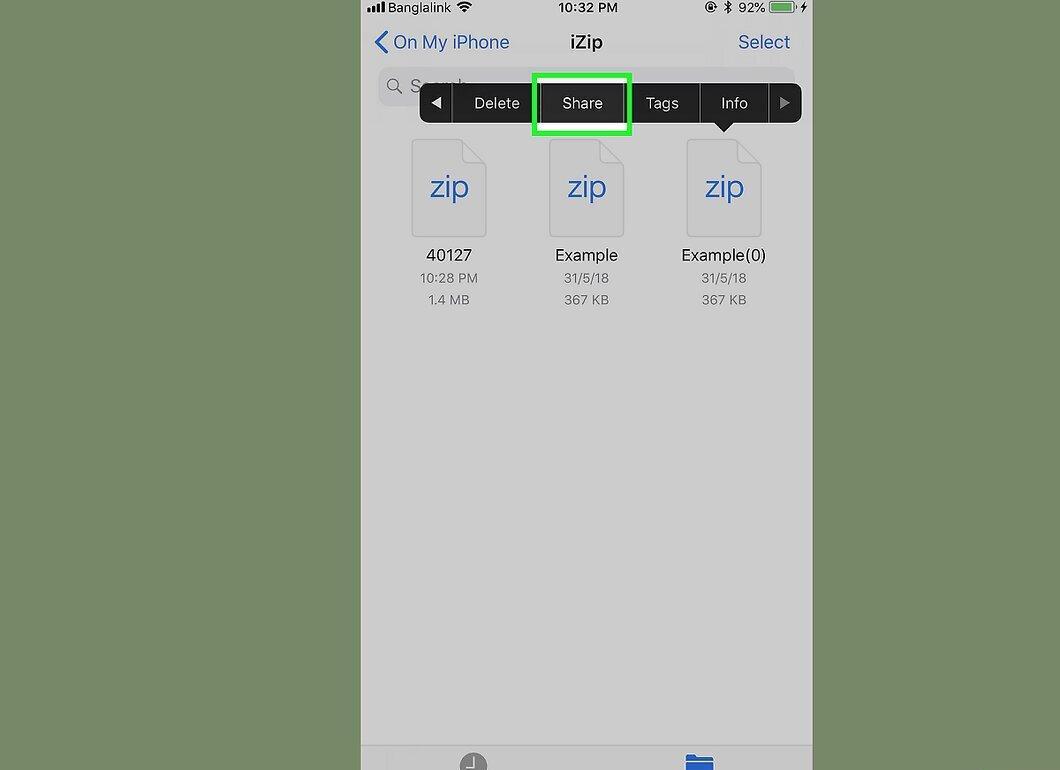
Tap the icon in one of the corners of the screen. A menu will open.
- If you are opening a ZIP file from Google Drive, tap "⋯" > "Open".
Step 4: Select "Copy to iZip"
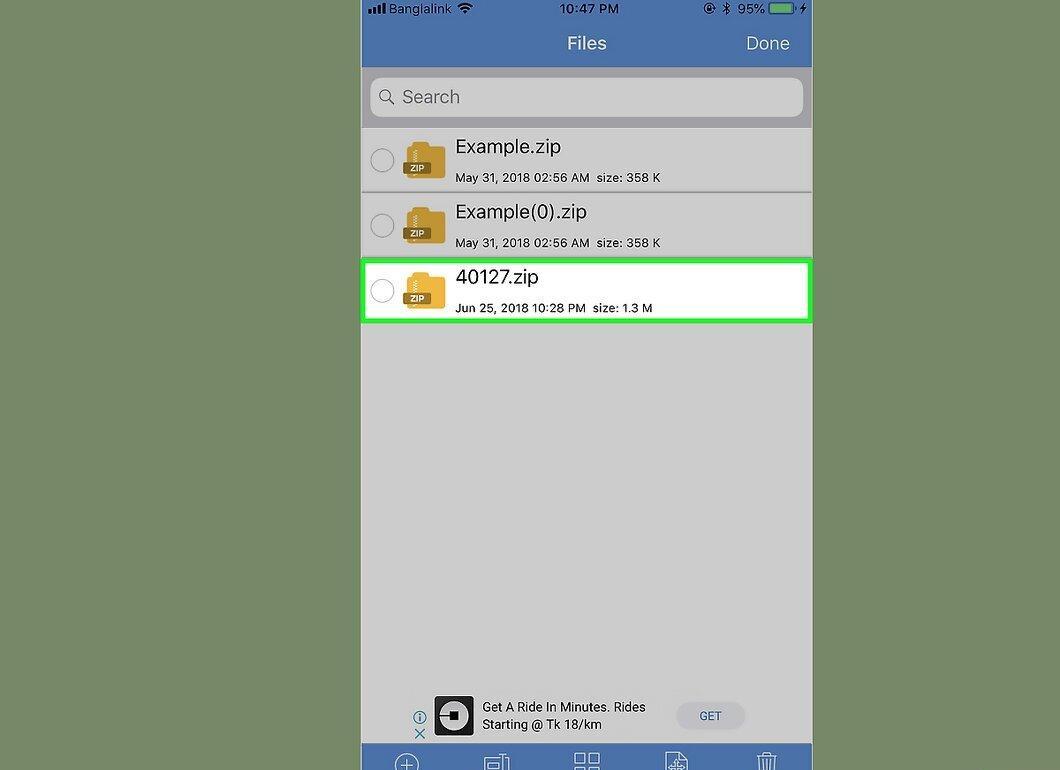
Choose "Copy to iZip". This option will appear in the pop-up menu; you may need to scroll to find it. The ZIP archive will open in the iZip app.
Step 5: Tap "OK"
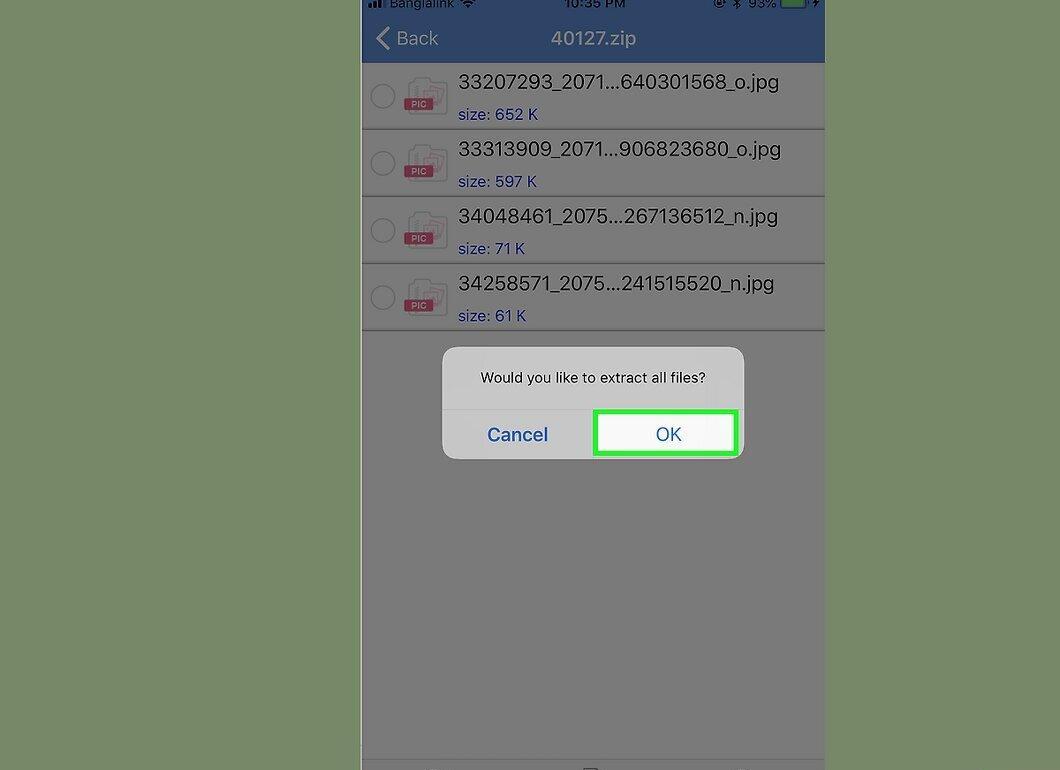
Press the "OK" button under the question "Do you want to extract all files?" All files will be extracted to the iZip app's folder; after the process is done, the folder with the extracted files will open.
- If you are not prompted to extract all files, tap "Extract" in the lower left corner of the screen.
On Android Device
Step 1: Install WinZip.
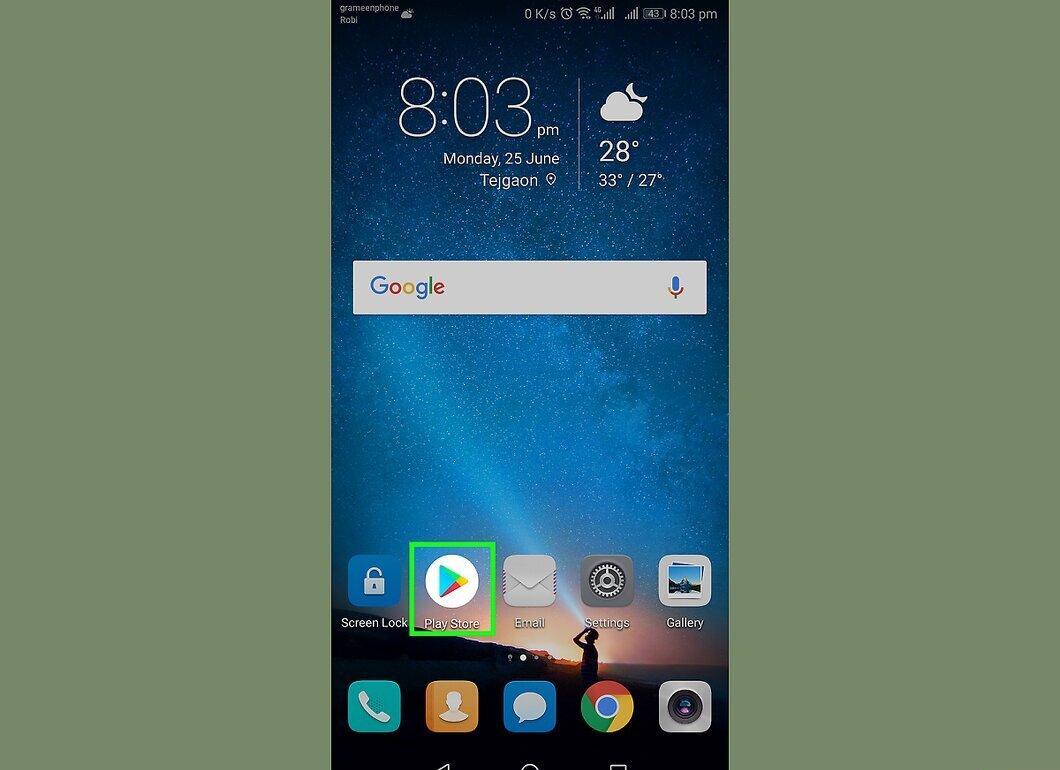
Download the WinZip app. Open the Play Store and follow these steps:
- touch the search bar;
- type in "winzip";
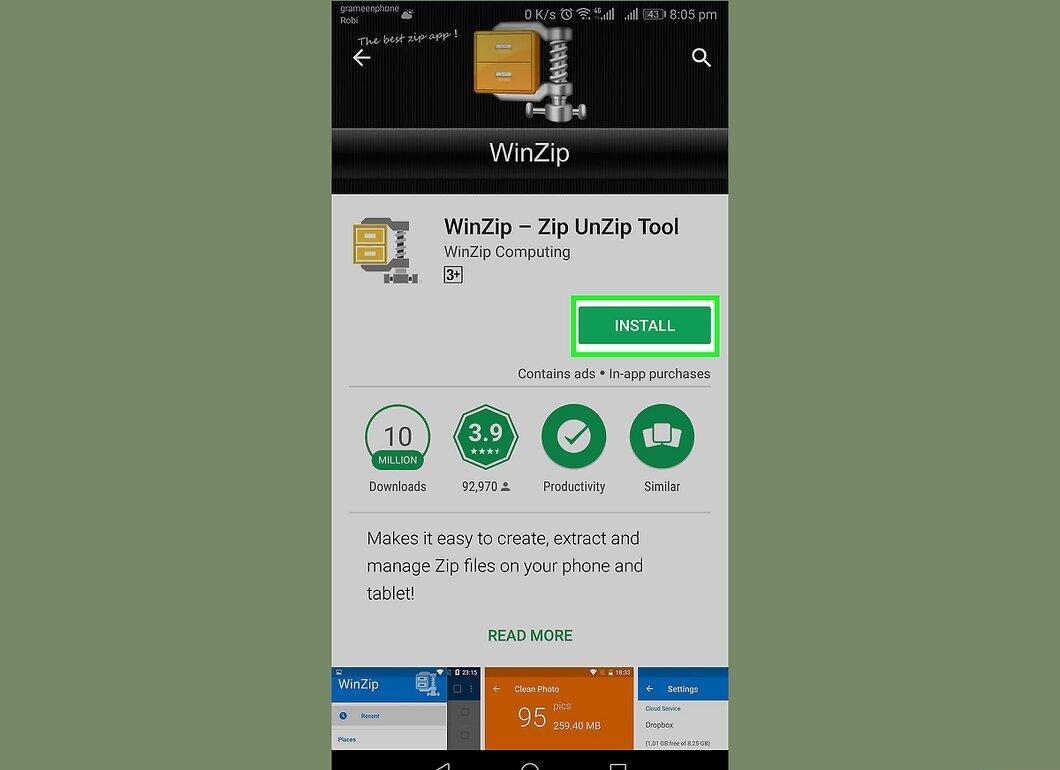
- select "WinZip - Zip UnZip Tool";
- press "Install";
- confirm by tapping "Accept".
Step 2: Download the ZIP File to Your Android Device.
Download the ZIP file to your device. Open the app where the archive is located (like Gmail) and tap "Download".
Step 3: Launch WinZip.
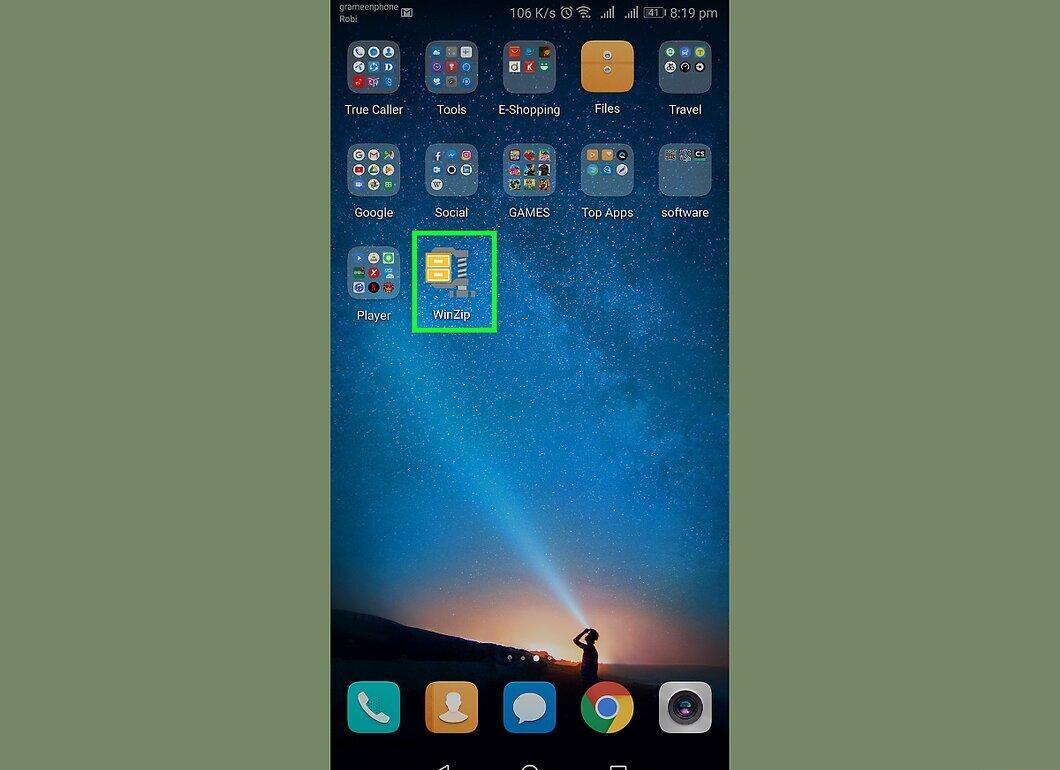
Open the WinZip app. Tap the folder icon.
- If this is your first time using WinZip on Android, go through the introductory pages and tap "Start".
Step 4: Select the Main Storage.
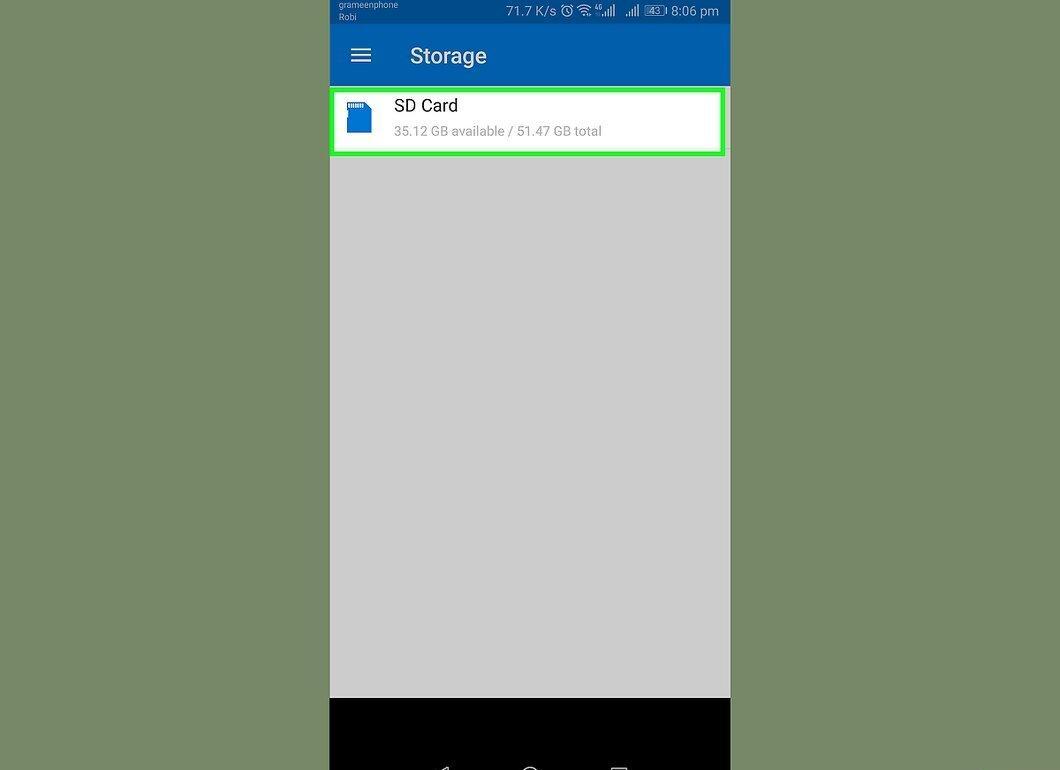
Choose the main storage. Tap on "SD Card" or "Internal Storage" (or the equivalent).
Step 5: Open the "Downloads" Folder
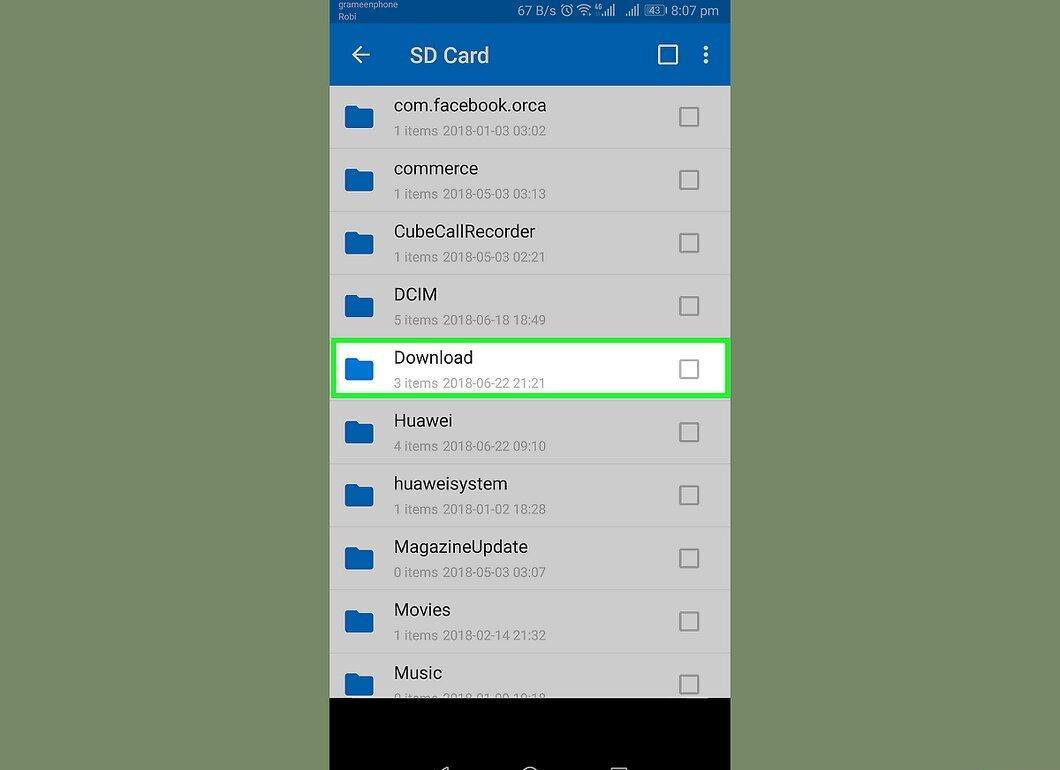
Navigate to the "Downloads" folder. It should be in the storage you selected.
- You may need to scroll the list to find it.
Step 6: Select the ZIP File.
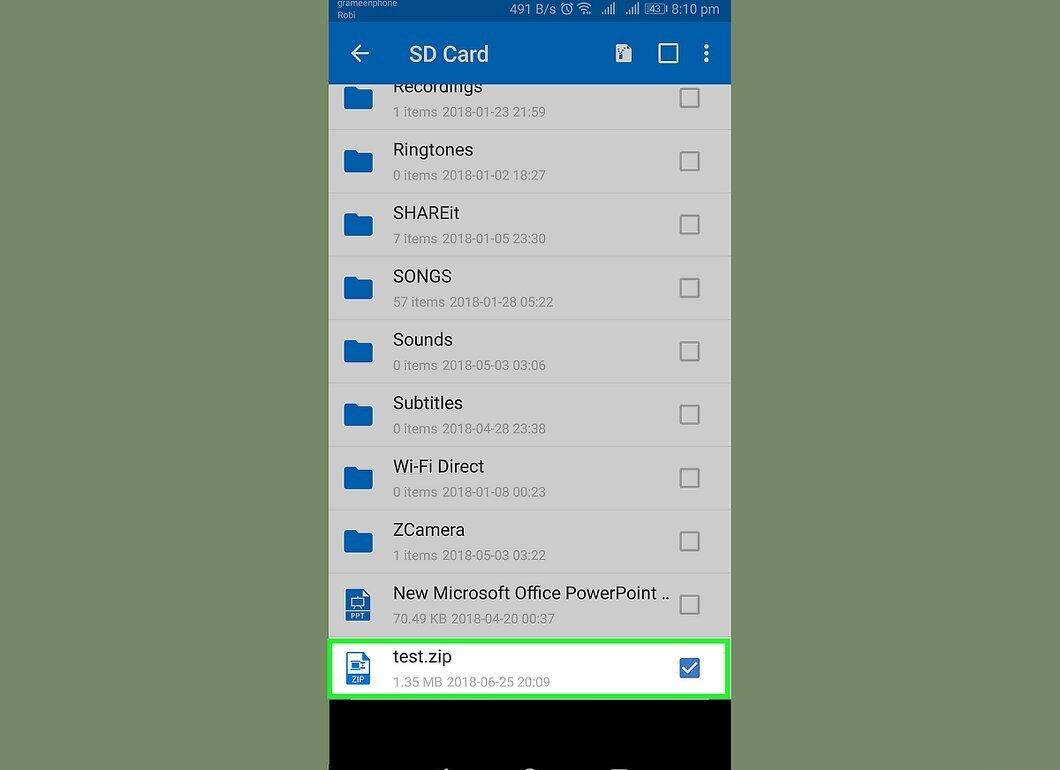
Mark the ZIP archive by checking the box to the right of its name.
Step 7: Tap the Extract Files Icon.
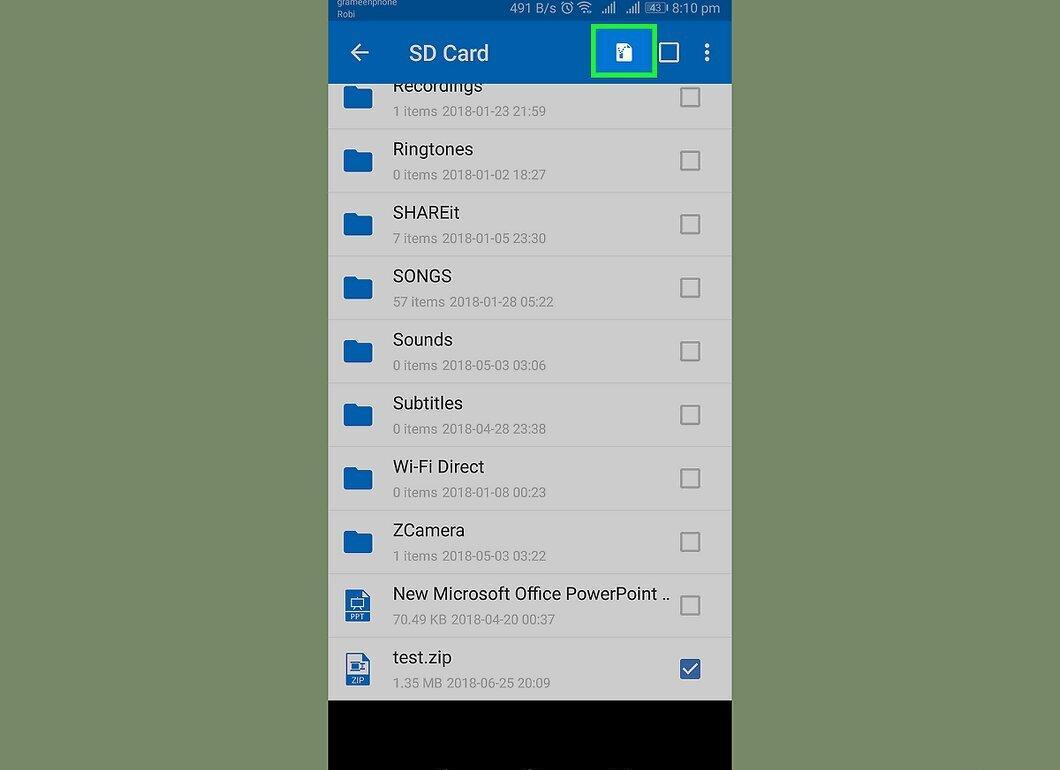
Tap the extract files icon, which looks like a lightning bolt and is located at the top right corner. A pop-up menu will appear.
Step 8: Choose a Folder for Extraction.
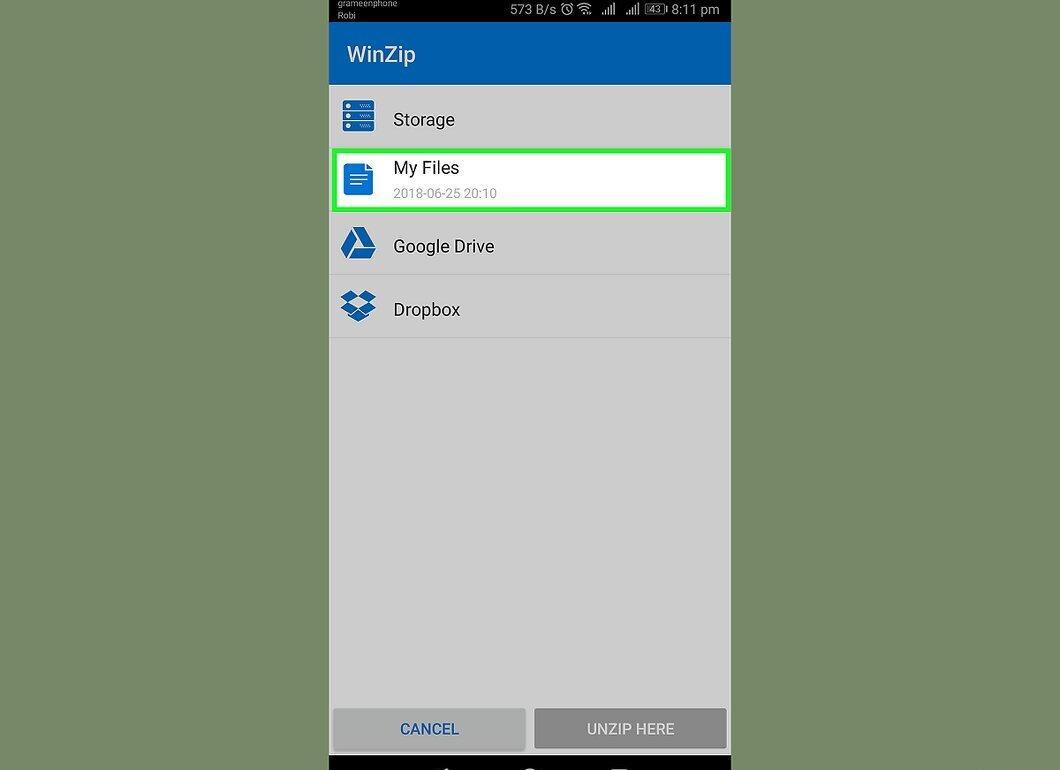
Select the folder where the extracted files will be placed. Tap on the storage name (like "Internal Storage") and specify the desired folder.
Step 9: Tap "Unzip here"
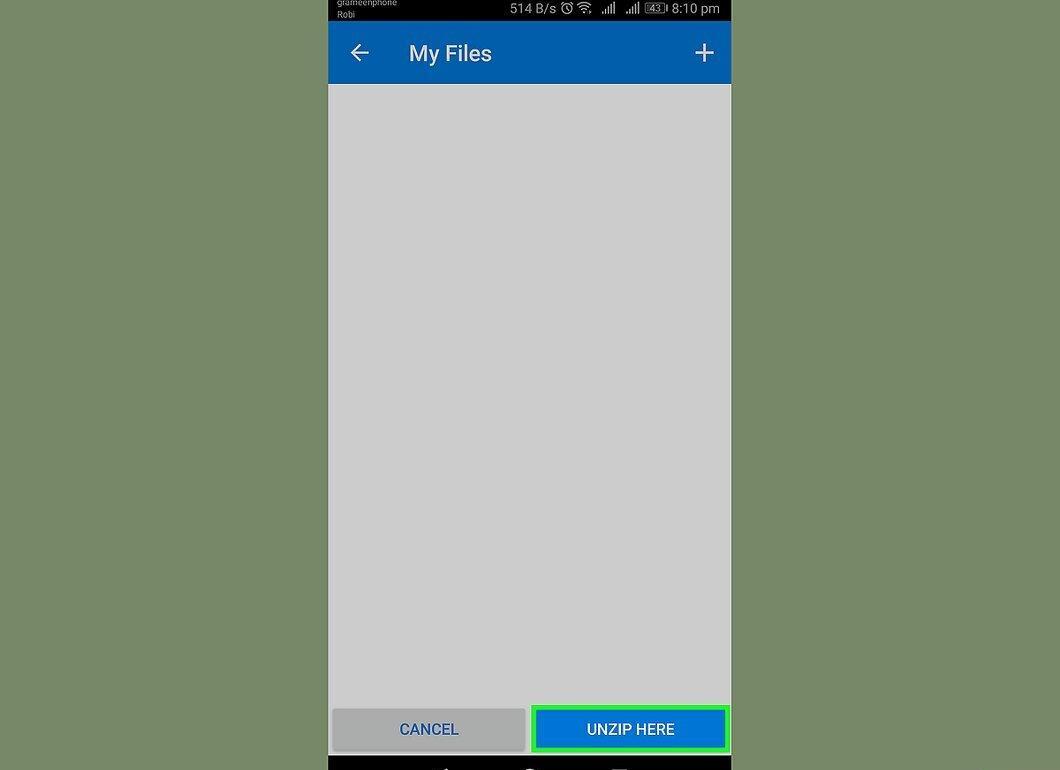
Press the "Unzip here" button. This is the blue button in the lower right corner. The files will be extracted to the folder you selected.
- After the extraction is complete, the folder will automatically open to show you the extracted files.


