How to Easily Transfer Data from One Hard Drive to Another
In this article, you will find straightforward methods for transferring files from your computer to a hard drive and back. You’ll be able to move data to both external and internal hard drives on Windows and Mac OS X devices.
On Windows
Step 1. Identify the Type of Hard Drive.
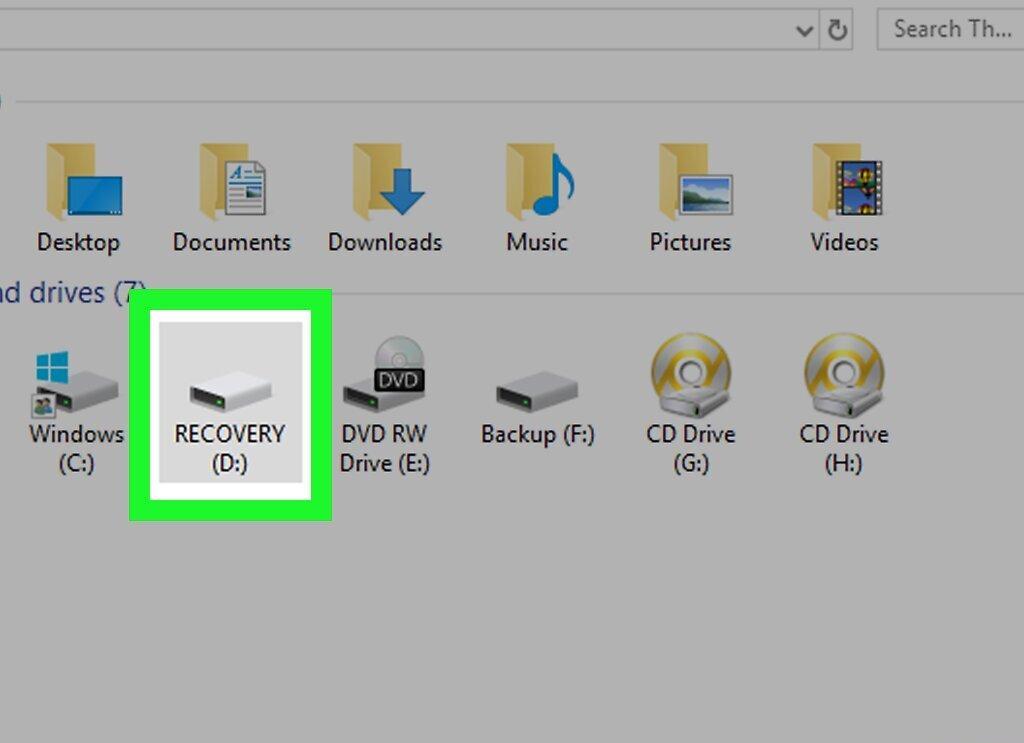
First, determine what type your hard drive is. There are two main types:
- External Hard Drive — connects via USB port. When connected to a Windows computer, no additional settings are required. However, if you have used the drive on Mac OS X, you’ll need to format it to the exFAT file system before using it on Windows.
- Internal Hard Drive — connects directly to the motherboard. To identify its type, remove it from the computer: it can be IDE (wide flat cable) or SATA (narrow cable). In this case, you will need an IDE-USB or SATA-USB adapter.
Step 2. Connect the Hard Drive.
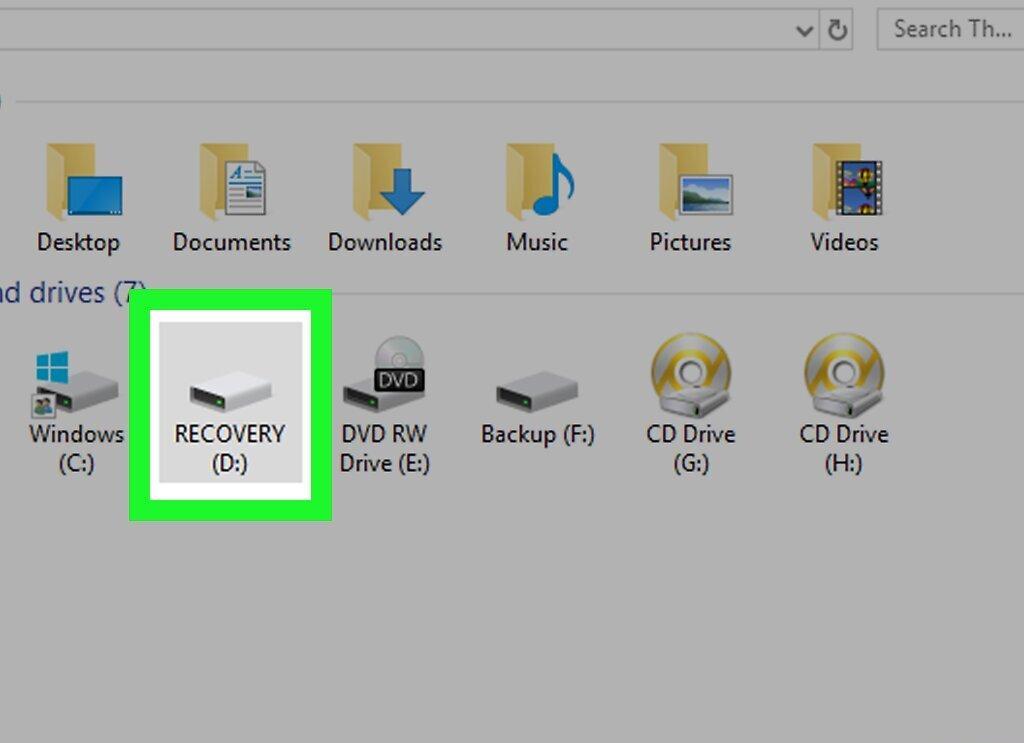
Connect the hard drive to your computer. Plug the USB cable between the drive and the computer. If it’s an internal drive, first connect the adapter, then attach the IDE or SATA cable to the adapter.
Step 3. Open the Start Menu.
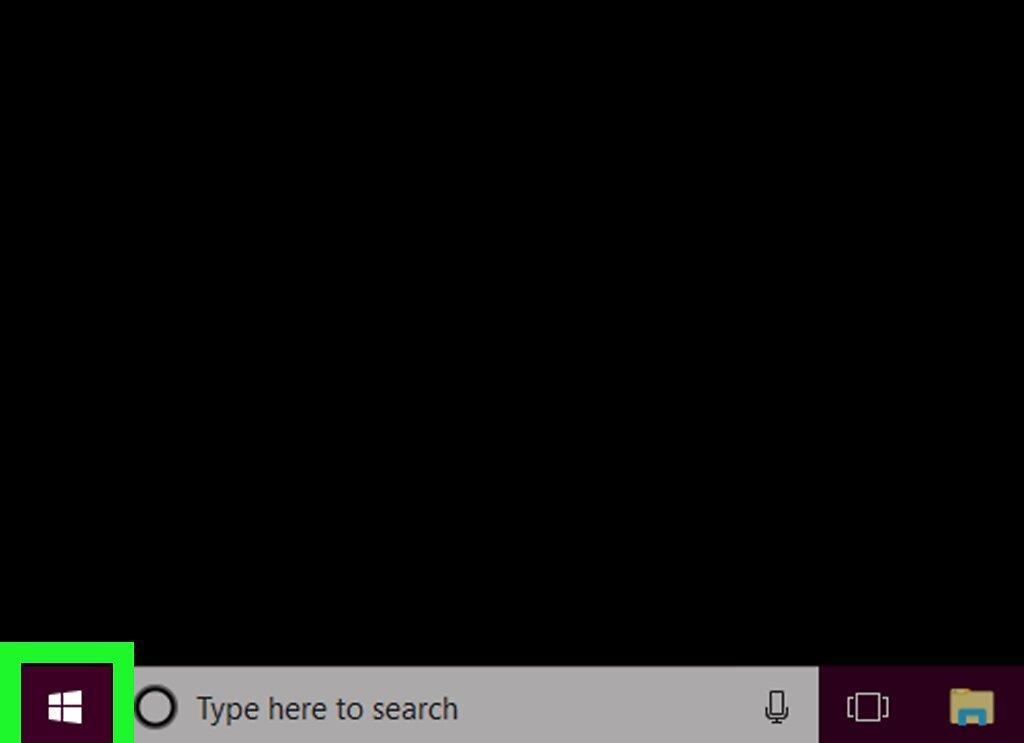
Click on the Windows logo in the lower left corner of your screen to open the Start menu.
Step 4. Launch File Explorer.
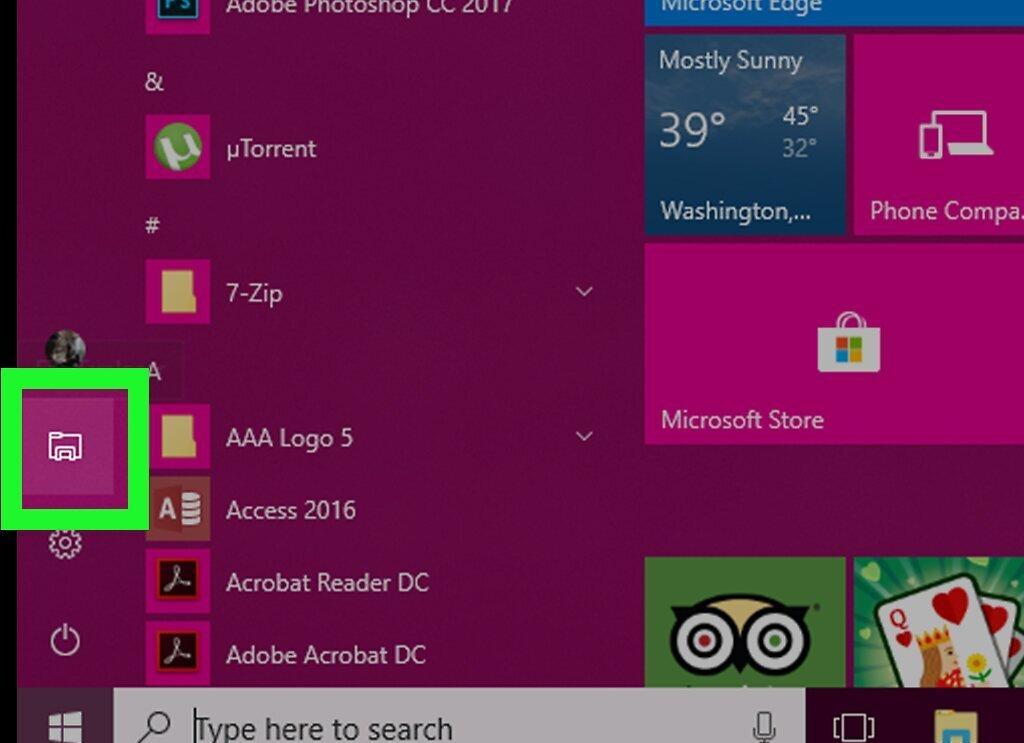
Open File Explorer by clicking the folder icon in the lower left part of the Start menu.
Step 5. Locate the Files You Need.
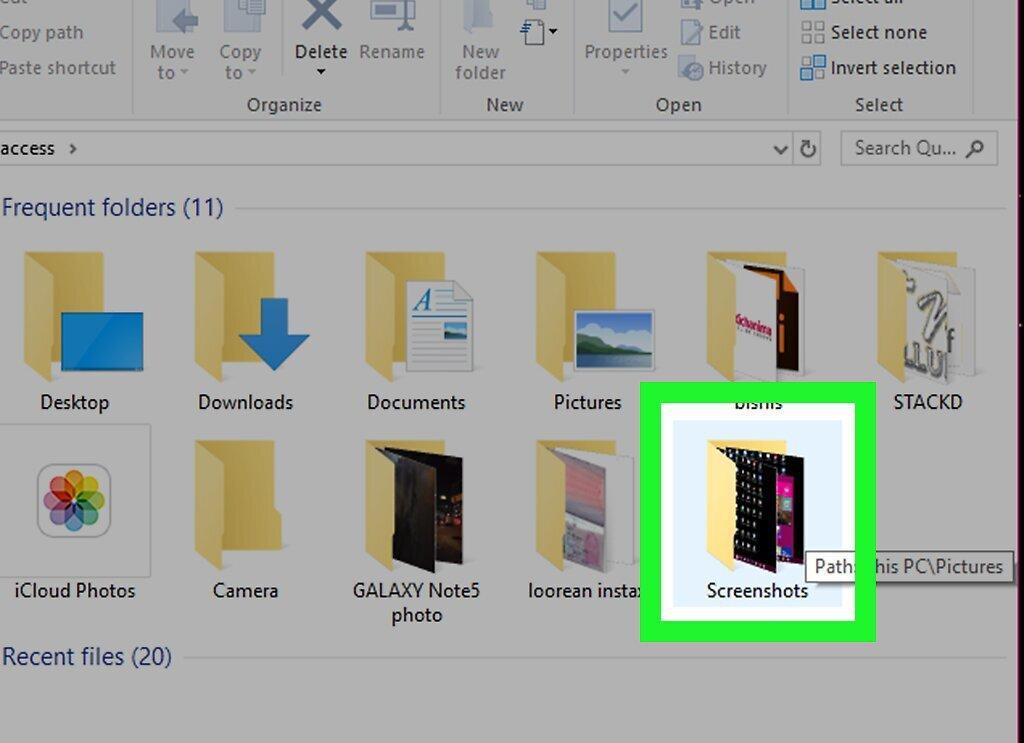
Navigate to the folder containing the files you want to transfer using the navigation pane on the left side of the File Explorer window.
- If your plan is to copy files from the hard drive to the computer, proceed to the step “Click on ‘This PC’.”
Step 6. Select the Files.
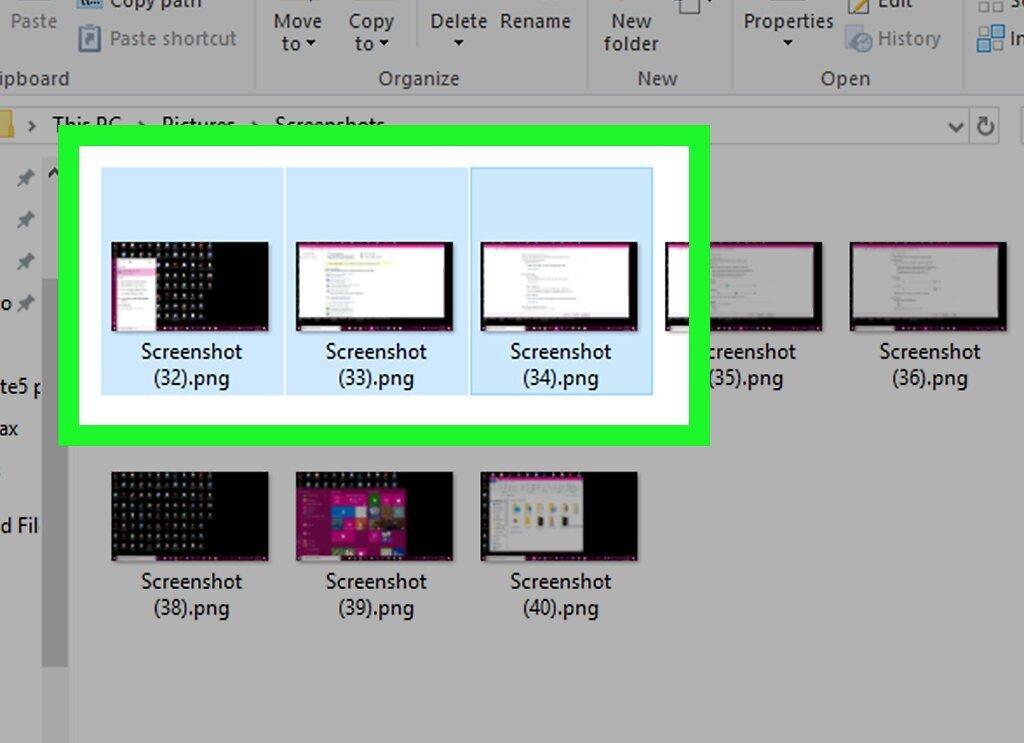
Choose the files you want to copy. Hold down the left mouse button and drag the pointer across the items or hold the Ctrl key while clicking each file.
- To select all files in the folder, click on any file and press Ctrl+A.
Step 7. Copy the Files.
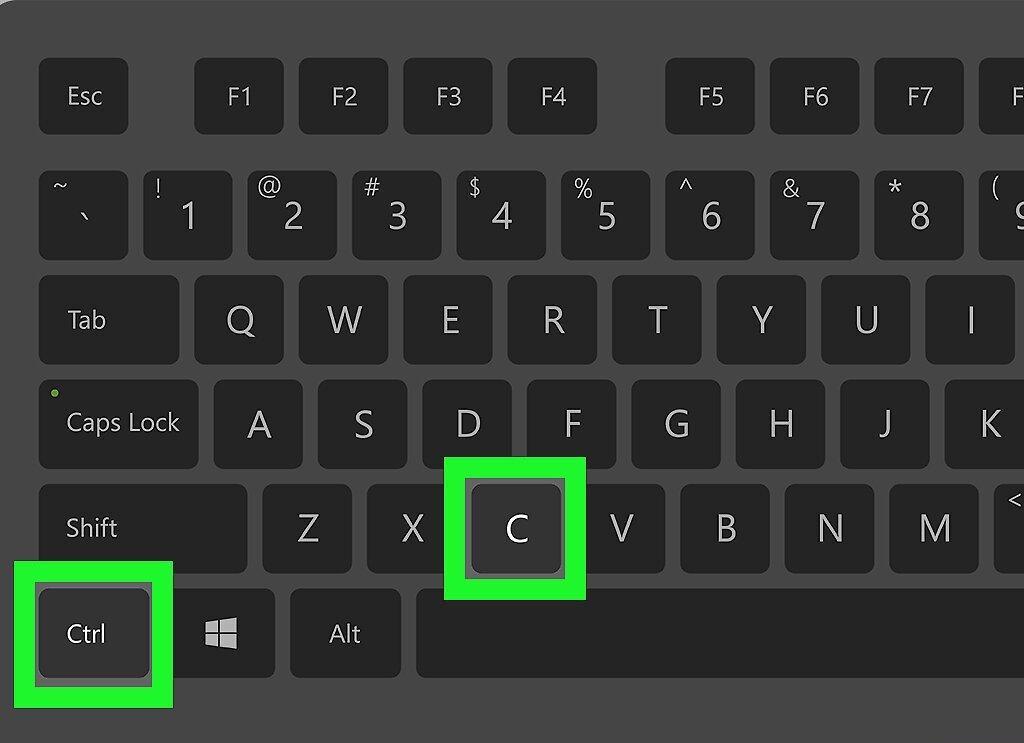
Copy the selected files by pressing Ctrl+C.
Step 8. Go to ‘This PC’.
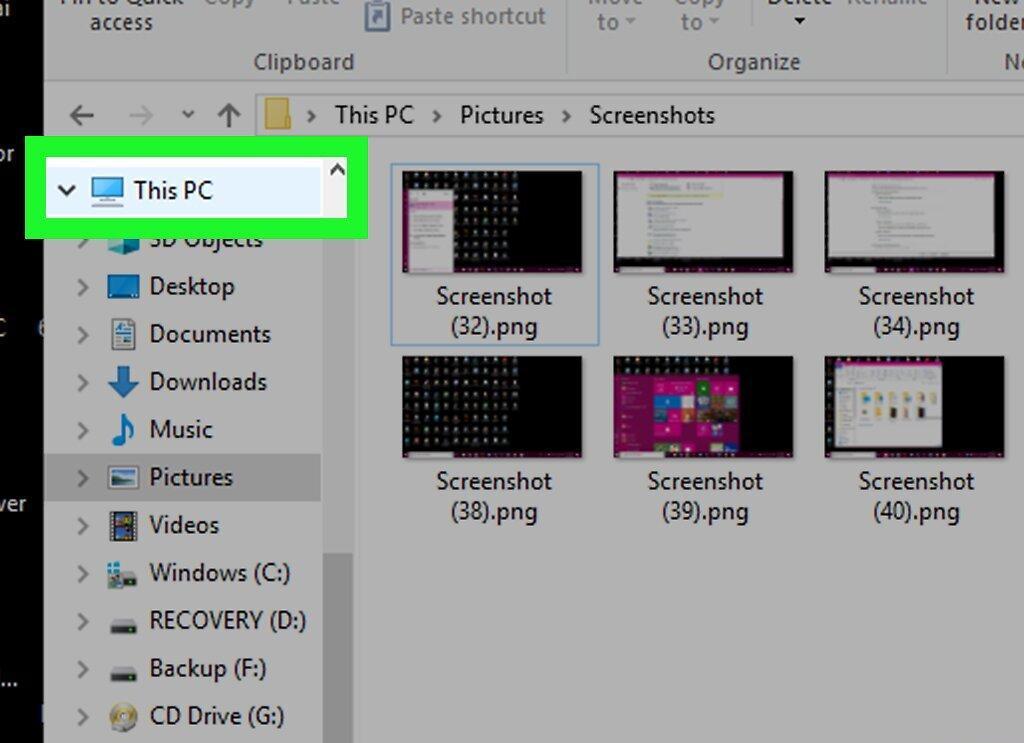
Find and click on ‘This PC’ in the left pane of the File Explorer window.
Step 9. Open the Hard Drive.
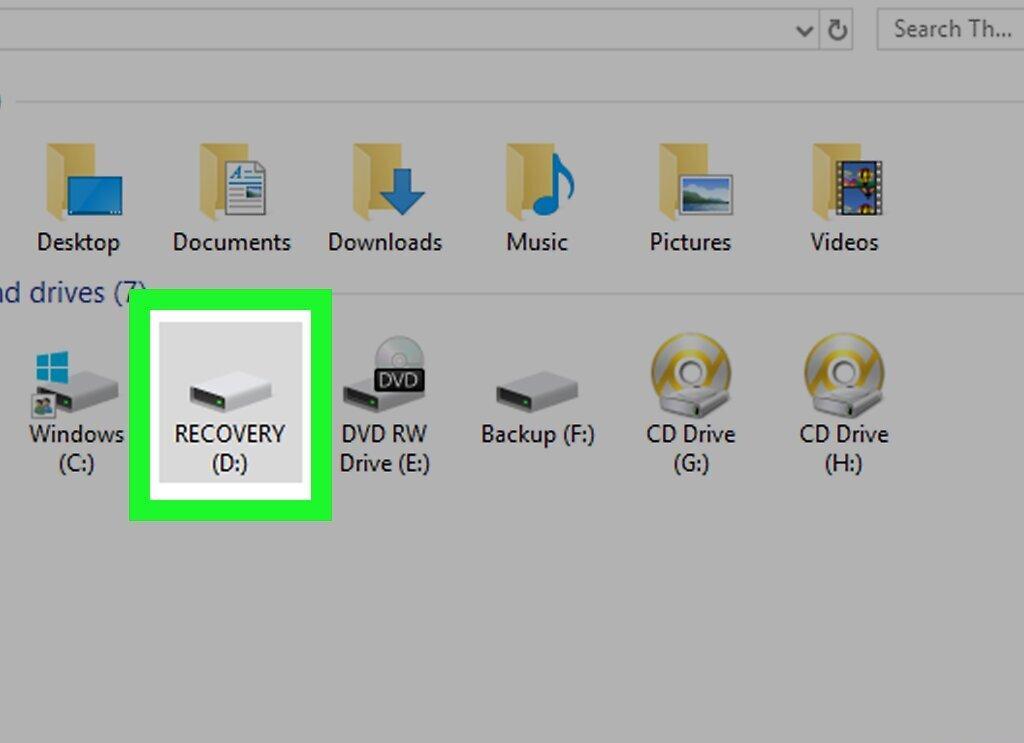
Double-click on the name of your hard drive in the ‘Devices and drives’ section.
- Typically, the hard drive icon is located on the right side of the ‘This PC’ window.
- Do not select the (C:) drive, as this is your computer's internal drive.
Step 10. Paste the Files.
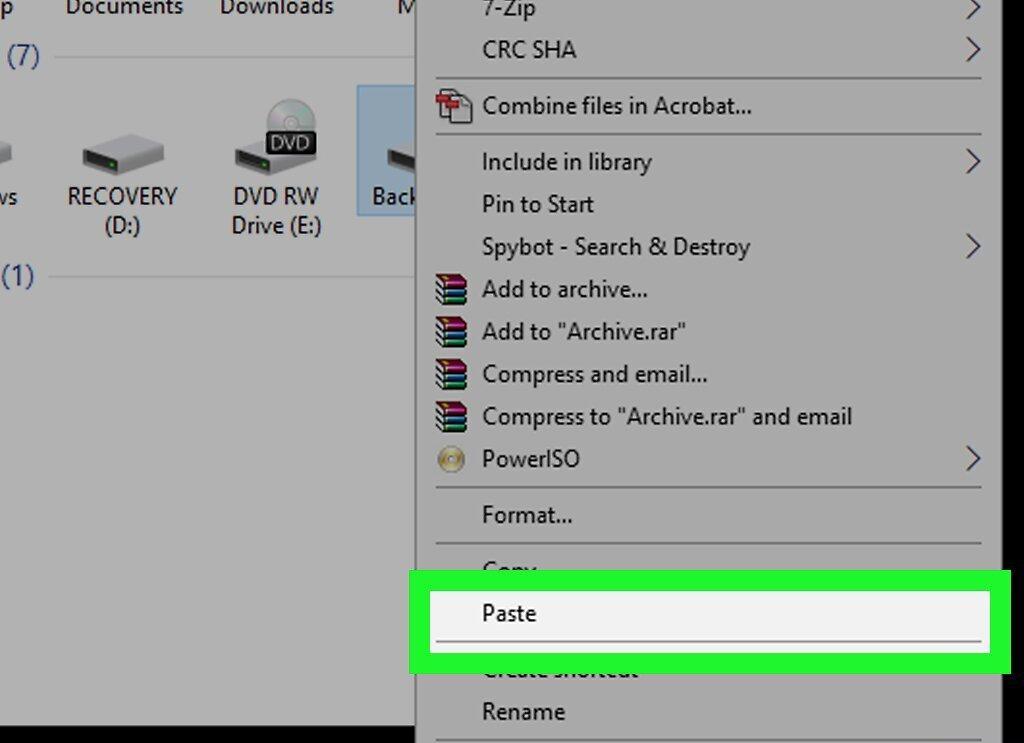
Paste the files by clicking in the empty space of the hard drive window and pressing Ctrl+V. Your files will be copied to the hard drive.
- If you are copying files from the hard drive to the computer, select the items you need, copy them (press Ctrl+C), open the desired folder on the computer, and press Ctrl+V.
Step 11. Safely Eject the Hard Drive.
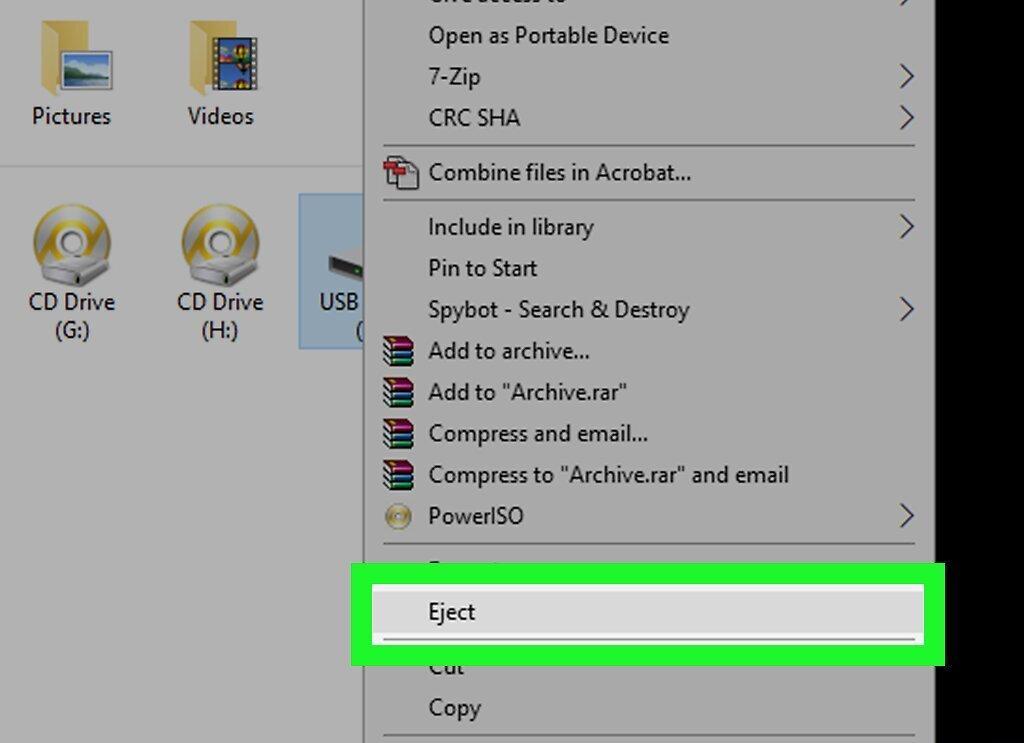
To safely eject the hard drive:
- Click on ‘This PC’ in the left pane of the window.
- Click on the name of your drive in the ‘Devices and drives’ section.
- Go to the ‘Manage’ tab.
- Click ‘Eject’ at the top of the window.
- Disconnect the drive from the computer.
On Mac OS X
Step 1. Identify the Type of Hard Drive.
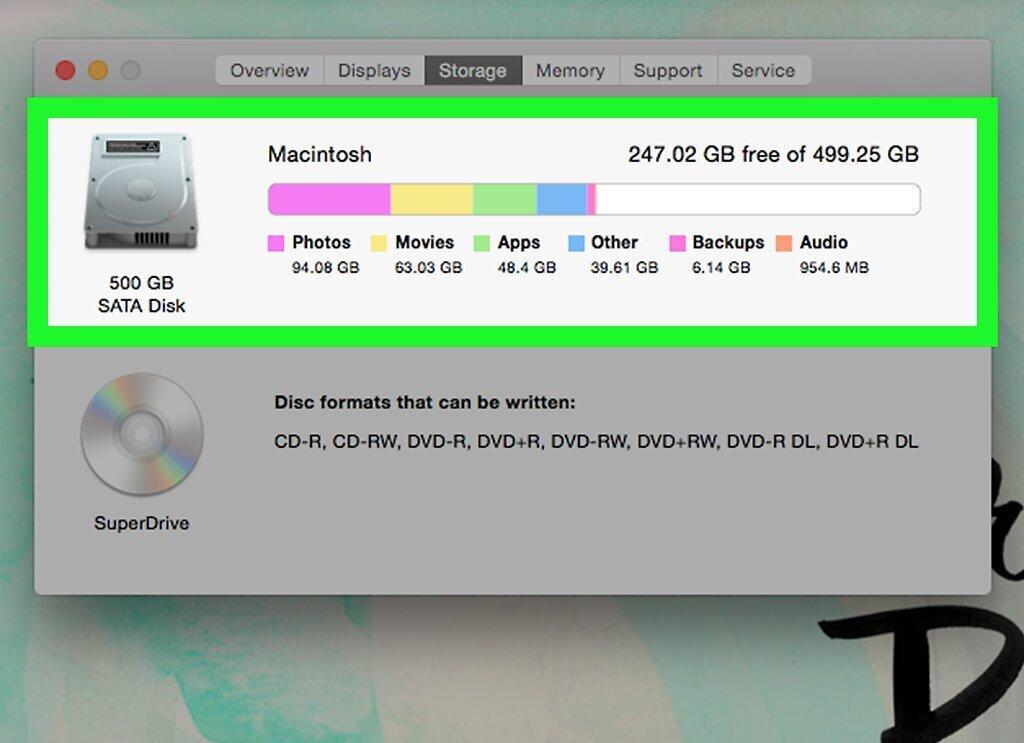
The first thing to do is identify the type of hard drive. It can be:
- External Hard Drive — connects via USB port. If you're planning to connect a new external drive to a Mac, format it to the ‘Mac OS Extended (Journaled)’ file system. You may need a USB-3 to USB-C adapter if the Mac only has USB-C ports.
- Internal Hard Drive — connects directly to the motherboard. Remove it to determine the type: IDE (wide flat cable) or SATA (narrow cable). After this, purchase the necessary IDE-USB or SATA-USB adapter.
Step 2. Connect the Hard Drive to Mac.
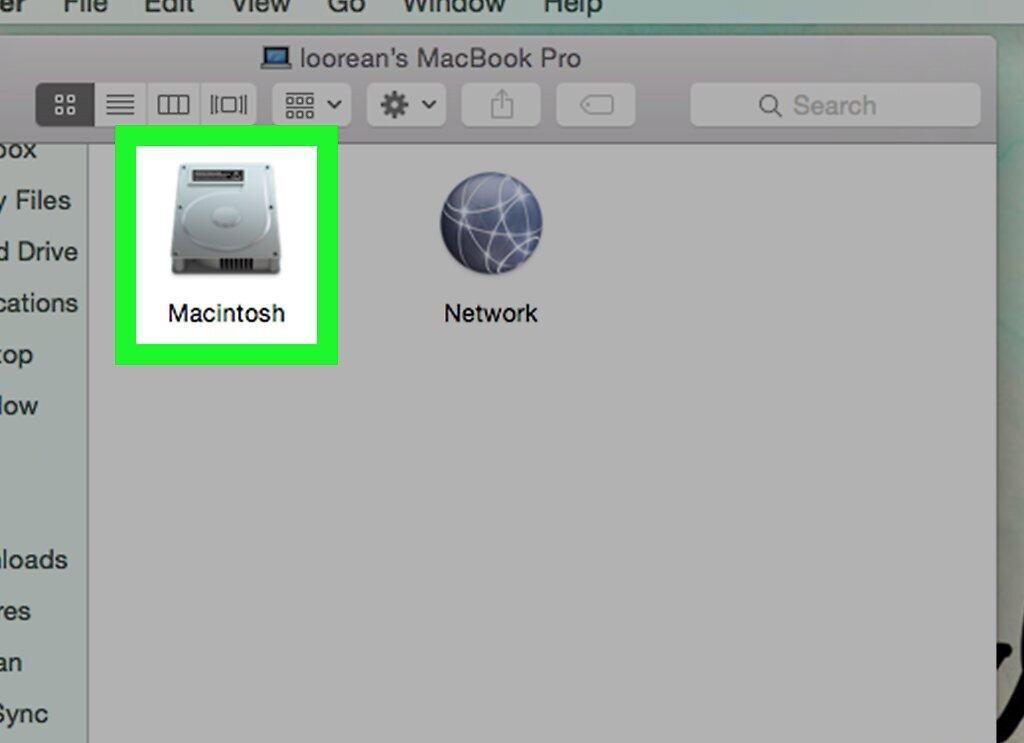
Connect the hard drive to your computer. Plug the USB cable between the drive and the Mac. If you're connecting an internal drive, first connect the adapter, then attach the IDE or SATA cable to the adapter.
- If your Mac doesn’t have standard USB ports, make sure to purchase a USB-3 to USB-C adapter.
Step 3. Open a Finder Window.
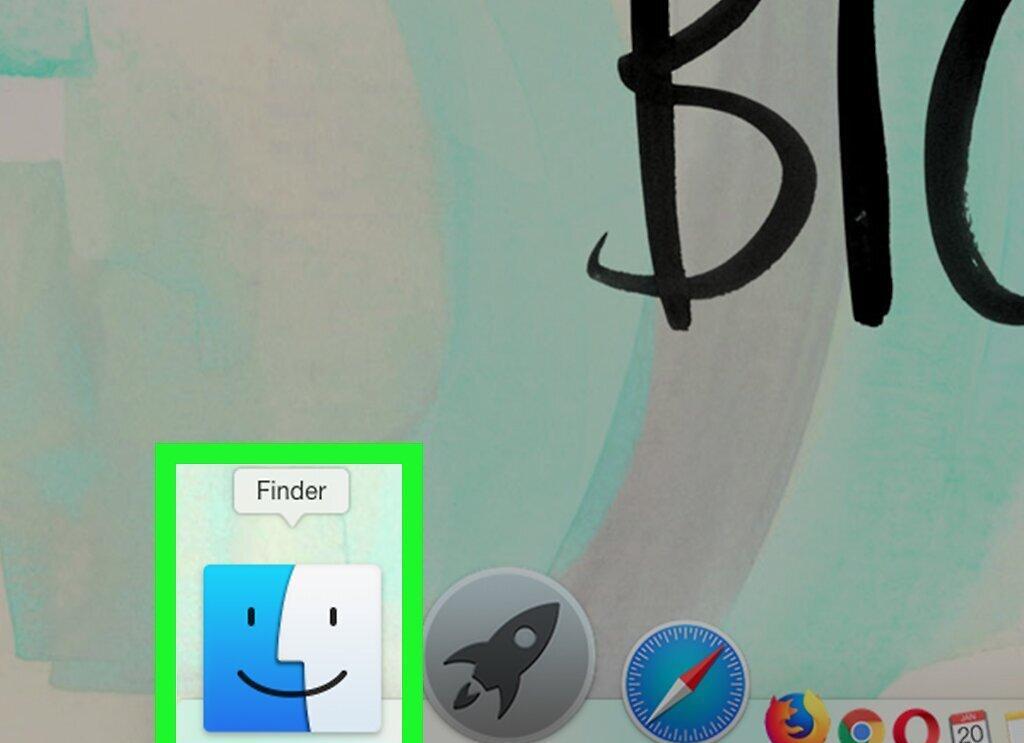
Launch a Finder window by clicking the blue smiley face icon in the dock.
Step 4. Locate the Files You Need to Copy.
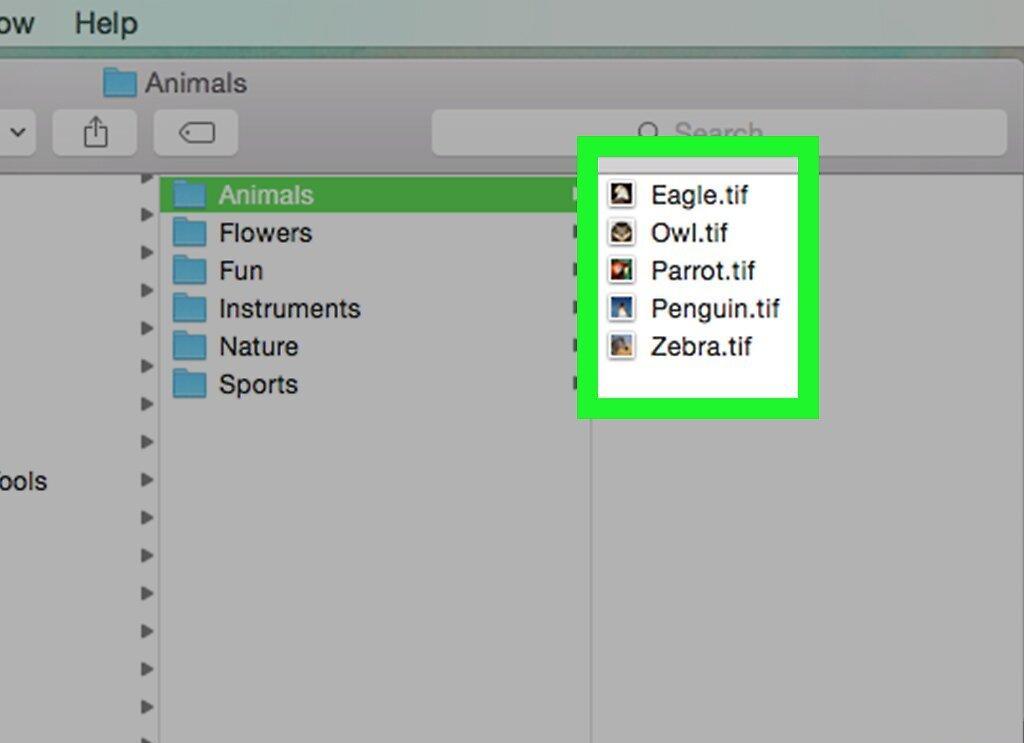
Navigate to the folder with the files you want to copy to the hard drive. Use the left side of the Finder window for navigation.
- If you want to copy files from the hard drive to the computer, proceed to the step “Click on the name of the connected hard drive.”
Step 5. Select the Necessary Files.
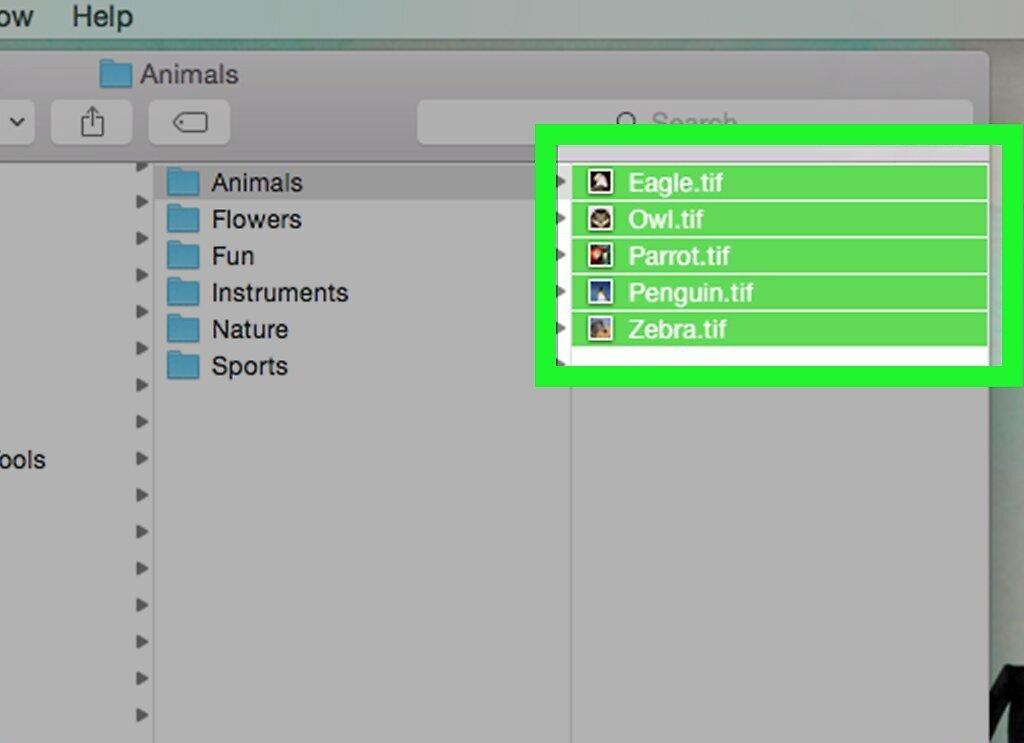
Select the files you are going to copy. Simply hold down the left mouse button and drag the cursor over the desired items or hold the ⌘ Command key while clicking each file you need.
- To select all files in the folder, click on any file and press ⌘ Command+A.
Step 6. Copy the Files.
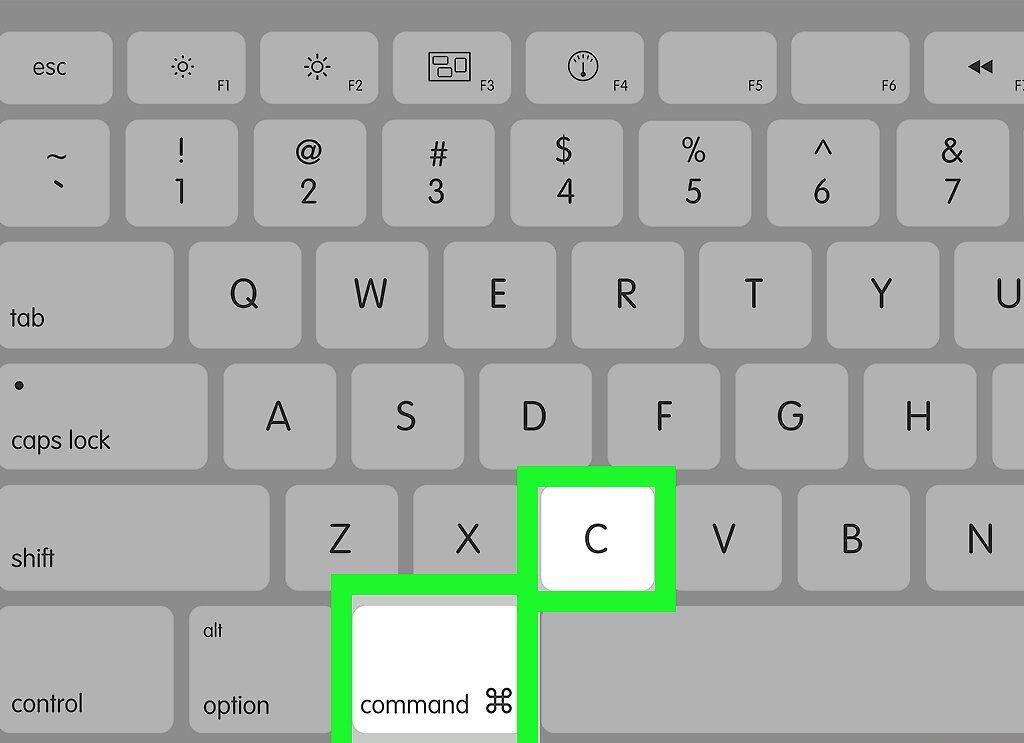
Copy the selected files by pressing ⌘ Command+C.
Step 7. Click on the Name of the Connected Hard Drive.
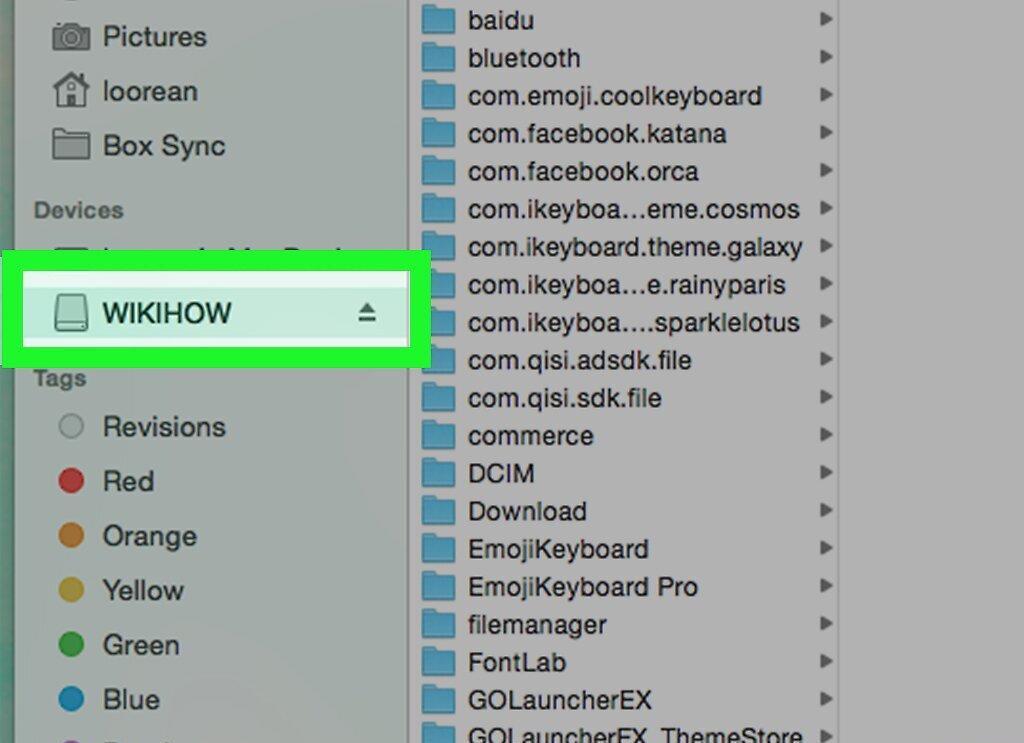
Find the name of your hard drive in the lower left part of the Finder window and click on it. This will open a window with the contents of the drive.
Step 8. Paste the Files.
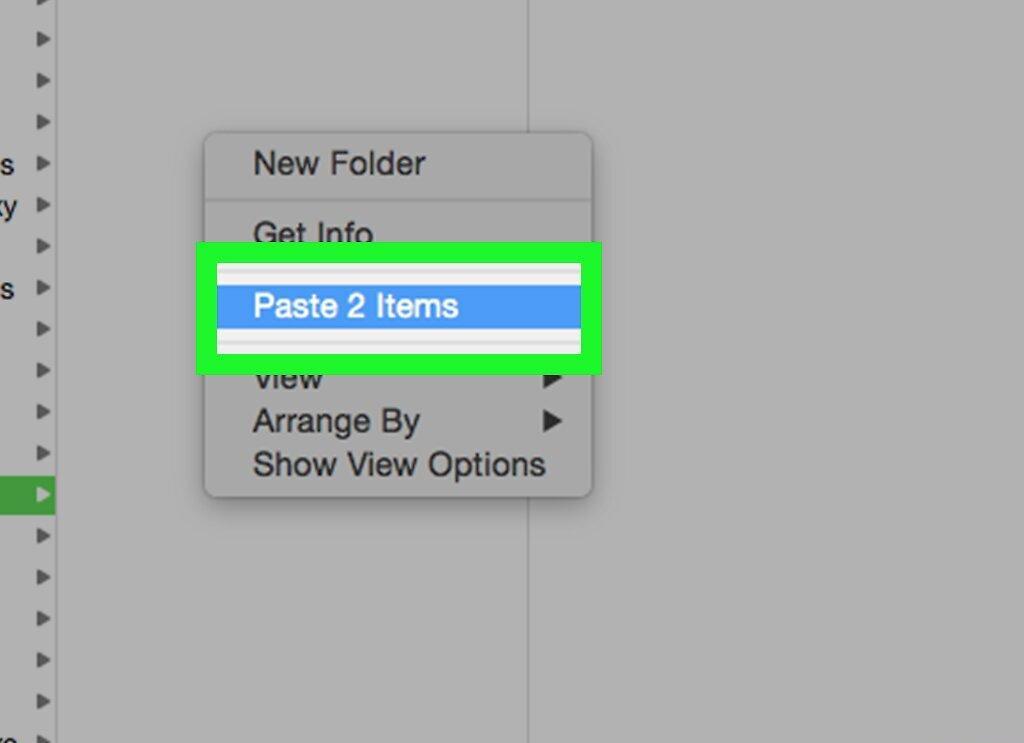
Paste the files by clicking in the empty space of the hard drive window and then pressing ⌘ Command+V. Your files will be successfully transferred.
- If you are copying files from the hard drive to the computer, select the necessary items, copy them (press ⌘ Command+C), open the desired folder on the computer, and then press ⌘ Command+V.
Step 9. Eject the Hard Drive.
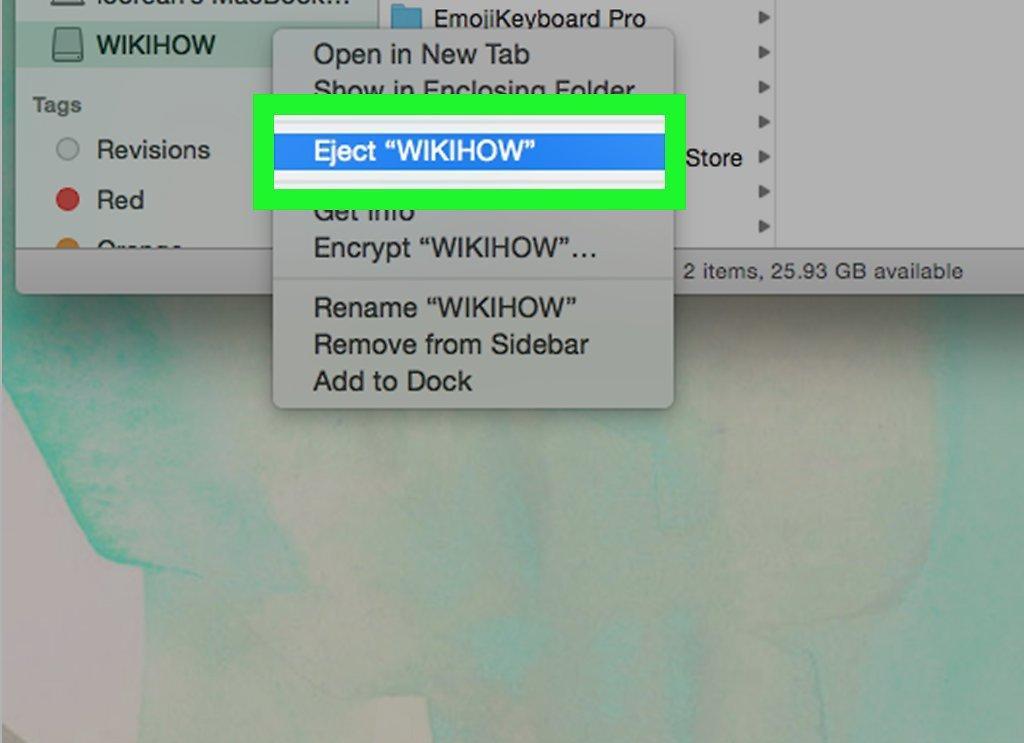
To eject the hard drive, click on the triangle to the right of the name of the connected drive in the Finder window, then disconnect the drive from the Mac when prompted.