
While most woodworking projects rely on straight boards, there are times when bends are required. Bent wood can significantly enrich your project, giving it individuality and style. There are several methods, each with its own advantages and disadvantages. Experiment with different approaches to find the one that suits you best. Read on to learn how to do it.
Bending Wood with a Steam Box
Step 1. Prepare the Steam Box.
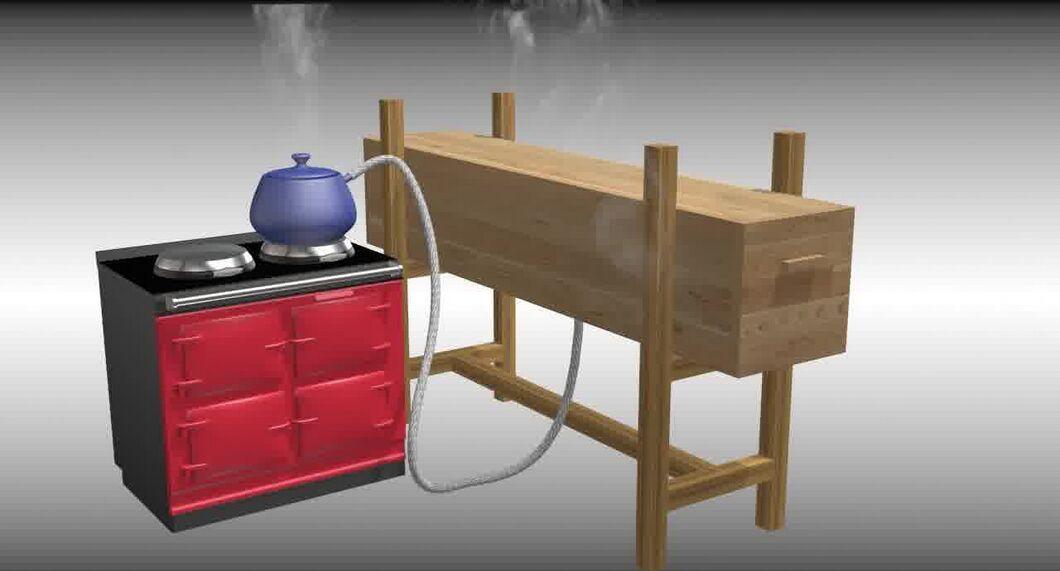
Start by preparing the steam box. This can be a homemade device for holding the wood that needs to be bent, or simply a piece of PVC pipe. Don’t forget to make a hole for steam to escape to avoid excess pressure.
- For best results, position the steam outlet hole facing down. This will allow steam to escape from the box without creating excess pressure.
Step 2. Create the Form.
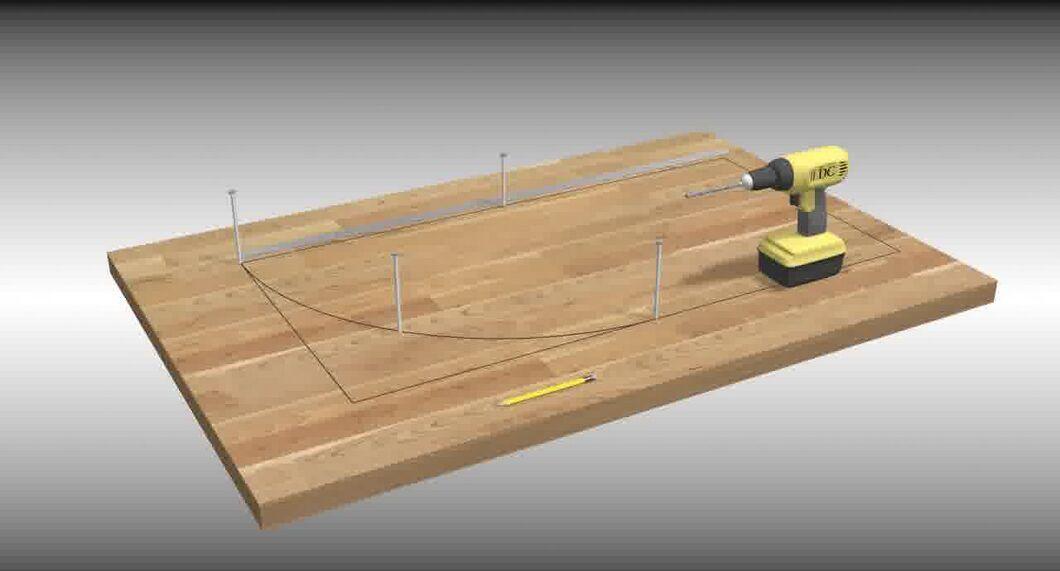
Shape your form. The form is the space through which the steamed wood will pass. After drying, it will retain its new shape.
- Secure the wood in the desired position using clamps. You can either make wooden clamps yourself or purchase ready-made ones. Try making several circular blocks with off-center holes. Insert bolts through the holes and drill another hole on the side to secure them. This will be an effective clamping solution.
Step 3. Steam the Wood.
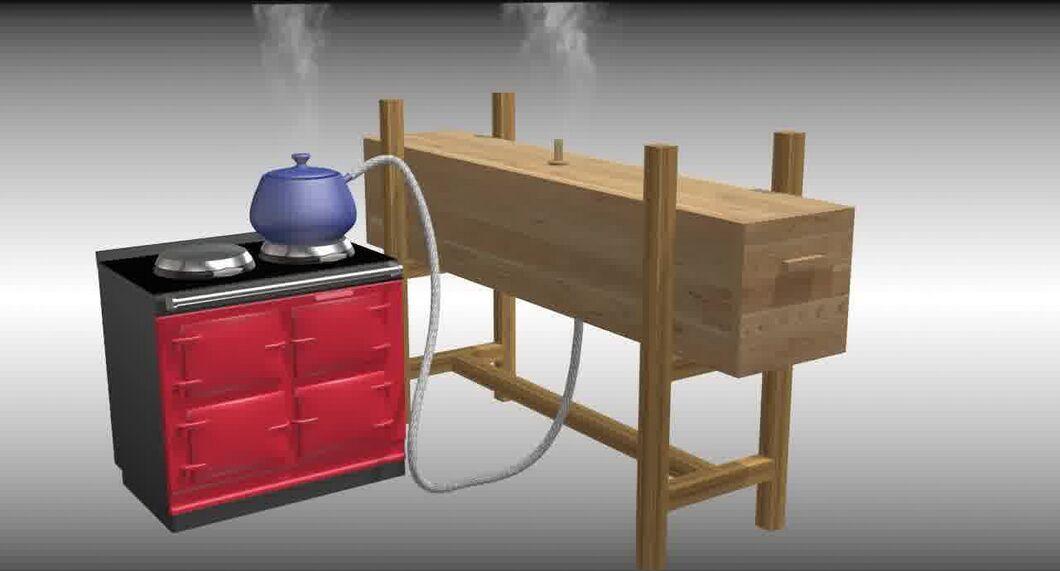
Begin steaming the wood. Turn on the heat and close the wood in the steam box. Typically, it takes about an hour of steaming for every 1 inch of wood thickness.
Step 4. Remove the Wood and Shape It.
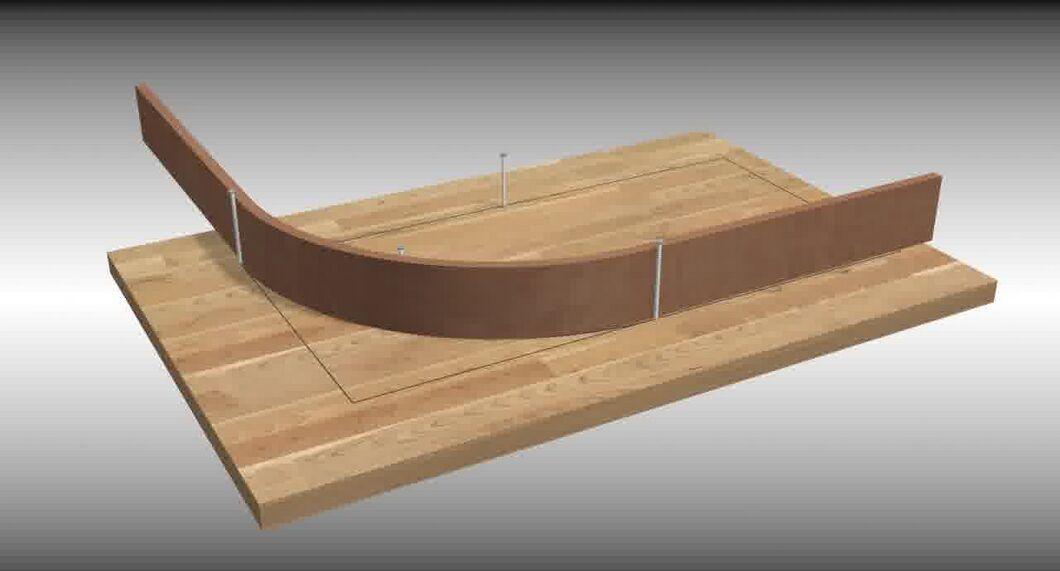
After the necessary time, remove the wood from the box and carefully shape it as needed. Do this quickly after removal to avoid cooling. Allow the wood to dry completely.
- Be cautious when bending. Different types of wood have varying flexibility, and different cutting methods may require different forces to bend. Don’t risk breaking the wood in the process.
- Secure the wood in position immediately after shaping. Some craftsmen prefer to clamp it during the process. If you clamp in sections, you will have greater control over the outcome.
Wood Bending Method Through Laminating
Step 1. Prepare the Laminates.
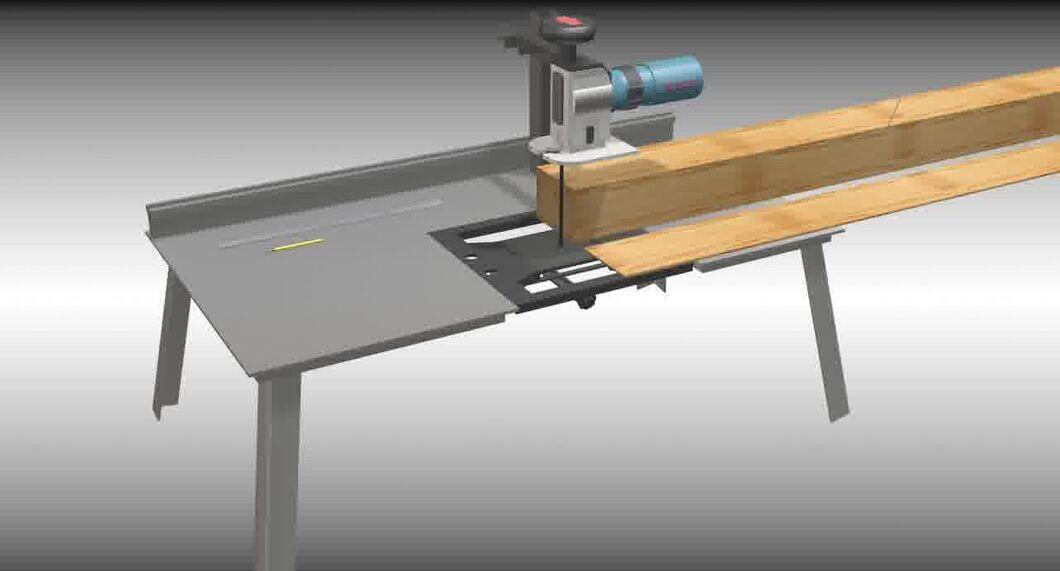
Prepare wooden laminates for bending. Cut the boards slightly longer than the required size, as bending will reduce their length.
- Before cutting, draw a diagonal line with a pencil and ruler on the underside of the board. This will help you position the boards correctly if they shift.
- Cut the boards in a straight line, not on the face side. This will allow you to bend them with minimal distortion.
Step 2. Apply a Cork Layer in the Form.
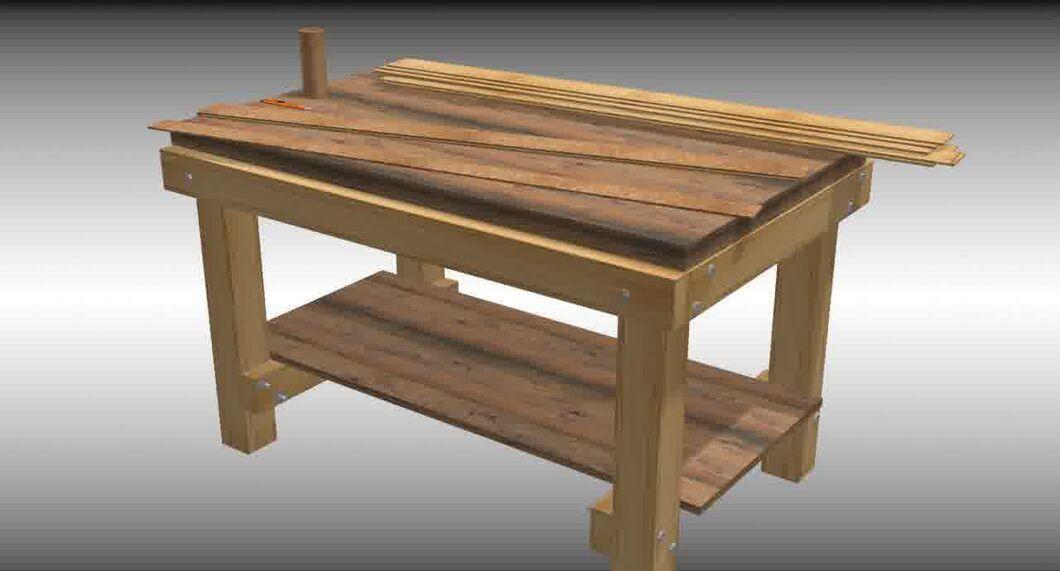
Apply a cork layer inside the form. The cork will help maintain the laminate in the desired shape and smooth out saw marks, providing a clearer bend.
Step 3. Apply Glue on One of the Boards.
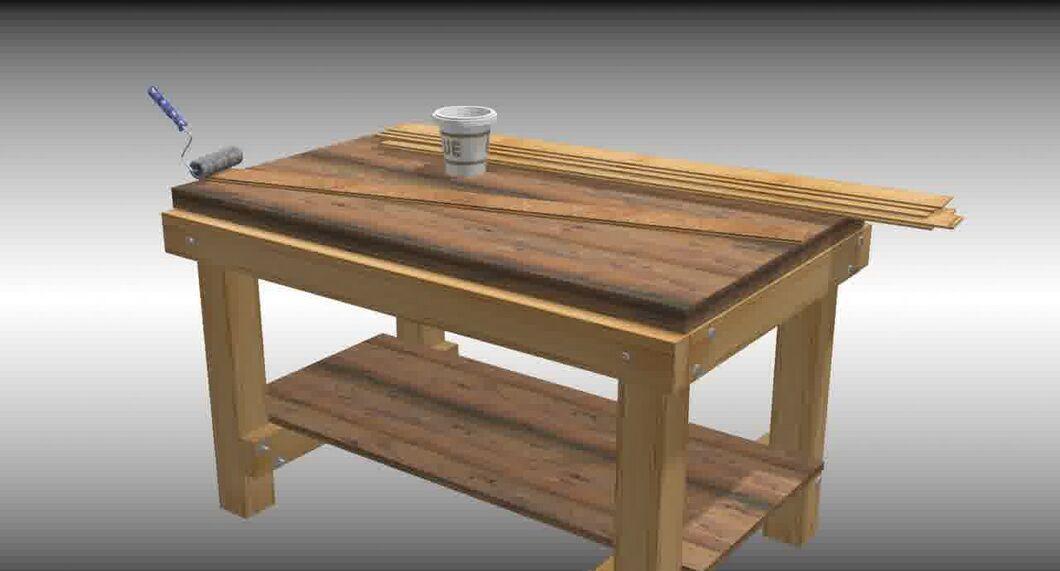
Apply glue to the top of one of the boards. This will help secure the bent shape.
- Use a roller to evenly distribute the glue.
- Choose the right type of glue: urea-formaldehyde glue with two components is an excellent choice as it is strong but dries slowly.
- Epoxy resin is also a good option, although it’s more expensive.
- Avoid using regular wood glue for laminated bending, as it dries quickly and doesn’t provide the necessary strength.
Step 4. Place the Wood into the Form.
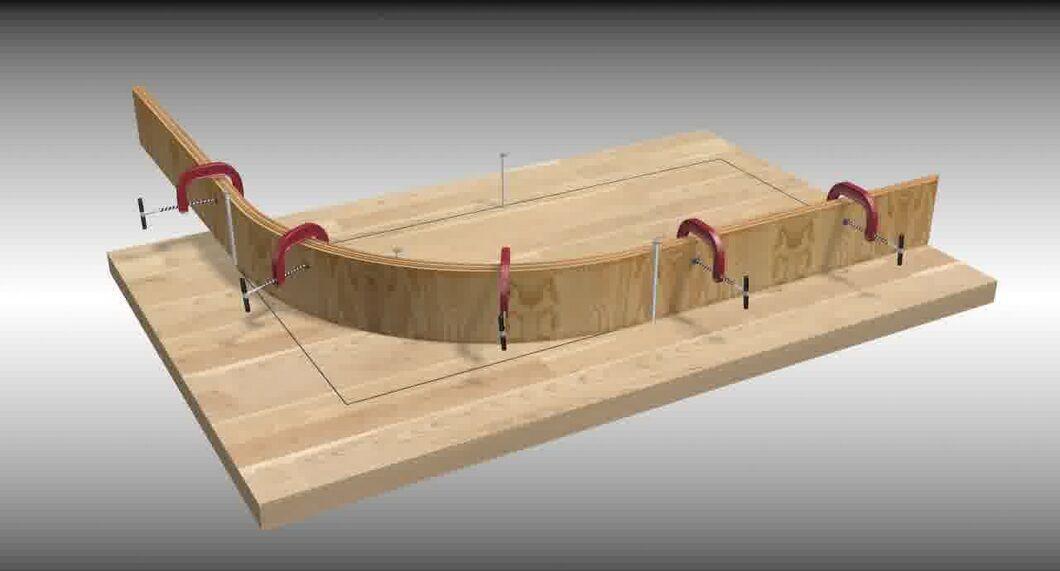
Lay the wood in the form as quickly as possible before the glue starts to set. Then place another glued board on top. Repeat the process until you reach the desired thickness and clamp the boards. After the glue has set, trim the edges to the desired length.
Wood Bending Method with Kerf Cutting
Step 1. Prepare the Wooden Blanks.
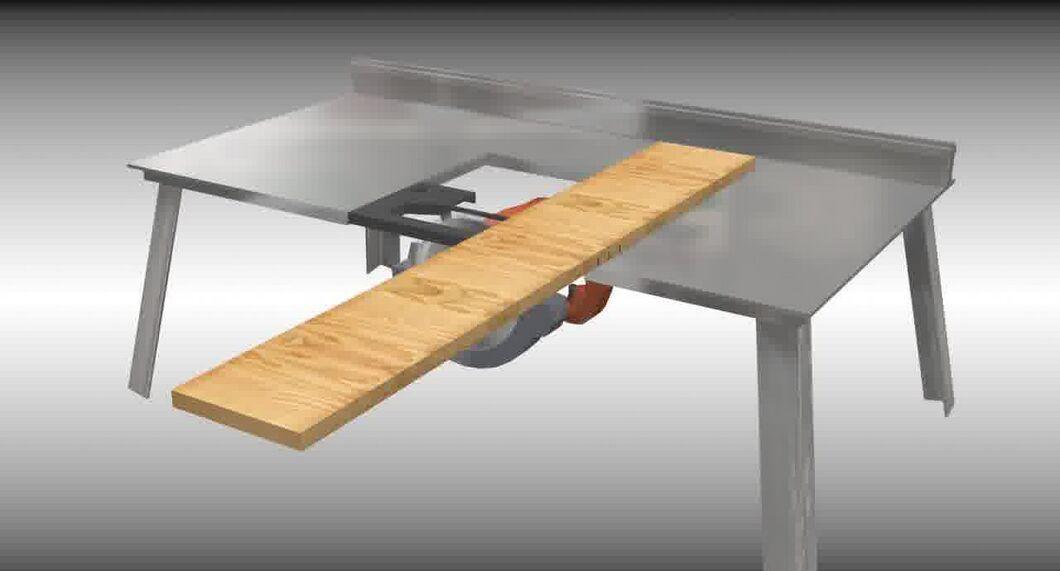
Prepare the boards. Make cuts that go 2/3 of the way through the thickness of the wood. The cuts should be located on the inside of the curve you want to create. Be careful—too deep cuts can lead to breaking.
- The key to kerf cutting is maintaining an even spacing between the cuts. Aim for a distance of about 0.5 inches.
- Always cut across the wood grain. This will reduce the risk of the material splitting during cutting.
Step 2. Squeeze the Edges of the Blank.
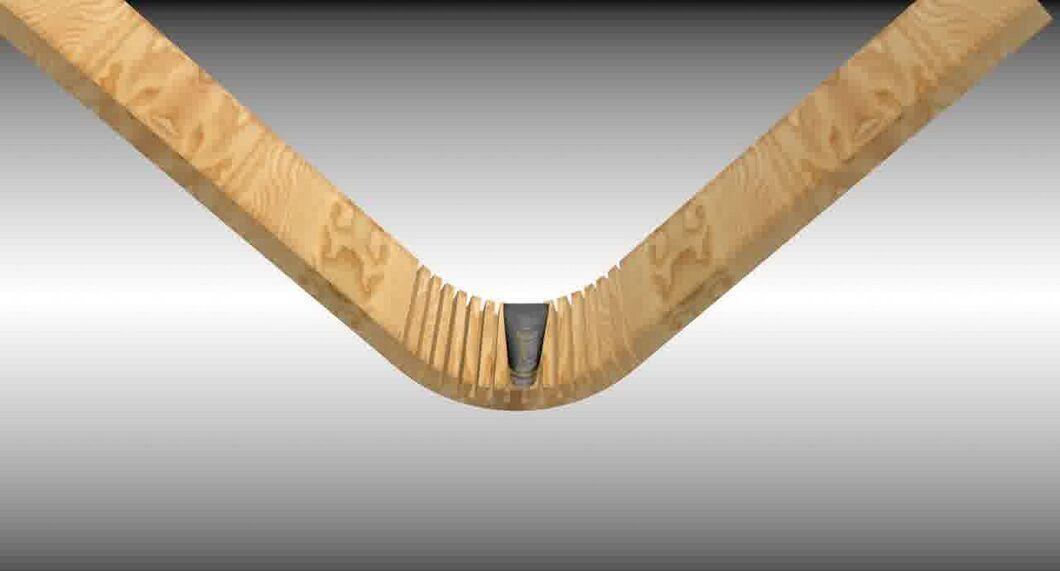
Squeeze the edges of the blank to close the gaps from the cuts. This will give the wood the desired shape.
Step 3. Finish the Bend.
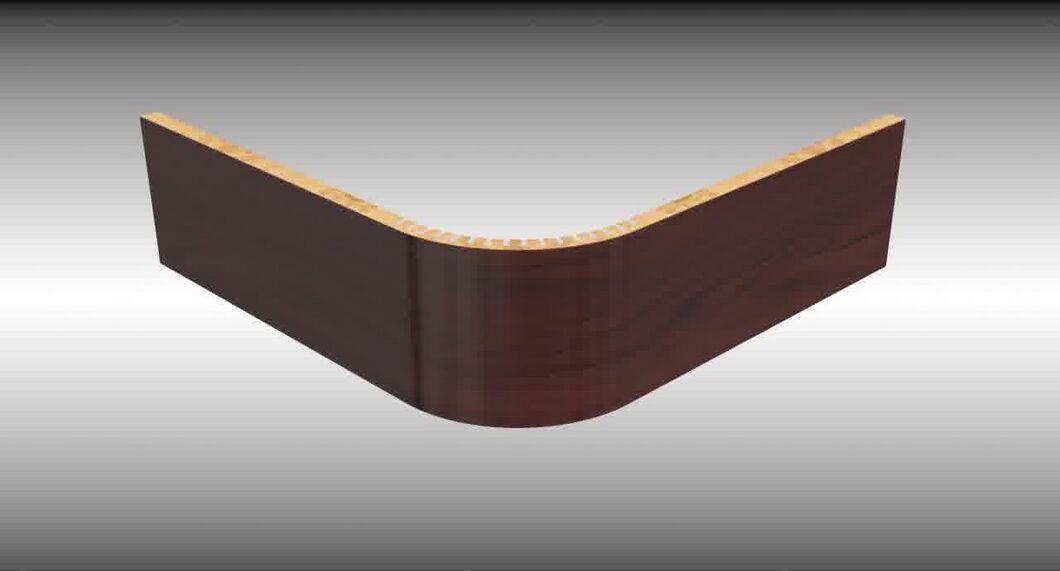
Finish working on the bend. Cover the front of the wood with veneer or laminate. This will not only correct the bend but also close any cuts that may have occurred during the process.


