
A playhouse is a wonderful space for joy and engagement for your children. Constructing such a fort can be a great collaborative project for the whole family. Your little ones will be thrilled to have their own house and will happily participate in its creation. Let’s explore how you can make a playhouse on your own.
Wooden Playhouse
Step 1. Gather Materials.
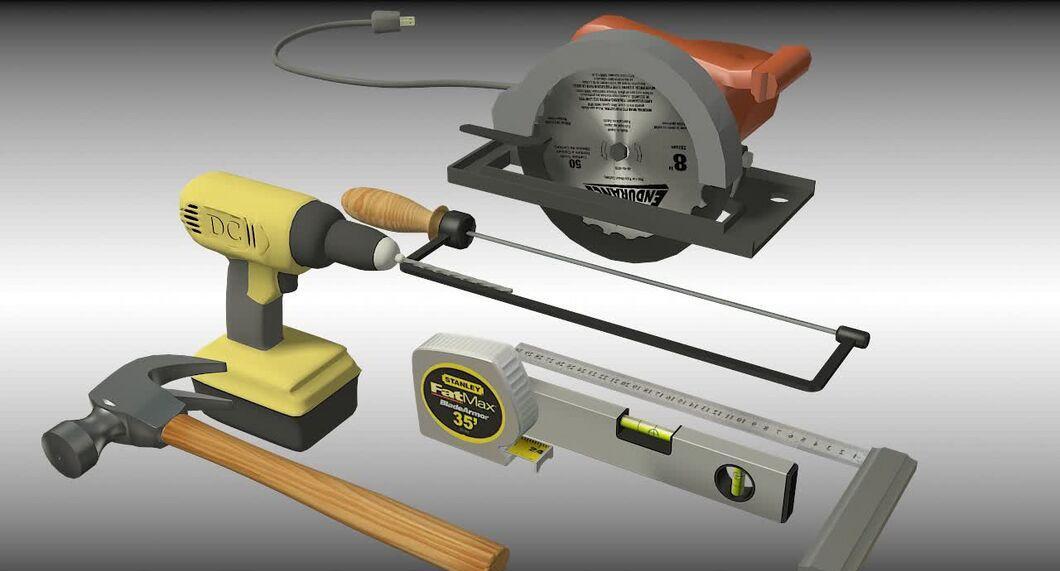
Collect the necessary materials. This method of building the playhouse will require more time and effort, but the result will pleasantly surprise you. The process involves many details, so be sure to prepare everything in advance.
- You will need: 50x200 mm boards, 50x100 mm boards, 20 mm plywood, 80 mm galvanized wood screws, 25x150 mm decking, wooden siding, rounded baseboard, soft roofing shingles, and roofing nails.
- You will also need tools: a circular saw, jigsaw, reciprocating saw, drill, level, square, hammer, utility knife, and measuring tape.
- As an option, you can use acrylic glass for windows to cover them instead of leaving open holes.
Step 2. Find a Suitable Location.
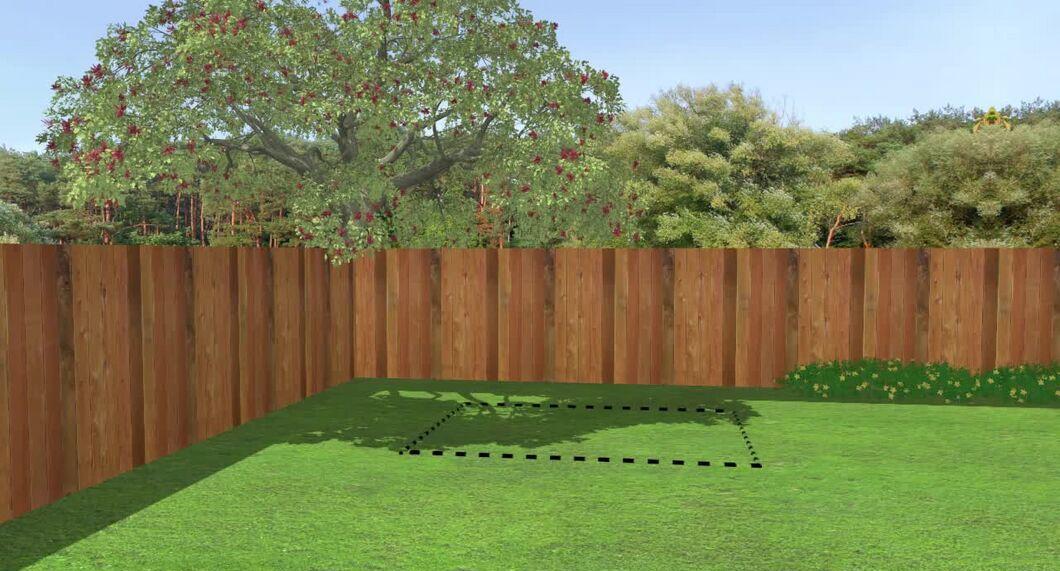
Choose a good spot for the playhouse. The dimensions of the house are 1.8 by 2.4 meters, so you will need at least 4.3 m² of space, plus room for the entrance. Although the structure is intended for outdoor use, it can also be set up indoors.
Step 3. Create the Foundation.
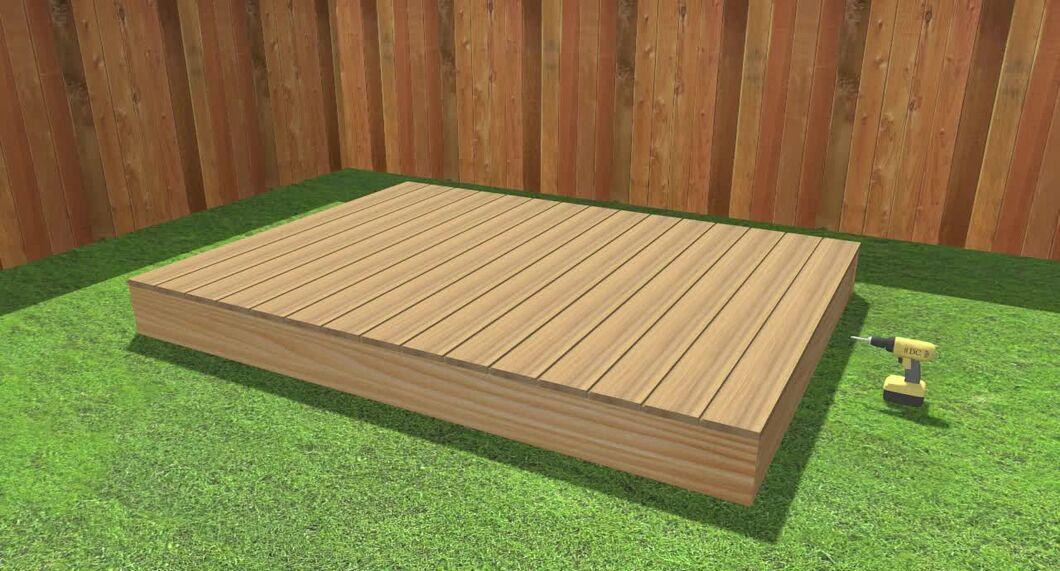
Assemble the foundation. Use the 50x200 mm boards and wooden panels to create it. This will be the platform for the playhouse and will elevate the floor slightly off the ground.
- Measure, cut, and assemble the 50x200 mm boards into a rectangle measuring 1.8x2.4 meters. Don’t forget to shorten the side boards a bit so they fit snugly between the front and back.
- Secure the boards with screws to form a stable rectangle.
- To enhance the floor’s strength, add “joists” by placing several perpendicular boards crosswise and securing them with screws.
- For the floor, cut panels to 1.8 m in length and lay them edge to edge across the foundation. Secure everything with screws.
- Remove any excess board pieces if necessary.
Step 4. Build the House Frame.
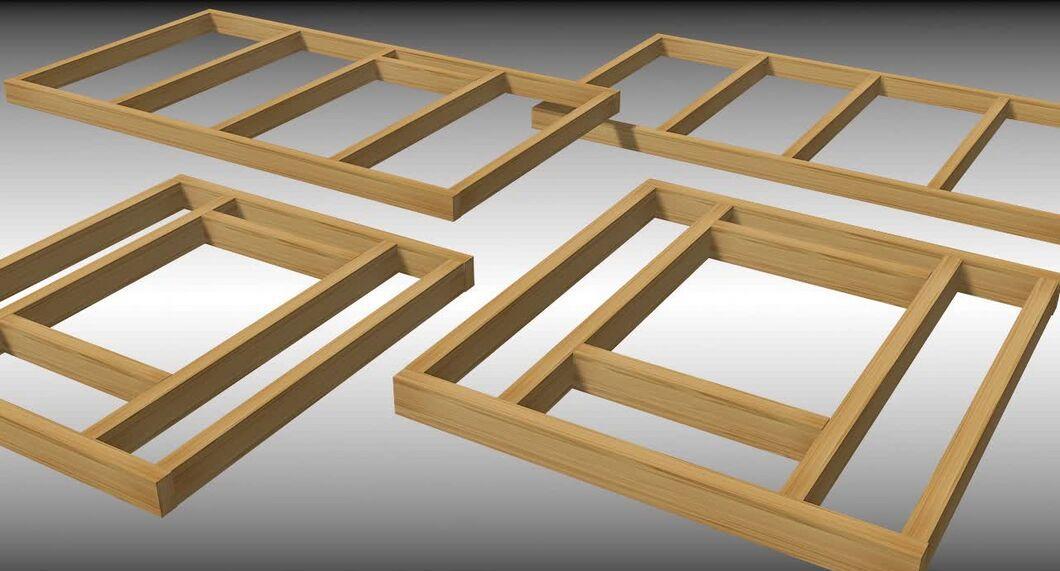
Assemble the frame of the playhouse. Measure 25 mm from each side of the foundation for the installation of the frame.
- Before creating the “frame” for the back wall, prepare the top and bottom boards. Cut two pieces of 2.4 m from the 50x100 mm boards so they do not extend beyond the edges of the floor. Then cut five more pieces of the same length to 1.1 meters to perfectly fit the size of the boards connected to them. Join the two 2.4 m boards and two 1.1 m boards to form a rectangle.
- Similarly, create a frame for the front wall, ensuring to leave space for the door. For this, add an additional board placed 5 cm down from the top board in one of the sections of the frame. Decide with your child which section to designate for the door.
- Create the side frames using four 50x100 mm boards, cutting each to 1.1 meters (the vertical components). From the other four identical boards, cut four 1-meter pieces for the horizontal components. Join the boards to form two identical rectangles. For each frame, cut one additional board to 1.1 meters and place it in the center, dividing the rectangle into two equal parts for added strength.
- In the side frames, measure 25 cm from the top and bottom and install additional boards of the required length at that distance to create windows.
Step 5. Install Wall Frames on the Foundation.
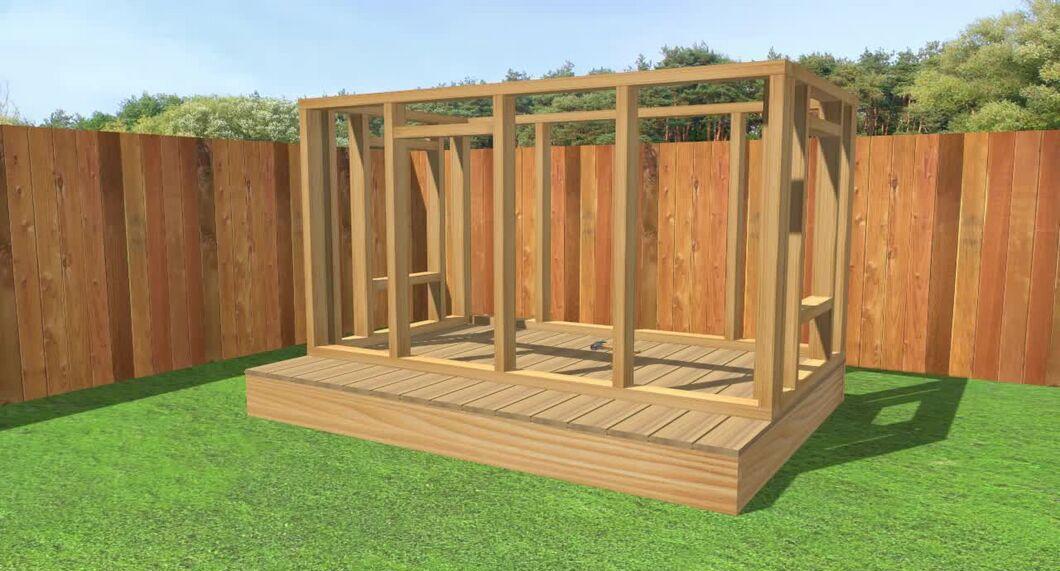
Install the wall frames on the foundation, starting with the back wall. Position it flush against the edge of the foundation to ensure the corners align, and secure it with several screws. Then attach the side frames first to the foundation and then to the back frame. Finally, install the front wall frame, ensuring to leave about 0.6 m for the porch. First, secure the frame to the foundation, then, once everything connects smoothly, fasten the parts together with screws.
Step 6. Build the Roof.
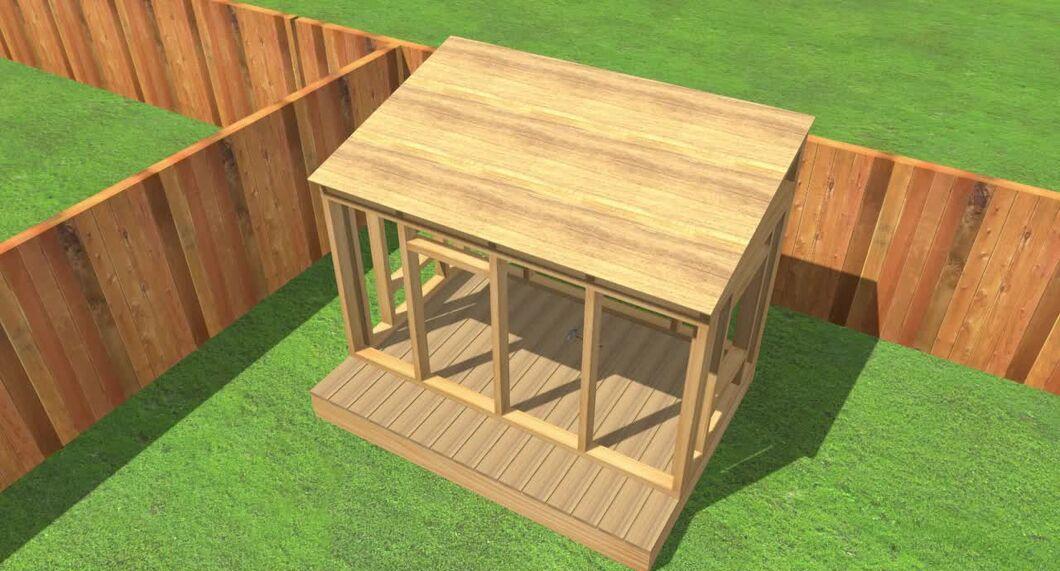
Construct the roof. Once the wall frames are ready and securely fastened, move on to the roof. Create its frame and cover it with plywood.
- Measure a board 2.4 m long for the ridge of the gabled roof.
- Cut 35.5 cm long rafters from the 50x100 mm boards and position them at the necessary angle to connect with the ridge and the wall frame.
- Create eight “rafters” for the roof using 4 boards on each side between the rafters. This will make the structure more reliable. Also, set them at an angle, connecting the top of the wall frame and the ridge.
- First, secure the side rafters to the ridge, and then attach the “rafters”. Make sure the roof frame and the top boards of the walls are connected. You should have two isosceles triangles formed over the side frames.
- Cut the plywood to cover the roof frame. Ensure the sizes are suitable for laying the shingles later. After determining the plywood sizes, carefully cut and secure it on the slopes.
- Attach beams and supports to the frame above the rafters for extra stability.
Step 7. Cover the Walls.
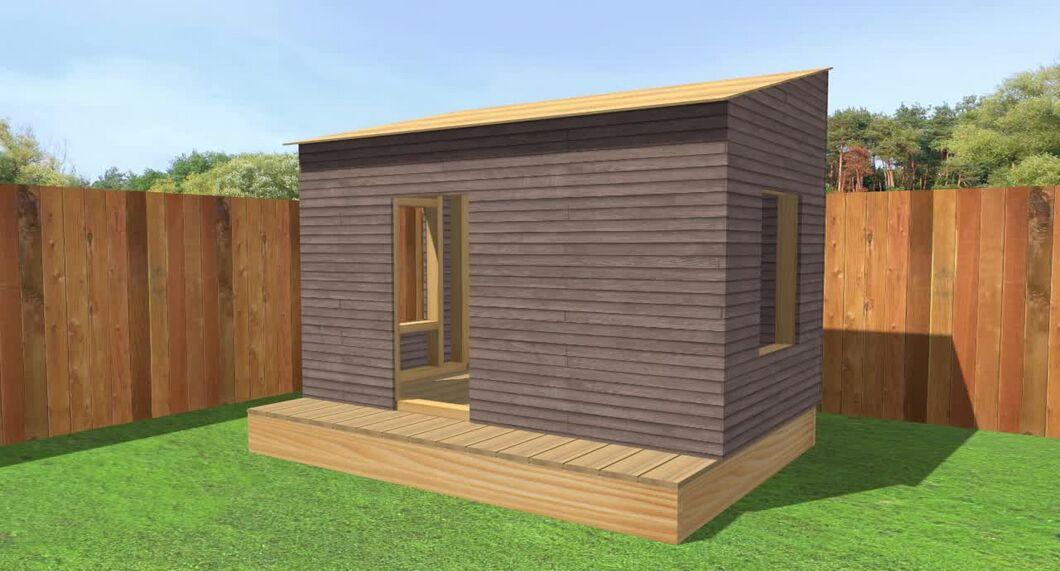
Finish the walls with wooden siding. Measure and cut panels to fit the walls. Remember that panels for the side walls should be pentagonal to cover the triangular part of the roof.
- Attach the cut panels to the frame along its supporting boards.
- Mark the locations for the windows and door. Using a jigsaw, cut out the excess parts and sand down any sharp edges. If you decided to use acrylic glass for the windows, install it now. Frame the windows with rounded baseboard along the edges.
Step 8. Cover the Roof with Shingles.
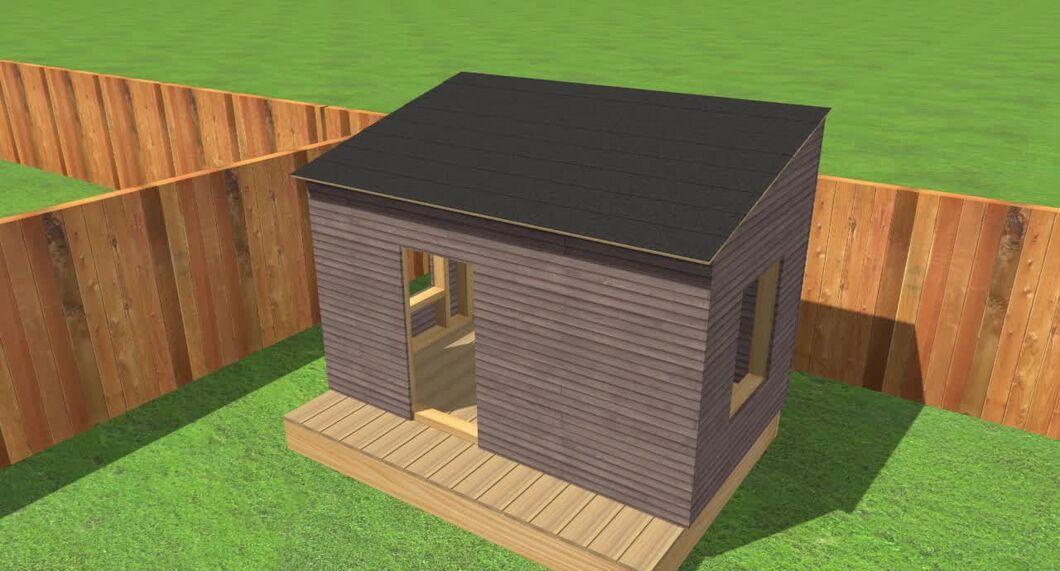
Cover the roof with shingles. Work from the bottom up, attaching rows of shingles so that each subsequent row overlaps the previous one. Use four roofing nails for each row. When you reach the ridge, cut the shingle sheet into individual pieces and, turning them 90 degrees, also secure them in an overlapping manner. Now the roof is fully covered with shingles; remove any excess parts as needed.
Step 9. Decorate the Playhouse.
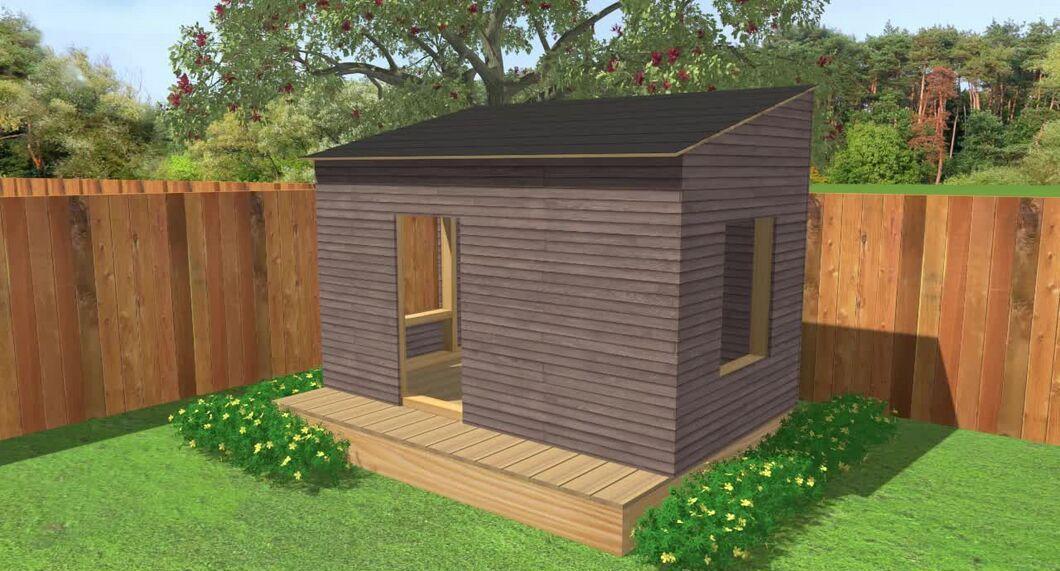
Decoration is complete. Now that the house is ready, you can add brightness and personality. Paint it on the outside, decorate the windows, or furnish it with toy furniture. Enjoy the results of your hard work.
PVC Pipe Playhouse
Step 1. Gather Materials.
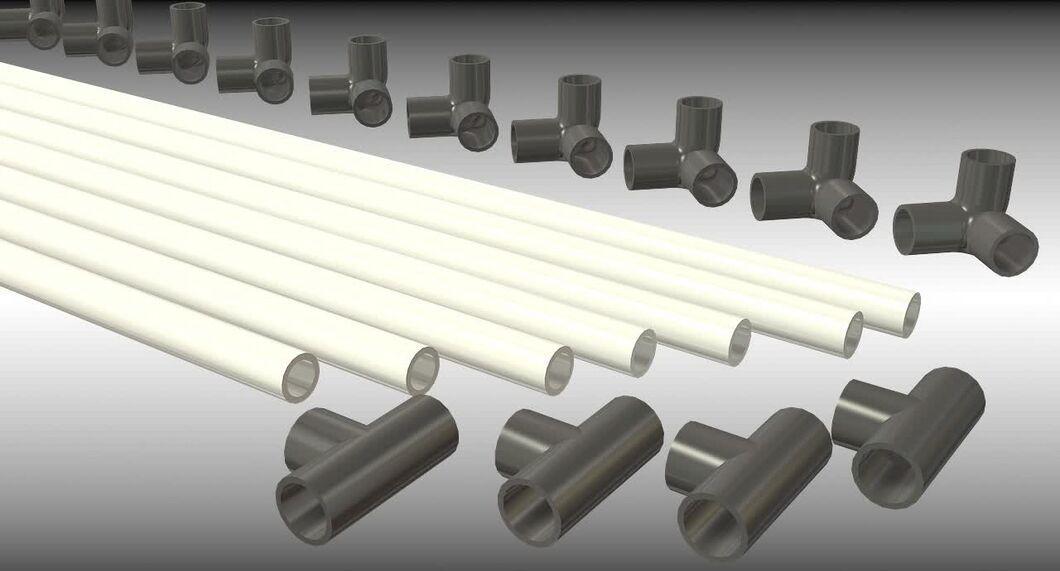
Collect all necessary materials. You will need seven 3-meter long PVC pipes with a diameter of 20 mm, plastic connectors (4 T-shaped, 4 45-degree elbows, and 10 corner connectors), a PVC pipe cutter, fabric, and a sewing kit.
- All connectors must be compatible with 20 mm diameter pipes.
Step 2. To save money, consider using unlined curtains.
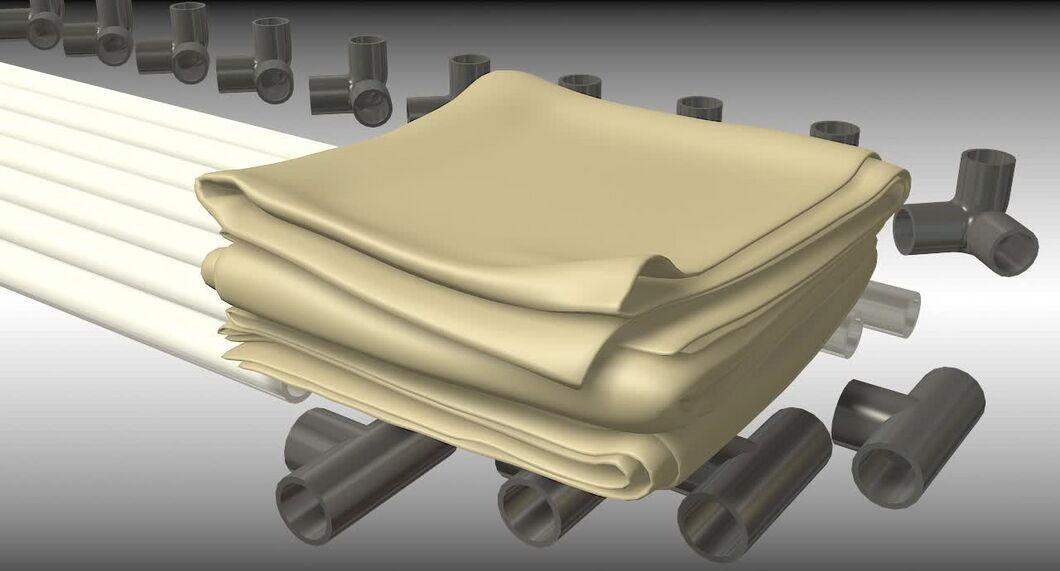
To save on fabric for covering the house, use unlined curtains. You can buy new ones or use old ones after washing them thoroughly.
- You can sew ribbons on the inner side of the fabric to tie or untie parts of the house as needed.
Step 3. Create the Frame.
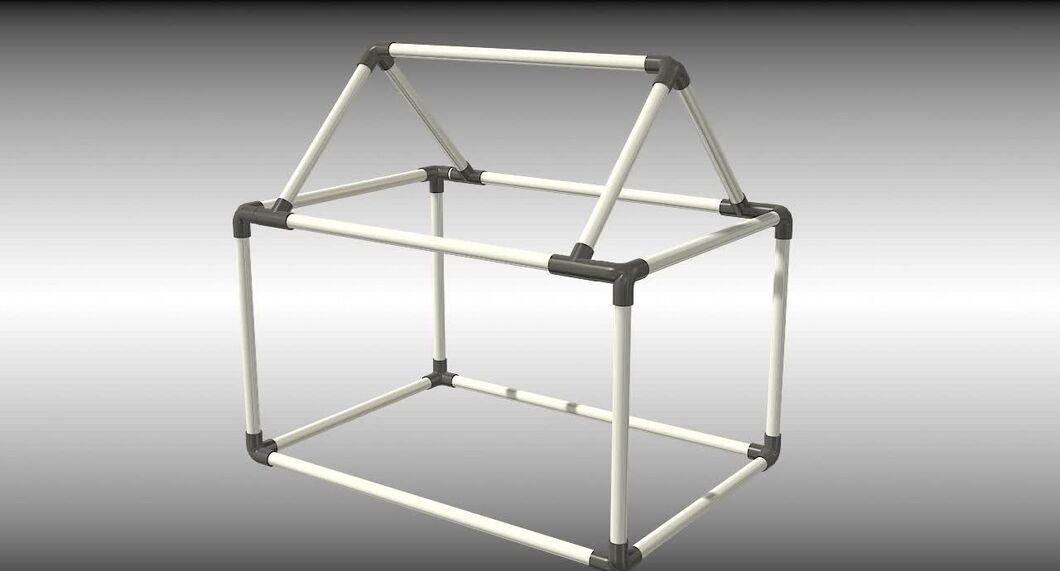
Assemble the frame. It consists of a base, a top, four support beams, and a triangular roof, all connected with plastic connectors.
- For the base and top, cut four PVC pipes to 1.8 meters and four pipes to 1.2 meters, creating two large rectangles with corner connectors.
- At the corners of the top frame, install T-shaped connectors to connect the roof. You may need to shorten the pipes by 2-4 cm for a snug fit.
- Add additional beams for the walls by cutting four pipes to the same length. Place them in the corner slots of the connectors to form a cube.
- Create the roof frame by cutting four pipes to the same length as the side walls. Connect them at a 90-degree angle to form two L-shaped figures. Then add a 1.8-meter pipe in the middle to connect the roof elements using T-shaped connectors.
- Ensure all pipes are securely fixed, and your frame is ready.
Step 4. Cover the Frame with Fabric.
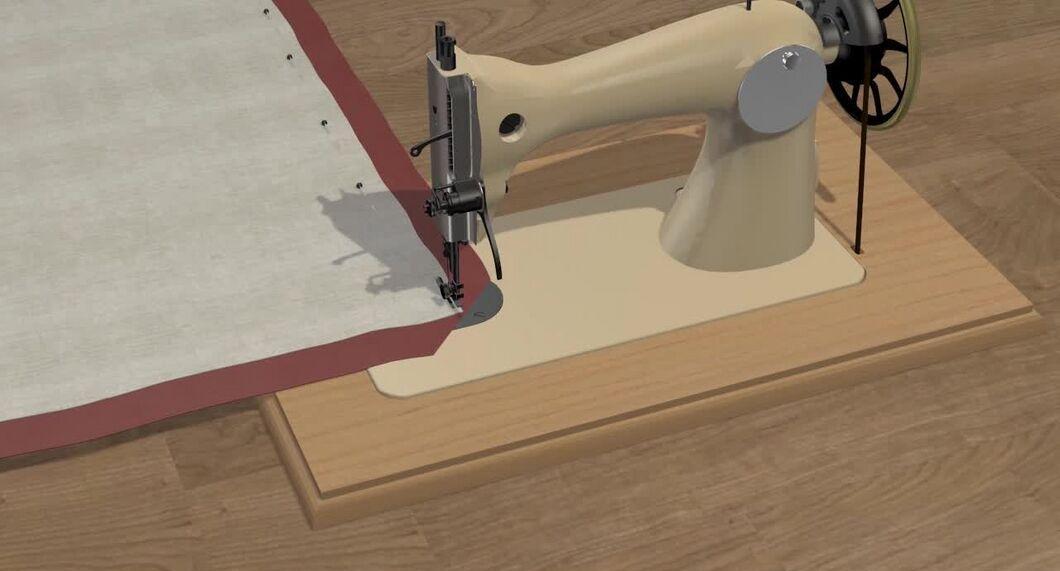
Cover the house frame with fabric. Measure all sides and cut the necessary pieces of material, sewing them together to create a cover that easily fits over the frame.
- For convenience, you can make the sizes slightly larger than the actual ones to make washing easier.
- Sew 15 cm ribbons perpendicularly to the pipes on the inner side of the cover to help it hold better and partially raise the “walls.”
- On one side, create a vertical slit about ¾ the height of the wall for an entrance, like in a tent.
- If desired, you can cut windows and cover them with protective film.
Step 5. Slide the Cover onto the Pipes.
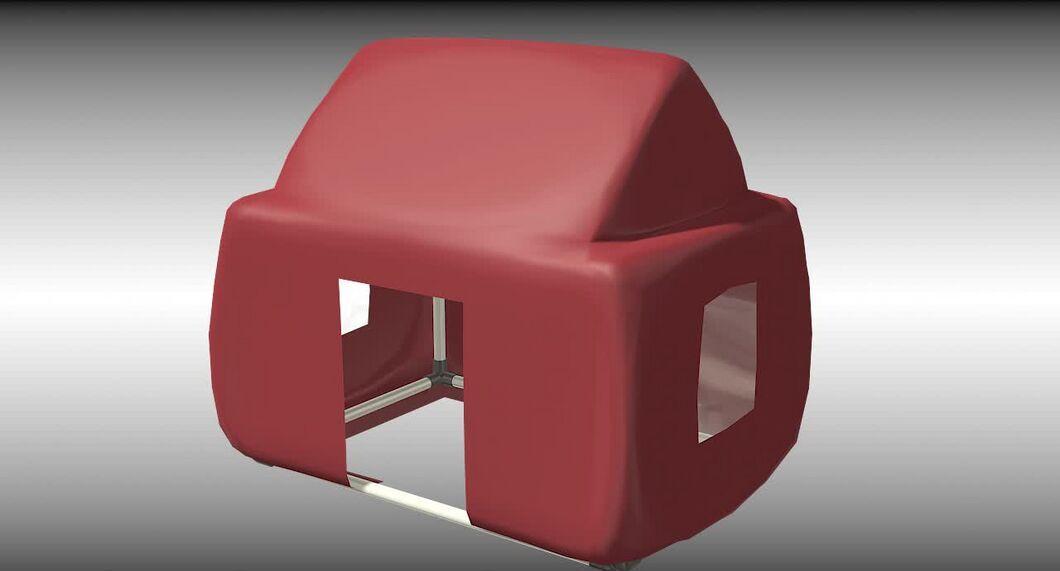
Slide the cover onto the frame. Once it is secured on the pipes, your playhouse is ready! It can be set up both outdoors and indoors, and the fabric cover is easy to remove and wash.
Table and Fabric Playhouse
Step 1. Gather Materials.
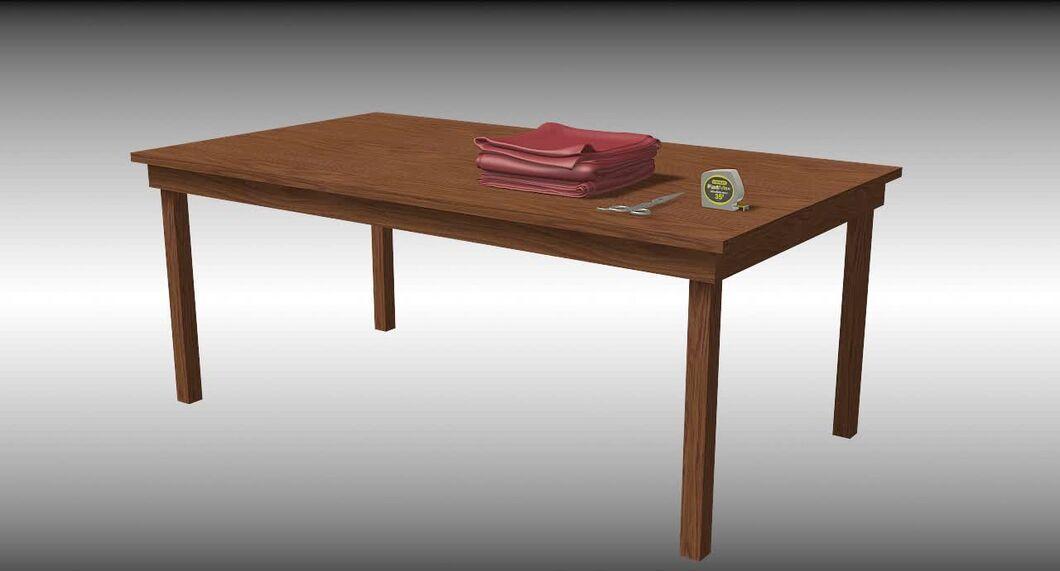
Collect the necessary materials. Use an unused table or buy a new one for creating the playhouse. You will also need several meters of fabric, scissors, and decorations (optional).
Step 2. Measure the Table.
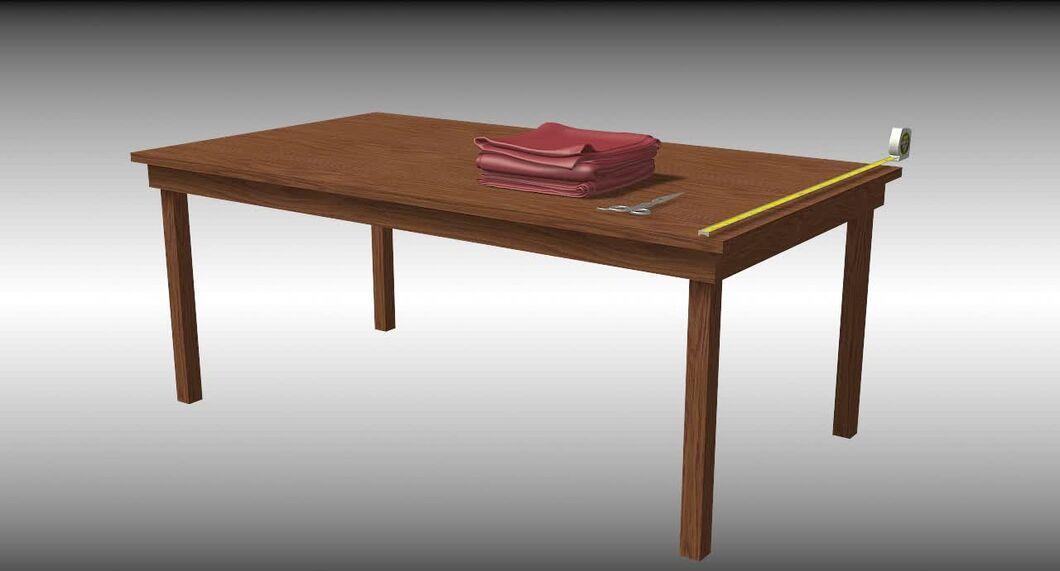
Measure the table. Write down the length, height, and width to avoid confusion with the dimensions.
Step 3. Measure the Fabric.
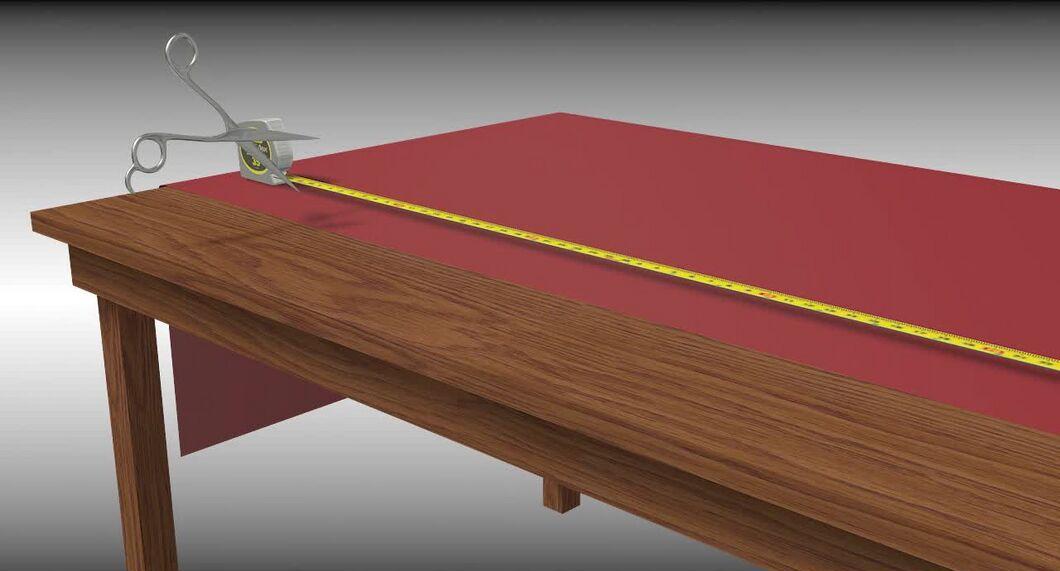
Prepare five pieces of fabric for the cover: one for the top of the table (length and width), two long pieces for the side walls (length and height), and two short pieces for the walls (width and height).
- After measuring, cut the fabric into the necessary parts.
- Cut out windows and doors on the side walls — their placement is up to your preference.
Step 4. Sew the Fabric.
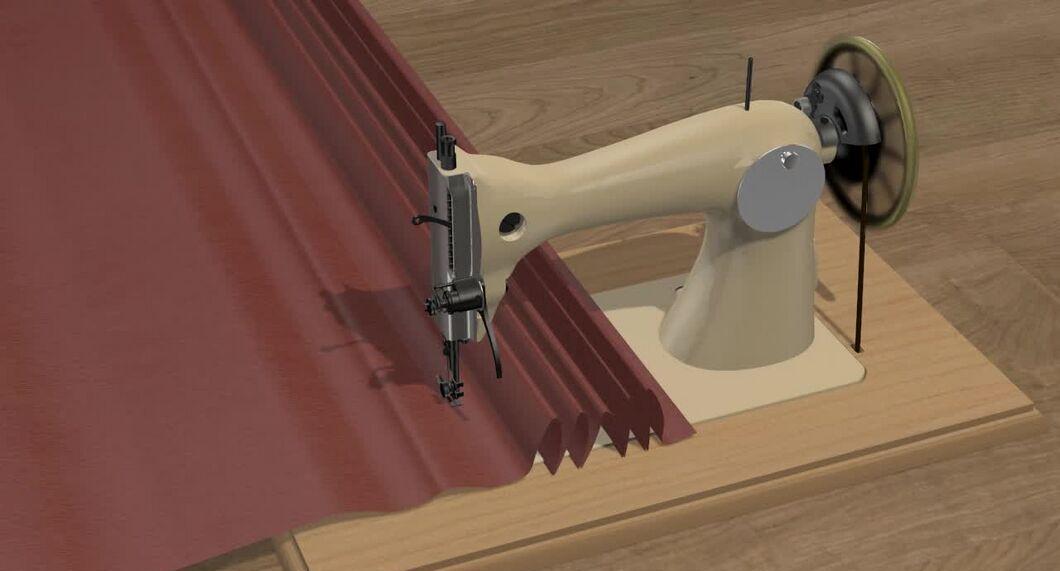
Sew the pieces of fabric together. Arrange them in the desired order and use a sewing machine to join all parts into one cover.
Step 5. Decorate the Fabric.
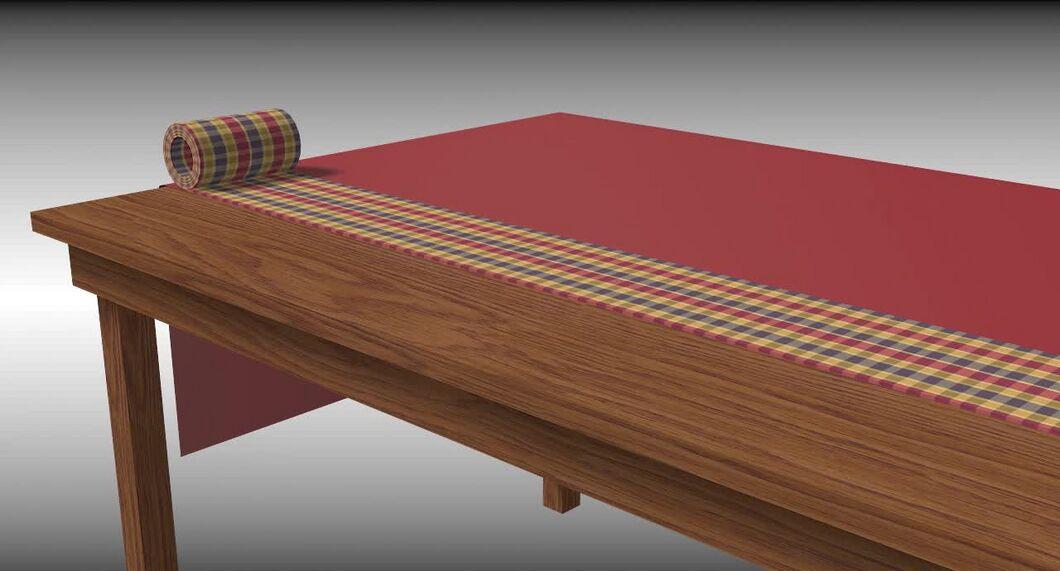
Add uniqueness to the playhouse. Paint it, embroider, or draw on the fabric. You can paint flowers or create a wooden house imitation.
Step 6. Final Touches.
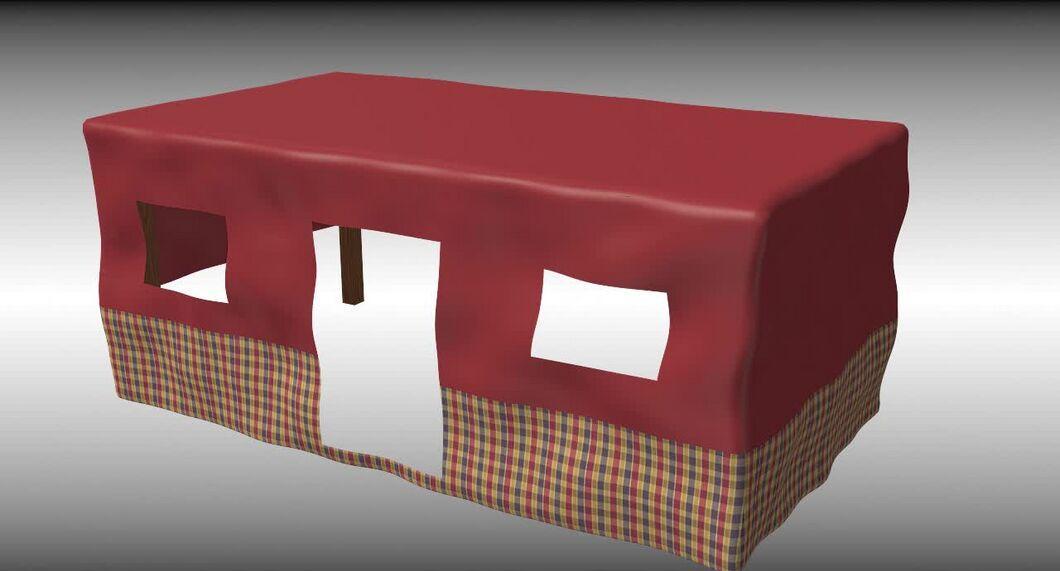
Once all the decorations are done and the cover is placed on the table, put toy furniture and toys inside the house. Your child will surely love it!
Cardboard Box Playhouse
Step 1. Gather Materials.
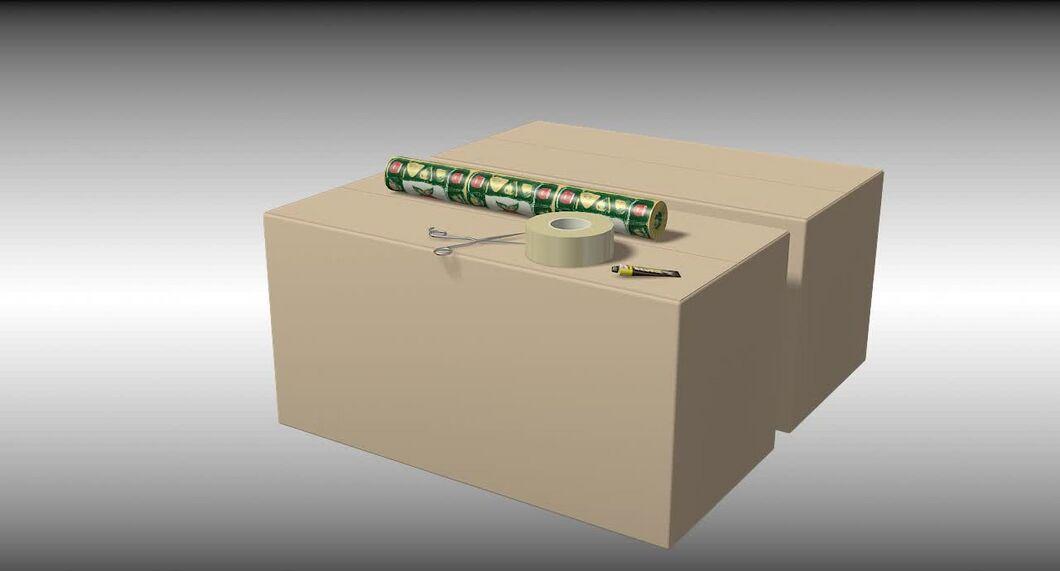
Collect materials. You will need 1-2 large cardboard boxes, glue, wrapping paper or wallpaper, tape, and a utility knife or scissors.
Step 2. Prepare the Box.
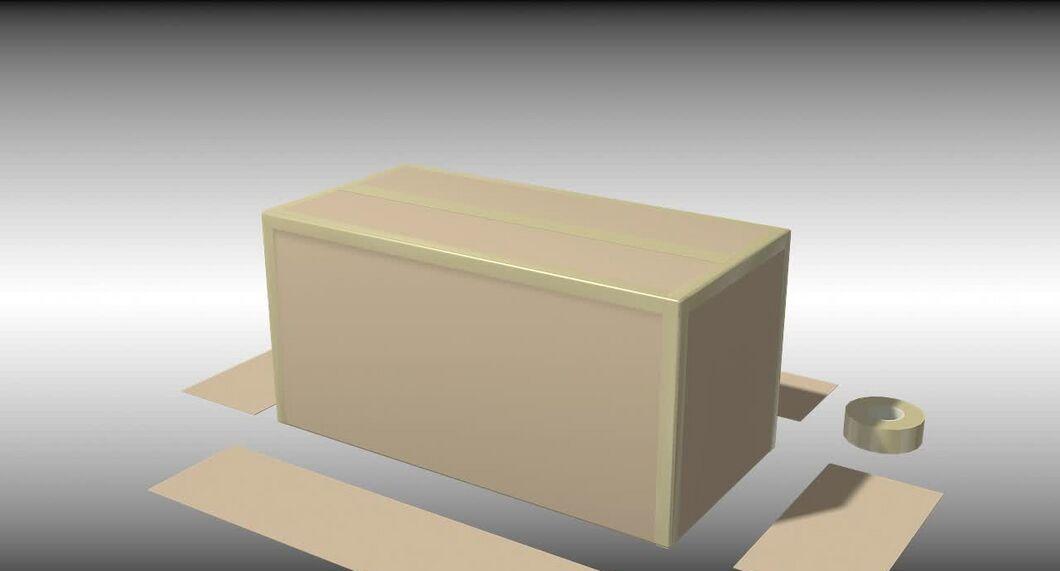
Prepare the box. Cut out the bottom and any unnecessary parts so that the box is empty. Make sure all seams are secure.
Step 3. Decorate the Walls.
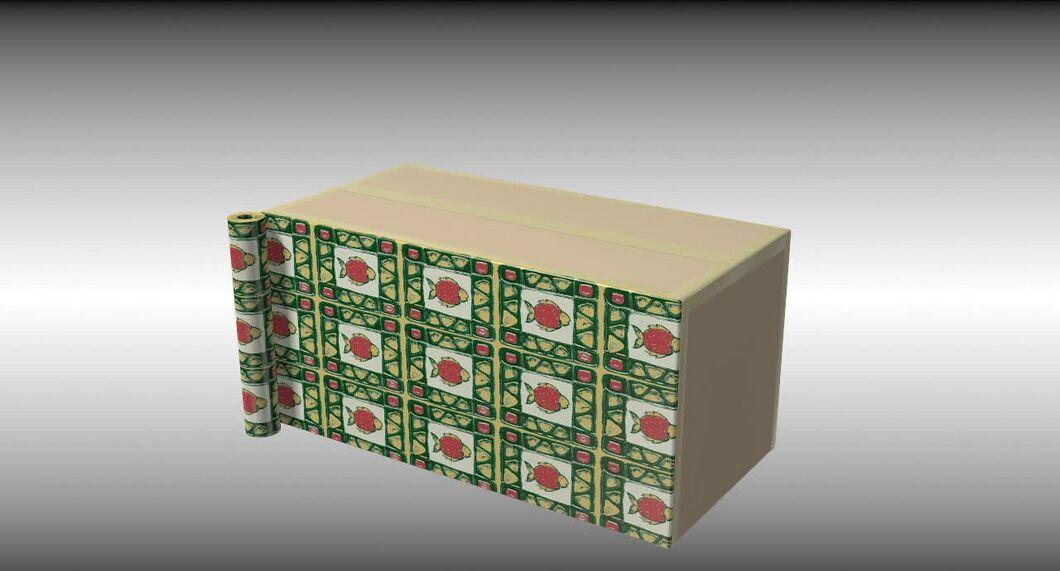
Decorate the walls by covering them with wrapping paper or wallpaper for an attractive appearance.
Step 4. Cut Doors and Windows.
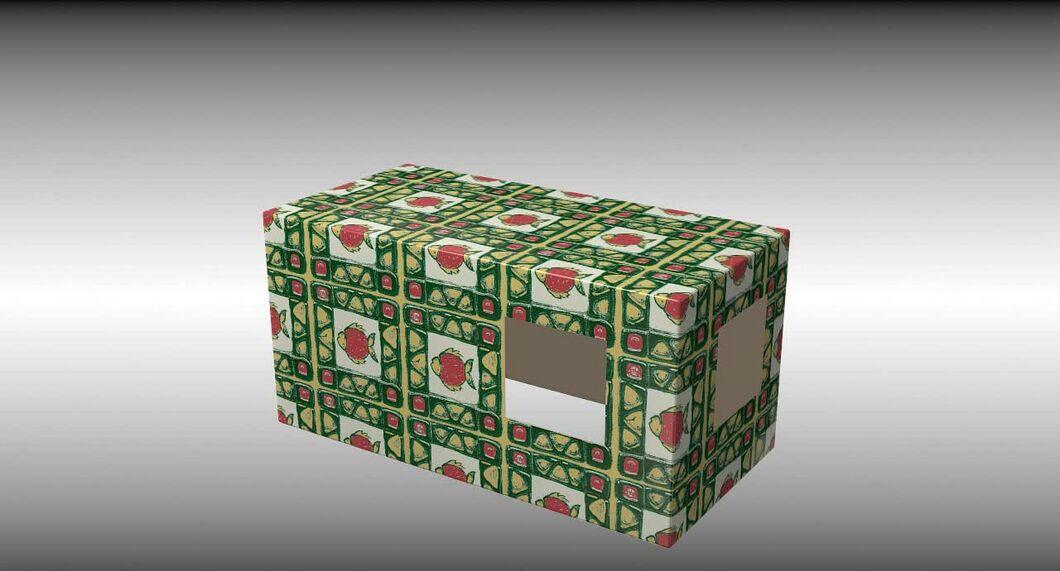
Cut doors and windows using scissors or a utility knife. You can leave one side of the door uncut so it can swing open.
- You can also attach clear plastic or cellophane to create windows.
Step 5. Create the Roof.
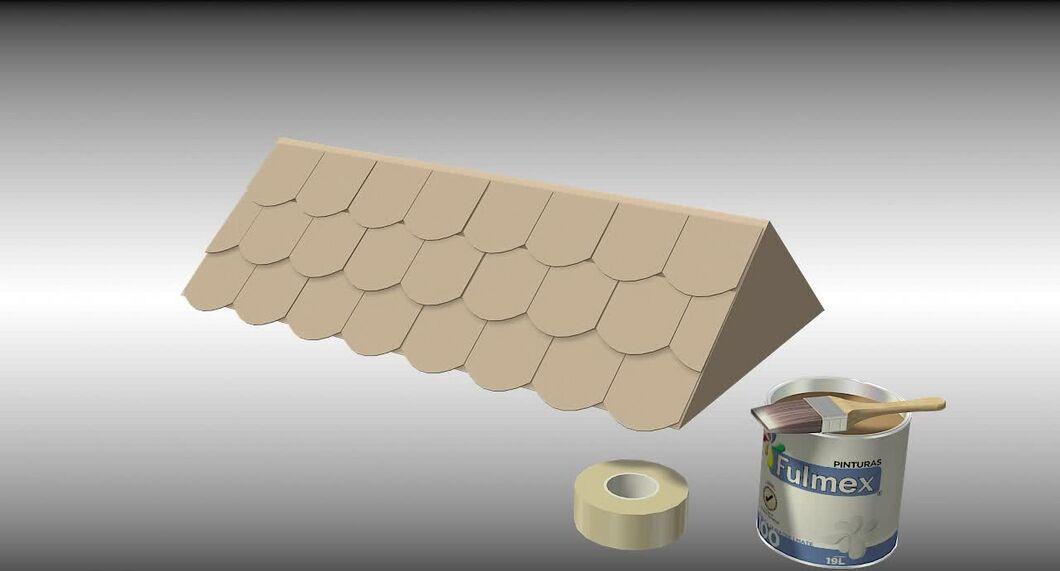
Create the roof by cutting two isosceles triangles from cardboard. Then cut two rectangles for the sides.
- Join all elements with glue and tape.
- Make “shingles” from small rectangles or semicircles, gluing them onto the slopes of the roof.
- Optionally, you can use spray paint for roof finishing.
Step 6. Attach the Roof to the Box.
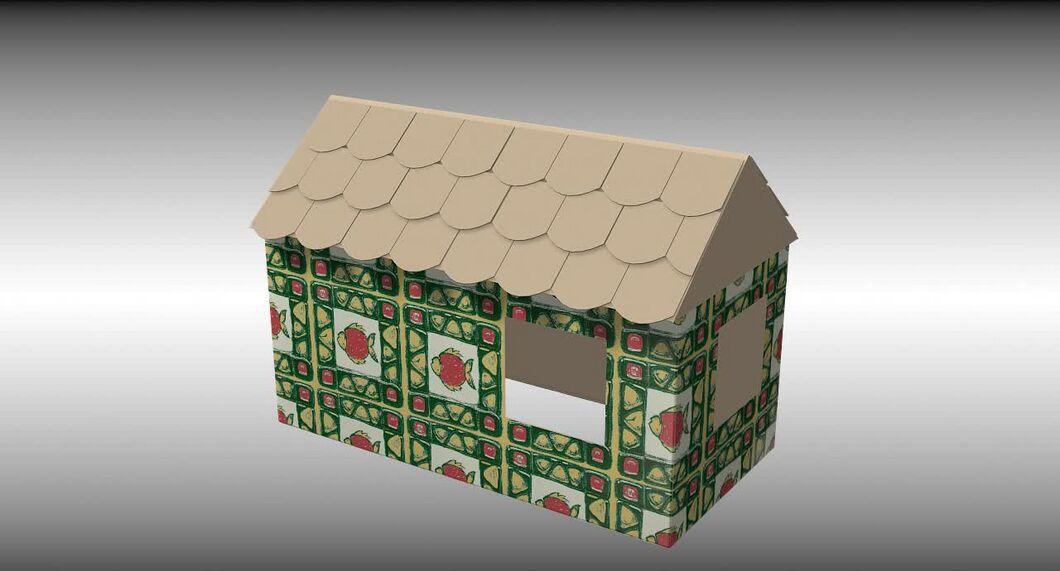
Secure the roof onto the box with glue and tape. Congratulations, your playhouse is ready! Now you can decorate it or enjoy your creation.


