
Converting Protected Audio Files to MP3
In this article, we'll explore how to convert protected audio files to MP3. Apple's protected M4P files can be converted through iTunes, while audio files purchased from the Microsoft Store require Windows Media Player, which is not available on Windows 10.
How to Convert Purchased Protected Audio Files Using iTunes
Step 1: Ensure You Have an iTunes Match Subscription.

Check if you have an iTunes Match subscription—this service costs around 1500 rubles per month and allows you to store your music in iCloud and download remote tracks.
- Open iTunes.
- Go to the “Store” section.
- Click on “iTunes Match” on the right.
- Hit the blue “Subscribe” button.
- Enter your Apple ID details.
- Provide payment information (if prompted).
- Confirm your subscription by clicking “Subscribe.”
Step 2: Launch iTunes.
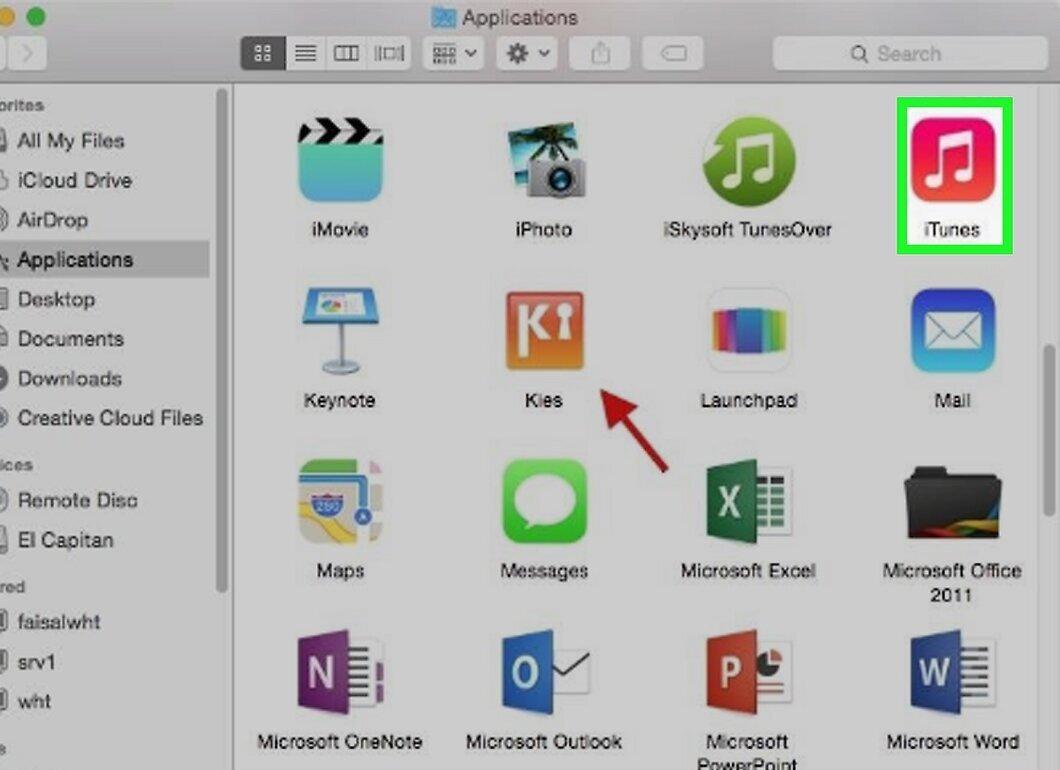
If iTunes isn't already open, launch it to complete the iTunes Match subscription process.
Step 3: Check Authorization.
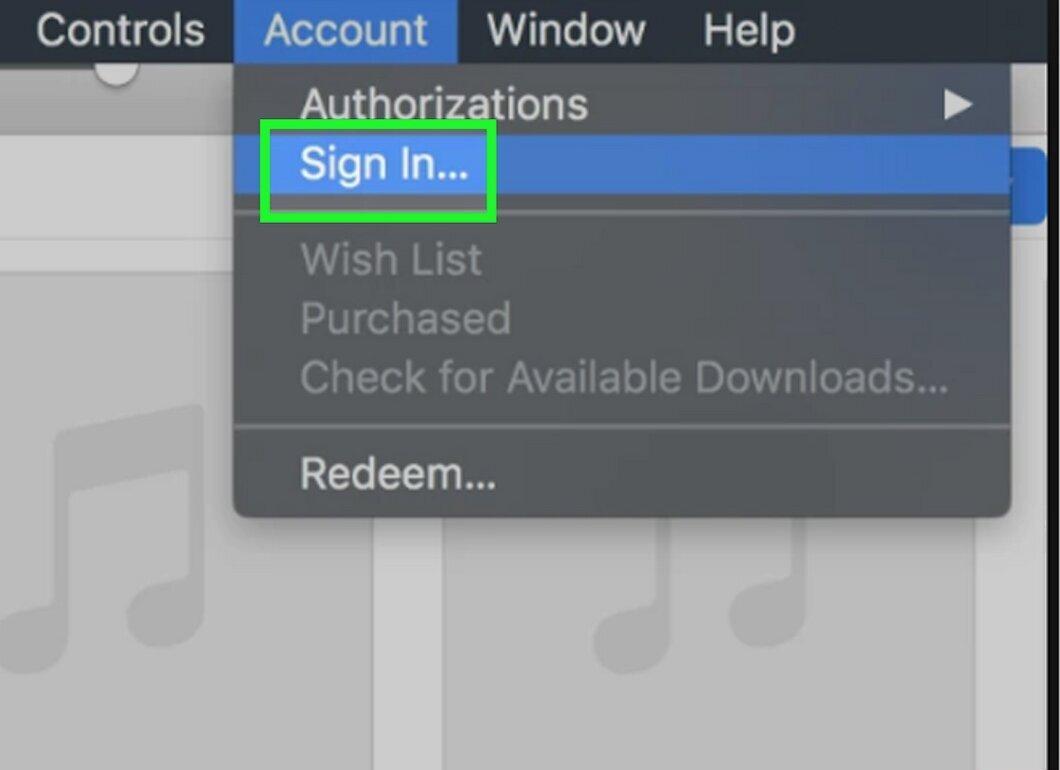
Make sure you are authorized in iTunes. Click on “Account” in the upper left corner and look for your name. If it's not there, select “Sign In” and enter your Apple ID details.
Step 4: Find the Desired Track or Album.
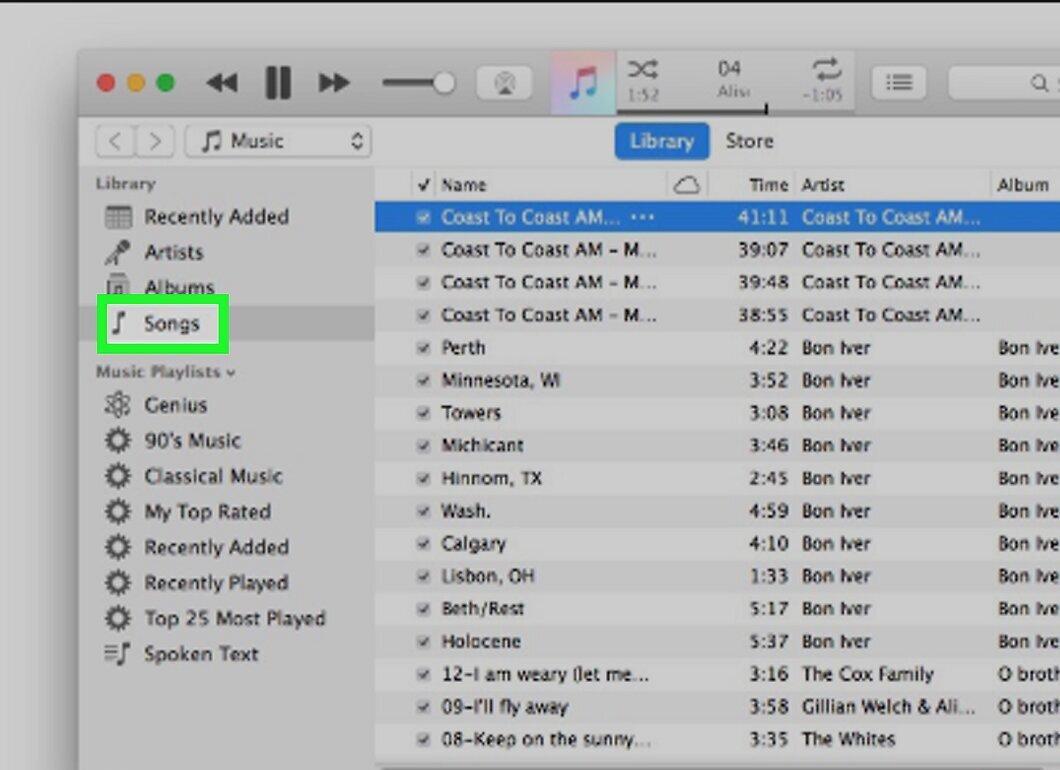
Search for the track or album you want to convert. Note that this should be a track purchased from iTunes. Before converting, remove the protected audio file from your library.
Step 5: Delete the Track or Album.
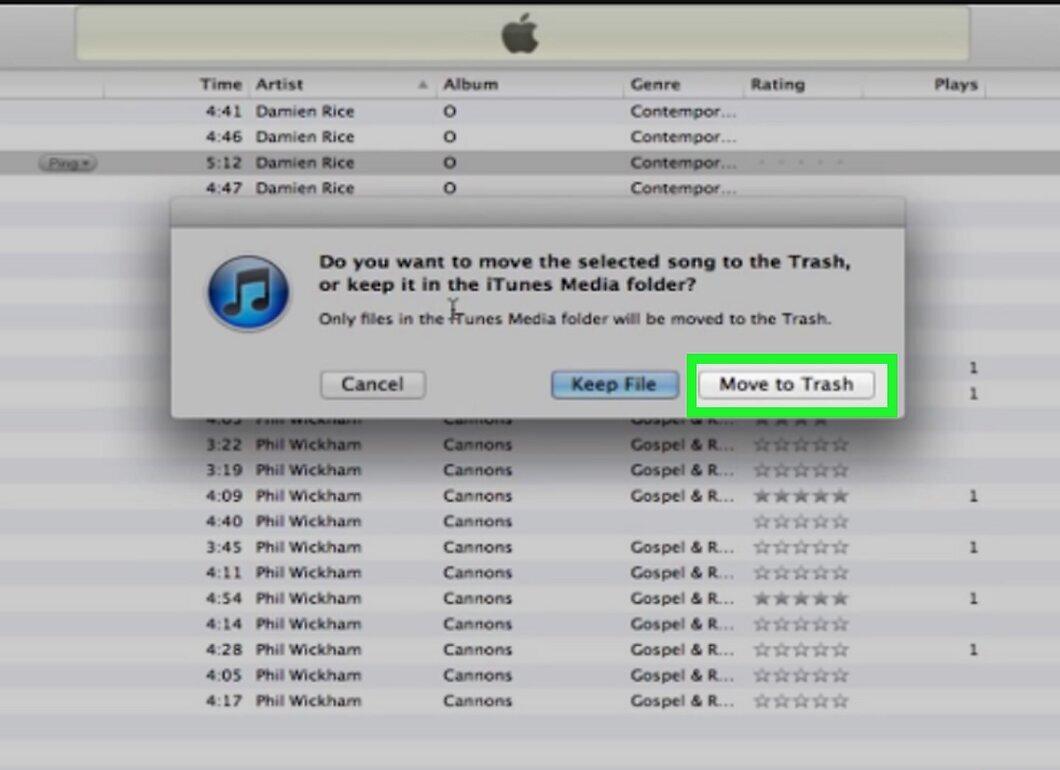
Select the desired track or album, and then press Del (for Windows) or choose “Edit” > “Move to Trash” (for Mac). The protected file will be removed from your iTunes library.
Step 6: Click on the “Store” Tab.
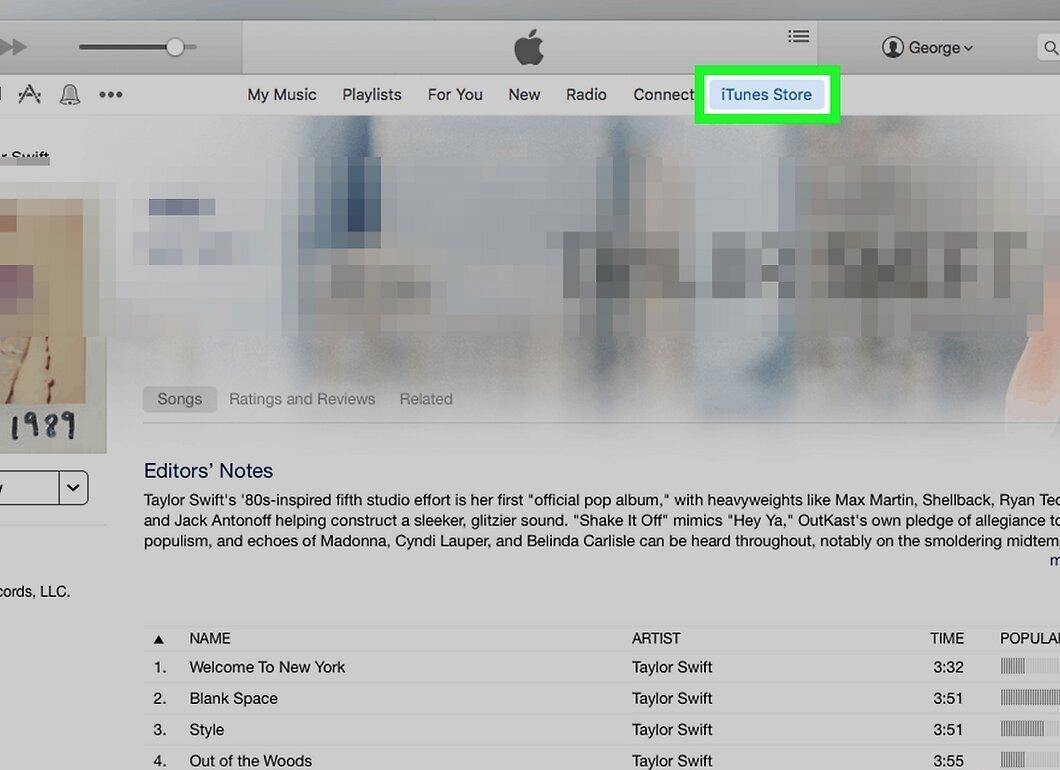
Select the “Store” tab (for Windows) or “iTunes Store” (for Mac) at the top of the window.
Step 7: Go to “Purchases.”
Click on the “Purchases” section located on the right.
Step 8: Find the Deleted Track or Album.
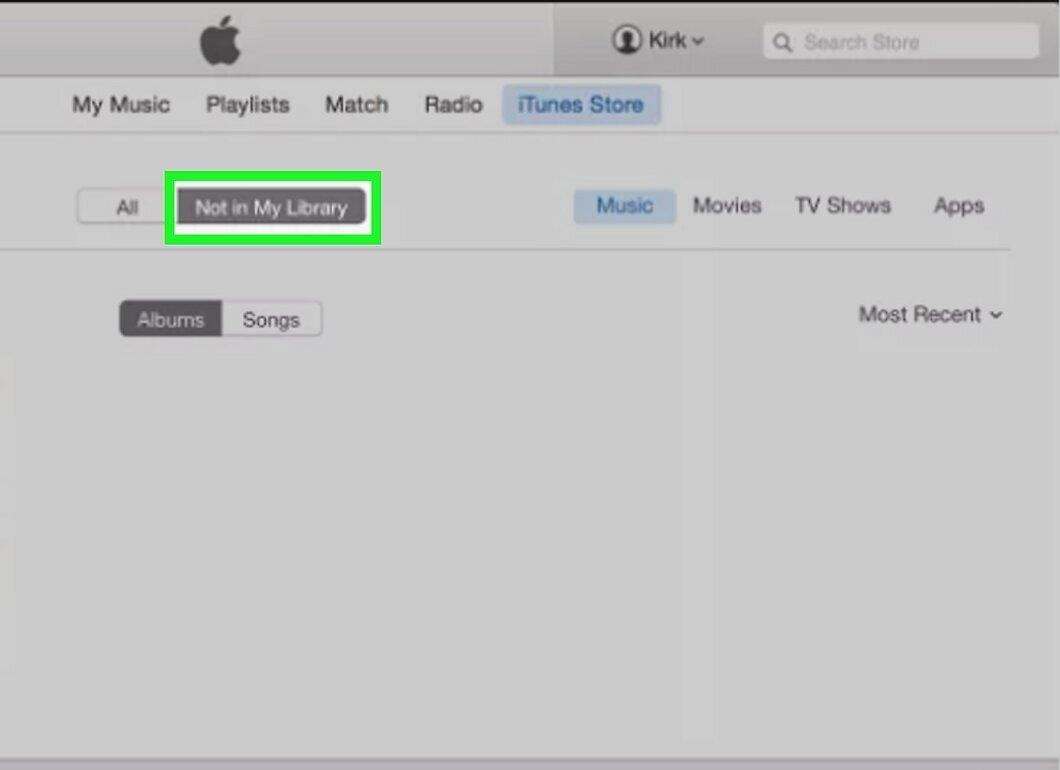
Locate the deleted track or album. If you previously purchased content on iTunes, it will be available on this page.
- Click on the “Not in My Library” tab at the top of the window to see purchased tracks that are missing from your library.
Step 9: Download the Track.
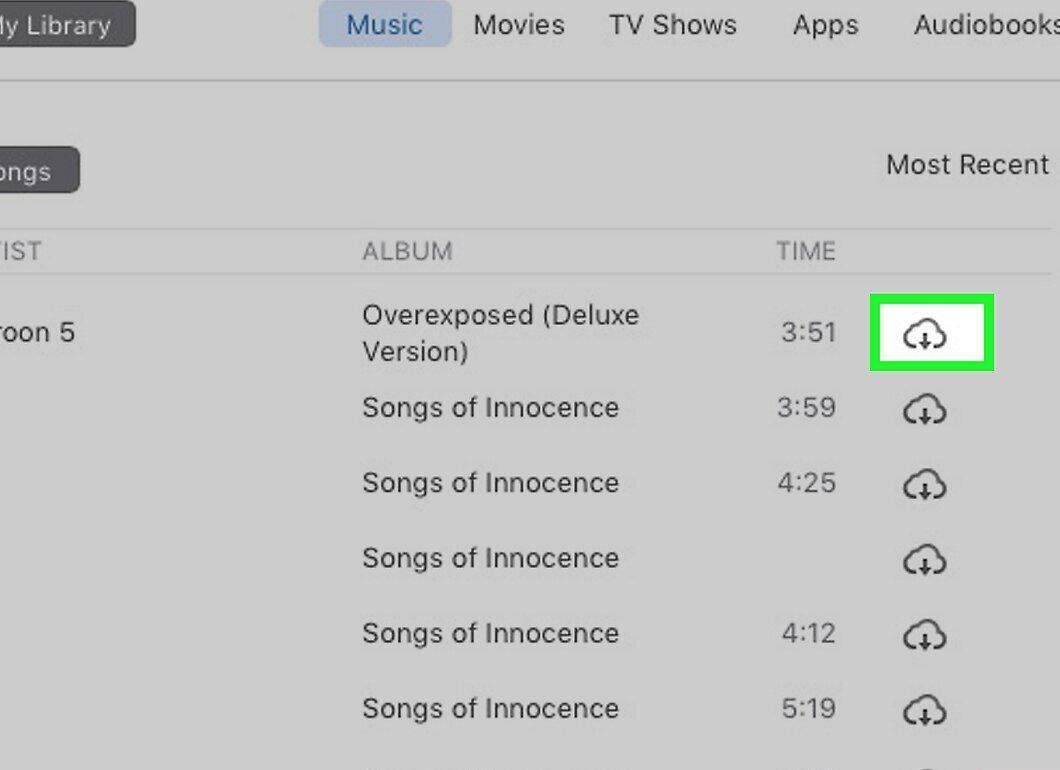
Click the “Download” icon (the cloud symbol) next to the desired track or album, and the unprotected version will download to your computer.
Step 10: Convert to MP3.
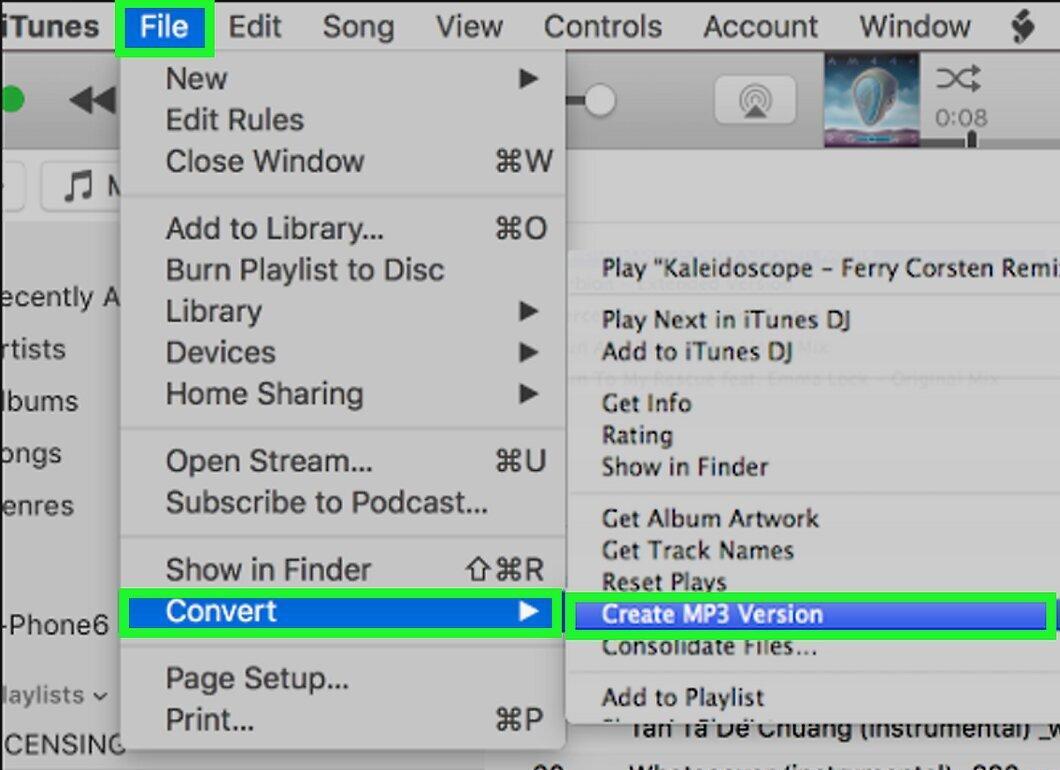
To convert unprotected tracks to MP3 format, select the desired track and go to “File” > “Convert” > “Create MP3 Version.” If the option is missing, follow these steps:
- Go to “Edit” (for Windows) or “iTunes” (for Mac);
- Select “Preferences”;
- Click “Import Settings” under the “General” tab;
- Choose “MP3” under the “Import Using” section;
- Confirm by clicking “OK” in both windows.
How to Convert Protected Audio Files Using iTunes
Step 1: Understand How This Method Works.
iTunes can play most protected audio files, but removing protection is not possible if they are old or were not purchased. In that case, burn the protected files to a CD, then import them as MP3 in iTunes. Keep the following points in mind:
- You will need authorization to play protected M4P files in iTunes and burn them to a disc;
- Sound quality may be slightly affected;
- Use CD-RW if you want to convert multiple files, as this disc can be rewritten up to 1000 times.
Step 2: Insert the CD into the Computer.
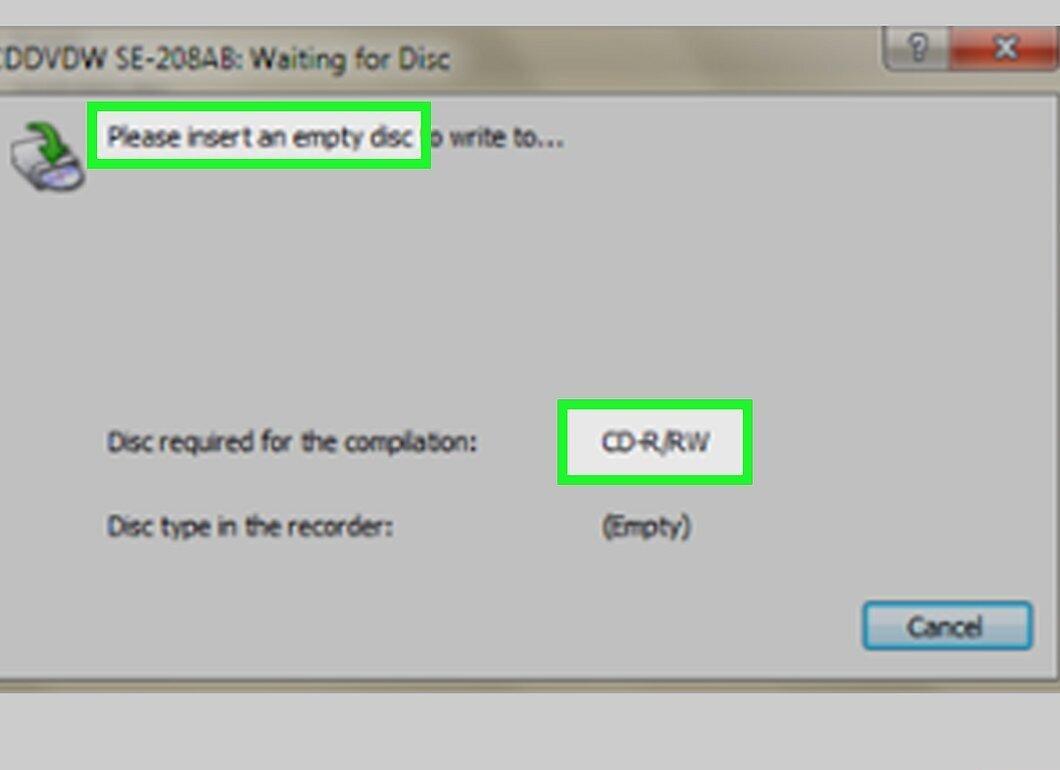
Make sure you are using a new CD-RW disc. If you don't have a DVD drive, purchase an external one.
Step 3: Launch iTunes.
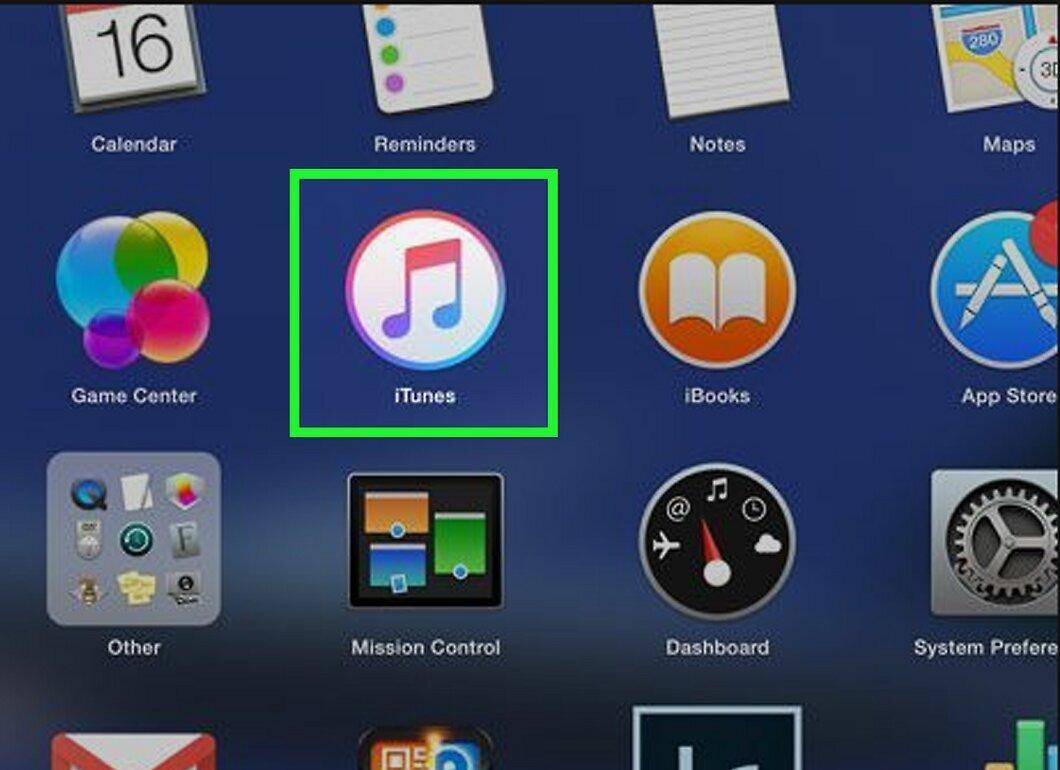
Open iTunes by clicking on the music note icon.
Step 4: Sort Files by Type.
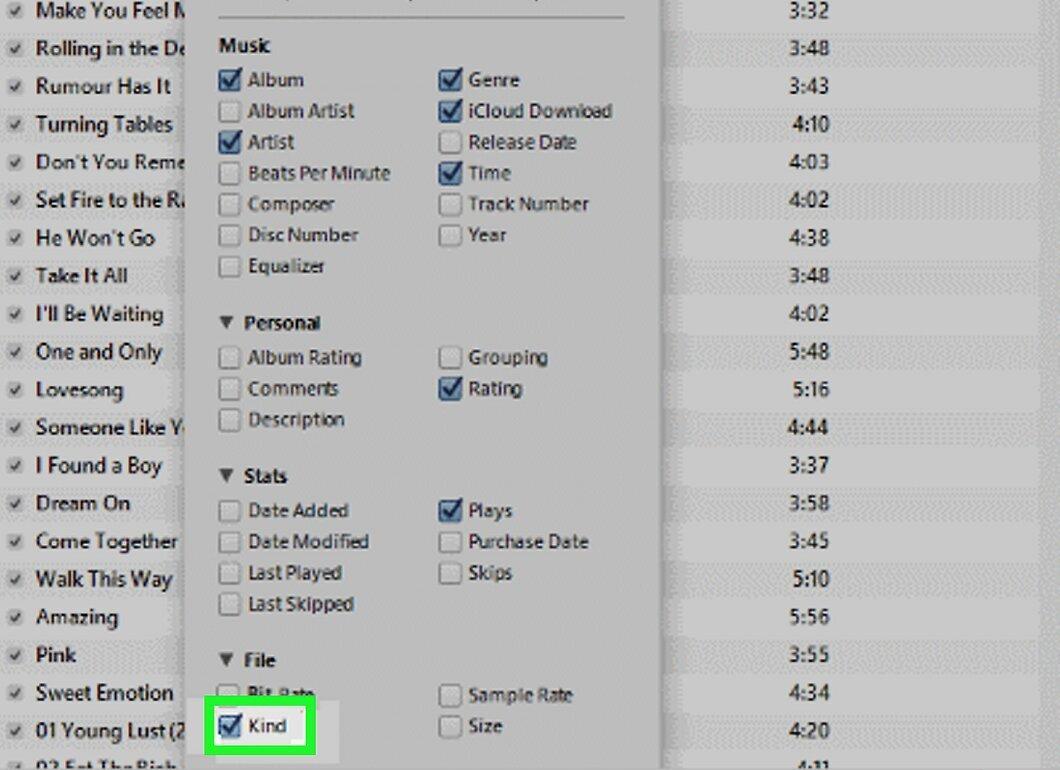
Sort your music files by type by selecting the “Type” tab in the song list. If the tab is not available, right-click on the sorting panel and check “Type.”
Step 5: Locate Protected Audio Files.
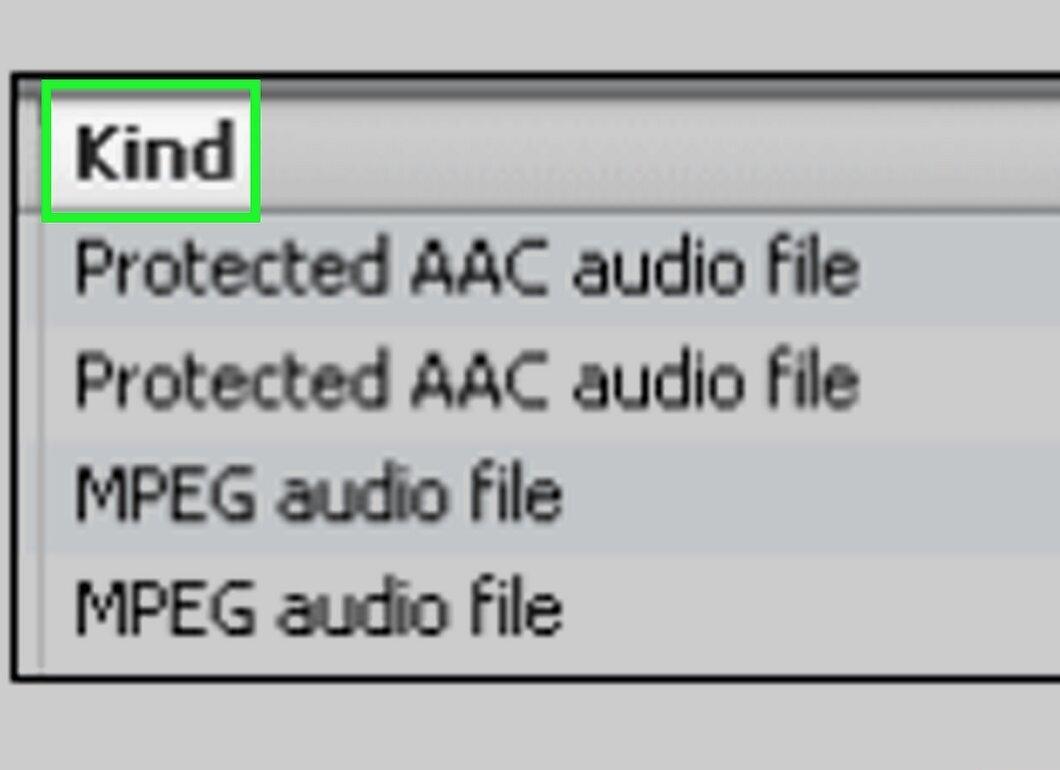
Protected files will be marked as “M4P” in the “Type” column.
Step 6: Select Up to 80 Minutes of Music.
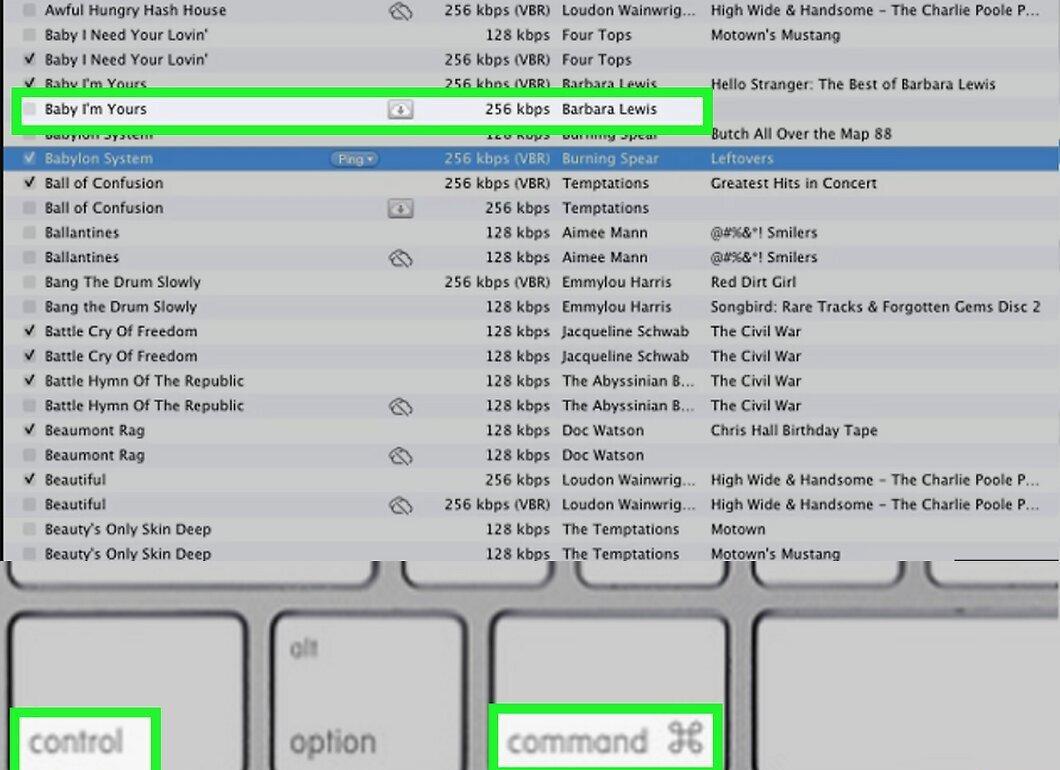
Hold down the Ctrl key (or ⌘ Command on Mac) and click on each desired track.
Step 7: Create a New Playlist.
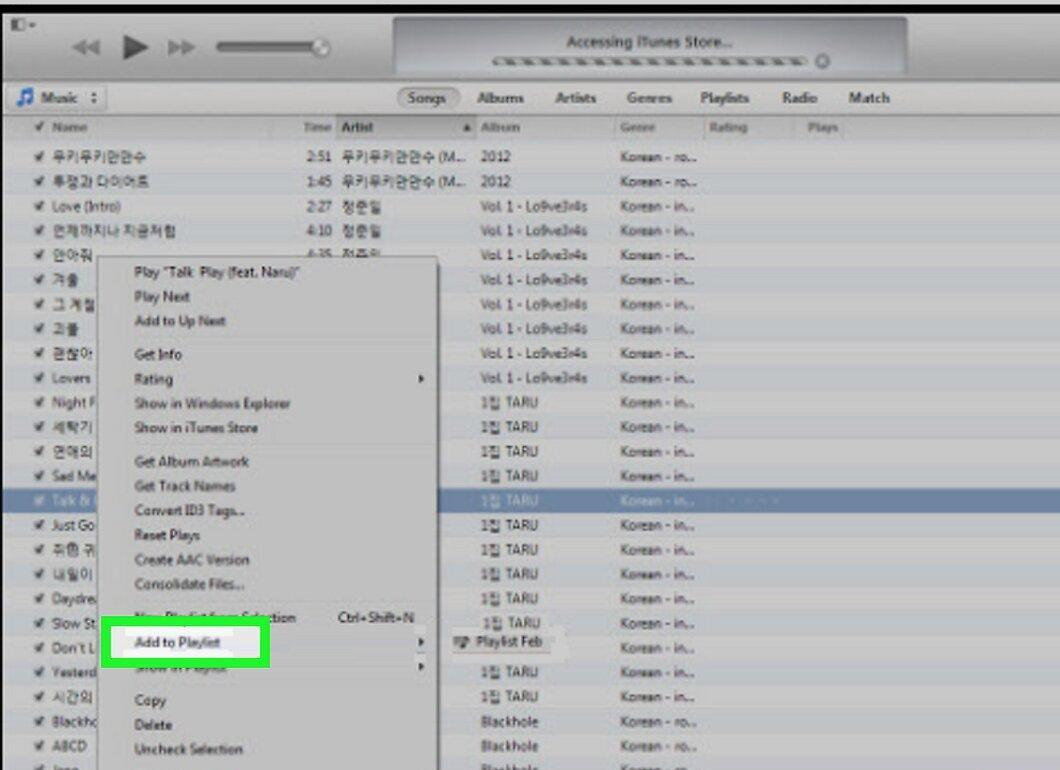
Right-click on one of the selected songs, choose “Add to Playlist,” and create a new playlist, giving it a name.
Step 8: Click on ⋯.
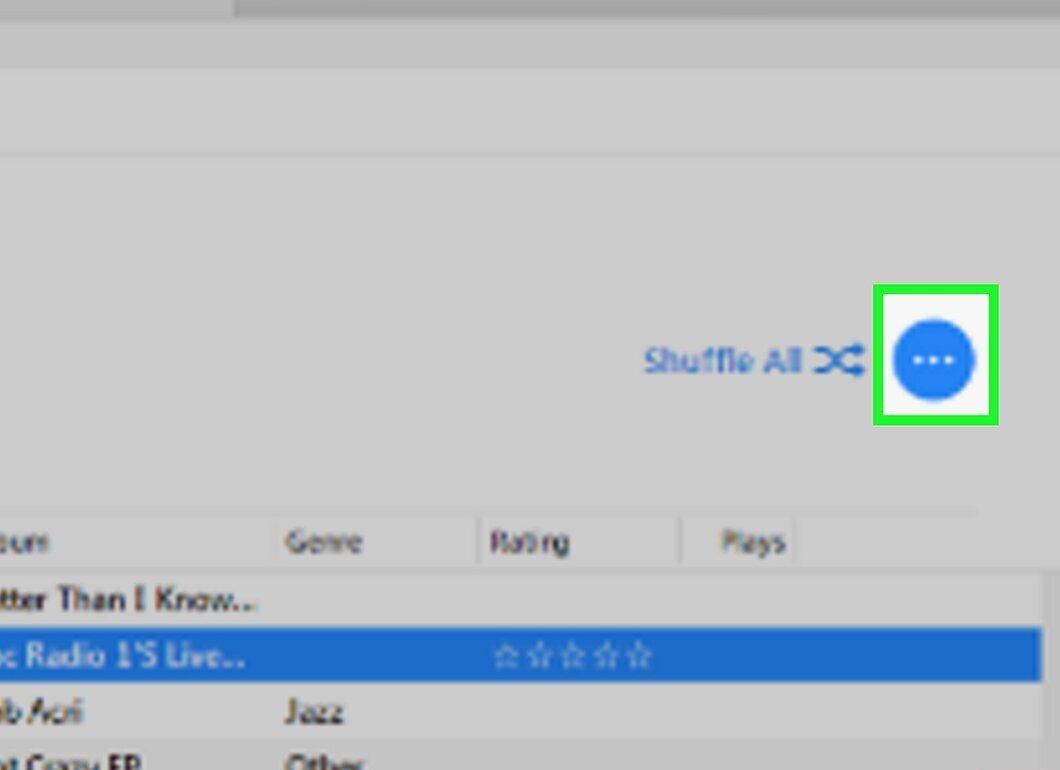
Click on the ⋯ icon in the upper right corner of the playlist page to open the menu.
Step 9: Click “Burn Playlist to Disc.”
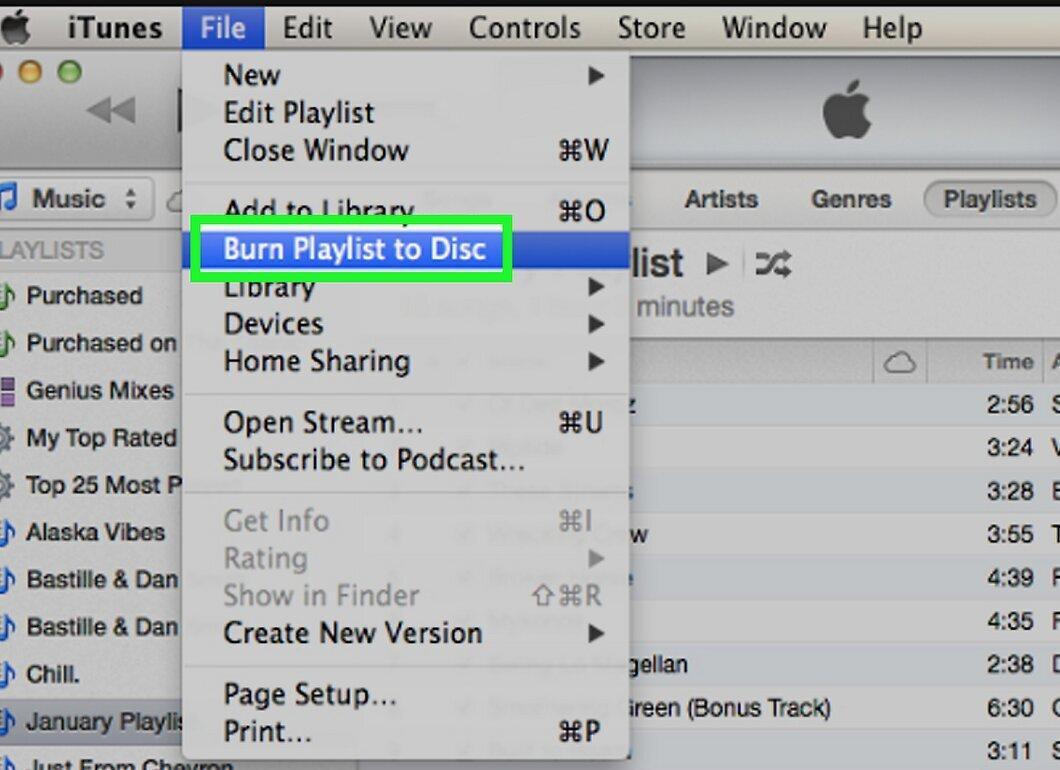
Select the “Burn Playlist to Disc” option from the menu. A new window will open.
Step 10: Burn an Audio CD in MP3 Format.
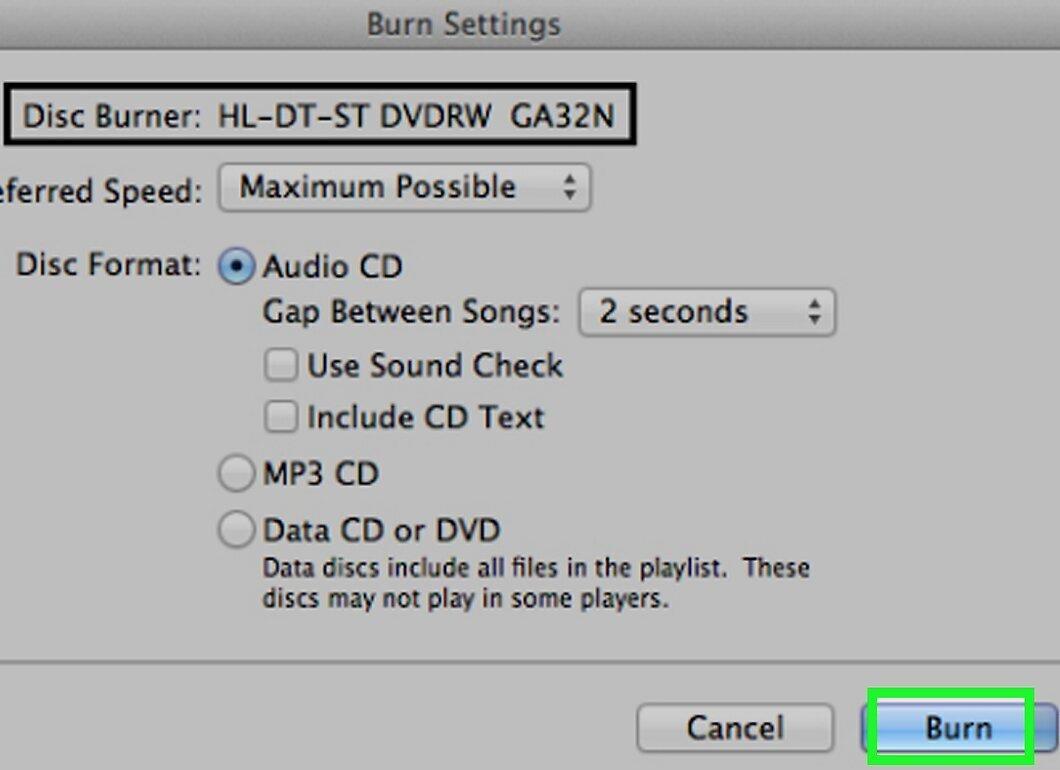
Check the “MP3 CD” option, then click “Burn” at the bottom of the window. The tracks from the playlist will start burning to the disc.
Step 11: Wait for the Burning to Complete.
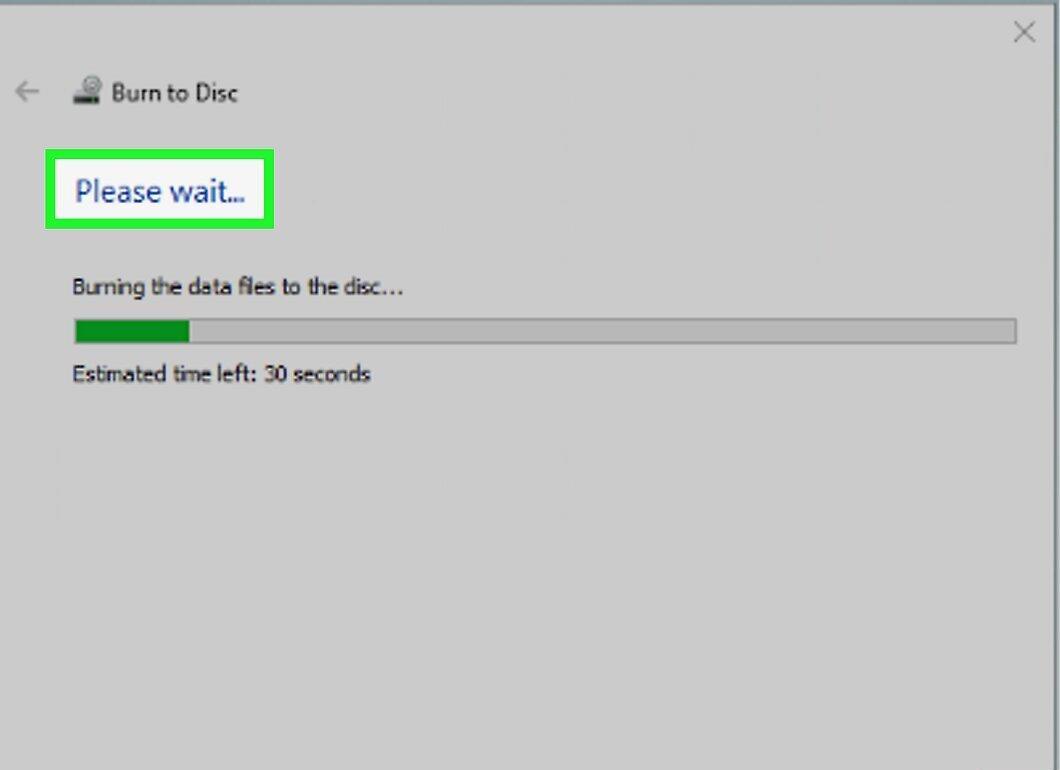
The burning process will take a few minutes. After that, you can proceed to the next step.
Step 12: Copy Music from the CD as MP3.
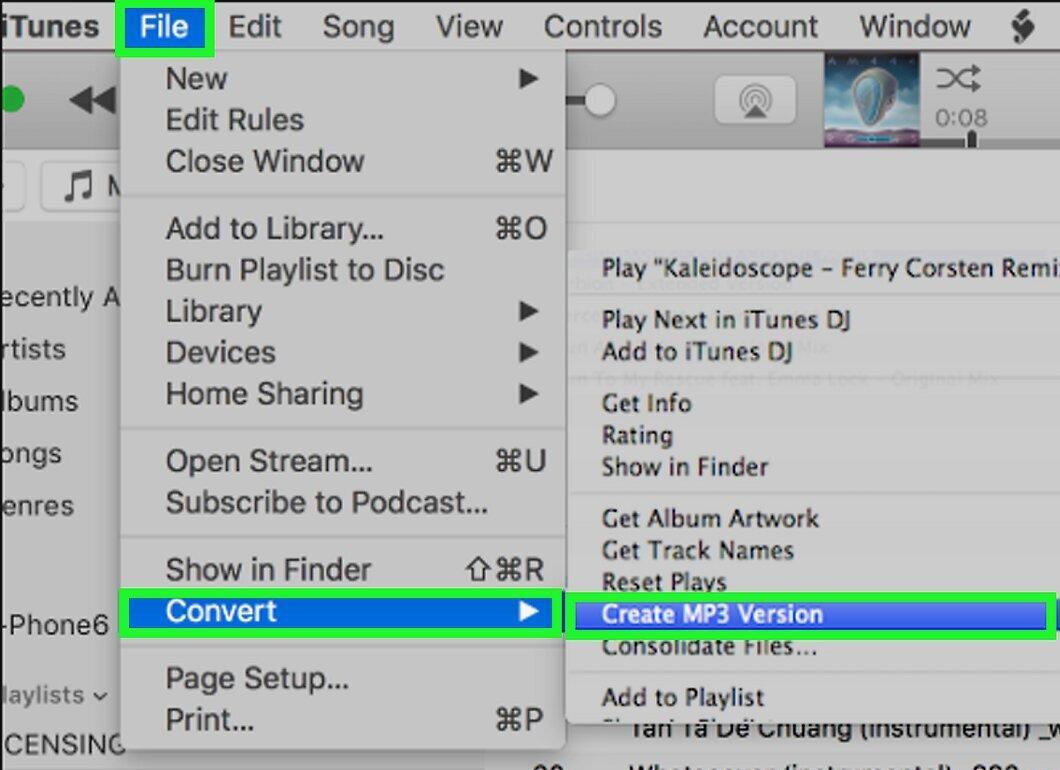
Open iTunes, insert the burned disc, select its contents, and go to “File” > “Convert” > “Create MP3 Version.”
- After copying the MP3 files, delete the protected audio files.
Step 13: Format the CD.
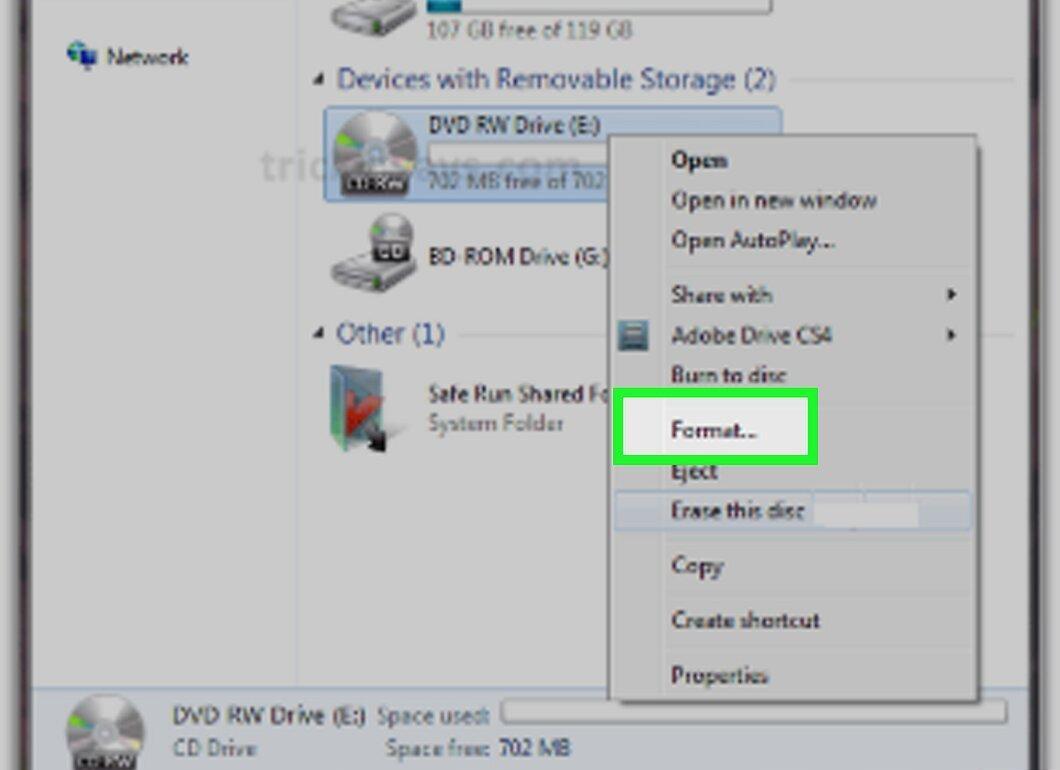
Don't forget to format the disc before burning new audio files onto it.
How to Convert Protected Audio Files Using Windows Media Player
Step 1: Insert the CD into the Computer.
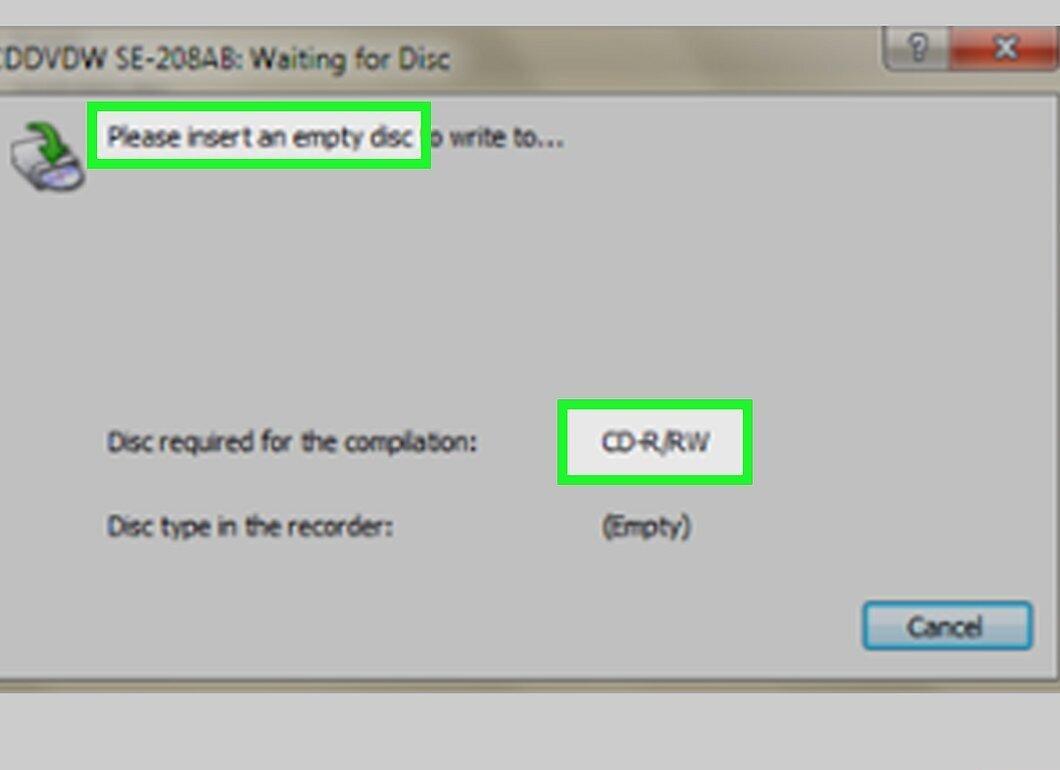
Make sure you are using a new CD-RW disc. If your computer doesn't have a DVD drive, purchase an external drive.
Step 2: Open the Start Menu.
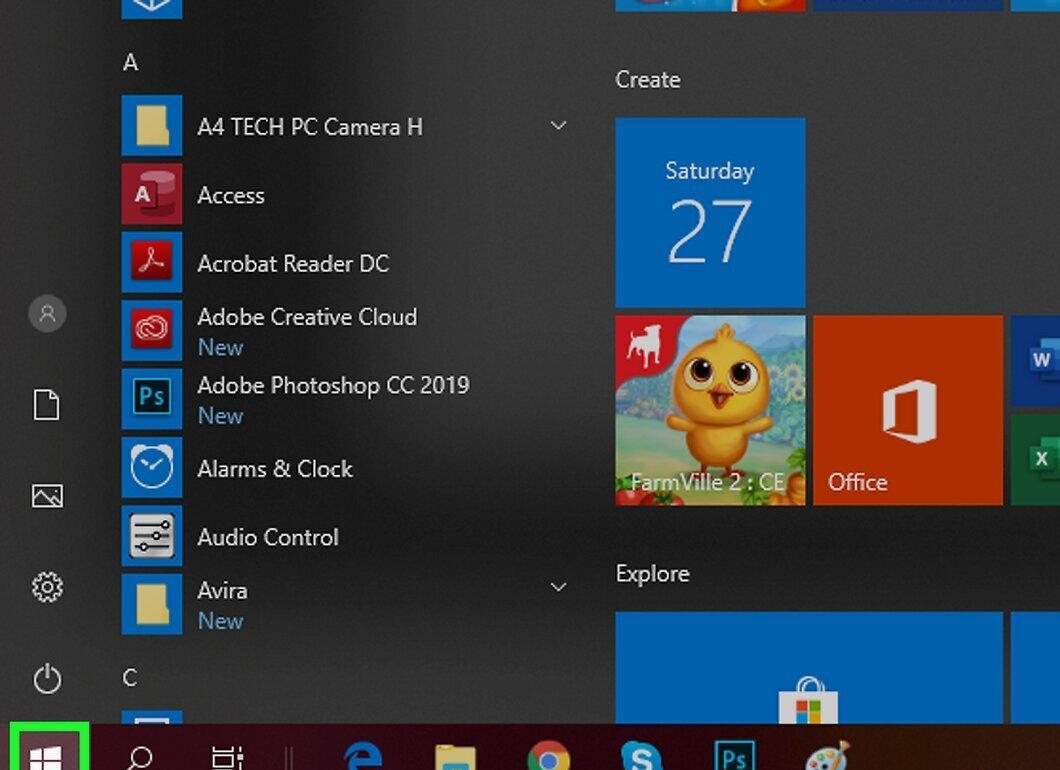
Click on the Windows logo in the bottom left corner of the screen.
Step 3: Search for Windows Media Player.
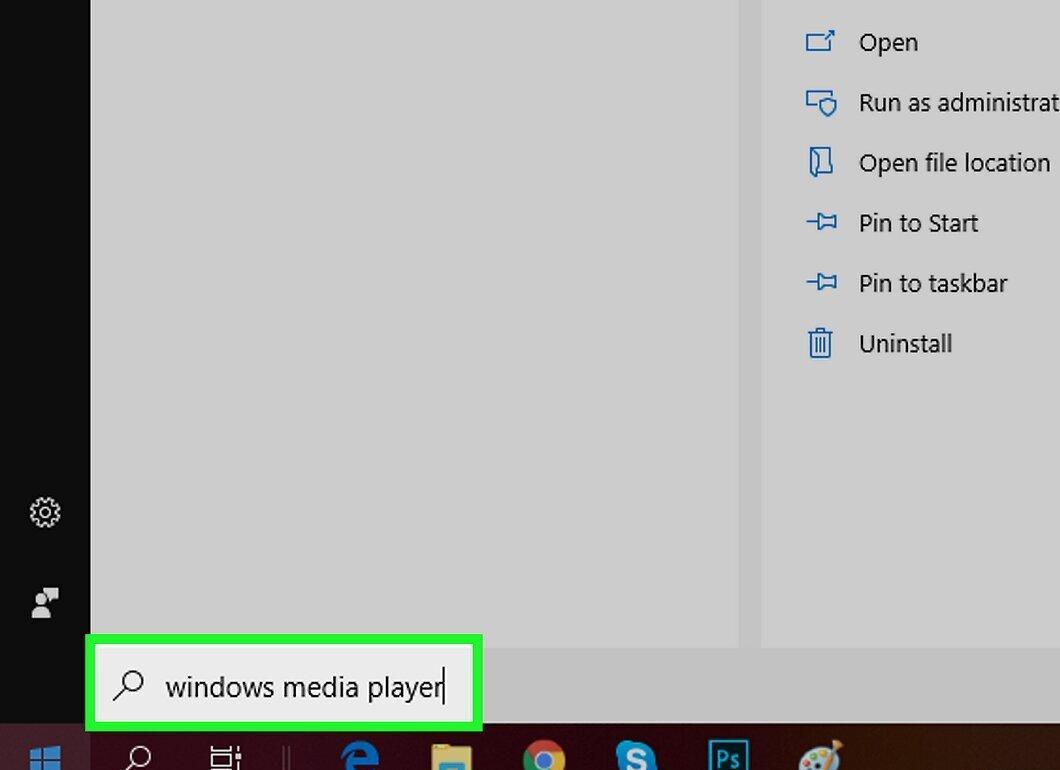
Type “windows media player” in the search bar.
Step 4: Launch Windows Media Player.
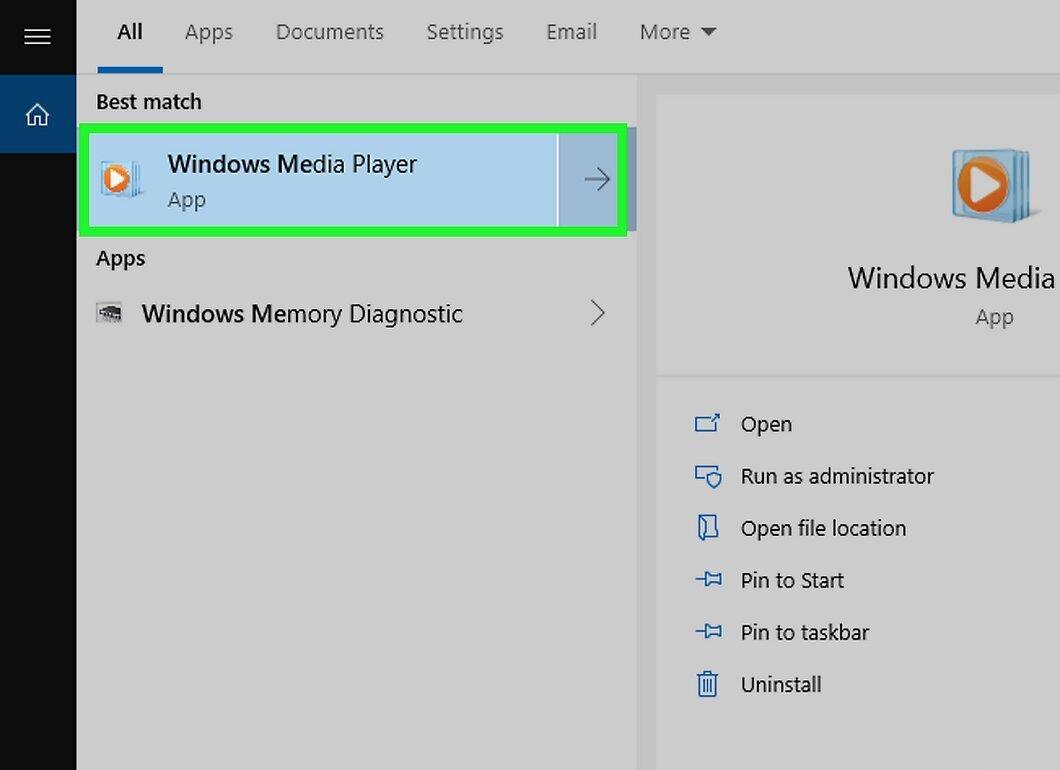
Click on the Windows Media Player icon, which looks like a blue square with an orange and white play button at the top of the Start menu. If it’s not there, the player may not be installed on your computer.
Step 5: Open the Library.
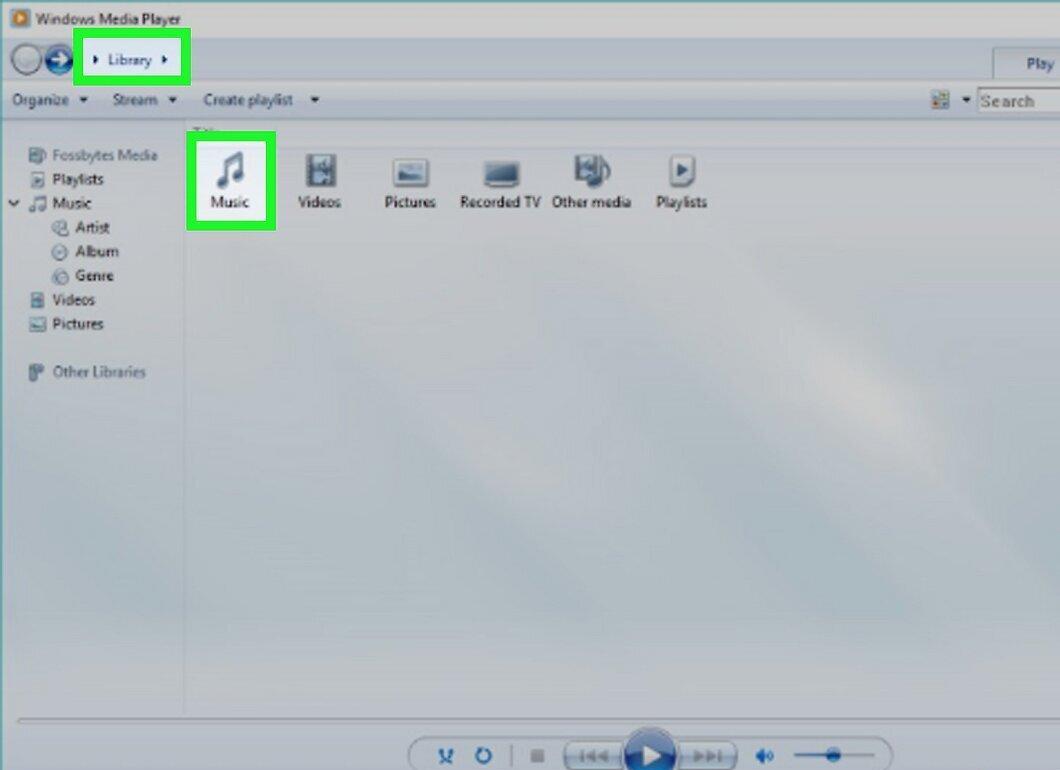
Go to the “Library” tab. Double-click on “Music,” then double-click on “All.”
Step 6: Locate Protected Tracks.
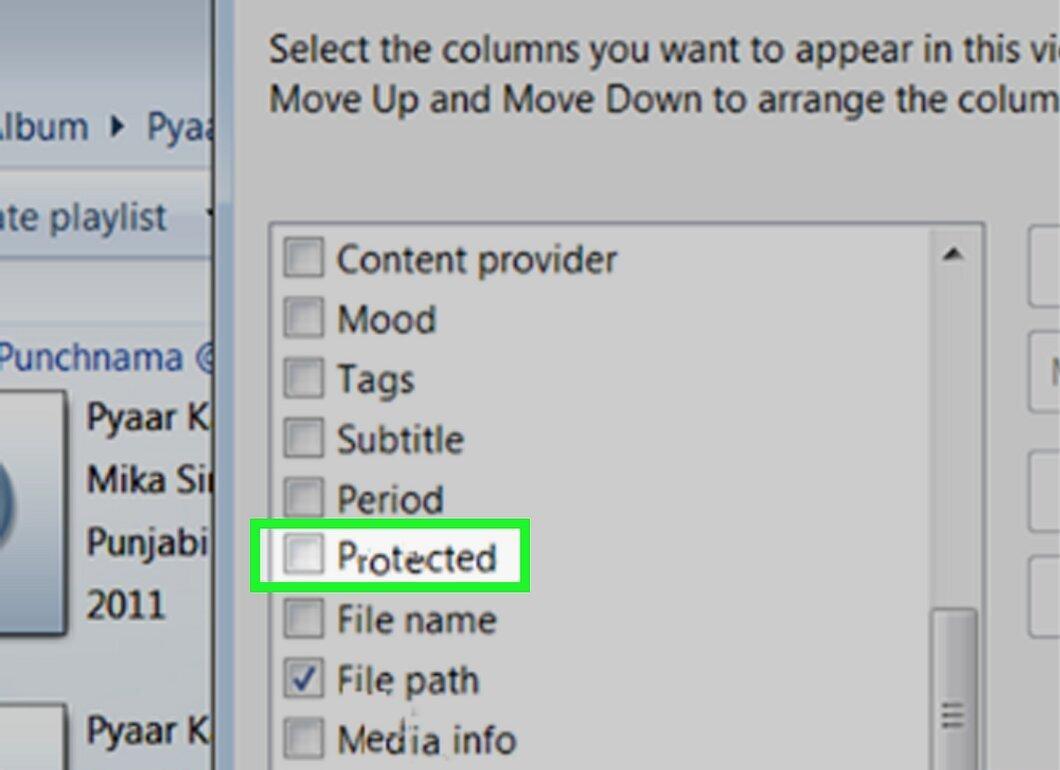
Right-click on the sorting panel, select “Choose columns,” scroll down, and check “Protected,” then click “OK.” Now you can sort files by protection.
Step 7: Go to the “Burn” Tab.
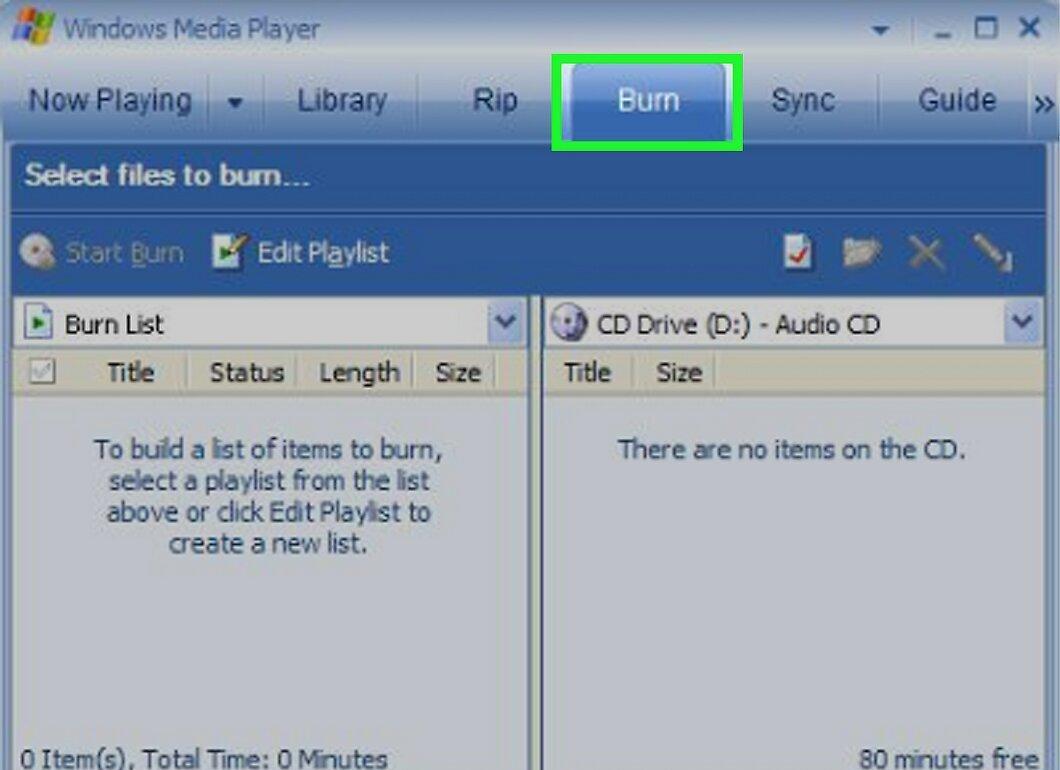
Click on the “Burn” tab in the upper right corner of the window.
Step 8: Select Up to 80 Minutes of Protected Music.
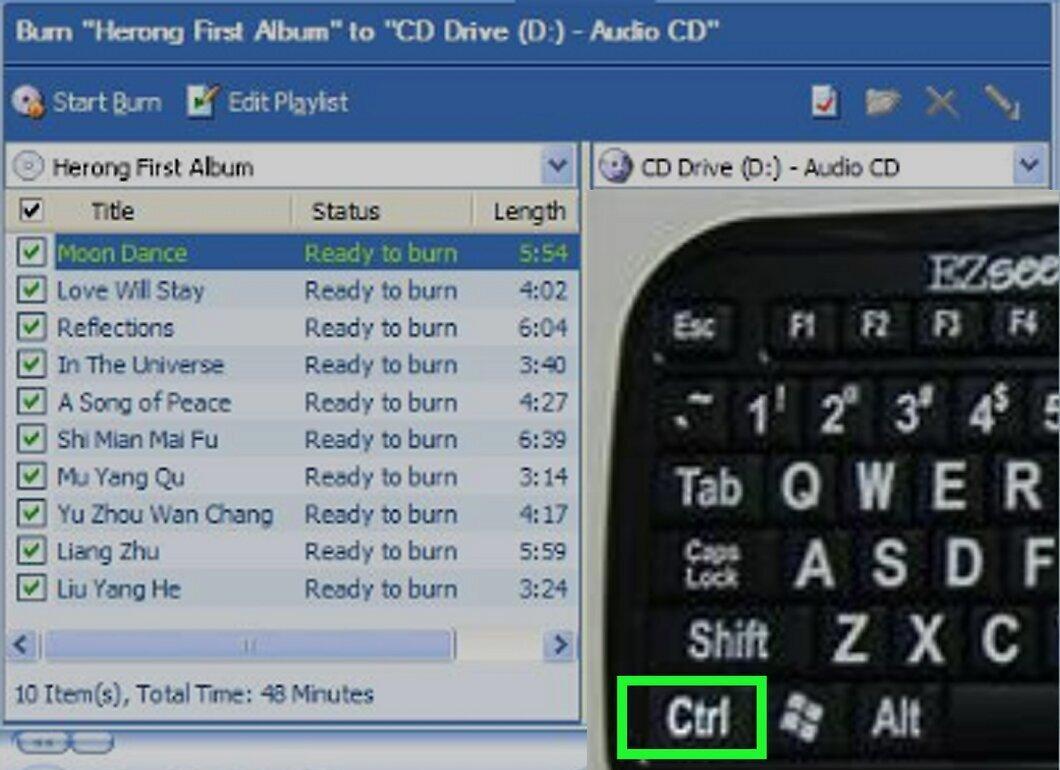
Hold down Ctrl and click on each protected track.
Step 9: Drag Music to the Burn Panel.
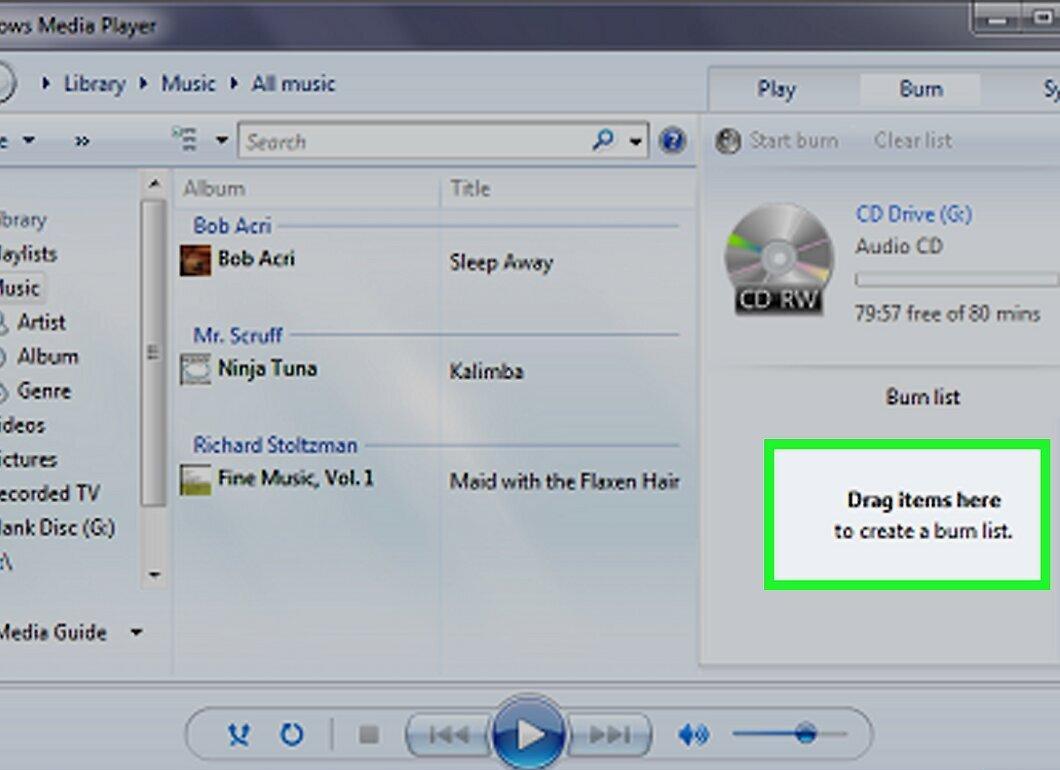
Drag the selected tracks to the burn panel on the right.
Step 10: Click “Start Burn.”
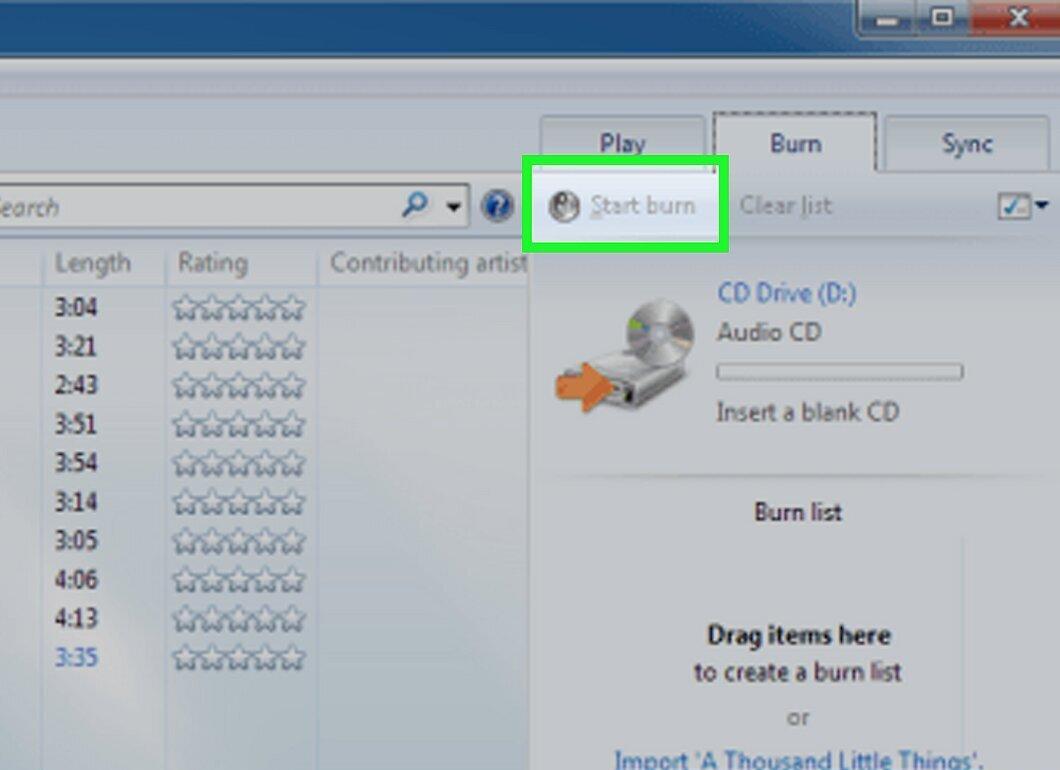
Select the “Start Burn” option at the top of the panel. The music will begin burning to the CD.
Step 11: Wait for the Burning Process to Complete.
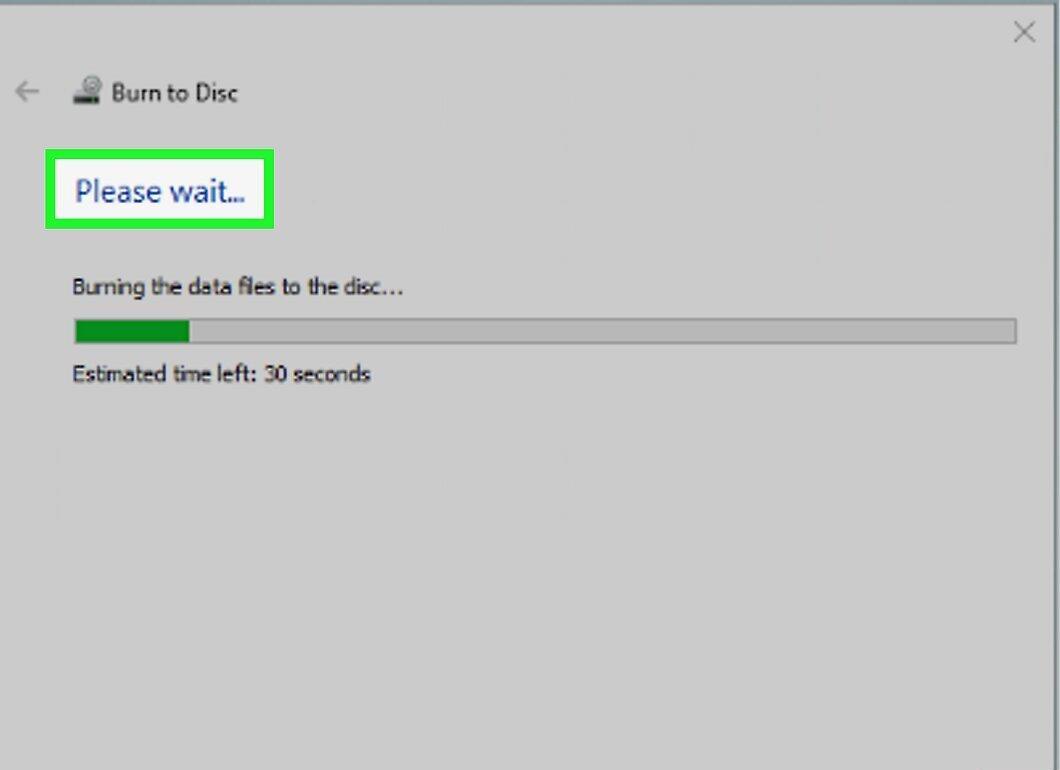
Wait for the burning process to complete; this will take a few minutes. After that, you can proceed to convert the files.
Step 12: Copy Music from the CD as MP3.
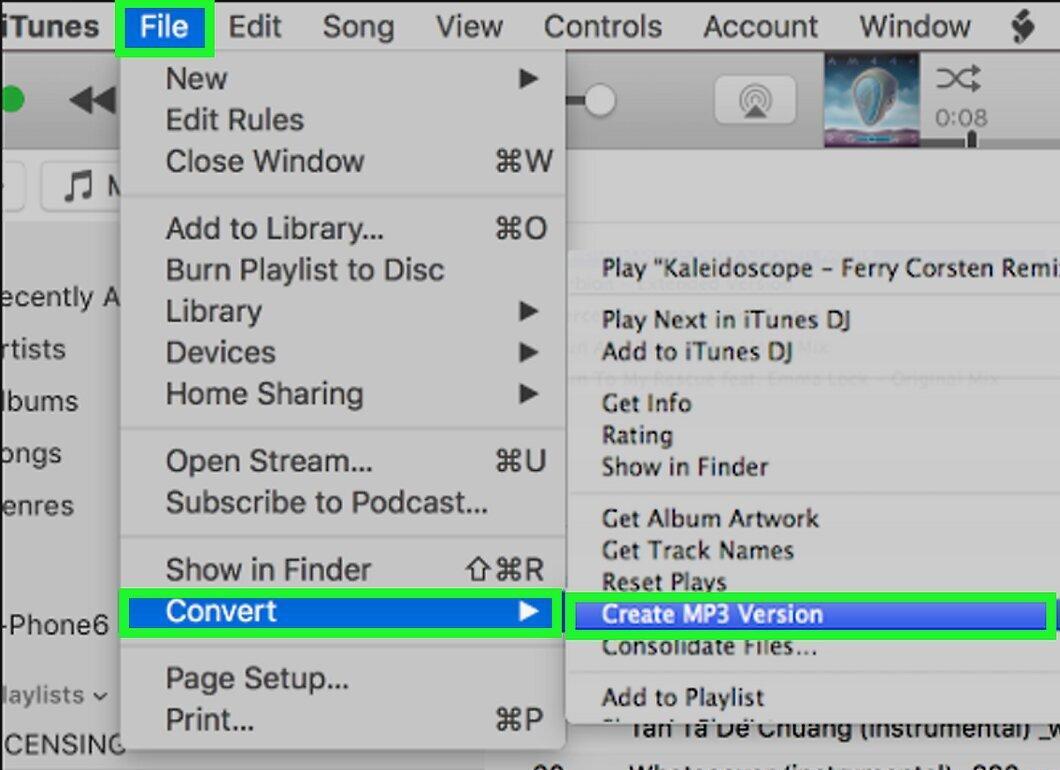
Open Windows Media Player and use the “Copy Disk” feature to copy music in MP3 format.
Step 13: Format the CD.
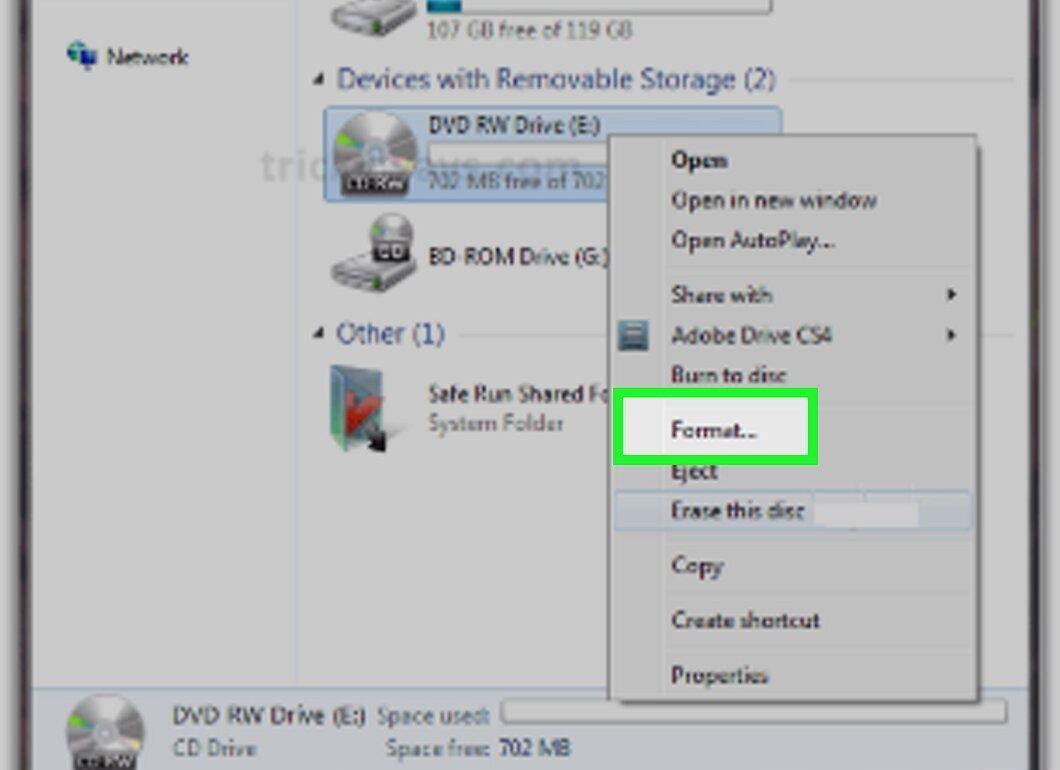
Don't forget to format the disc before burning new audio files.


