
If you're looking to replace expensive and fragile pots that can't handle strong winds and frosts, try making your own concrete flower pots. Once you decide on the shape, you can create as many pots as you need. These durable and cost-effective creations will serve you well for years to come.
Part 1
Step 1. Prepare the mold for the concrete pot.
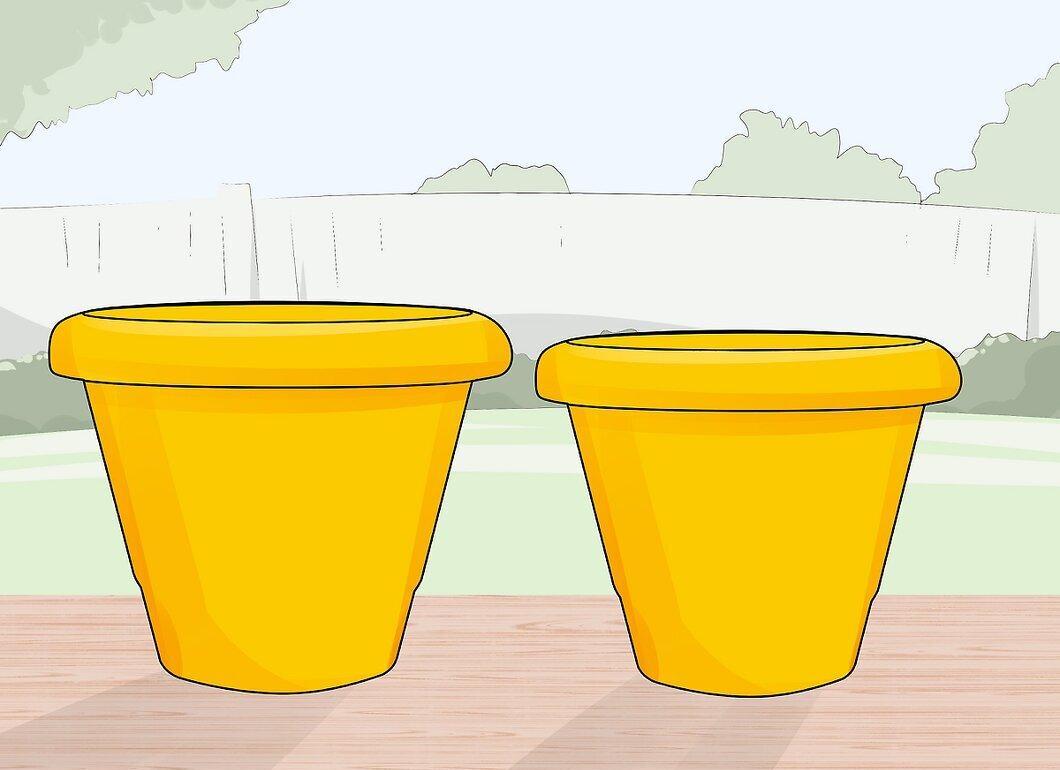
First, create a mold for your concrete pot. You'll need two identical containers, with one being slightly larger than the other. For example, two bowls or buckets will work, where the smaller one should be at least 2.5 centimeters smaller. You can also make molds from plywood in square or rectangular shapes.
Step 2. Treat the molds.
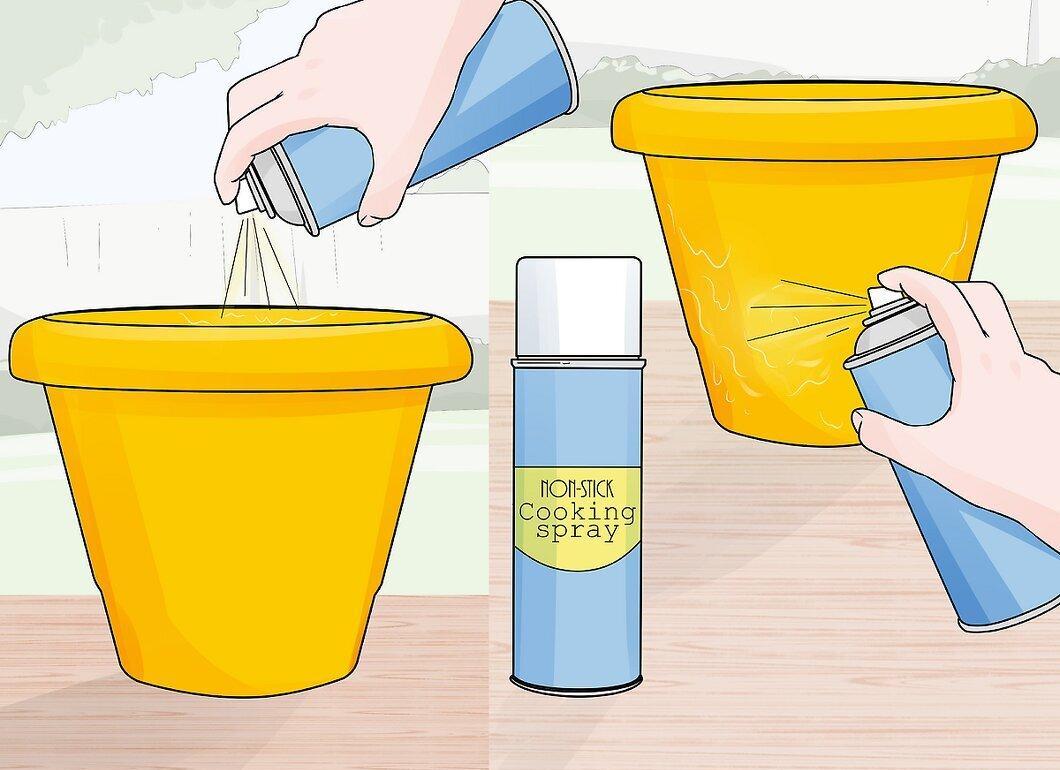
Coat the inner surface of the outer container and the outer side of the inner container with vegetable oil or non-stick spray. If you're using wooden molds, apply a wax paste.
Step 3. Prepare the drainage tubes.
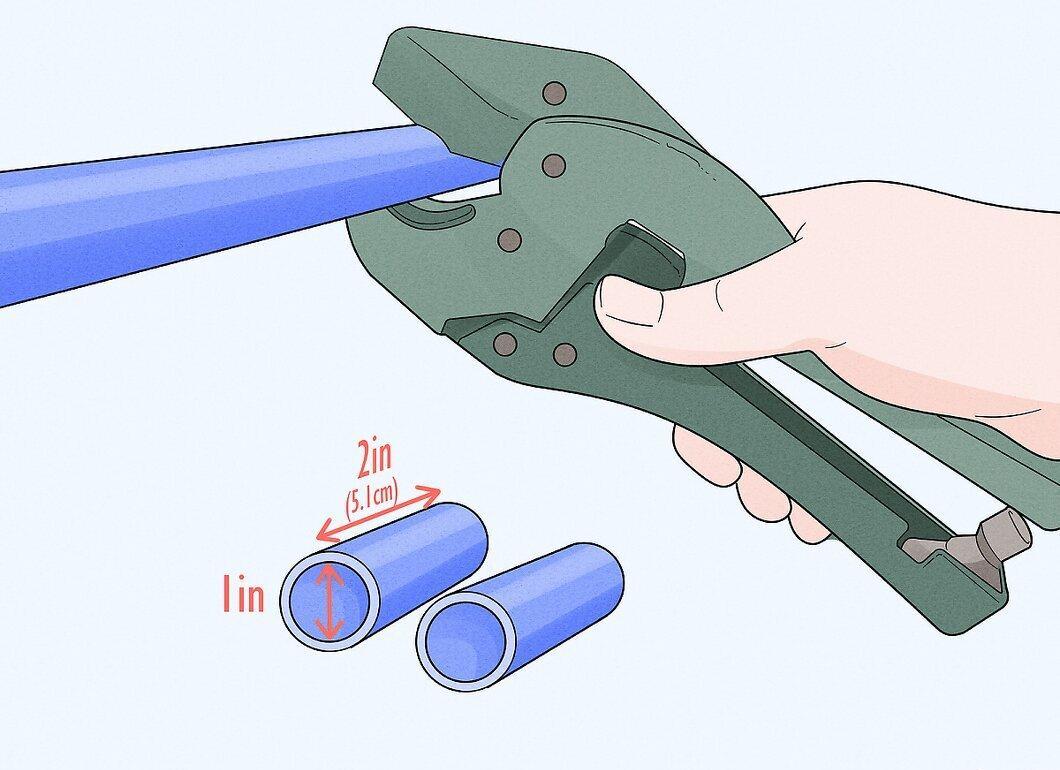
Cut two or three pieces of polymer tubing, each 2.5 centimeters long. These tubes will create drainage holes and should be 5 centimeters long.
Step 4. Protect your hands and prepare the concrete.
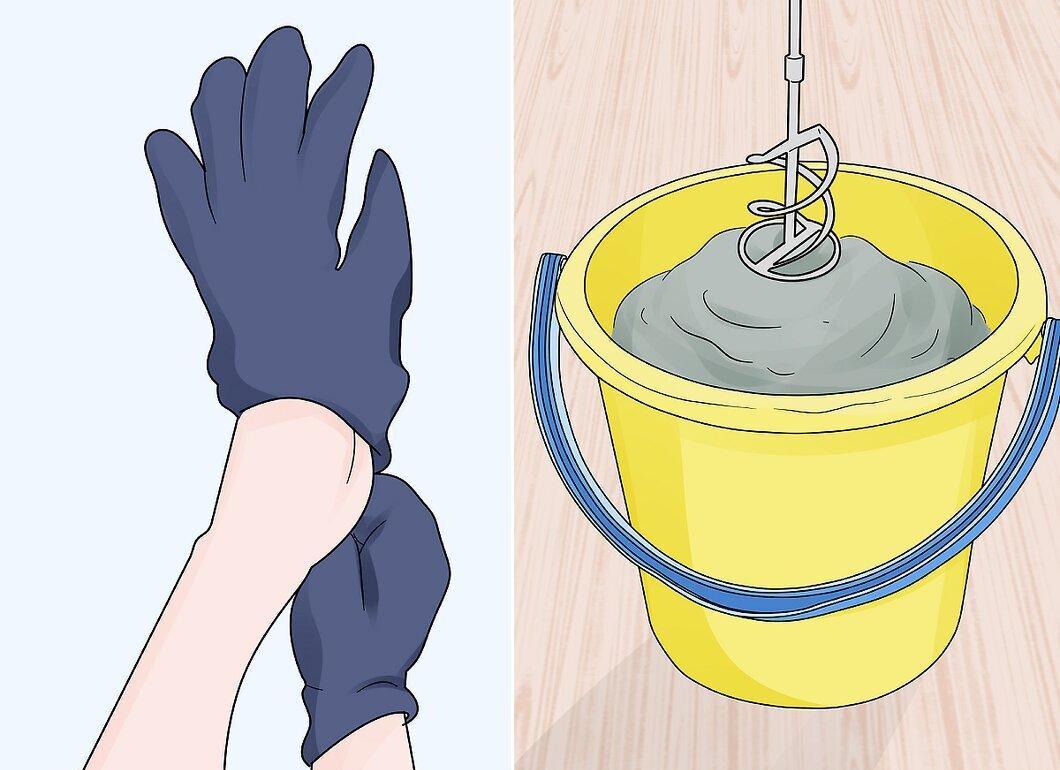
Be sure to wear gloves to protect your hands from the concrete mixture. Prepare a batch of quick-setting concrete according to the instructions on the package, and add color if desired.
Step 5. Pour the first layer of concrete.
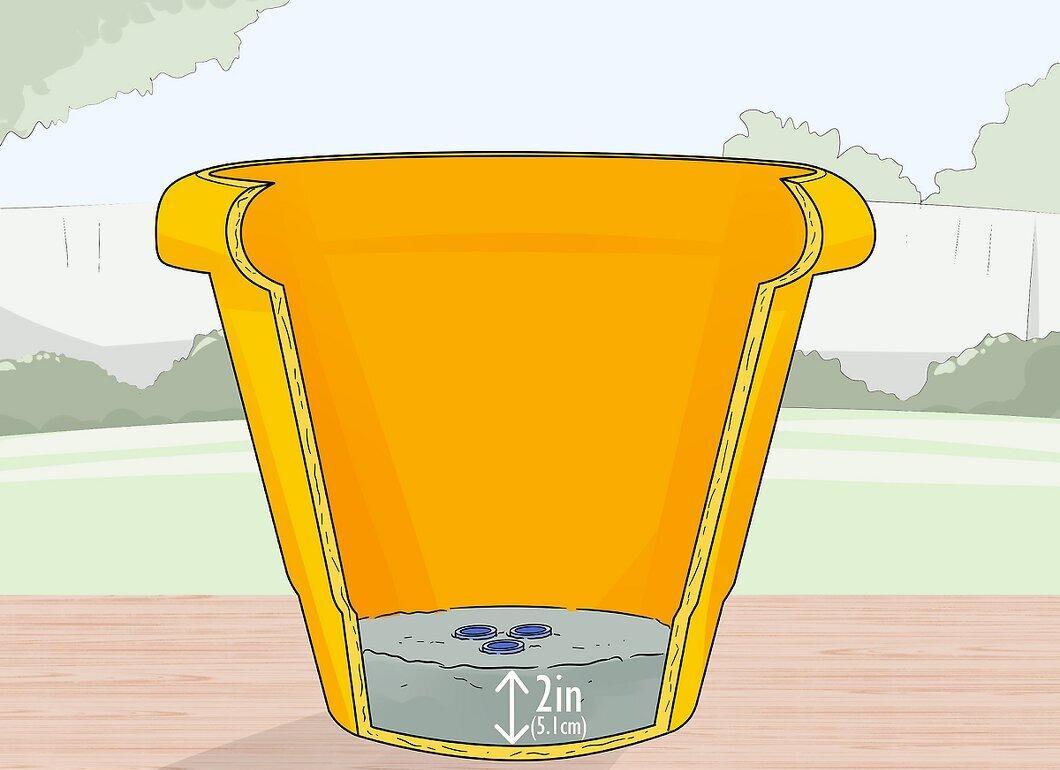
Pour 5 centimeters of concrete into the larger container. Place the tubes in the concrete, leaving a distance of 7.5 to 10 centimeters between them. Smooth the concrete around the tubes, ensuring they remain open for drainage.
Step 6. Insert the smaller container.
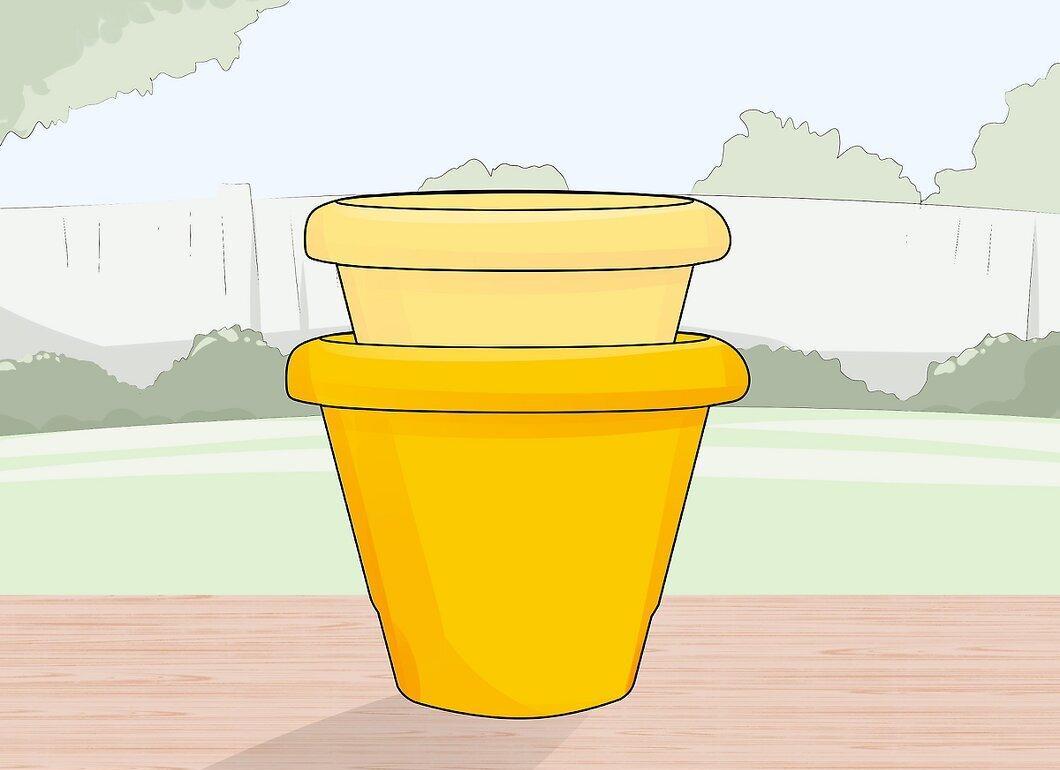
Carefully place the smaller container on top of the concrete so that it is centered within the larger one. Press it into the concrete until the bottom touches the tubes.
Step 7. Fill the space between the containers.
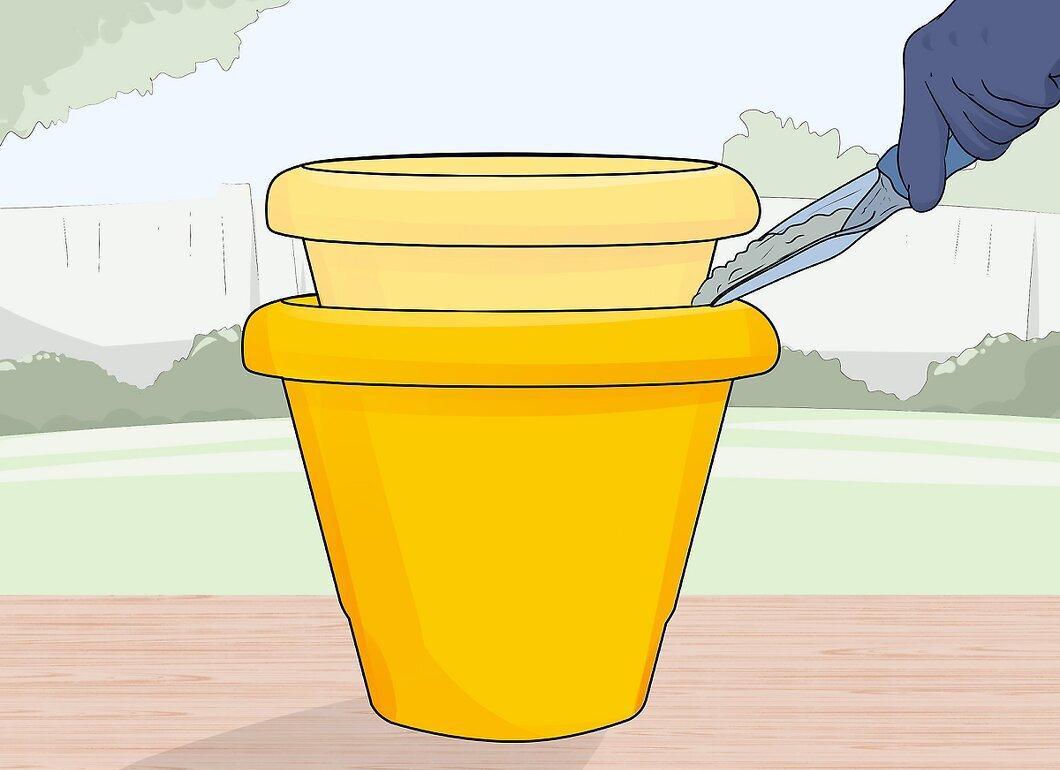
Add more concrete in the space between the containers. Gently tap the smaller container to level the concrete, then add more to fill it completely. Smooth the surface with a trowel.
Step 8. Allow the concrete to set.
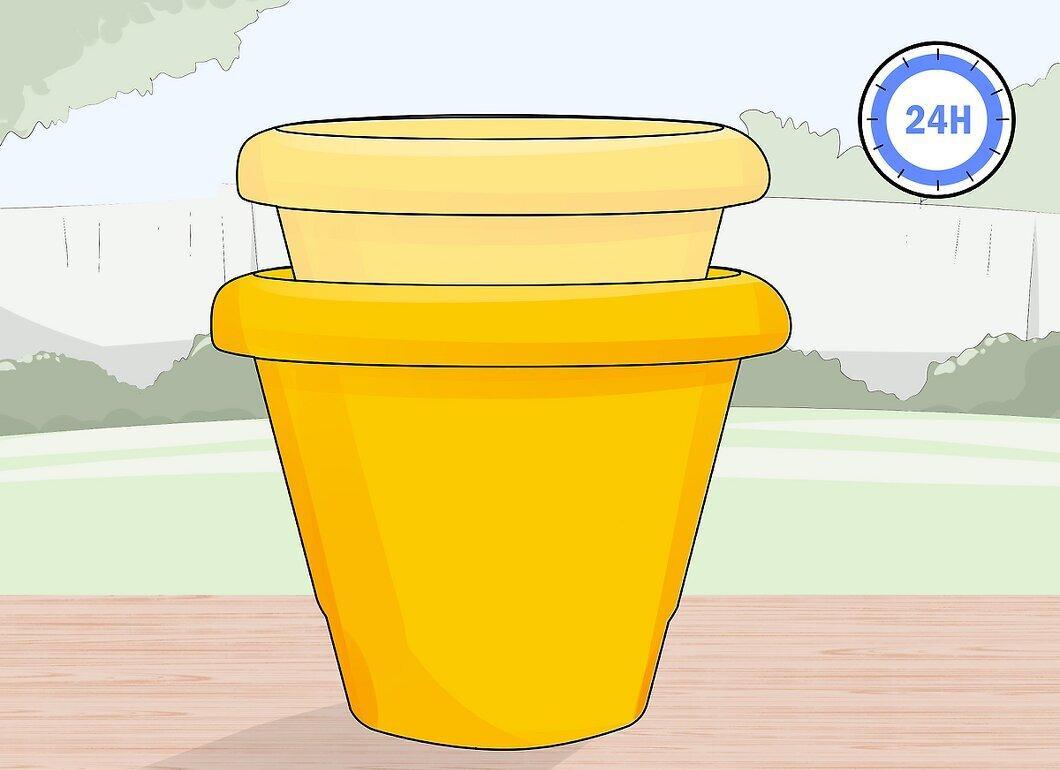
Leave the concrete to set for at least 24 hours. After that, carefully remove the smaller container to reveal your concrete pot. Lightly mist it with cold water from a spray bottle without disturbing the larger container.
Step 9. Cover the pot and let it cure.
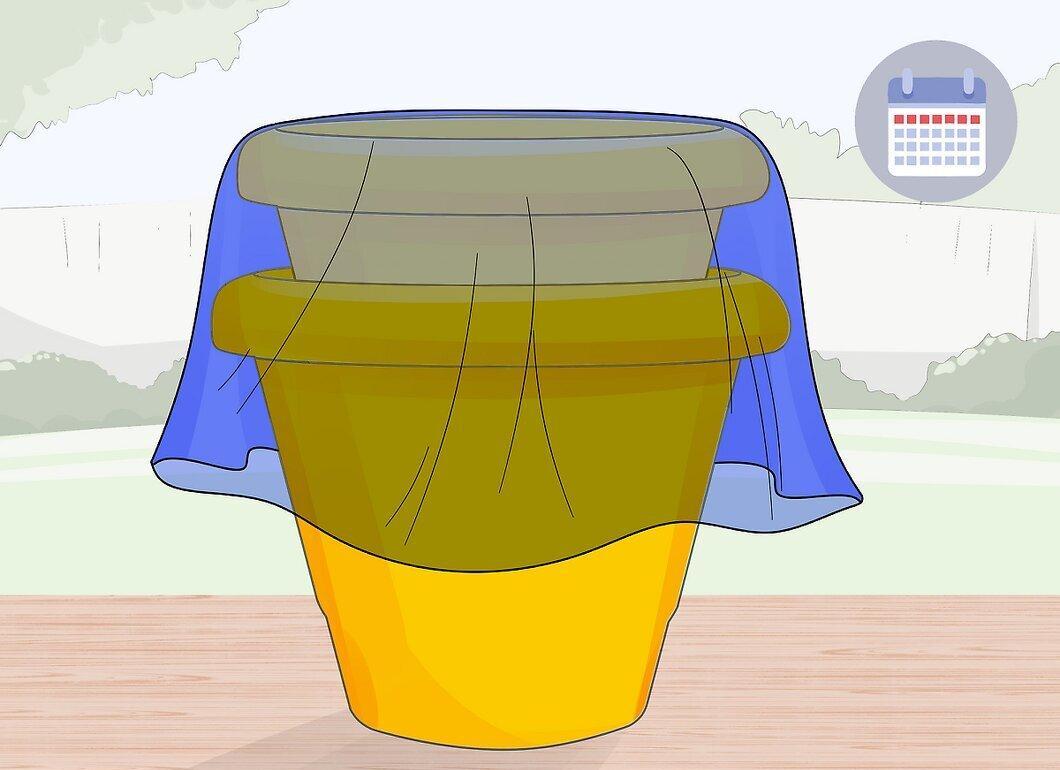
Cover the pot with plastic wrap and leave it for a week to fully cure. Regularly mist the concrete to keep it moist.
Step 10. Remove the pot from the mold.
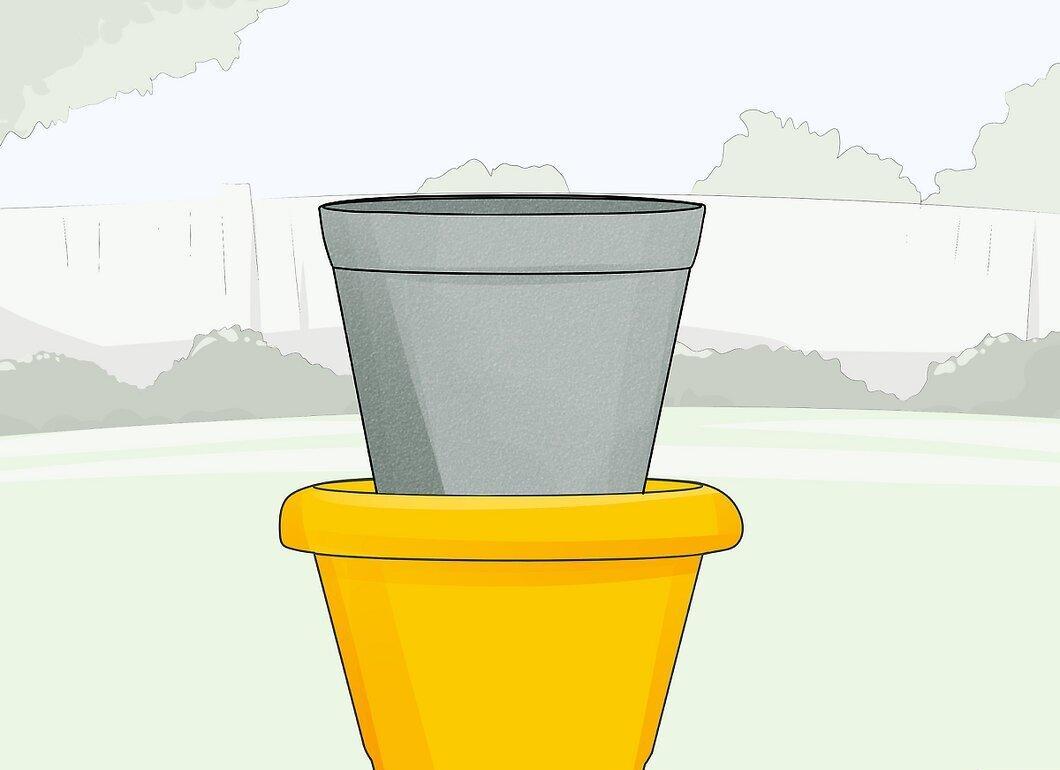
Tap the bottom of the pot with your palm to help it release from the mold, and gently remove it.
Step 11. Clean the molds.
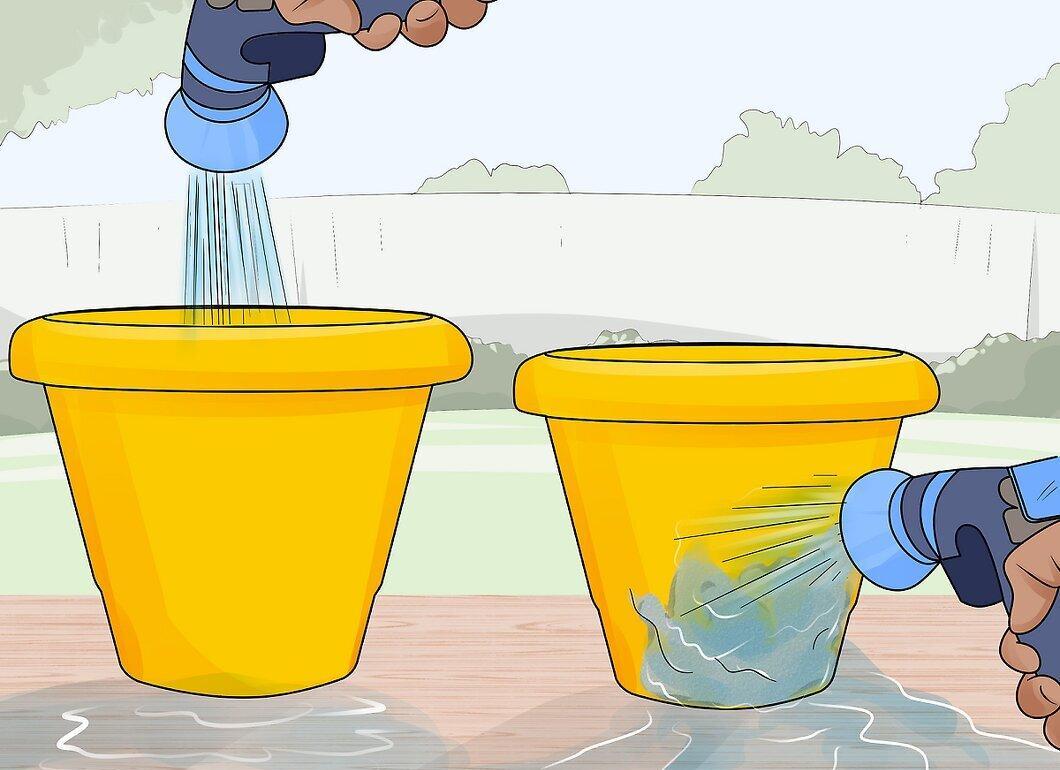
Clean the molds from any leftover concrete. You can reuse them to create new pots.
Step 12. Congratulations, your pot is ready!
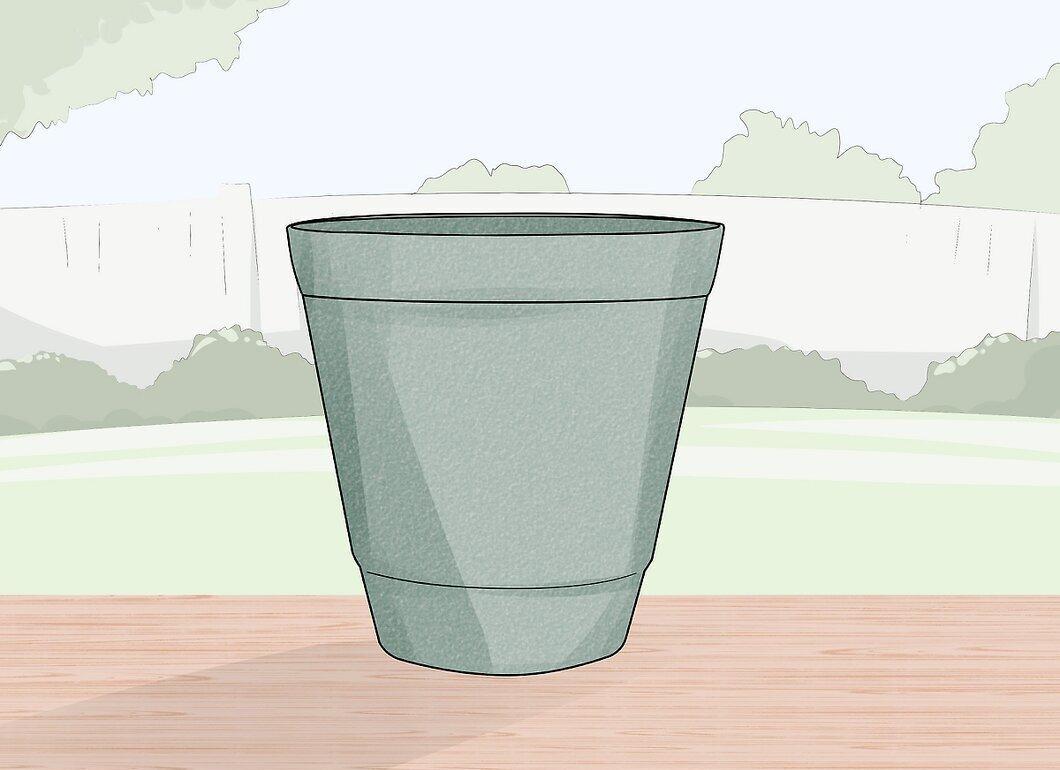
Now you have a beautiful and sturdy concrete pot for your flowers!


