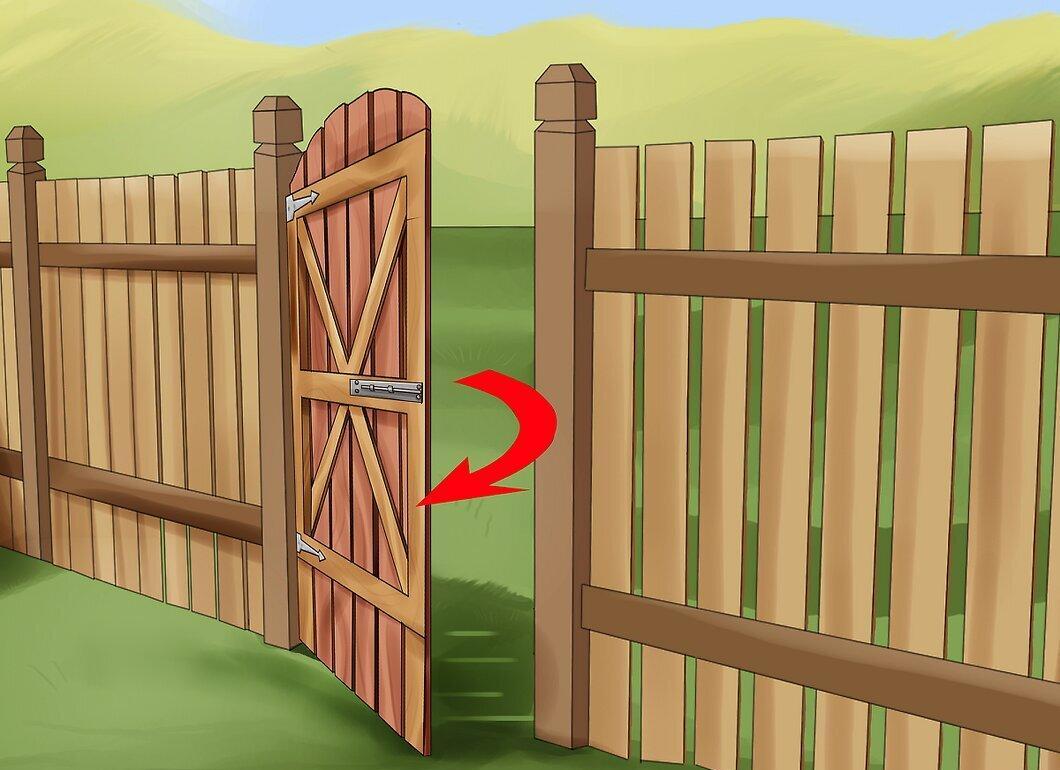
Faulty gates can ruin the overall look of your home, while well-functioning ones create an atmosphere of hospitality. If you’ve decided to update the gates in your enclosure or any other wooden fence, this article will help you organize the process correctly, complete the work quickly, and finish the product with quality.
Preparation Steps
Step 1. Gather all necessary materials and tools.

Collect all the needed materials and tools for the job. You will require not only boards for the gates but also several standard carpentry tools. Here’s a list of what you might need:
- Power drill
- Electric drill
- Miter saw
- Carpenter's level
- Jigsaw for cutting decorative elements
- 7.6 cm screws for joining the frame
- 1 ¼ or 1 ⅝ inch screws, coated or stainless steel, for cladding
Step 2. Check the strength of the fence.
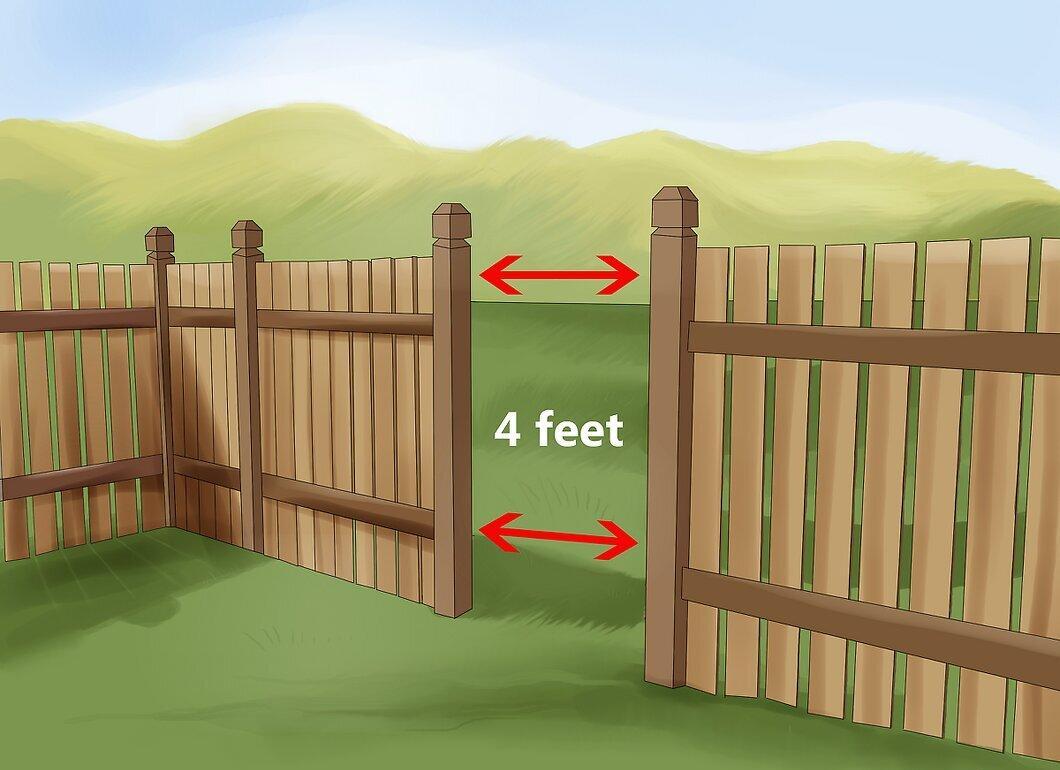
Ensure that your fence can withstand the new gates. The width of the gates should not exceed 1.22 meters. If your gates are wider, consider installing two doors that will close together in the center.
- Measure the opening at the top and sides, as dimensions may vary. Create rectangular gates based on precise measurements. Check the diagonals of the opening to ensure it is square.
Step 3. Reinforce the fence posts if necessary.
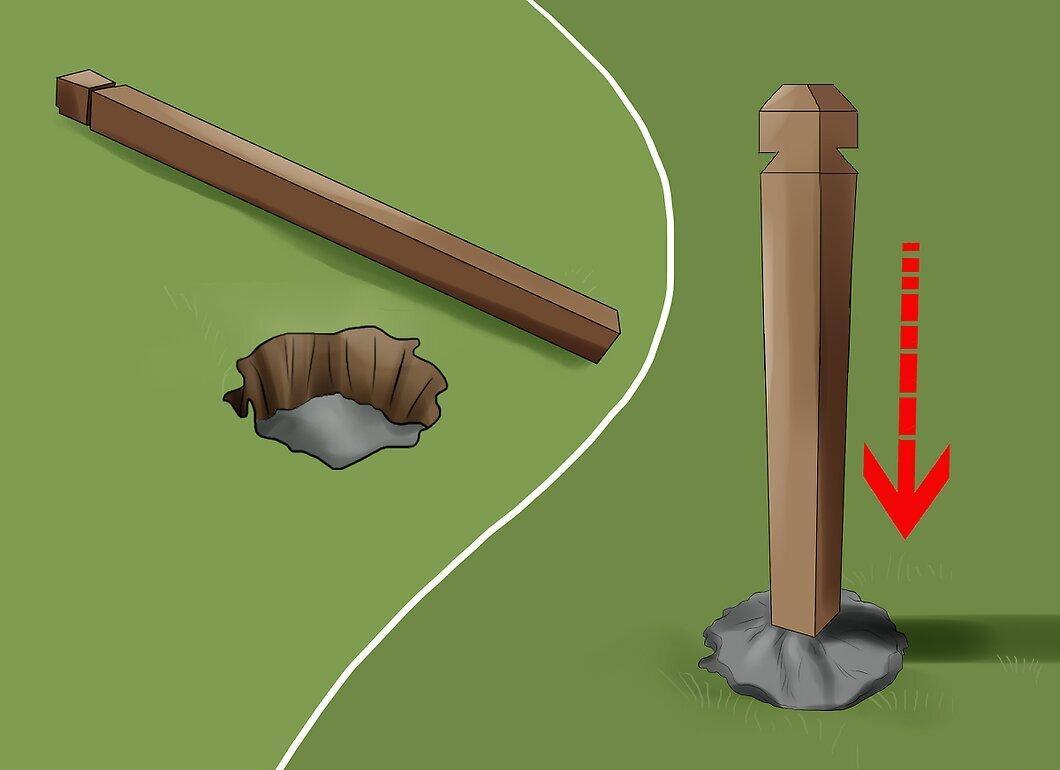
If needed, reinforce and concrete the fence posts. You need to ensure that the gates won’t pull the posts sideways during installation. Methods of reinforcement depend on the size of the fence, but generally, the posts should be sturdy enough to support the weight of the gates. If they wobble, the gates may sag. Check that the top and bottom of the posts are level.
- For gates 1.22 m high, pine posts sized 12.7 cm x 12.7 cm are suitable, while for 1.83 m height, 15.3 cm x 15.3 cm posts are appropriate.
Step 4. Measure the frame dimensions.
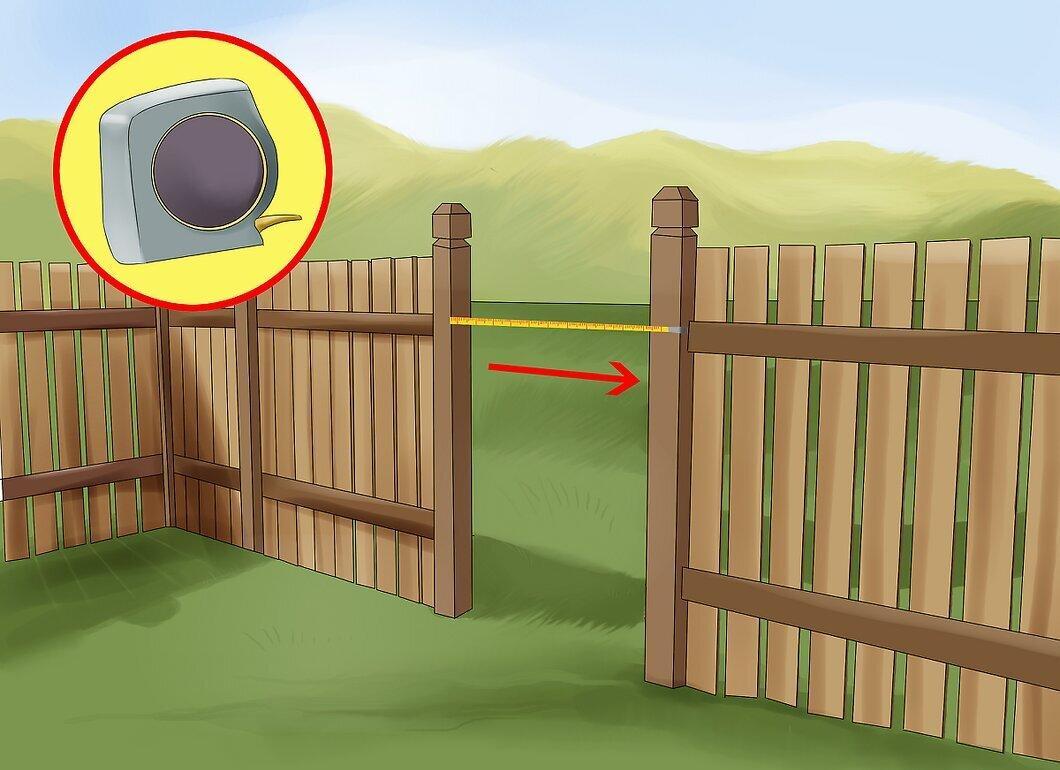
Measure the frame. It’s a standard frame with four sides that should be slightly smaller than the opening. If the opening is 3x5, the frame should be made 3x4 from water-resistant wood. The frame should be 2-3 cm smaller than the opening to allow space for hinges and potential wood expansion during the work.
- Typically, the same type of wood used for the fence is utilized. If you want the gate color to differ, you can opt for pine. Buy a little extra material to avoid running short.
Making the Gates
Step 1. Cut frame pieces measuring 5.08 x 10.16 cm on the miter saw.
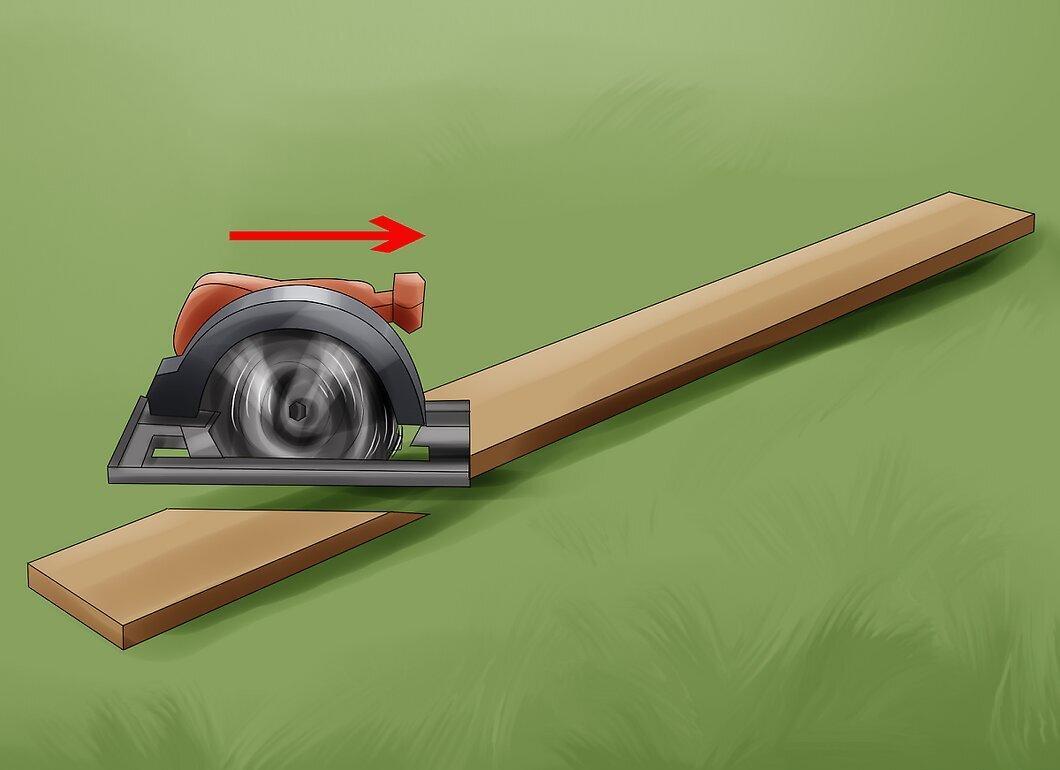
On the miter saw, cut the top and side rails to the predetermined sizes. They should be slightly smaller than the opening. Cut the vertical rails so that they are 7.62 cm shorter than the height of the gate.
Step 2. Drill holes in the top and side rails.
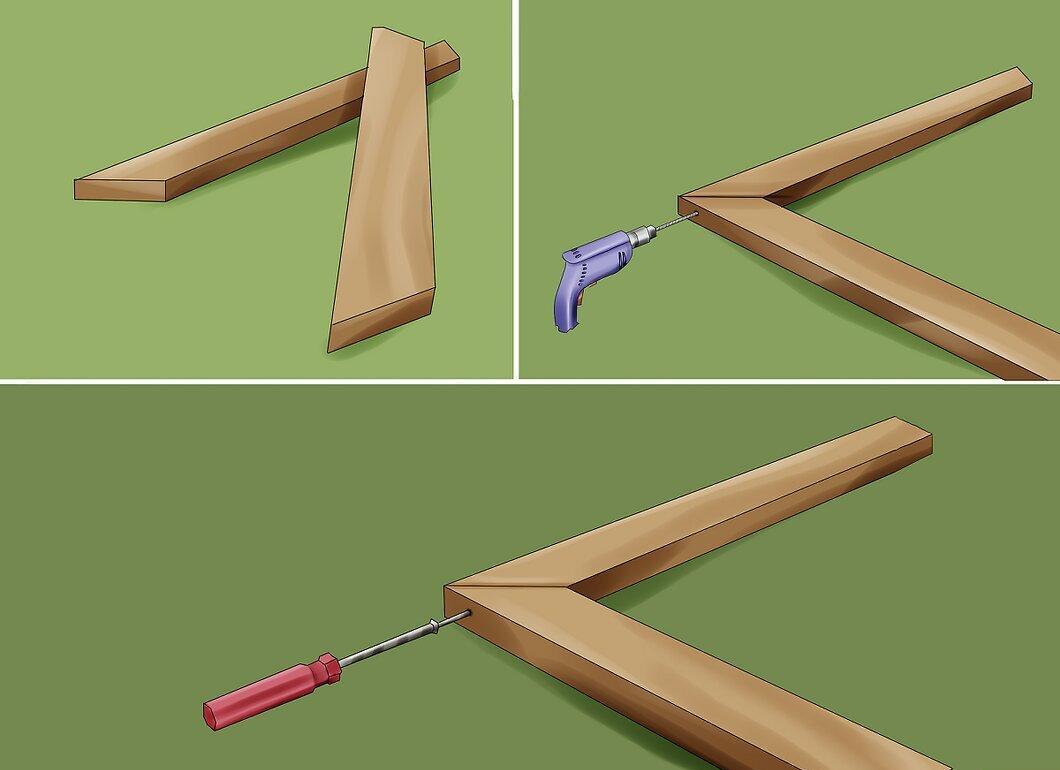
Drill holes in the top and side rails. To prevent the wood from splitting, make pilot holes for the screws. Use square-drive screws and pre-drill holes for them. Measure the distance from the top of the curve to the opposite lower corner to ensure the distances are equal.
- It’s best to assemble the frame on a flat surface, such as a patio or walkway. Attach the top and bottom rails to the sides and check for the frame's squareness.
Step 3. Make cross braces and attach them at an angle to the top and bottom rails.
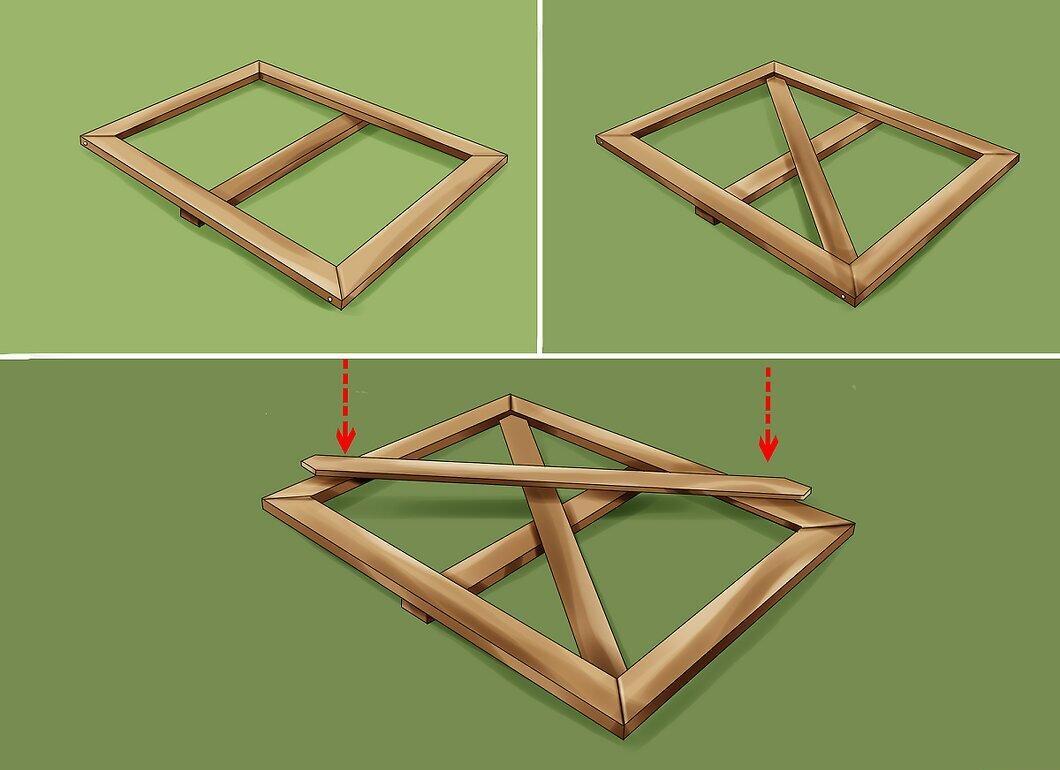
Cut cross braces and attach them at an angle to the top and bottom rails. This will add strength and stability to the gates. Secure the braces to the frame after pre-drilling holes and using screws.
- Use a table saw for diagonal cuts. Lay the brace diagonally against the frame and mark where to cut at an angle.
Step 4. Cut and secure the slats.
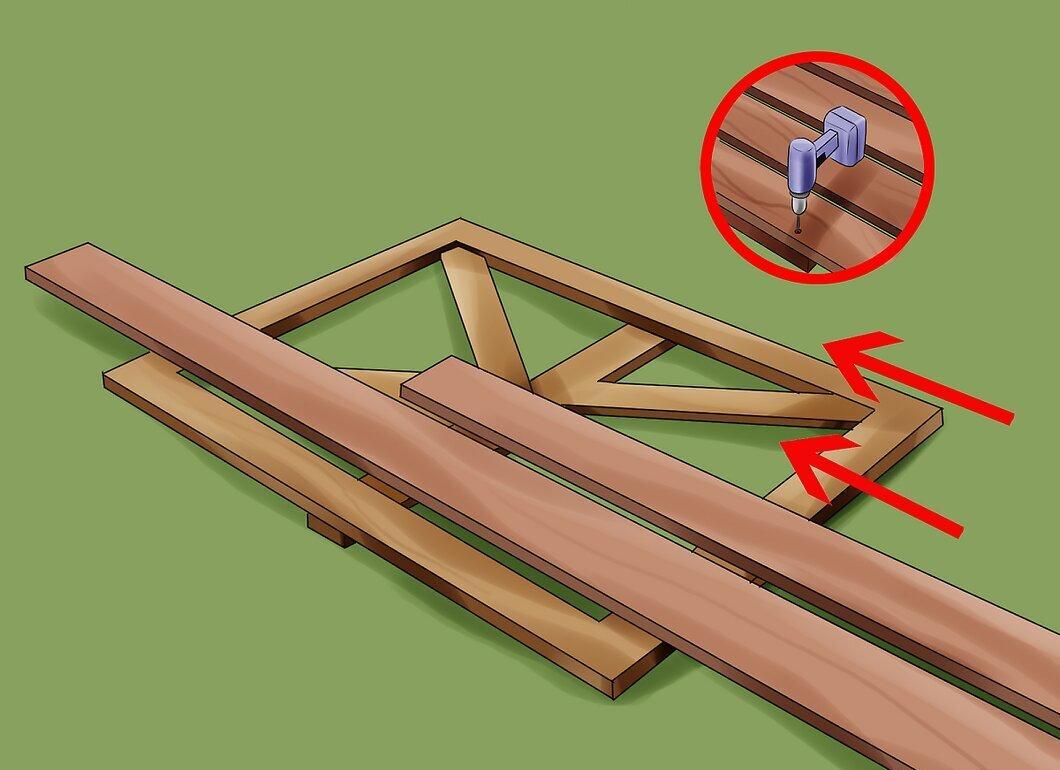
Cut and attach the slats. After assembling the frame, you just need to carefully nail the slats to it to complete your wooden gates. Measure the length of the slats and cut them to the desired size, leaving at least 8 mm between them to account for the wood's reaction to weather conditions.
- Use a table saw for cutting and secure the slats with screws. To achieve a neat appearance, pre-drill holes for the screws.
Completing the Gates
Step 1. Design the appearance of your gates.
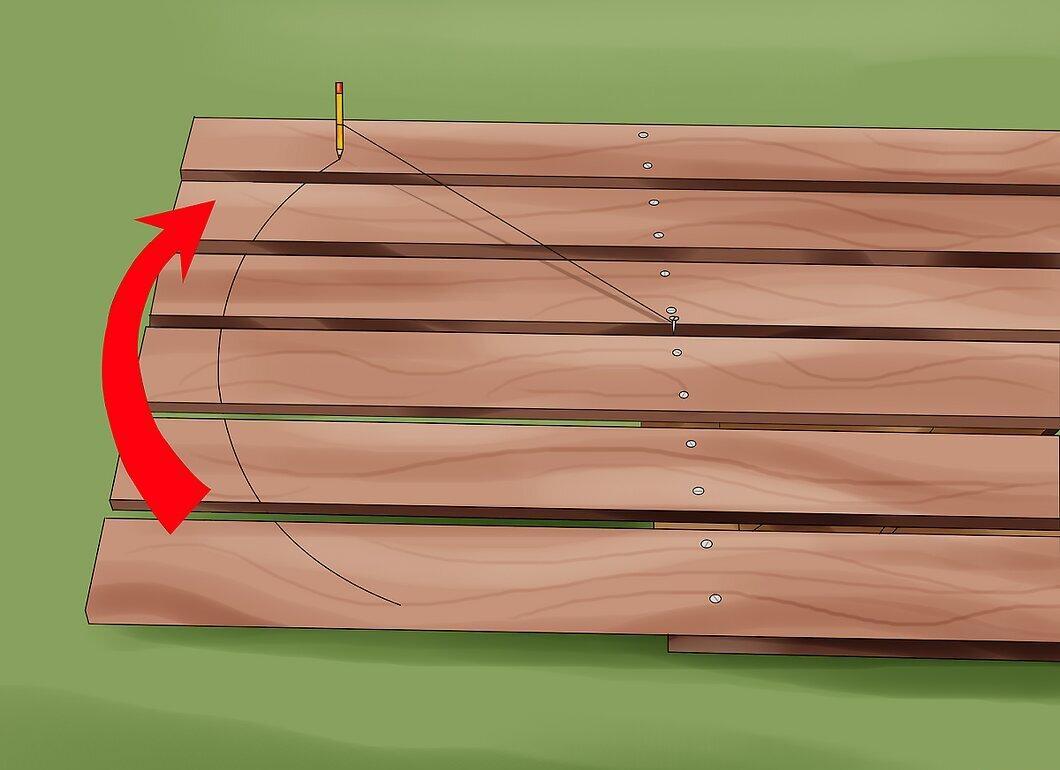
Create a unique design for the gates. Many take time to decorate and embellish gates using a jigsaw. While this is not necessary, it’s a great way to add aesthetics. Popular options include rounded top edges, family crests, or small decorative elements.
- Using a pencil and string, draw an arch at the top of the gates. You can add decorative curves as you wish. Let your creativity flow if you have woodworking experience. Cut along the marked line with a jigsaw.
Step 2. Install the hinges and attach the gates to the fence.
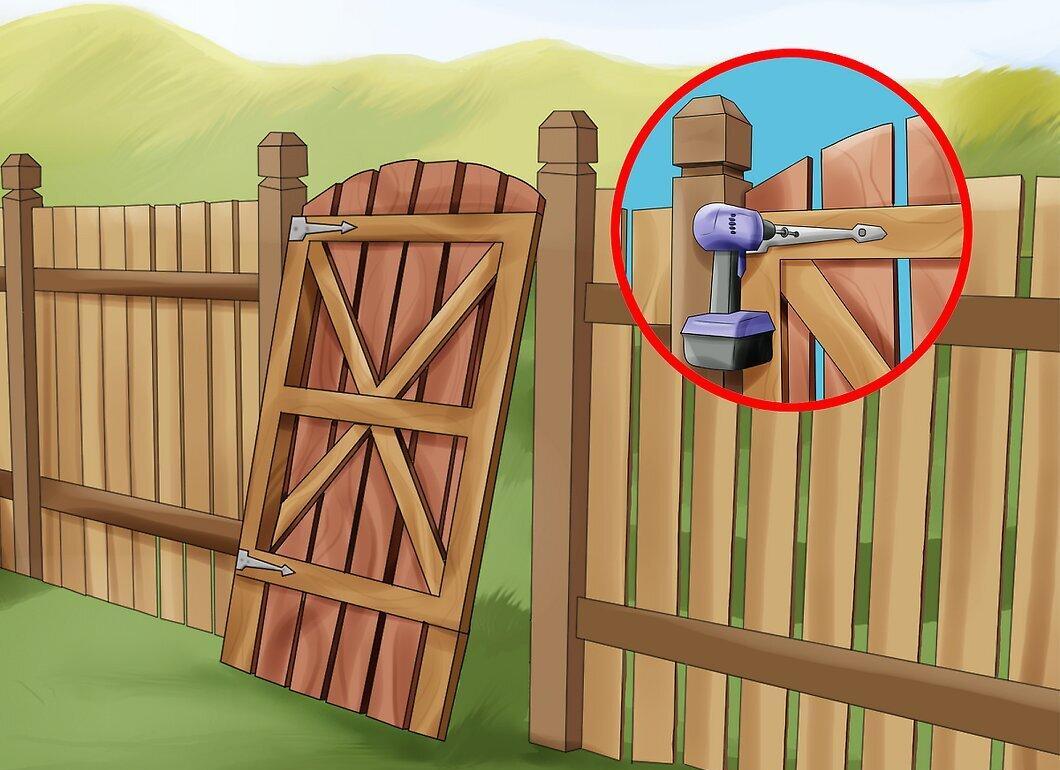
Install the hinges and secure the gates to the fence. Ensure there is a 3.75 cm gap from the bottom rail to the ground. Mark the hinge attachment points on the post with a pencil, then lower the gates. Drill holes for screws and install the gates by attaching the hinges to them, then to the posts.
Step 3. Install the latch.
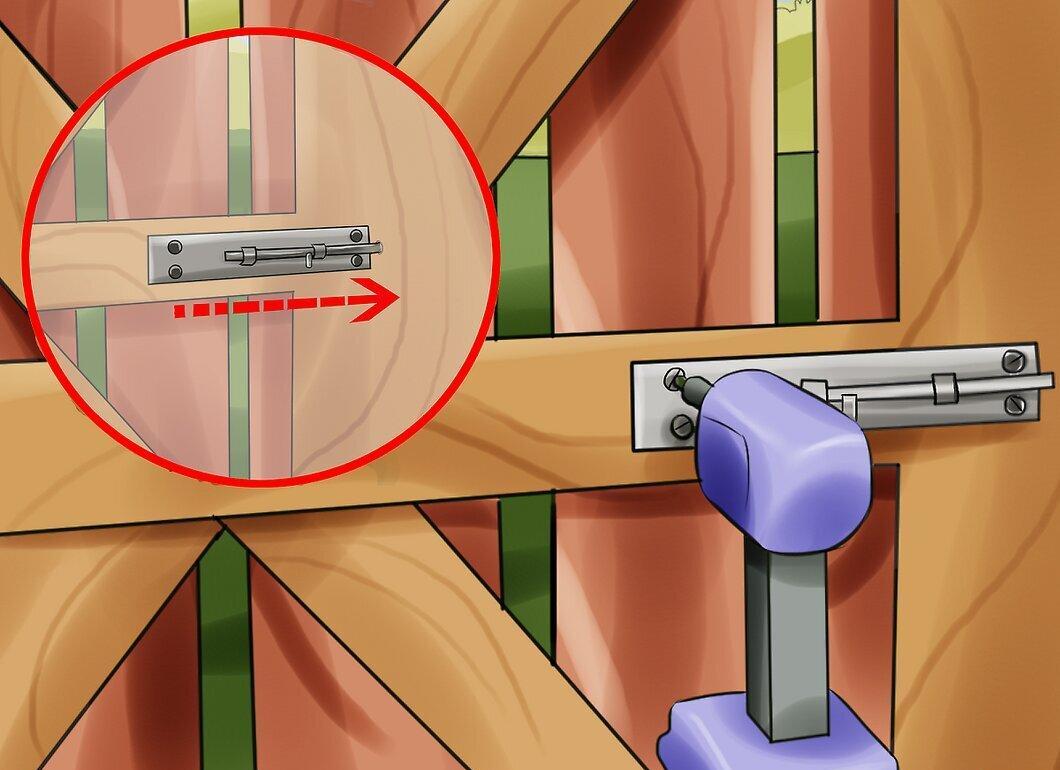
Attach the latch. Most functional gates have a latch that can be installed after hanging the gates. Mark the screw locations with a pencil, drill holes, and install the latch. Don’t forget to install the latch before final finishing.
Step 4. Treat the wood with sealant.
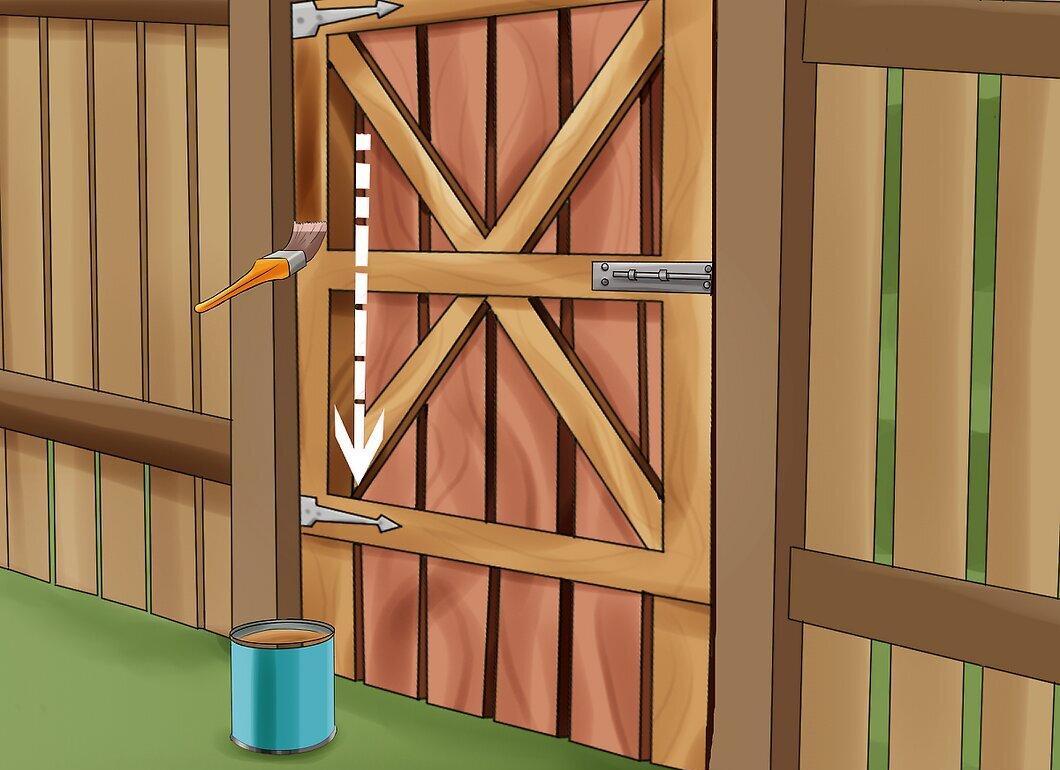
Coat the wood with sealant. Ensure all exposed surfaces are covered. Apply sealant with a brush or a garden sprayer. Many manufacturers offer special sponge-on-a-stick applicators for easy sealant application.
- Apply sealant evenly across the entire surface. Pay special attention to the edges of the slats, as they absorb moisture more than the face of the gates. This part of the gates is prone to rot. If you’re working in a dry climate, allow the gates to dry for a few hours, while in a humid climate, let them dry for a day.
Step 5. <finished>