
Create Enchanting Decorative Mushrooms for Your Garden
Decorative mushrooms can transform your garden into a whimsical wonderland. While crafting them may seem challenging, the results are well worth the effort. You can choose any color, shape, and size, plus you won't have to worry if someone accidentally damages or eats your artwork!
Terracotta Pot Mushrooms
Step 1: Choose a Terracotta Pot with a Saucer.
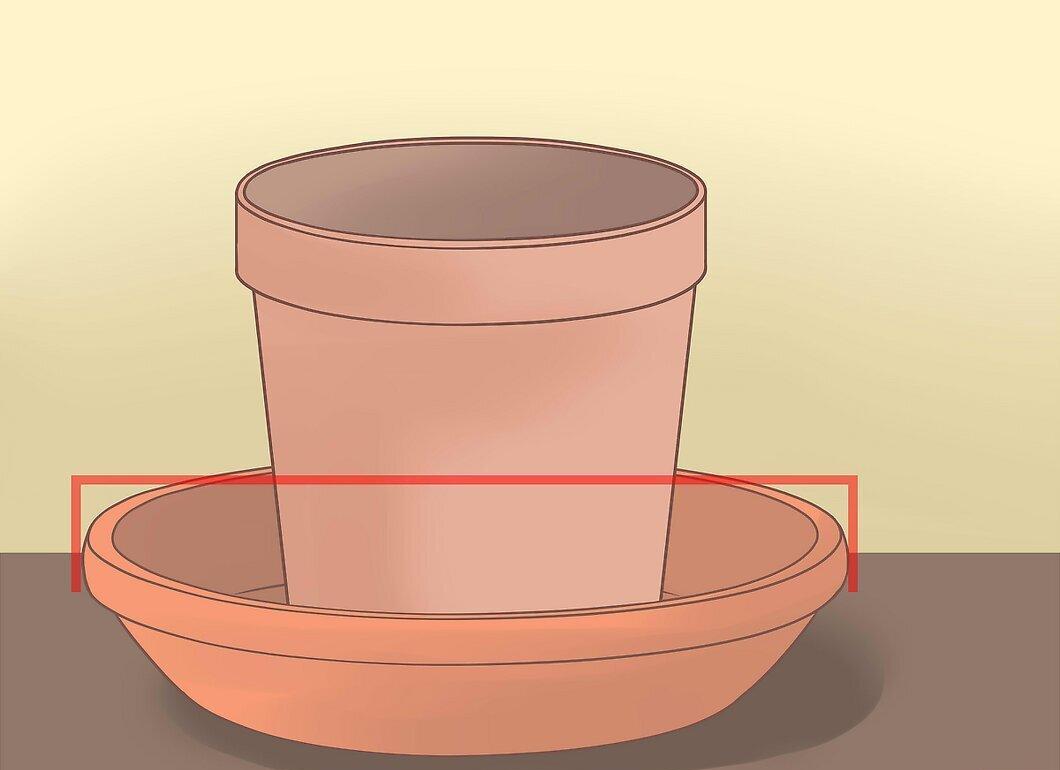
To create your mushroom, you’ll need a terracotta pot to serve as the stem and a saucer for the cap. Make sure the saucer is 3–5 inches larger than the pot, so opt for one that is one or two sizes up.
Step 2: Paint the Outer Layer of the Pot White or Light Color.
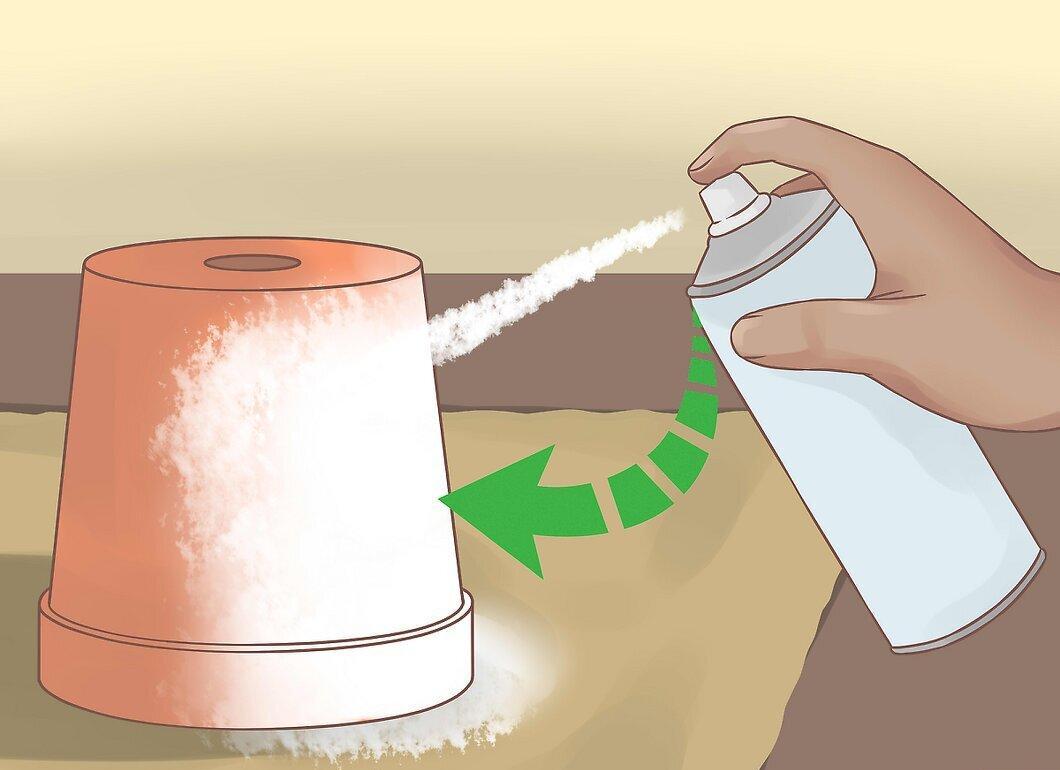
Apply white or light paint to the outside of the pot. If you need to apply multiple layers, wait until the first one is completely dry, which usually takes about 15–20 minutes, before adding a second layer.
- Remember, you don’t need to paint the bottom of the pot.
Step 3: Apply Bright Paint to the Underside of the Saucer.
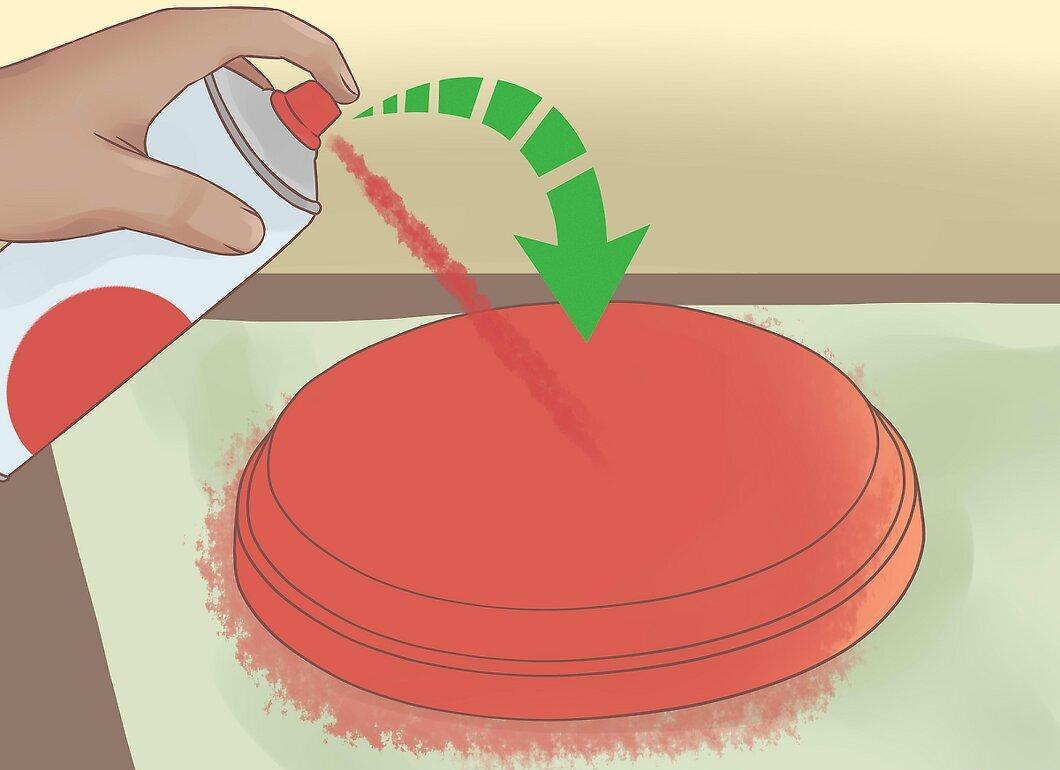
Paint the underside of the saucer in a bright color. Flip it over and use a contrasting paint like red, pink, purple, or turquoise. If needed, let the first layer dry before applying the second.
- You can skip painting the top of the saucer, as it won't be visible.
Step 4: Add White Dots on the Cap with Acrylic Paint.
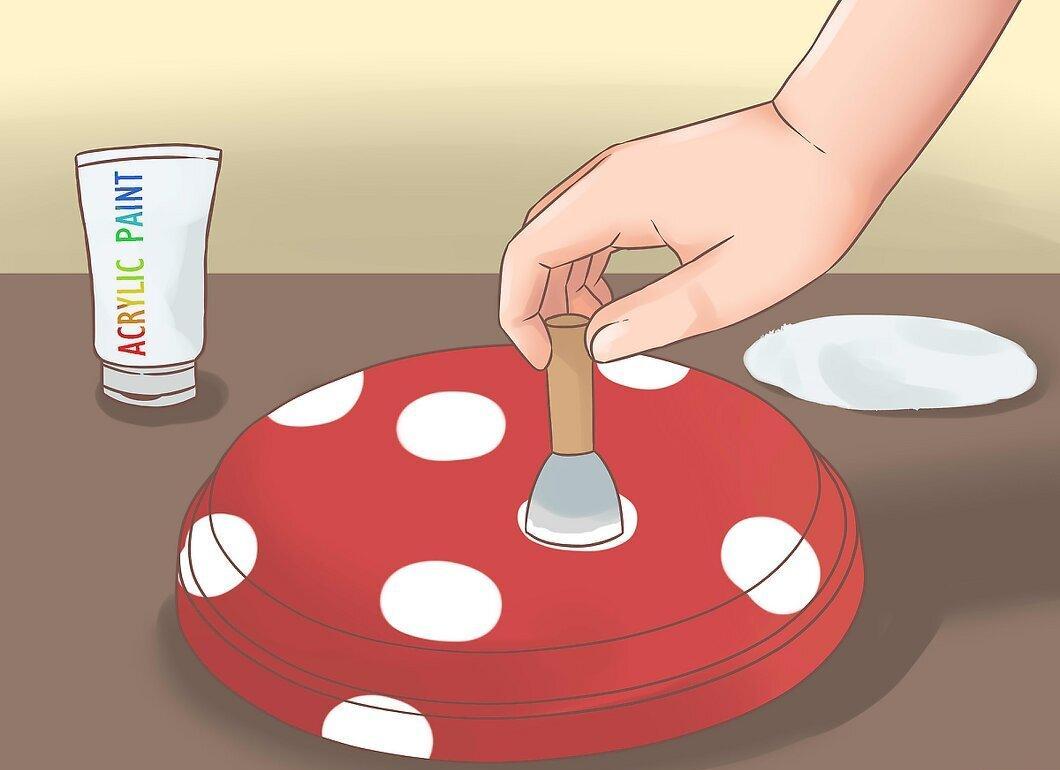
Using a brush or foam applicator, add white dots to the cap. Typically, you’ll want to do 2–3 layers, waiting for each to dry.
Step 5: Protect the Mushroom Once the Paint is Completely Dry.
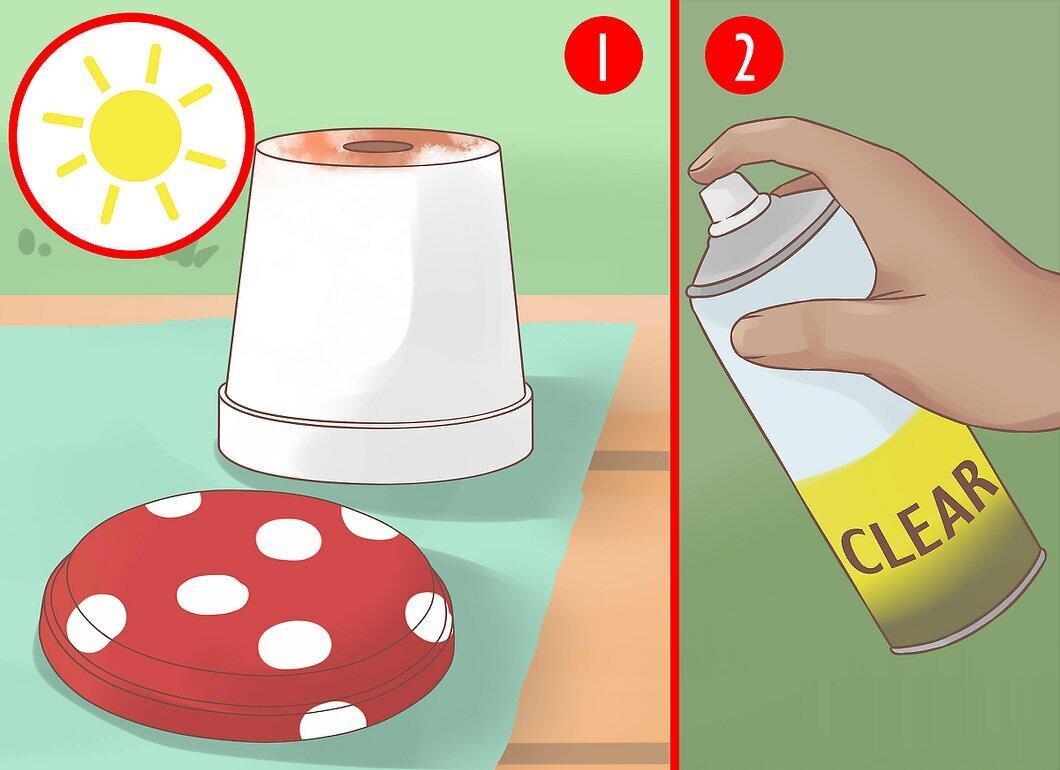
After the paint has fully dried, apply a protective layer. Even if the paint seems dry, it might not be fully set. Check the instructions on the packaging for the exact drying time. Once dry, cover both the stem and cap with a clear protective finish.
- Choose between a glossy or matte finish suitable for outdoor use.
- Ensure the protective finish is completely dry and cured.
Step 6: Assemble the Mushroom.
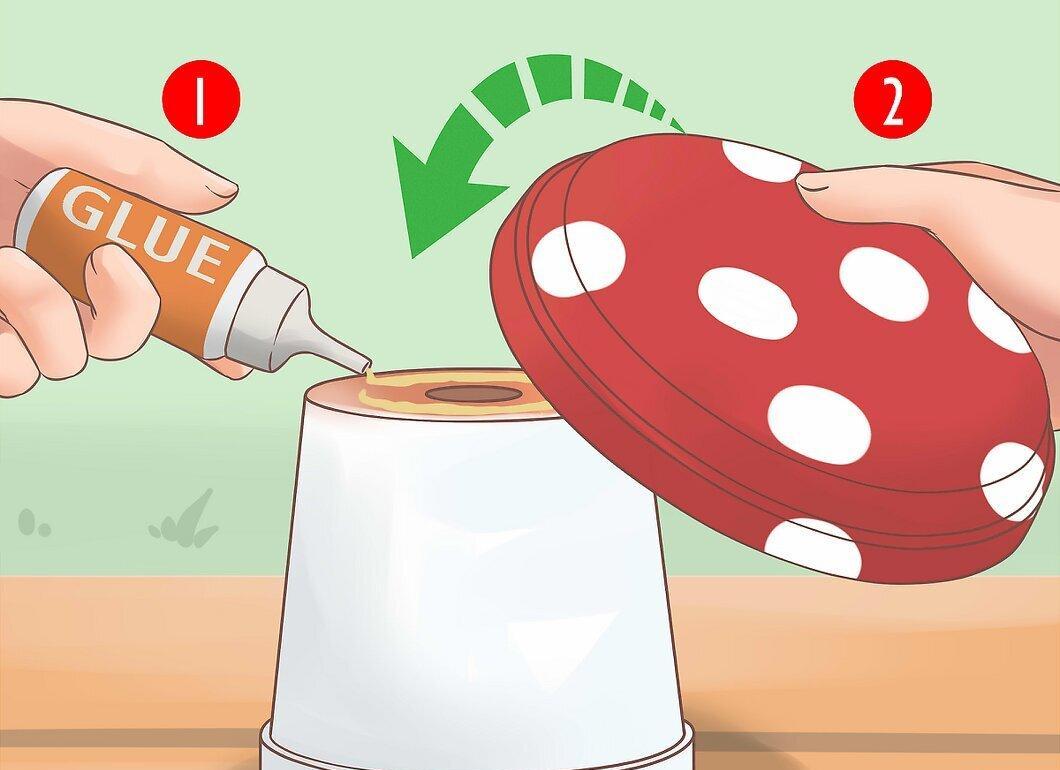
Turn the pot upside down and apply waterproof or epoxy glue to the bottom. Position the saucer painted side up so that the cap is centered.
Step 7: Place the Mushroom in the Garden Once the Glue is Dry.
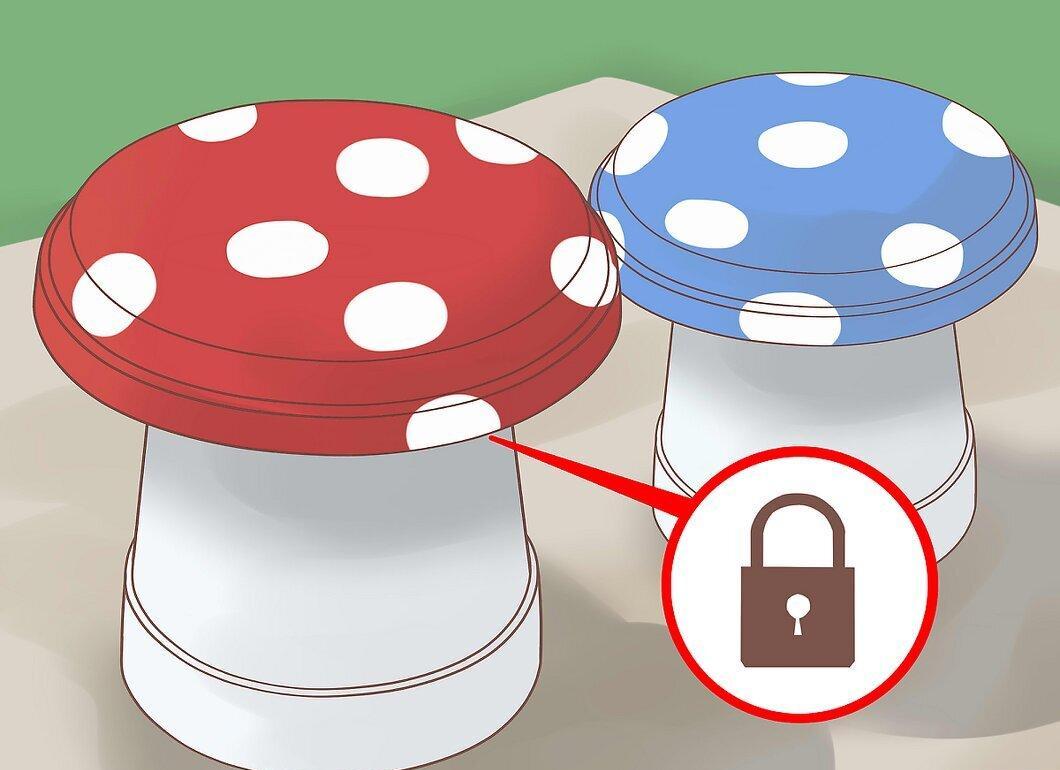
After the glue has dried, place the mushroom in your garden. This may take a few hours or a day. When moving it, hold the mushroom by the stem, not the cap.
Bowl and Log Mushrooms
Step 1: Prepare a Stainless Steel Bowl.
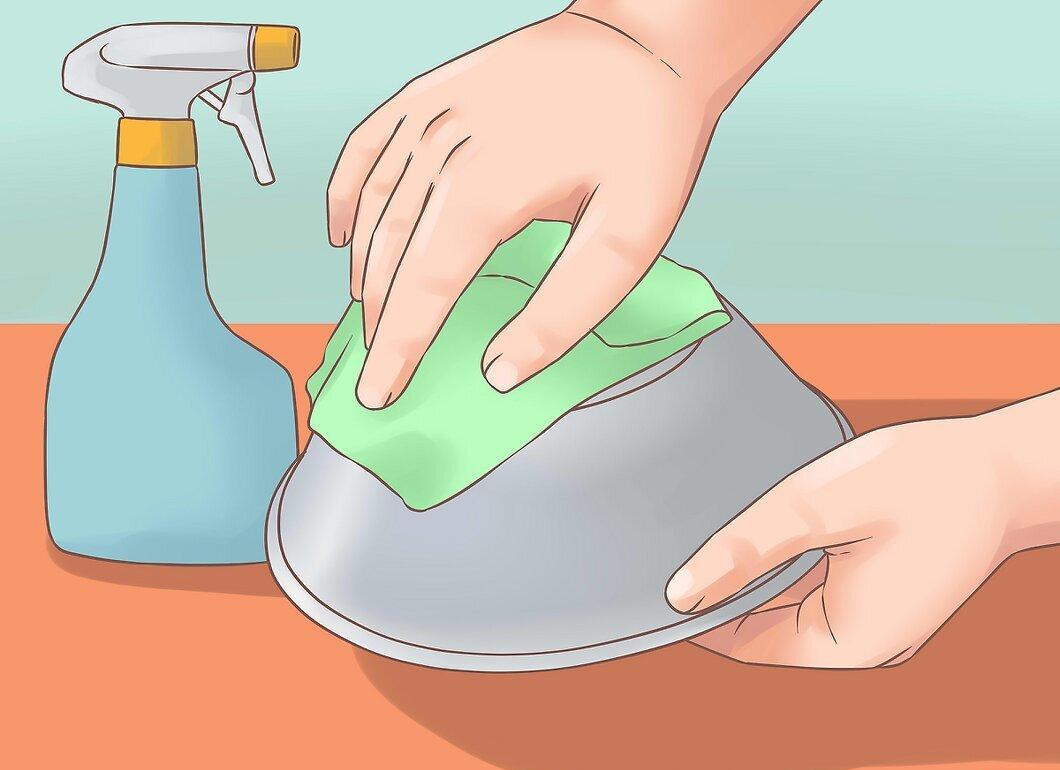
Take a stainless steel bowl and clean it with window cleaner, rubbing alcohol, or dish soap. You can also wash it with soapy water. Ensure there are no oily spots on the outside.
- A wooden bowl can also be used.
Step 2: Sand the Bowl with Fine Sandpaper.
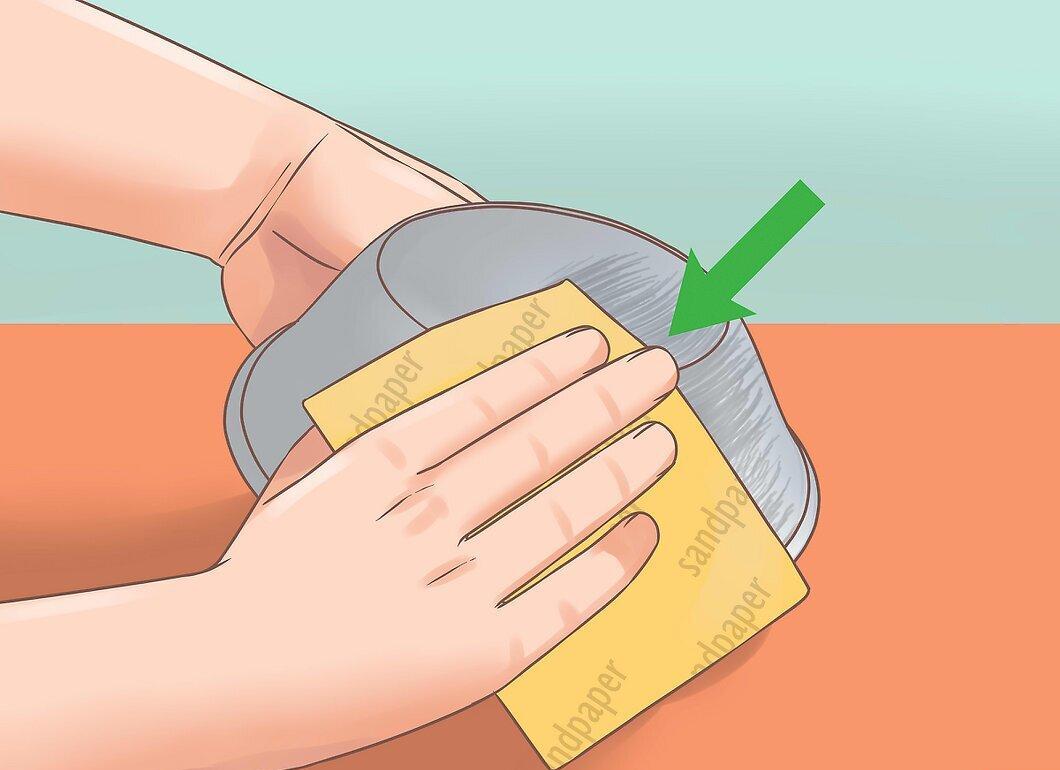
Gently sand the bowl with fine sandpaper to create a rough surface. This will help the paint adhere better. Wipe away any dust with a damp cloth.
Step 3: Drill Two Holes in the Top of the Bowl.
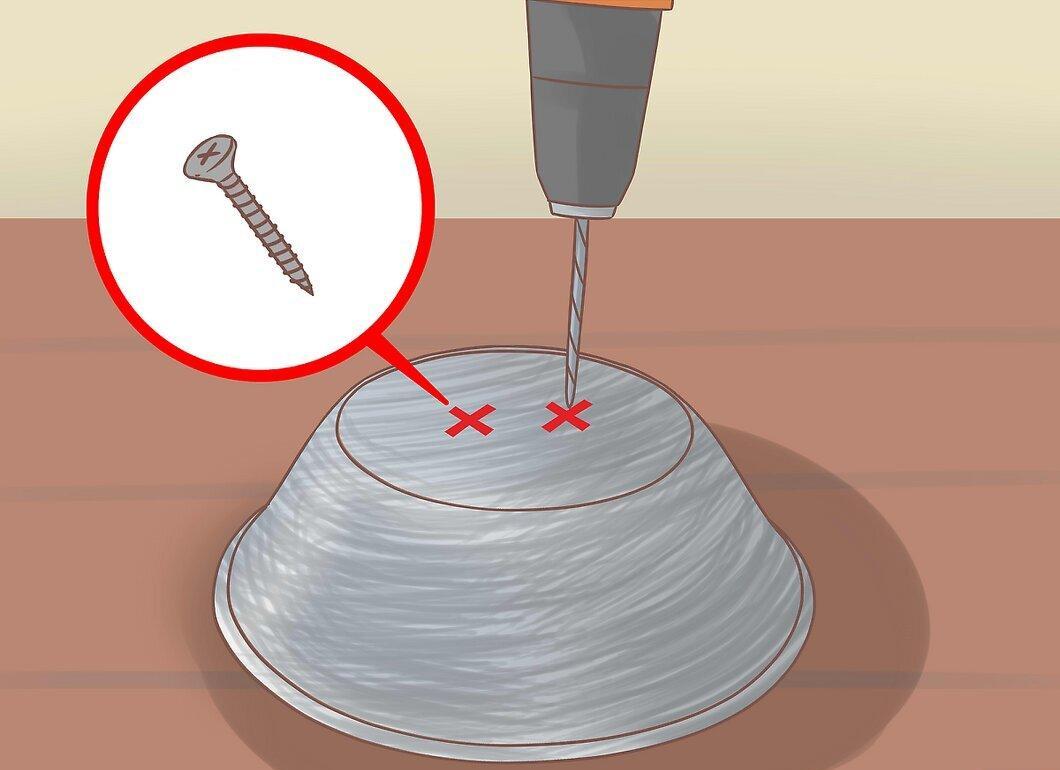
Flip the bowl over and drill two holes in the center of the bottom. These holes will be used to attach the cap to the stem with screws.
- Make sure the diameter of the holes matches the size of the screws.
Step 4: Apply Two Coats of Outdoor Paint, Waiting for Each to Dry.
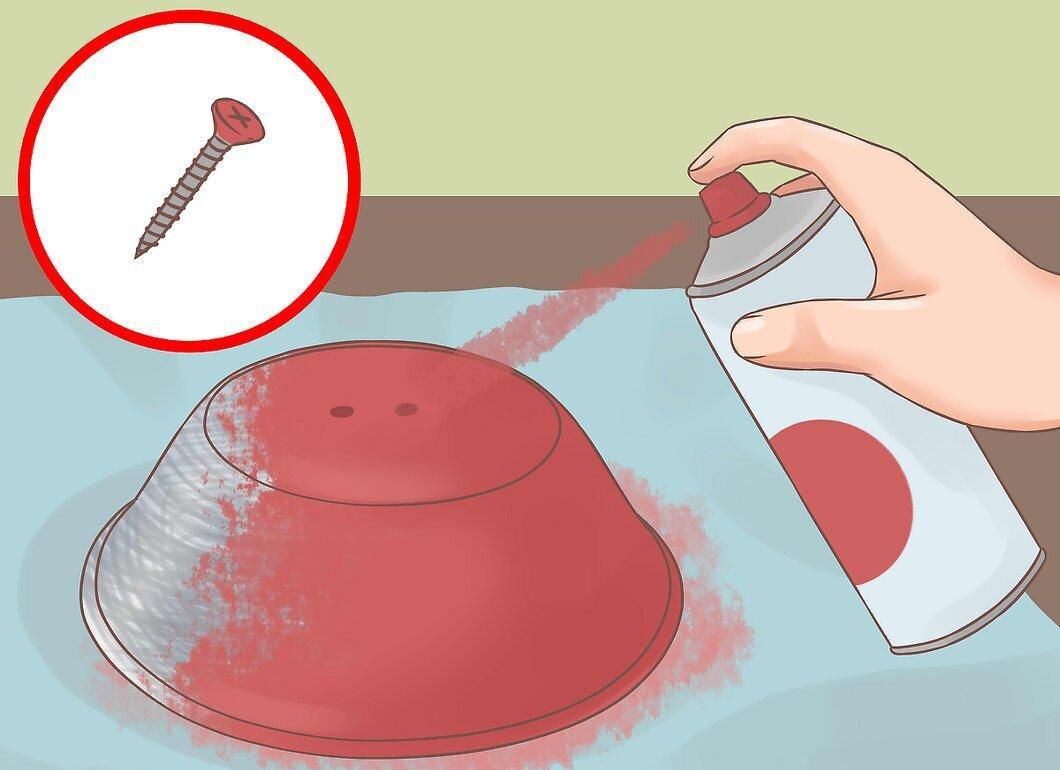
Apply two coats of outdoor paint, allowing each coat to dry. Red is commonly used, but you can choose any color you like.
- Only paint the outside of the bowl, as the inside will not be visible.
- Don’t forget to paint the heads of the screws.
Step 5: Add White Dots with Acrylic Paint.
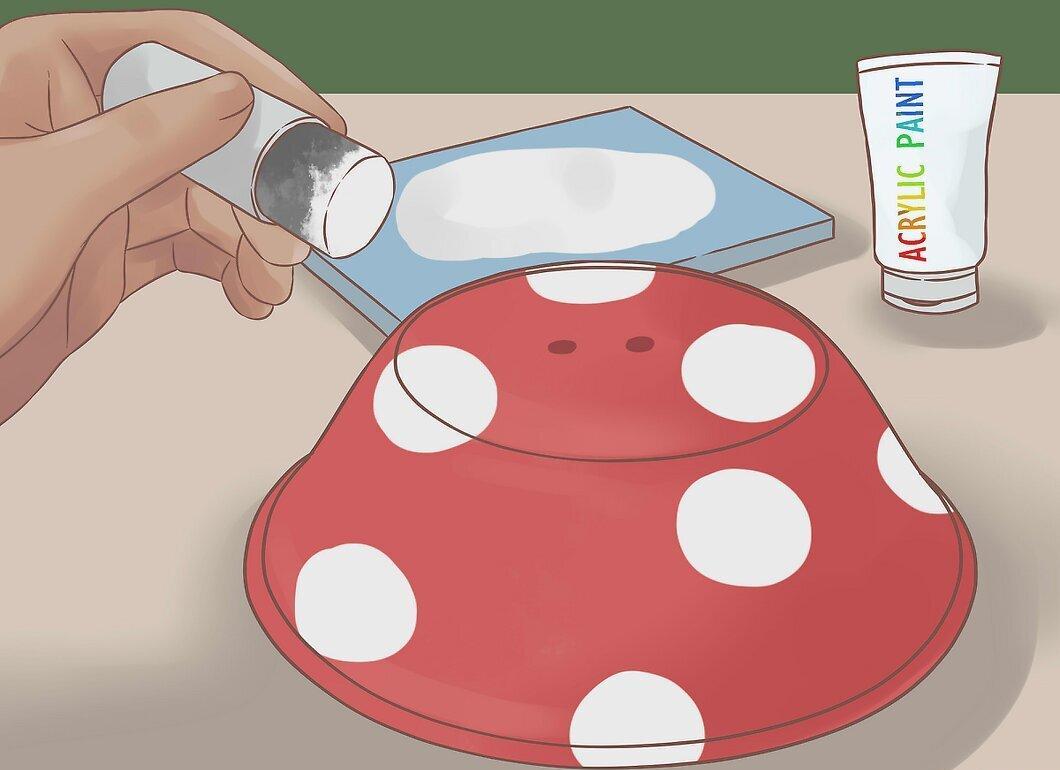
Using a brush or foam applicator, add white dots to the surface. If a second coat is needed, allow the first to dry completely.
Step 6: Apply a Protective Coat Once the Paint is Fully Dry.
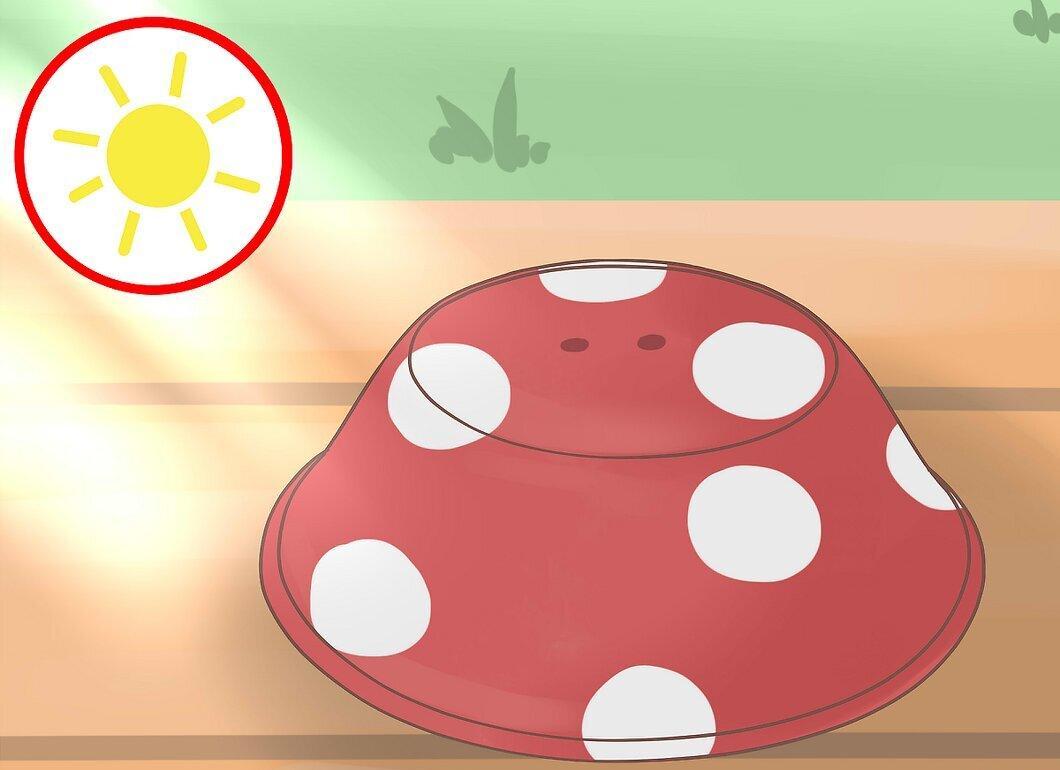
After the paint has completely dried, apply a protective coat. If the paint feels dry, it doesn’t mean it’s ready. Check the packaging instructions for drying times. Once dry, cover the mushroom with a clear outdoor protective finish.
- Choose between a glossy or matte finish.
- Allow the paint to dry completely before applying to avoid warping.
Step 7: Find a Suitable Log for the Stem.
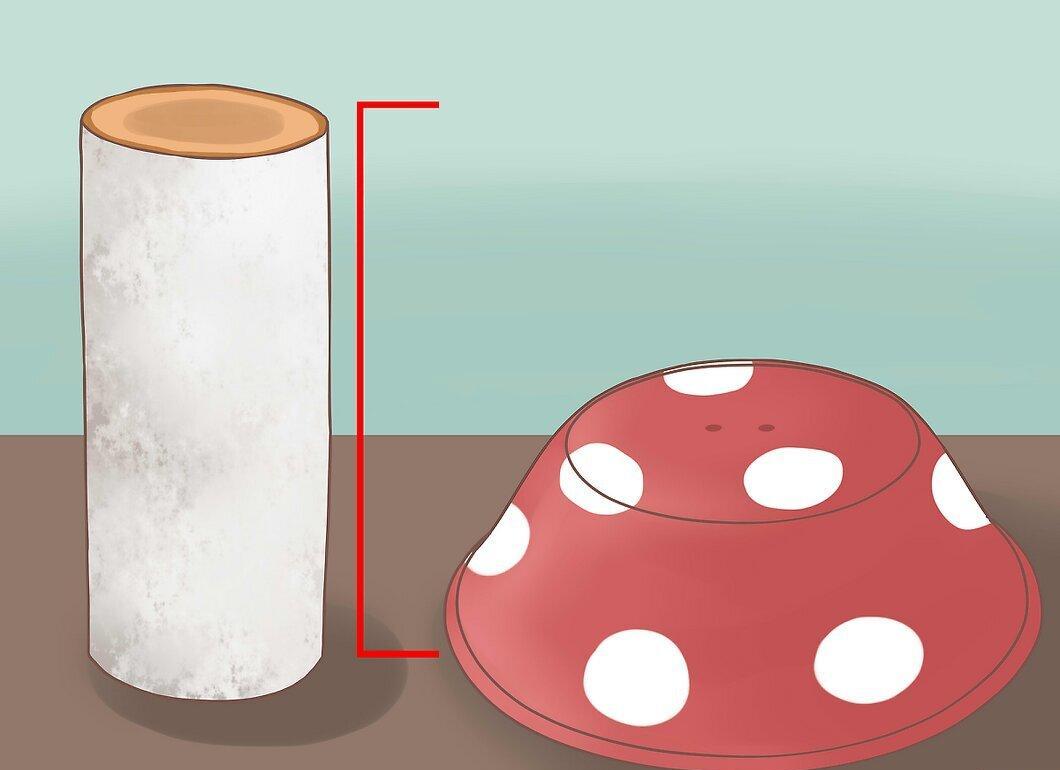
Choose a log that is twice the height of the bowl. The width of the log should match the diameter of the bowl's base. Birch logs with white bark are ideal. If you use another type of wood, paint it white and apply a protective finish.
Step 8: Mark the Screw Locations on the Log.
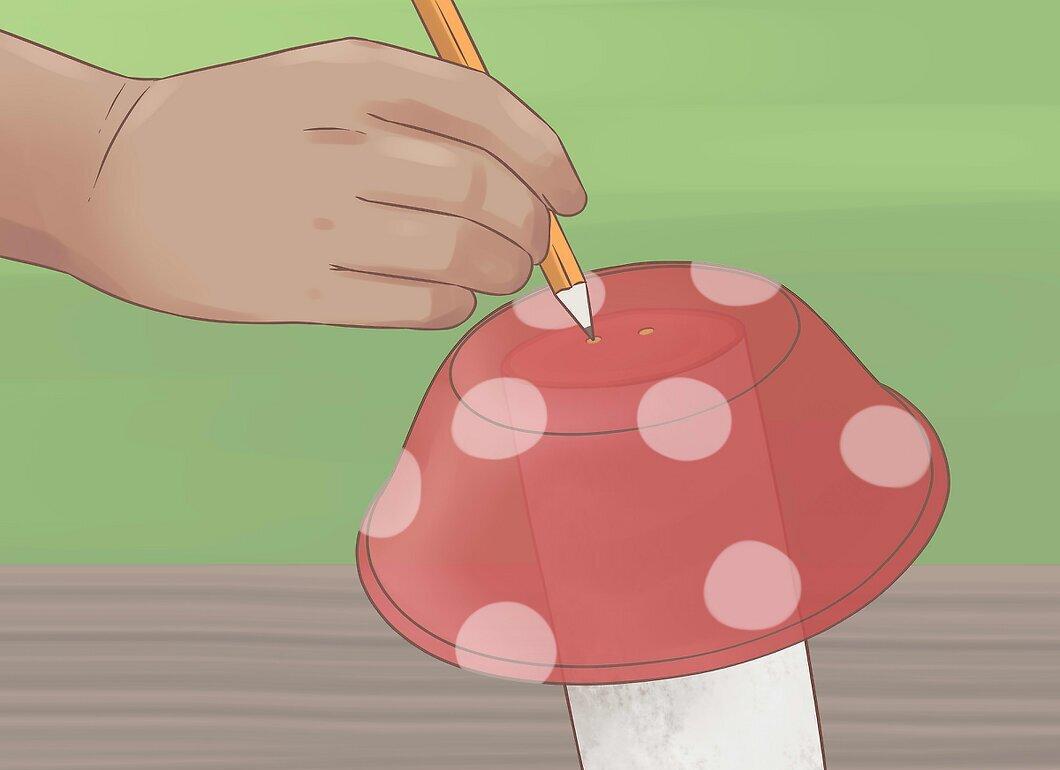
Set the inverted bowl on the log and mark the screw locations with a pencil. Once marked, remove the bowl.
Step 9: Drill Holes in the Log.
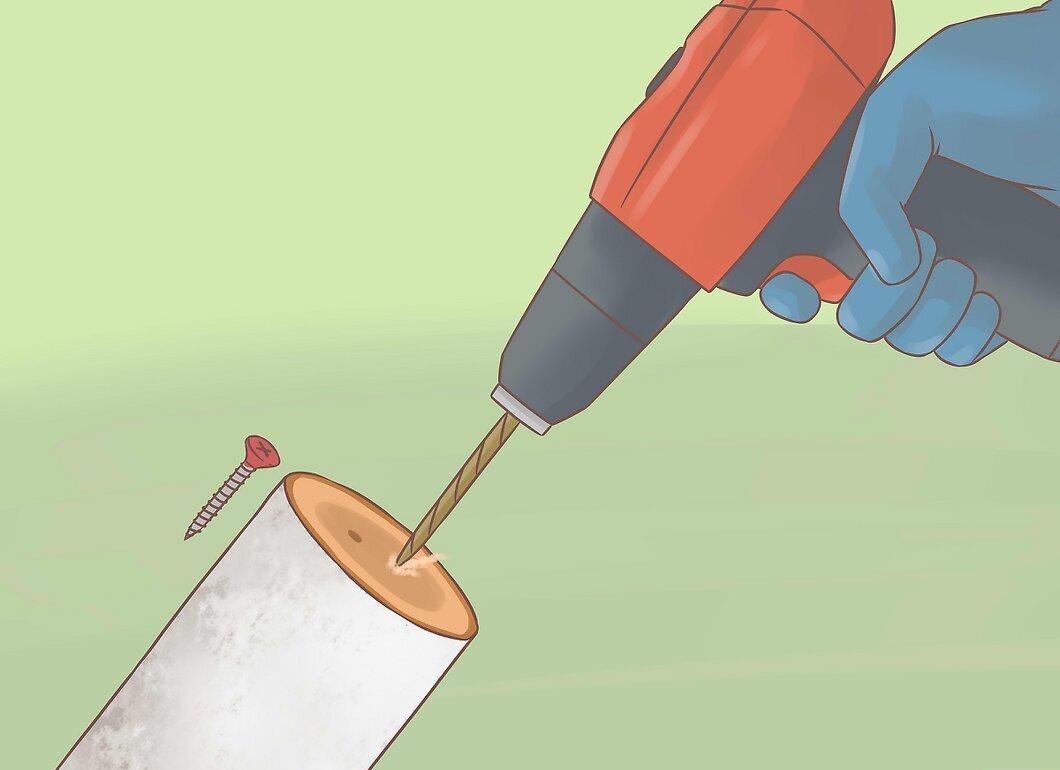
Drill holes in the log that are deep and wide enough for the screws. Don’t forget to clear away any sawdust from the surface.
Step 10: Secure the Bowl to the Log.
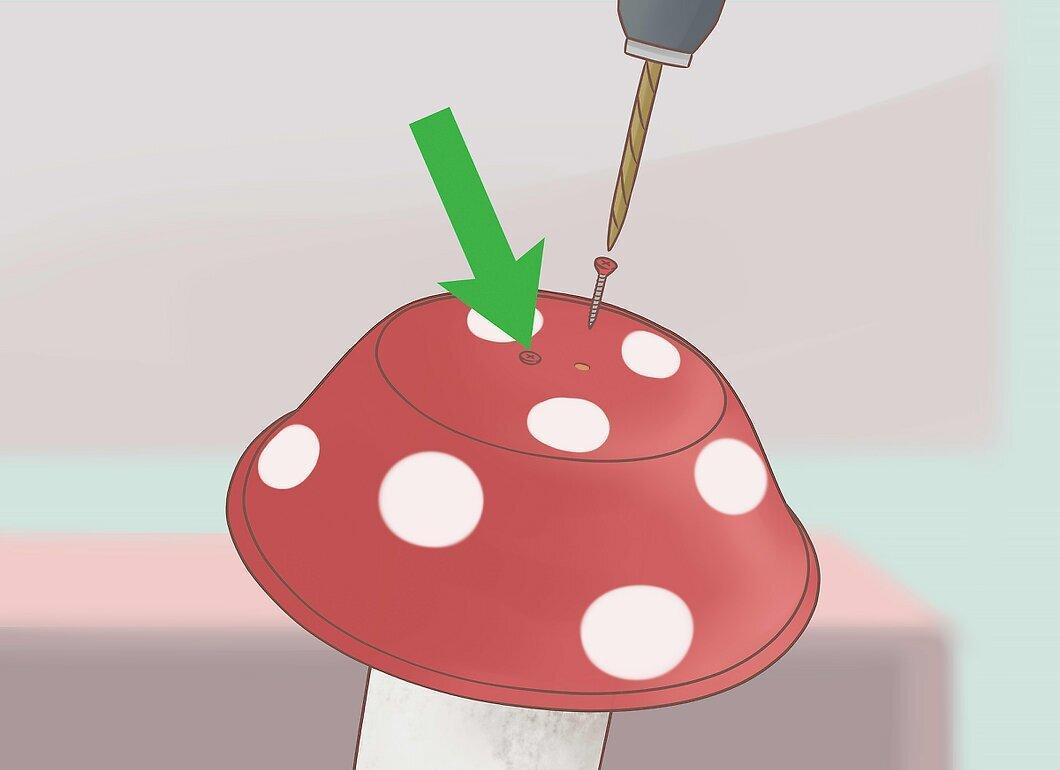
Place the bowl upside down on the log and secure it with screws, tightening until it is snug and does not wobble.
Step 11: Place the Mushroom in the Garden.
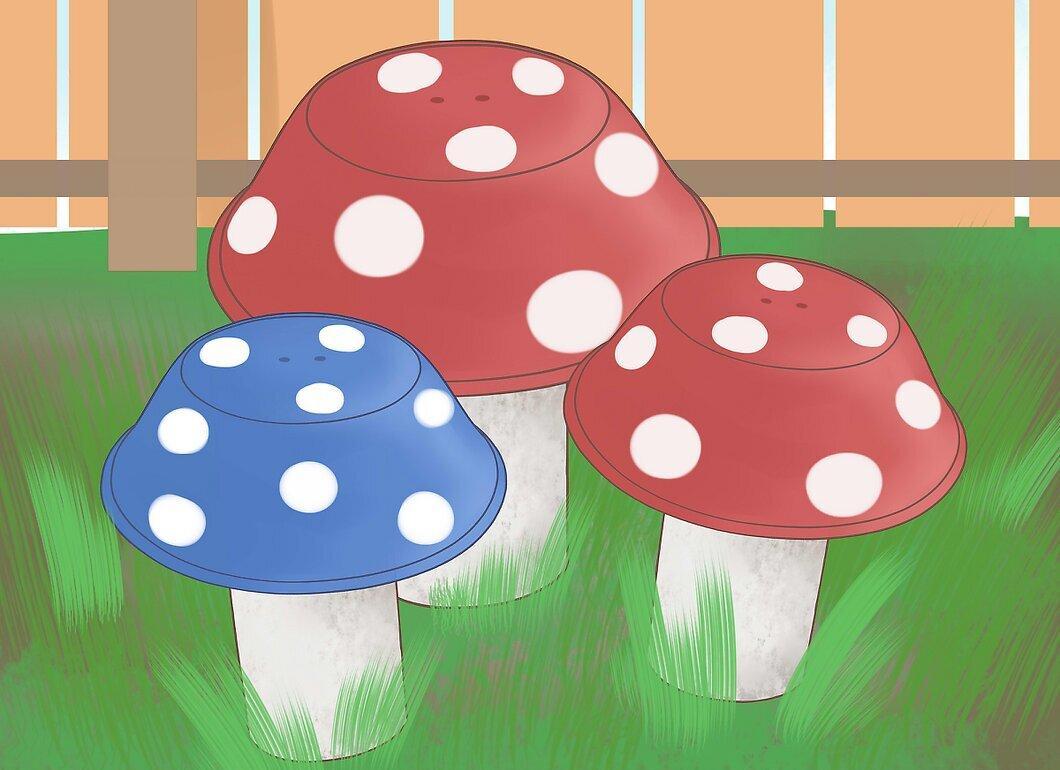
After assembling the mushroom, place it in the garden. If there are any damage spots on the paint, touch them up with a small brush.
Cement Mushrooms
Step 1: Oil the Inside of a Plastic Bowl.
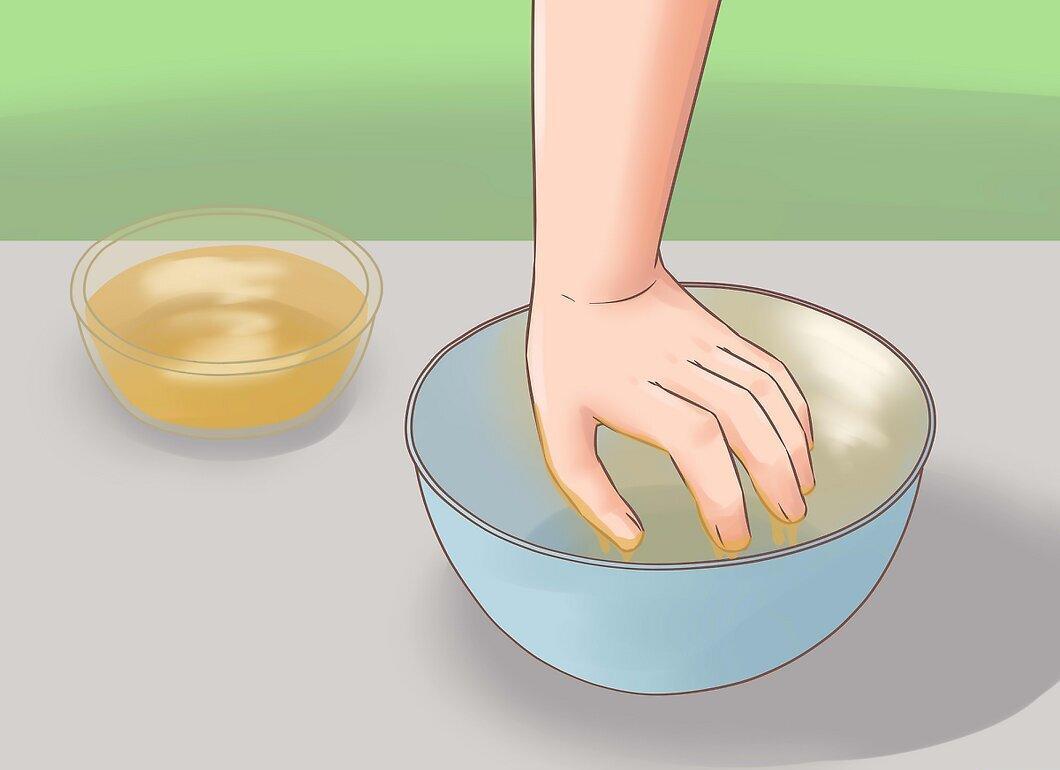
Grease the inside of a small plastic bowl with oil. This will help you easily remove the mushroom cap from the mold.
- If you can’t find a suitable plastic bowl, you can use another material. The flexibility of plastic makes it easier to work with.
Step 2: Cut the Bottom Off a Plastic Cup.
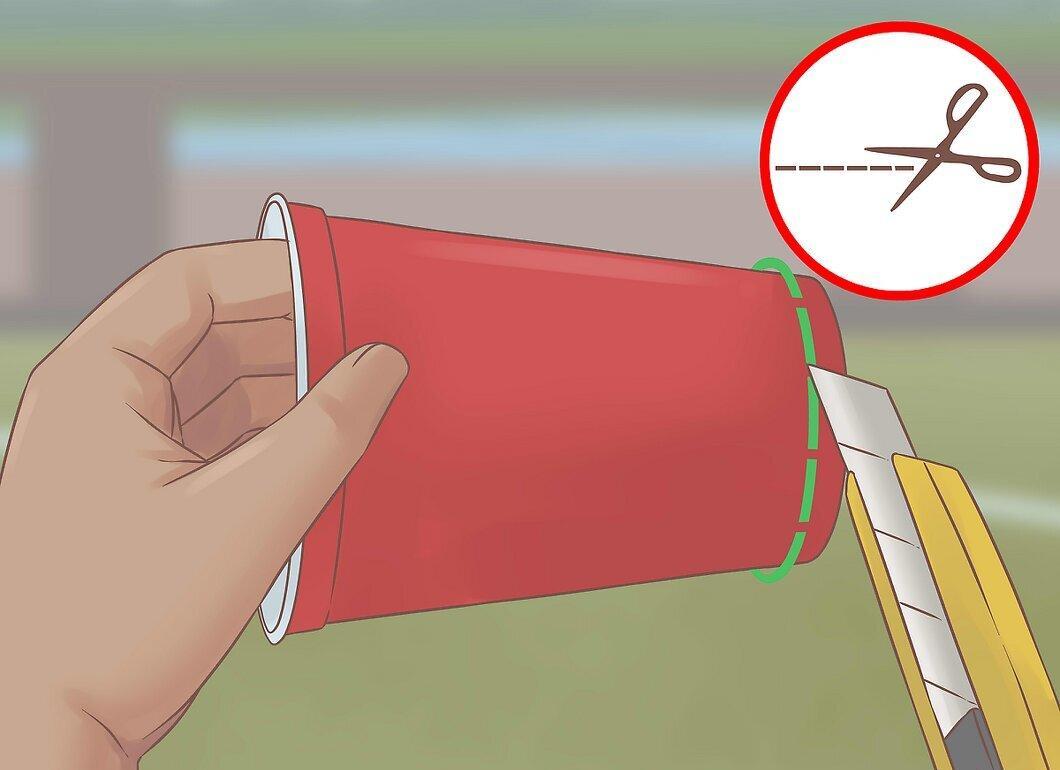
Cut the bottom off a cup that will serve as the stem. It’s important that the cup is the right size and shape. If it’s too small, use something else, like a tall yogurt cup.
- A coffee cup works great!
Step 3: Mix the Cement.
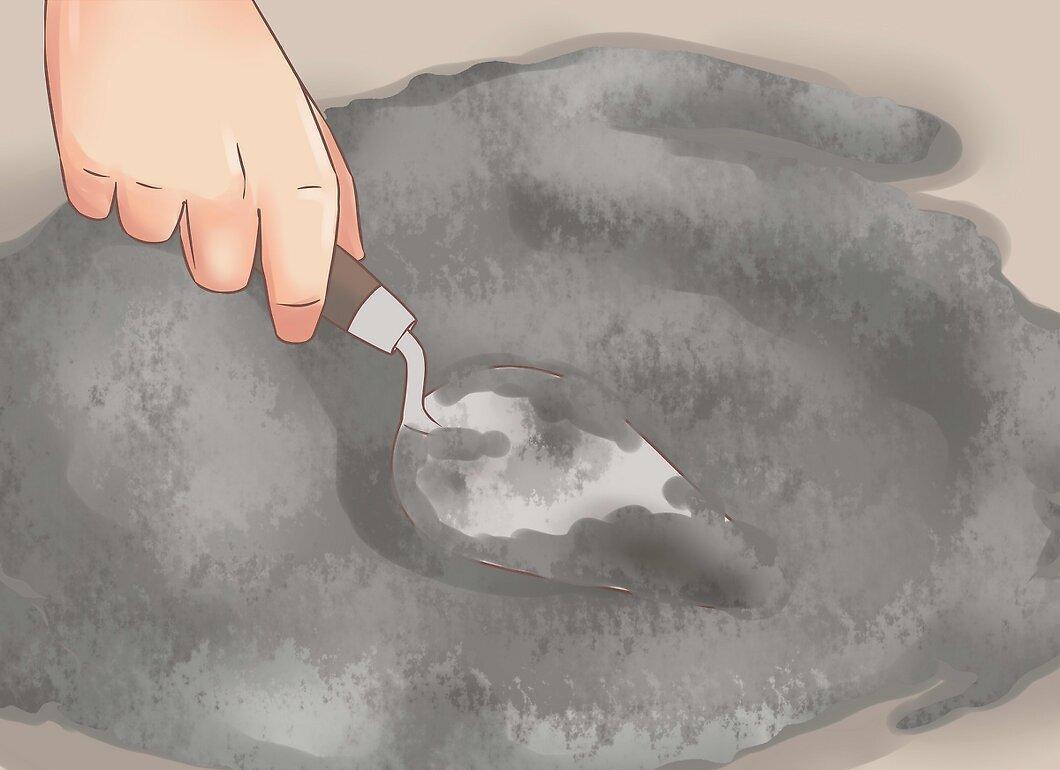
Follow the instructions on the packaging to mix the cement. You typically want to achieve a liquid consistency.
- Ensure there’s enough cement to fill both the bowl and the cup.
Step 4: Fill the Bowl with Cement.
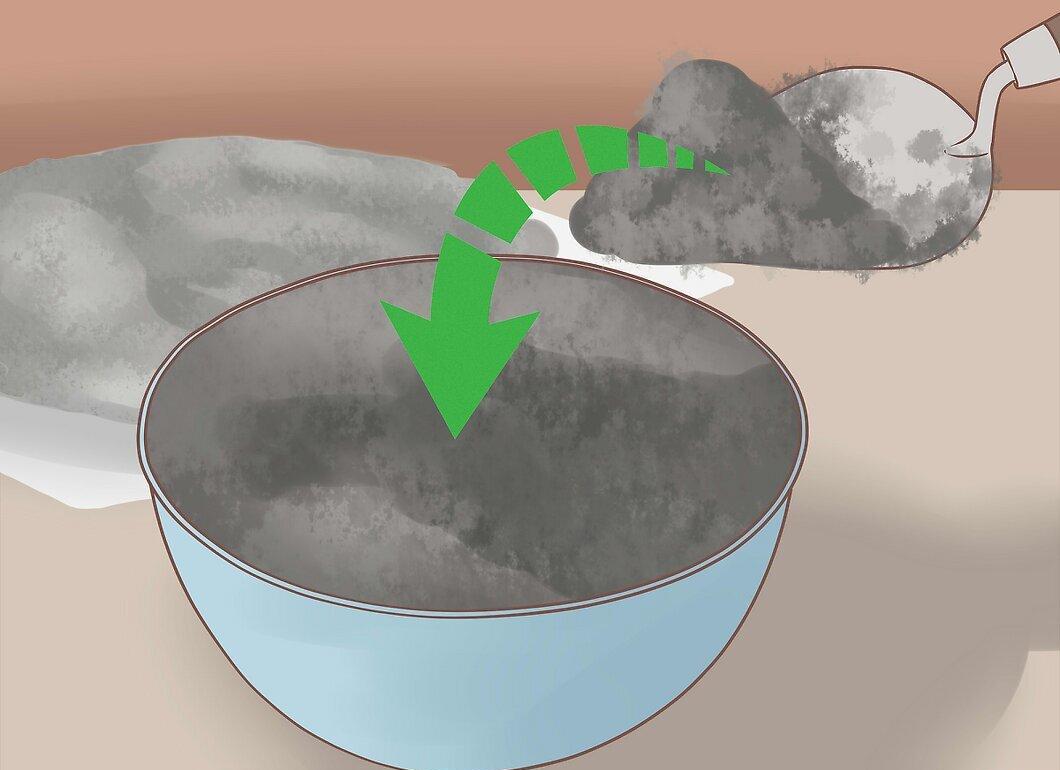
Fill the bowl with the prepared mixture and level the surface. You can tap the bowl to eliminate air bubbles.
Step 5: Insert the Cup into the Bowl Cut Side Down.
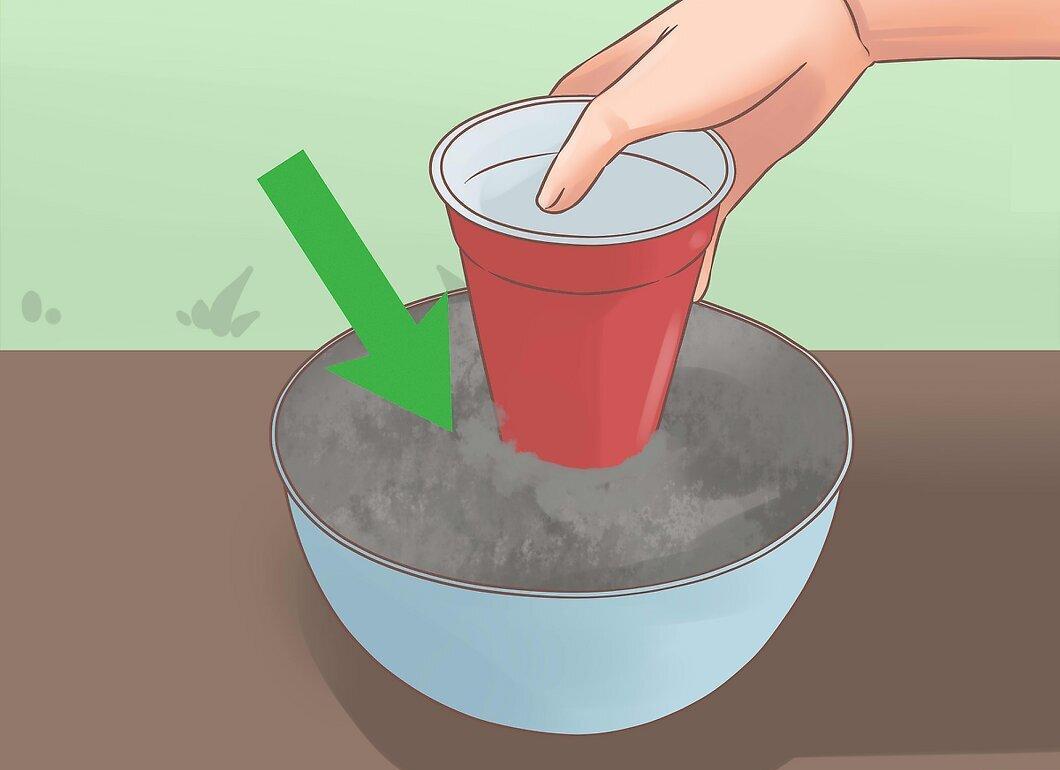
Place the cup upright in the center of the bowl, with the wider part facing upwards.
Step 6: Fill the Cup with the Mixture.
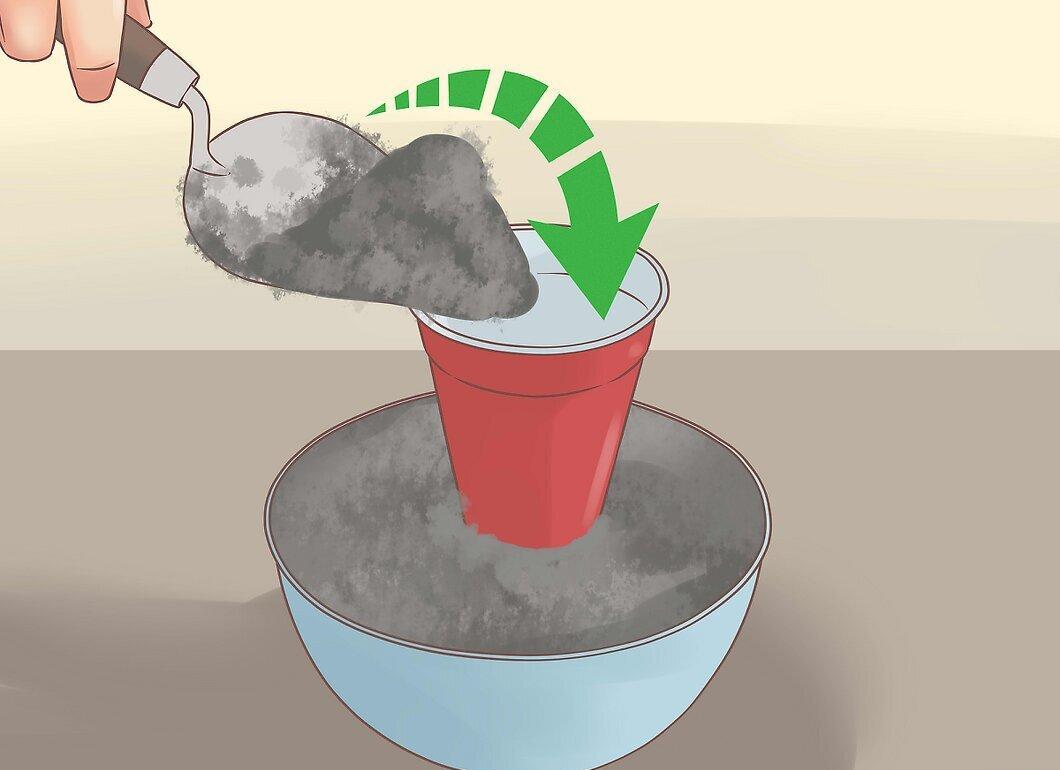
Fill the cup with the same mixture, level it off, and tap to remove air.
- If you need to place the mushroom on grass, use a galvanized steel nail in the stem for added stability.
Step 7: Let the Mixture Set.
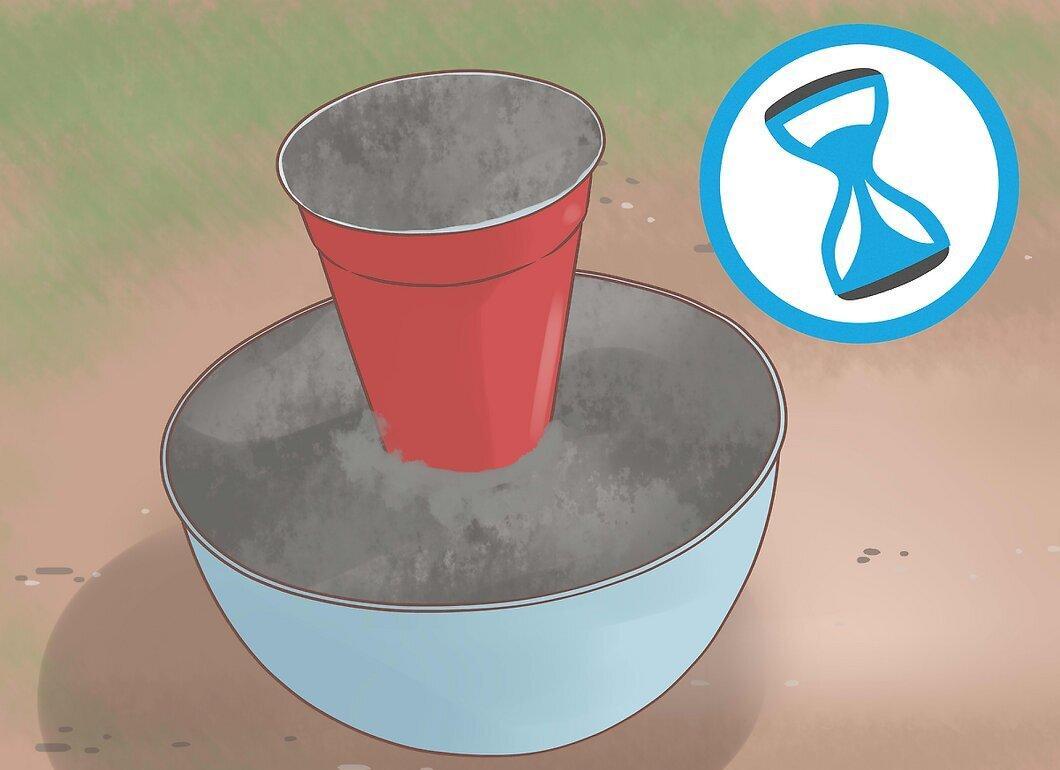
Allow the mixture to set based on the brand of cement and the environmental conditions.
Step 8: Remove the Cap and Cut the Cup.
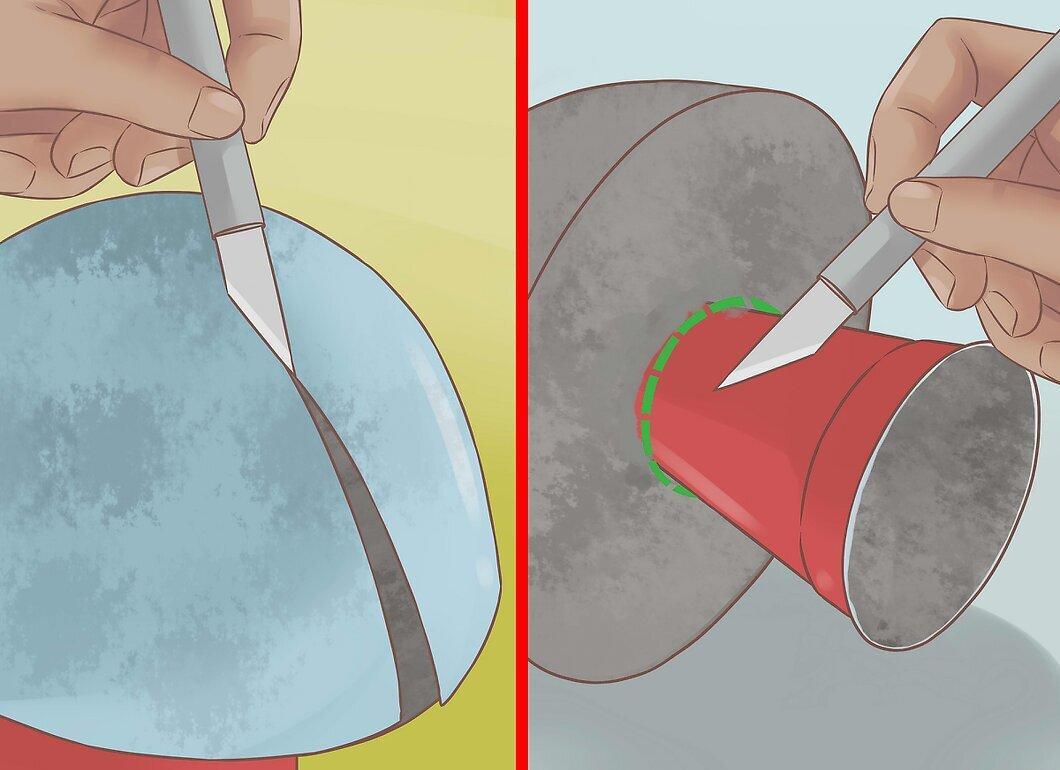
Carefully cut the cup away with a utility knife and remove it from the hardened cement.
Step 9: Paint the Mushroom.
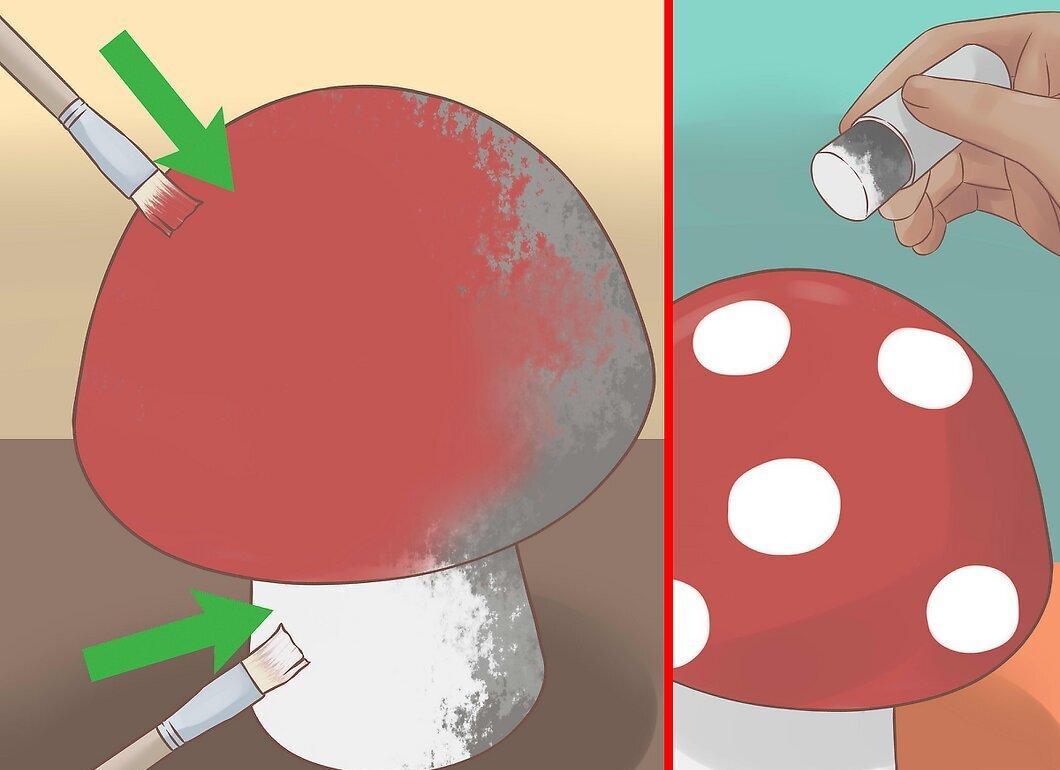
Paint the stem and the inside of the cap white, and the cap itself in a bright color. Once dry, add white dots and cover the mushroom with a protective finish.
- If needed, apply multiple coats, allowing each to dry before the next.
- For a mosaic effect, glue on glass stones and fill the gaps with mixture, wiping away excess moisture before it sets.


