
After decluttering your drawer, you probably stumbled upon a pile of old, worn-out socks without a match. Don’t rush to throw them away — they can become fantastic helpers in your home! To make them useful, just wash them, choose a suitable sock for your hand, cup, or bottle, and decorate it to your liking.
Dusting Cloth
Step 1. Put the sock on your hand.
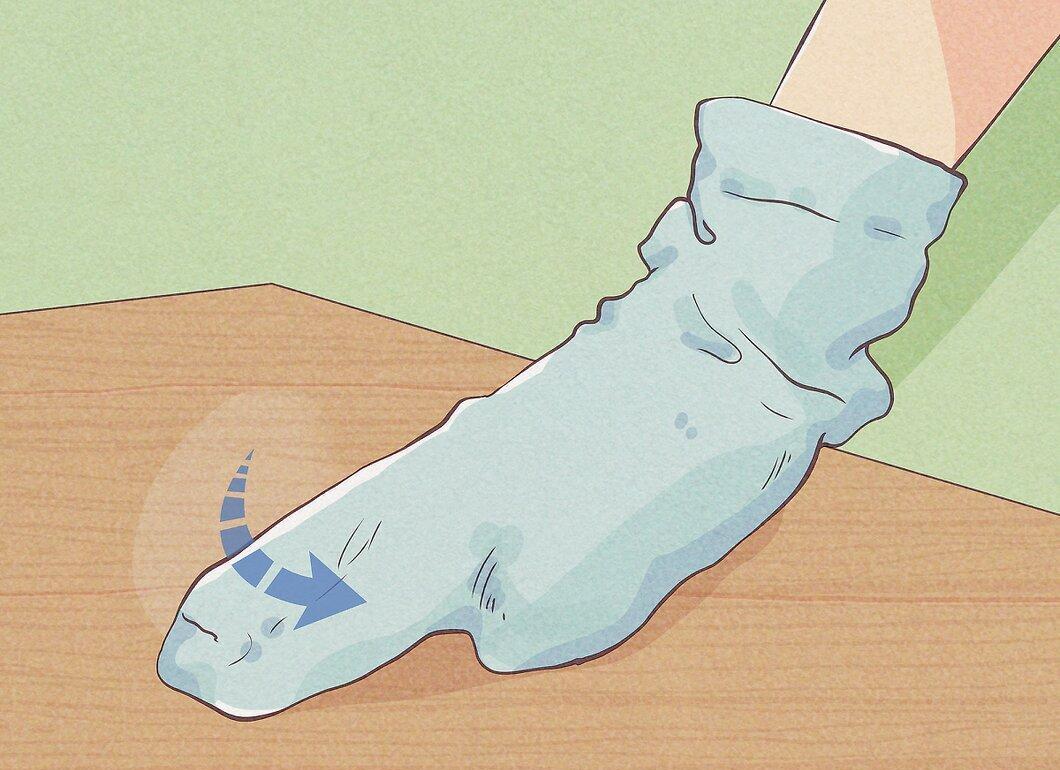
Simply slip the sock onto your hand. Terry socks work best for this task as they effectively gather dust. All you need to do is wear it on your hand.
Step 2. Dampen the sock.
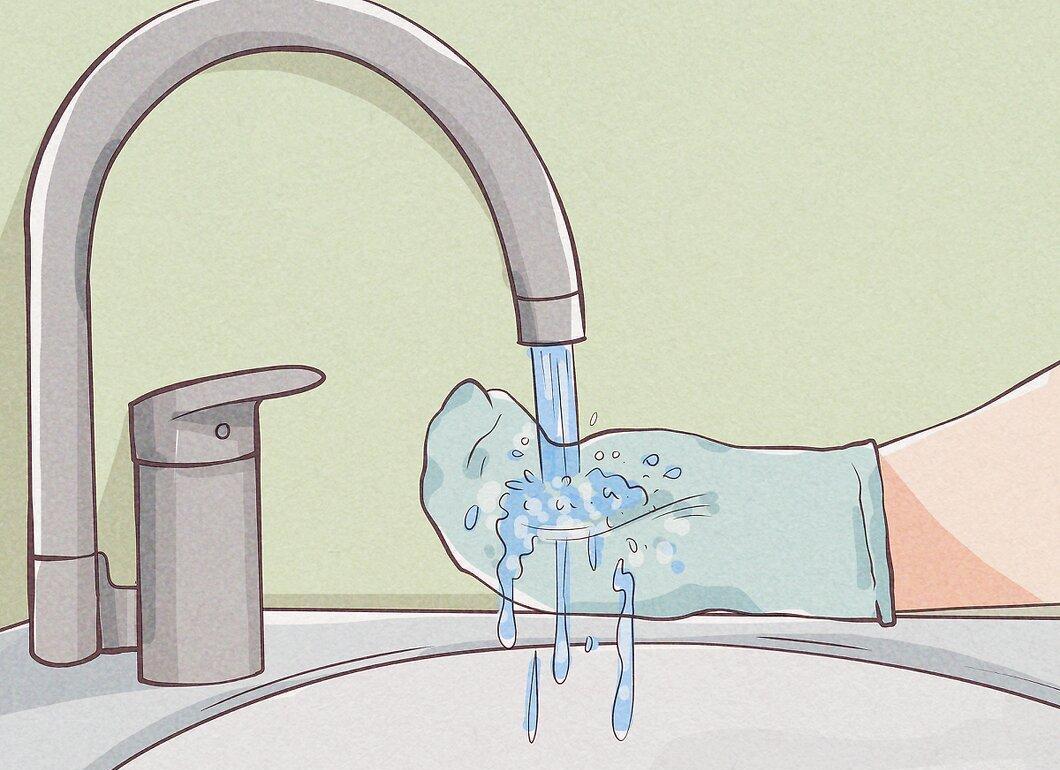
Lightly dampen the sock. Dry terry socks collect dust well, but if you don’t have those, a regular sock will do — just wet it under running water. For added effectiveness, you can use furniture polish, but don’t overdo the water — the sock should be just slightly moist.
Step 3. Wipe the surface.
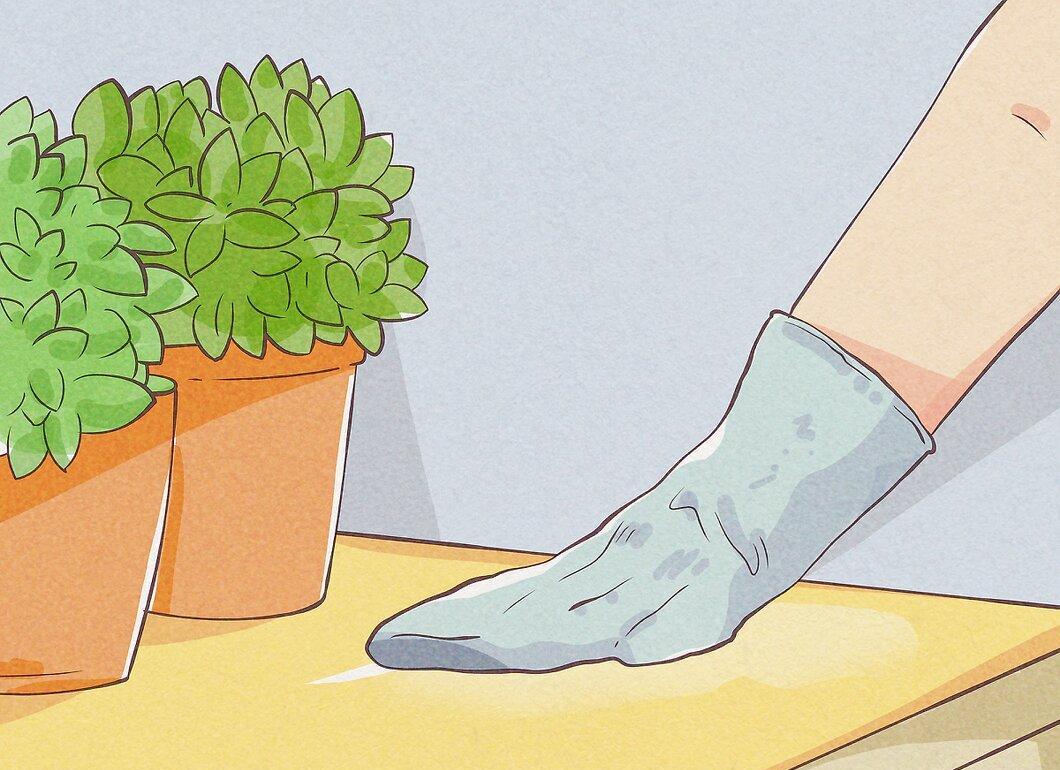
Now it’s time to wipe the surface. Using the sock, gently clean dusty areas. When the sock gets dirty, simply shake it over a trash can or turn it inside out to discard the dust.
Step 4. Wash the sock.
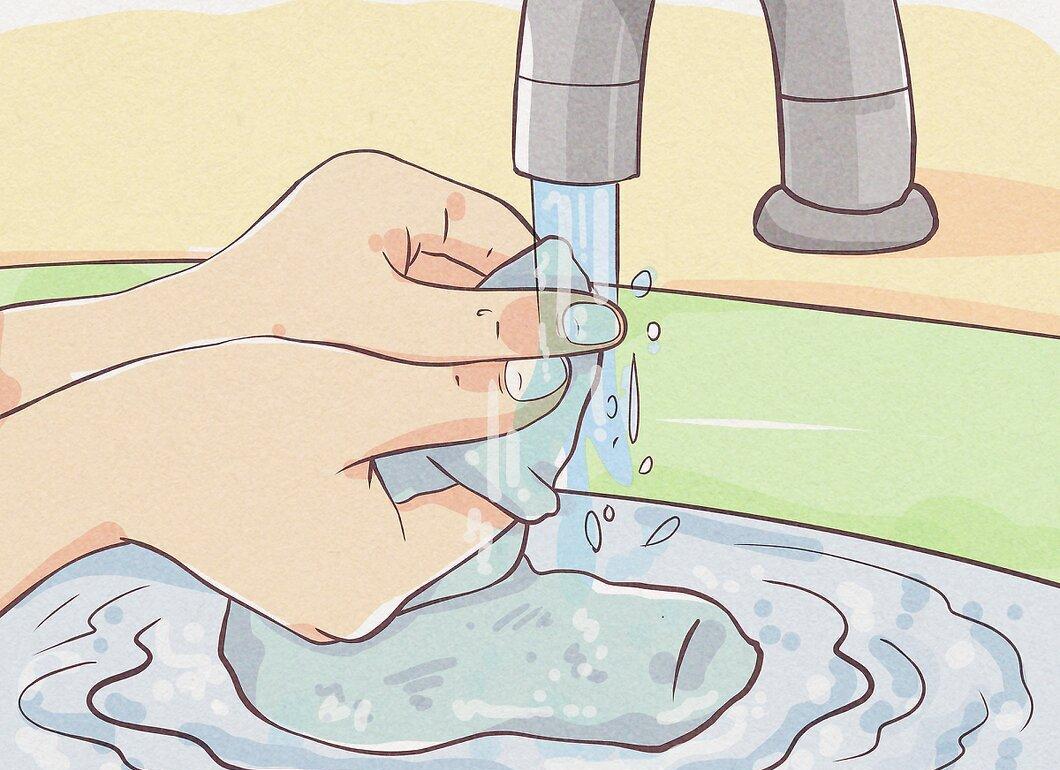
After use, wash the sock. Toss it in the washing machine with your other laundry — it will come out clean and ready for another round of use.
Relaxing Muscle Bag
Step 1. Fill the sock with rice.
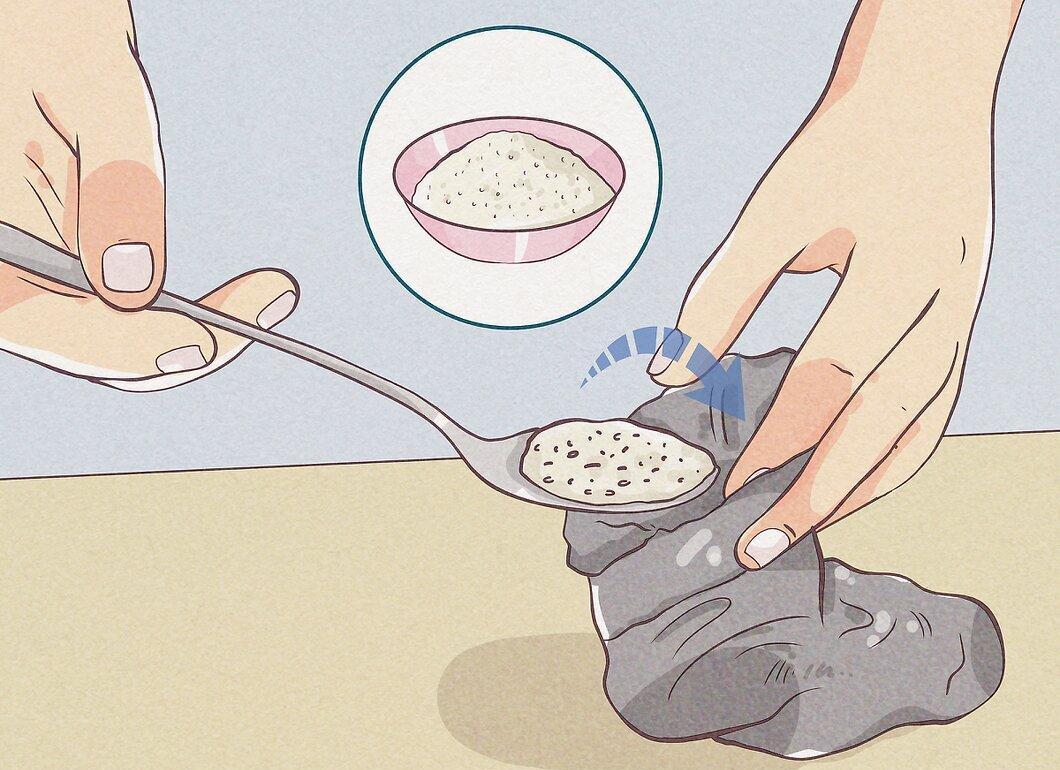
To create a relaxing bag, choose a long sock without holes. You’ll need four cups of white rice or a similar filler, like corn kernels or flax seeds. Pour them into the sock.
- Adjust the amount of filler based on your preference. If you want a softer bag, add less filler — it will be great for easing tension in sore areas.
Step 2. Tie a knot at the end of the sock.
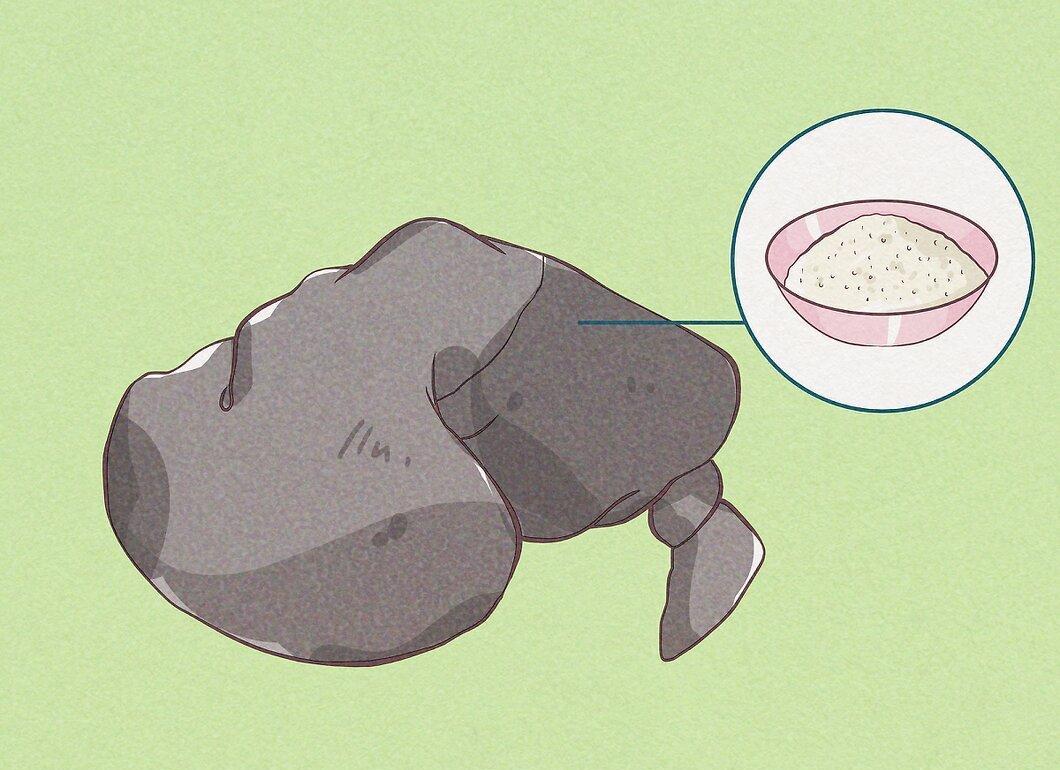
Tie a knot at the end of the sock. Make sure the filler doesn’t spill out, and the heat stays contained longer.
Step 3. Place the sock in the microwave.
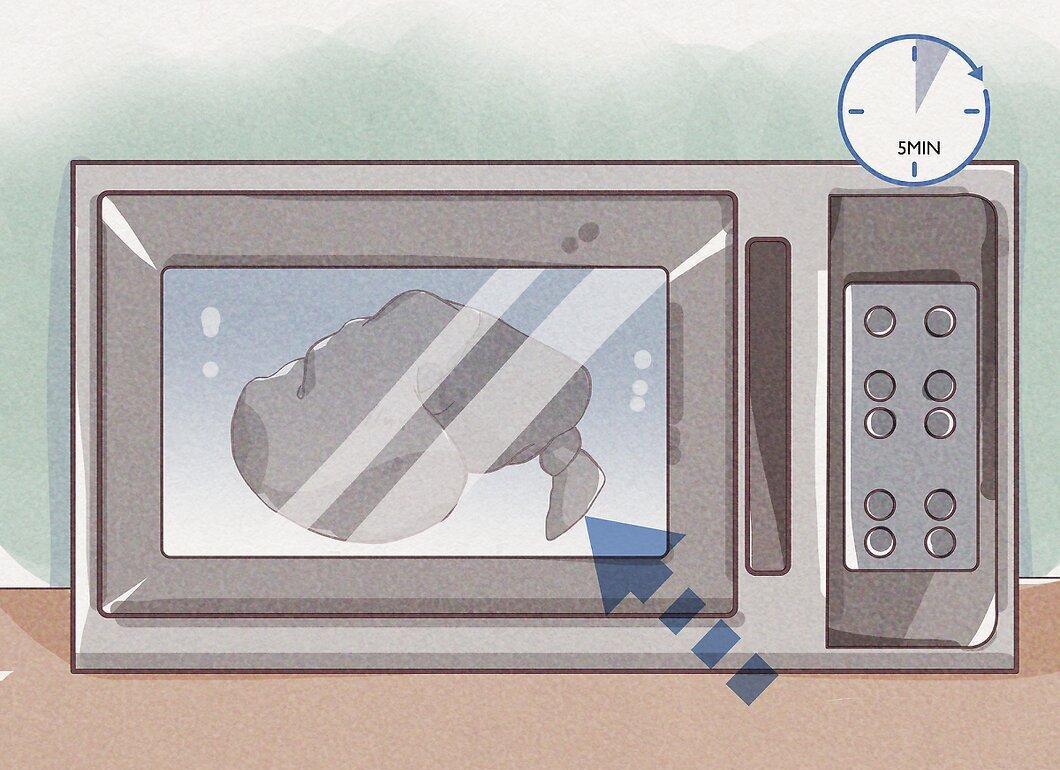
Heat the sock in the microwave for no more than one minute at a time, for a total of up to three minutes. Otherwise, it may overheat or burn. The sock should be warm, not hot.
- To prevent overheating, place a cup of water next to the sock.
Step 4. Apply the sock to the painful area.
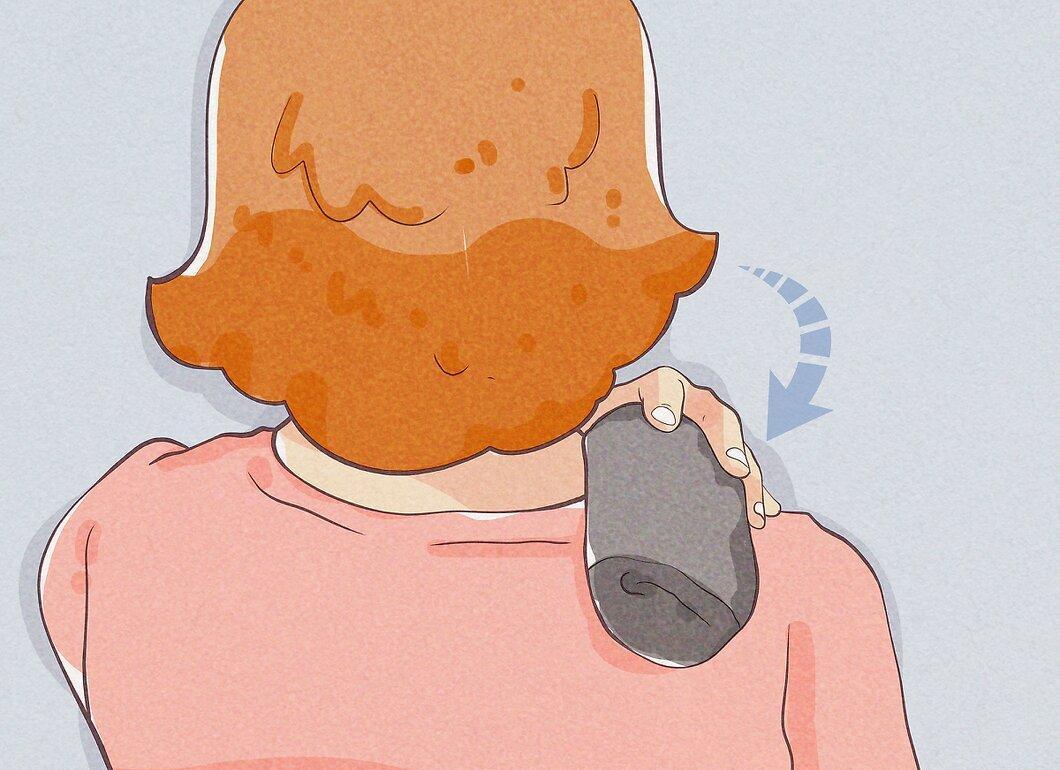
Apply the warm sock to sore areas of your body. It helps with colds, bruises, and alleviates pain. Just hold it against the affected area.
Bottle Cozy
Step 1. Determine the necessary length of the sock.
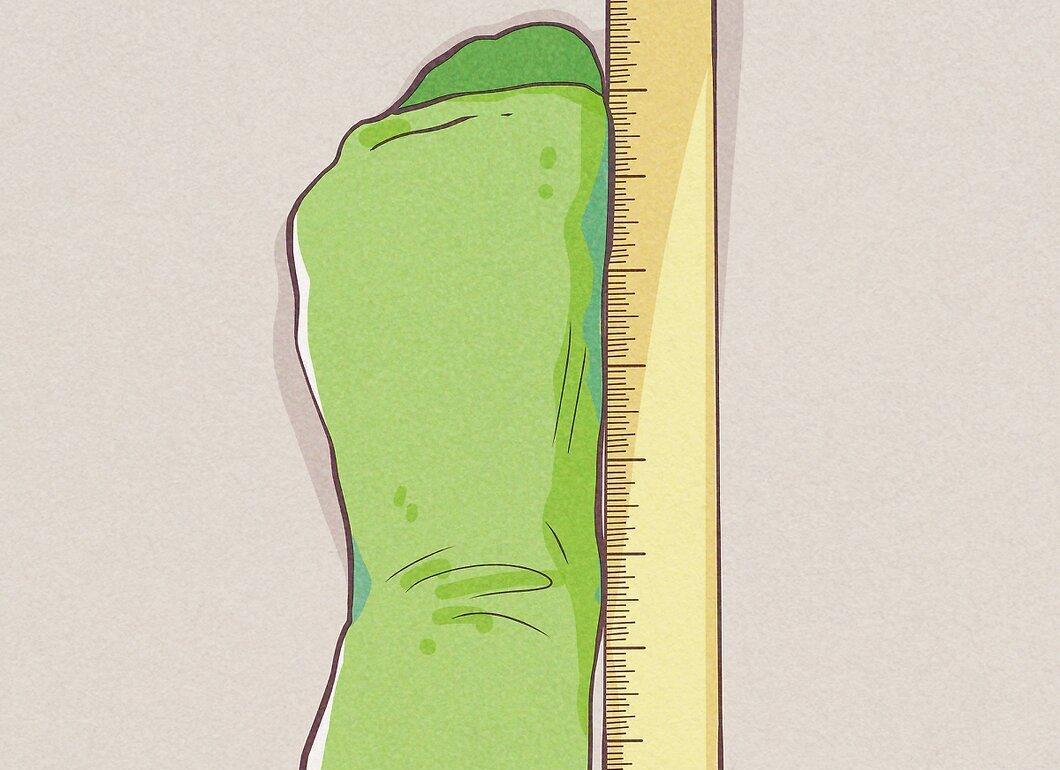
To create a cozy for a bottle or thermos, measure the height of the bottle, adding 1 inch (2.5 cm). Start measuring from the point where your thumb is.
- If you want the cozy to fit more snugly, add a few extra centimeters.
Step 2. Cut off the top of the sock.
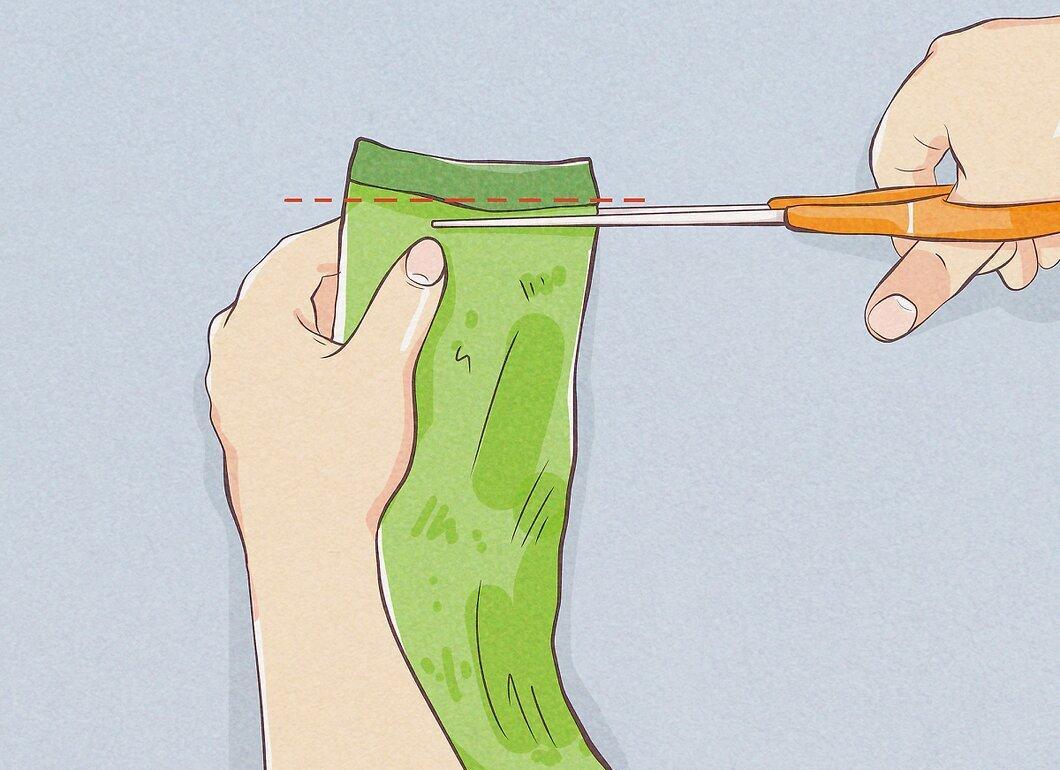
Cut off the excess part of the sock to the measured length with scissors. Now you have a simple cozy.
Step 3. Turn the sock inside out.
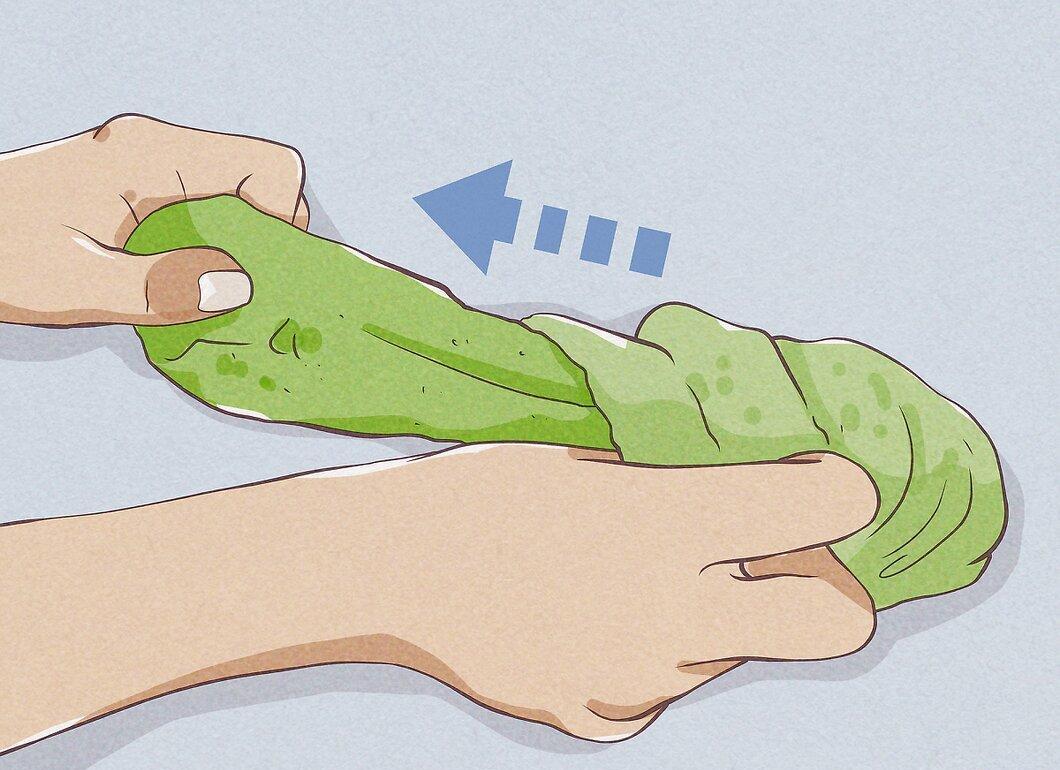
Turn the sock inside out so that the seam side is on the outside. Although it may look less attractive, this will give your cozy a neat appearance.
Step 4. Fold the sock.
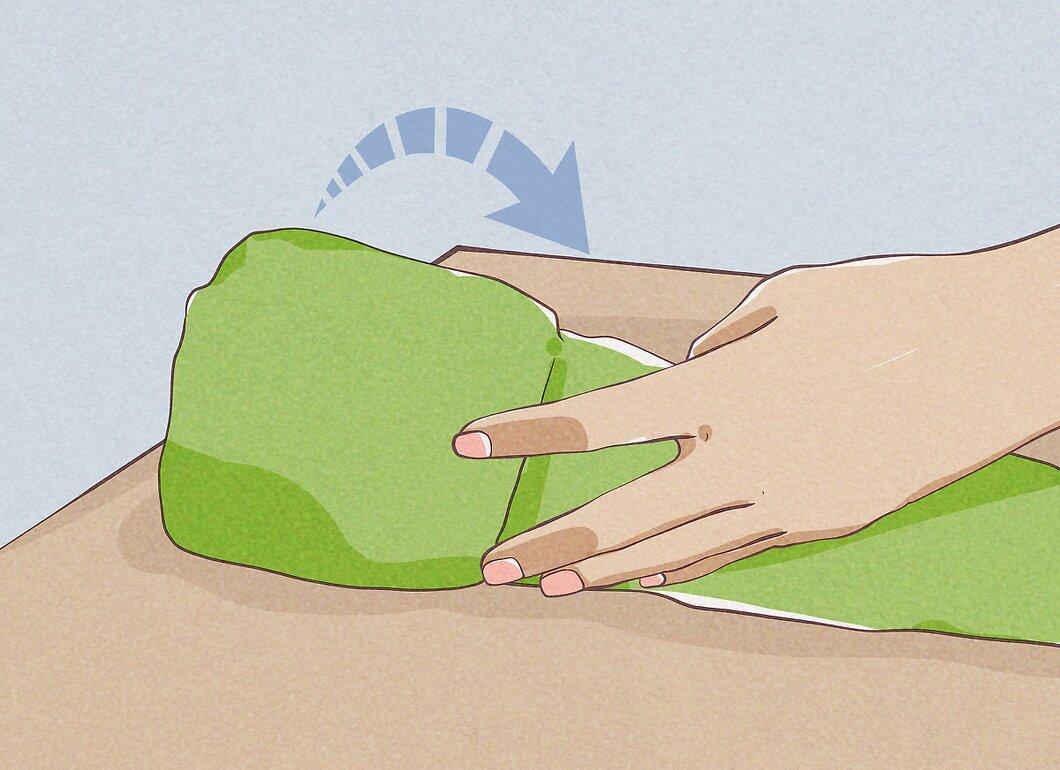
Decide which side will be the top and fold it down by 1 inch (2.5 cm).
Step 5. Secure the edge of the cozy.
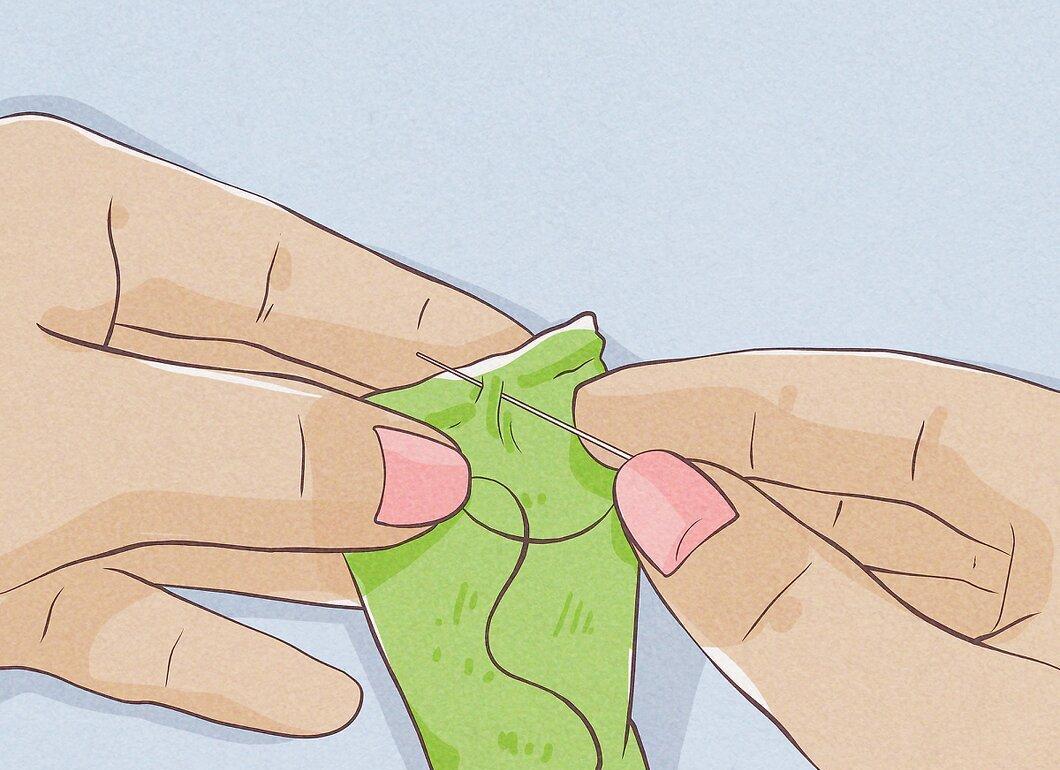
Sew or glue the lower part of the folded section to the main sock. If you choose to use glue, place a heavy object on it to hold it in place and leave it for an hour.
Step 6. Turn the sock right side out.
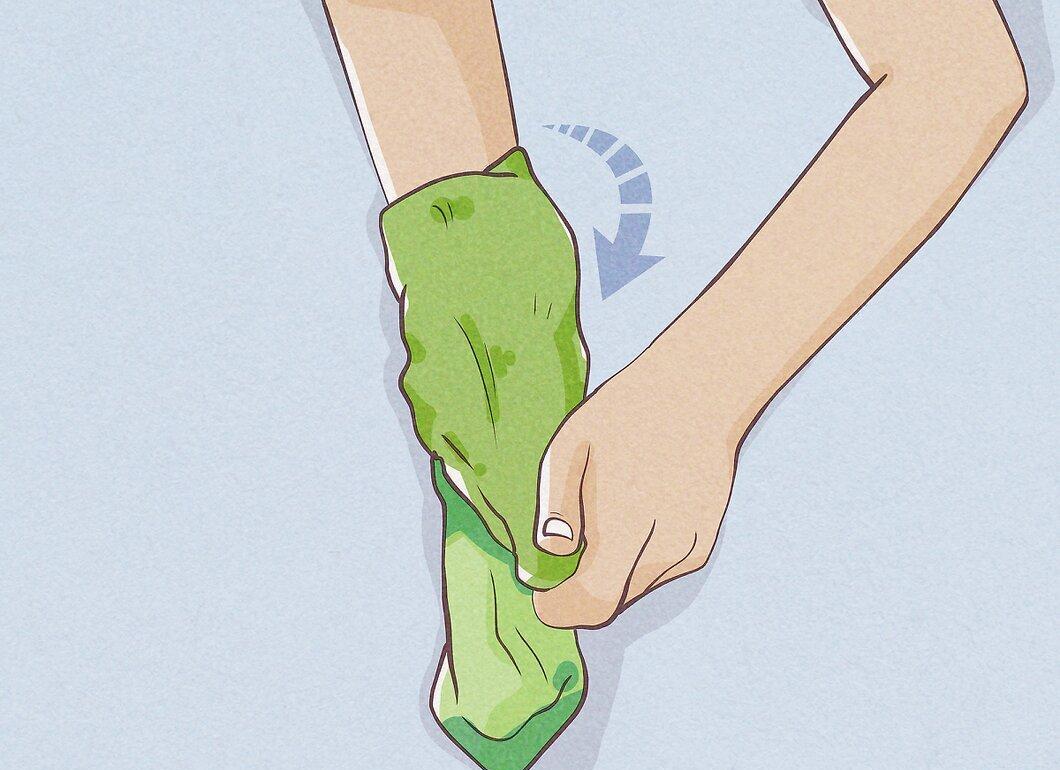
Turn the sock again so that the seams and glue are inside. Now your cozy is ready for use.
Step 7. Create a handle hole.
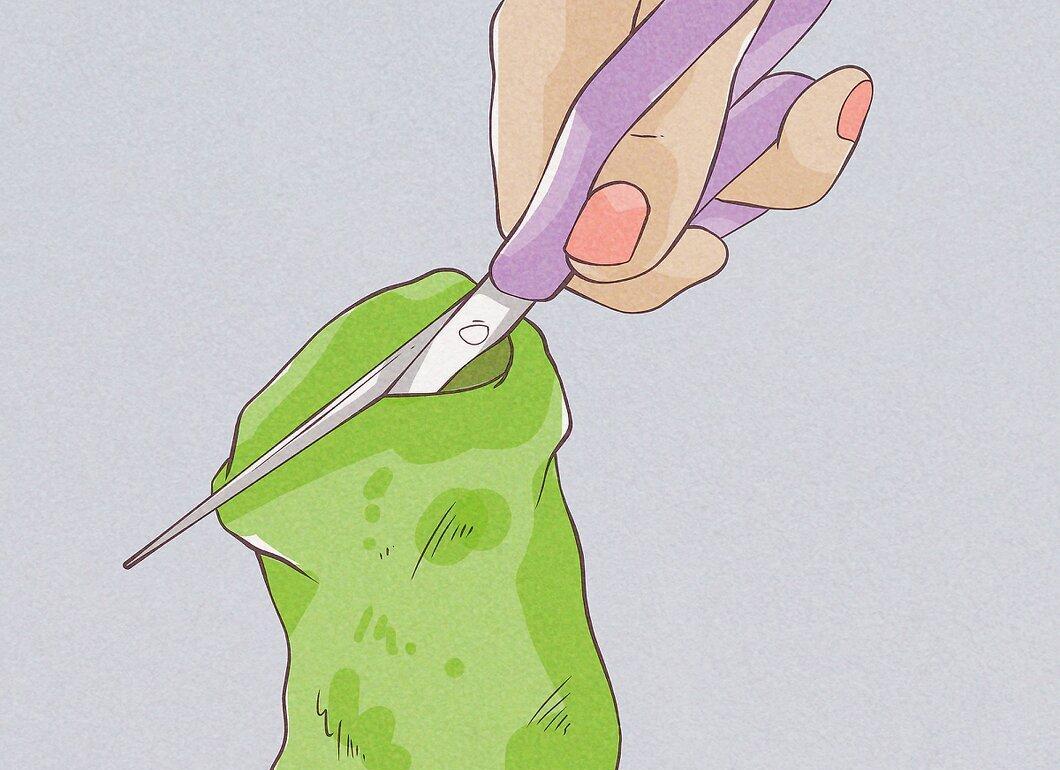
If you’re making a cozy for a mug, cut a vertical slit for the handle using scissors. Treat the edge so it doesn’t fray.
- Apply a bit of glue to the edge to prevent it from unraveling.
Draft Stopper
Step 1. Fill the sock with corn kernels.
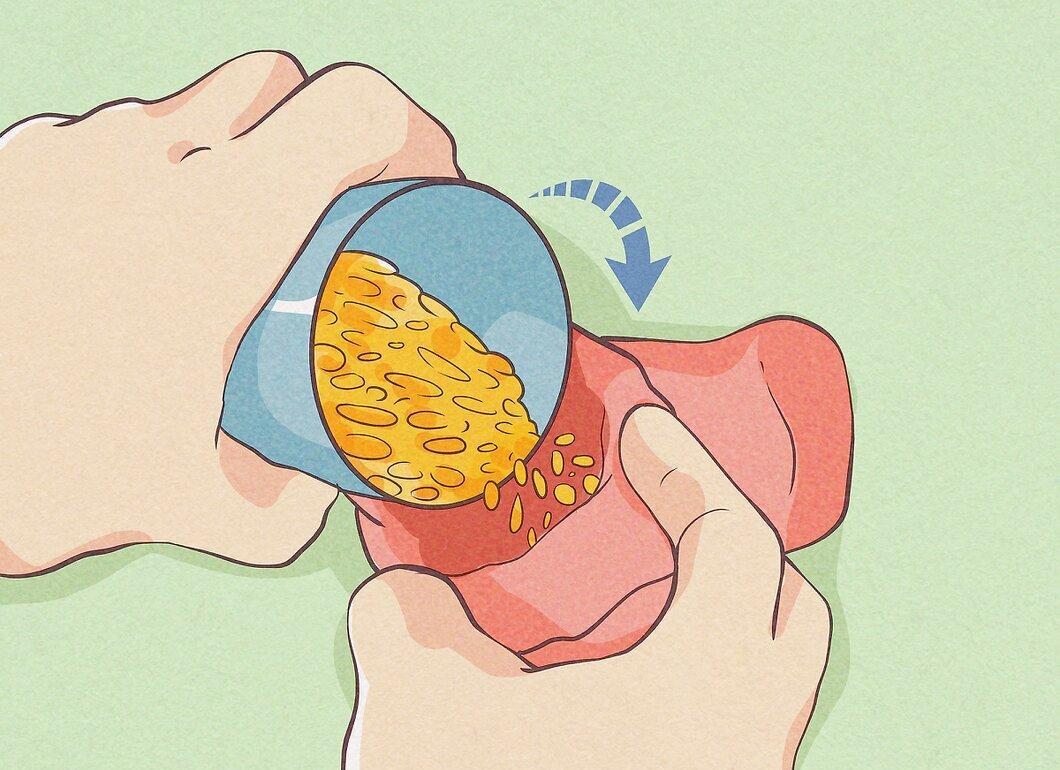
Take a cup of corn kernels or beans and pour them into the sock, letting them settle at the bottom.
Step 2. Add quilted batting.
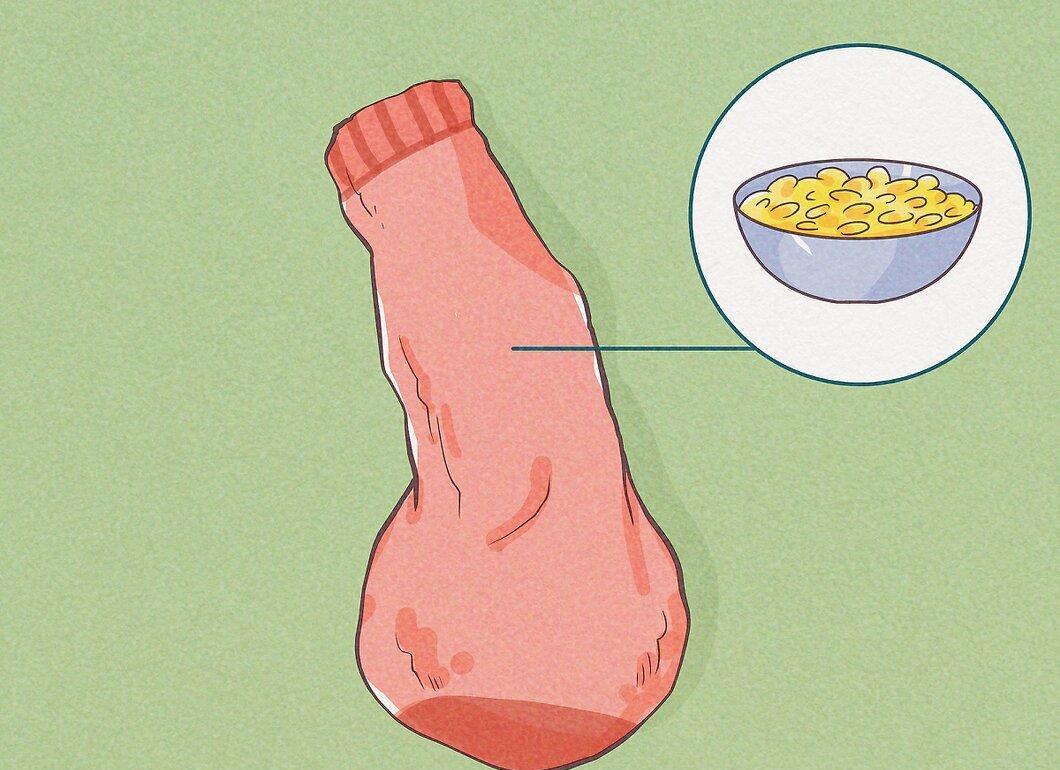
Add an equal amount of batting as the corn kernels. Batting is a warm and light material available at fabric stores or can be repurposed from old pillows.
Step 3. Alternate layers.
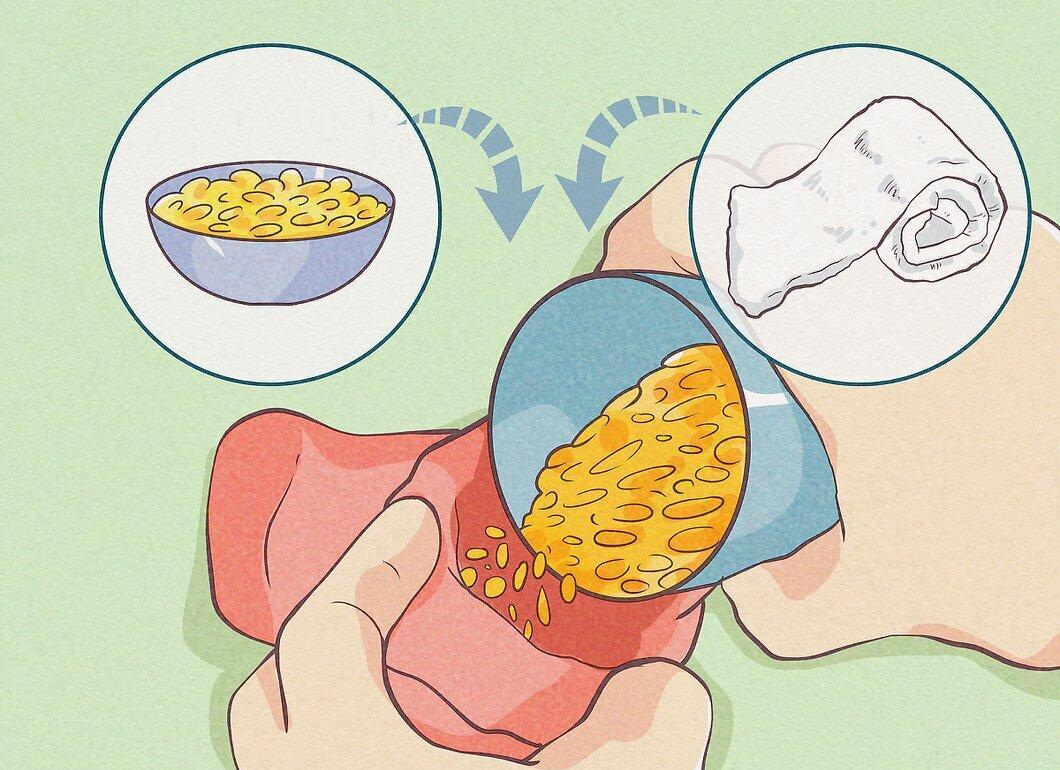
Add one cup of corn kernels and an equal amount of batting alternately until the sock is full.
Step 4. Fill another sock (optional).
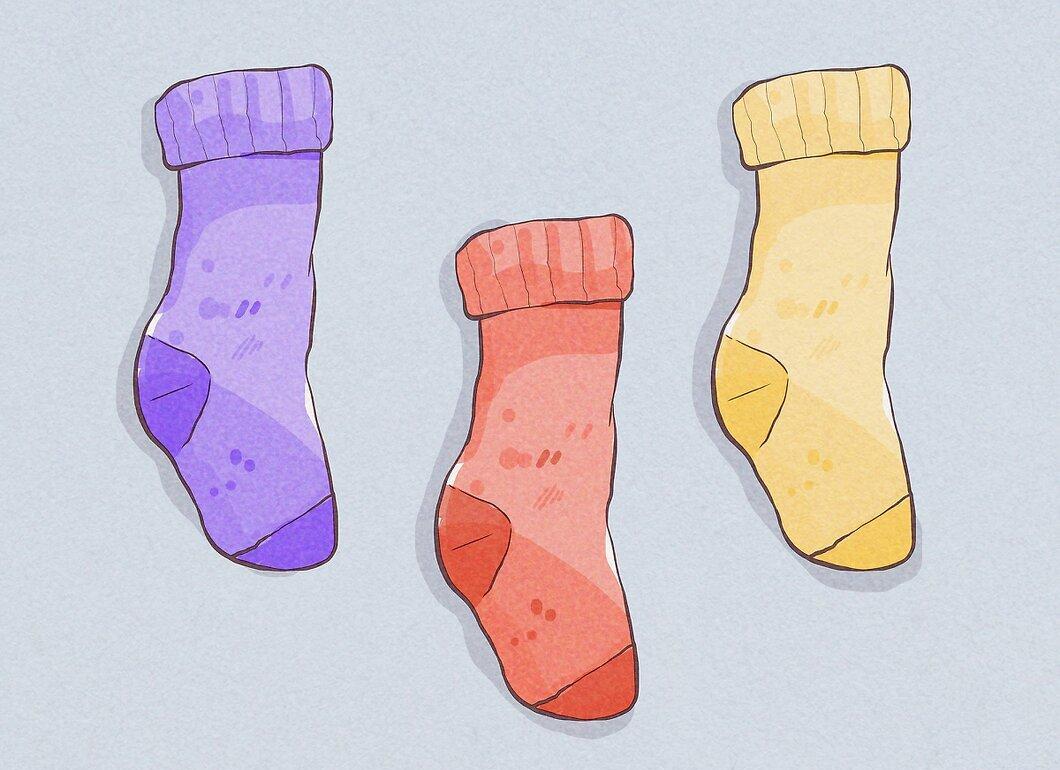
This is optional, but a second sock can help block the gap under the door. Repeat the steps filling it with the same components.
Step 5. Insert one sock into the other.
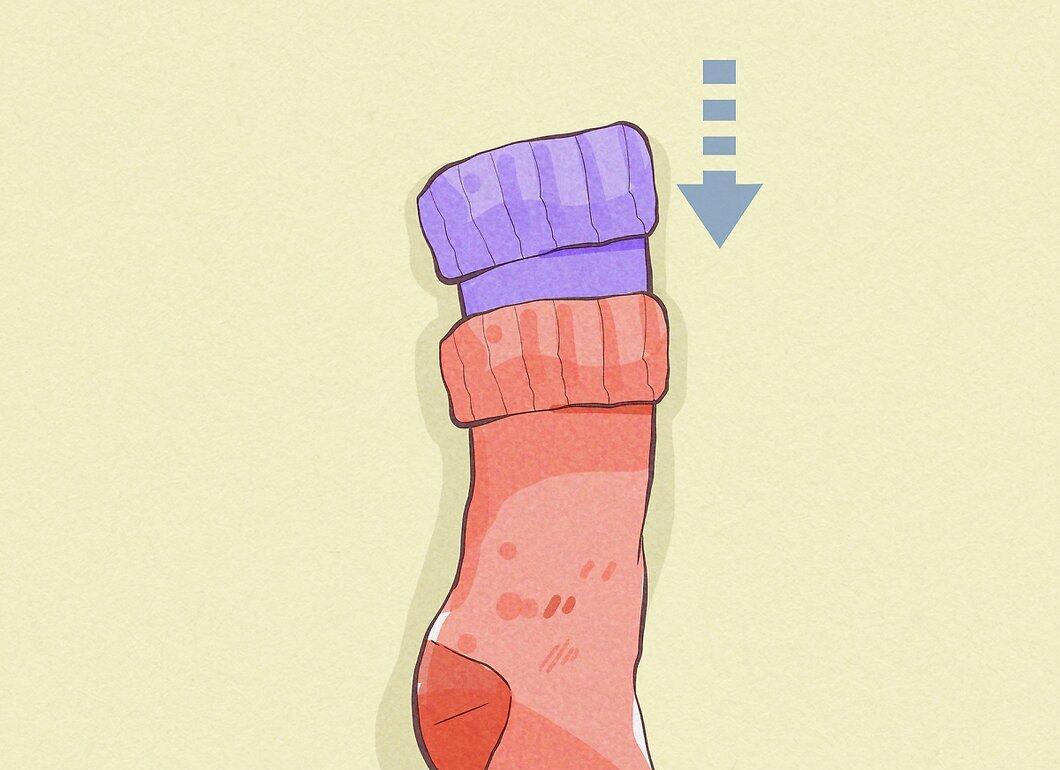
Take one sock and insert it into the other. Pull the first sock inside the second, adding as needed.
Step 6. Sew the socks together.
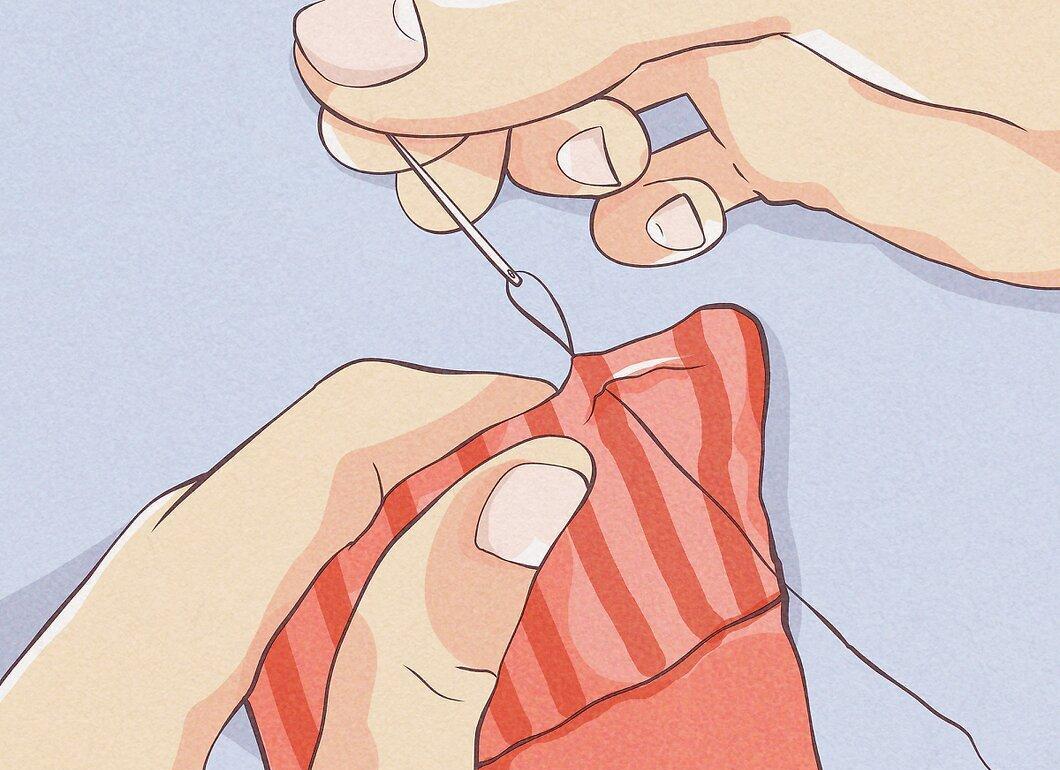
Sew the socks at the point of connection using a needle and thread, or glue them together. You can embellish the resulting structure by sewing on eyes and a mouth to create a fun snake.
Dog Toy
Step 1. Place a tennis ball in the sock.
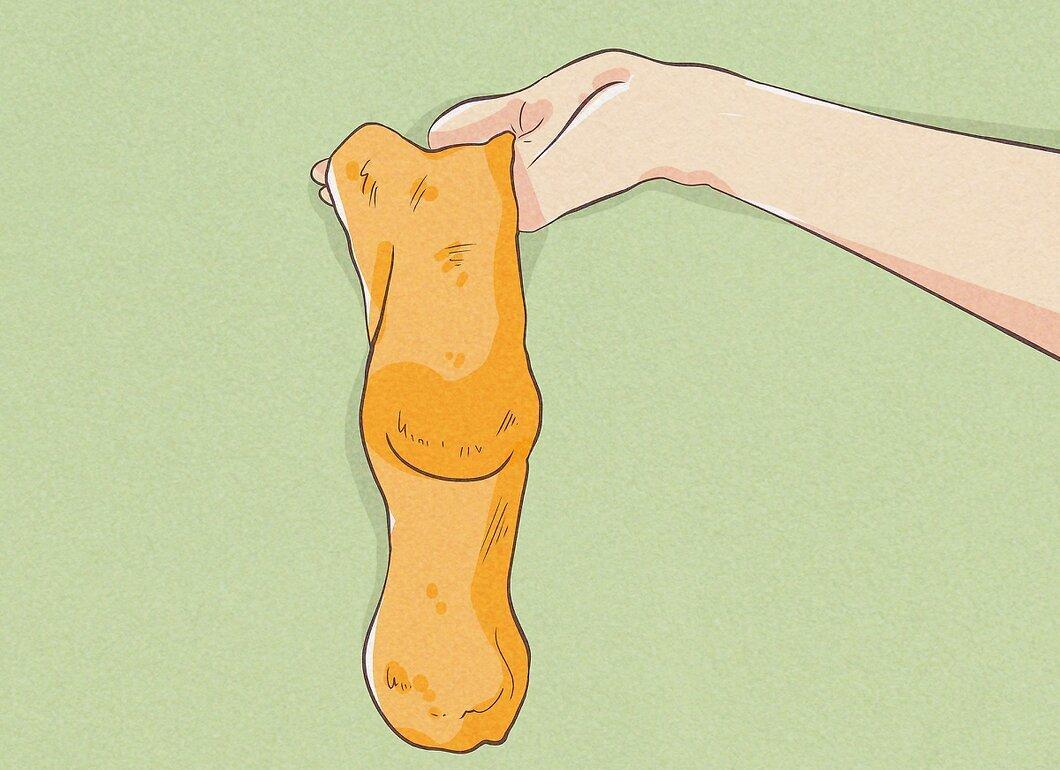
Put a tennis ball in the sock at the toe level. You can also use treats or an empty plastic bottle. This toy will last your dog much longer than usual store-bought options.
Step 2. Tie a knot above the ball.
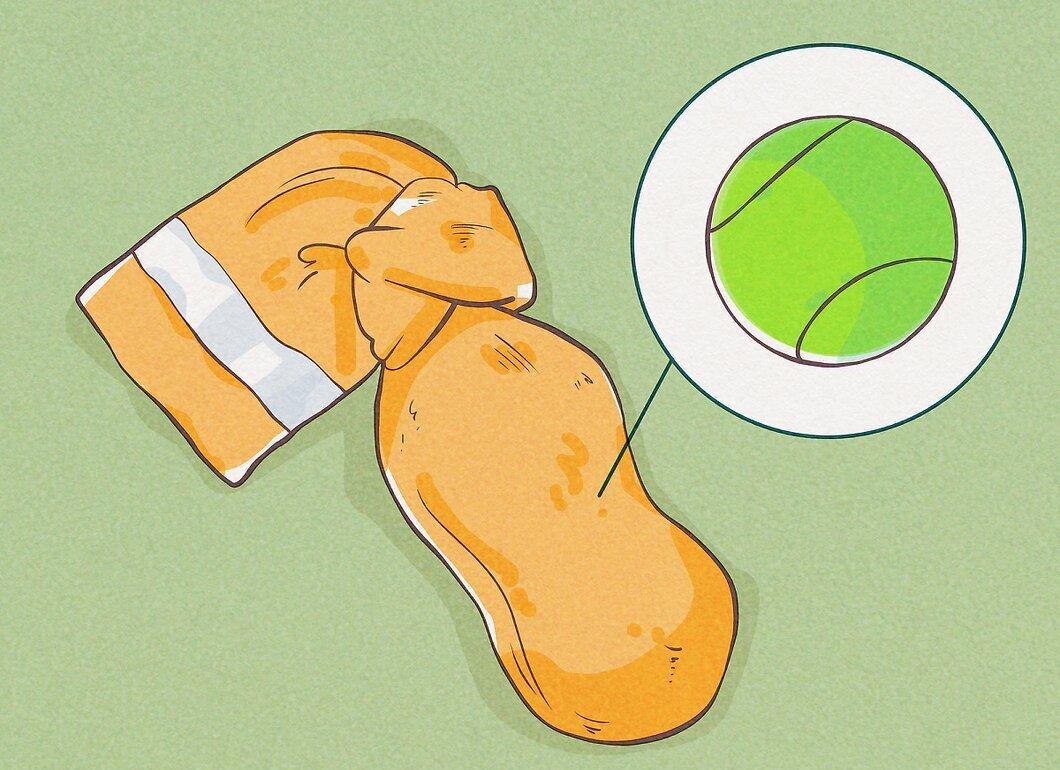
Tie a knot to secure the ball. This will help your dog easily retrieve the item from the sock and prevent it from being destroyed quickly.
- If you want your dog to access the treat immediately, don’t tie the sock; just twist it into a ball and secure it with a knot.
Step 3. Play with your dog using the new toy.
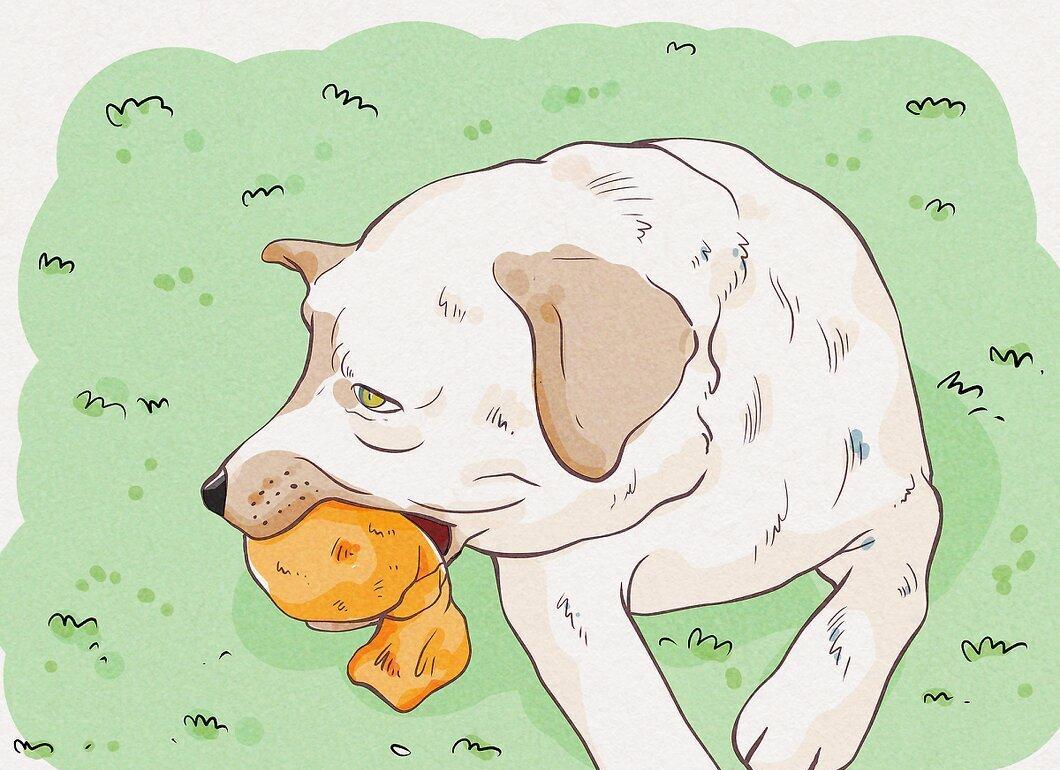
Throw the toy to your dog. They will be intrigued by the ball shape and the scent of the treat or the sound of the plastic bottle, distracting them from your new socks.
Step 4. Monitor the condition of the toy.
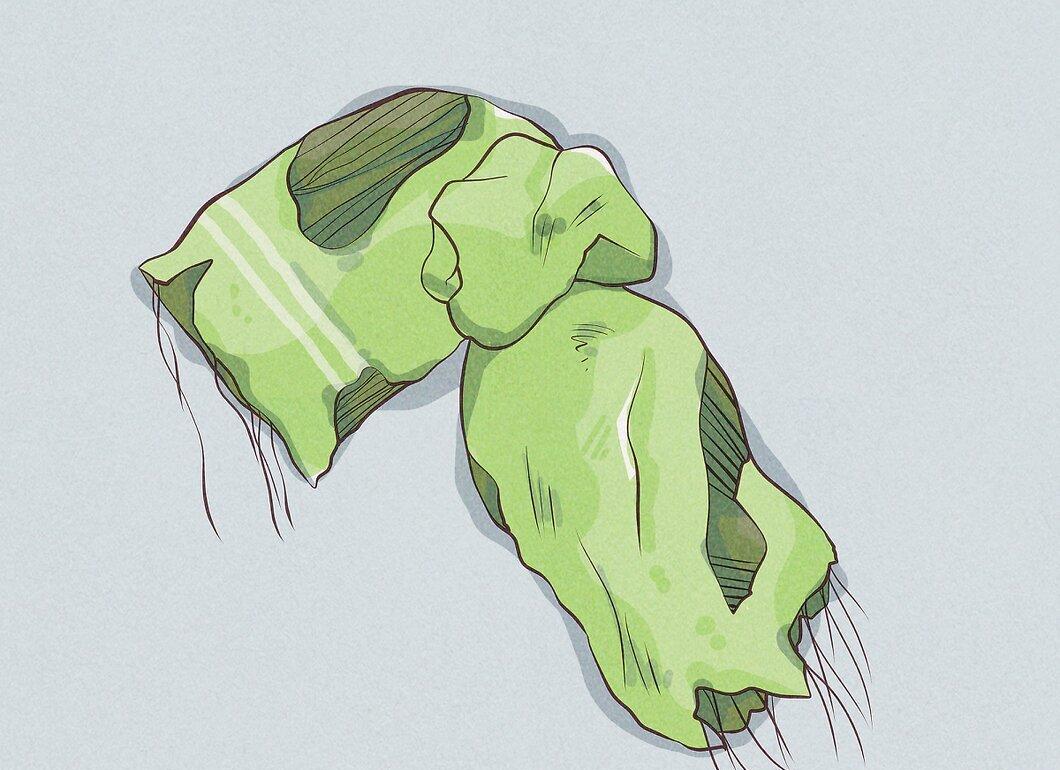
Keep an eye on the toy’s condition, as it may wear out quickly. Trim any loose threads and damaged areas as needed. Use a new sock when the old one becomes too worn.
- Be cautious to prevent your dog from swallowing pieces of material, as it may cause digestive issues. It’s best to use smooth fabrics for making toys.


