
Wooden doors add warmth and style to any home. Whether you want to spruce up an old door or finish a new one, learning to paint it correctly is a great DIY project suitable for both seasoned pros and beginners. With the right tools and tips, you can highlight the natural beauty of the wood and protect it with a finish, keeping it in pristine condition for years to come.
Preparing the Door for Painting
Step 1. Remove the Door from the Hinges.
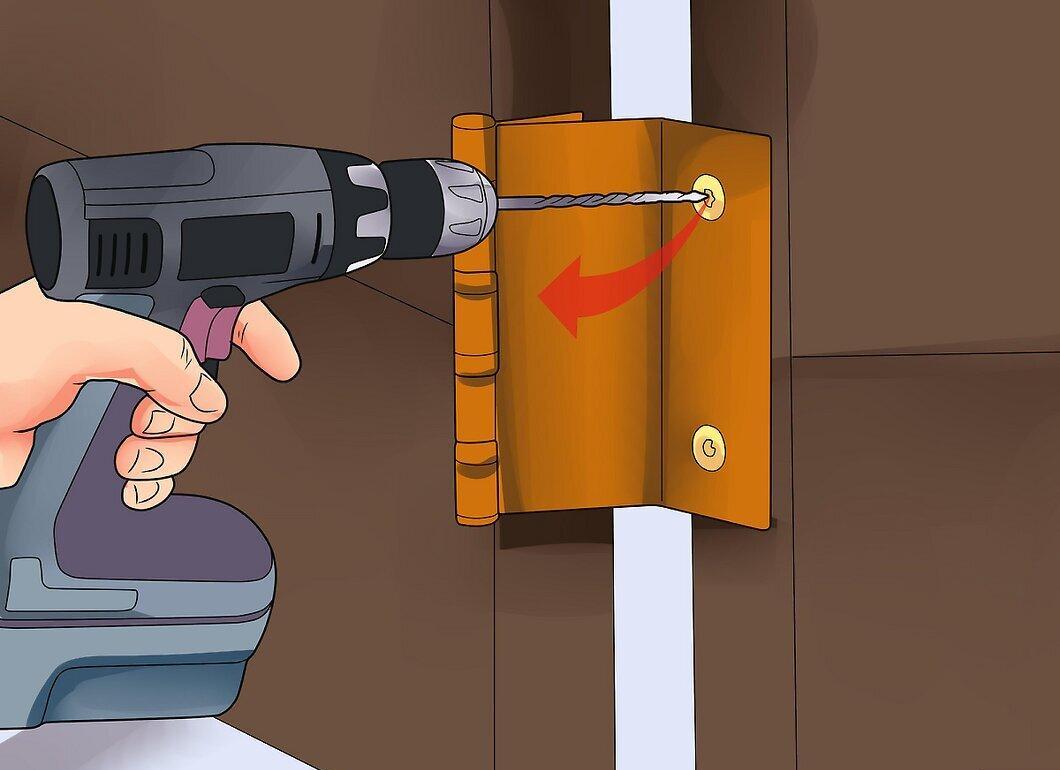
First, carefully remove the door from the hinges. This is crucial for ensuring a quality paint job. In most cases, doors can be easily removed without risk of damage. Don’t attempt to paint the door while it’s still hanging.
- To remove, pull out the hinge pins using a screwdriver. Tap them out until the hinge plate is free, after which it can be removed.
Step 2. Remove Metal Fixtures.
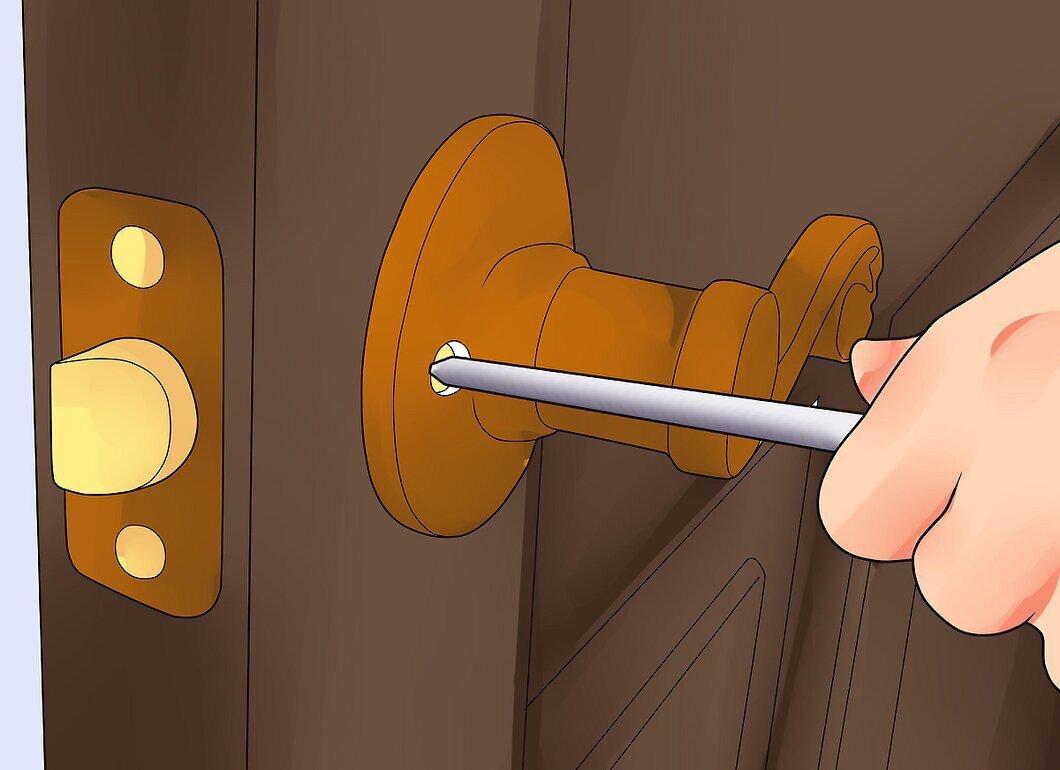
Take off all metal hardware. To prevent accidental painting of handles, locks, and other parts, unscrew them and set aside, leaving only the wood. Typically, metal fixtures are easily removed with a few screws. Remember to keep them organized for easier reinstallation later.
Step 3. Set the Door on Sawhorses.
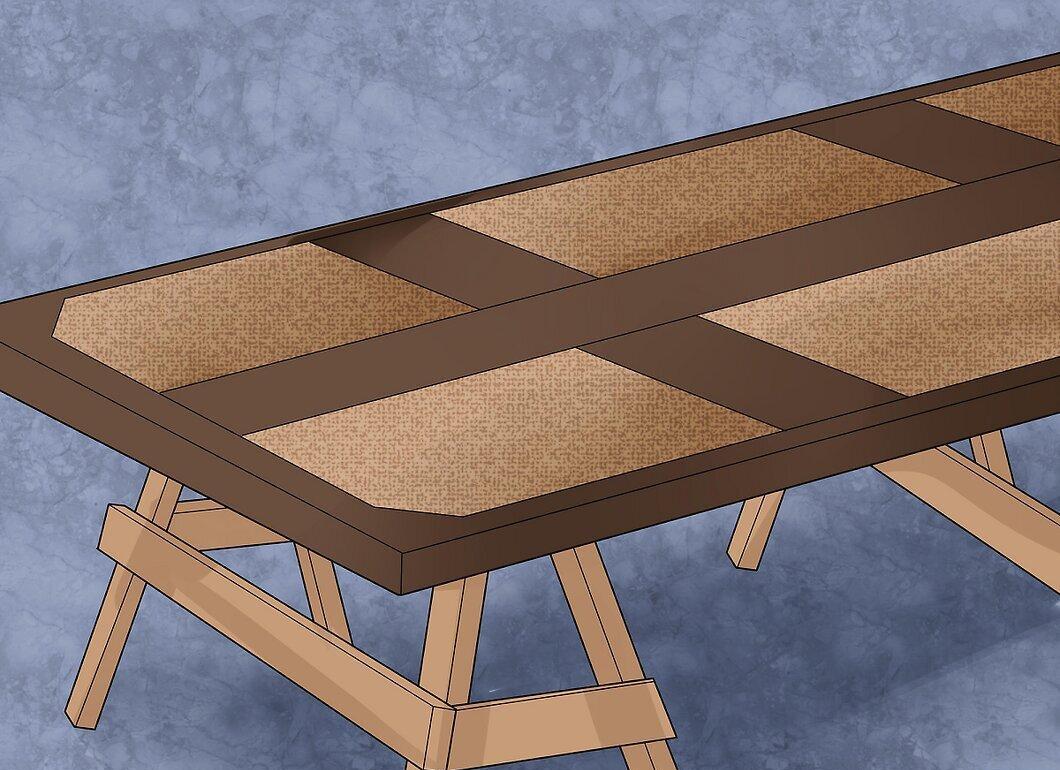
Place the door on sawhorses. It’s best to do this in a well-ventilated area at waist height. While a workbench is also a good option, sawhorses may be more convenient if you have them.
Step 4. Sand the Surface Thoroughly.
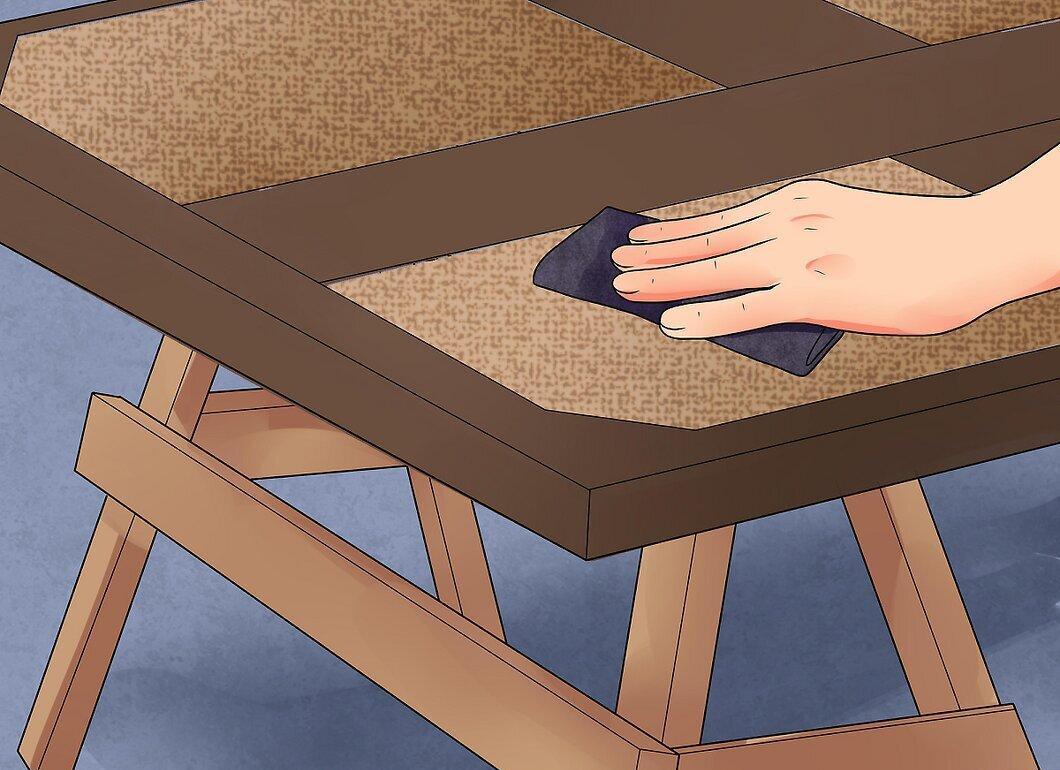
Sand the door. If the door has been previously painted or has imperfections, it’s essential to sand it down thoroughly. Even if there are no visible defects, sanding helps open up the wood fibers so they can absorb paint better.
- Use a round sanding disc with 220-grit sandpaper for quick work. Only use sandpaper intended for wood.
- Before painting, wipe down the door with a tack cloth to remove dust and debris. This will help prepare the surface for painting.
Step 5. Choose the Right Paint.
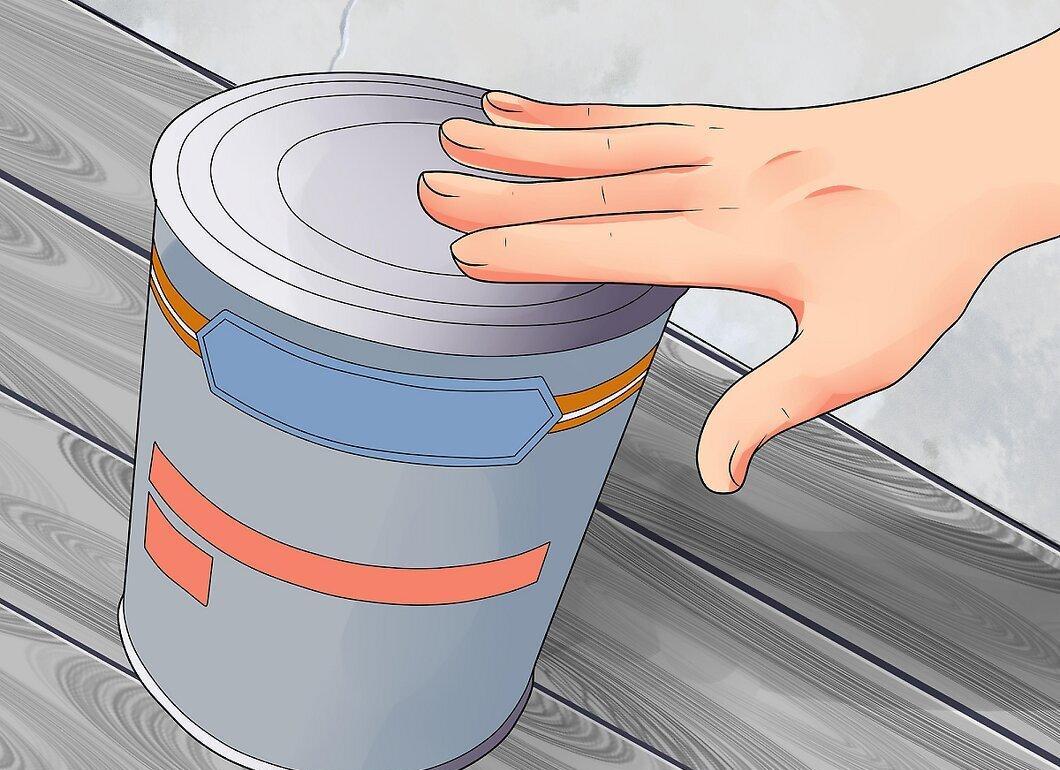
Select a paint for wood. Use high-quality oil-based paints, like “Minwax” or “Craftsman,” following the manufacturer’s instructions. Some prefer gel stains for small areas, while others opt for polyurethane for its versatility. Browse stores to find the right color that suits your wood type.
Painting the Door
Step 1. Protect Yourself.
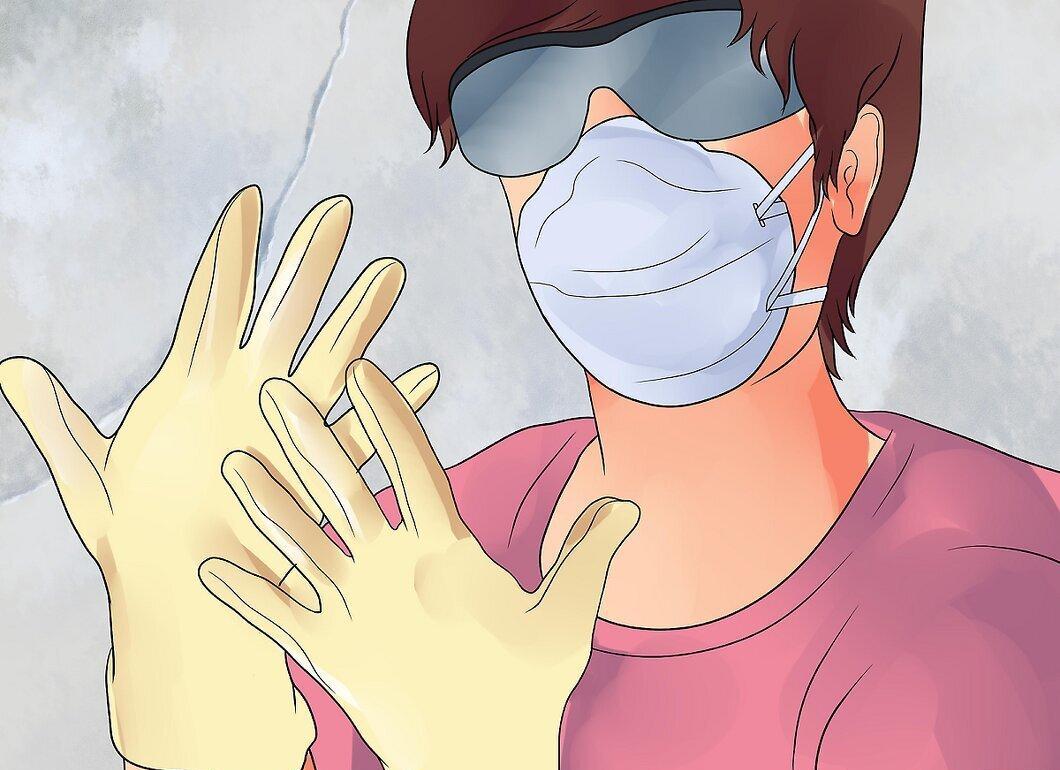
Don’t forget to wear safety glasses and gloves. When working with paint and sanding tools, it’s essential to protect your face and eyes, and when working indoors, use a respirator. Ensure that paint doesn’t come into contact with your skin.
- If you’re working in a garage, keep it ventilated and take breaks to avoid dizziness from fumes.
Step 2. Apply the First Coat.
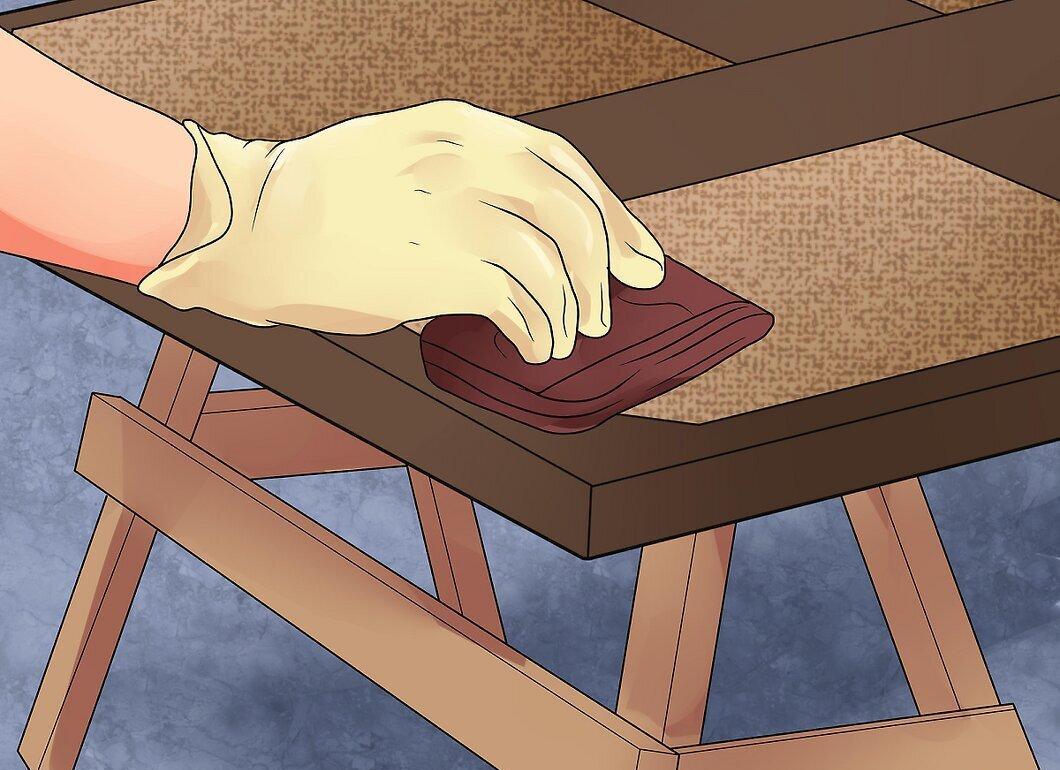
Start applying the first coat of paint. Use a lint-free cloth folded into a pad and paint along the wood grain. Keep the door horizontal to avoid paint drips.
- After the initial light strokes, without adding paint from the can, make 3 to 8 passes along the grain. Work carefully without stopping.
- Some pros use a brush for the initial coat and then smooth it out with a cloth while the paint is still wet. If using polyurethane or gel paint, follow the instructions on the packaging.
Step 3. Let the Paint Dry and Smooth the Surface.
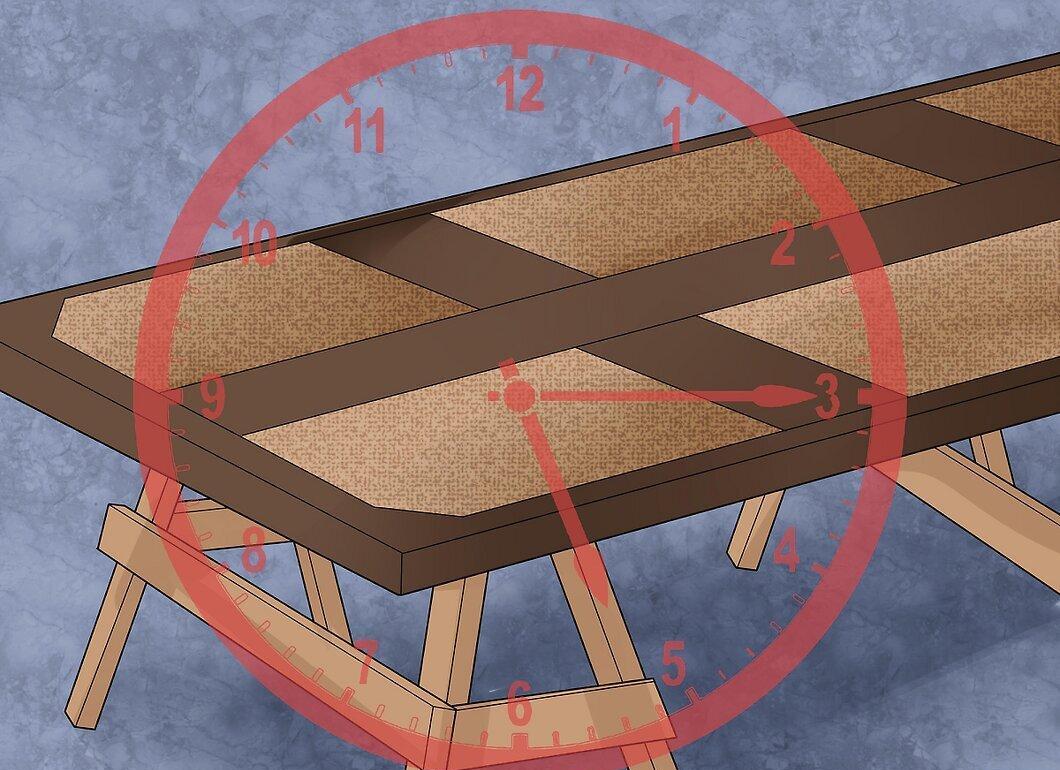
Allow the paint to dry completely and then wipe the surface with a lint-free cloth. Depending on the type of wood and paint, you may need to apply a second or even multiple coats. If so, let the first coat dry, then lightly sand it with steel wool or 220-grit sandpaper and repeat the process.
- Use a clean cloth to remove excess paint; otherwise, blotches may appear. After drying, the paint will feel like “peach fuzz,” which needs to be treated with steel wool in circular motions. Typically, you should wait six to ten hours between coats.
Step 4. Repeat for Desired Color.
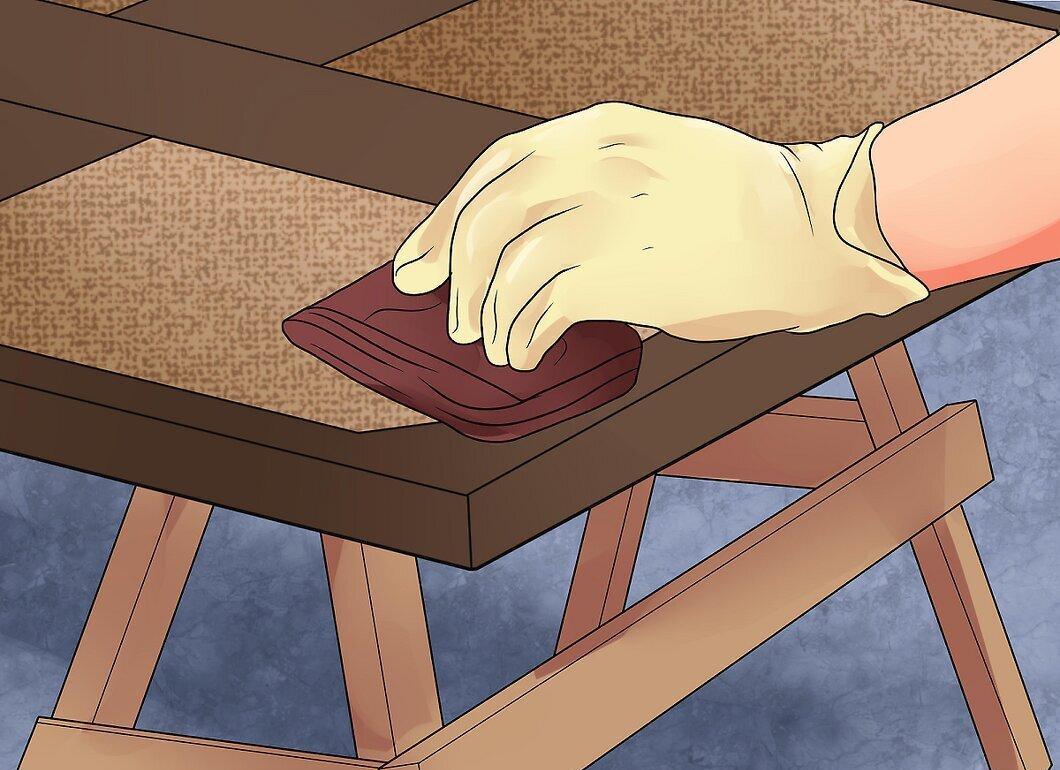
Apply as many coats as necessary to achieve the desired color. Keep painting, using steel wool between coats, until you reach the desired result.
- Once you’re satisfied with the color, leave the door alone until it is completely dry. Avoid using metal brushes or sandpaper after this. Let it dry for several hours, then wipe with a clean, lint-free cloth.
Finishing the Door
Step 1. Choose a Polyurethane Finish for Protection.
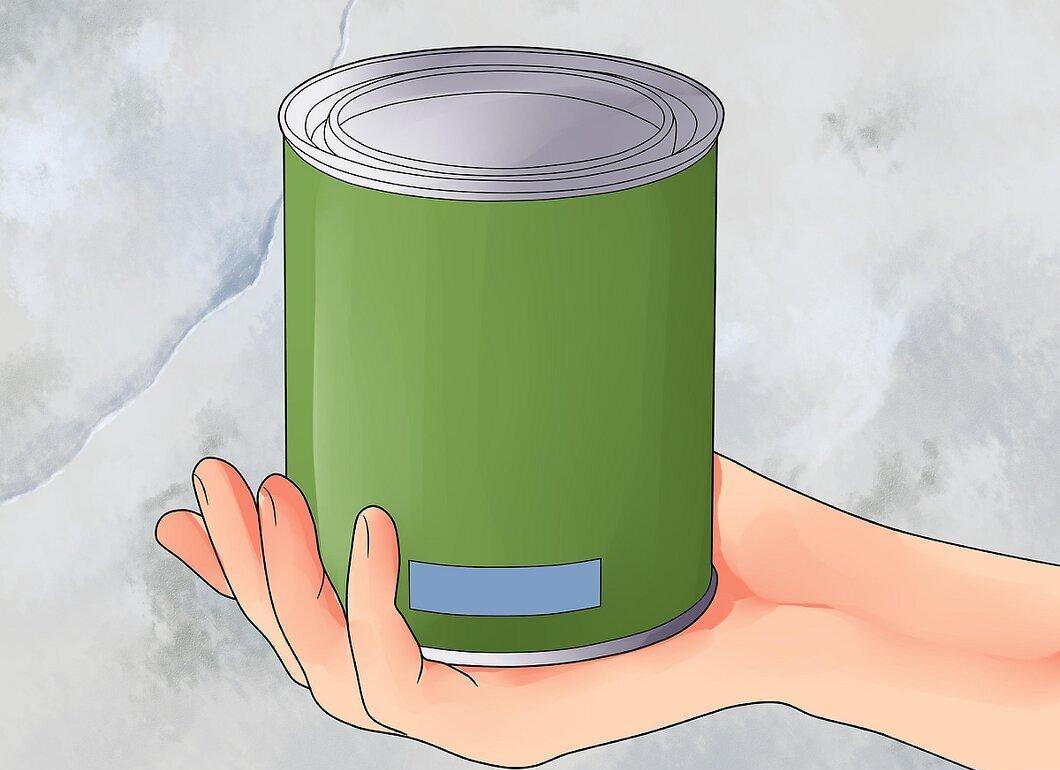
Select a suitable polyurethane finish for your door. The paint provides the needed color, but it’s also essential to protect it with a polyurethane finish. The finish can be matte, satin, or glossy and requires multiple coats. Follow the manufacturer’s recommendations.
- Water-based finishes are more eco-friendly but may cause a “peach fuzz” texture. Apply the finish using the same methods as for the paint, sanding between coats.
- Wipe the surface with a damp cloth. Ensure the wood is completely dry before applying the finish; sand lightly if needed before starting.
Step 2. Apply the Finish with a Brush.
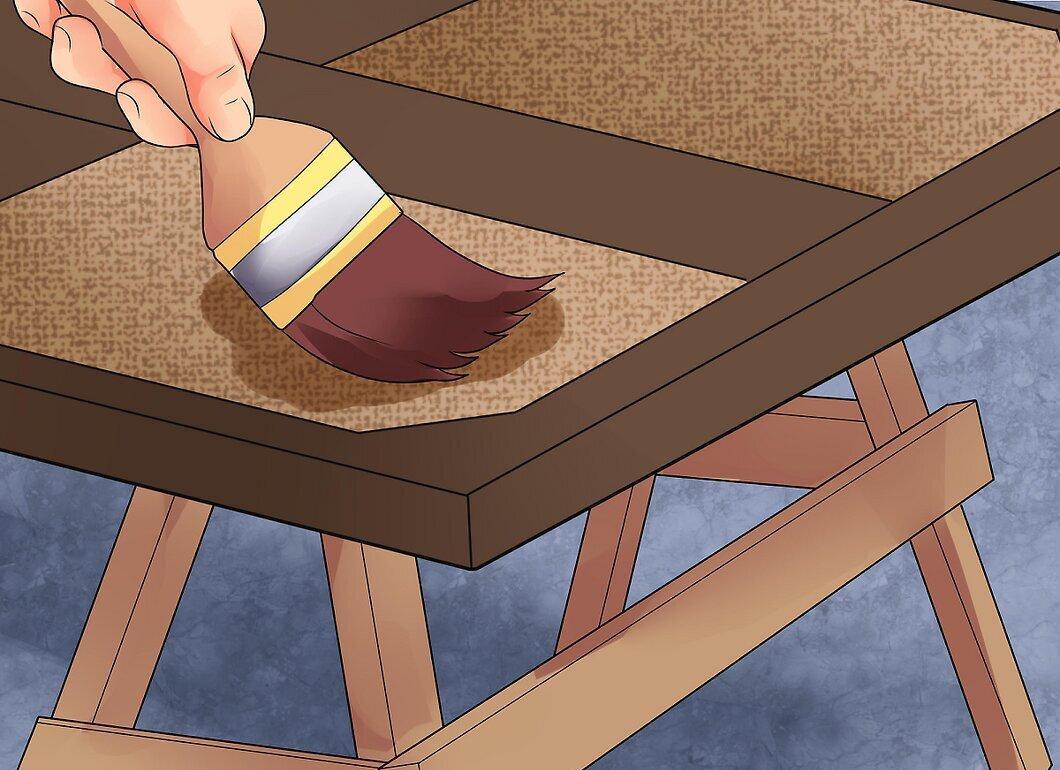
Apply the finish using a wool or foam brush, following the same technique as for paint. Work in long, even strokes to ensure even coverage. If necessary, use a cloth to remove excess finish.
- Check the manufacturer’s instructions to see how long to wait between coats; this usually takes two to six hours.
Step 3. Sand Down Imperfections After the First Coat.
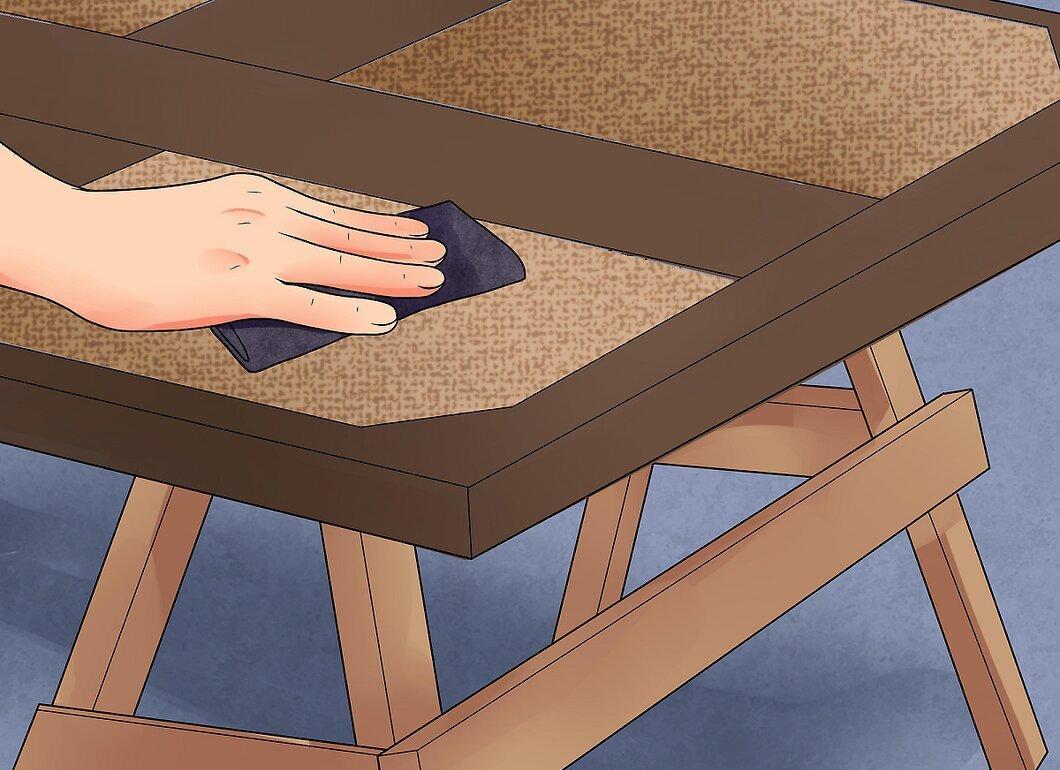
After the first coat of finish, sand down any imperfections. Apply at least two more coats, with the first coat sanded more thoroughly. No sanding is needed on the final coat.
- Allow the door to dry after all finishing coats and wipe it with a clean cloth to ensure it is clean and ready for installation.
Step 4. Reattach Metal Fixtures.
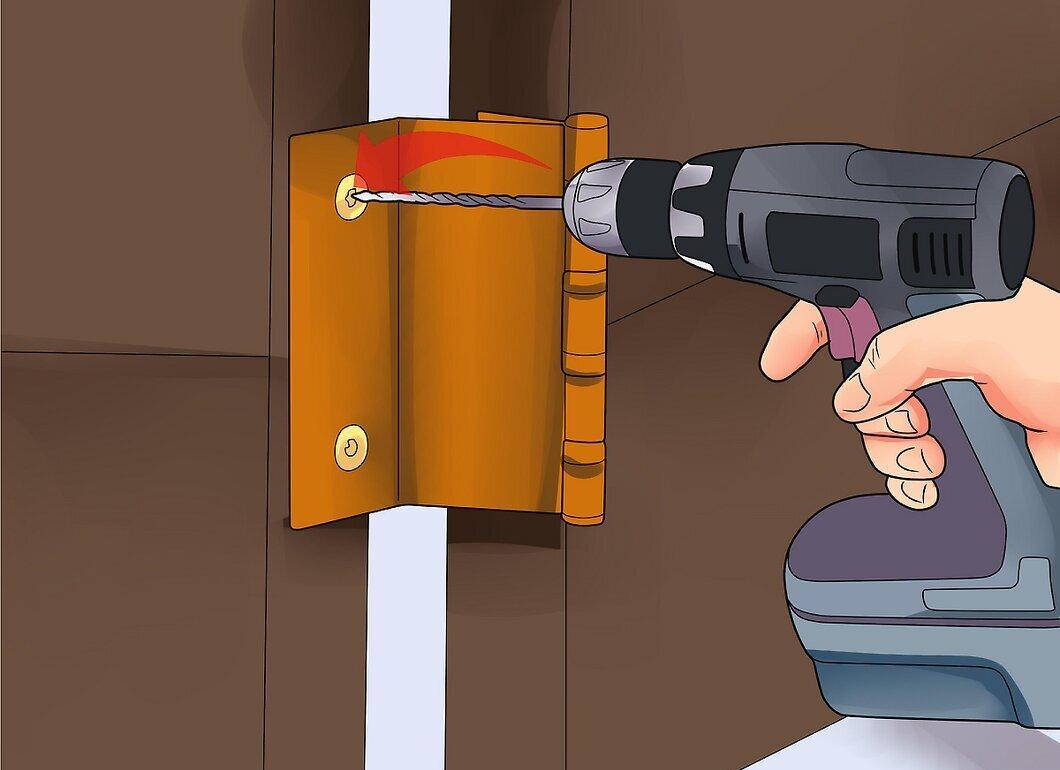
Reattach all metal parts. If you removed them, reinstall them, and your doors will be ready to go back in place. Ask someone to help you hold the door while you screw in the hardware and install the hinges, completing the project.


