
In the event of a power outage, your critical devices, such as computers or medical equipment, need to continue operating without interruption. This guide will explain how to create a versatile uninterruptible power supply (UPS) system that you can customize by adding solar or wind energy sources.
Part 1
Step 1. Review Warnings Before You Begin.
Before starting, it’s essential to carefully read all warnings to ensure your safety.
Step 2. Choose the Right Charger.
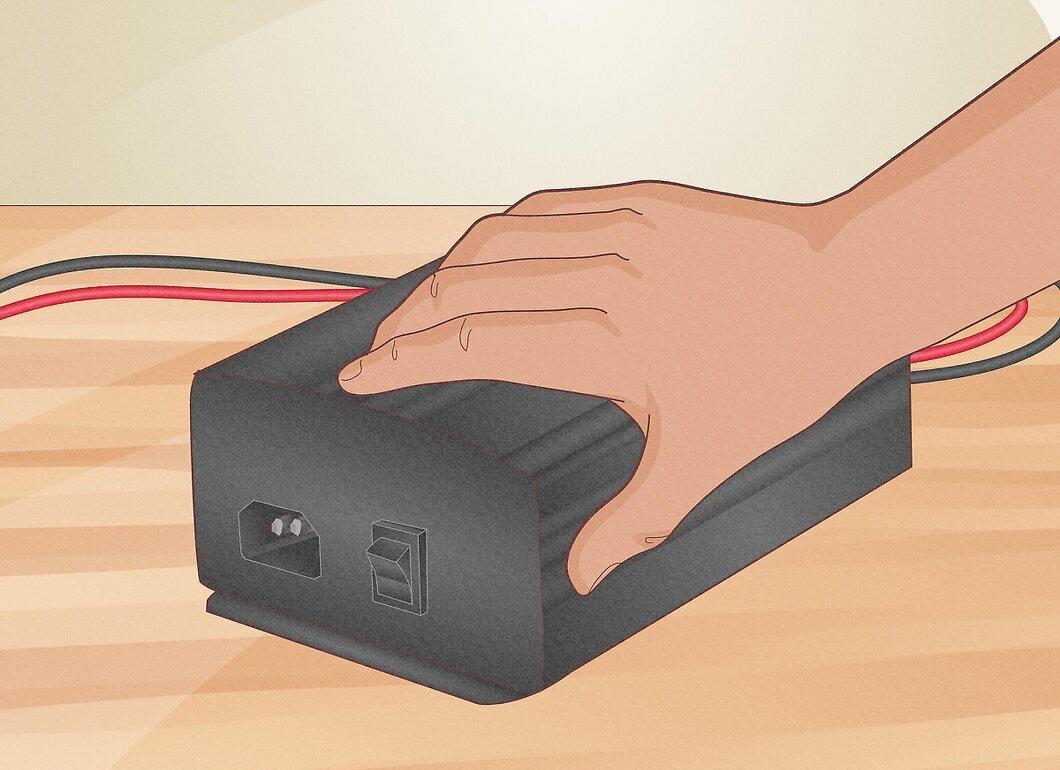
Select a charger with sufficient power to charge the battery and compatible with the inverter. This device will be quite heavy.
- Ask RV dealers about inverters suitable for large RVs if you plan to create a large system.
- Look into solar power sources for robust home chargers and inverters for significant systems.
- If your inverter has a built-in charger, ensure it can be isolated from the incoming power supply.
- Confirm that the charger is compatible with the battery types you plan to use.
Step 3. Choose a Deep Cycle Battery.
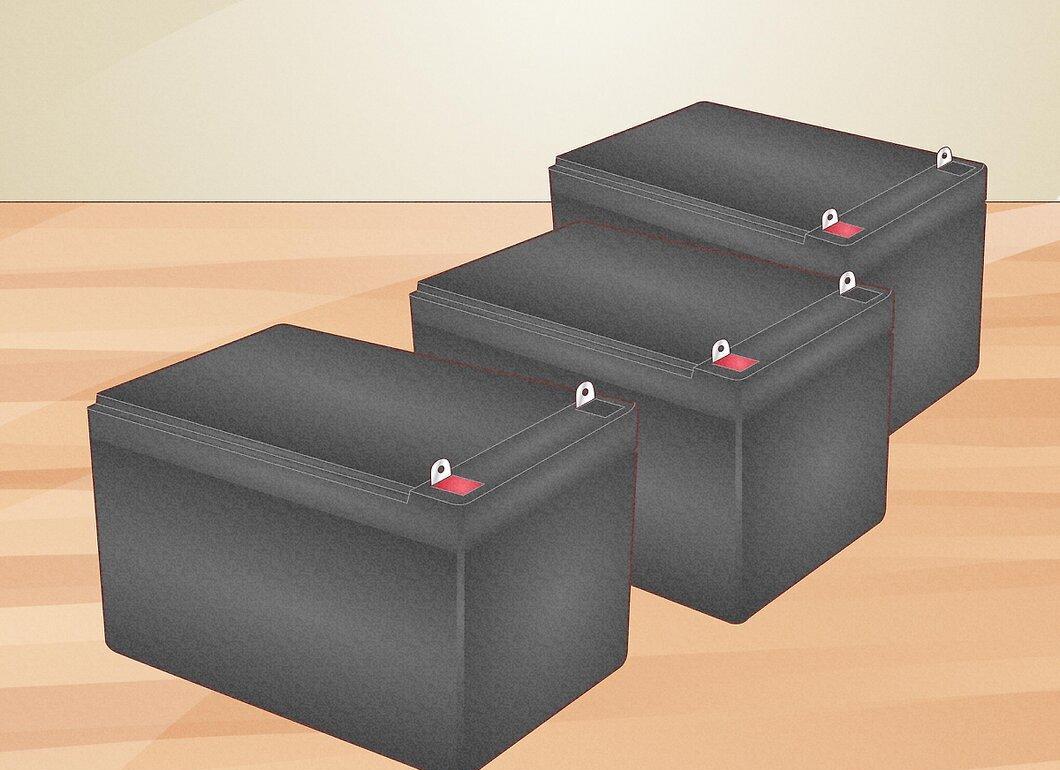
Opt for deep cycle batteries. Do not use automotive or marine batteries. For a single battery, gel or maintenance-free options are suitable. If you have multiple batteries, only choose liquid or gel types. Avoid mixing different battery types, as newer ones will wear out faster. In large systems, it’s advisable to replace batteries annually.
- Ensure ventilation for hydrogen gas from the batteries.
- If using liquid batteries, make sure the device supports equalizing charge.
- Lead-acid batteries come in 6 and 12 volts. Connect them in series to increase voltage or in parallel to increase amp-hours. 12 volts = 2x6V connected in series.
- 24 volts = 4x6V or 2x12V in series.
- For series-parallel connections, connect pairs of batteries in parallel, then those pairs in series.
Step 4. Choose an Inverter.
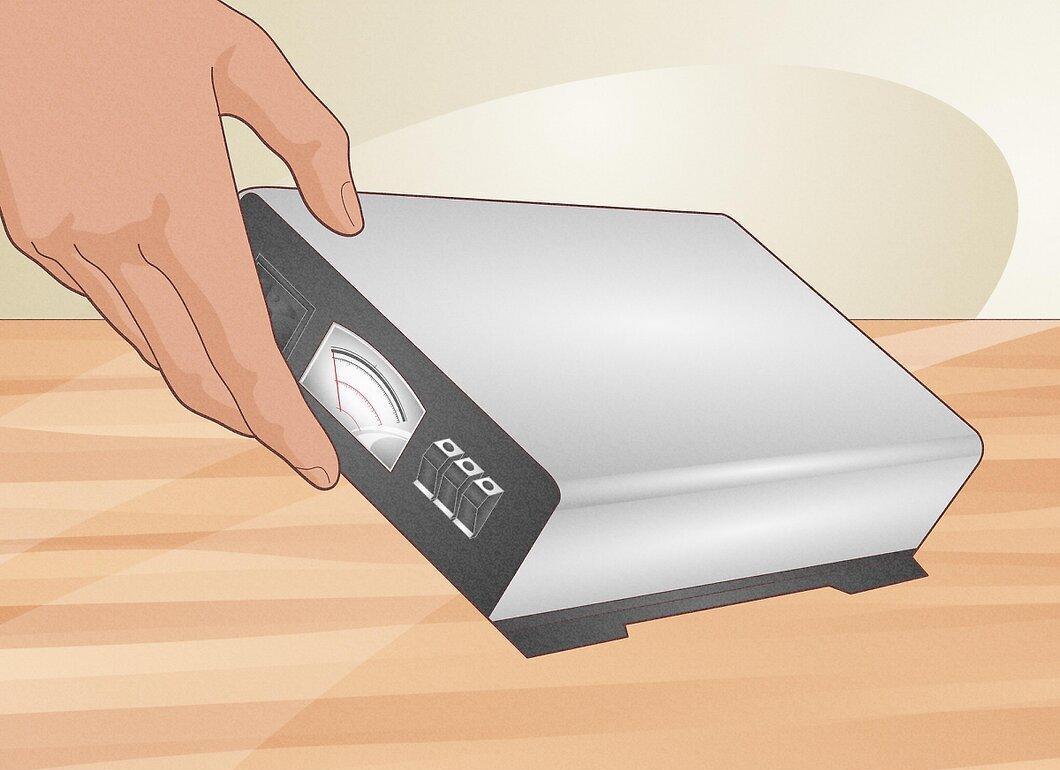
- Plan for continuous operation at significantly higher power than you think you need.
- Ensure that the inverter can handle starting loads, which can be 3-7 times higher than the rated current.
- Inverters are available for various input voltages: 12, 24, 36, 48, and 96 volts. The higher the voltage, the better, especially for large systems. 12 volts is the most common, but it is not recommended for systems over 2400 watts.
- Some inverters come with built-in 3-stage chargers and transfer relays, which simplify the system. These inverters are more expensive but can save money in the long run.
Step 5. Gather Necessary Cables, Fuses, and Other Equipment.
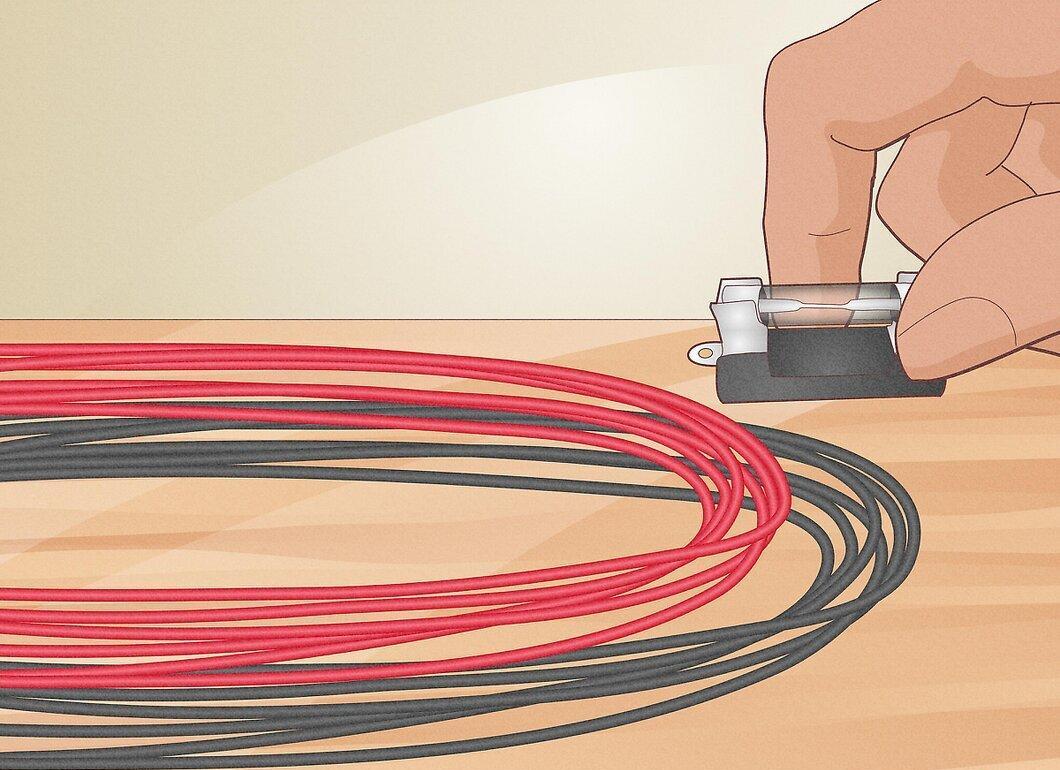
- Use high-quality, heavy-gauge cables and keep them short to maintain low resistance.
- Consider using a bus bar with separators to organize connections and prevent short circuits. This will make replacing faulty batteries easier.
Step 6. Wear Protective Gear.

Make sure to use protective equipment.<br>
- Wear safety glasses to protect your eyes from splashes.
- Use insulating gloves.
- Remove all jewelry and metallic objects.
Step 7. Connect the Charging Cable to the Battery.
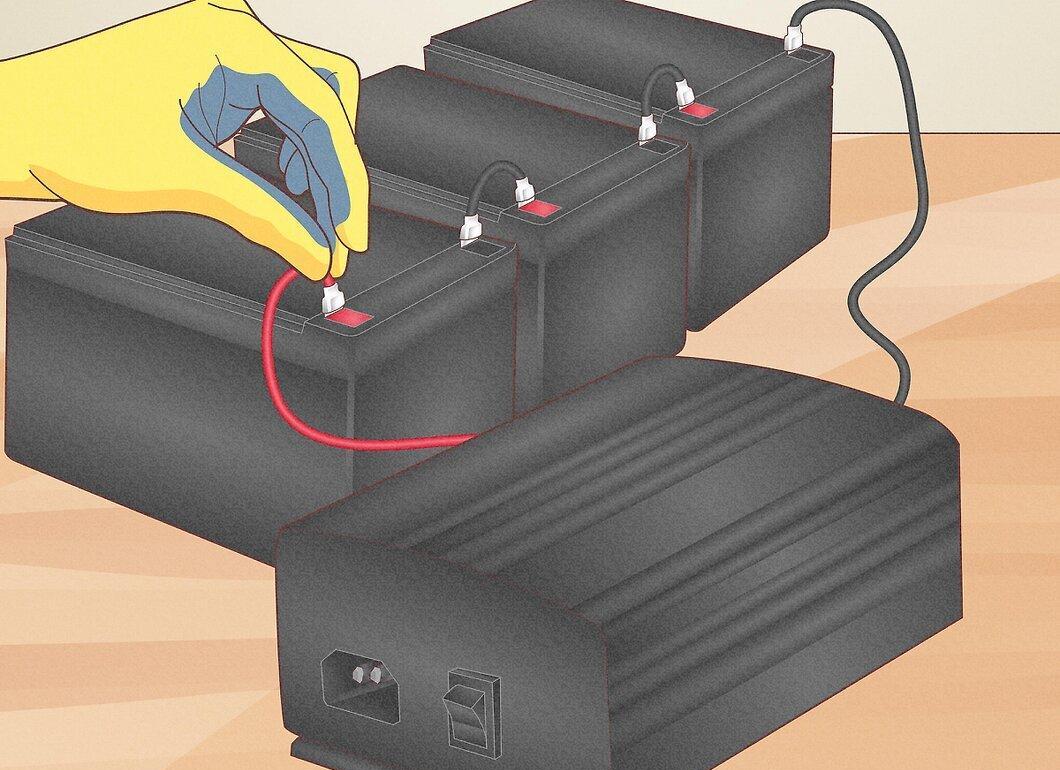
Securely attach the charging cable to the deep cycle battery, watching the polarity.
Step 8. Set Up the Charging System.
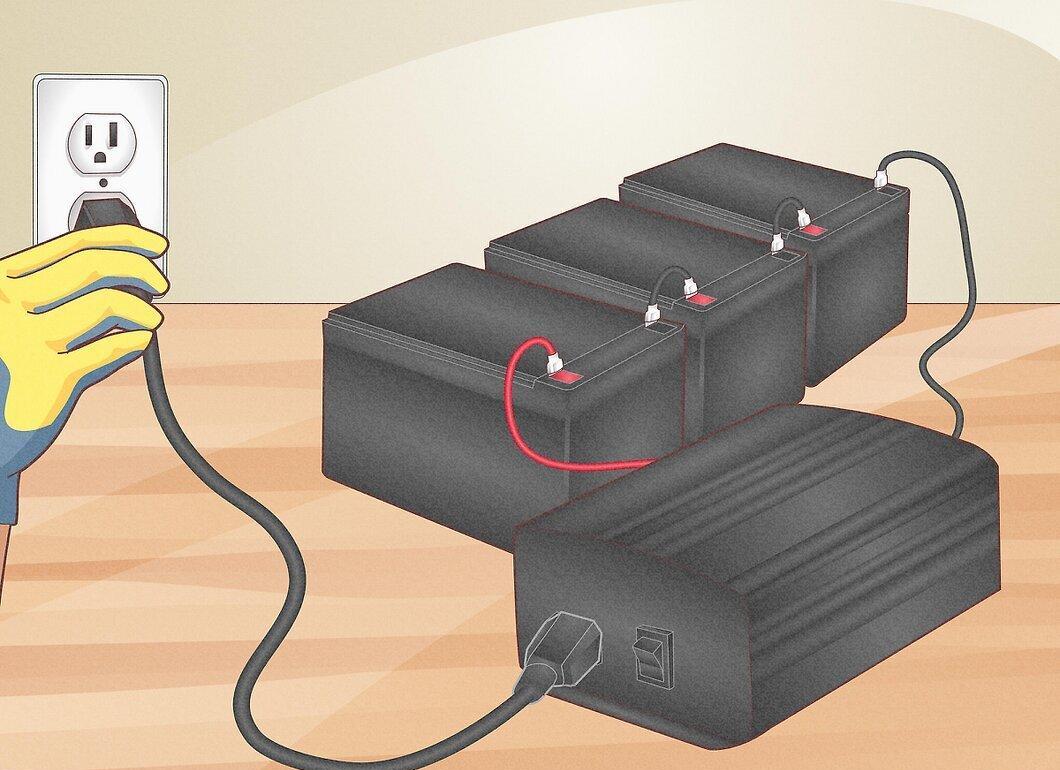
Connect the charger to the outlet and turn it on, ensuring the inverter is off and the charging begins correctly.
Step 9. Connect the Inverter and Test Its Operation.
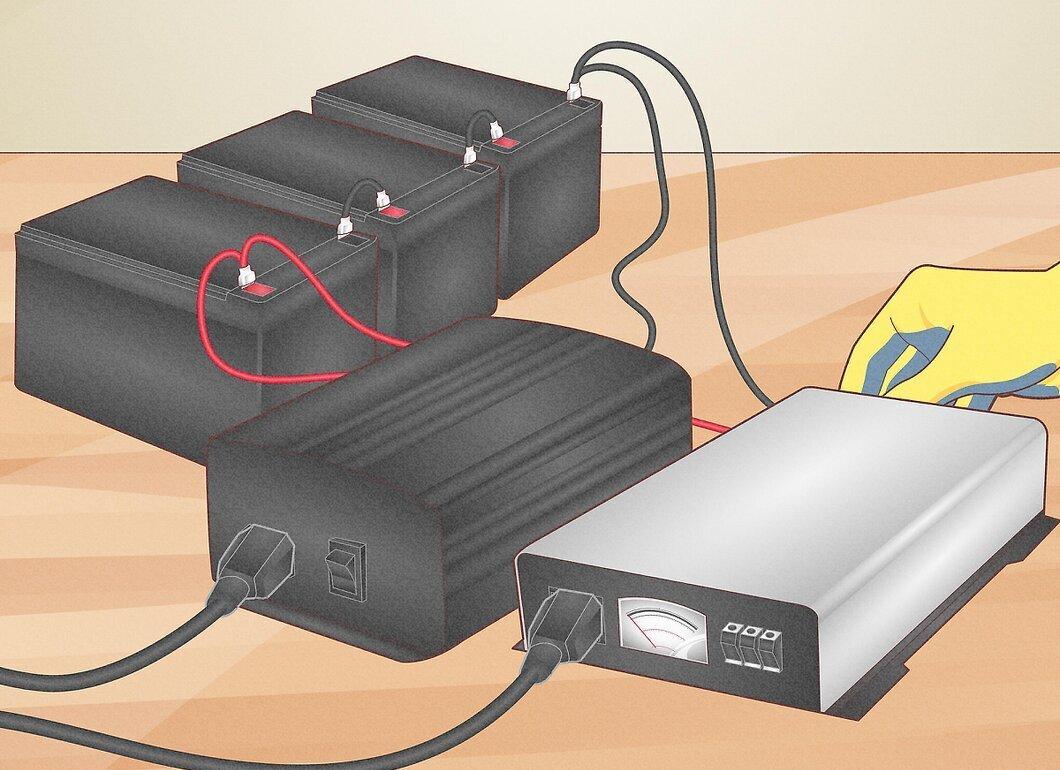
Connect the inverter if it’s not integrated into the charger. Pay attention to polarity when connecting the cables. Turn on the inverter and test it with a device that consumes AC power. There should be no sparks, smoke, or fire. Leave the inverter on with a load similar to what you plan, and let the battery charge overnight. In the morning, the battery should be fully charged.
Step 10. Disassemble the Test Setup.
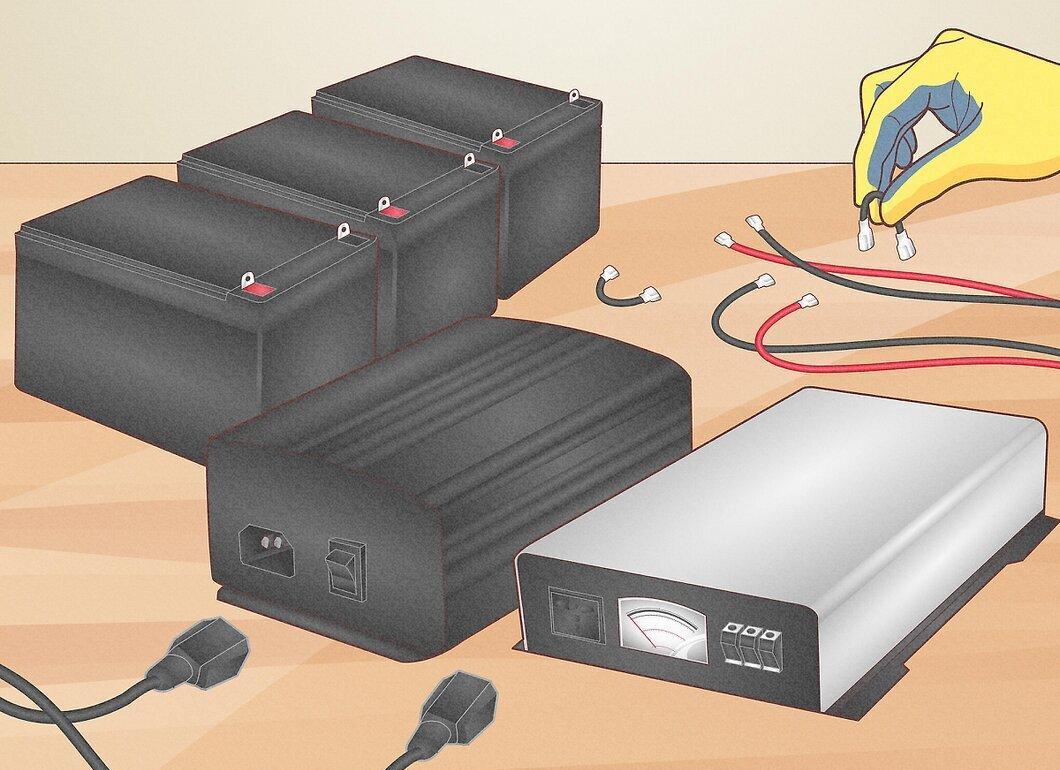
Step 11. Build a Neat Enclosure for the System.
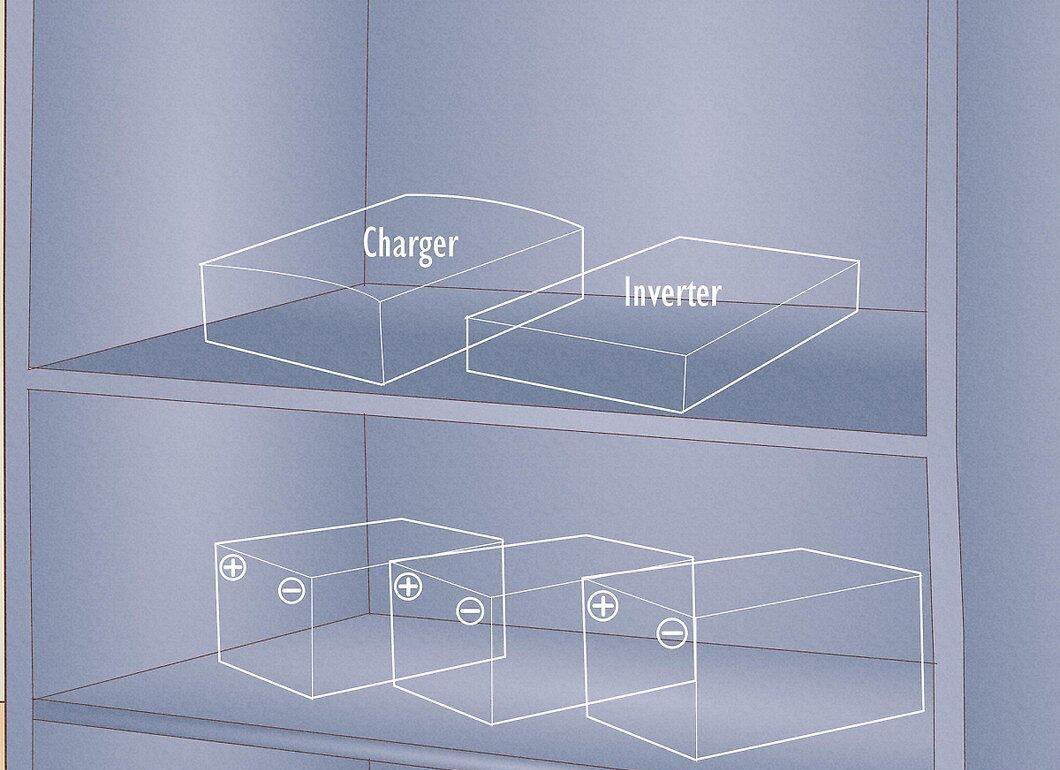
Assemble a tidy enclosure — this could be shelves in a shed or a large container. It should hold the batteries, charger, and inverter. Try to place the charger and inverter away from the batteries to avoid damage from gas release. Ensure good ventilation.
Step 12. Connect All Components.
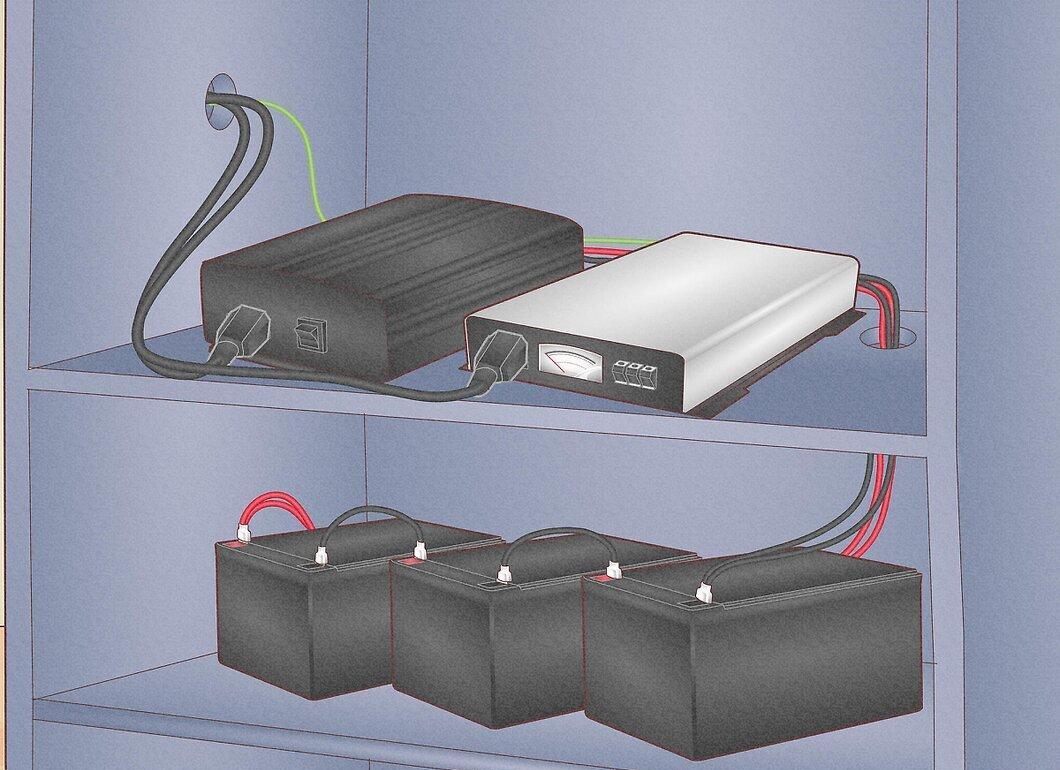
When connecting, try to use short cables. Ensure that the inverter is grounded using a grounding wire.
Step 13. Add Additional Components as Needed.
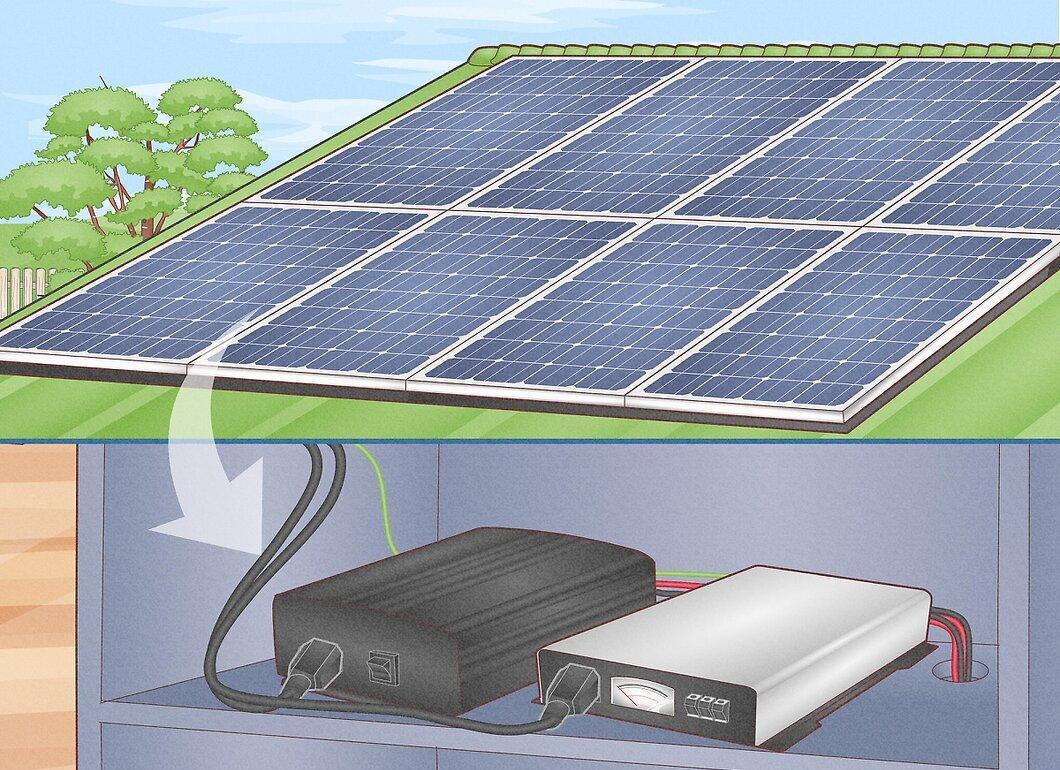
Supplement the system with solar or wind energy sources with charge controllers. This will significantly extend runtime. You can also connect a generator for additional charging.
- Ensure the system is located outdoors. Install outlets inside and outside to connect them together. Check for any additional connections to this circuit to prevent power issues.


