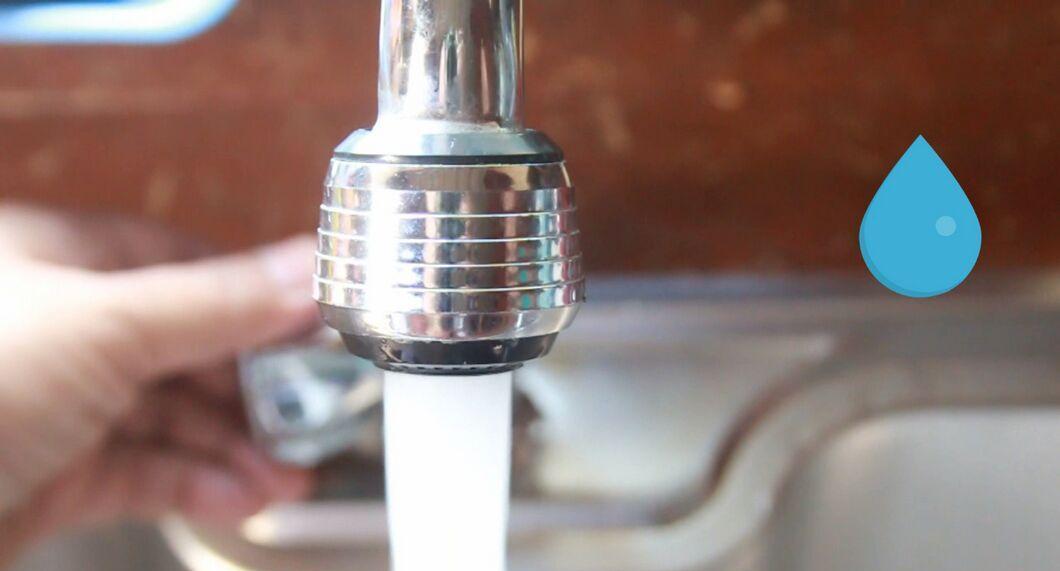
Filling a large bucket with water from the faucet can be quite a challenge, as not every sink is suitable for this, and once the bucket is full, it becomes quite heavy. You might use a hose outside, but in that case, the water will only be cold. Of course, you could fill the bucket in the bathroom, but then you still have to retrieve it from there. However, there's a simple solution: connect a garden hose to the kitchen faucet and fill your bucket conveniently! It's quick and easy, and we'll show you how to do it safely!
Connecting the Hose
Step 1. Get a faucet adapter.
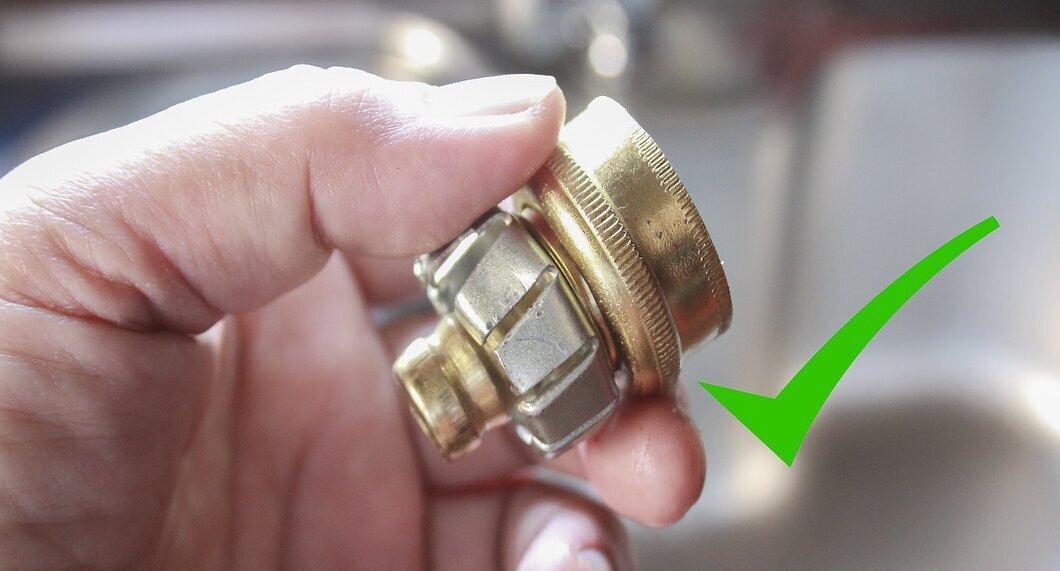
You need a faucet adapter. This is a small connector that screws onto the faucet and serves as a coupling for the garden hose.
Step 2. Remove the faucet aerator.
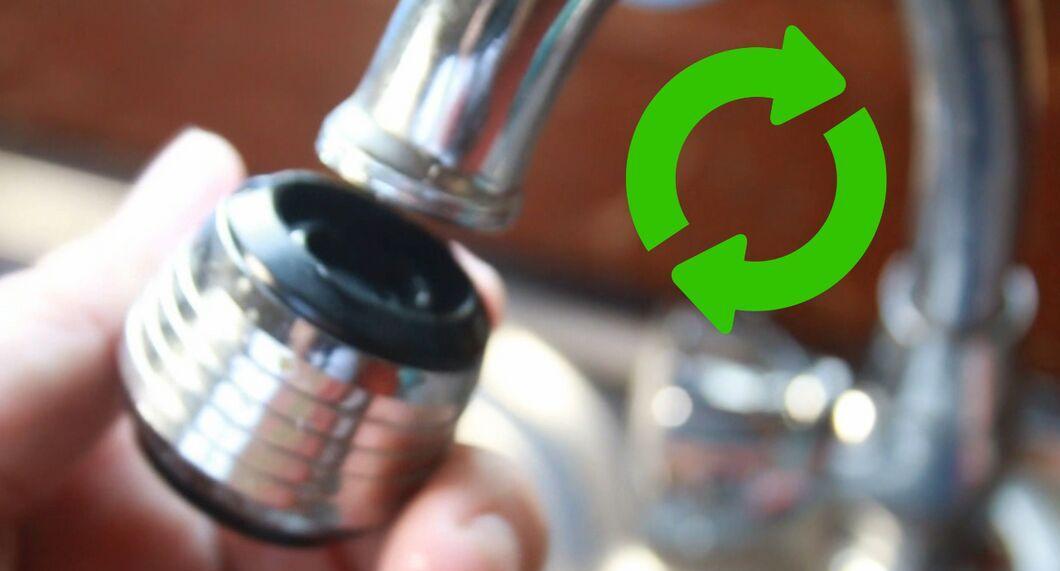
Remove the aerator from the faucet. Be careful not to drop any parts that may be in the aerator. It’s a good idea to place a towel in the sink to catch anything that might fall; this will help prevent small parts from going down the drain.
Step 3. Screw on the new adapter.
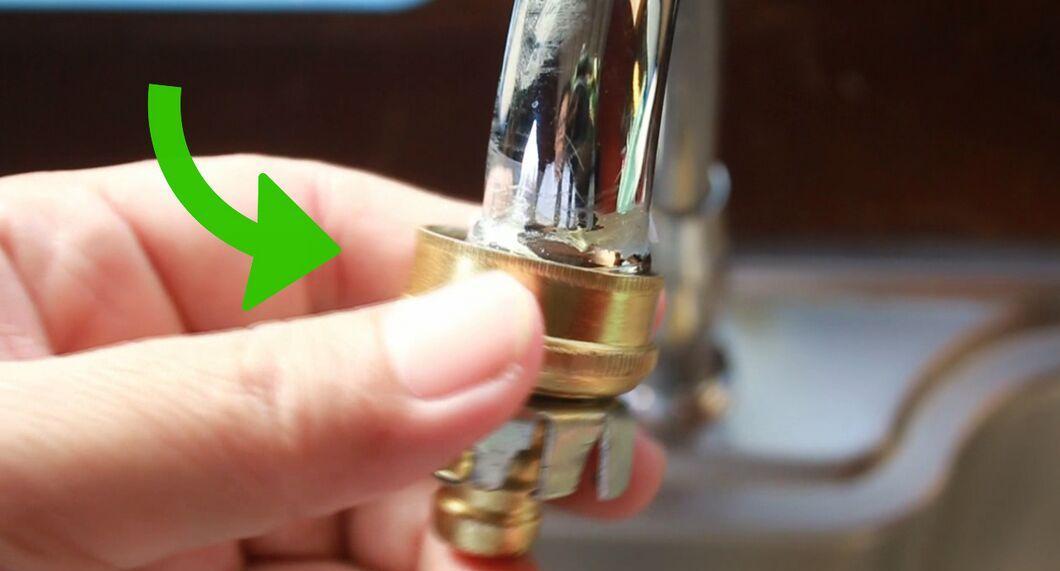
Secure the new adapter onto the faucet. Make sure it fits tightly, but do not use tools to tighten it.
- If your plumbing system does not have a built-in vacuum breaker, install a hose bib vacuum breaker on the threads before connecting the garden hose. You can find a hose bib vacuum breaker at hardware stores. It prevents contamination of the drinking water supply if the hose accidentally dips into dirty water or cleaning solutions.
Step 4. Check for the washer in the hose.
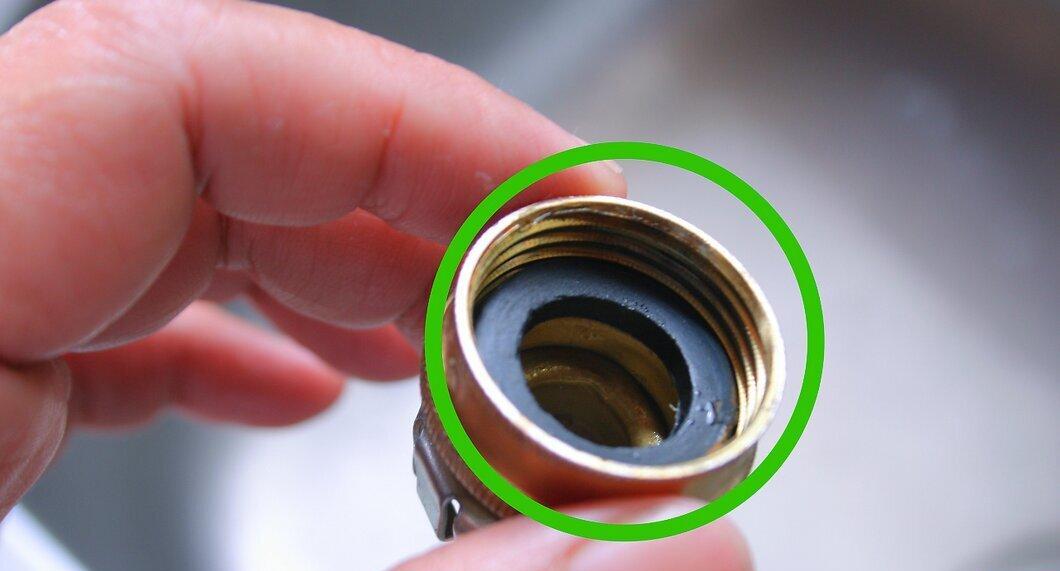
Make sure the hose washer is in place. It should be rubber or vinyl to prevent leaks. Check that the washer is properly seated before attaching the hose to the faucet, or the connection may leak.
Step 5. Connect the hose.
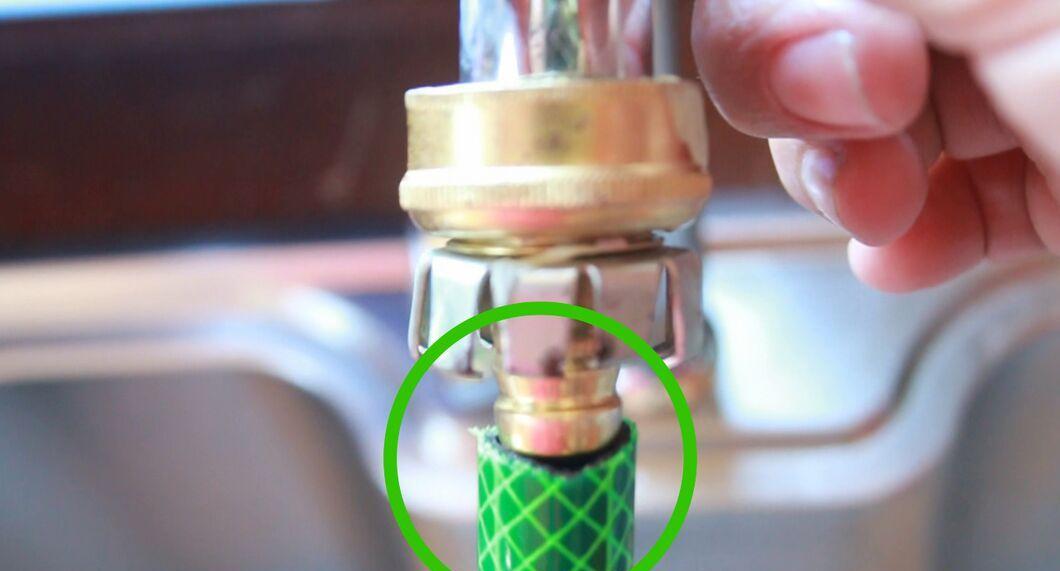
Screw the hose onto the adapter on the faucet. Ensure the connection is tight enough to create a watertight seal.
Completing the Connection
Step 1. Reattach the aerator after using the hose.
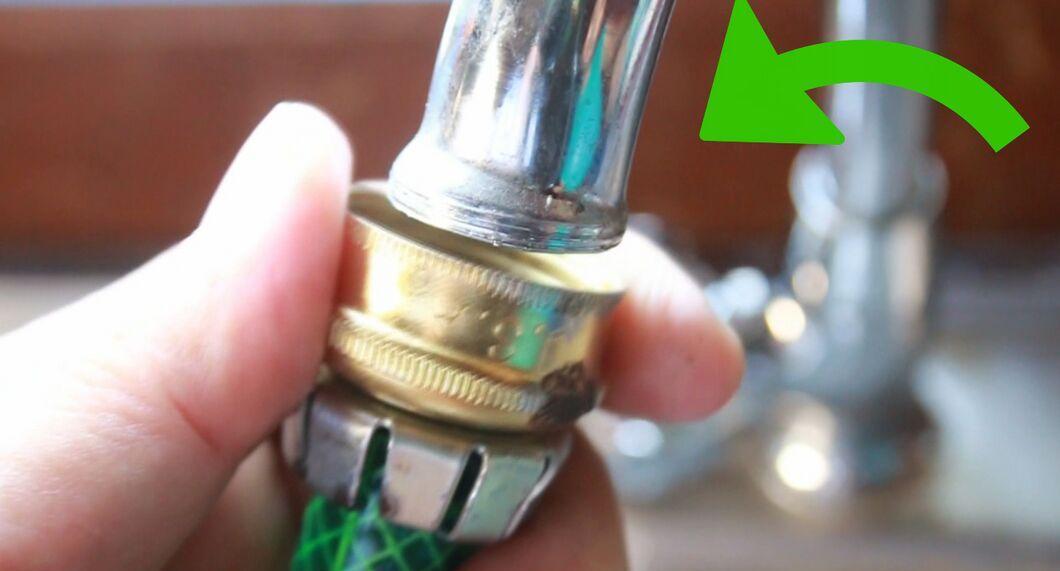
Once you finish using the hose, put the aerator back on the faucet. Remove the hose and adapter, then carefully screw the aerator back on to ensure a good connection.
- Check for leaks. The faucet may start to drip if the seal isn’t as tight as it was before.
Step 2. Wrap Teflon tape on the faucet threads.
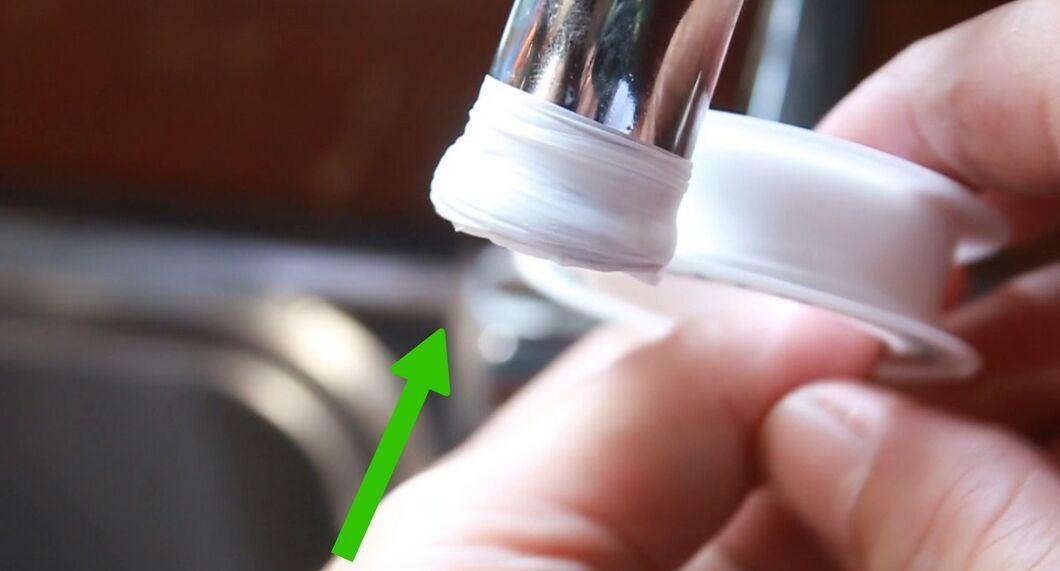
To prevent leaks at the faucet connection, remove it and wrap two to three turns of Teflon tape clockwise around the threaded part of the faucet.
- Make sure the tape is snugly in place, avoiding any hanging bits where water exits the faucet to not obstruct normal flow.
Step 3. Reattach the aerator onto the Teflon tape.
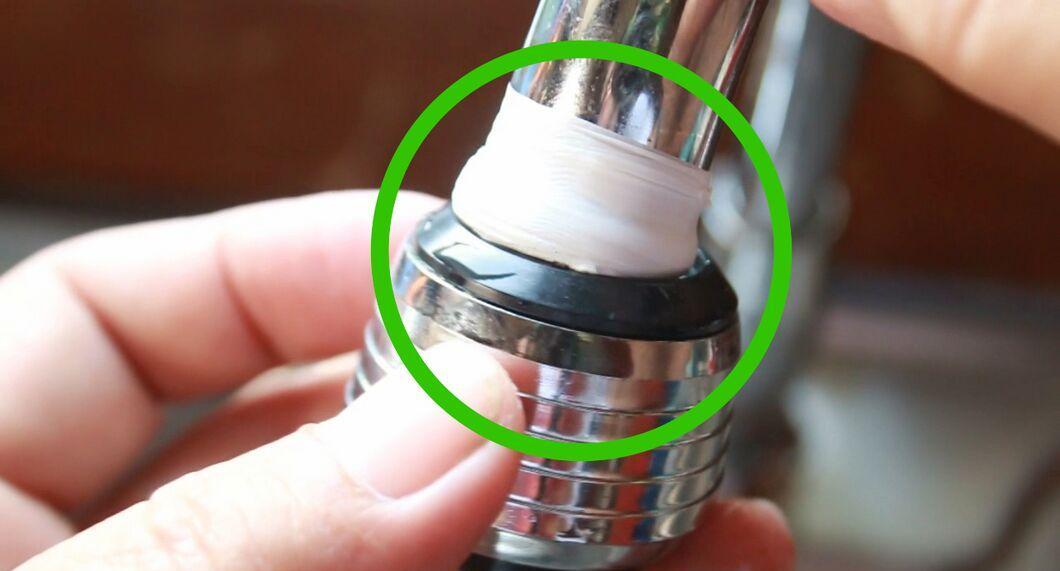
Screw the aerator back onto the Teflon tape. If you see excess tape, that's okay.
Step 4. Trim excess tape.
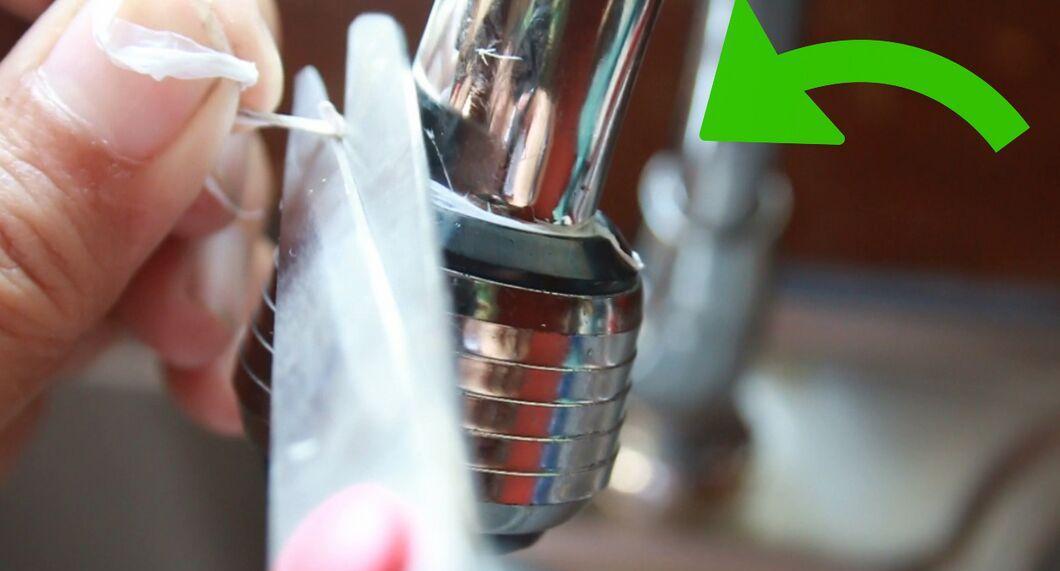
Carefully cut away any excess tape with a knife and remove the scraps.
Step 5. Enjoy a leak-free faucet.