
Easily Set Up a Dial-Up Internet Connection on Your PC
Follow these simple steps to configure internet on your PC using a dial-up modem. This guide will help you access your computer settings and perform all the necessary actions to connect. By the end, you’ll be browsing web pages, checking emails, and even shopping on eBay with ease.
Part 1
Step 1. Contact Your Internet Service Provider (Bell, Rogers, Wightman)
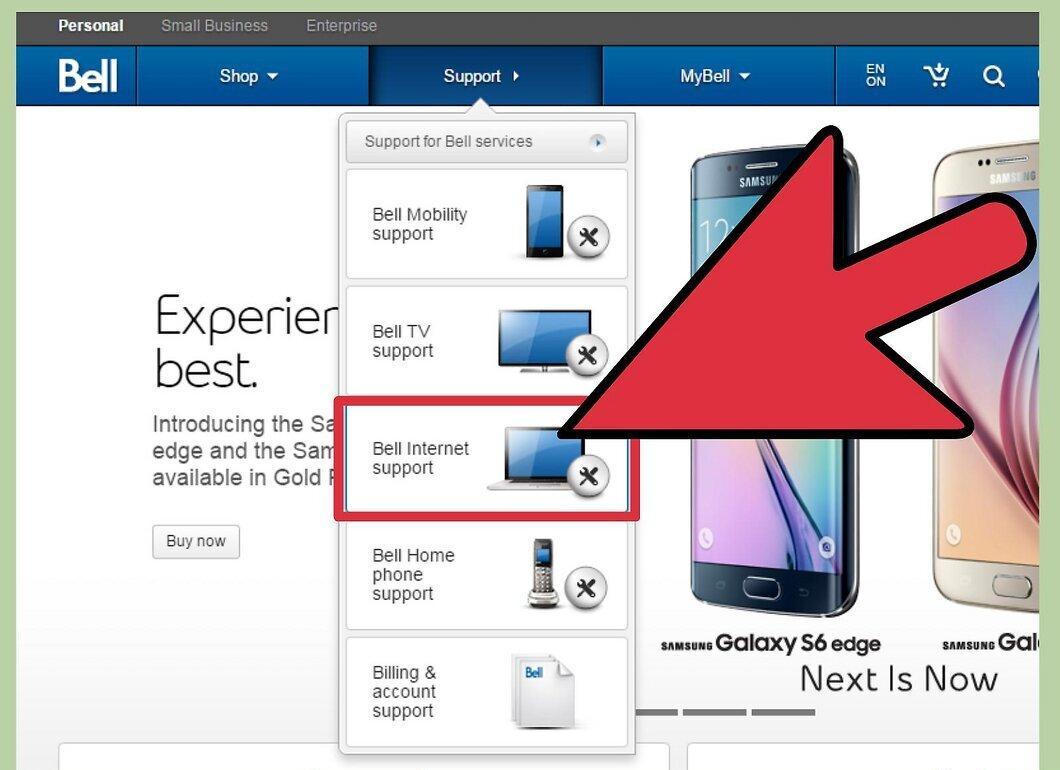
Call your internet service provider, such as Bell, Rogers, or Wightman, to activate the service. During the conversation, the representative will provide you with a username, phone number, and password, which you will need for a secure internet connection.
Step 2. Ensure Your Computer is Connected
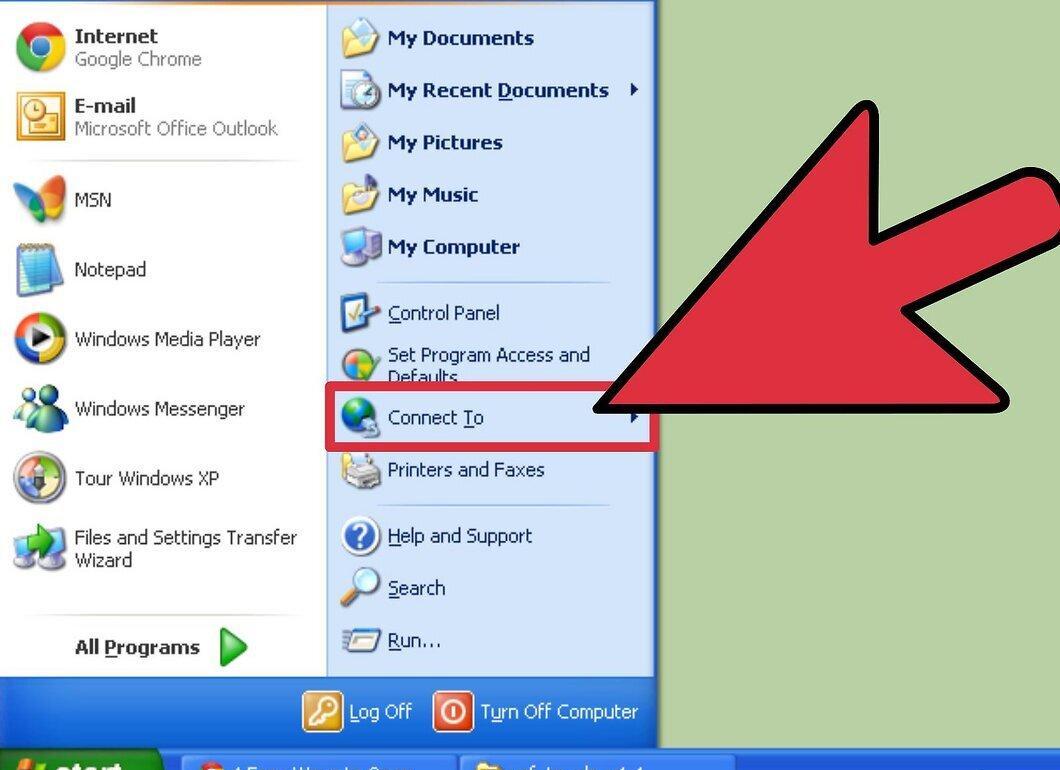
Check that your computer is properly connected. Plug the phone line into the port on the back of your PC and insert the other end into the phone jack on the wall. Then, power on your computer.
Step 3. Open Control Panel
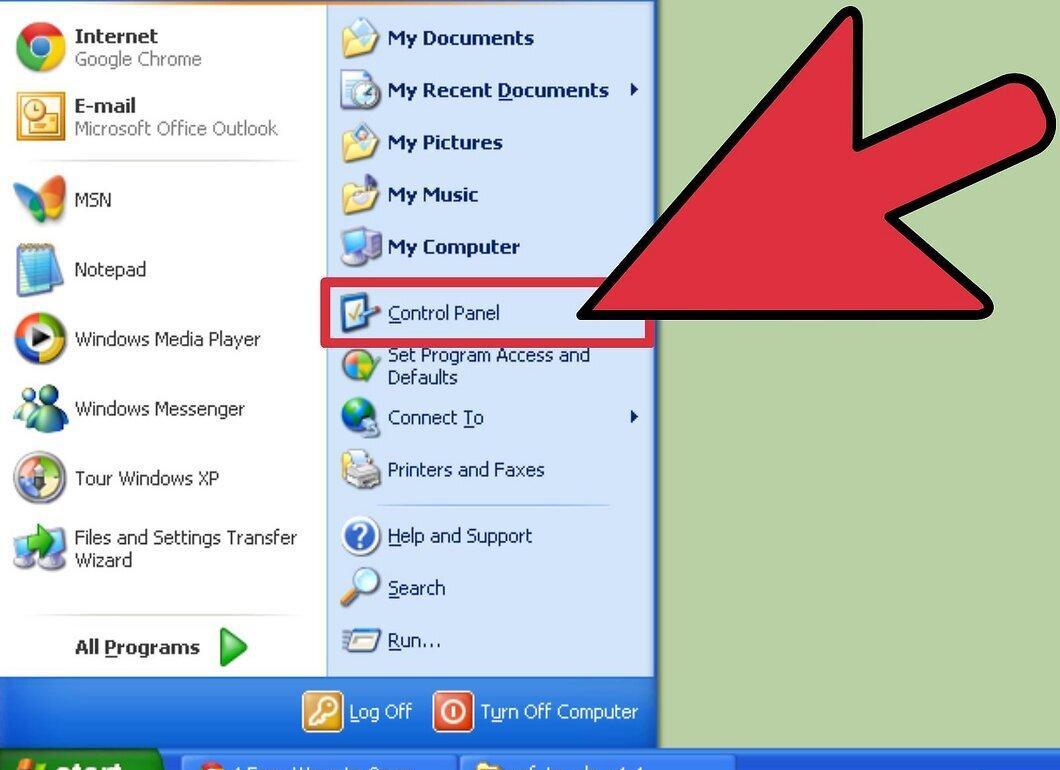
Once the desktop loads, find the 'My Computer' icon on the screen and double-click it. A panel titled 'Other Places' will appear on the left, where you will find a link to 'Control Panel.' Click on it.
Step 4. Locate Network Connections
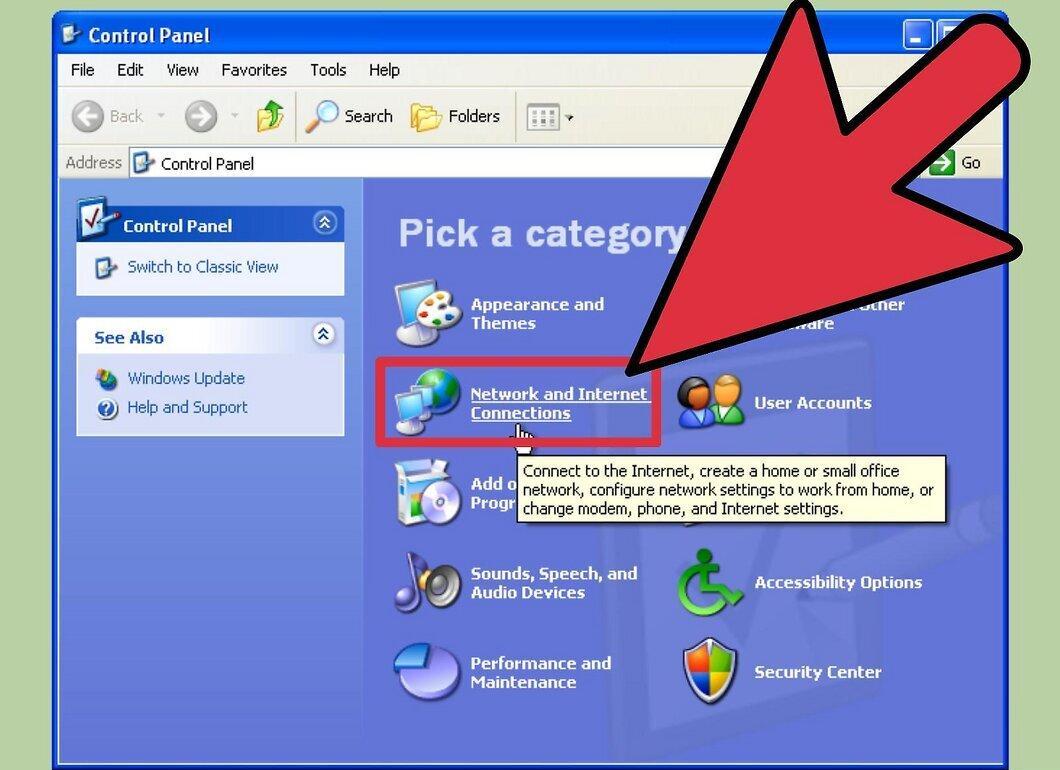
In the Control Panel, look for the 'Network Connections' icon. Double-click it to open the network connection settings.
Step 5. Create a New Connection
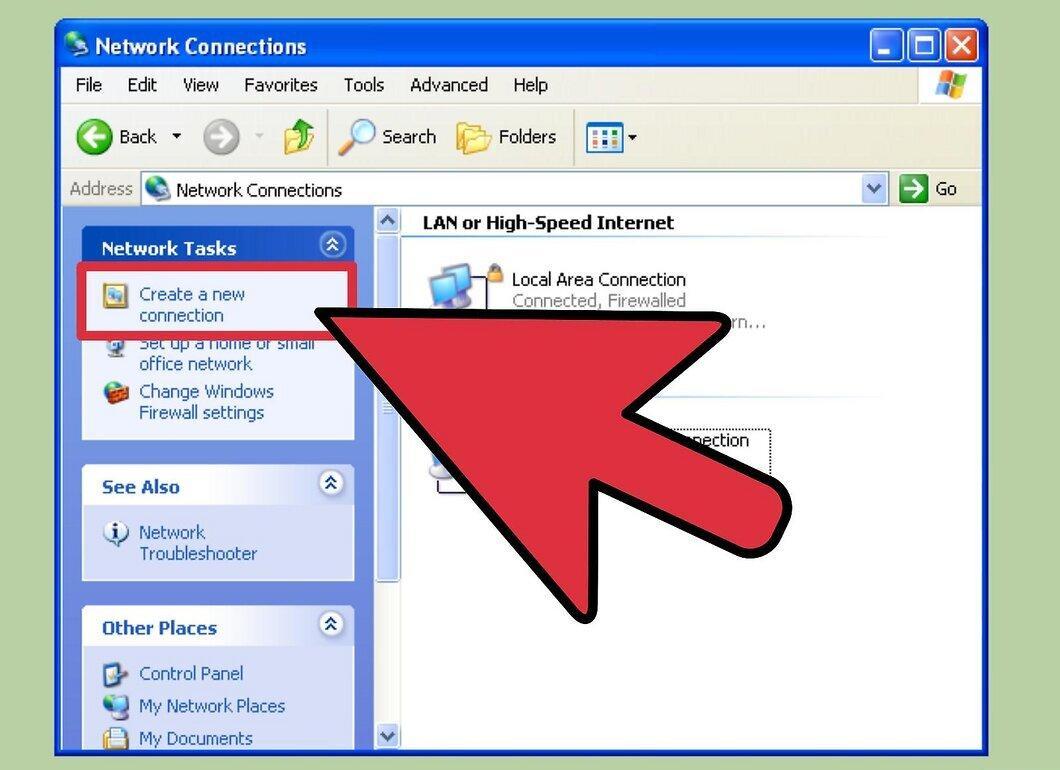
On the screen that opens, you won’t see much information. In the upper left corner, find the 'Network Tasks' panel and click on the link that says 'Create a new connection.'
Step 6. Click 'Next' in the Popup Window
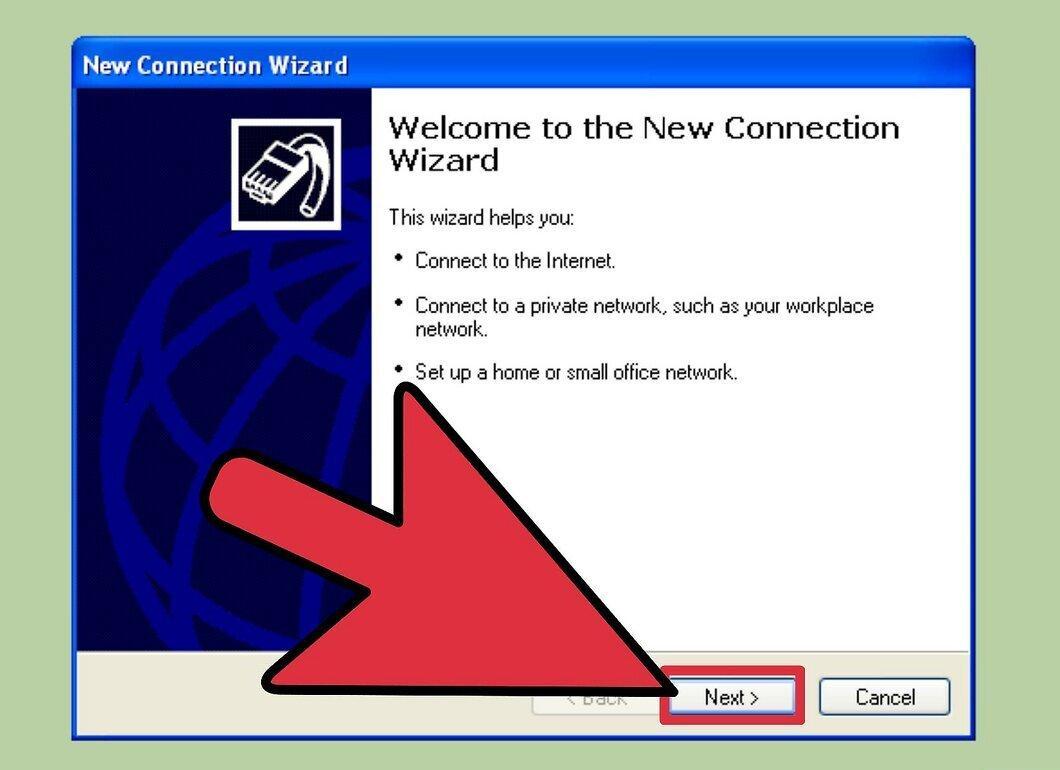
Step 7. Choose One of Four Options
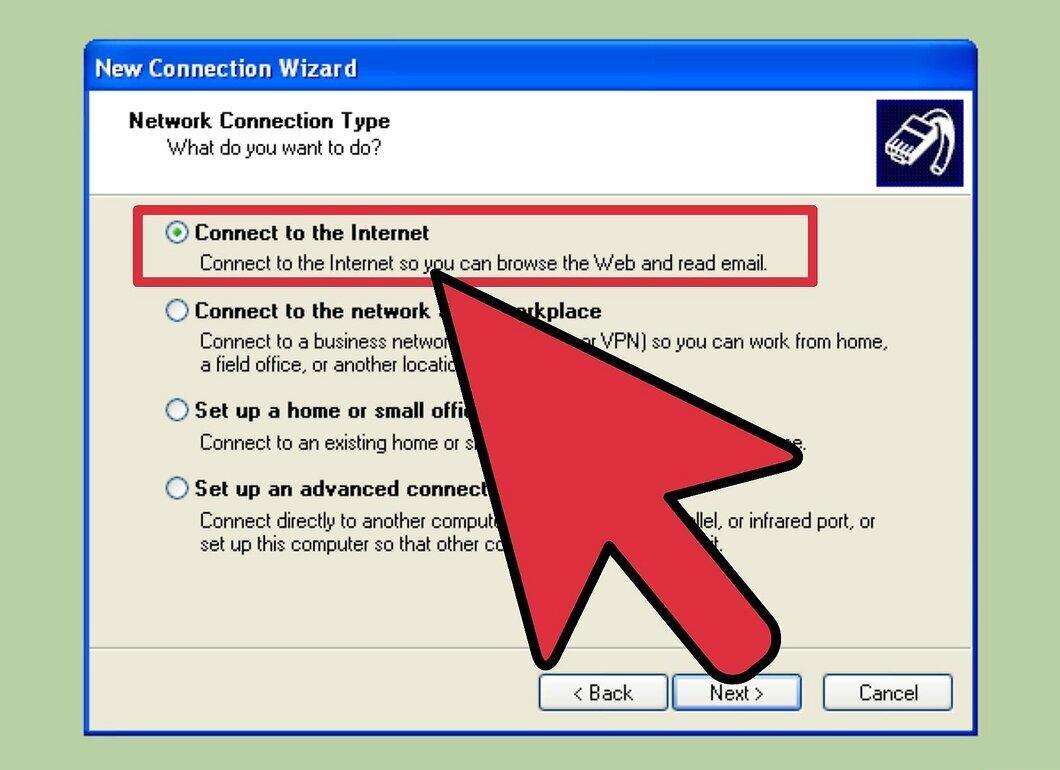
You will be prompted to choose from four options. To set up a dial-up connection, select 'Connect to the Internet' and click 'Next.'
Step 8. Choose the Connection Method
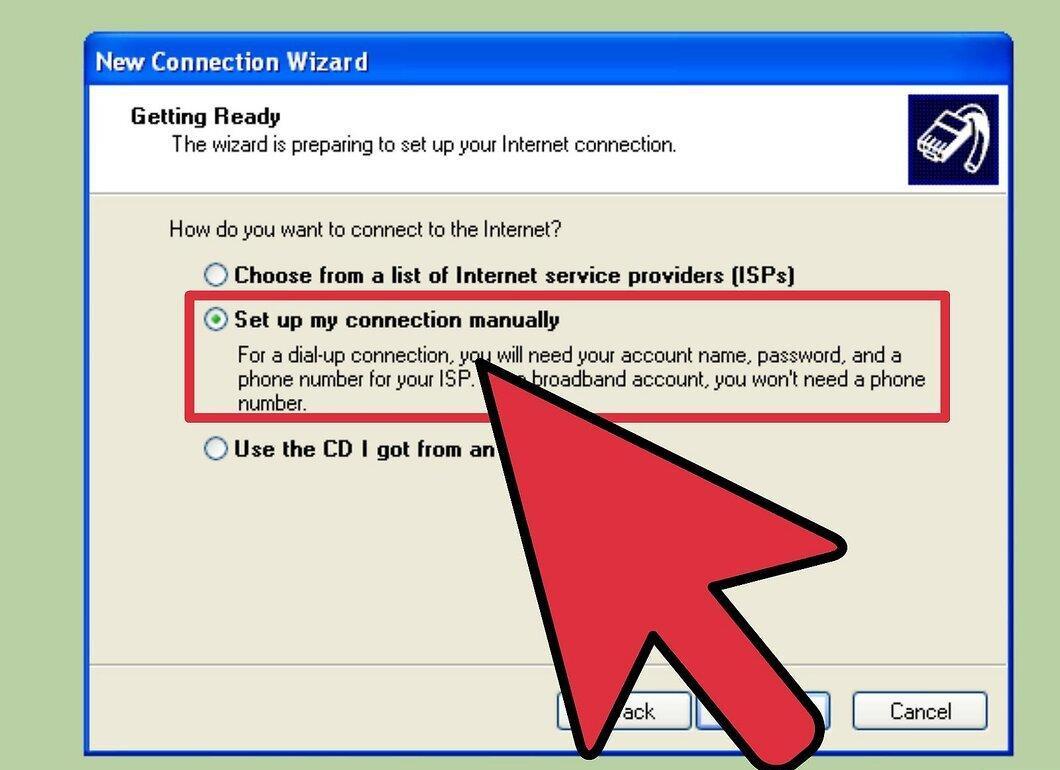
Now, choose one of the three options presented. You need to select 'Set up my connection manually' and click 'Next.'
Step 9. Choose the Modem Connection Method
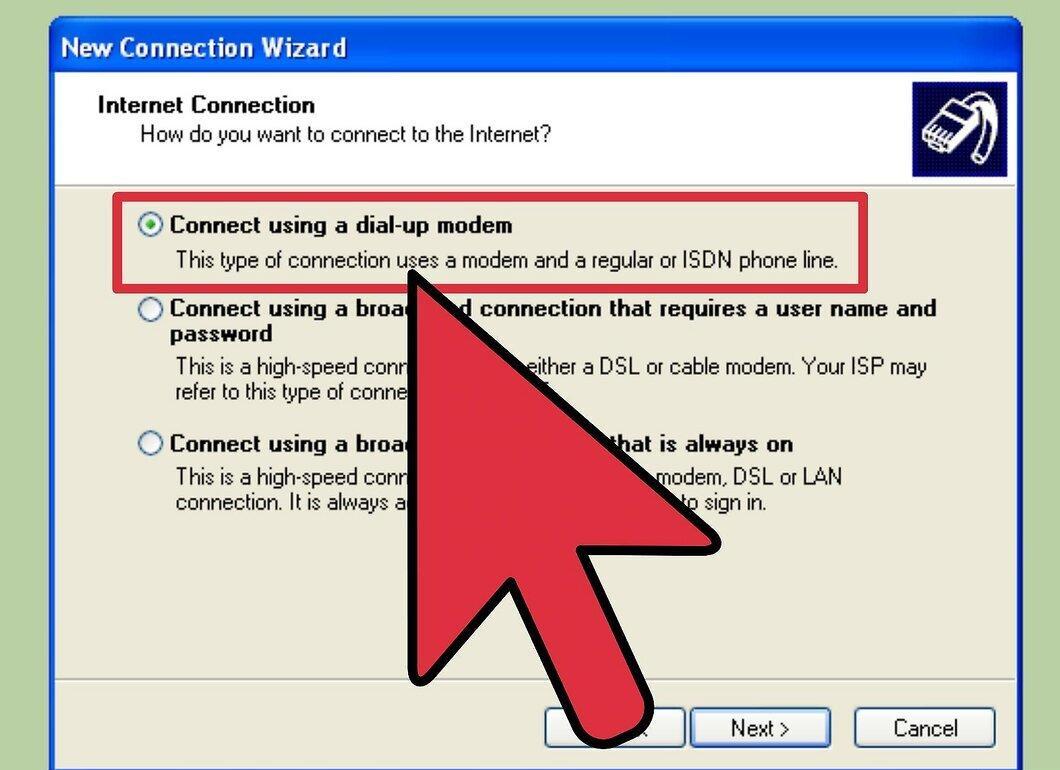
On the next screen, you will be offered three options again. Select 'Through a regular modem' and click 'Next.'
Step 10. Enter Your Internet Provider's Name
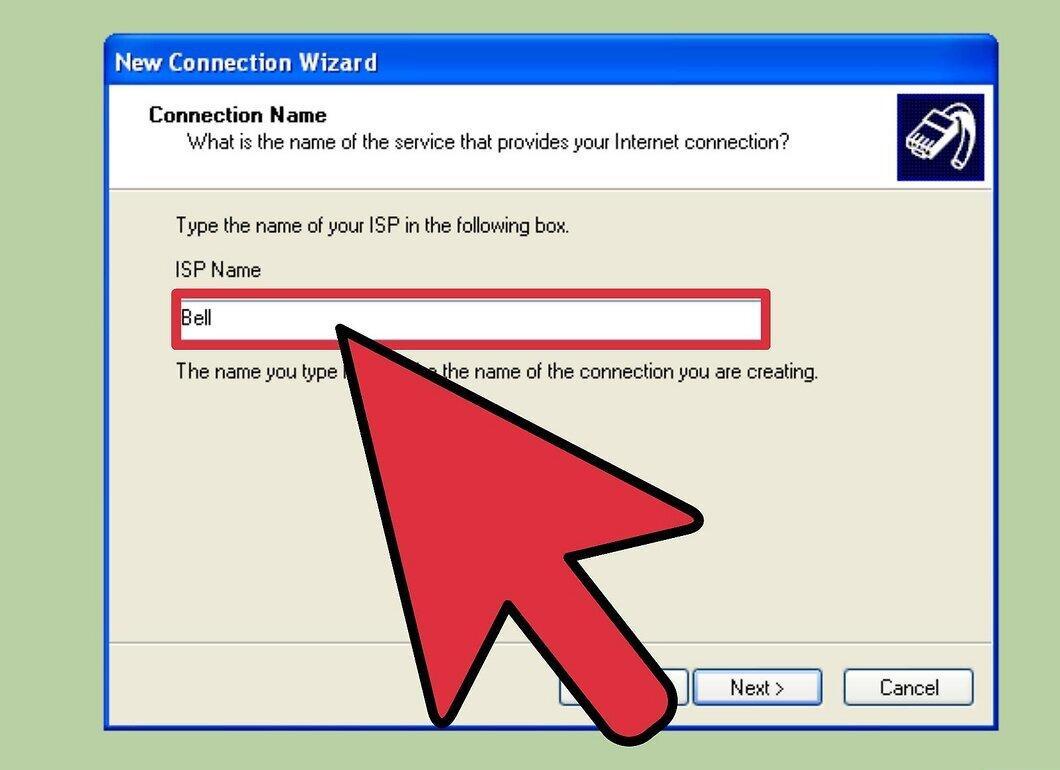
Now you need to enter your provider's name. You can choose any name, like your first name or surname. Type it in and click 'Next.'
Step 11. Enter the Phone Number
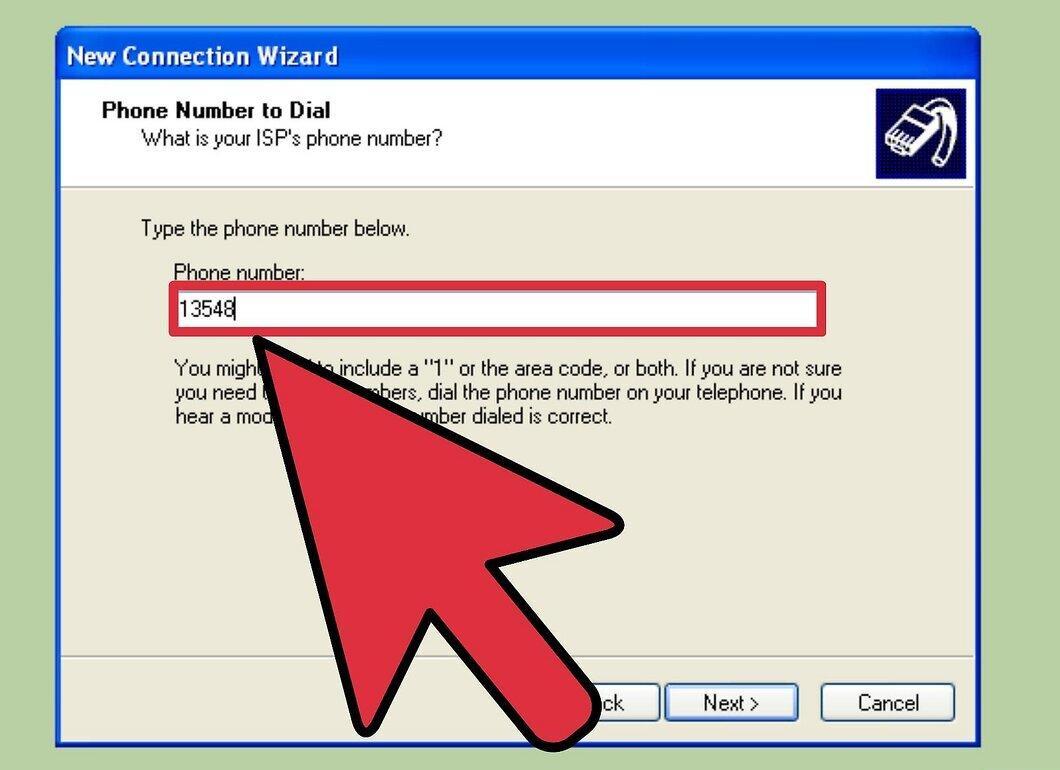
At this stage, you need to enter the phone number you received from support in Step 1. Ensure it’s entered correctly and click 'Next.'
Step 12. Enter Your Username and Password
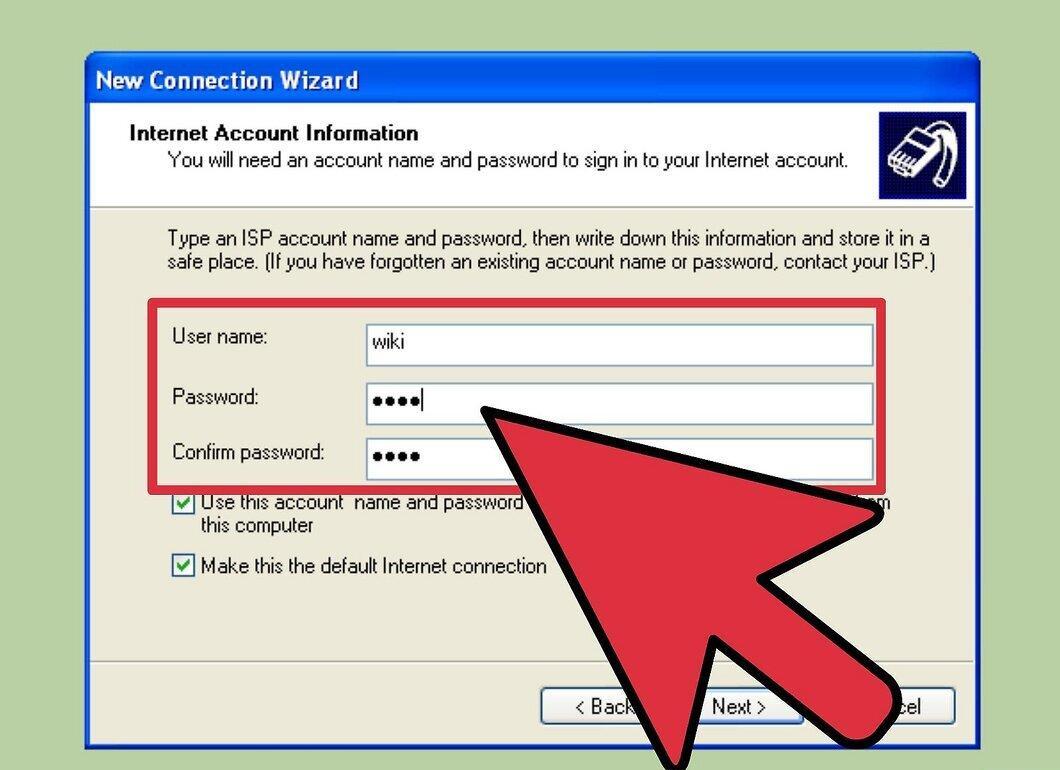
Now you will see three fields: one for the username and two for the password. Enter the details provided by your ISP and click 'Next.'
Step 13. Complete the Connection Setup
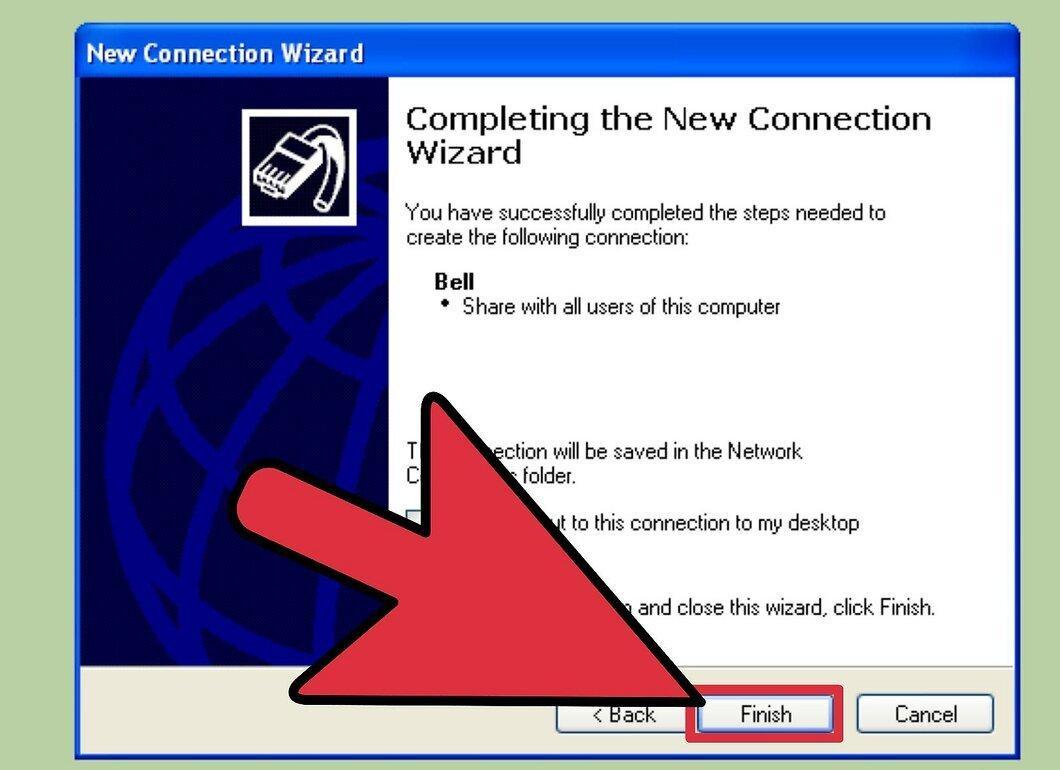
At the end of the setup process, you will see a message indicating that the internet connection setup is complete. Click the 'Finish' button, and you can enjoy the internet!


