
Want to increase your MacBook's storage or replace a malfunctioning hard drive? It's simpler than you think, and the entire process will only take a few minutes. After installing the new drive, you'll need to reinstall the operating system.
Opening the Back Cover
Step 1. Back Up Your Data.
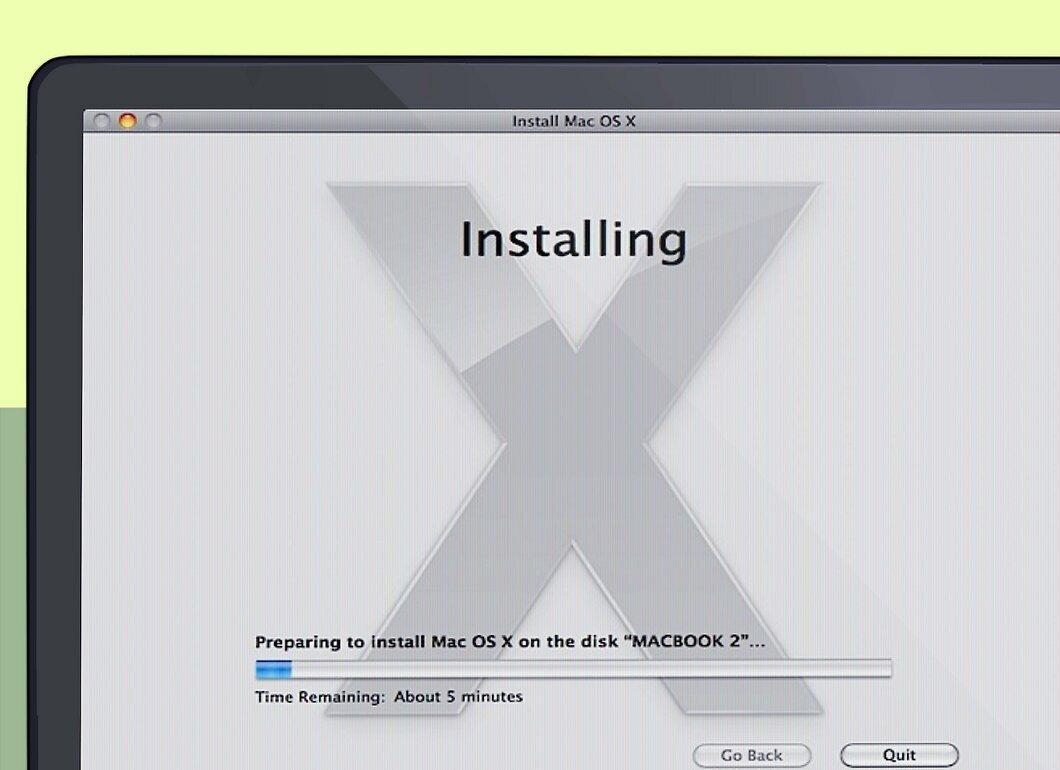
First, back up all your files. If you're planning to replace the hard drive, reinstalling the operating system will be necessary. Since your data is stored on the old drive, you'll need to save it to transfer to the new one later. This will make the operating system installation process smoother.
- You can find a guide on our website on how to back up your data.
Step 2. Turn Off Your MacBook.
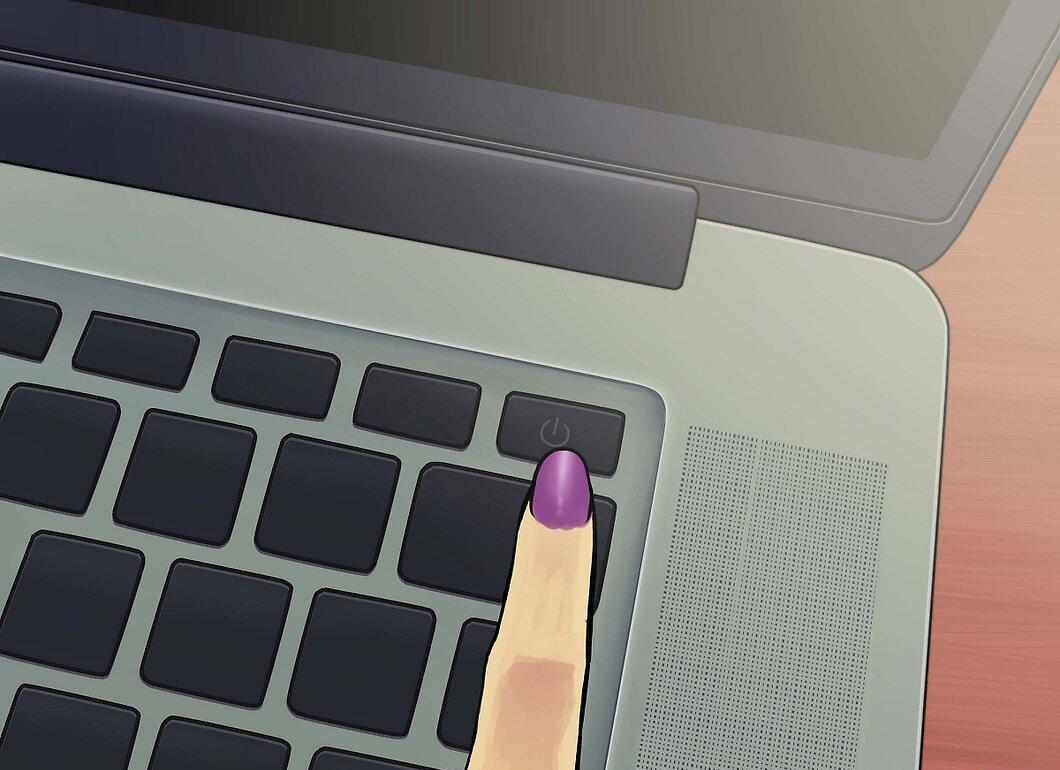
Shut down your MacBook and unplug it from the power source. Before opening the back panel, ensure the device is turned off to avoid damaging its components.
- Note: It is not possible to remove the hard drive from Retina Display MacBook Pro models, as they feature built-in flash storage instead of standard hard drives.
Step 3. Place the MacBook Upside Down.
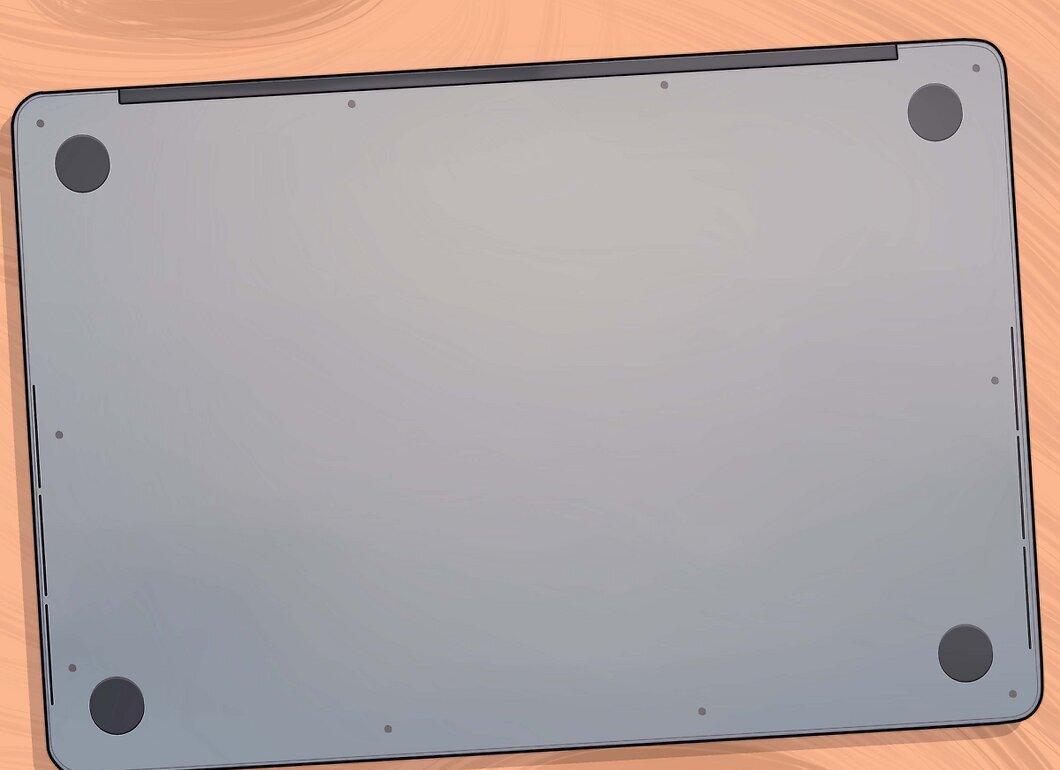
Set the MacBook upside down. The back panel will be exposed. Position it in a way that makes it comfortable for you to work on.
Step 4. Unscrew the Ten Screws.
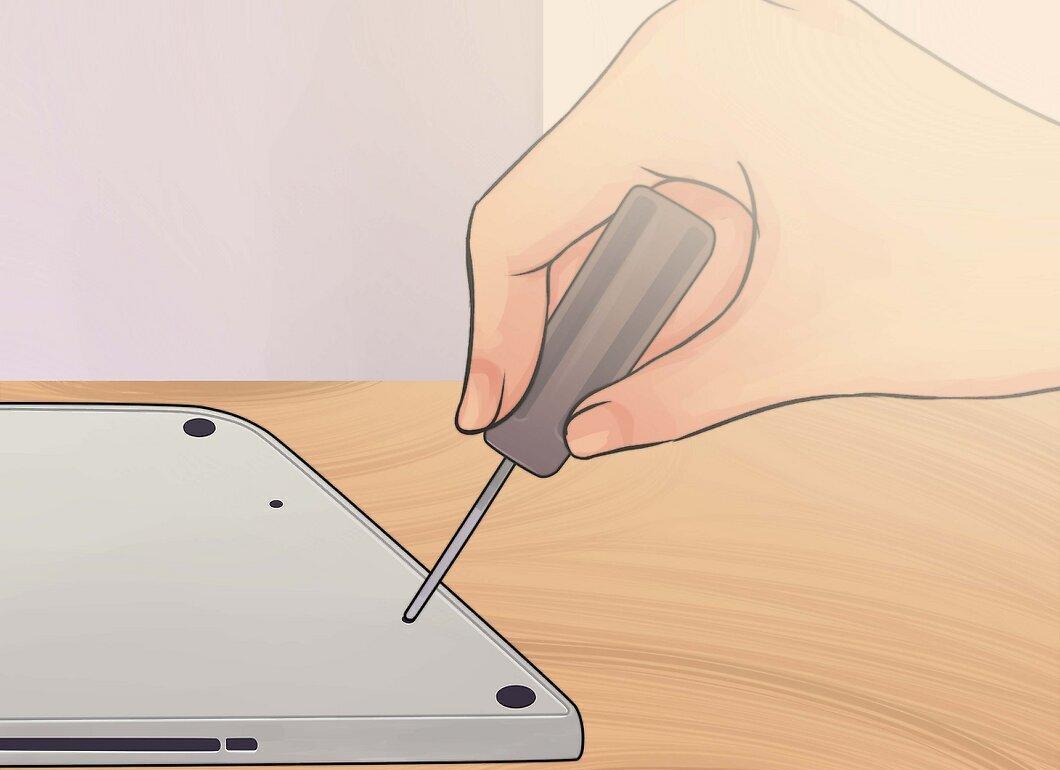
Unscrew the ten screws on the back panel. They are distributed along the edges. The exact placement may vary by model, but there should always be ten. You will need a Phillips screwdriver. Typically, there are two types of screws:
- Seven screws measuring 3 mm
- Three screws measuring 13.5 mm
- In 13-inch MacBook Pro models, the configuration may differ, but there will still be ten screws.
Step 5. Remove the Back Panel.
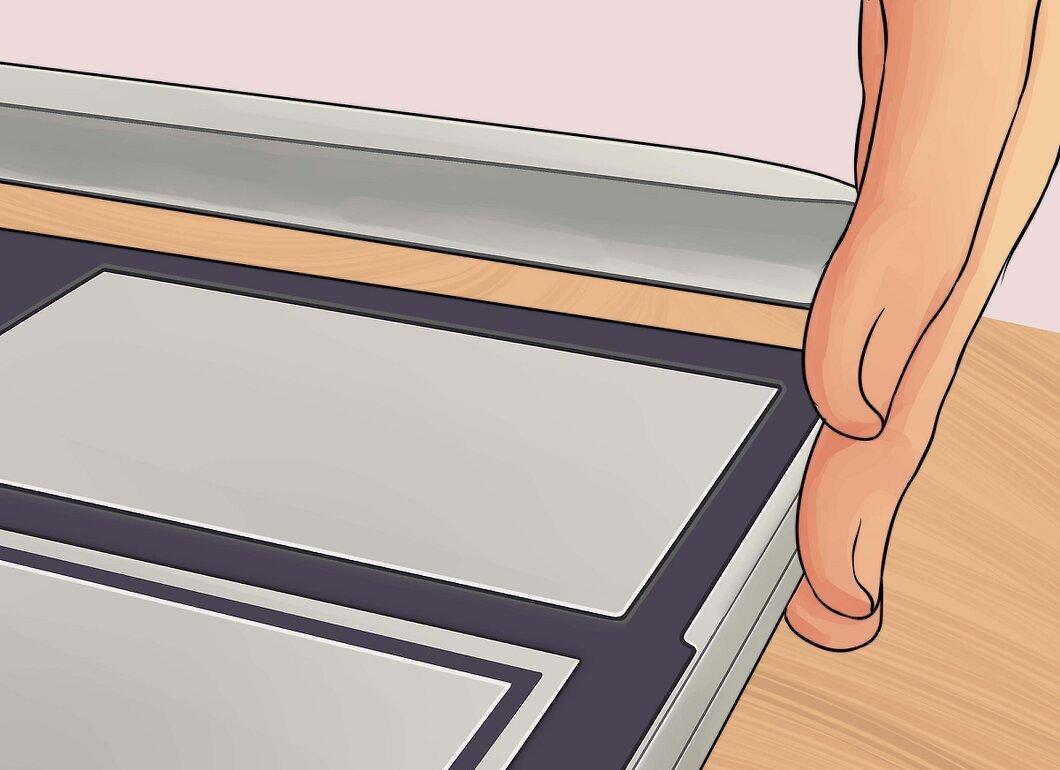
Lift off the back panel. Insert your fingers into the gap and raise the panel. It is held in place by two clips.
Step 6. Disconnect the Battery.
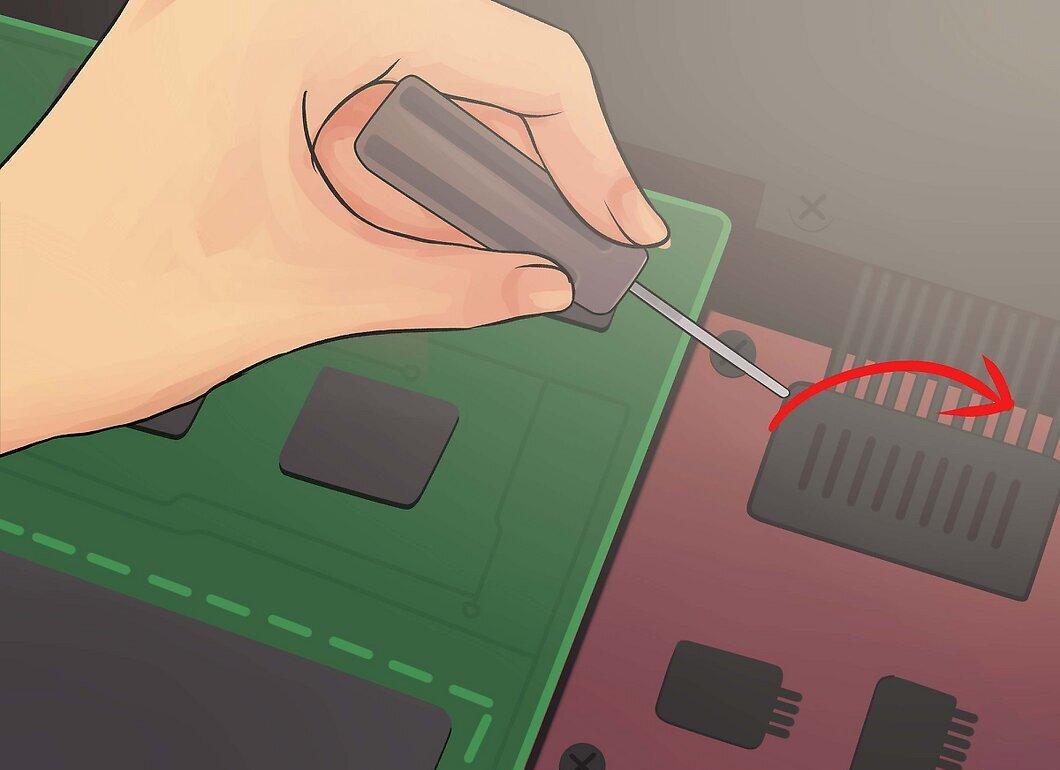
Disconnect the battery. Locate the connector that connects the battery to the motherboard and unplug it to prevent short circuits. It is usually black and located near the motherboard. Pull it straight out to avoid damaging anything.
- If the connector has a tab, it’s easier to pull.
- If there’s no tab, use a plastic spatula or toothpick to pry the connector out.
Removing the Hard Drive
Step 1. Locate the Hard Drive.
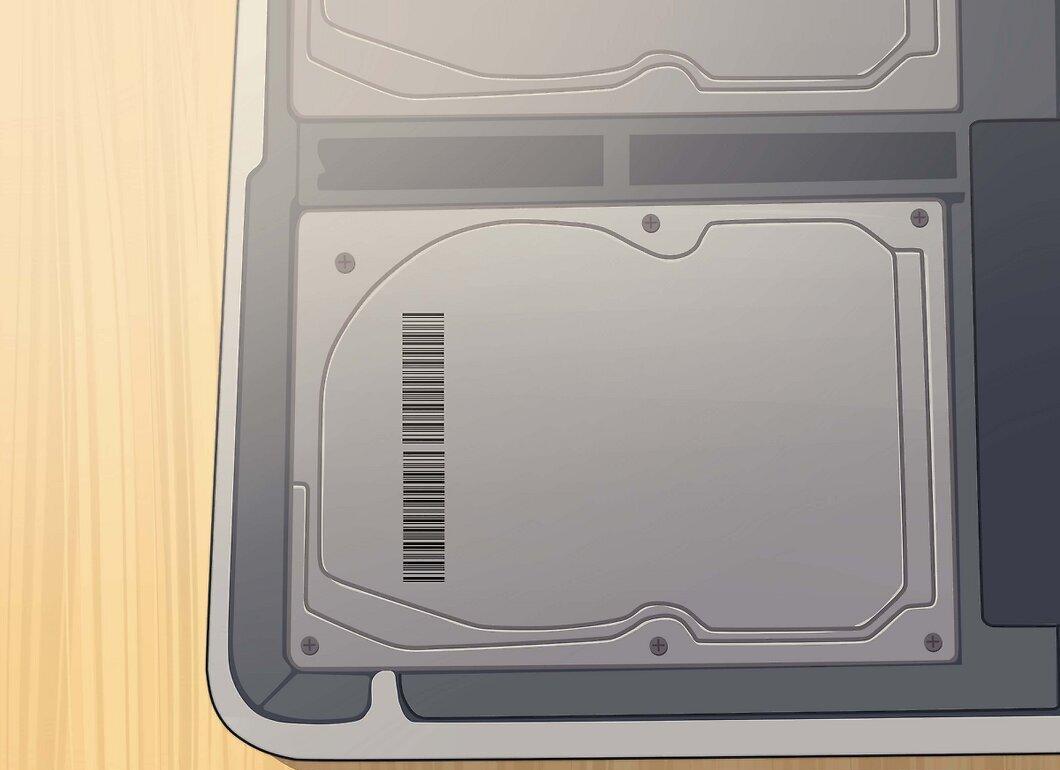
Find the hard drive in your computer. It is rectangular and located in one of the corners. Most drives have labels indicating their capacity and speed. Many of them are housed in a shiny metal casing.
Step 2. Unscrew the Mounting Screws.
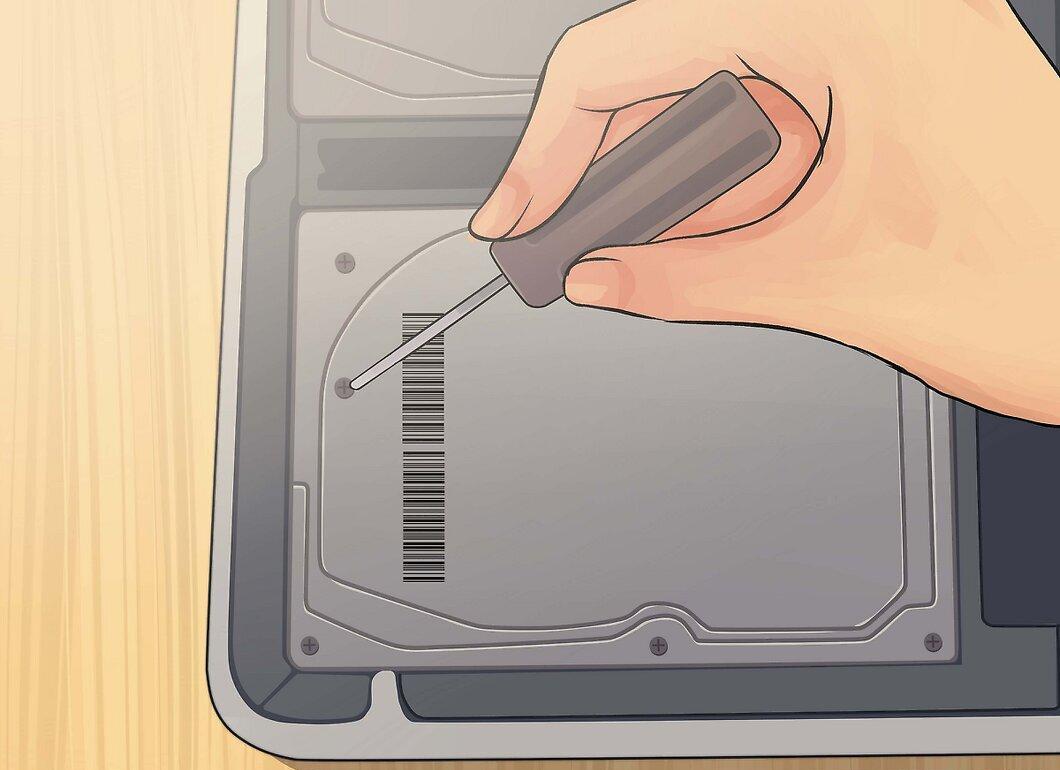
Unscrew the two small screws that secure the drive. They are located on one edge of the drive and need to be removed to take the drive out.
- You can leave the screws in the bracket that holds the drive.
Step 3. Remove the Bracket.
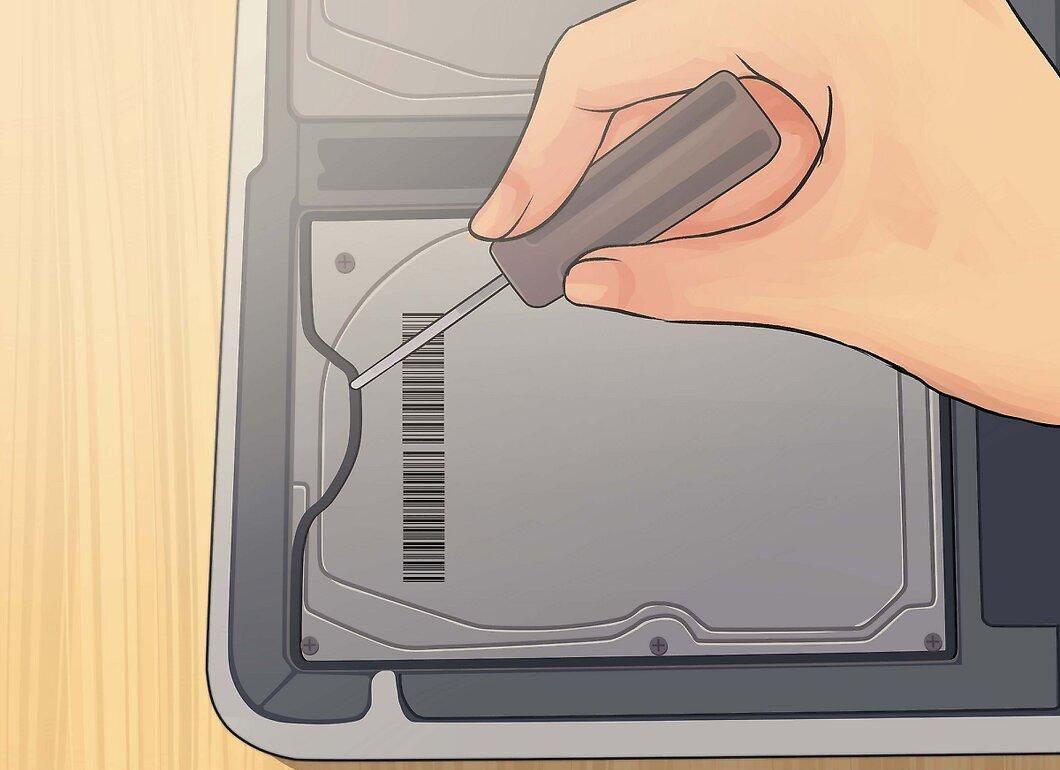
Remove the bracket. After loosening the screws, carefully pull the bracket out of the casing.
Step 4. Pull the Plastic Tab.
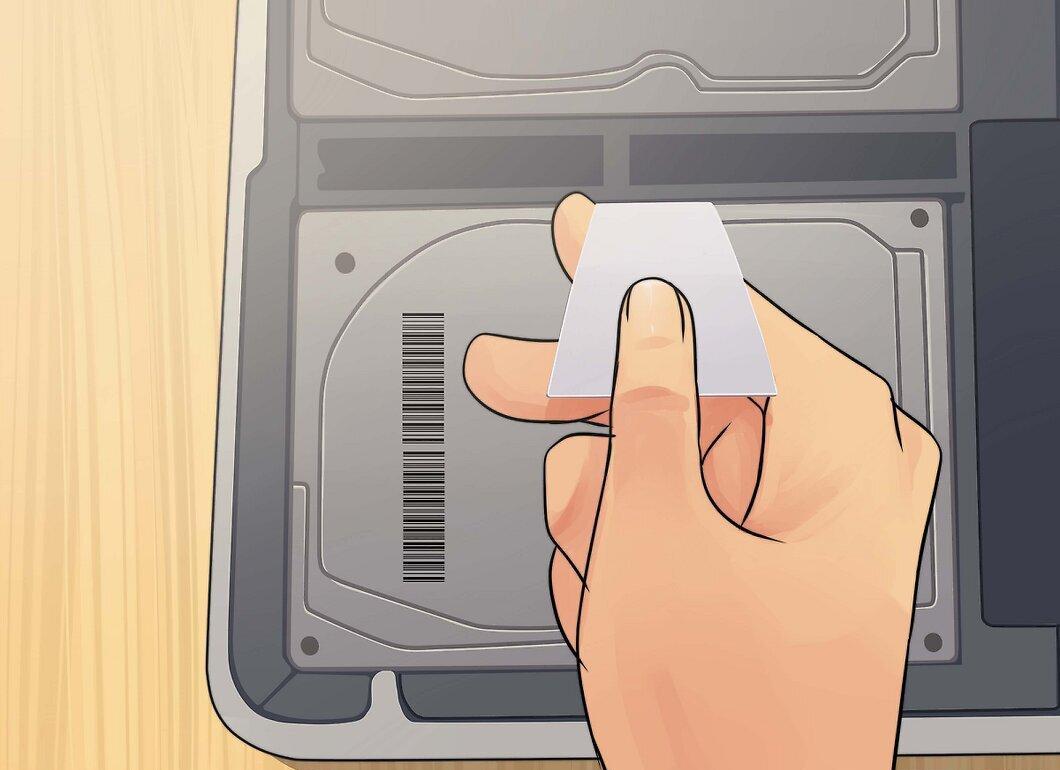
Pull the plastic tab that extends from under the drive. Gently pull to extract the hard drive. Be careful not to pull too hard, as you'll need to disconnect the cable.
- If there is no tab, carefully extract the drive using your fingers.
Step 5. Disconnect the Hard Drive.
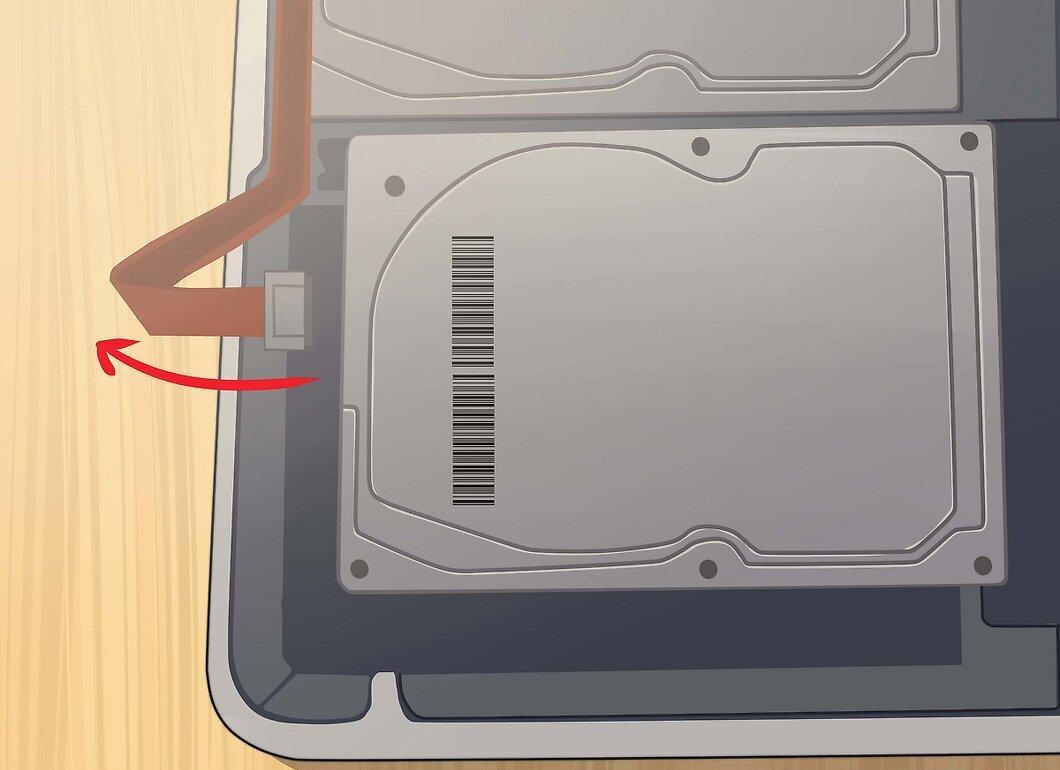
Disconnect the hard drive. Hold the connector located on top of the hard drive and gently detach it. If the connector is too tight, wiggle it gently from side to side.
- Remove the hard drive from the device. Now you'll need to unscrew the screws on the sides of the drive bay.
Step 6. Unscrew the Hard Drive Screws.
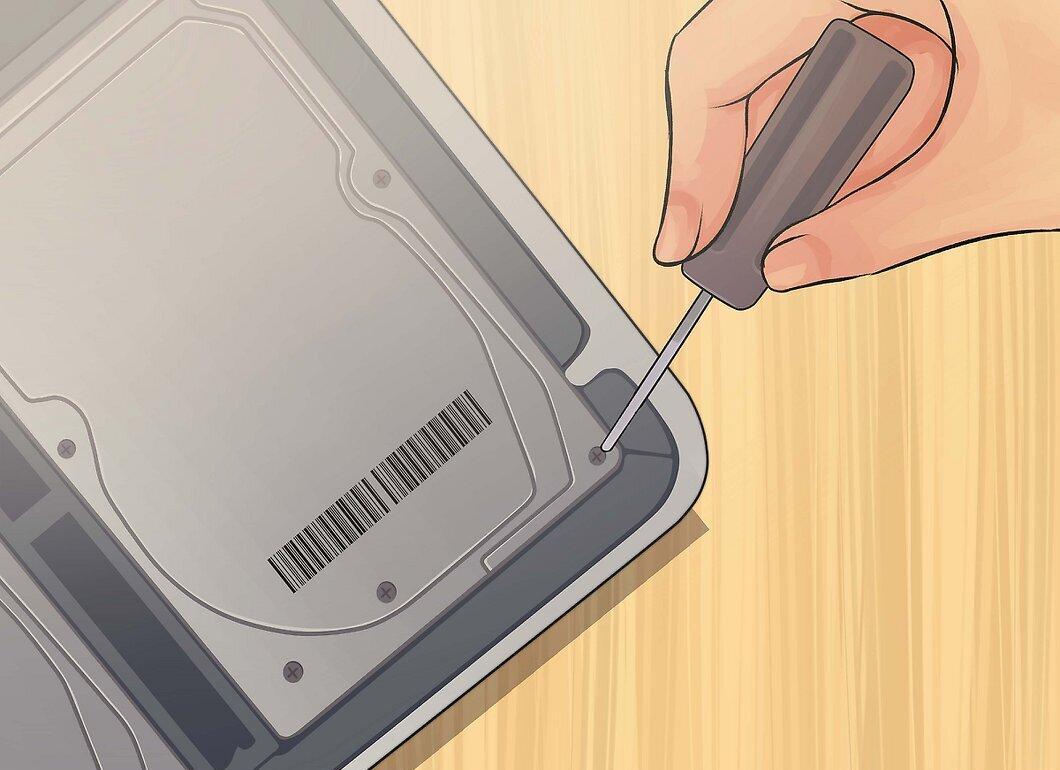
Unscrew the four Torx T6 screws from the hard drive. There are two screws on each side. You will need these for installing the new hard drive, so set them aside.
- You can also peel off the tab from the old drive to attach it to the new one.
Installing the New Hard Drive
Step 1. Check the Compatibility of the New Drive.
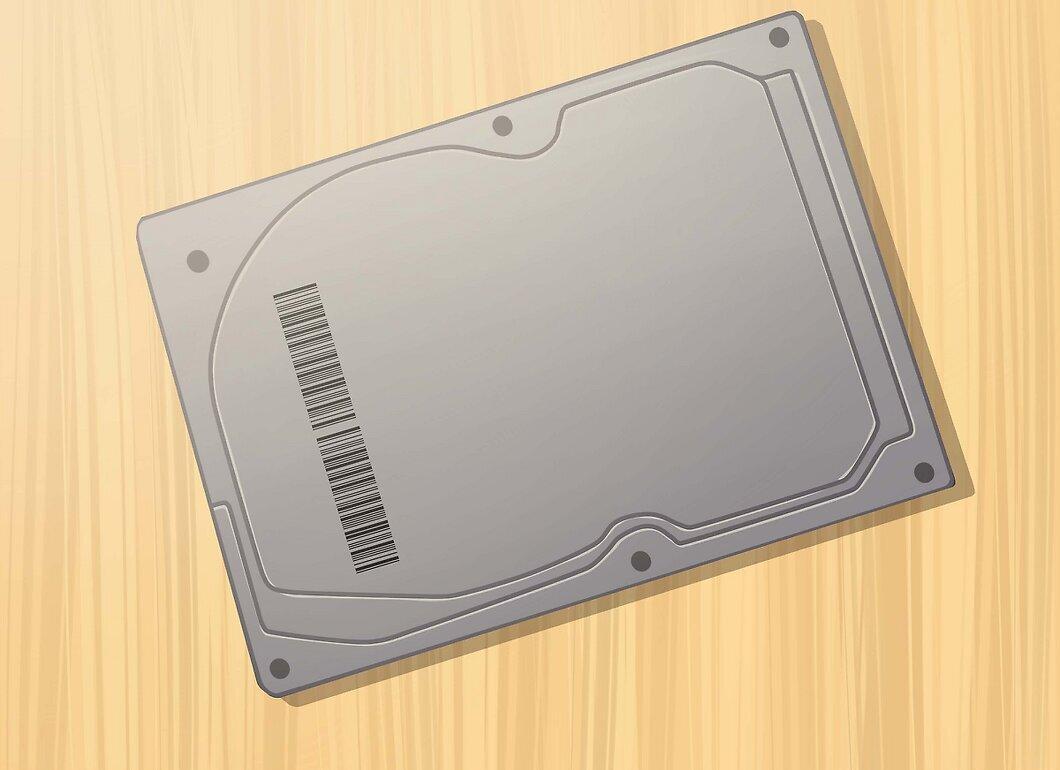
Ensure that your new drive is compatible with your computer. It should be 2.5 inches in diameter and up to 9.5 mm in height. This can be either a standard hard drive or an SSD.
- SSDs provide significantly faster boot times but typically cost more than traditional hard drives.
Step 2. Install the Four Torx Screws in the New Drive.
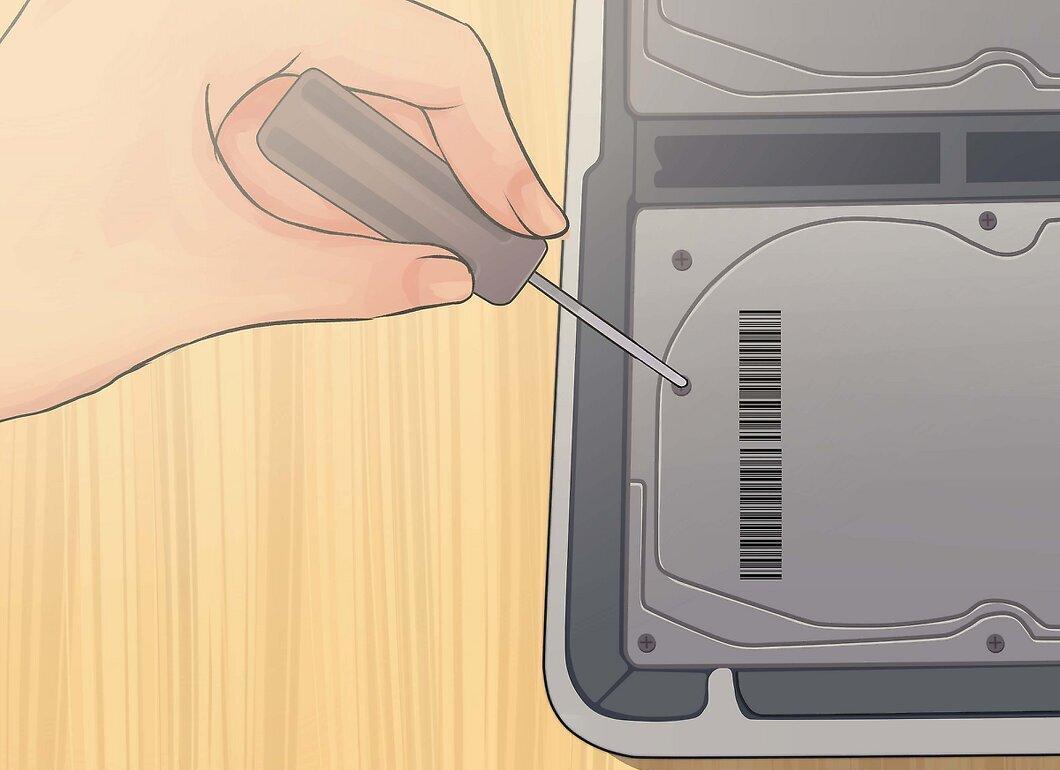
Secure the four screws in the casing of the new drive. Place them in the same holes from where you removed them. Do not tighten them too much to avoid damaging the hard drive casing.
- You can also attach the pull tab to the bottom of the drive, taking care not to touch the circuits. The tab should extend from under the installed drive.
Step 3. Connect the Cable to the Drive.
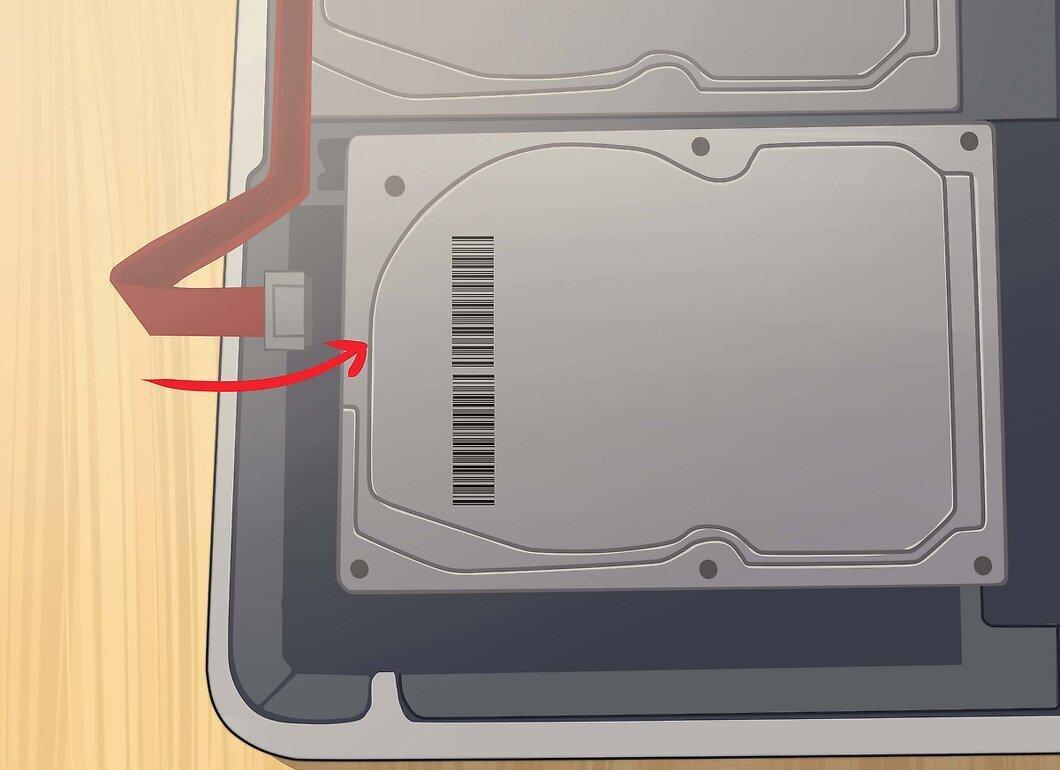
Connect the cable to the new drive. Insert the cable connector into the corresponding port on the top of the drive. Ensure the connection is secure.
Step 4. Place the Drive in the Bay.
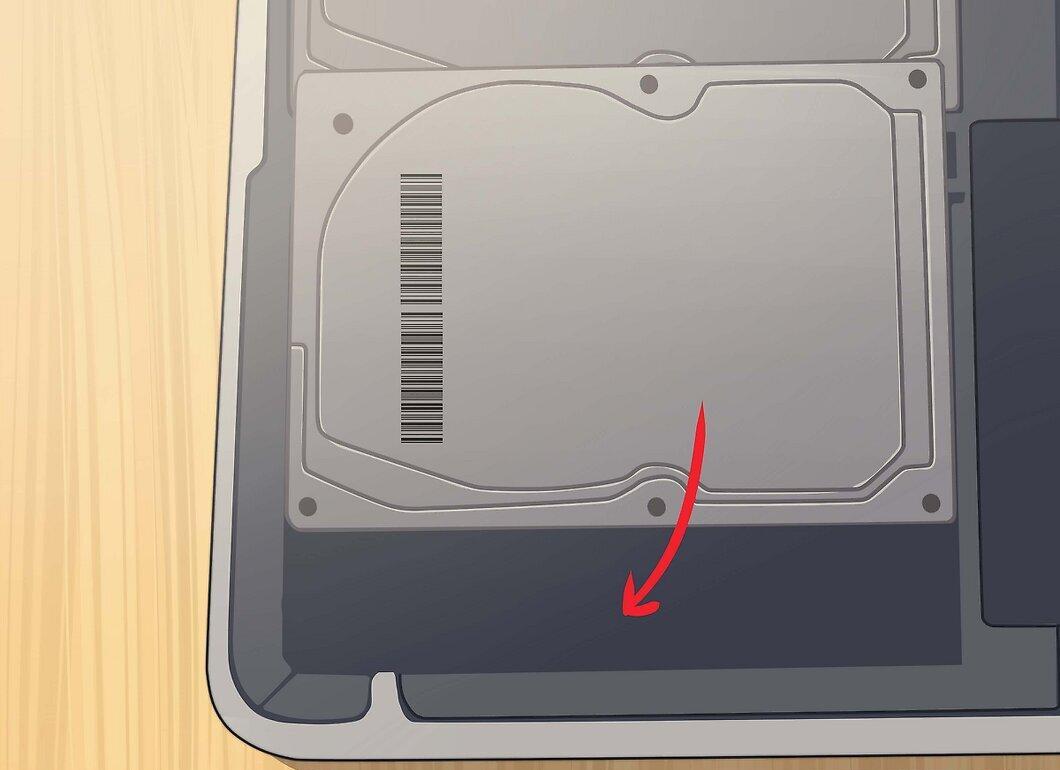
Carefully place the hard drive in the bay, ensuring that it sits flat. The Torx screws should align with their slots, securing the drive in place.
Step 5. Secure the Bracket.
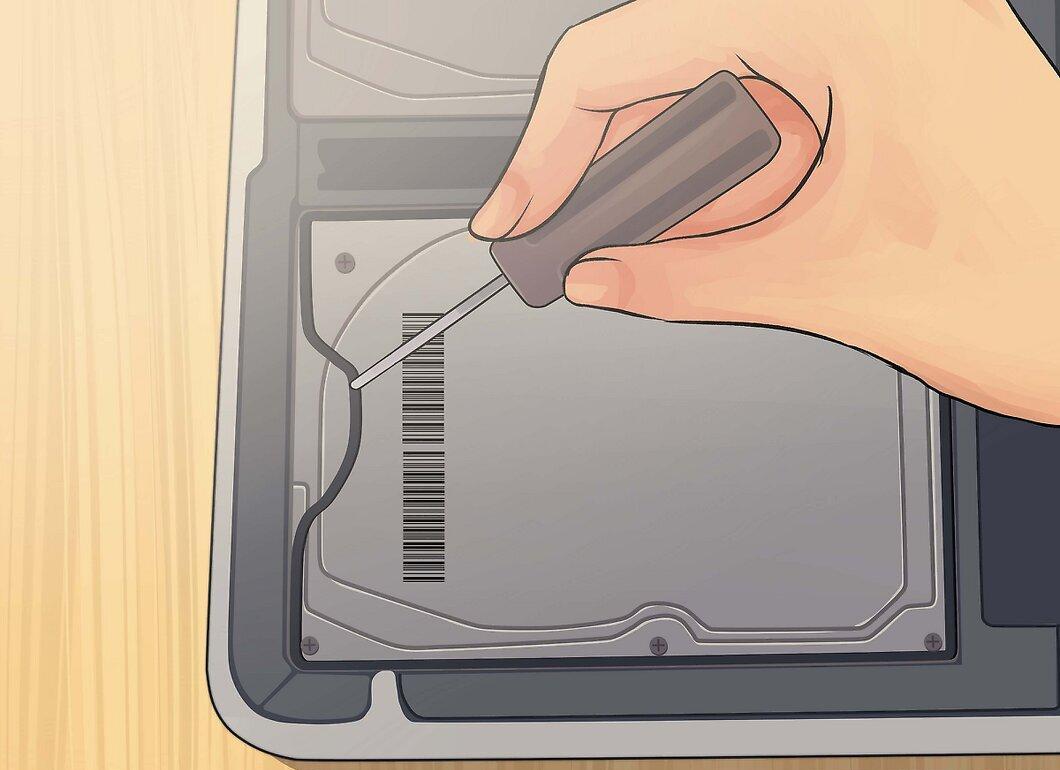
Secure the bracket in place. Insert it and fasten it with two screws, being careful not to overtighten.
Step 6. Reconnect the Battery.
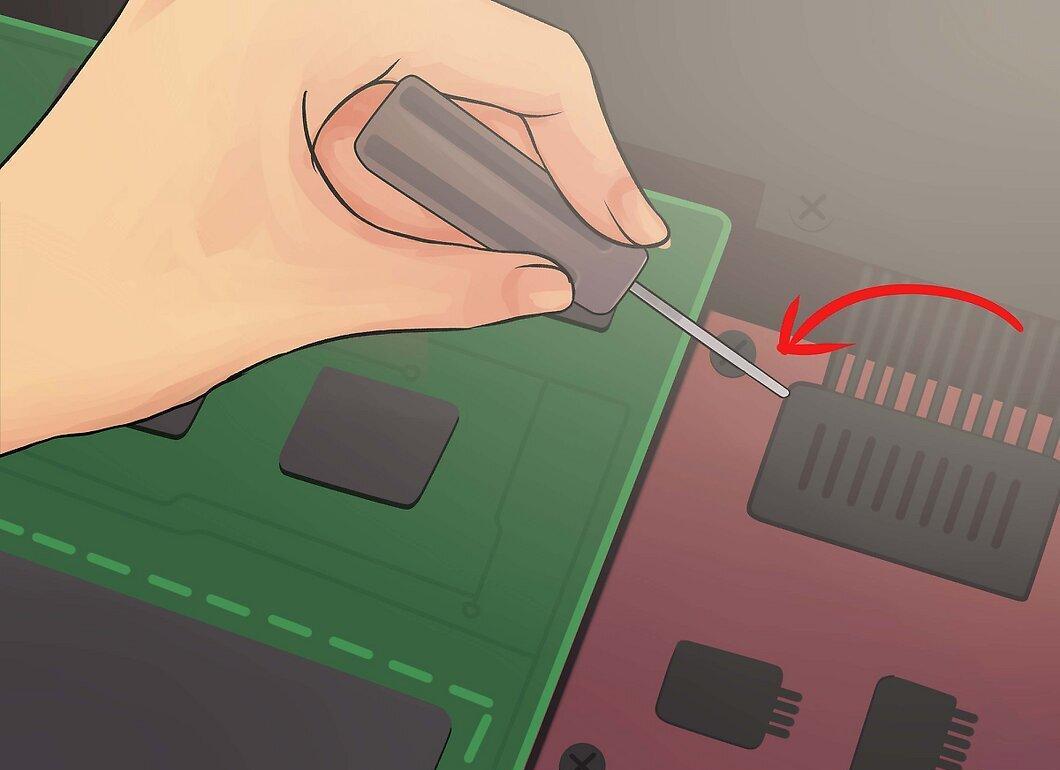
Reconnect the battery to the motherboard. Ensure that you do not touch any circuits, especially after reconnecting the cable.
Step 7. Replace the Back Panel.
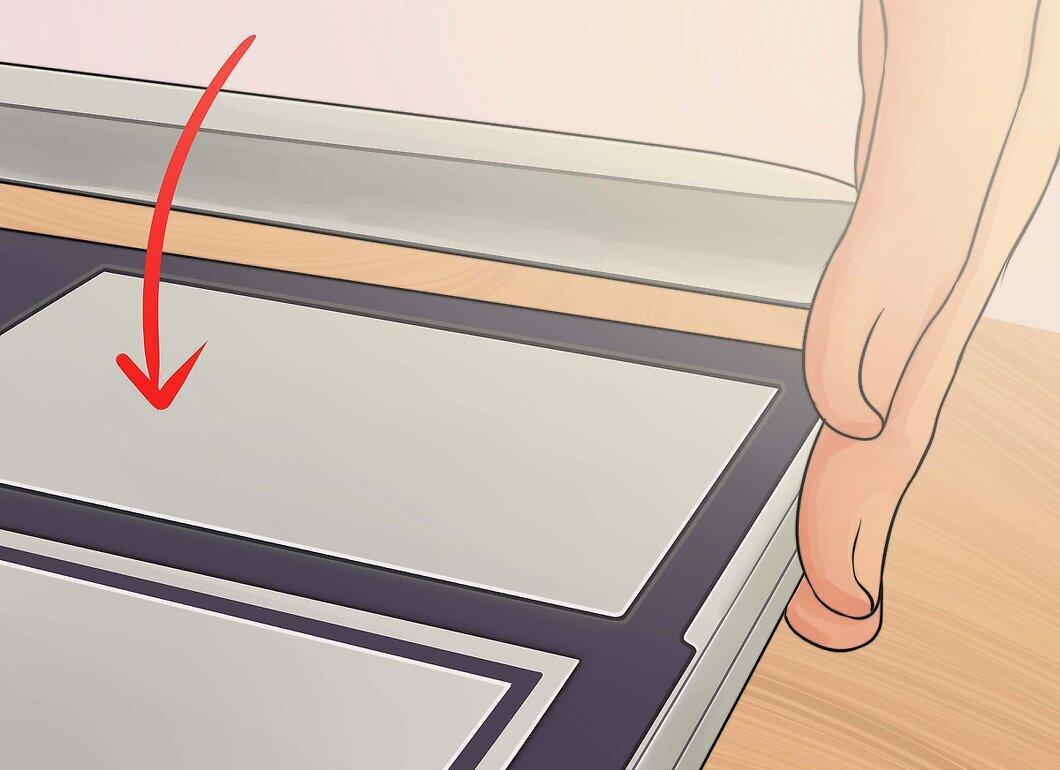
Replace the back panel and secure it with the ten screws. Ensure it is seated evenly.
Step 8. Install the Operating System.
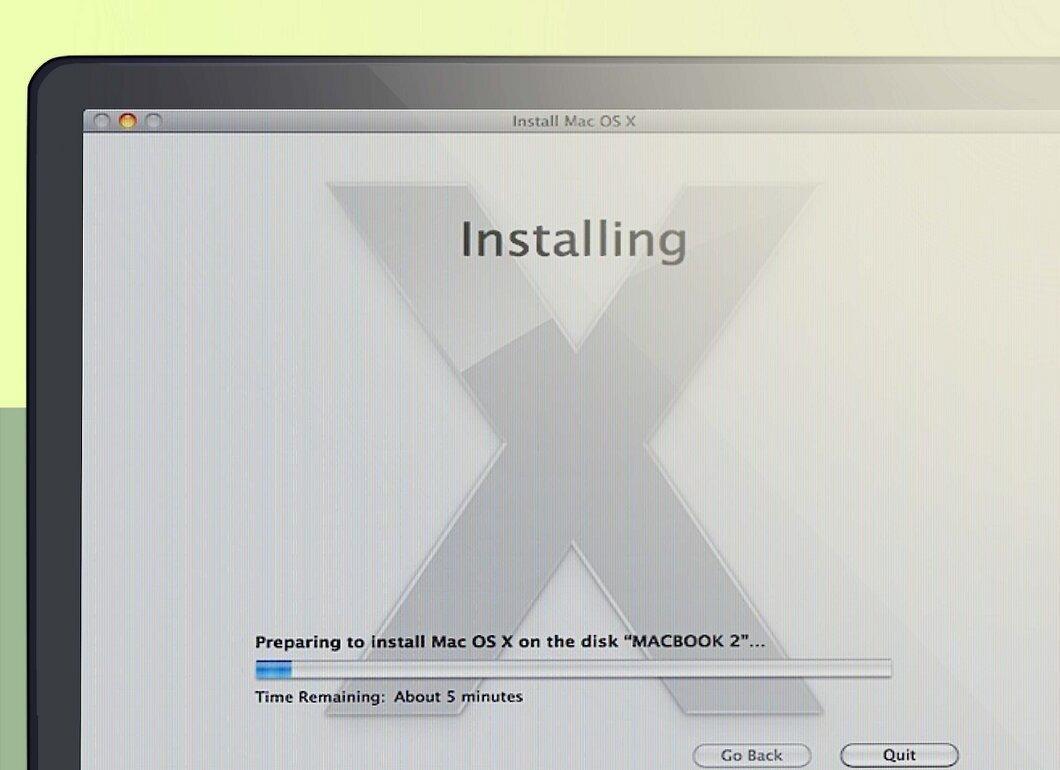
After installing the new hard drive, you will need to reinstall the operating system. You can do this using an installation disk or download it from the internet if you have network access.
Step 9. Use the Old Drive as an External Storage.
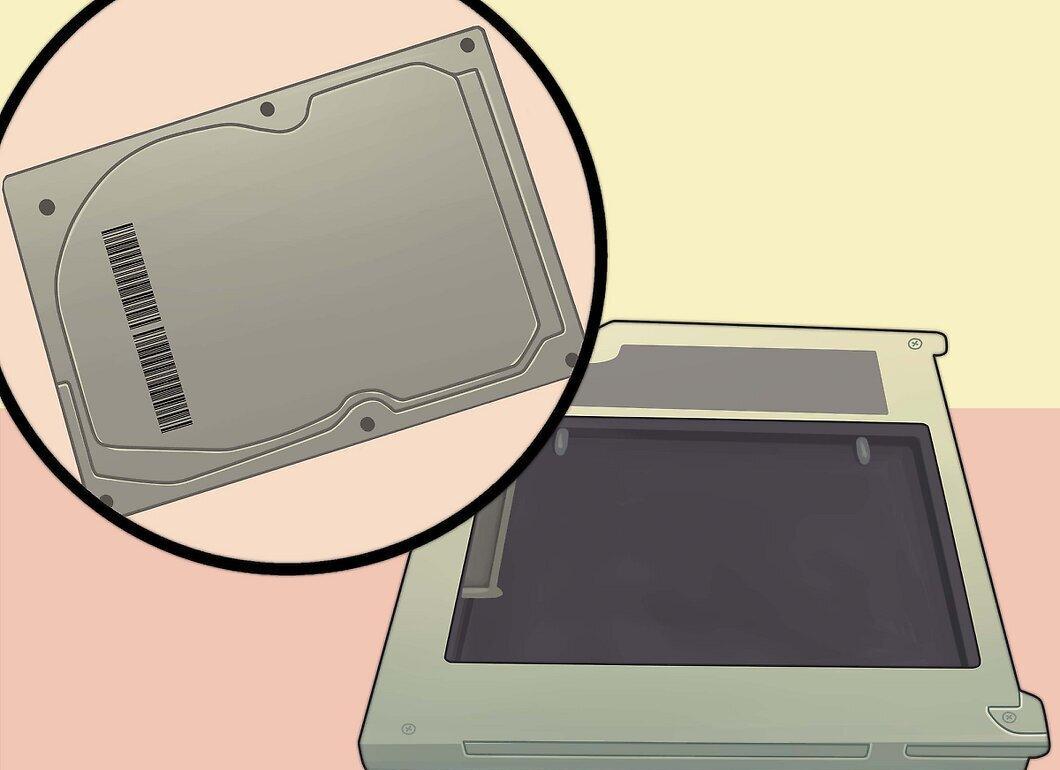
If your old drive is still functional, you can use it as external storage. To do this, you just need to buy an enclosure, which is available at most computer stores.
- We also provide detailed instructions on our website on how to turn your old drive into a portable USB drive.


