
Effective Ways to Clean Decorative Stones in Your Garden
Decorative stones can be a wonderful design element in your yard; however, over time they accumulate dirt, leaves, grass, and pine needles. But don't worry! You can always restore their pristine look on your own! For small stones, use a sieve to remove the accumulated dirt. Larger stones can be cleaned with a stiff brush or a pressure washer to get rid of stubborn stains. If the stones are particularly dirty, try soaking them in a vinegar solution before placing them back in the garden or yard!
How to Sift Small Stones
Step 1. Prepare a Metal Mesh for Cleaning.
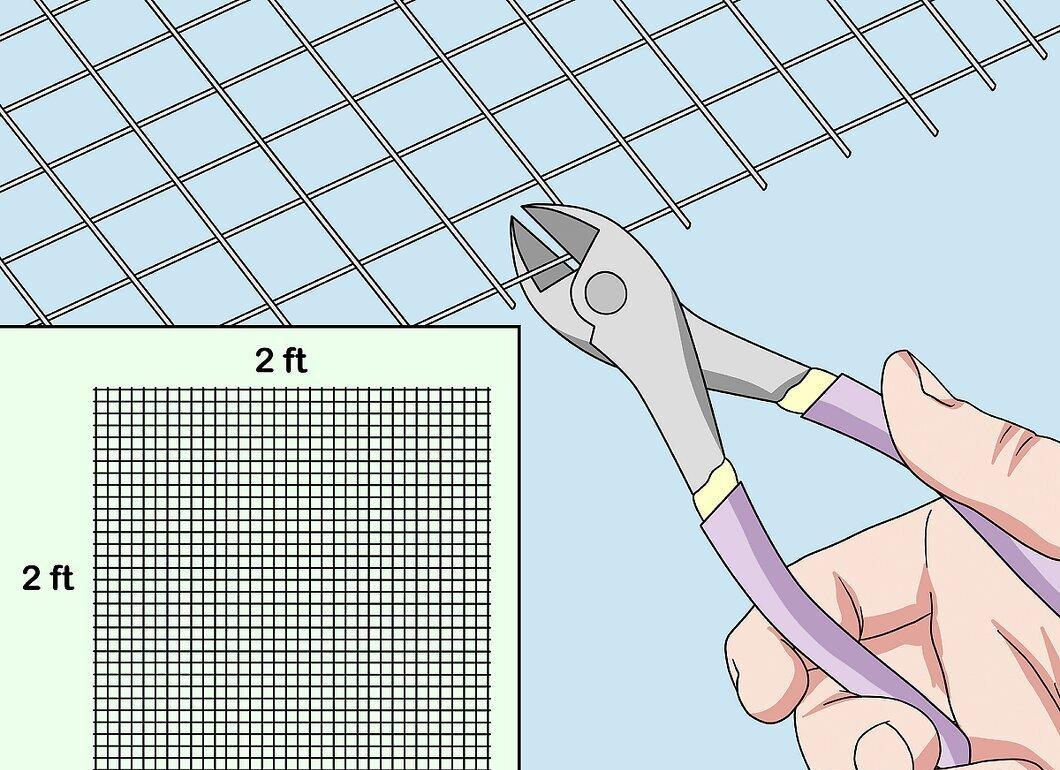
If you need to clean a small area, cut a piece of metal mesh. The simplest method is to sift the stones through a mesh with a cell size of 13 millimeters. The openings in this mesh are 13 by 13 mm, allowing stones to remain on the surface while dirt and debris fall through. You will need a piece of mesh measuring 60 by 60 centimeters.
- If your stones are smaller, use mesh with openings of 6.5 millimeters.
Step 2. Create a Wooden Frame for Larger Volumes.
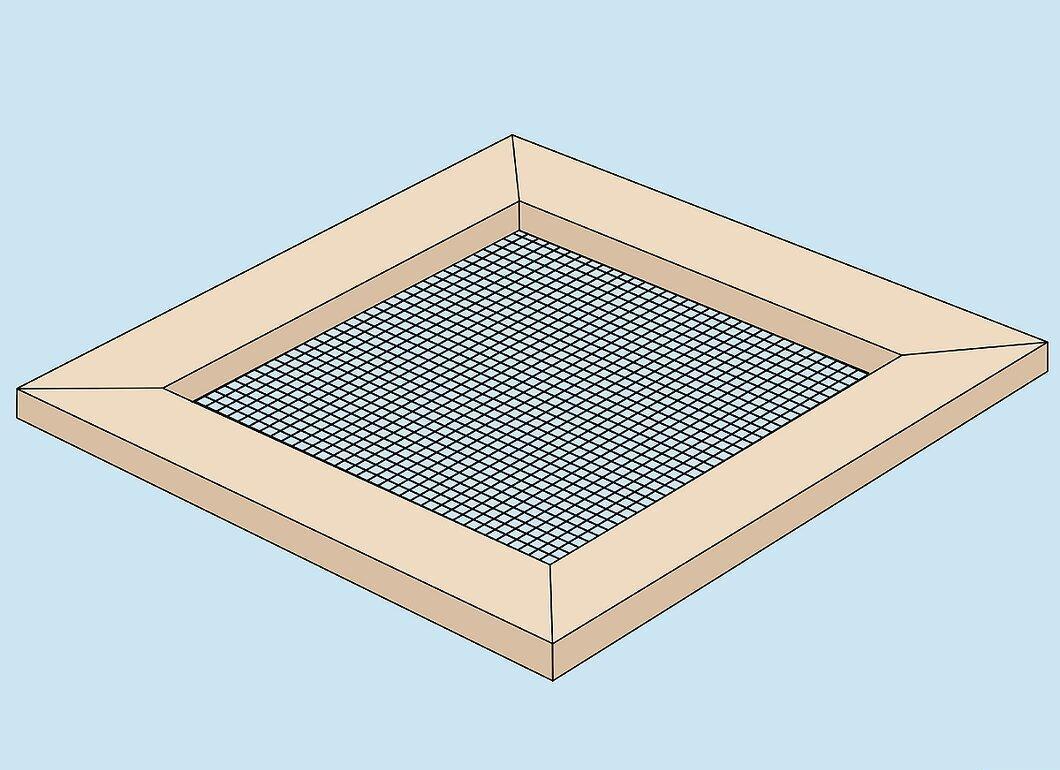
If you need to clean larger volumes, make a frame for the mesh from wooden boards measuring 5 by 10 centimeters. The frame should be at least 0.35 square meters. Cut the mesh to fit the frame and attach it to the wood with sturdy staples.
- You can make a sieve of any size. This article suggests a minimum size of 0.35 square meters, but you can increase the area. In some cases, you may need to install wooden ribs for stability to prevent the stones from pushing through the mesh.
Step 3. Lay Down a Tarp to Avoid Mess.
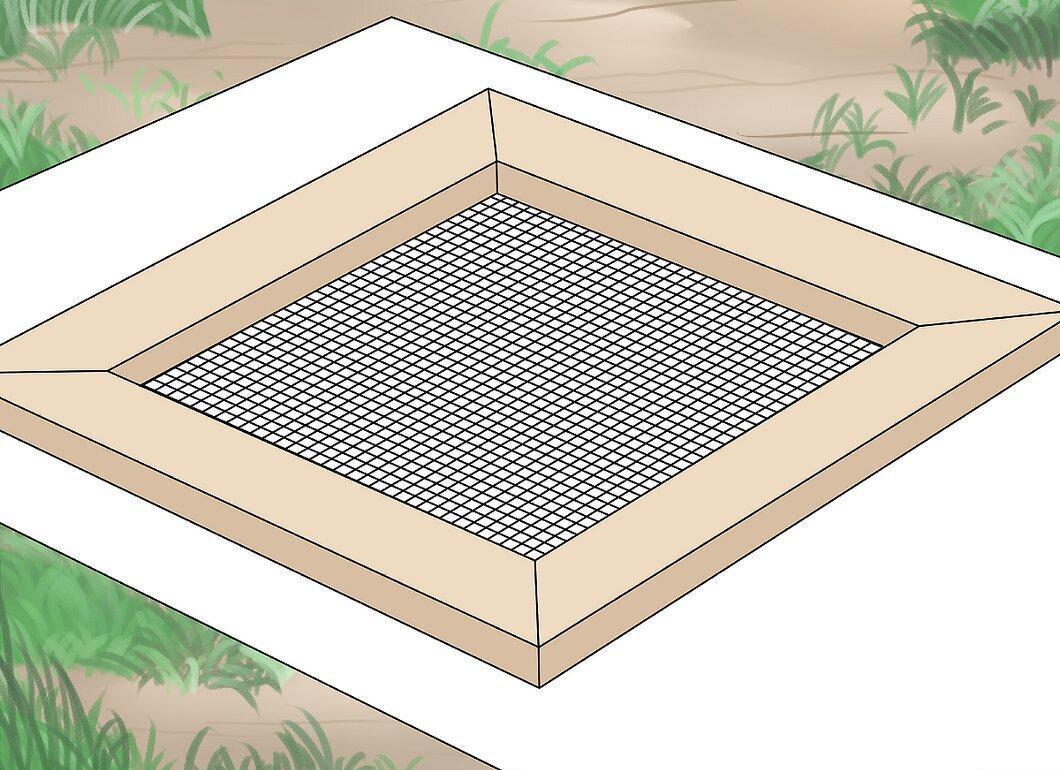
To avoid dirtying your yard, lay a large tarp under the sieve. This will make it easier to collect the dirt after cleaning the stones, as you can simply lift the tarp and dump the debris into a bucket.
- You can also position the sieve directly over a trash bin.
Step 4. Pour Stones into the Sieve Using a Shovel.
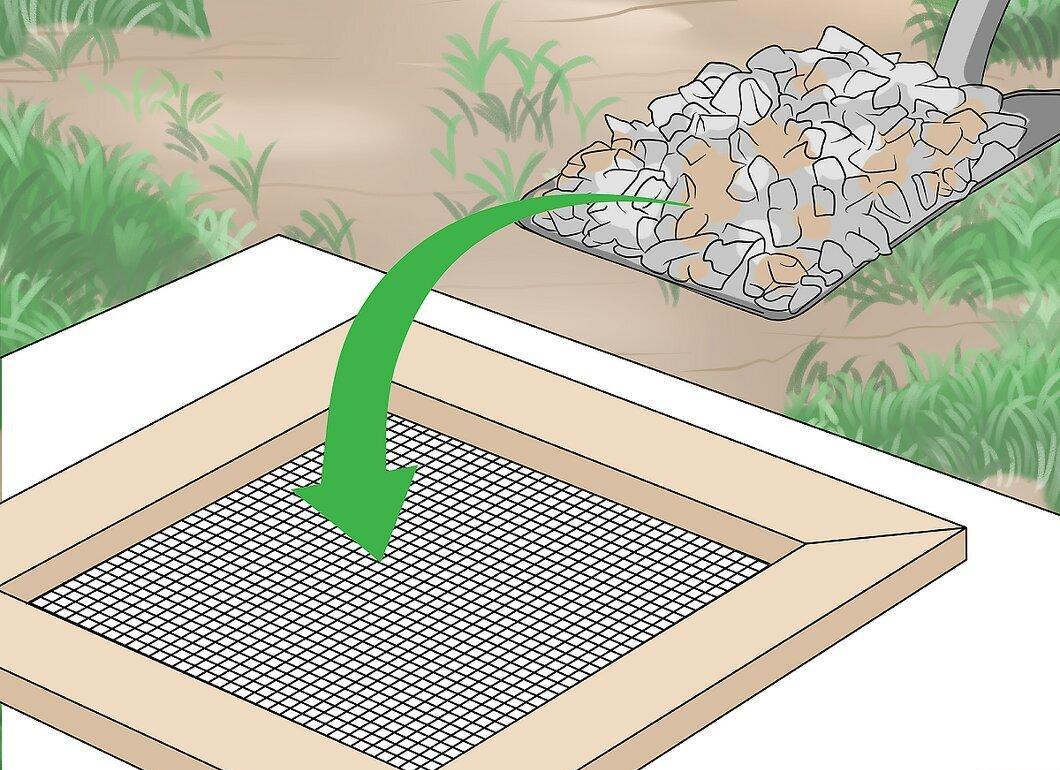
Now that everything is ready, start from one side of the area, shoveling stones into the sieve. Be careful not to overload the sieve.
- Avoid scooping dirt along with the stones, or you will spend more time cleaning up.
Step 5. Shake the Sieve to Remove Dirt.
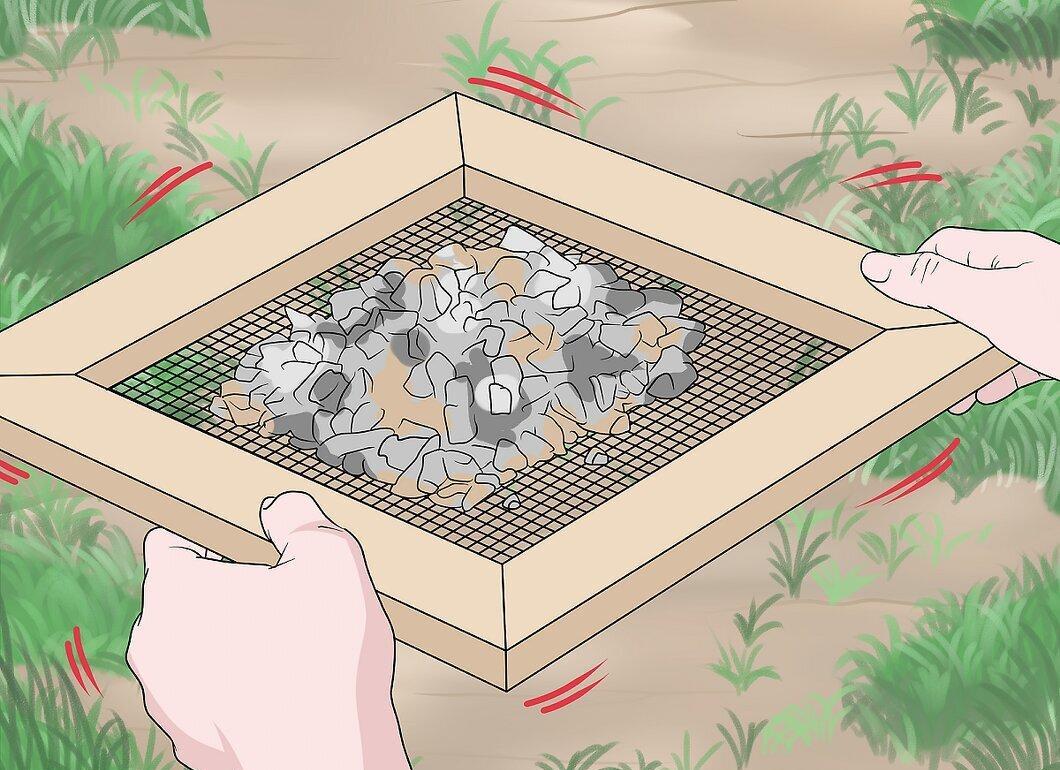
If you have a small sieve, you can shake it side to side to clean the stones. For larger sieves, you can use a rake to move the stones over the mesh, allowing dirt and debris to fall through.
- If weeds or other debris don’t fall through the mesh, remove them by hand.
Step 6. Stack Clean Stones in a Separate Pile or Return Them Immediately.
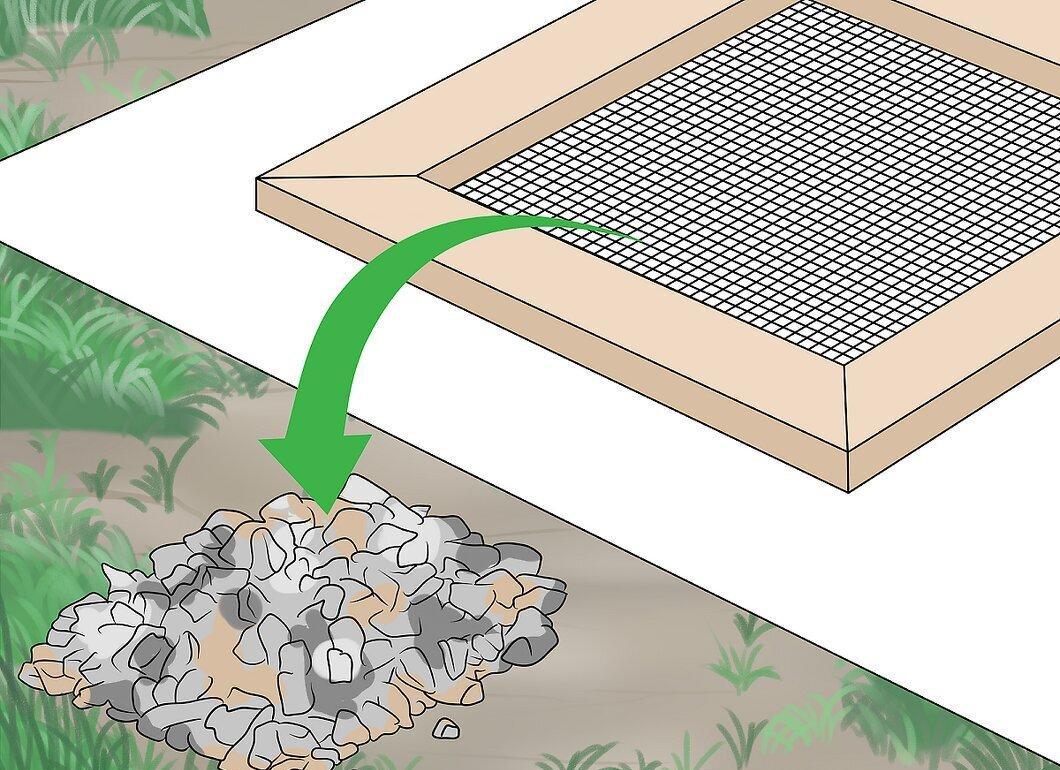
You have two options: you can either return the clean stones to their place immediately or stack them in a separate pile for later distribution around the yard.
- The first option may be quicker, but you risk sifting some stones multiple times.
- You can also work in small sections, returning stones as you clean.
Step 7. Clean the Entire Area with Decorative Stones.
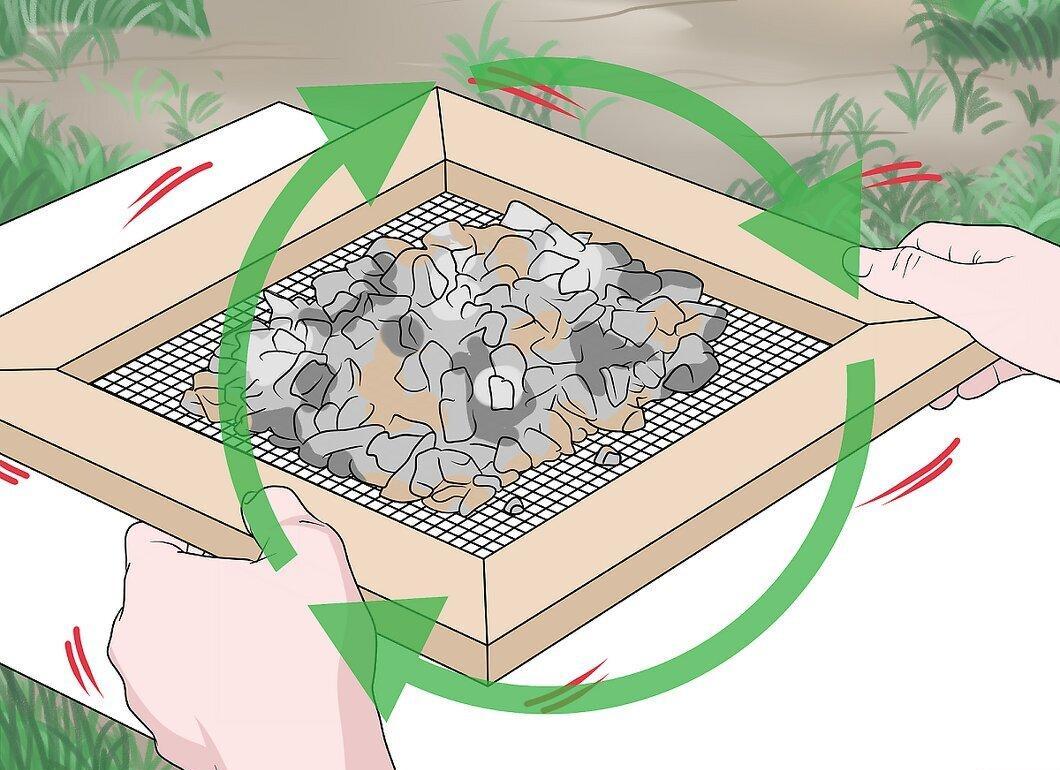
Divide the area into sections or work from the edge to the center. Cleaned sections will be noticeable, even if you place the stones back right away, as they will look tidier.
- If the area is too large for one day, break the process down into sections and clean one per day.
Step 8. Remove Dirt Under the Sieve.
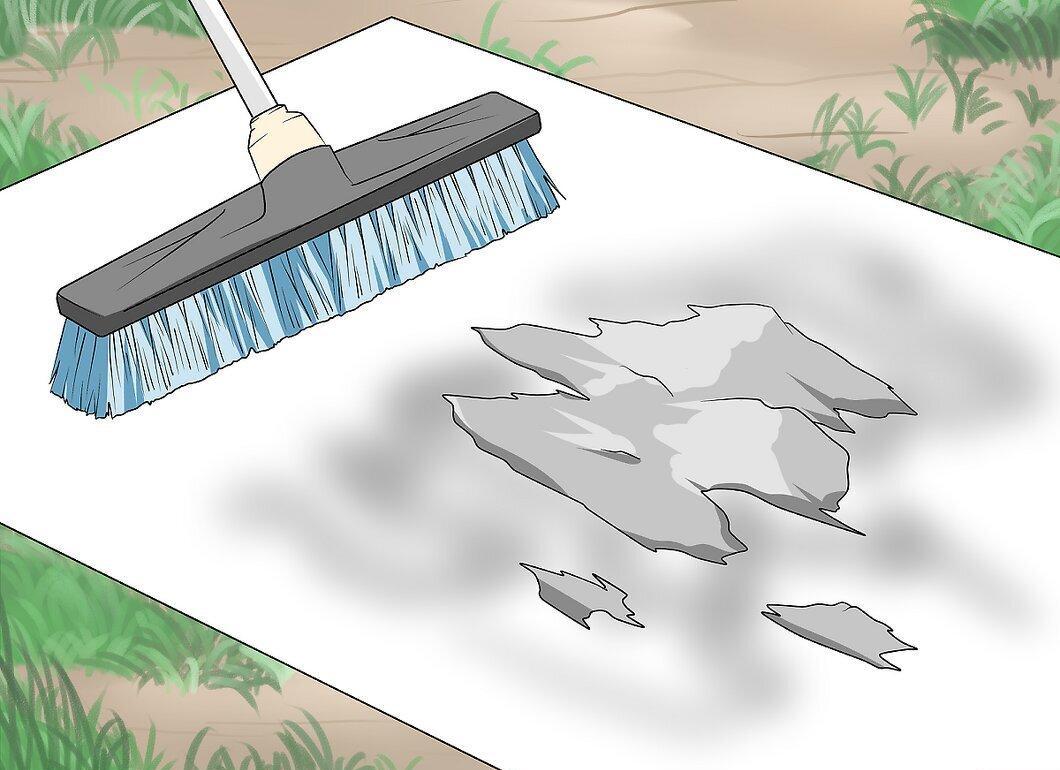
After finishing, gather the debris with a broom or shovel, or simply lift the tarp. The collected dirt can be used for composting or disposed of.
- If you stacked clean stones in a separate pile, you can dump the dirt back onto the plot and place the stones on top.
How to Wash Large Stones
Step 1. Brush Stones to Remove Light Dirt.
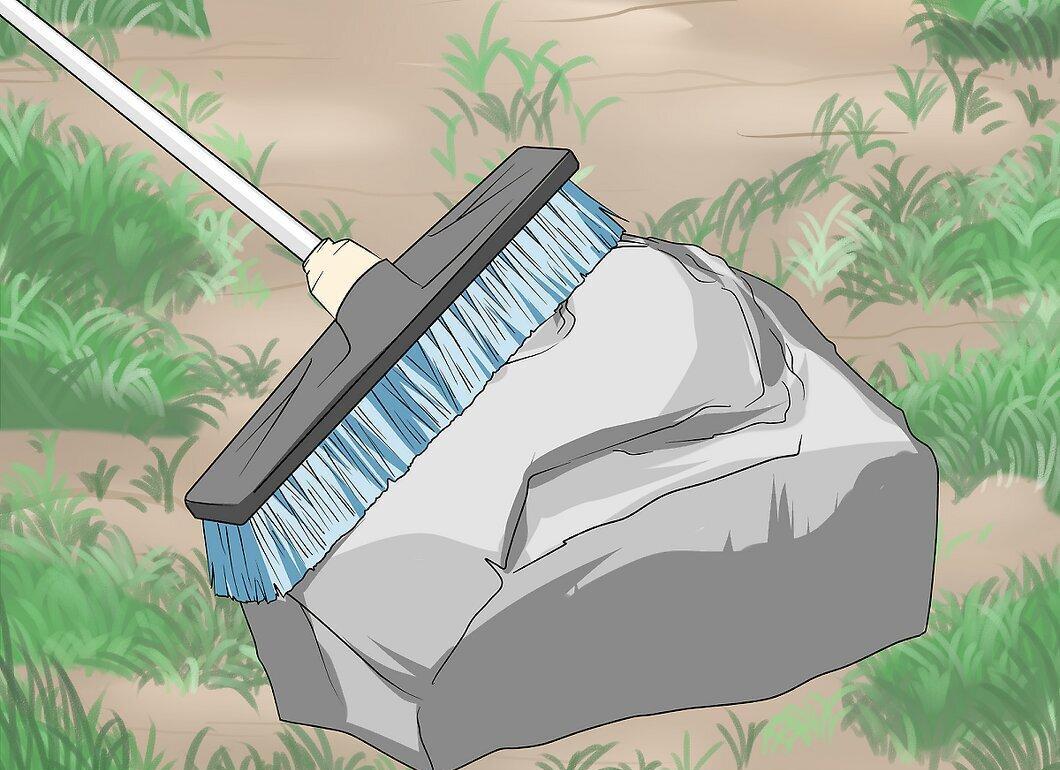
Before washing, sweep the stones with a stiff brush to remove light dirt. Brush each stone thoroughly from edge to edge.
- This helps to separate the dirt and makes further cleaning easier.
- Remember to clean not only flat stones but also rounded or cracked ones.
Step 2. Use Water and a Brush for Light Cleaning.
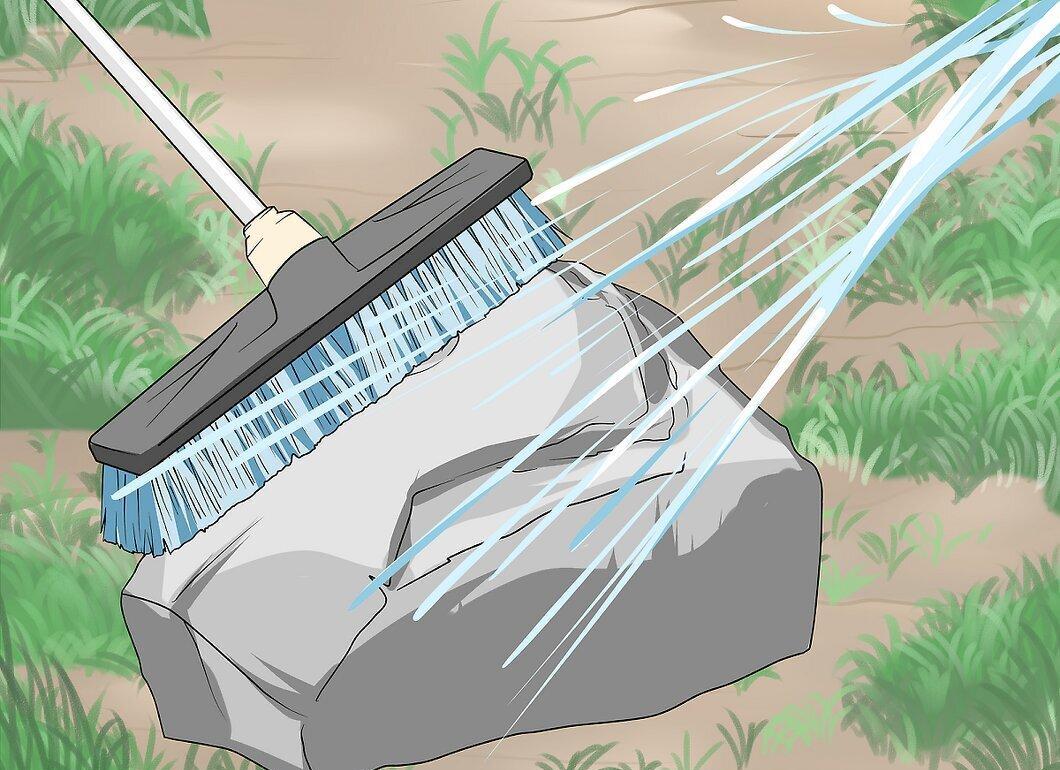
If the stones are not too dirty, you can quickly clean them. Wet the stones with a garden hose and scrub thoroughly with a stiff brush. Then rinse again with clean water.
- A sprayer will make the job easier.
- If the stones are very dirty, a pressure washer may be needed.
Step 3. Use a Pressure Washer for Tough Cases.
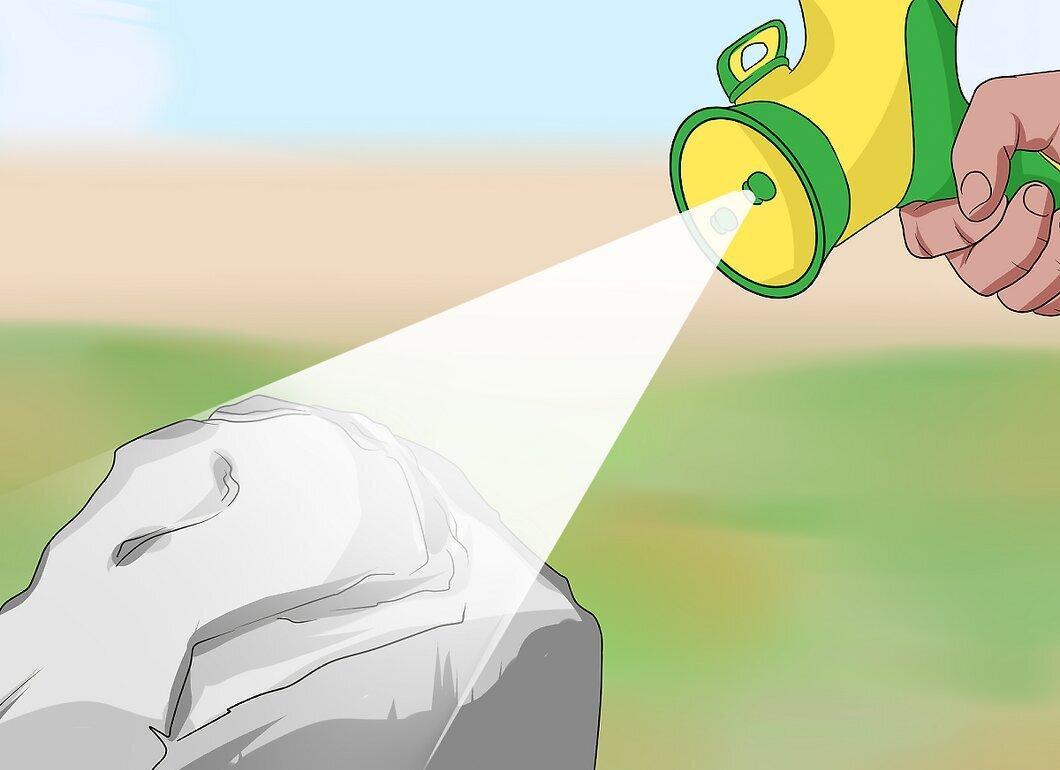
Stand off to the side and angle the pressure washer nozzle to avoid getting water in your face. Rinse all crevices and cracks to eliminate stubborn dirt. If you live in a dusty area, it’s better to use compressed air on a windy day.
- Be sure to wear protective clothing and goggles for safety, as particles may fly.
- If you don’t have a pressure washer, you can rent one.
Step 4. Treat Stones with Vinegar if Mold is Present.
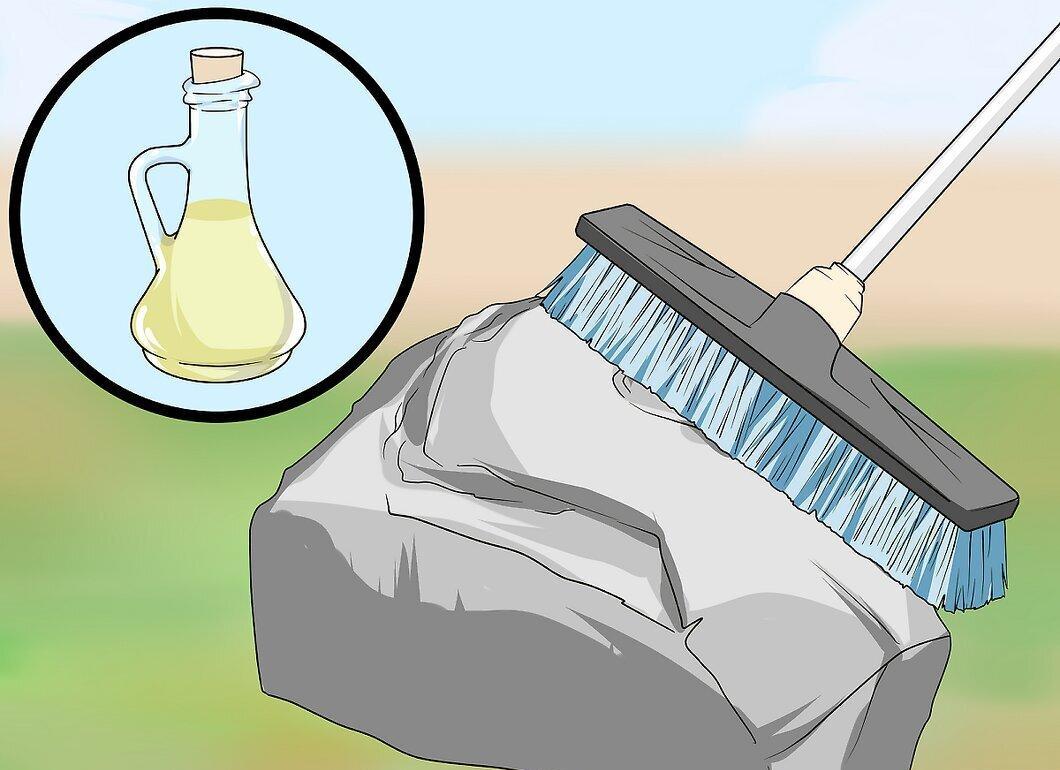
If you notice a gray or green film, treat the stones with white vinegar and scrub thoroughly with a brush. Then rinse with water from the hose.
- If the mold doesn’t go away, mix ¼ cup of bleach with 8 liters of water and treat the stones. It may take several treatments.
How to Clean Stones with Vinegar or Bleach
Step 1. Transfer Part of the Stones to a Bucket or Wheelbarrow.
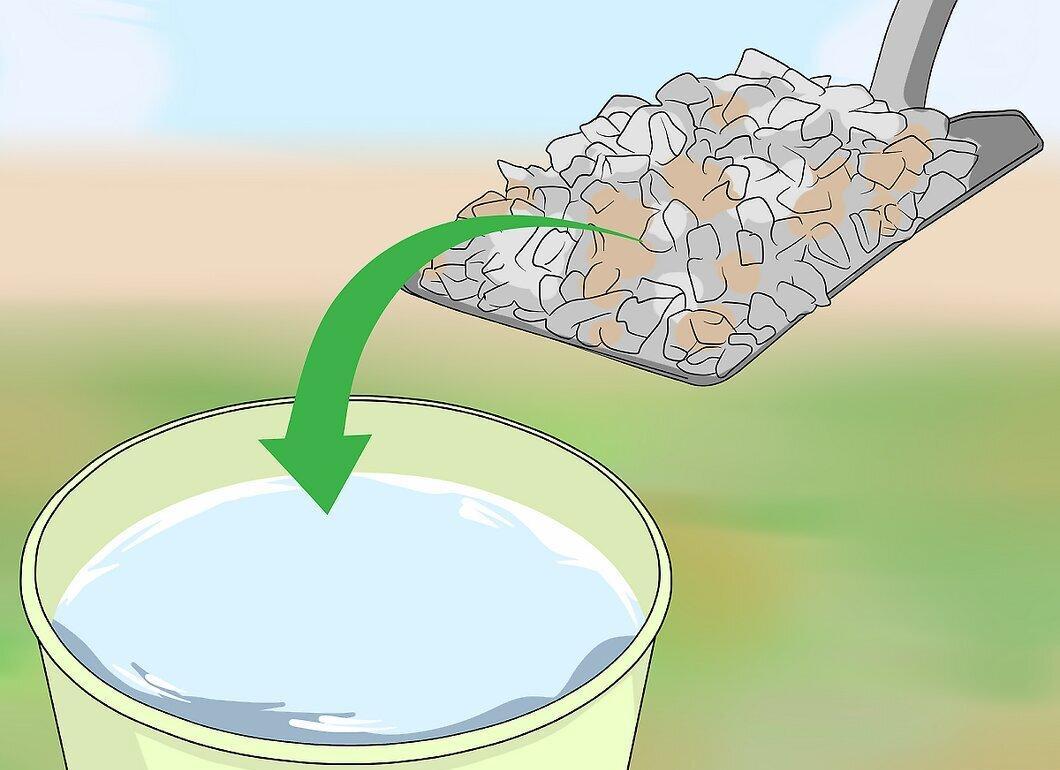
If the stones require deep cleaning, take a full shovel and transfer it to a bucket. It’s important not to overload the container for convenience.
- This method works great for white decorative stones.
- You can wash only the top layer if you have a lot of stones.
Step 2. Soak the Stones in Vinegar or Bleach Solution.
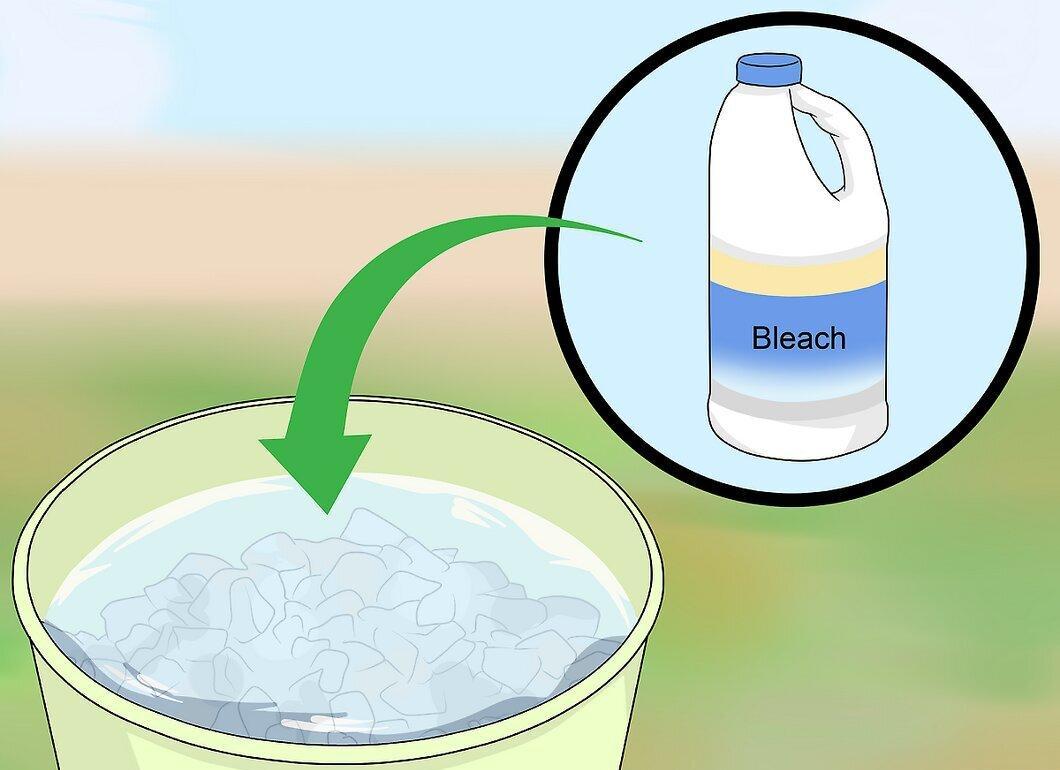
For cleaning, use white vinegar or a bleach solution mixed with water (¼ cup in 8 liters). Pour the solution over the stones.
- When working with bleach, wear rubber gloves.
- Leave the dirty stones in the solution for 20 minutes for the best effect.
Step 3. Drain the Vinegar or Bleach from the Wheelbarrow.
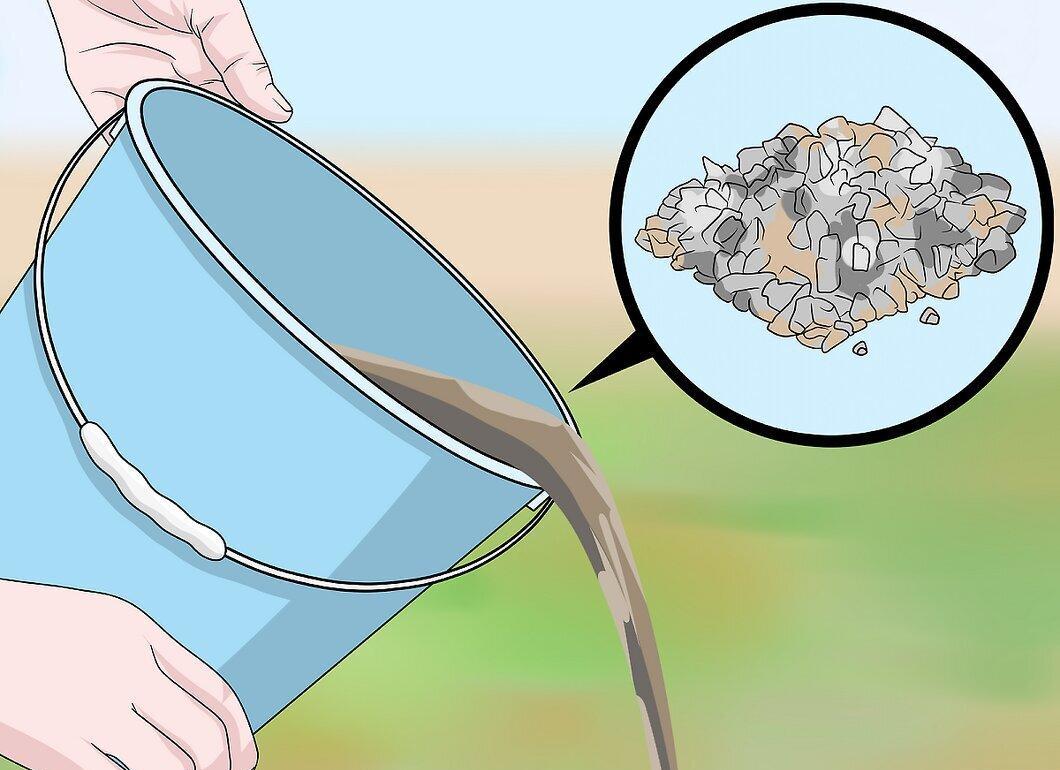
Tilt the wheelbarrow to drain the solution along with the dirt. Be careful not to let the stones fall out; they need to be rinsed with clean water.
- Do not pour the vinegar or solution just anywhere, as it can harm plants and animals.
Step 4. Rinse the Stones with Clean Water Several Times.
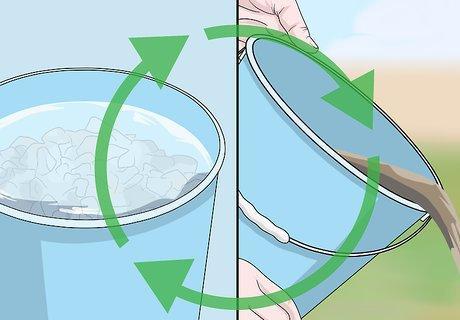
Rinse the stones with clean water, repeating the process several times to eliminate residues.
- Residues from the solution can damage the stones over time.
- After cleaning, return all decorative stones to their place!


