
Green algae and cloudy water are common nuisances faced by pool owners. If algae have appeared in your pool, you’ll need to stock up on special chemicals and spend some time addressing the issue. However, preventing their growth is much easier—regular maintenance of your pool can help you avoid this problem altogether.
Eliminating Algae with Chlorine
Step 1. Use Chlorine to Combat Algae.
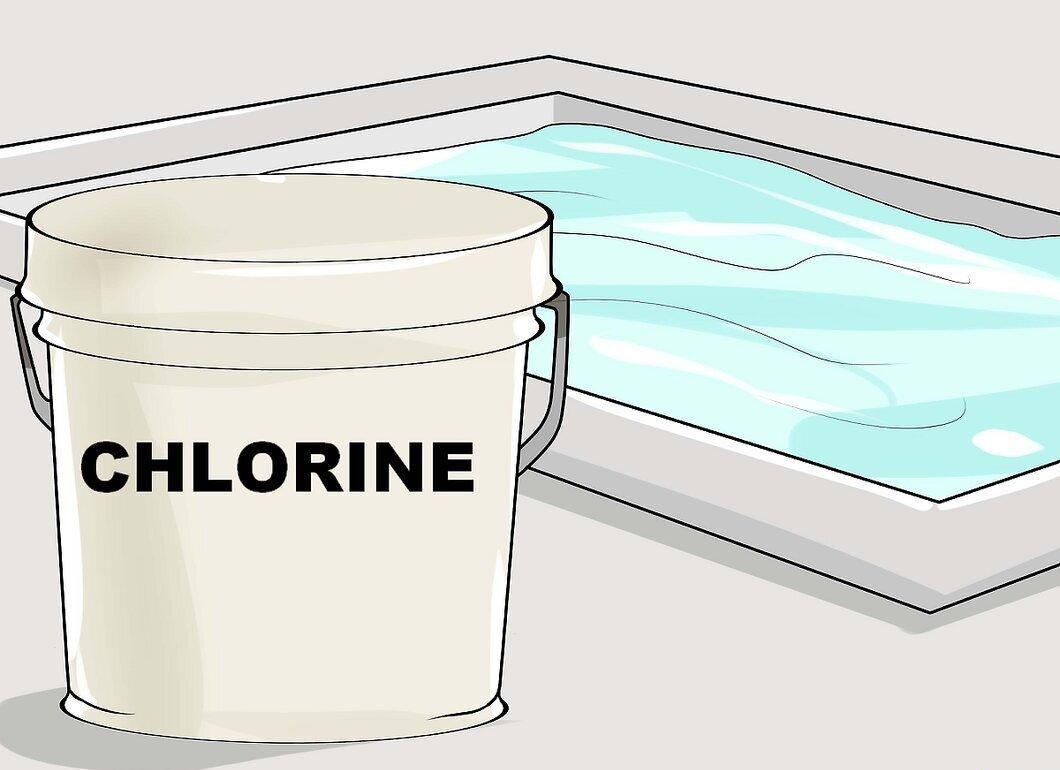
Chlorine is a reliable method for eliminating algae. If your pool has turned green or you notice clumps of algae, this indicates a chlorine deficiency. To effectively tackle the algae, shock the pool by adding a large dose of chlorine to the water. This process typically takes one to three days, but if the contamination is severe, it may take up to a week.
- There are other methods that may yield quick results, but they do not always address the underlying sanitation issues. Additionally, these methods can be more expensive and may cause unwanted side effects.
Step 2. Scrub the Pool Floor and Walls.
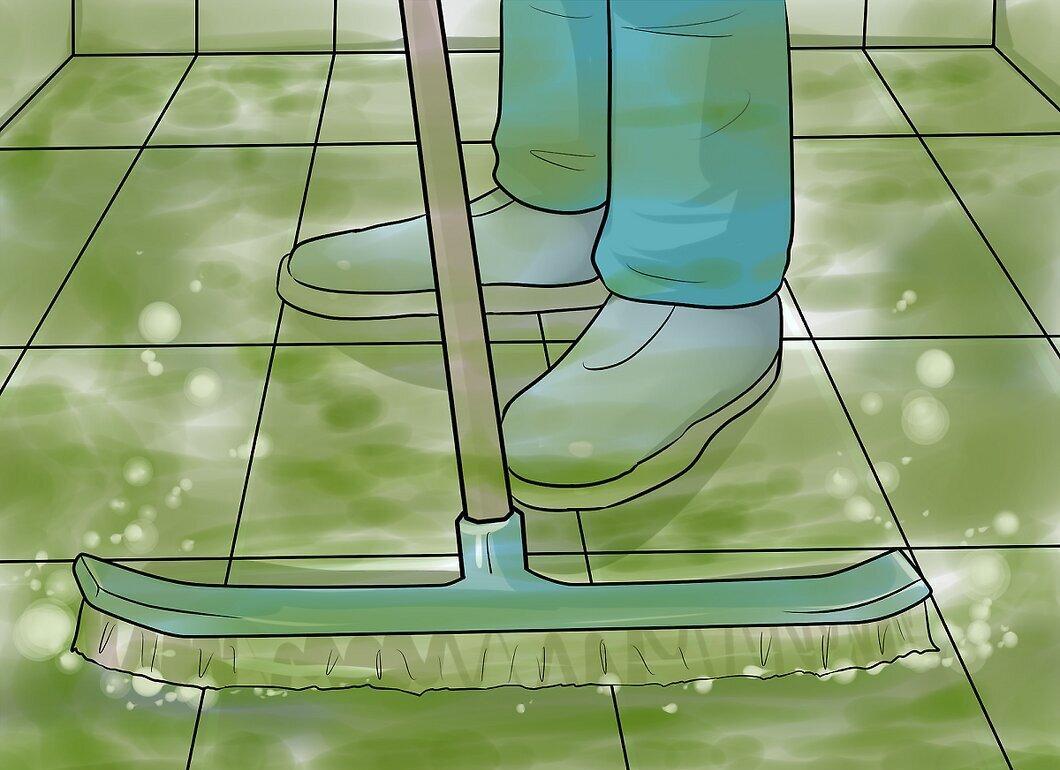
Thoroughly scrub the walls and floor of the pool. Pay attention to all areas to remove as much algae as possible. This will significantly reduce the time needed to eliminate them. Focus particularly on corners, steps, and areas behind ladders where algae tend to accumulate.
- Make sure to use a brush that is suitable for your type of pool: a wire brush for concrete pools and a nylon brush for vinyl pools.[1] X Source
Step 3. Familiarize Yourself with Safety Guidelines for Chemicals.
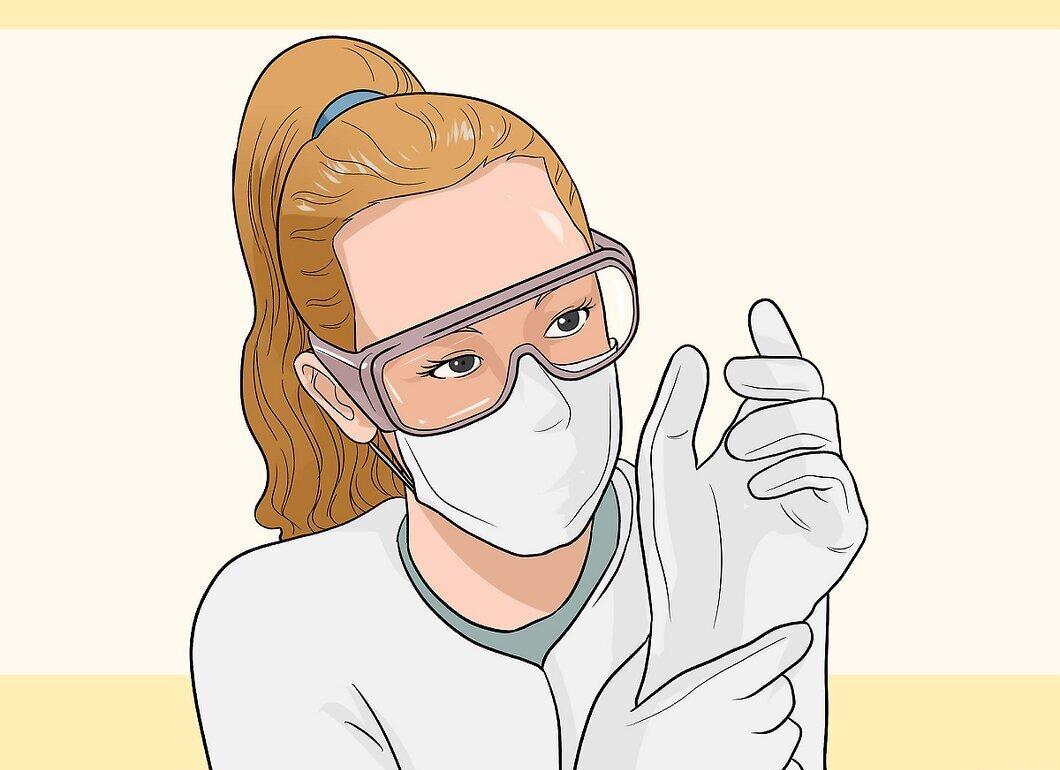
Before starting the cleaning process, be sure to read the safety measures for using chemicals. This is important, as some of them can be hazardous. Follow these recommendations:
- Wear gloves, safety goggles, and closed clothing. After working, be sure to wash your hands and check for any chemical residues on your clothing.
- Avoid inhaling fumes. Be especially cautious on windy days.
- Always add chemicals to water, not the other way around. Do not put wet tools back in the chemical container.
- Store chemicals in a sealed, fireproof container, away from children. Arrange them on shelves instead of stacking to avoid explosions from contact with other substances.
Step 4. Check the pH Level in the Pool.
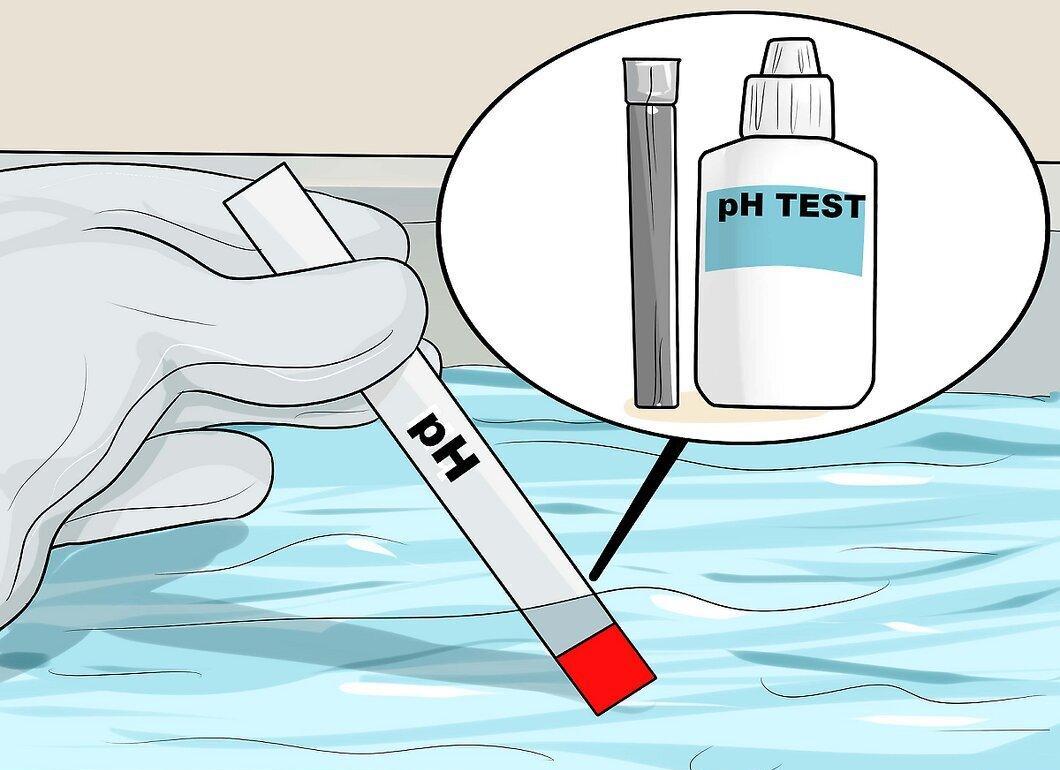
Test the pH level of the water using a special testing kit. If the pH exceeds 7.6, which often occurs during algae blooms, add a pH reducer (such as sodium bisulfate) according to the instructions. Ensure the pH remains between 7.2 and 7.6 for chlorine to work more effectively and reduce algae growth. After this, wait two hours and recheck the pH level.
- Test kits with tablets or droppers provide more accurate results than test strips.[4] X Source
- If the pH has normalized but total alkalinity is above 120 ppm, refer to the pH reducer instructions to adjust alkalinity to 80–120 ppm.
Step 5. Choose a Shock Chlorination Product.
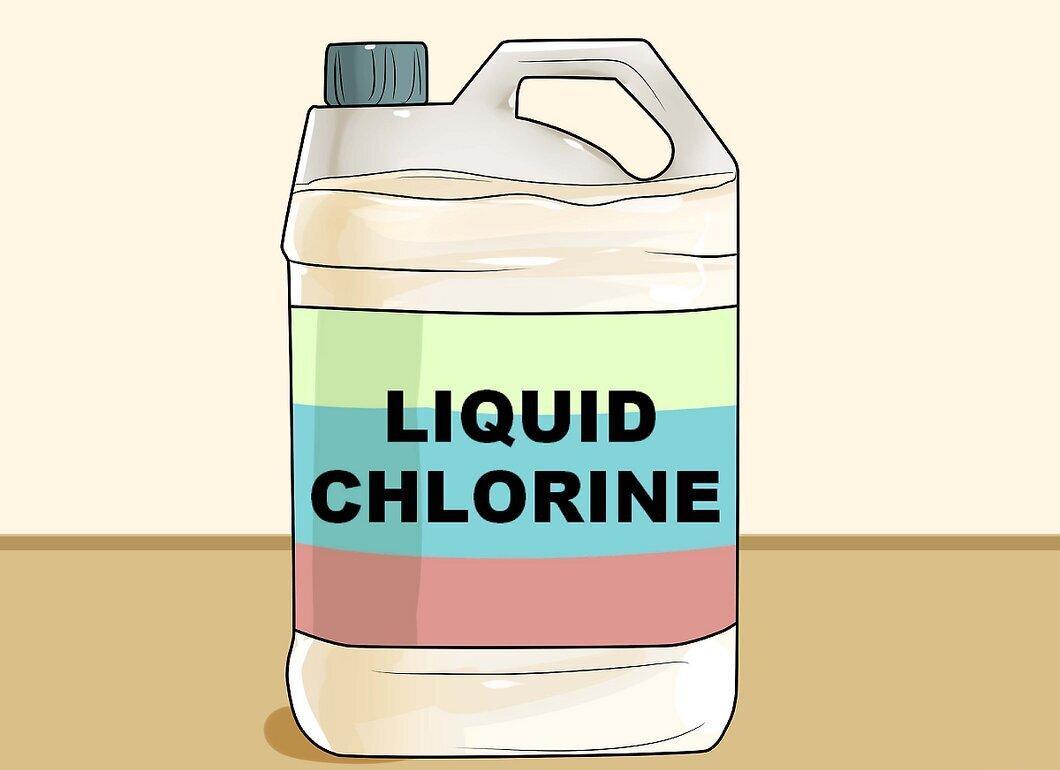
For shock treatment, select specialized liquid chlorine products. They should contain sodium hypochlorite, calcium, or lithium.
- Do not use calcium hypochlorite if you have hard water.
- All hypochlorites are flammable and can be explosive. Lithium hypochlorite is less hazardous but more expensive.
- Avoid products with granular or tablet forms of chlorine (such as dichlor and trichlor), as they contain stabilizers that should not be added in large quantities.
Step 6. Add the Right Amount of Product.
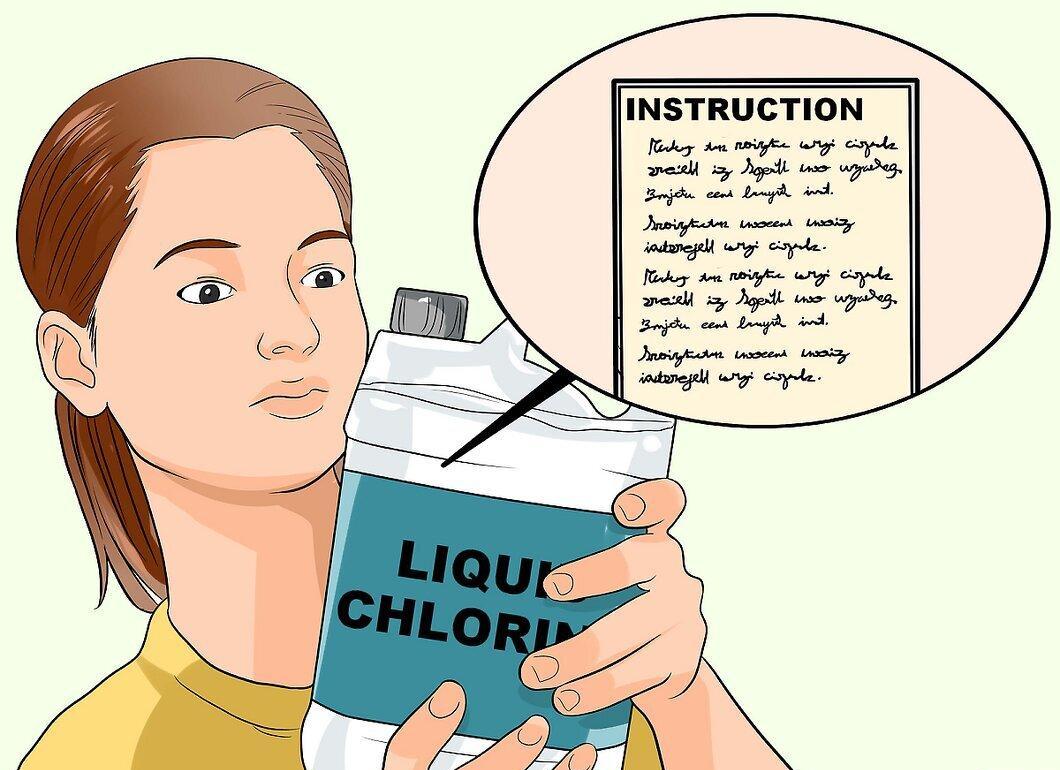
Follow the shock chlorination instructions and use twice the recommended amount to effectively eliminate algae. In cases of very cloudy water, increase the dose to three or even four times if the top step of the ladder is not visible. Add the product around the perimeter of the pool while the filter is running. If you have a vinyl liner, pre-mix it with water in a bucket to avoid discoloration.
- Warning: do not mix liquid products with tablets or granules of chlorine, as this may lead to explosions and the release of toxic gas. Do not pour chlorine into the skimmer or other parts of the pool where solid forms of chlorine exist.
- Chlorine degrades under sunlight, so it’s best to add it in the evening and leave it overnight.
Step 7. Check the Water Condition the Next Day.
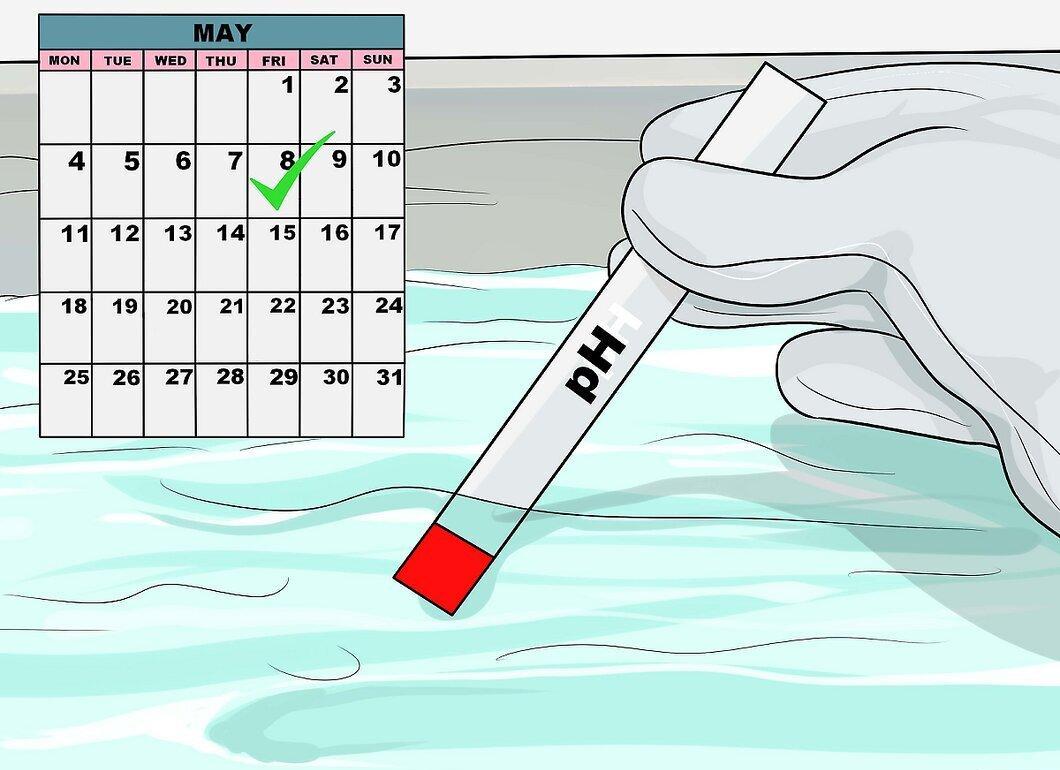
After 12–24 hours of filter operation, check the water. Dead algae will turn white or gray and may float on the surface or settle at the bottom. At the same time, check the levels of chlorine and pH.
- If chlorine levels are normal (2–5 ppm) but algae are still alive, maintain this level for a few days.
- If chlorine levels have increased but do not exceed 2 ppm, perform another shock chlorination in the evening.
- If chlorine levels remain unchanged, there may be too much cyanuric acid in the water (over 50 ppm), which can block the action of the cleaning agent. In this case, repeat shock chlorination or partially drain the water.
- Leaves and other debris in the pool can reduce the efficiency of chlorine. If the pool has not been used for a long time, several shock treatments may be needed, which could take a week.
Step 8. Clean the Pool Daily and Check the Water.
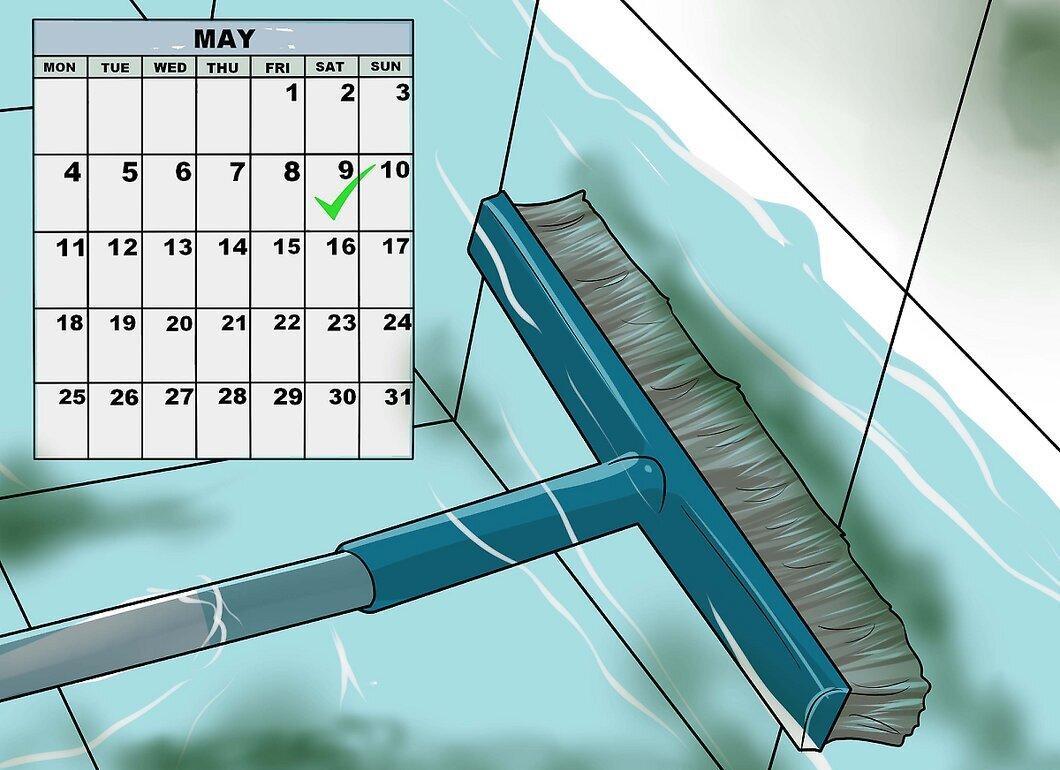
Regularly brush the walls of the pool to remove new algae. Over the next few days, chlorine should eliminate the algae. Check chlorine and pH levels daily to ensure they are within the norm.
- It is recommended to maintain the following water parameters: free chlorine — 2–4 ppm, pH — 7.2–7.6, alkalinity — 80–120 ppm, calcium hardness — 200–400 ppm.[7] X Source Minor fluctuations are acceptable.
Step 9. Remove Dead Algae with a Vacuum.
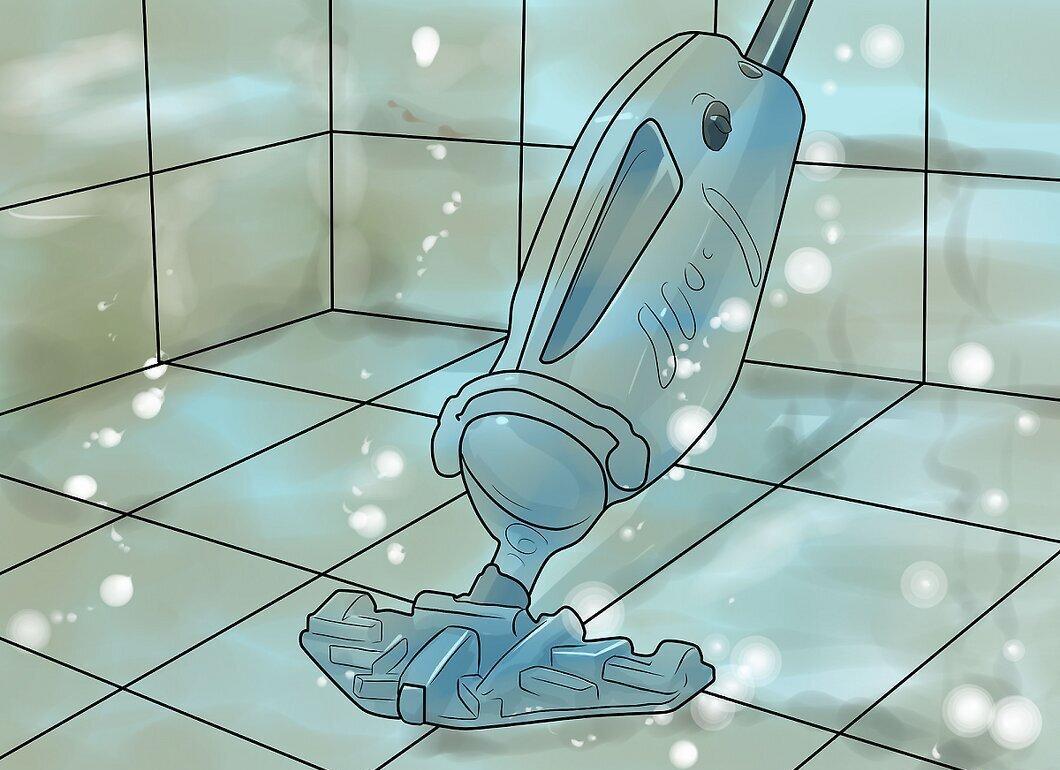
Once the water clears from the green tint, use a vacuum to remove the dead algae. You can also wait for the filter to finish cleaning, but this is only suitable if you have a powerful filter and are willing to wait a few days.
- If cleaning is difficult, add a coagulant or flocculant to help the algae clump together. These products can be purchased at a store, but may not always be worth using for a private pool.
Step 10. Clean the Filter.
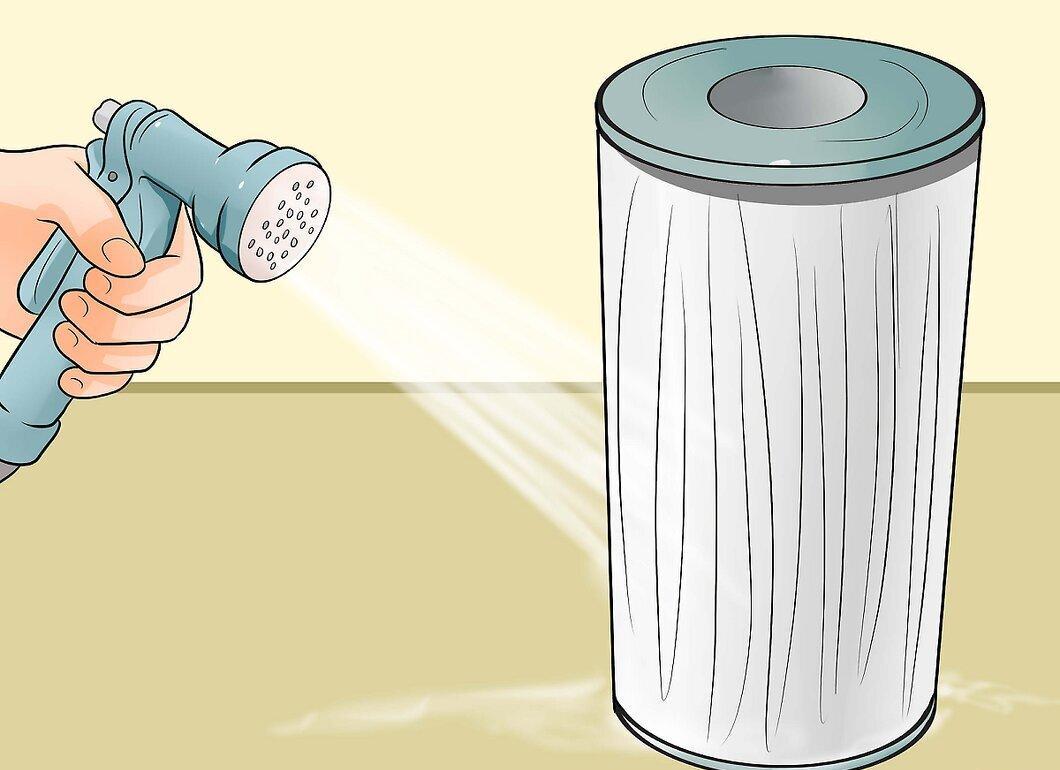
Regularly clean the filter. If you have a diatomaceous filter, perform a backwash. For a cartridge filter, remove it and rinse it under high-pressure water from a hose, and if necessary, use diluted hydrochloric acid or liquid chlorine. If the filter is not properly cleaned, dead algae may clog it.
Alternative Methods to Combat Algae
Step 1. Improve Water Circulation.
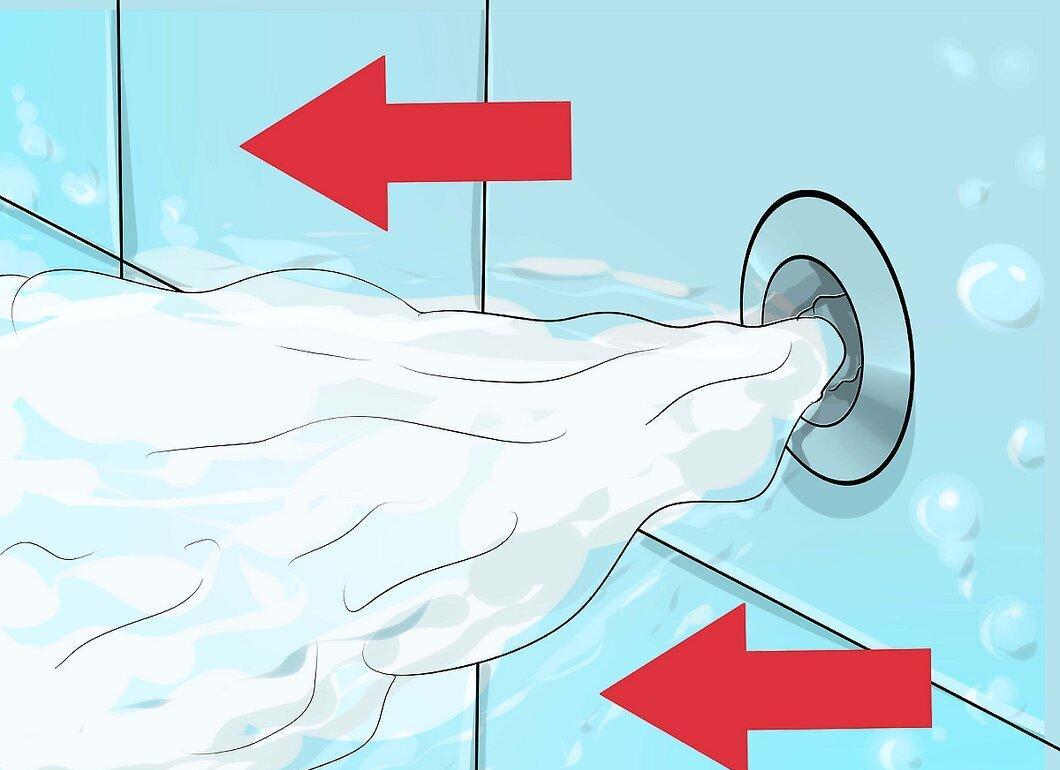
Ensure that water circulation in the pool is good. If you notice small accumulations of algae, it may be due to stagnation. Check the direction of the pipes that supply water to the pool to ensure movement.
Step 2. Use a Flocculant to Remove Algae.
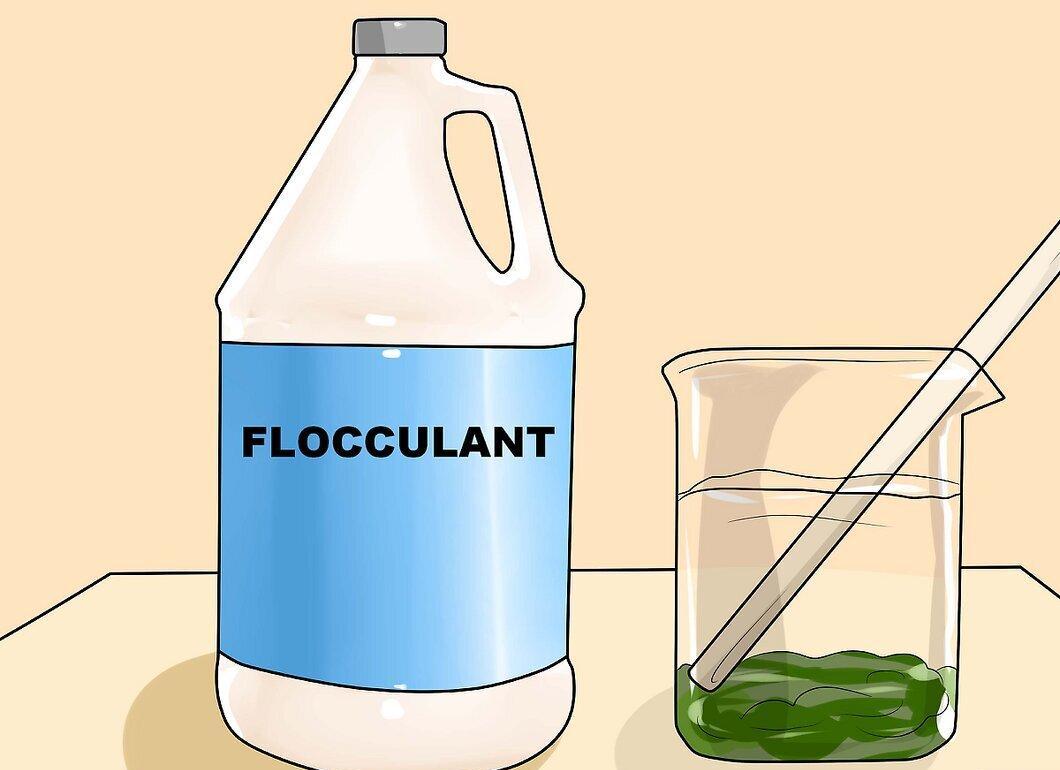
A flocculant or coagulant can help gather algae, which can then be easily removed with a vacuum. Although this process may take a whole day, it ensures the cleanliness of the pool. This is a quick cleaning method, but after treatment, it is unsafe to swim in the pool as bacteria may proliferate. Afterward, perform shock chlorination for disinfection and do not swim until chlorine and pH levels normalize.
Step 3. Use Algaecide Treatment.
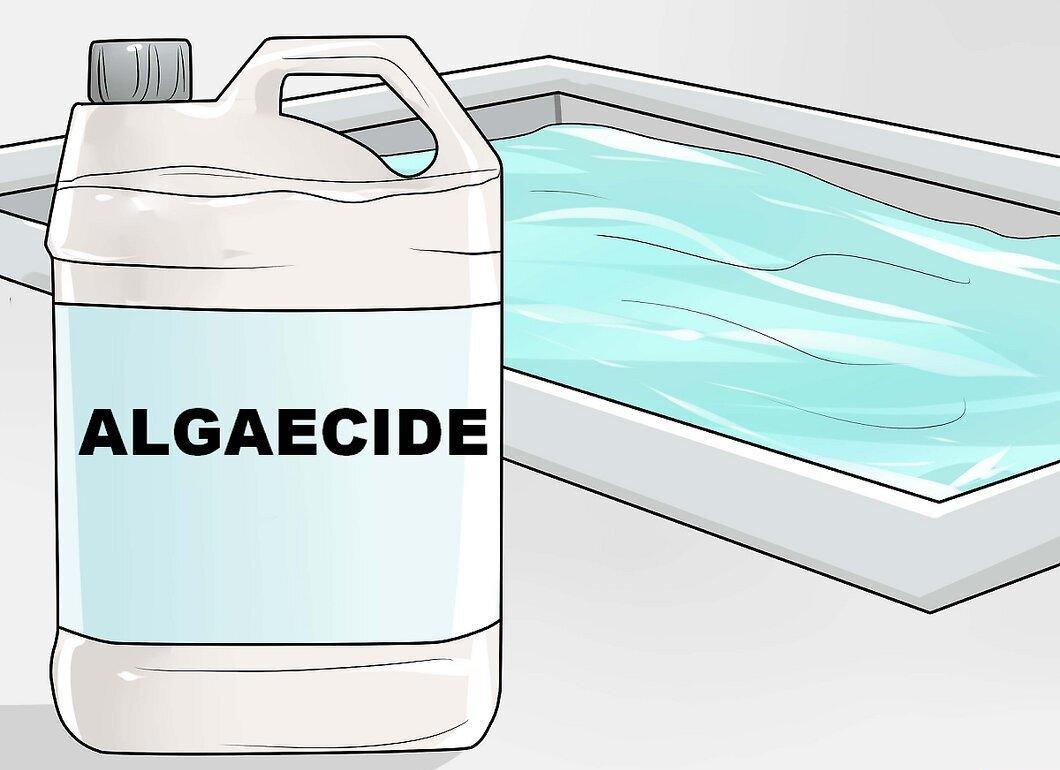
Algaecides can effectively kill algae, but their cost and side effects may not justify the results. Keep the following points in mind:
- Some algaecides may not be strong enough to combat blooms, especially if black algae are present. Ask a store consultant to help you choose a product with at least 30% active ingredients.
- Quaternary ammonium algaecides are available at low prices but can cause foaming, which may not be desirable.
- Copper-based algaecides are more effective but cost more and may leave stains on the pool walls.
- After adding algaecides, wait 24 hours before using other products.
Preventing Algae Growth
Step 1. Monitor Water Condition.
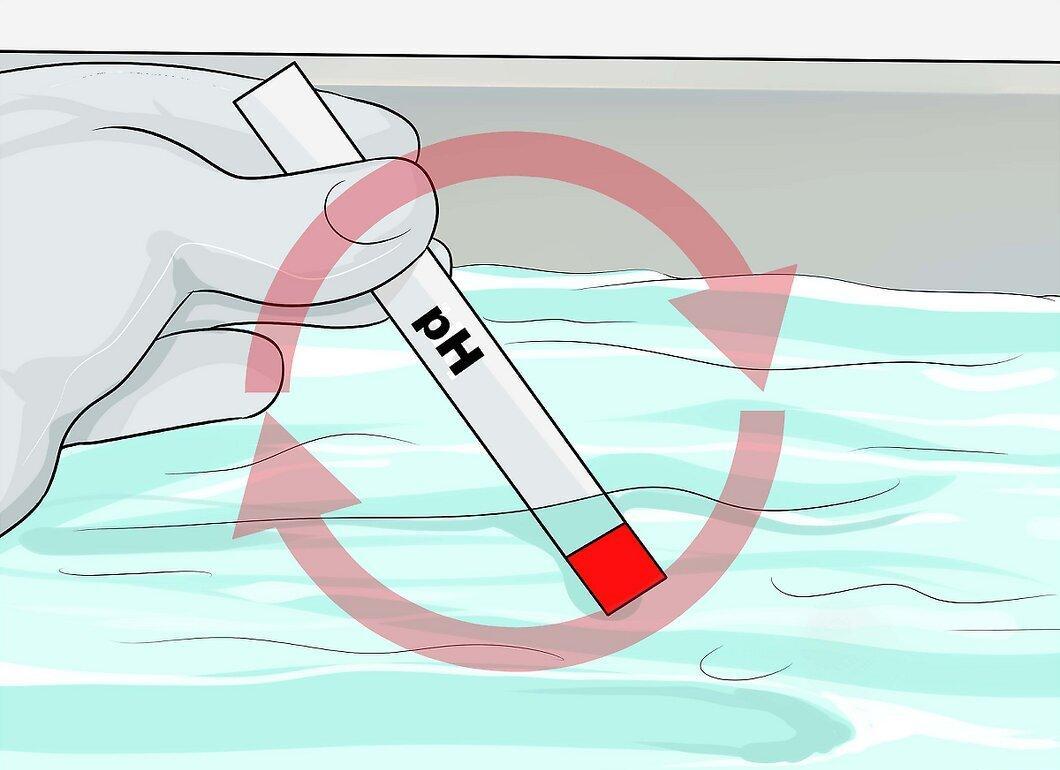
Regularly check the water in your pool. With the right chemical balance, algae should not grow. Check the levels of free chlorine, alkalinity, cyanuric acid, and pH. The sooner you spot a problem, the easier it will be to fix.
- It is best to test the water daily, especially during the 1-2 weeks following an algae bloom. During swimming season, perform tests at least twice a week.
Step 2. Use Algaecides Preventively.
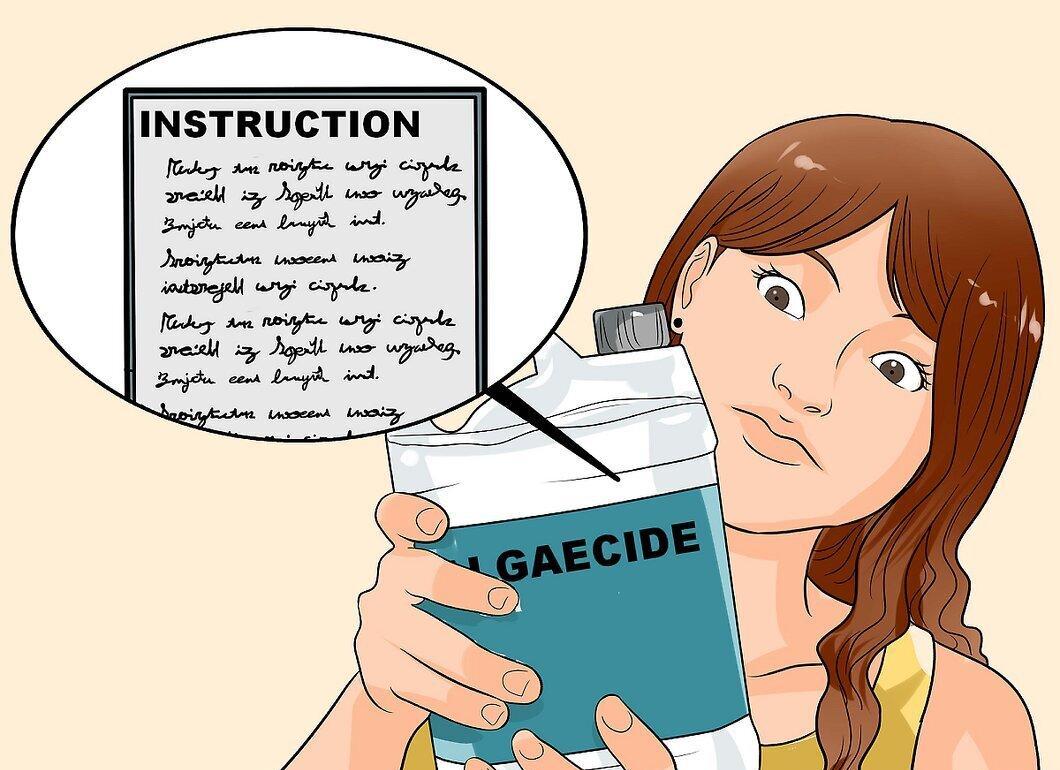
Add algaecides in small doses weekly after normalizing the water. This will help eliminate algae before they proliferate. Be sure to follow the product instructions.
- Follow the guidelines for prevention, not for addressing existing algae. At too high a concentration, algaecide may stain the pool or cause foaming.
Step 3. Remove Phosphates.
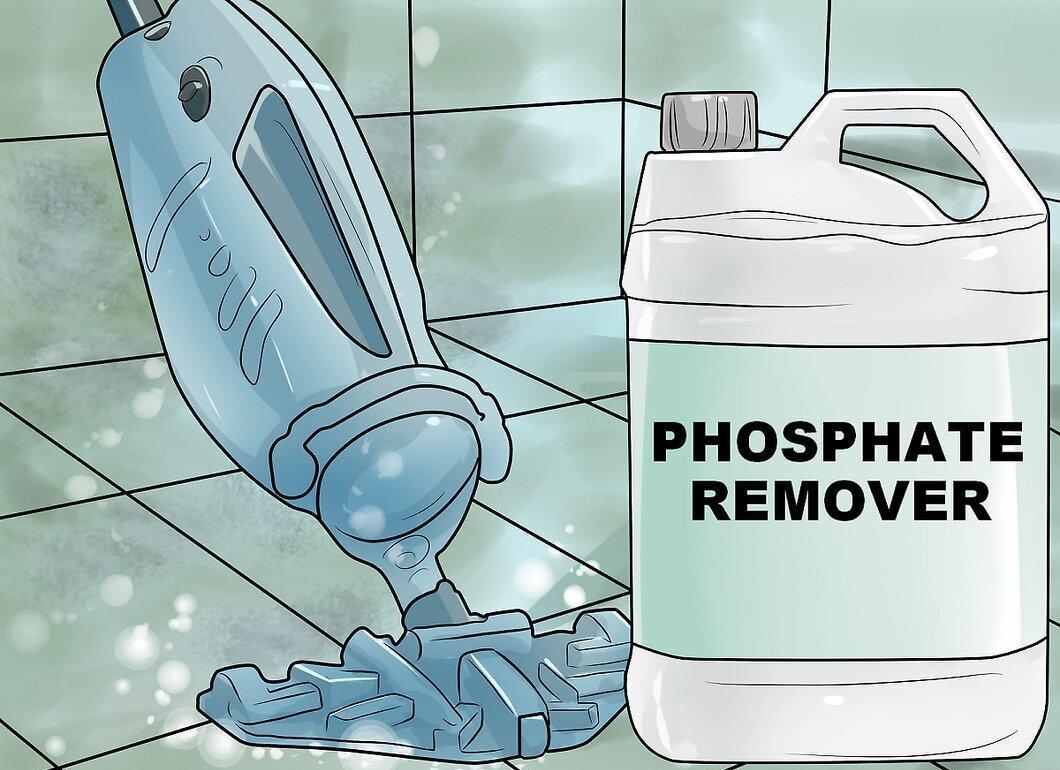
Phosphates are nutrients for algae. Check the phosphate level with an inexpensive test kit. If they are present, use a phosphate remover that can be purchased at a pool supply store. After that, phosphates can be removed in 1-2 days using a filter or vacuum. Once phosphate levels normalize, perform shock chlorination.
- Experts have not reached a consensus on the acceptable phosphate level, but a level of 300 ppm is likely safe if you do not have persistent algae problems.[12] X Source


