
Learn how to avoid freezing issues on your Mac with a series of helpful tips. While there are many ways to recover a frozen device, it's always best to prevent such situations beforehand.
How to Avoid Freezing Your Computer
Step 1. Avoid Running Multiple Applications Simultaneously.
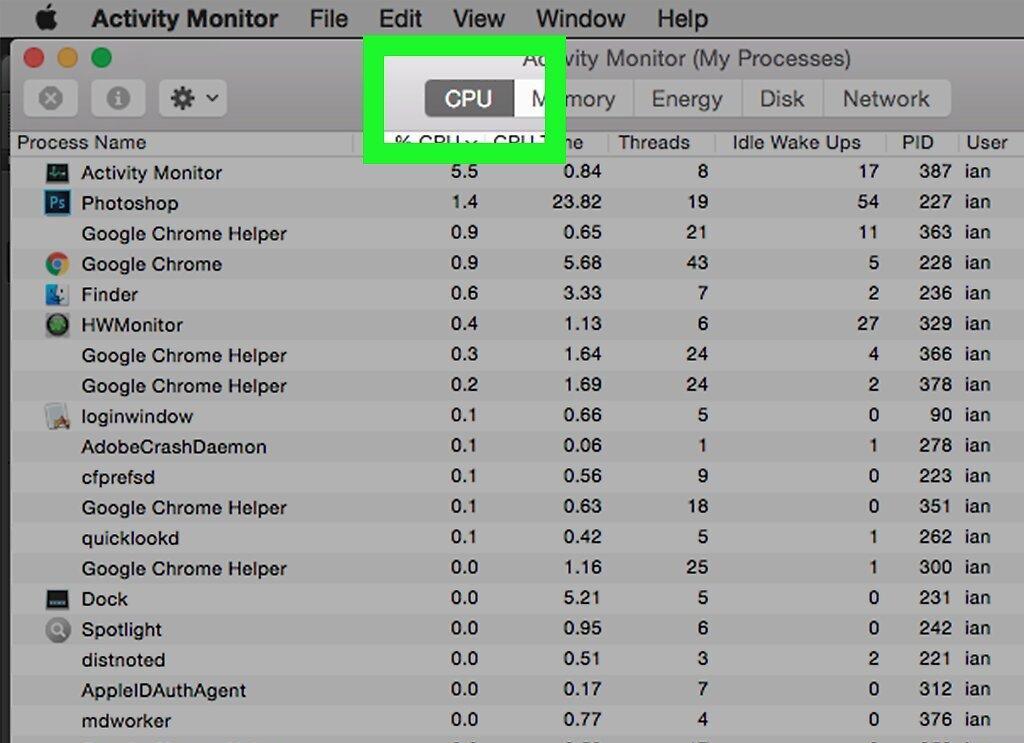
Don’t launch multiple applications at once. While Macs can handle multitasking, performance may decline if you run several resource-intensive programs, such as video editors.
- This also applies to open tabs and windows in your browser.
Step 2. Keep an Eye on Problematic Applications.
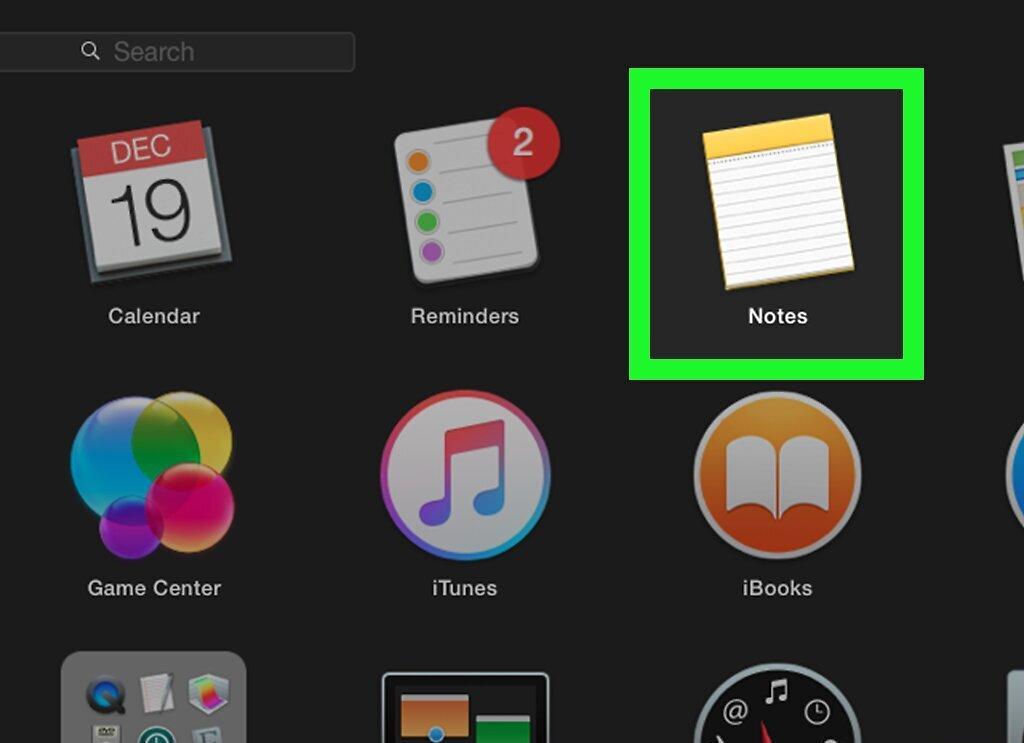
Monitor the applications that cause freezing. If a specific program or file is causing issues, delete or move it to an external drive.
- You can also force quit a frozen app to get your computer back in working order.
Step 3. Empty Your Trash.
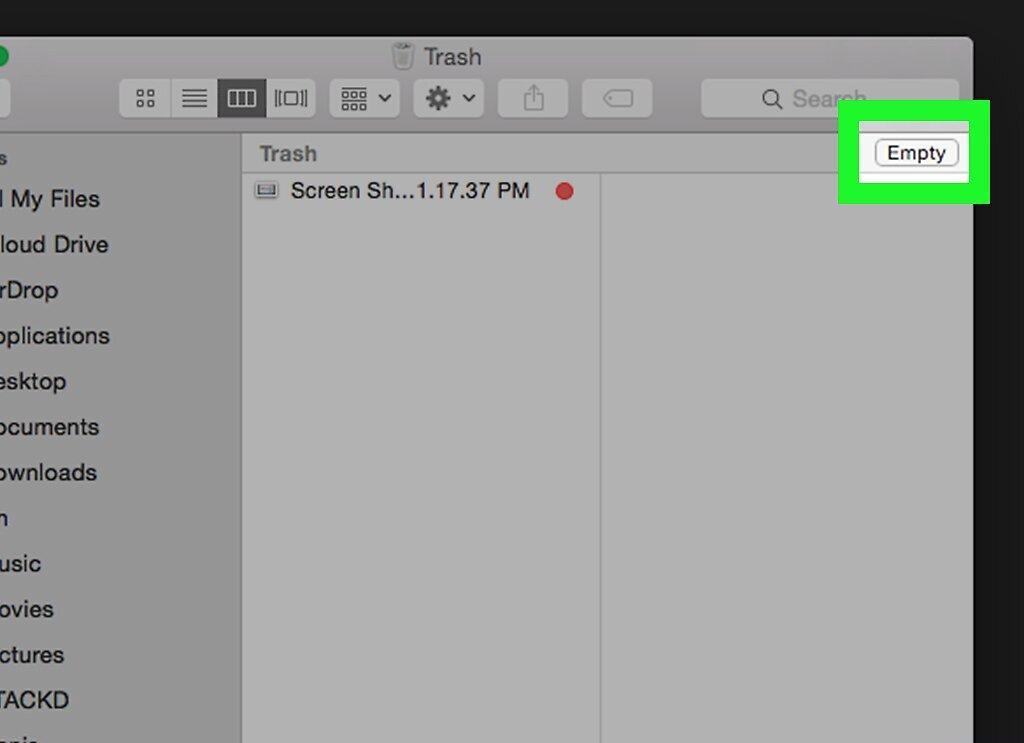
Don’t forget to empty your Trash. Deleted files remain there, taking up disk space until you perform a clean-up. To do this:
- Click the Trash icon in the dock;
- Select "Empty Trash" from the drop-down menu;
- Confirm the action when prompted on the screen.
Step 4. Update Your Software.
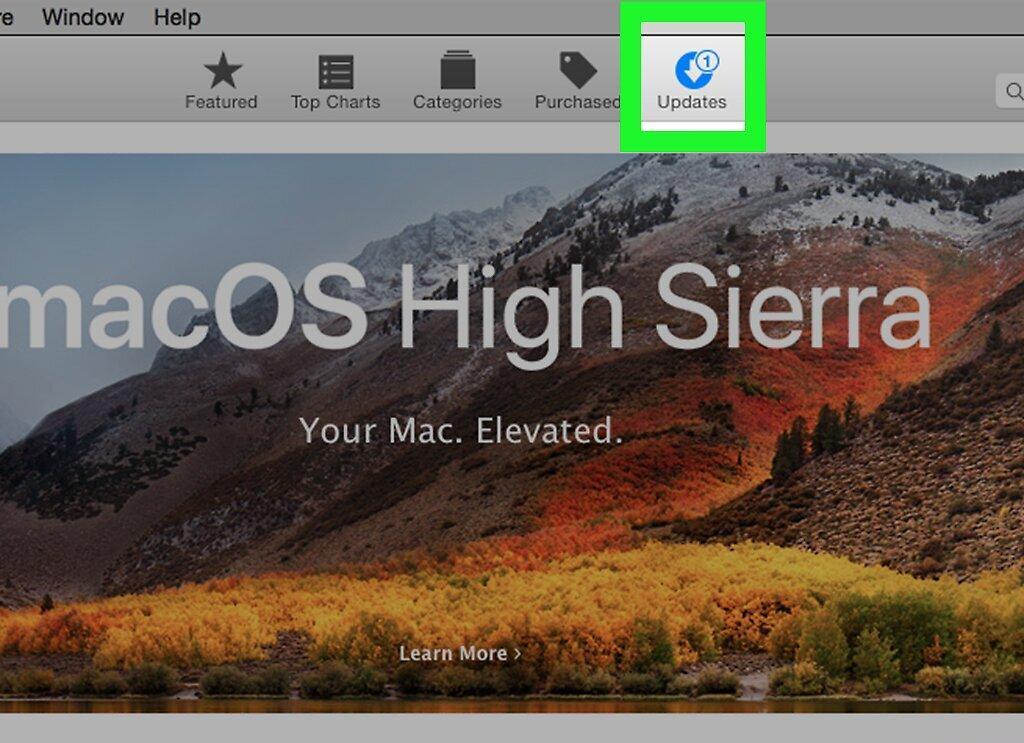
Ensure your software is up to date. Outdated applications can cause freezes on any device, including MacBook Pro or iPhone. Update pre-installed apps via the App Store and third-party applications through their official websites.
- Most applications will notify you of available updates when you open them.
Step 5. Restart Your Computer in Safe Mode.
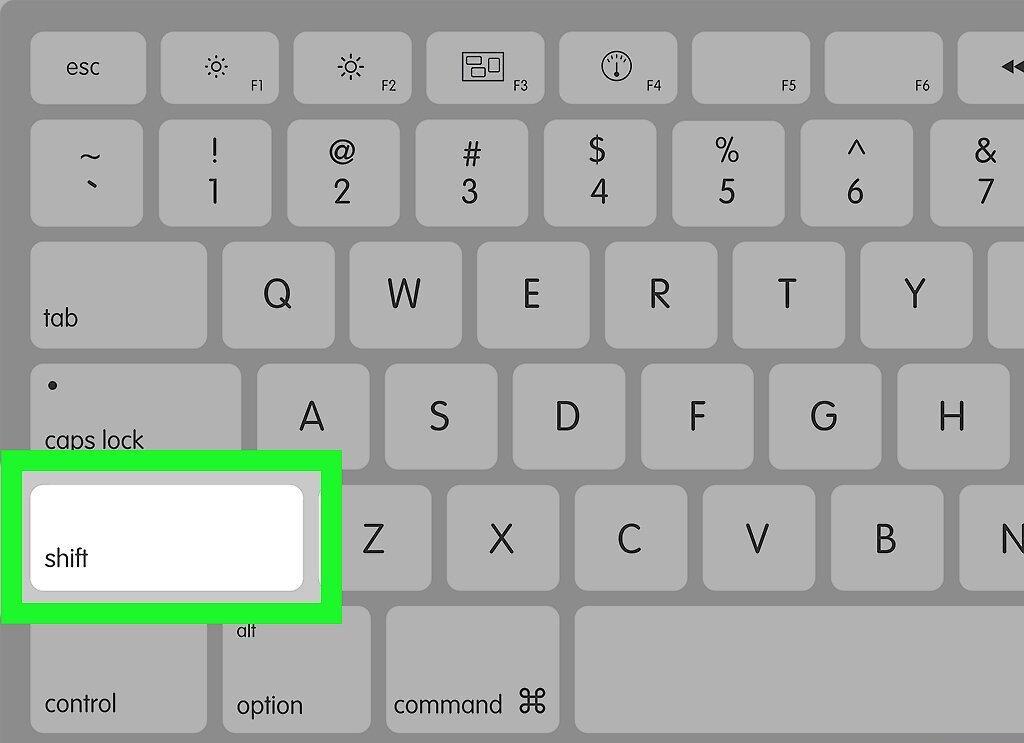
Boot your Mac in Safe Mode. This mode only loads essential files, allowing you to check the hard drive and folder structure. This is useful if your computer freezes during startup.
- In Safe Mode, you can update the system if an unsupported version of OS X is installed.
Step 6. Consider Deleting All Files If Other Methods Fail.
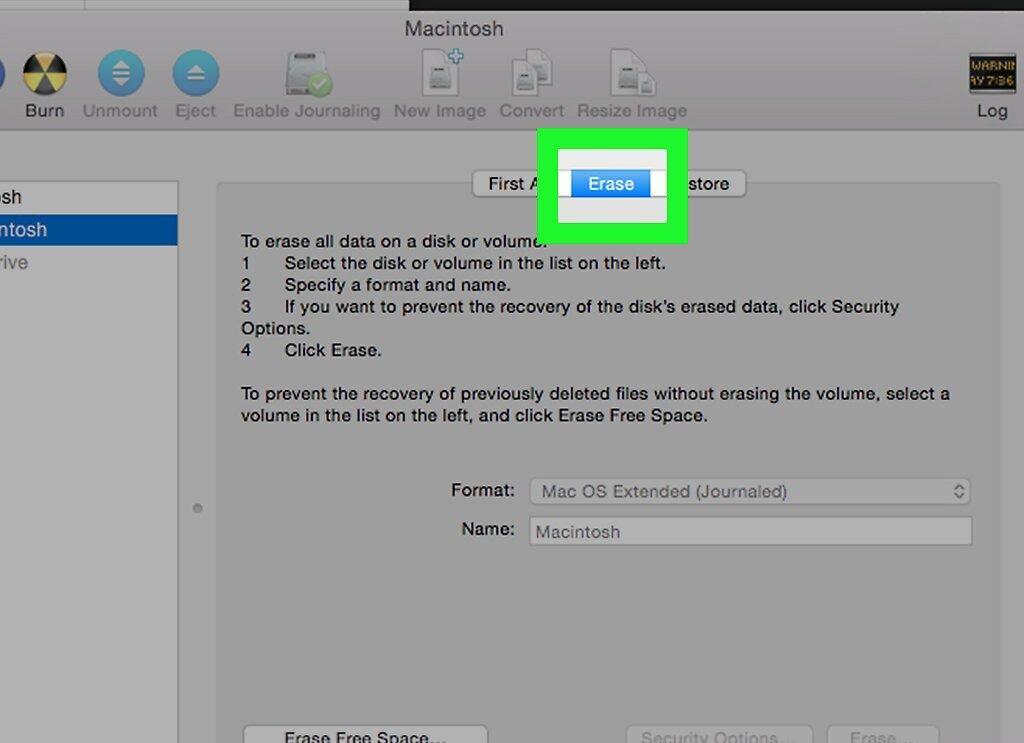
If the previous steps didn’t help, you might consider deleting all files from your hard drive. Be sure to back up important data on an external drive or cloud storage.
- Use all suggested methods before deciding to format the disk.
- After formatting, install the latest version of Mac OS X.
How to Update Your Operating System
Step 1. Open the Apple Menu  .
.
Click the Apple logo in the top left corner of the screen to open the drop-down menu.
Step 2. Select "About This Mac" 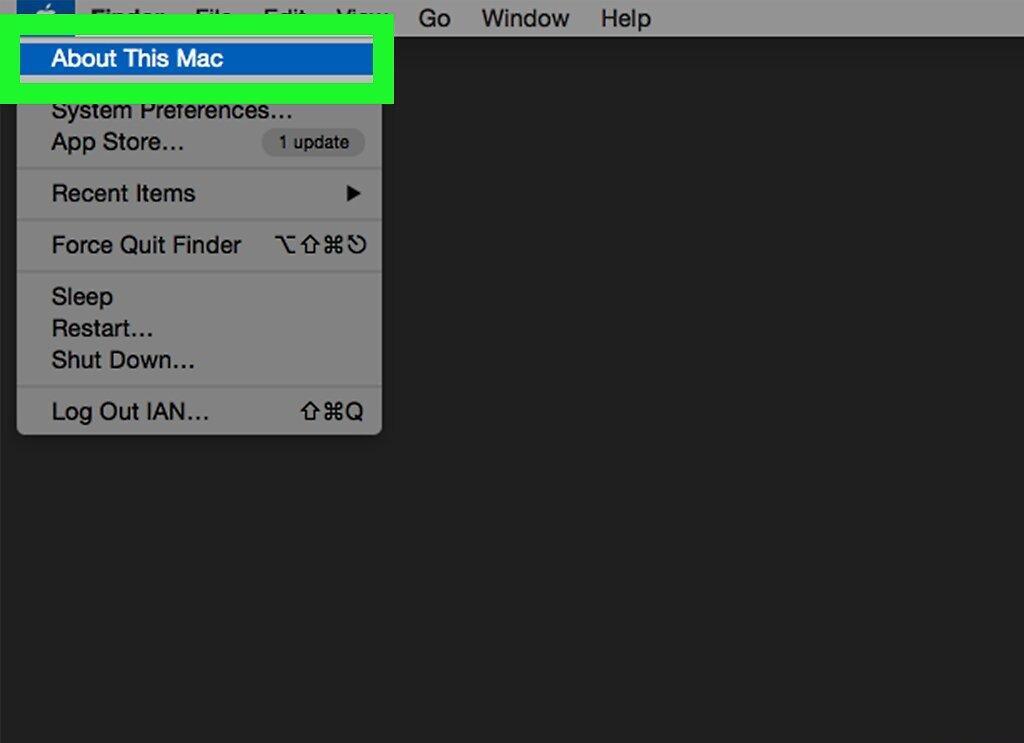 .
.
Choose the "About This Mac" option at the top of the menu.
Step 3. Go to the "Overview" Tab 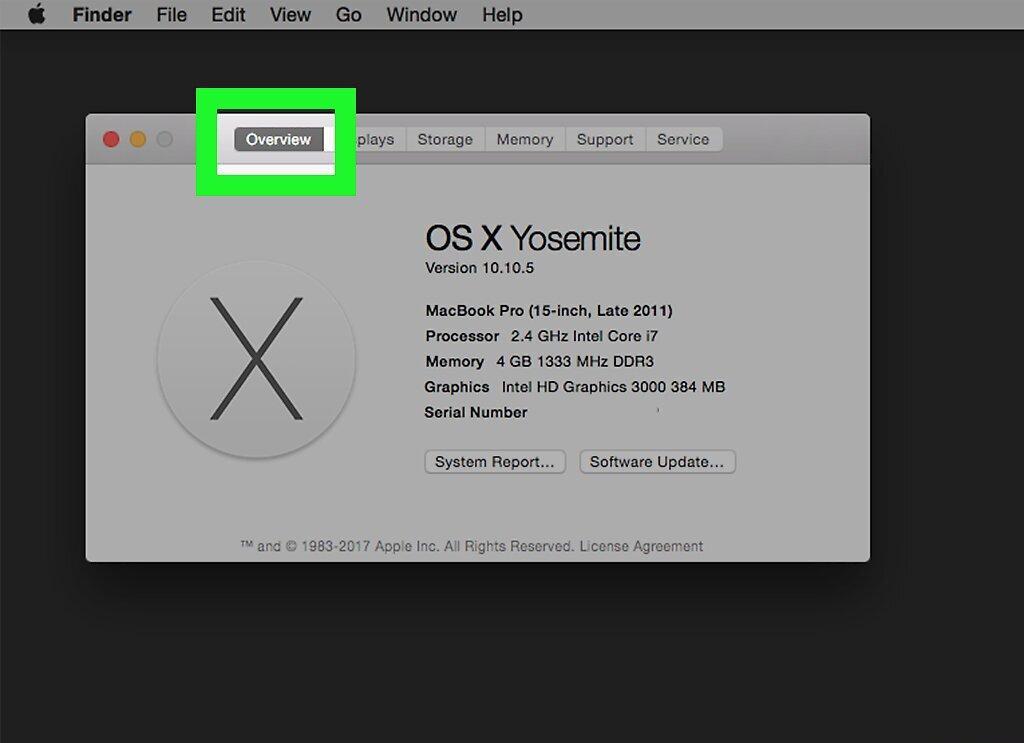 .
.
This tab opens automatically, showing you general information about your system.
Step 4. Select "Software Update" 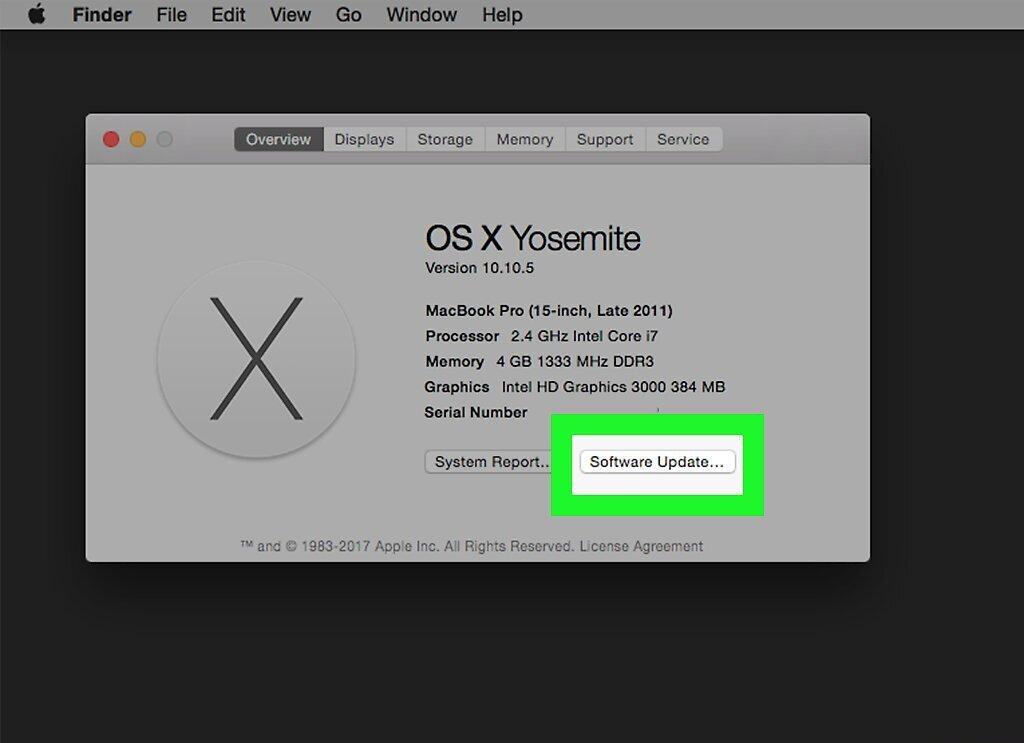 .
.
Click on "Software Update" in the lower right corner of the window. The search for available updates will begin.
Step 5. Install the Found Updates  .
.
Wait for the updates to install. If they are available, they will be installed automatically or you will be prompted to update the OS.
How to Delete Unnecessary Files
Step 1. Open the Apple Menu  .
.
Click the Apple logo in the top left corner of the screen to access the menu.
Step 2. Select "About This Mac" 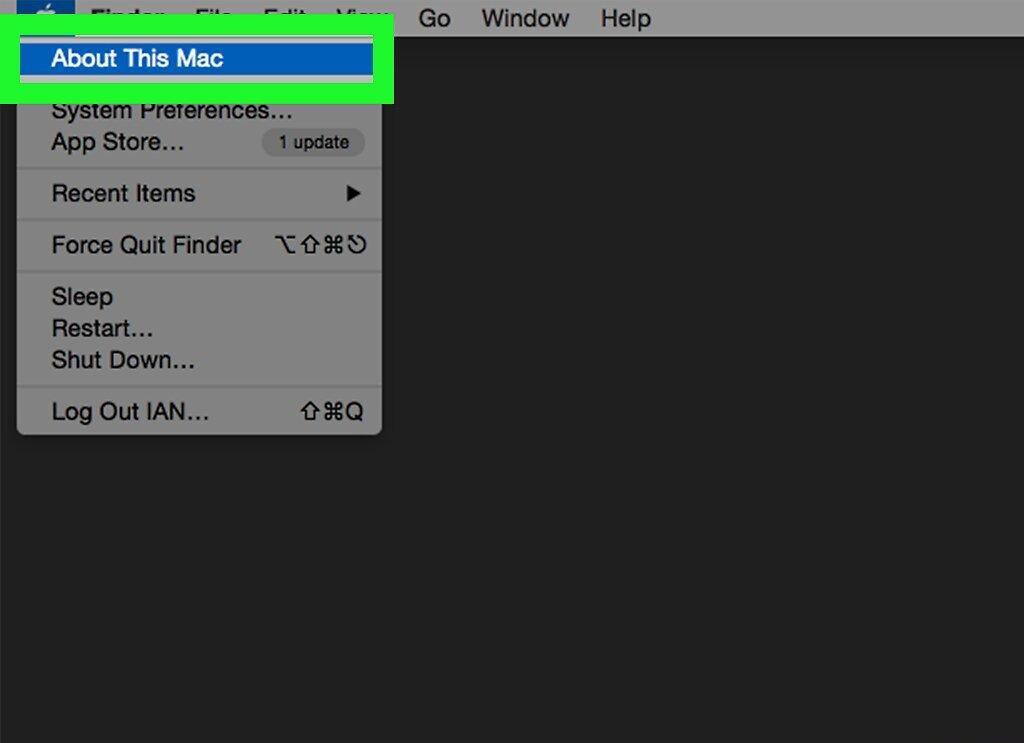 .
.
Choose the "About This Mac" option from the menu.
Step 3. Go to the "Storage" Tab 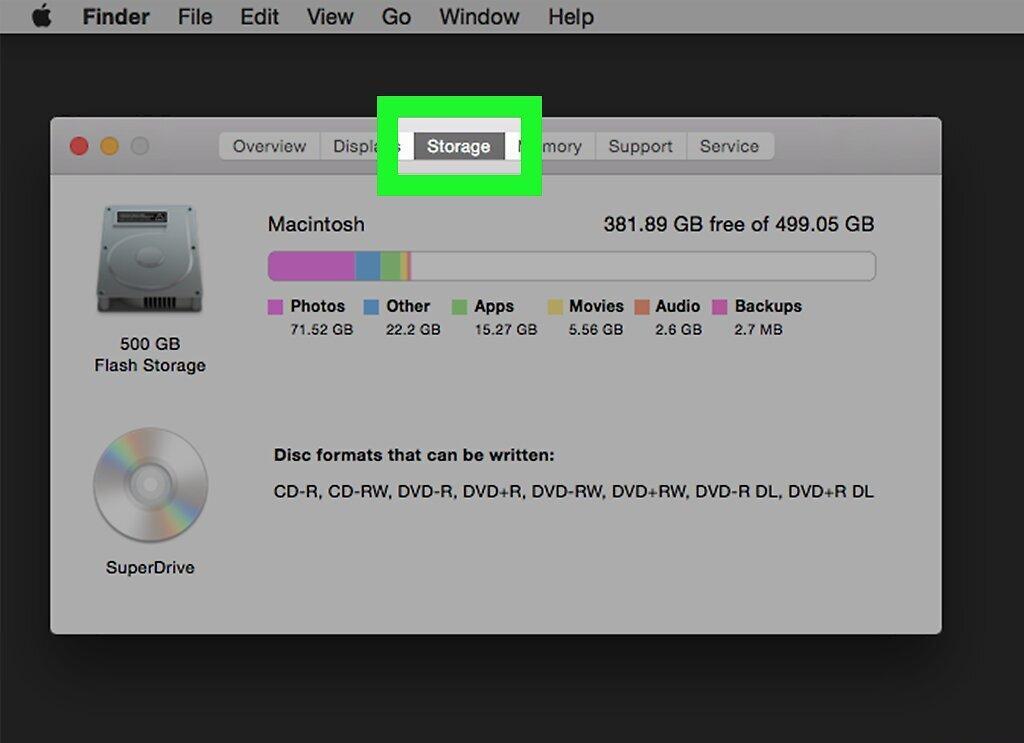 .
.
Click on the "Storage" tab at the top of the window.
Step 4. Click "Manage" 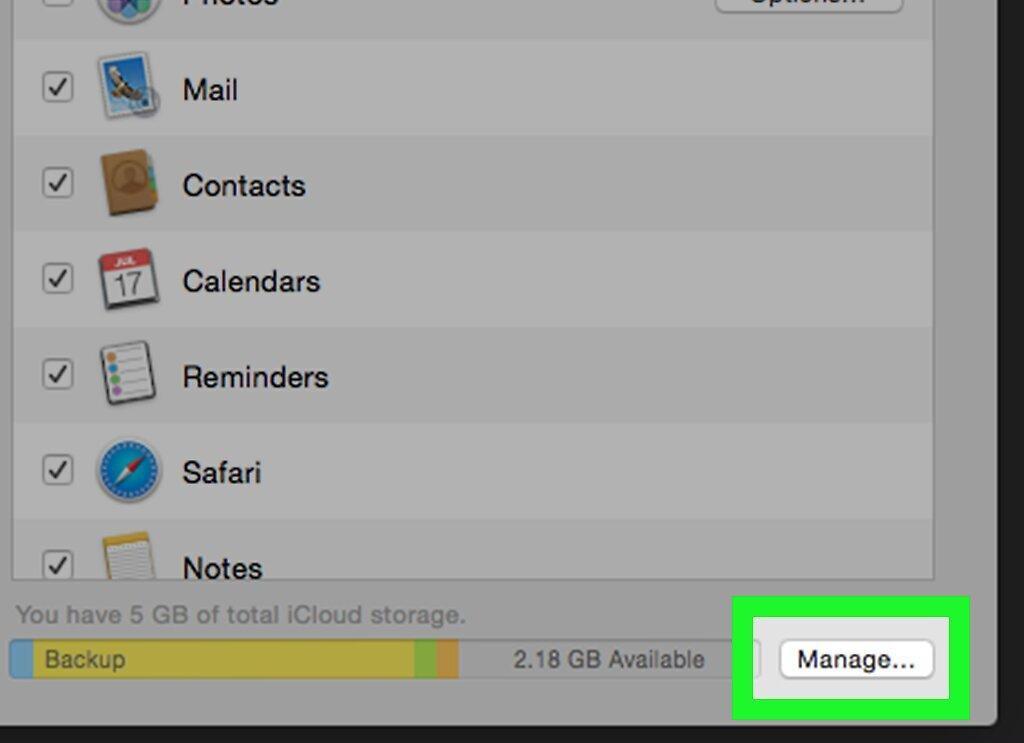 .
.
This option is located on the right side of the "Storage" window.
Step 5. Review Files on the Hard Drive 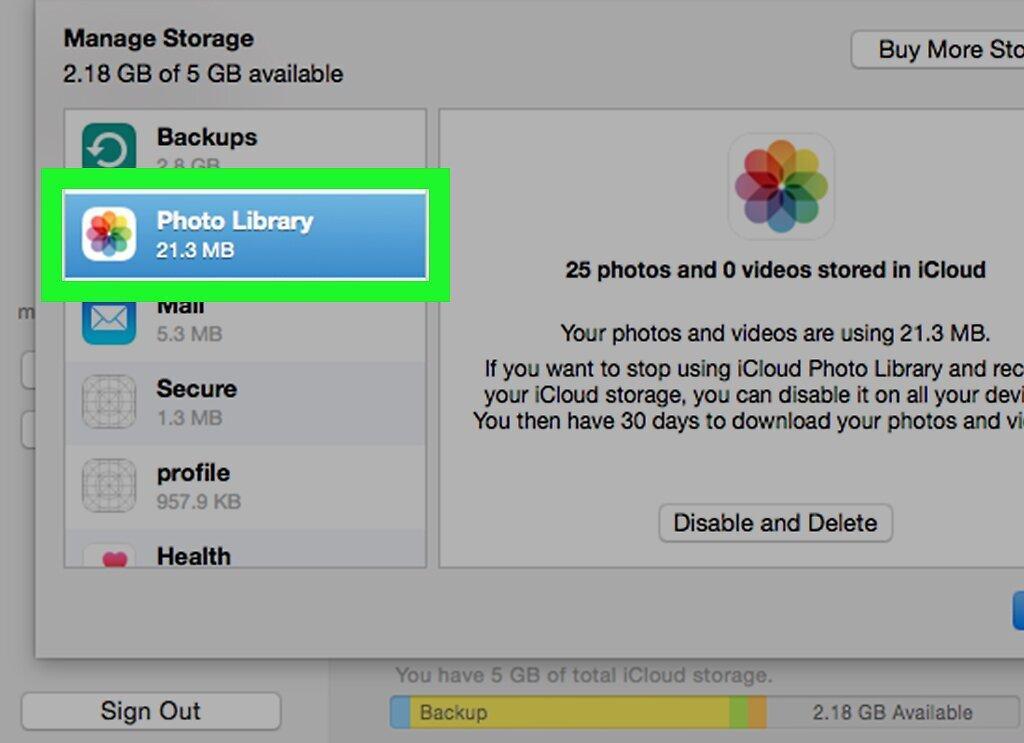 .
.
Look at the list of file types on the left panel and how much space they occupy on the disk.
- For instance, if applications take up 40 GB on a 250 GB disk, that's quite a lot.
Step 6. Select the File Type 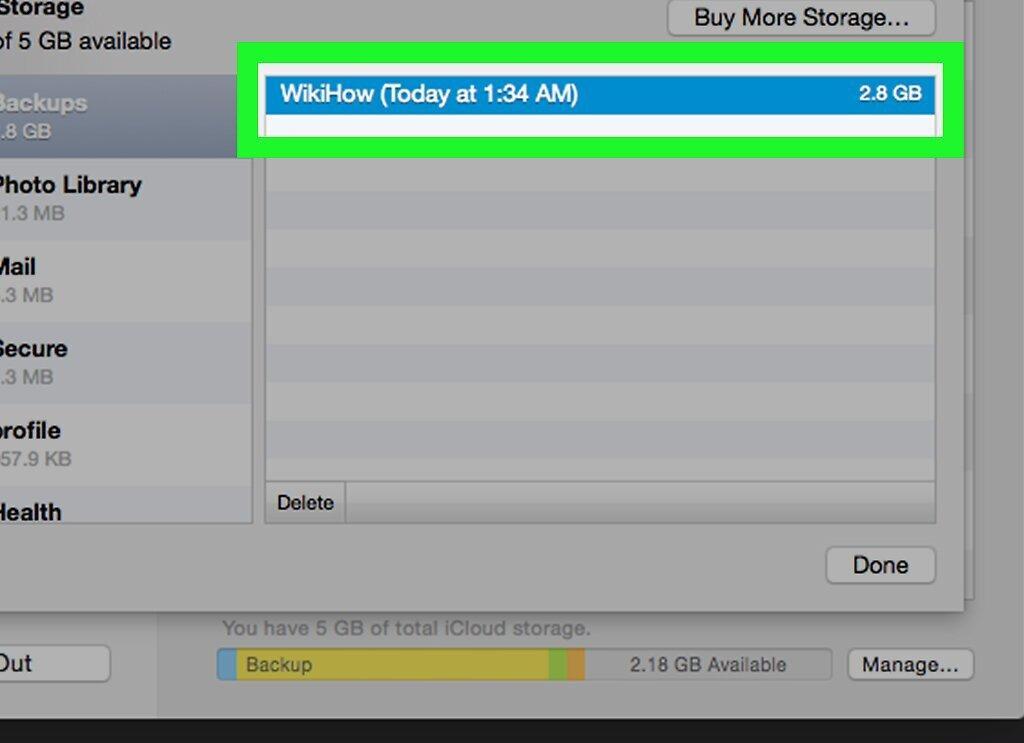 .
.
Click on the file type in the left panel to view its contents.
- For example, select "Applications" to see the installed apps.
Step 7. Delete Unnecessary Files 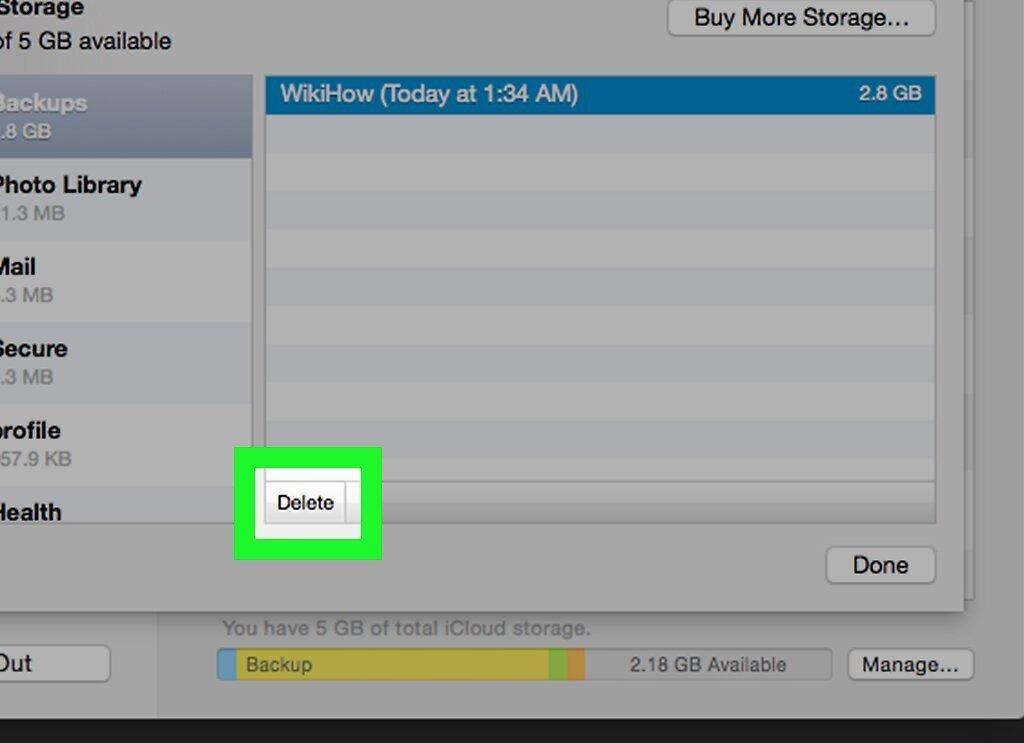 .
.
Select an unnecessary file or application, open the "Edit" menu, and choose "Delete". Repeat this for other unwanted items.
Step 8. Empty the Trash 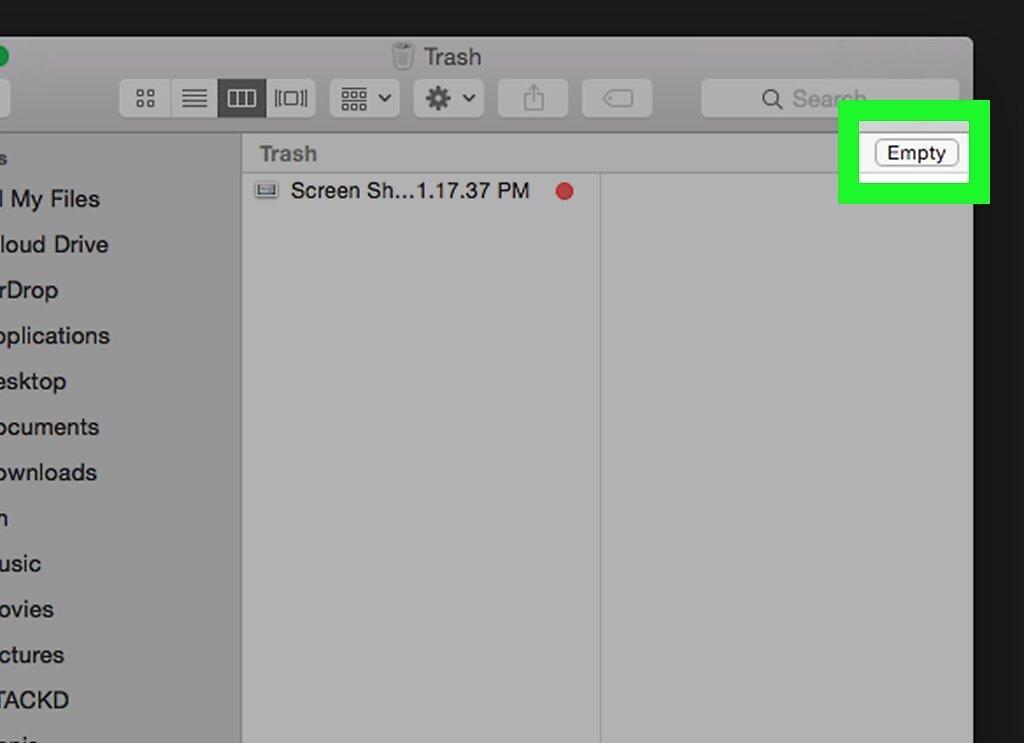 .
.
Click the "Trash" icon in the bottom right corner of the screen and select "Empty Trash". Confirm the emptying when prompted.
How to Check Your Hard Drive for Errors
Step 1. Restart Your Mac 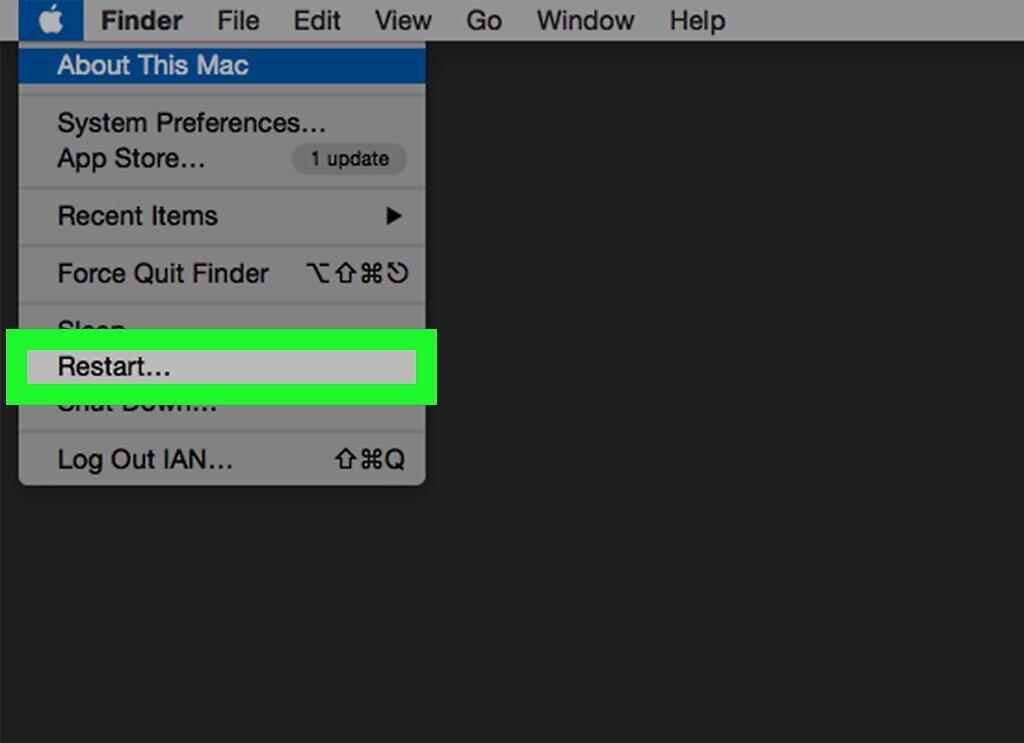 .
.
Click the Apple logo in the top left corner and select "Restart".
Step 2. Press ⌘ Command+R 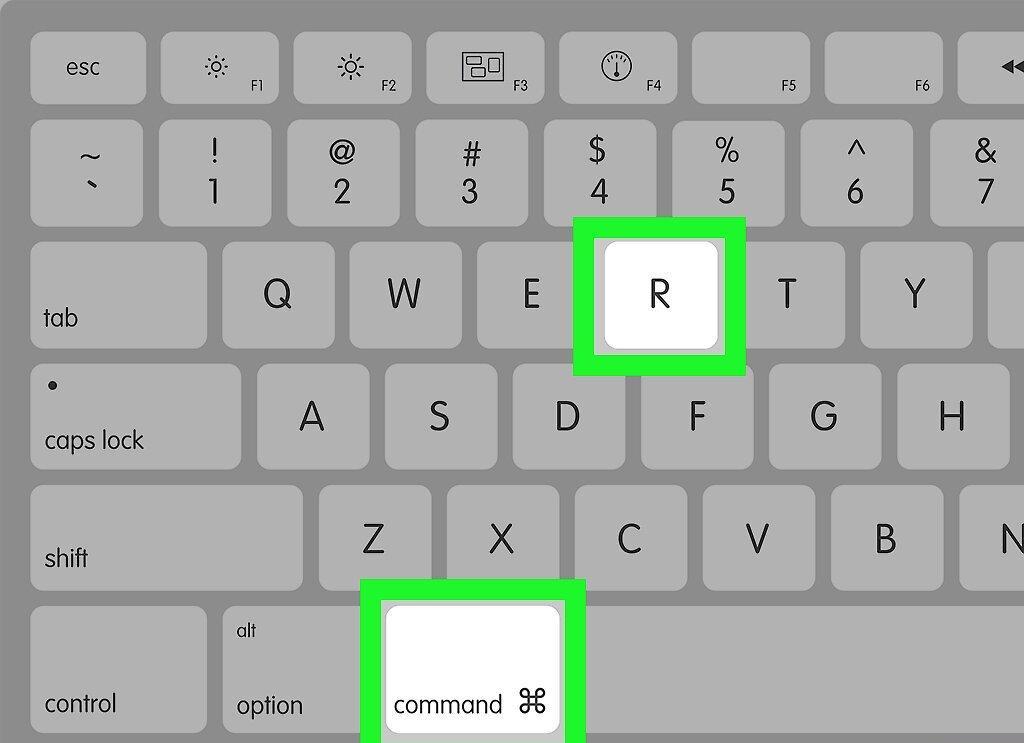 .
.
Press and hold these keys while the computer starts up.
Step 3. Release ⌘ Command+R 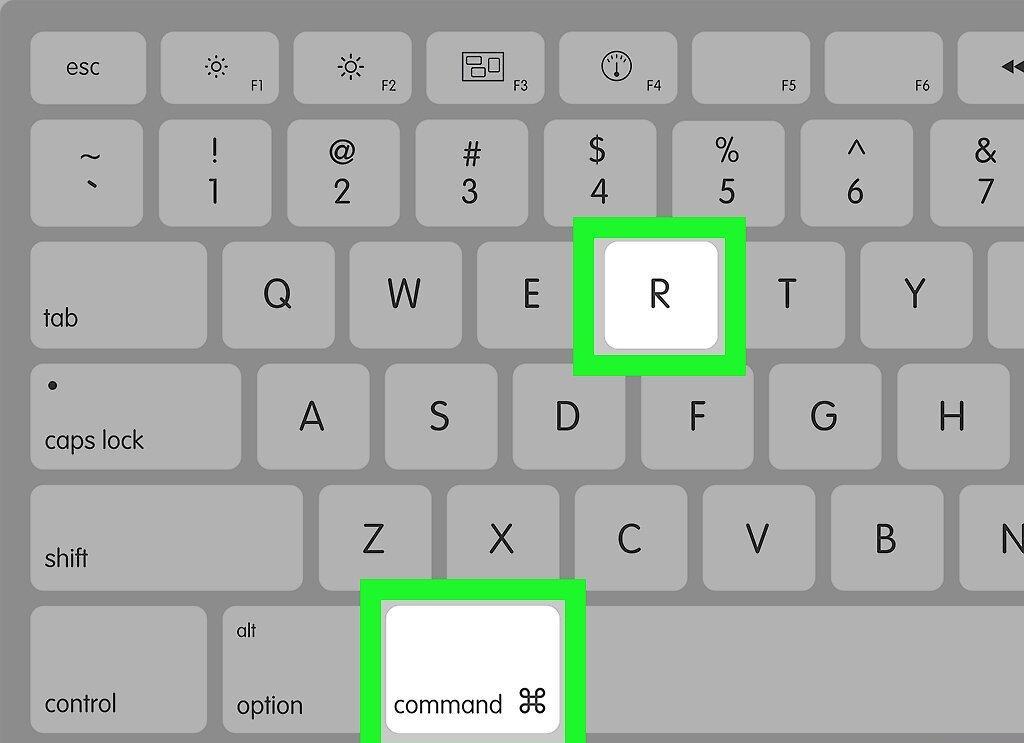 .
.
When the Apple logo appears, release the keys. A recovery window will open.
Step 4. Select "Disk Utility" 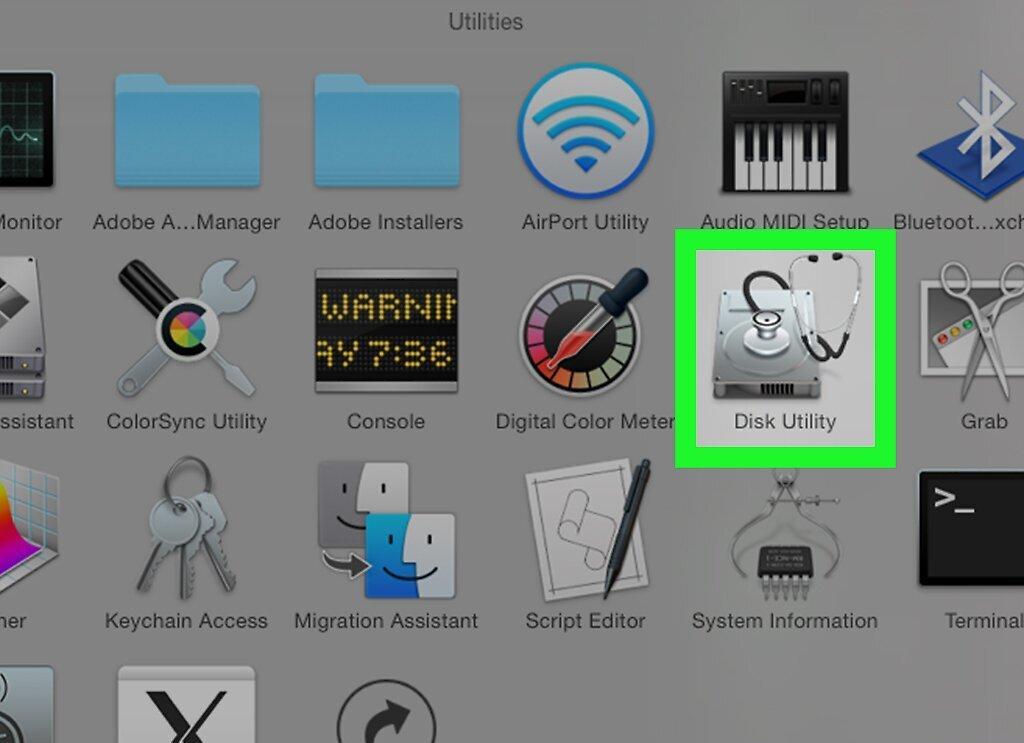 .
.
Select the "Disk Utility" icon at the bottom of the window.
Step 5. Click "Continue" 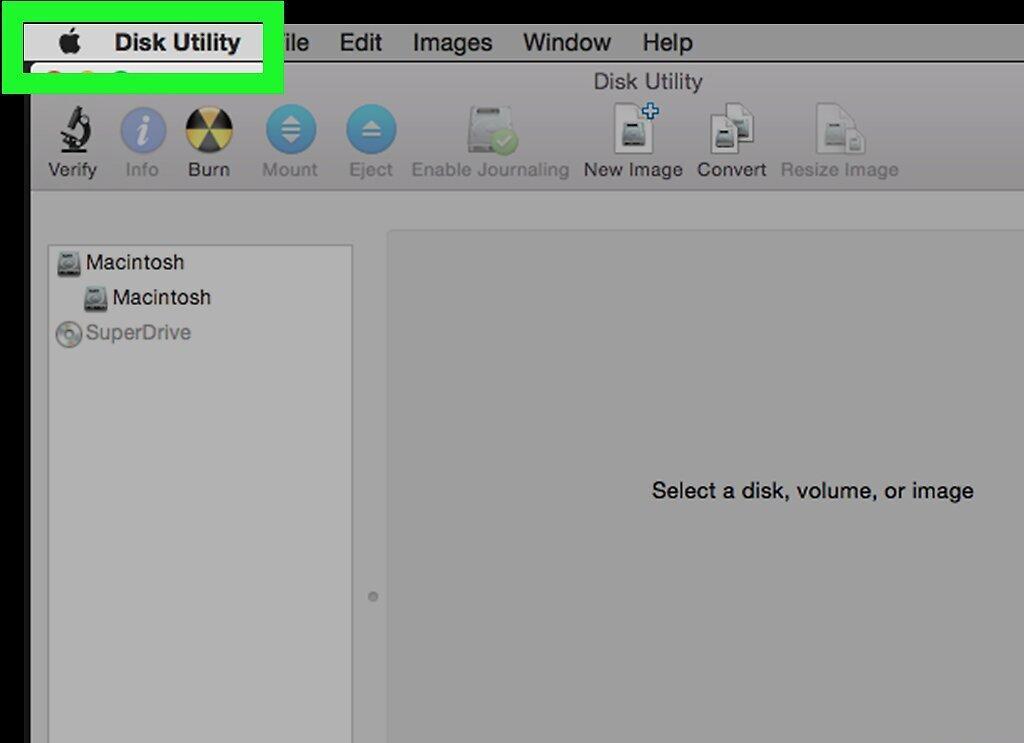 .
.
This option is available at the bottom right corner.
Step 6. Select Your Hard Drive 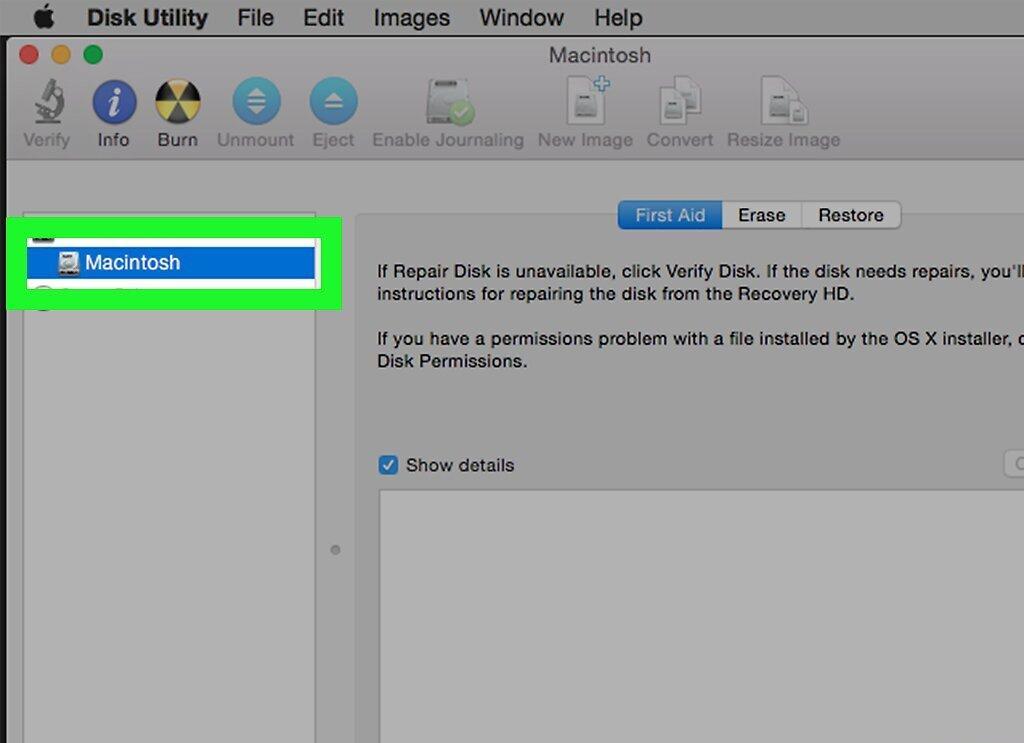 .
.
Choose your disk in the upper left corner under "Internal".
Step 7. Click "First Aid" 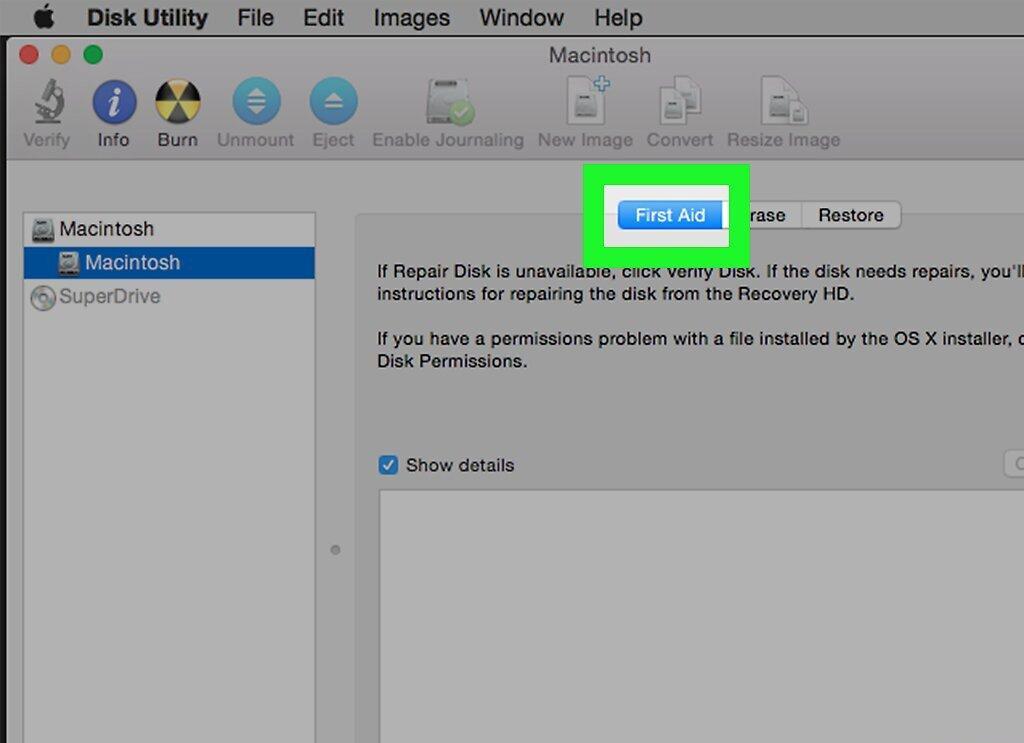 .
.
This tab is located at the top of the window.
Step 8. Click "Run" 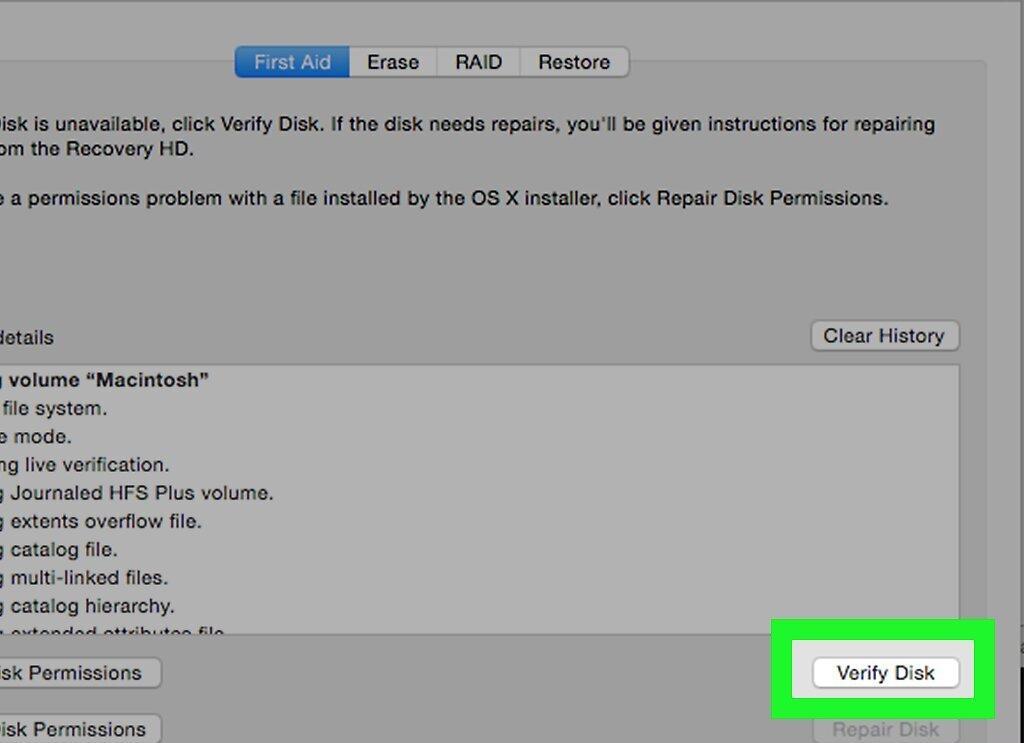 .
.
Confirm to perform a check for errors on the hard drive.
Step 9. Wait for the Process to Complete 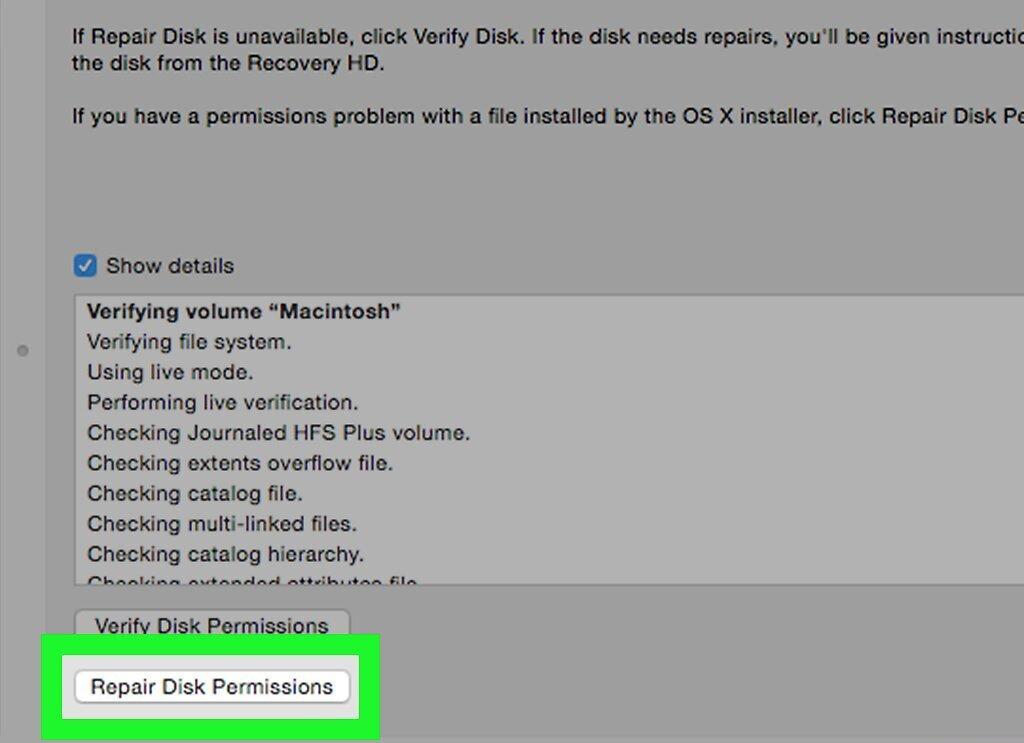 .
.
Wait for errors to be fixed. After this, click "Done" to restart the computer.
- If errors are not fixed, try running Disk Utility again. If problems persist after several attempts, contact a service center.
How to Force Quit a Frozen Application
Step 1. Open the Apple Menu  .
.
In the top left corner of the screen, click the Apple logo to open the menu.
- If the mouse isn’t working, proceed to the next step.
Step 2. Select "Force Quit" 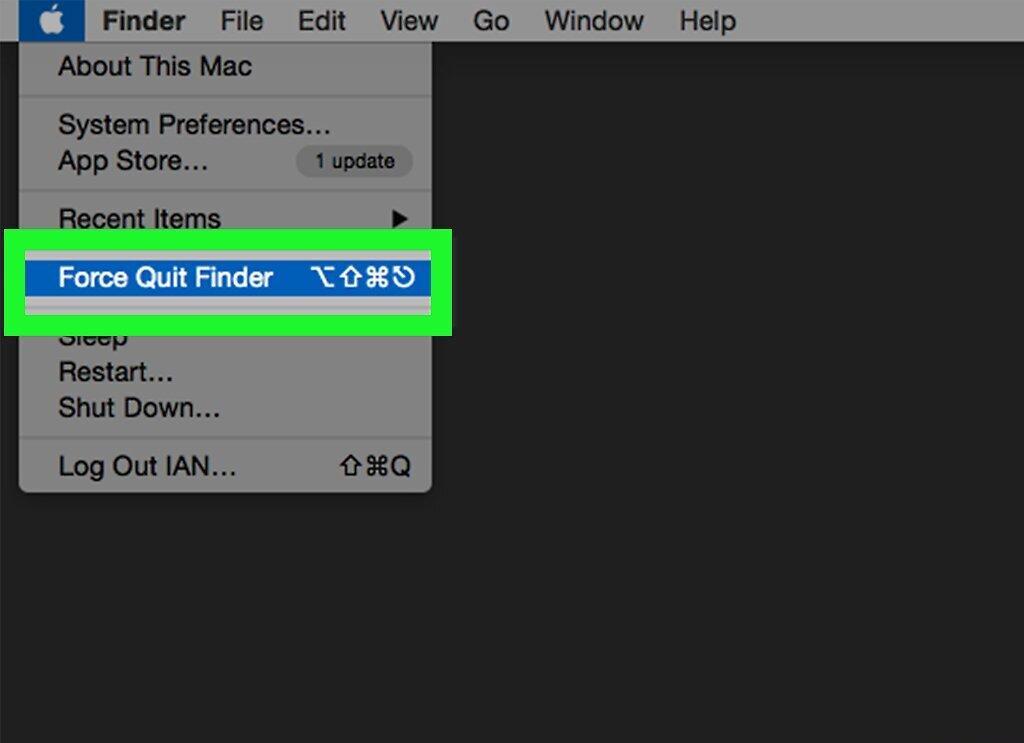 .
.
This option is located in the middle of the menu. A "Force Quit Applications" window will open.
Step 3. Find the Frozen Application 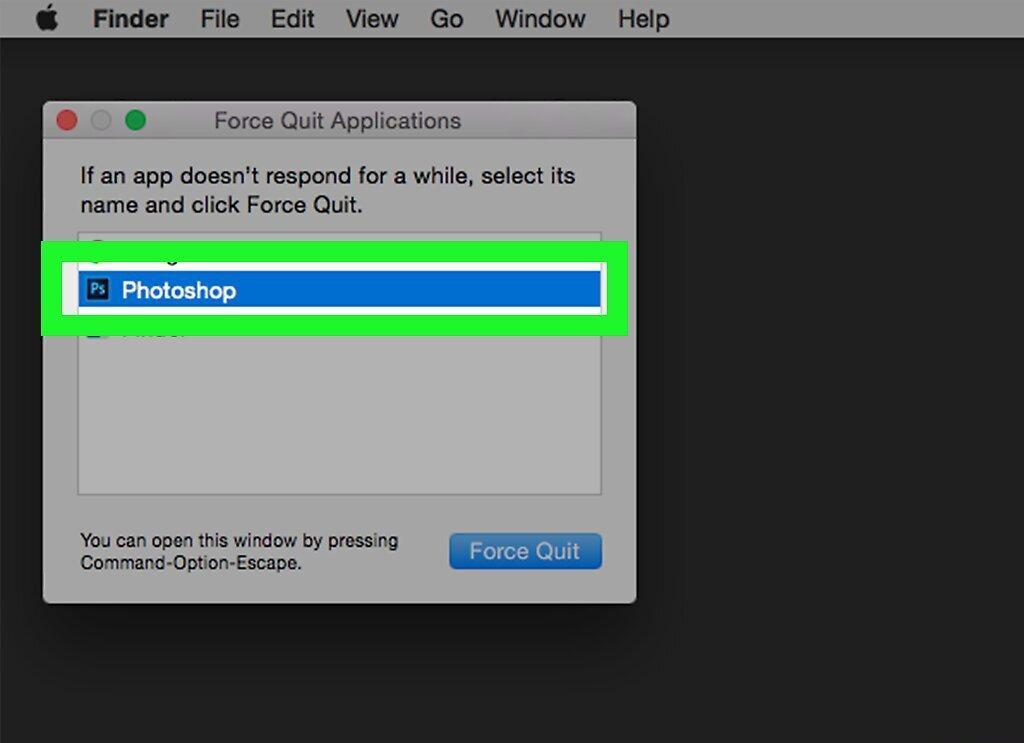 .
.
Select the application that is causing issues or slowing down the system.
Step 4. Click "Force Quit" 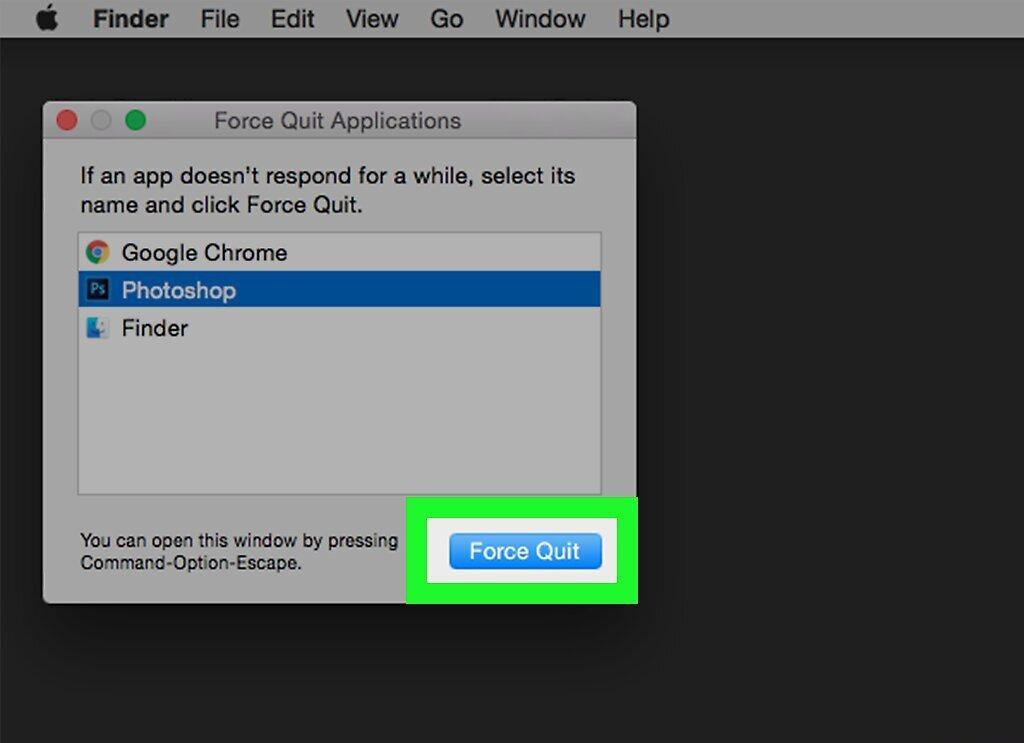 .
.
The button is located in the bottom right corner of the window.
Step 5. Confirm the Quit 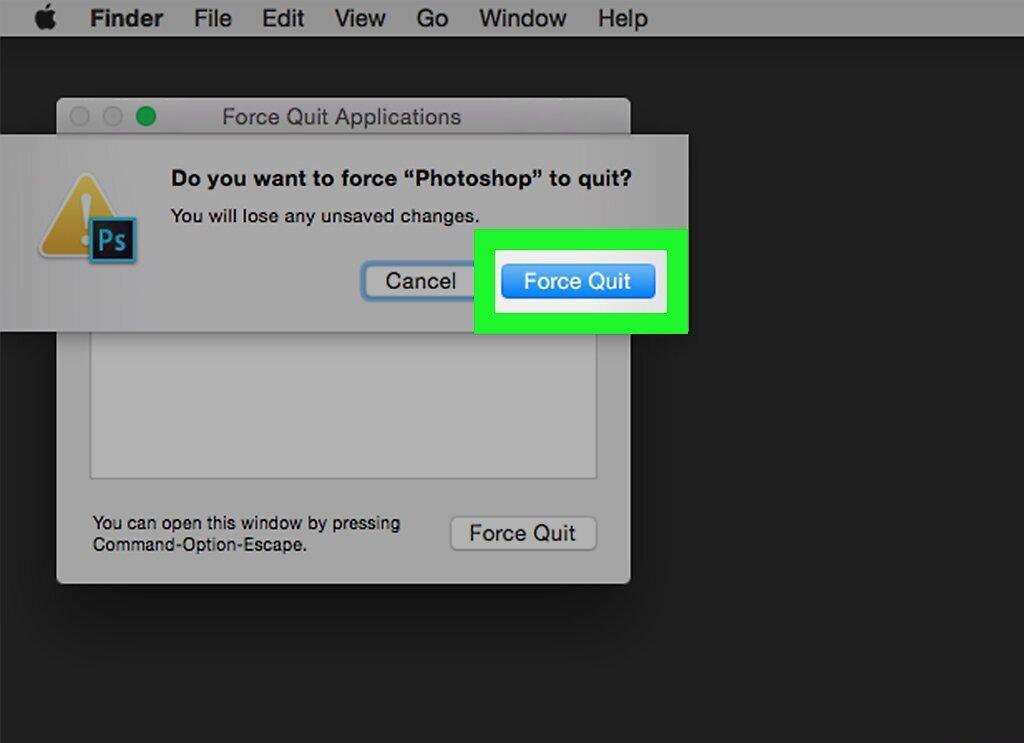 .
.
Click "Force Quit" when prompted. The application will close. If your Mac runs normally afterward, the issue was with that application, and you should consider reinstalling it.
- If this does not help, hold down the ⌘ Command, ⇧ Shift, ⌥ Option, and Esc keys for three seconds to close the active application.


