
Having your own well is a fantastic way to ensure you have free drinking water. However, over time it can become a breeding ground for bacteria and other harmful microorganisms. One of the most reliable methods to combat this issue is the use of chlorine bleach, which effectively kills all harmful bacteria.[1] X Information source Be prepared for the process to take one to two days, so stock up on water for daily needs in advance.
Preparation for Chlorination
Step 1. Determine when your well needs chlorination.
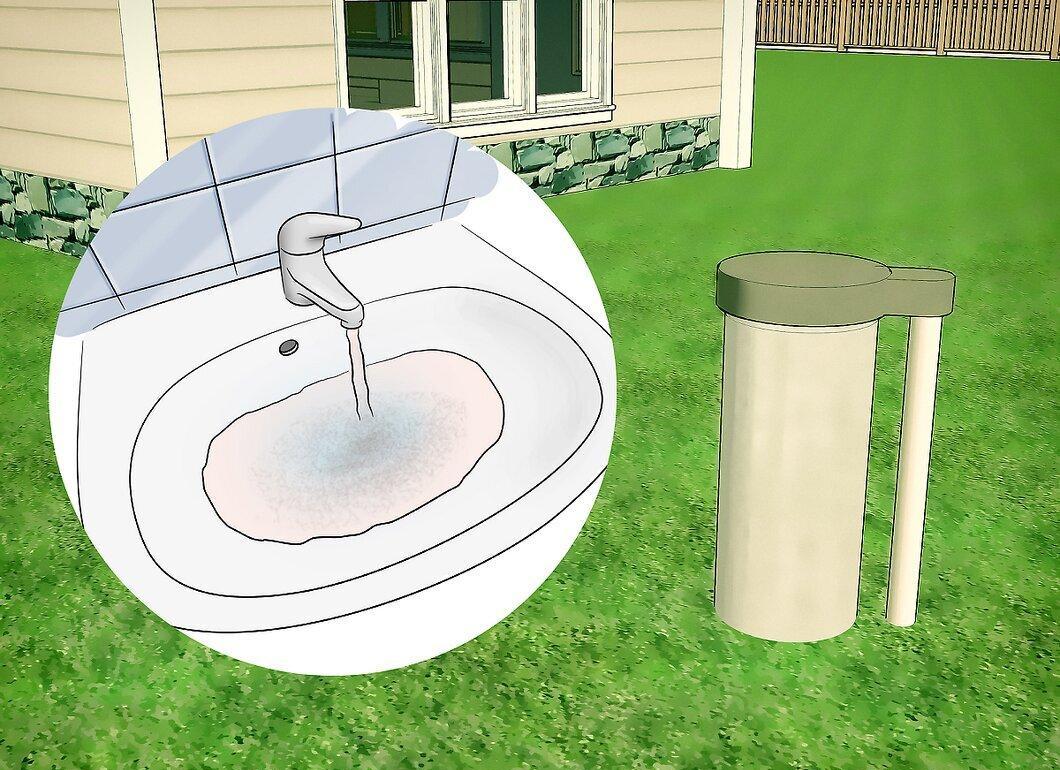
It’s important to know when your well needs chlorination. It is recommended to perform this procedure at least once a year, especially in the spring. However, there are other circumstances that make chlorination necessary:
- If annual water test results show the presence of bacteria.
- If you notice changes in the color, taste, or smell of the water, be sure to test it for bacteria. If the result is positive, chlorination is mandatory. Also, find out what may have affected the water quality and eliminate the source of contamination. Detailed recommendations can be obtained from your local sanitary-epidemiological service.
- If the well is new, recently repaired, or had new pipes added.
- If the water in the well darkened or became cloudy during a flood or after heavy rains.
- If you plan to not use the well for an extended period or, conversely, are just starting to use it.
Step 2. Prepare all necessary supplies.
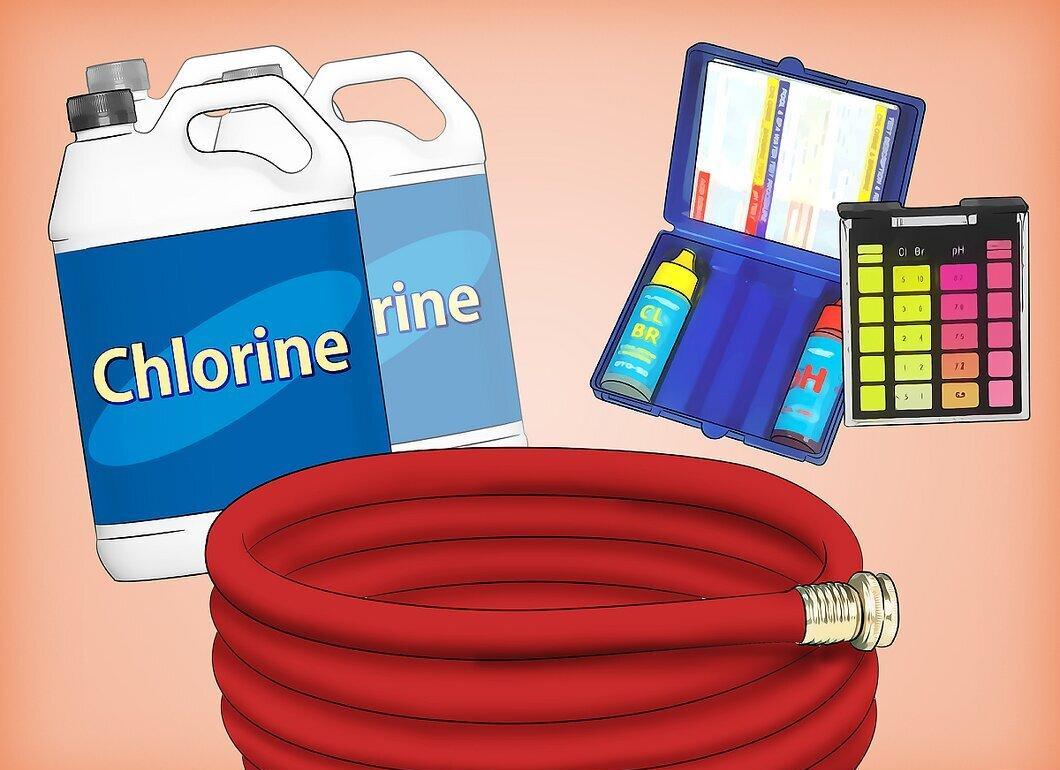
- Chlorine: Naturally, you will need chlorine for chlorination. You can use either tablets or granules, but the most convenient option is regular household chlorine bleach. Make sure it does not contain fragrances. You may need up to 40 liters of chlorine, depending on the size of your well.
- Chlorine testing kit: This is necessary for accurately measuring the chlorine level in the water, rather than relying solely on smell. Such a kit is typically used in pool maintenance and can be found in specialty stores. Choose a liquid test—paper strips are not suitable for checking chlorine levels in wells.
- Garden hose: To ensure water recirculation, you will need a clean hose. Some experts recommend using a hose with a diameter of 1.25 cm instead of the standard 1.5 cm—it's up to you. Cut the end of the hose at a sharp angle.
Step 3. Calculate the volume of your well.
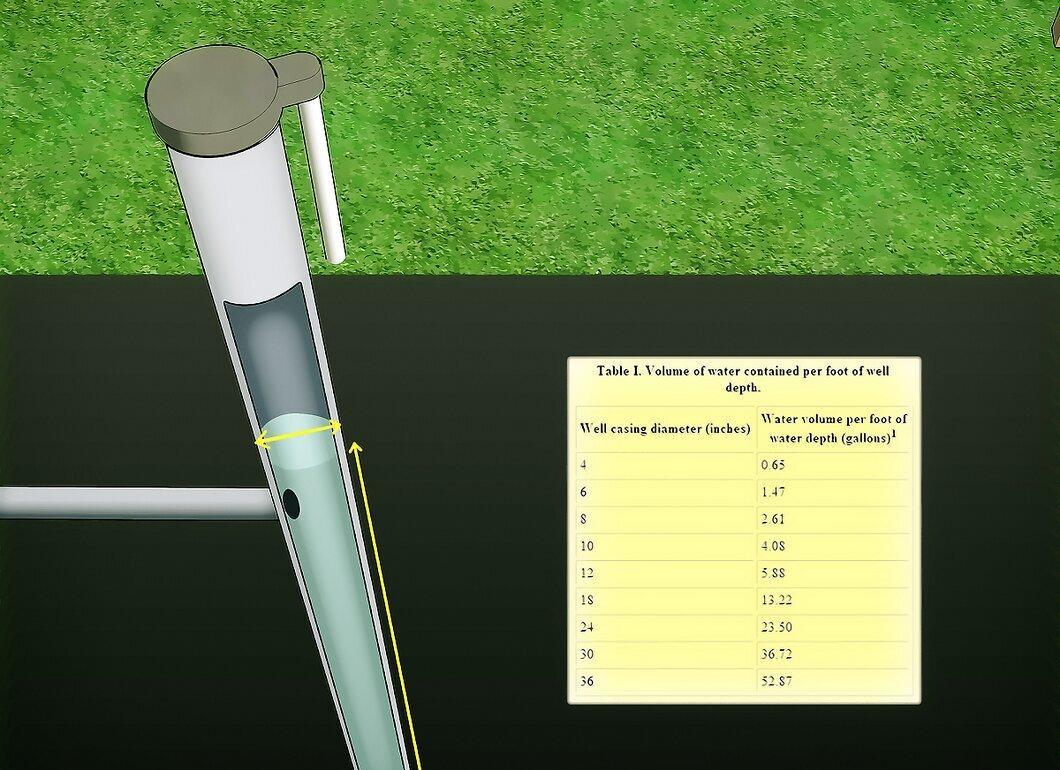
You need to know the volume of water in your well to determine how much chlorine is needed for effective disinfection. To do this, multiply the depth of the well by the number of liters of water per square meter.
- To measure the depth, determine the distance from the bottom to the water level. You can do this using fishing line and a weight. When the weight touches the bottom, the line will loosen. Mark the spot on the line and measure the length from the mark to the end.
- Alternatively, you can contact the company that drilled your well—they usually keep such information.
- The number of liters per square meter depends on the diameter of the casing pipe. Typically, pipes with diameters of 110, 114, 125, and 133 mm are used. Knowing the diameter, you can calculate the cross-sectional area of the pipe using the formula S=πr². This means you need to divide the diameter by two, square it, and multiply it by 3.14.
- Now, with the data on the height of the water column and the area, multiply them to get the total volume of water in the well. You will need 1 liter of chlorine bleach for every 260 liters of water in the well, as well as 1.5 liters for treating the home water supply system.
Step 4. Prepare not to use water from the well for 24 hours.
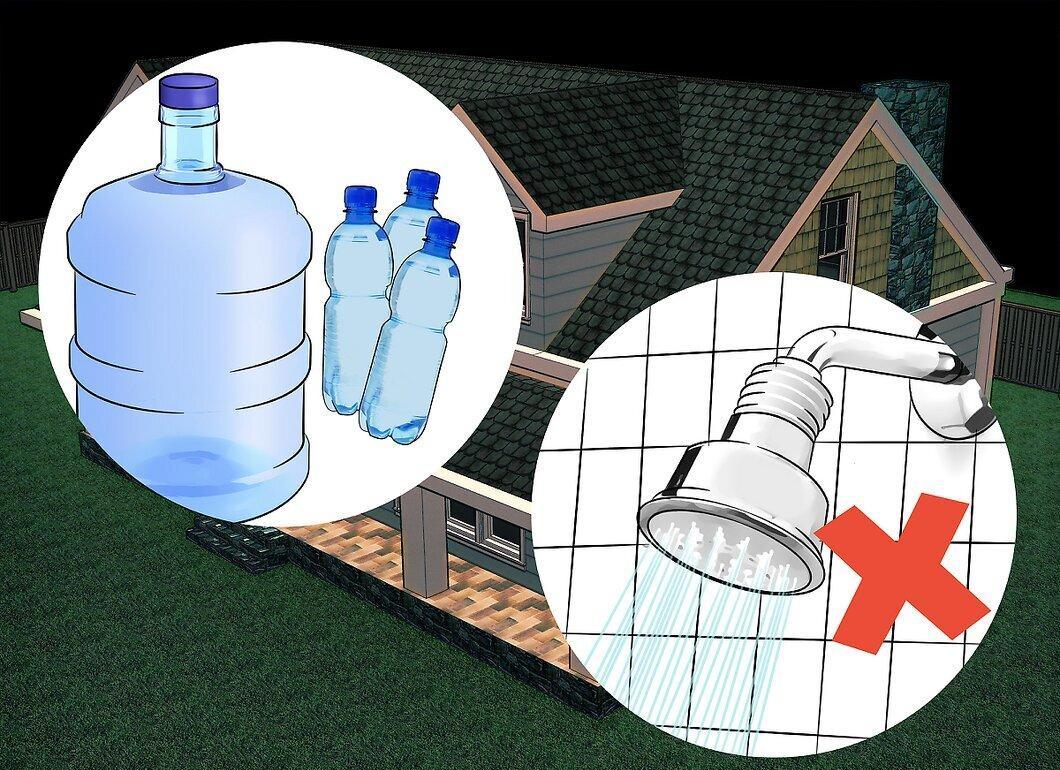
Be prepared not to use water from the well for at least 24 hours. Chlorination requires time—usually 1-2 days. During this time, you should not use the water for household needs, so prepare for this in advance.
- During the chlorination process, the chlorine level in the water will be higher than in a swimming pool, and such water is unsafe to use. Additionally, if chlorinated water is discharged into a septic tank, it can kill beneficial bacteria necessary for waste processing.
- For drinking and cooking, it is better to use bottled water and also avoid using sinks and showers. Try to minimize the use of the toilet tank.[4] X Information source
Chlorinating the Well
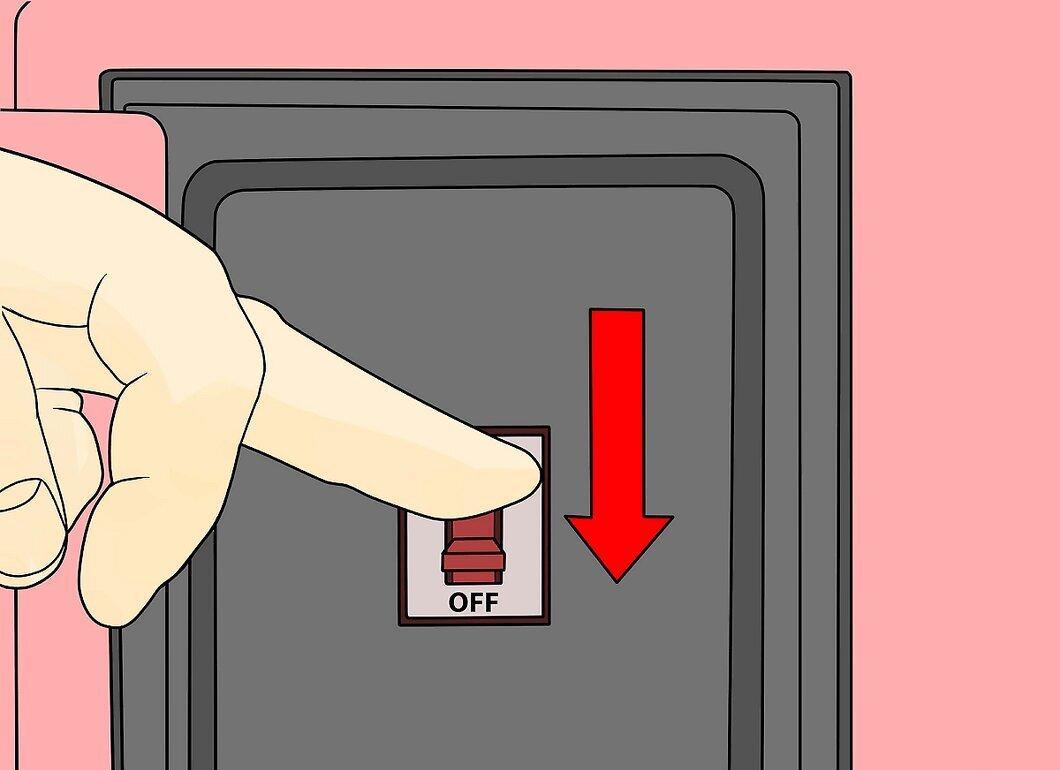
Step 1. Turn off the pump circuit breaker.
Step 2. Open the valve.
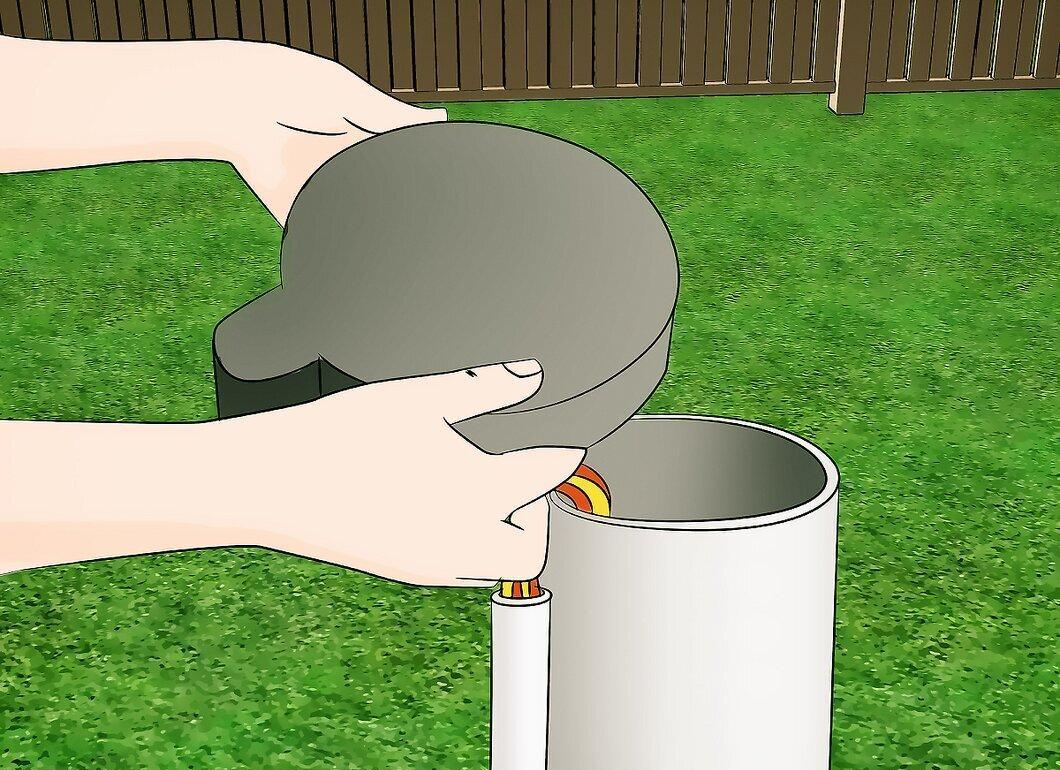
Open the valve. Depending on the design of your well, you may need to open the vent pipe to add chlorine.
- Typically, the vent pipe is located at the top of the well, about 15 cm long with a diameter of 1.25 cm. Open it by unscrewing it from the fitting.
- In some cases, it may be necessary to remove the cap from the top of the well by unscrewing several bolts.
Step 3. Pour in the chlorine.
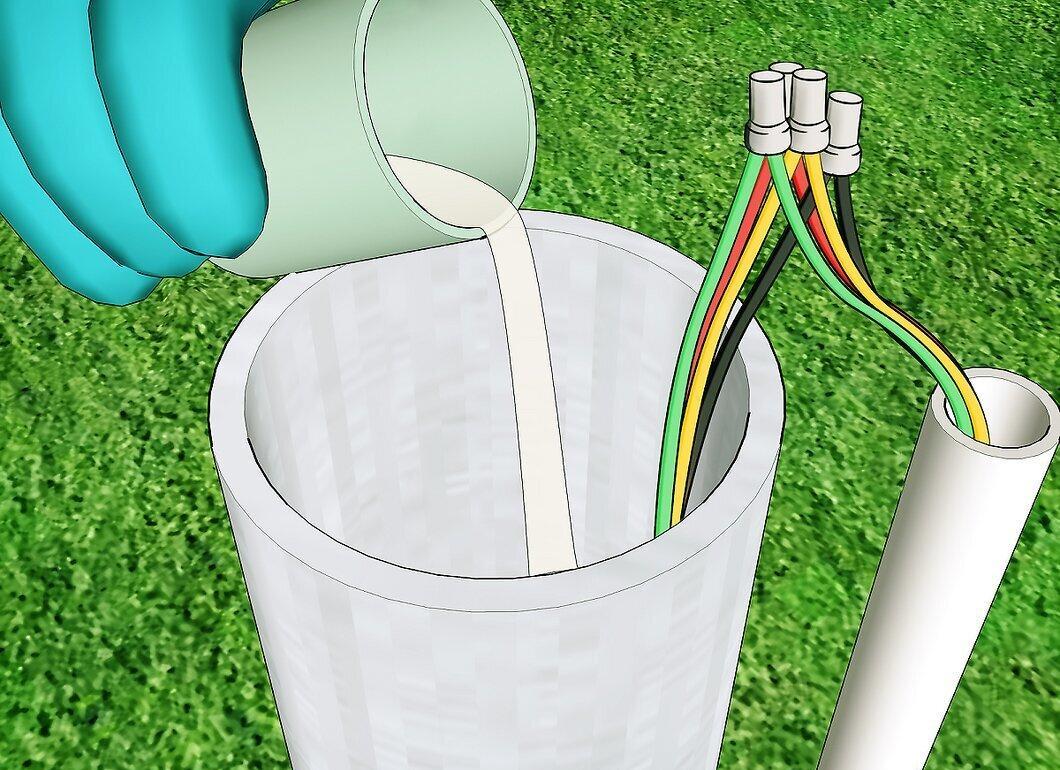
Carefully pour the chlorine into the well, trying not to disturb the electrical connections.
- It is advisable to wear protective gloves, goggles, and an apron, as you are working with undiluted chlorine.
- If chlorine comes into contact with your skin, rinse it off immediately with clean water.
Step 4. Connect the hose.
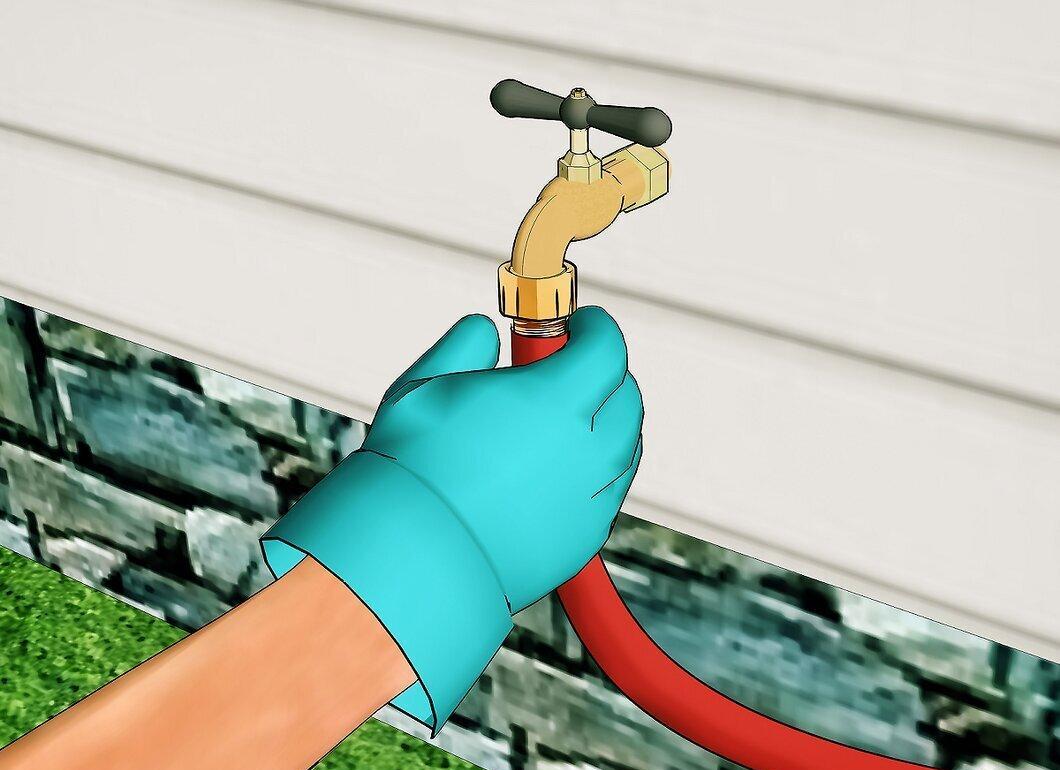
Attach the hose to the nearest faucet and insert the other end of the hose (cut at a sharp angle) into the opening after the vent pipe or directly into the well.
- If the hose is too short, connect several hoses together.
Step 5. Start the water recirculation.
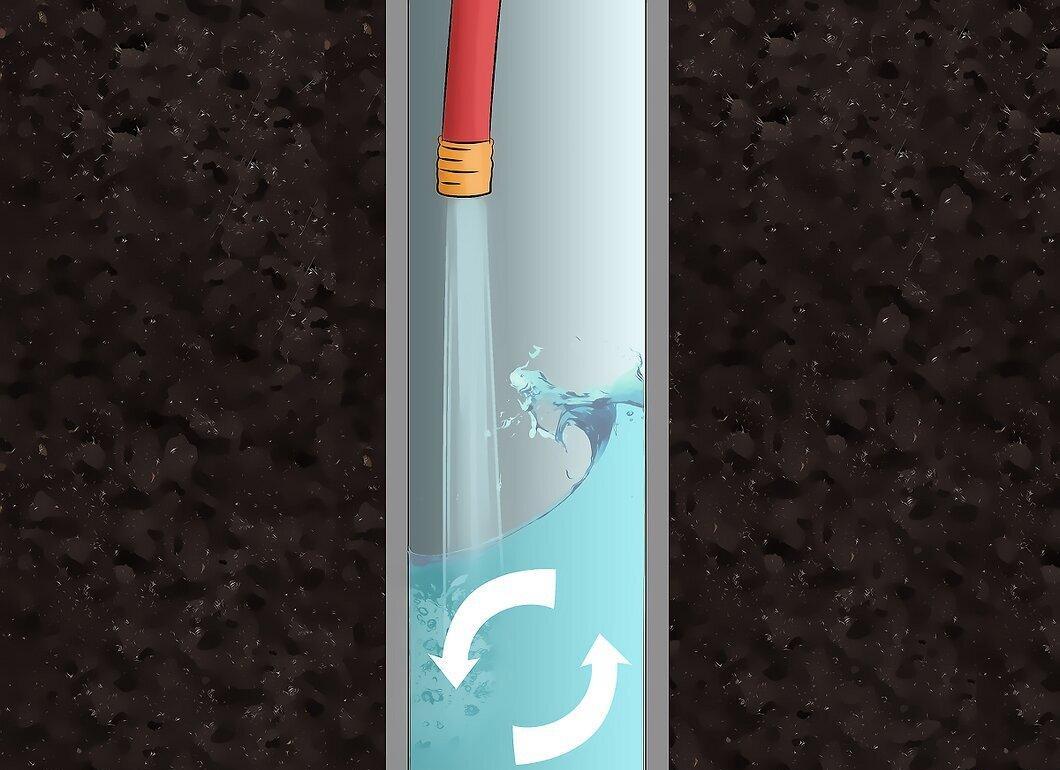
Turn the water on to maximum and allow it to circulate for at least one hour.
- The water flowing out of the hose will lift water from the bottom, ensuring an even distribution of chlorine.
- This process guarantees that all bacteria in the well will be killed.
Step 6. Check the chlorine level.
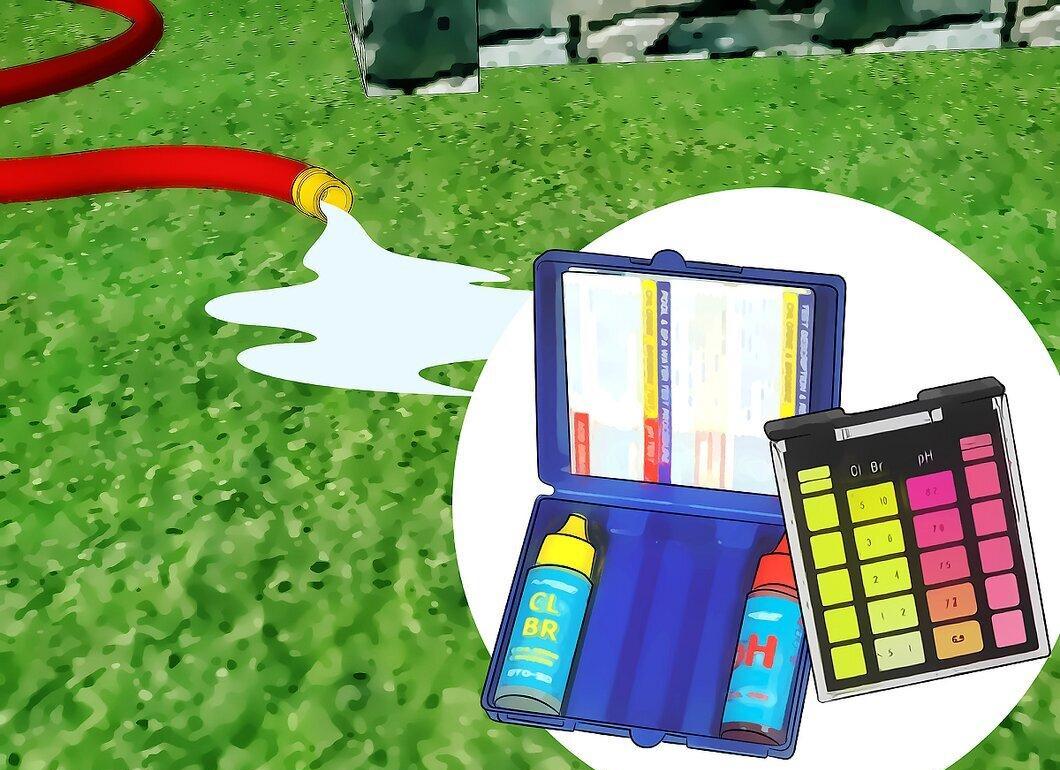
After one hour of recirculation, check the chlorine level in the water. This can be done in two ways:
- Pull the hose out of the vent hole and test the water that flows out of it.
- Or turn on the outdoor faucet and check if you can smell chlorine.
- If the chlorine level is low or there is no smell, continue recirculating for another 15 minutes and then check again.
Step 7. Rinse the well walls.
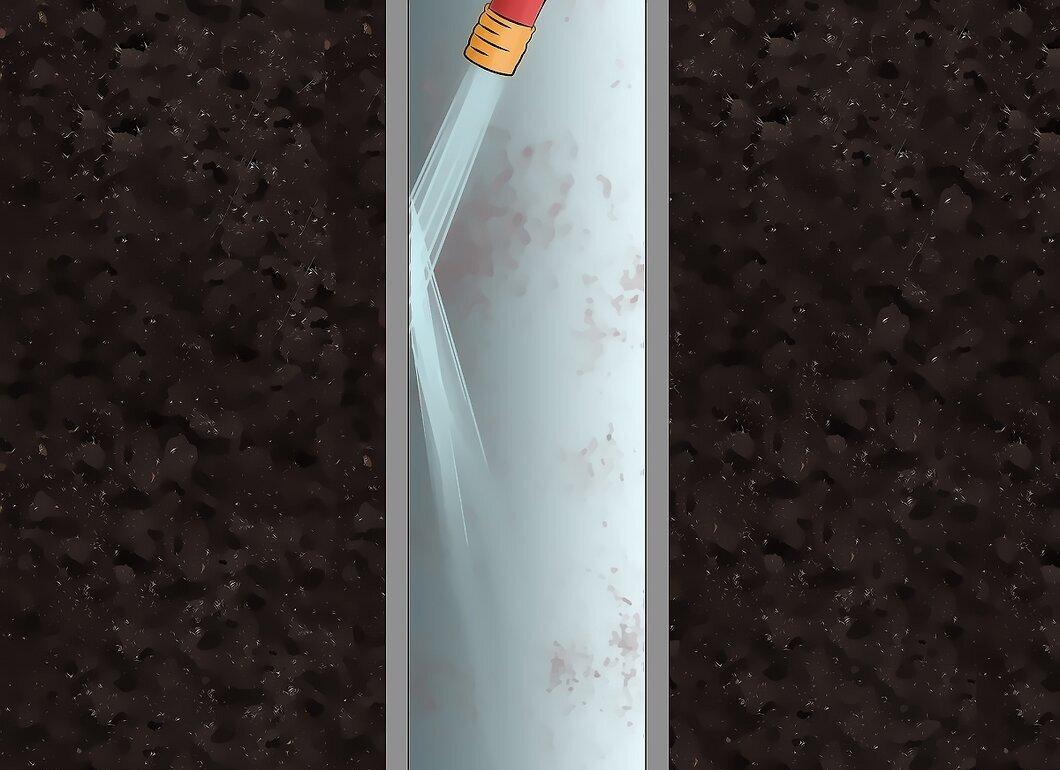
If chlorine is detected in the water, remove the hose and rinse the well walls to wash away any residual chlorine from the casing pipe and pump. After 10-15 minutes, complete the procedure and close the well cap or vent pipe.
Step 8. Check for chlorine in the house.
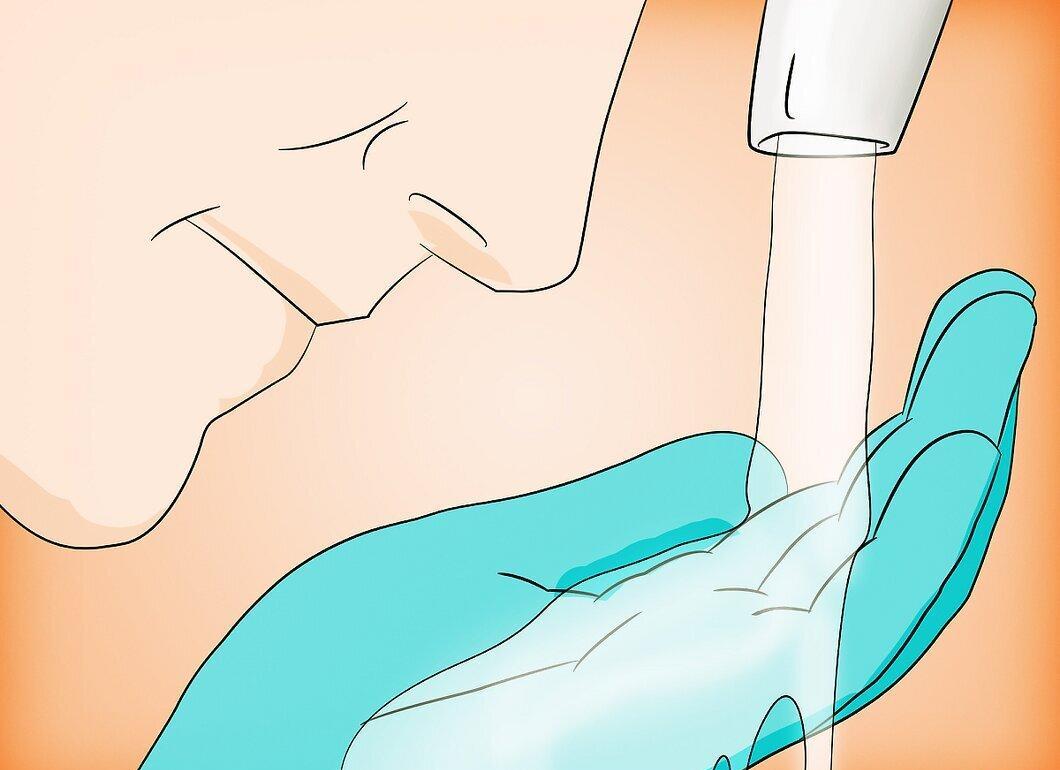
Go inside the house and check for chlorine at each faucet using the test kit or simply by smell.
- Don't forget to check both hot and cold water, and also turn on all outdoor faucets until you can smell chlorine (or detect it with the test).
- It’s also advisable to flush all toilets in the house several times.
Step 9. Wait 12-24 hours.
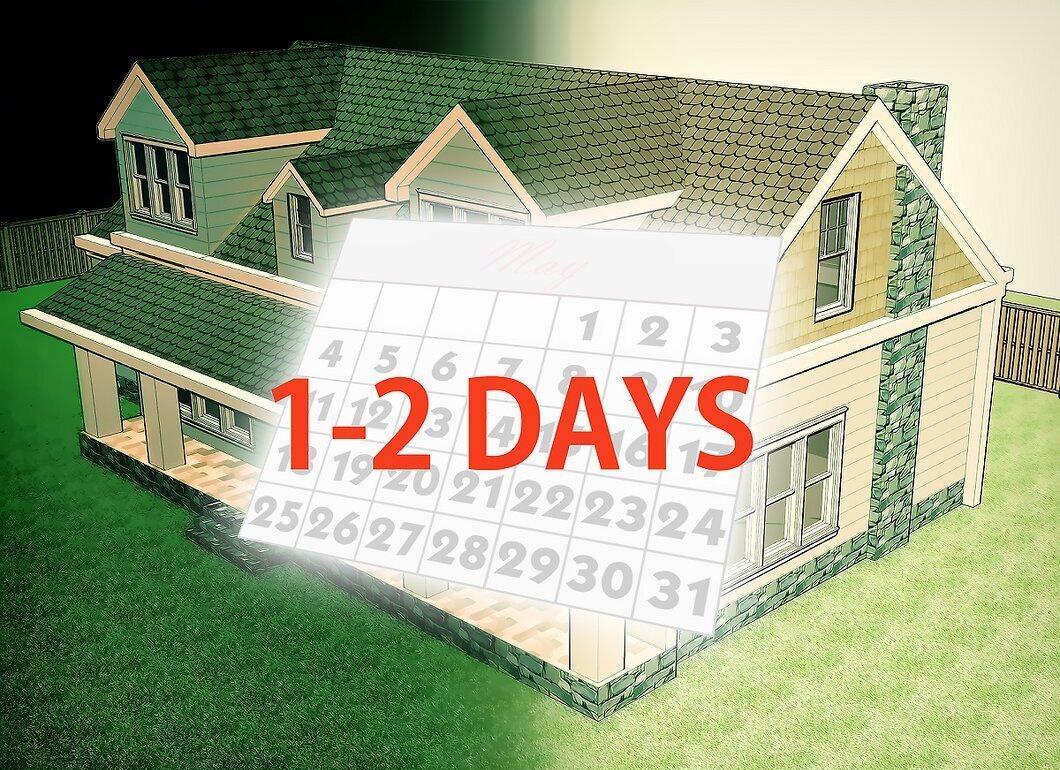
Leave the chlorine in the water for at least 12 hours, preferably for a full day. During this time, try to use as little water as possible.
Removing Chlorine
Step 1. Set up several hoses.
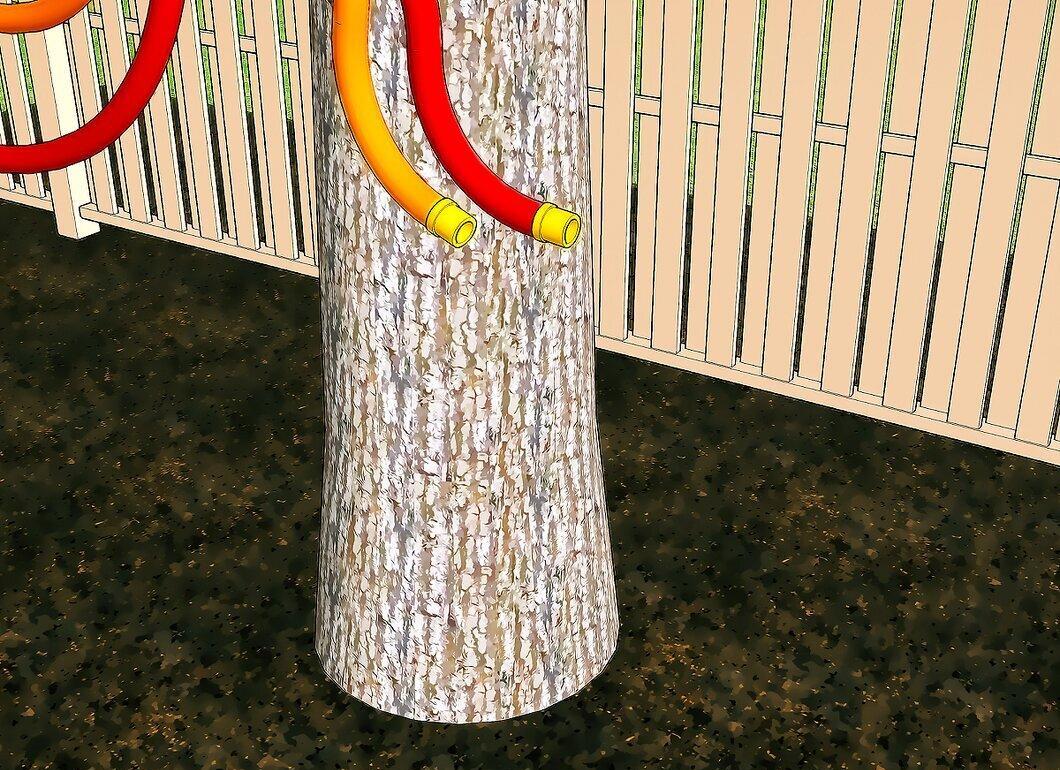
After 24 hours of chlorination, you can begin the process of removing chlorine from the water.
- Attach hoses to all outdoor faucets, and secure their ends to trees or fences about a meter off the ground. This will help control the water flow more easily.
- Avoid discharging water near septic tanks and filtration fields—make sure chlorinated water does not get there.
Step 2. Open the water to full flow.
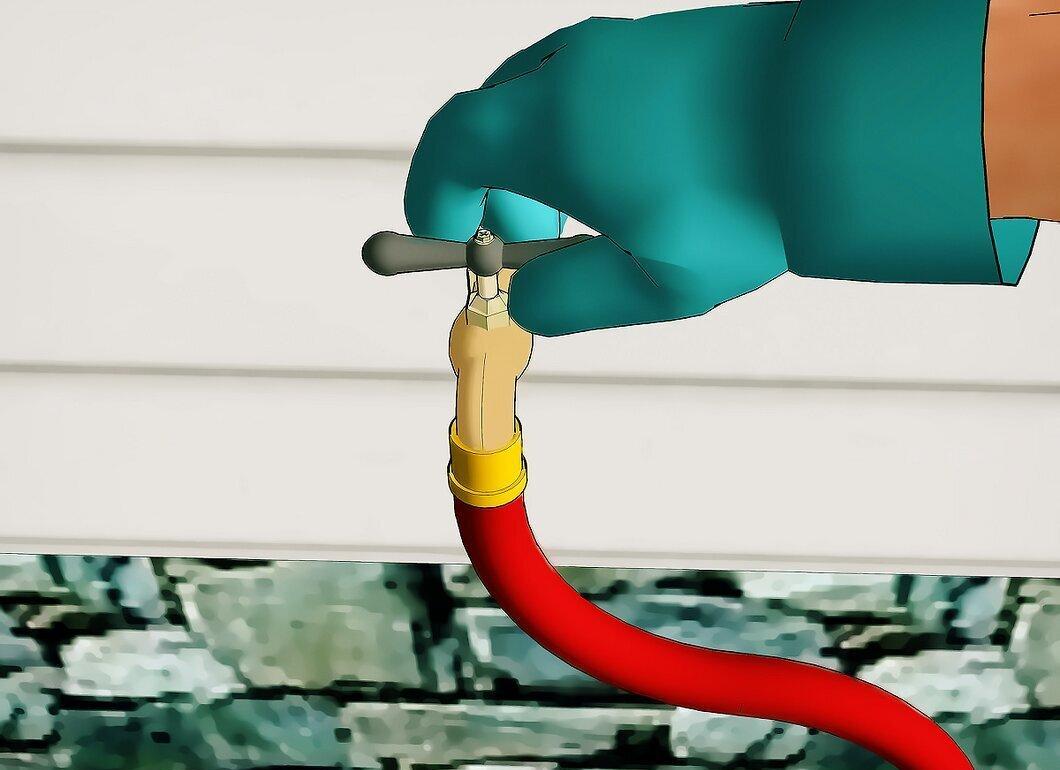
Open all outdoor faucets to maximum flow. Try to direct the water into a ditch or another area where it can collect.
- Make sure the ditch does not lead to a stream or pond—chlorinated water can harm plants, fish, and other aquatic life.
Step 3. Check for chlorine in the water.
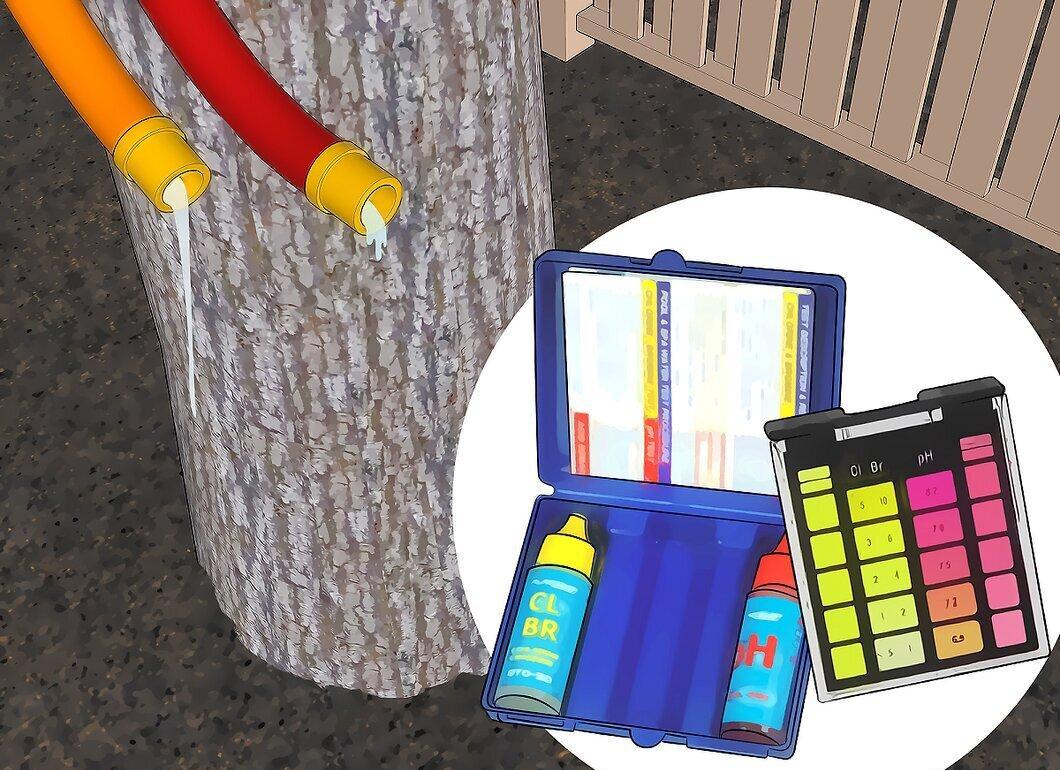
Periodically check the water coming out of the hose for chlorine.
- Use the testing kit for this—chlorine levels may be low and not always detectable by smell.
Step 4. Monitor the water level in the well.
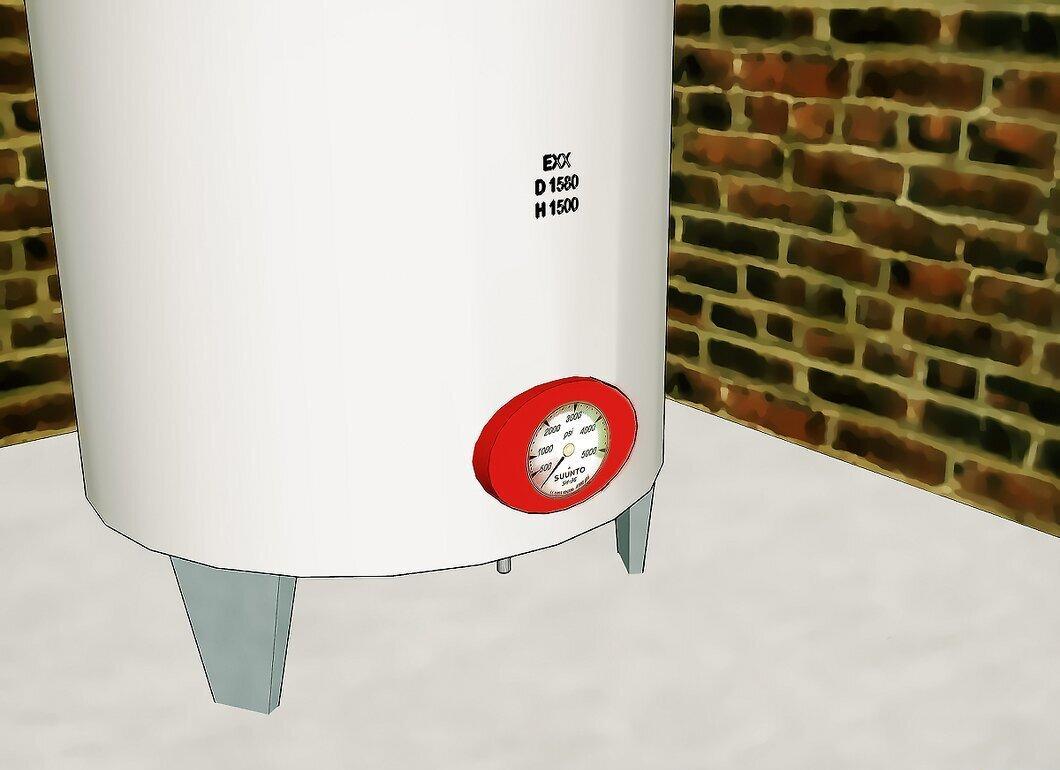
Be sure to monitor the water level and avoid letting the well run dry.
- If the well runs dry, the pump may fail, and replacing it can be expensive. If the pressure drops, turn off the pump and wait about an hour before turning it back on. This will give the well a chance to replenish its water supply.
- Do not turn off the water until you are sure there are no traces of chlorine in it—this may take at least 2 hours or more, depending on the condition of your well.


