
There are numerous ways to convert MOV files to MP4 format. However, QuickTime does not offer this capability.
Online Services
Step 1. Online services are a quick and free option, but they limit file size.
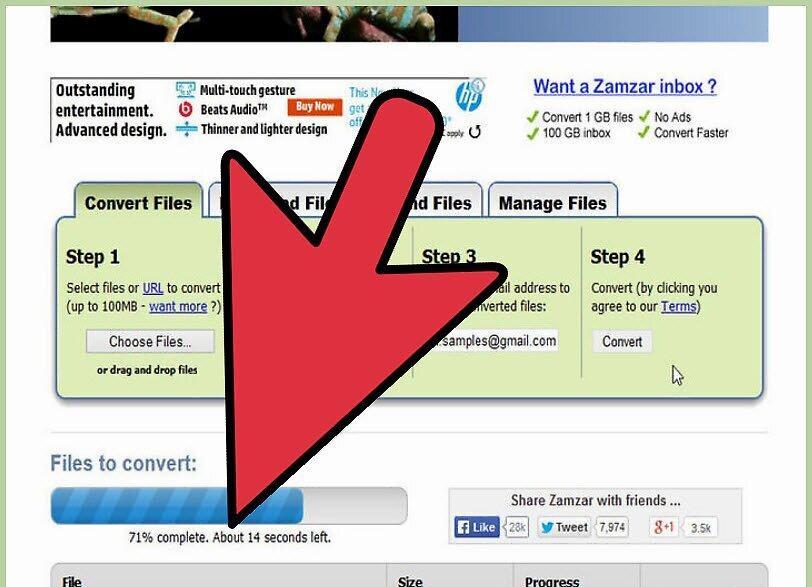
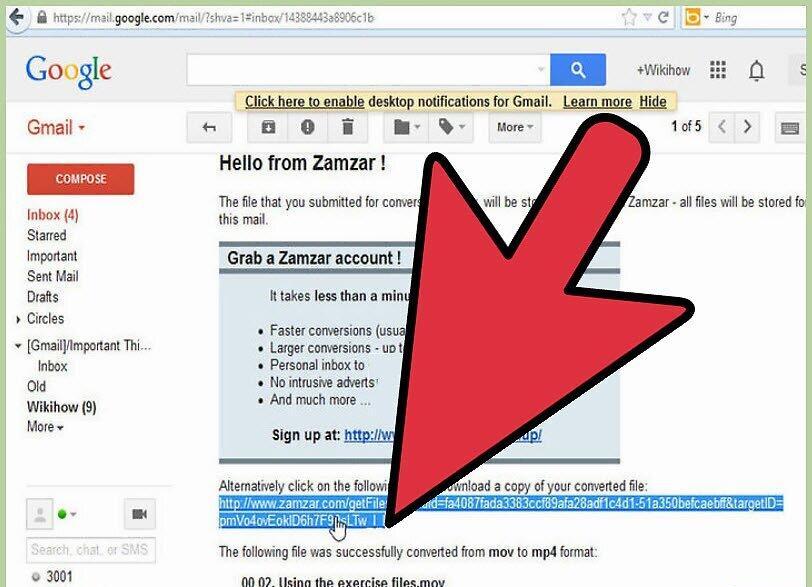
There are many online services that work quickly and free of charge, but they can only process small files at a time. One such site is Zamzar.com. You simply need to upload your .mov file to Zamzar, and after a short while, you will receive a download link for the file in your email.
Step 2. Download the converted file to your computer (files are stored for 1 day).
Step 3. If you have many files to convert, consider the paid options of this service.

- With payment, you can convert larger files and extend their storage time.
QuickTime Pro
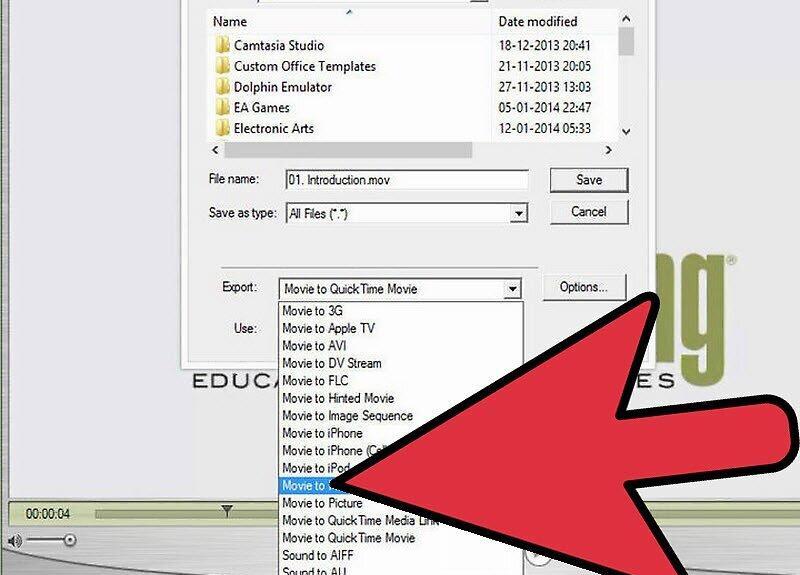
Step 1. Purchase QuickTime Pro.

Step 2. Install QuickTime Pro on your computer.

Step 3. Start converting files.
Any Video Converter
Step 1. Note that Any Video Converter works only on Windows.
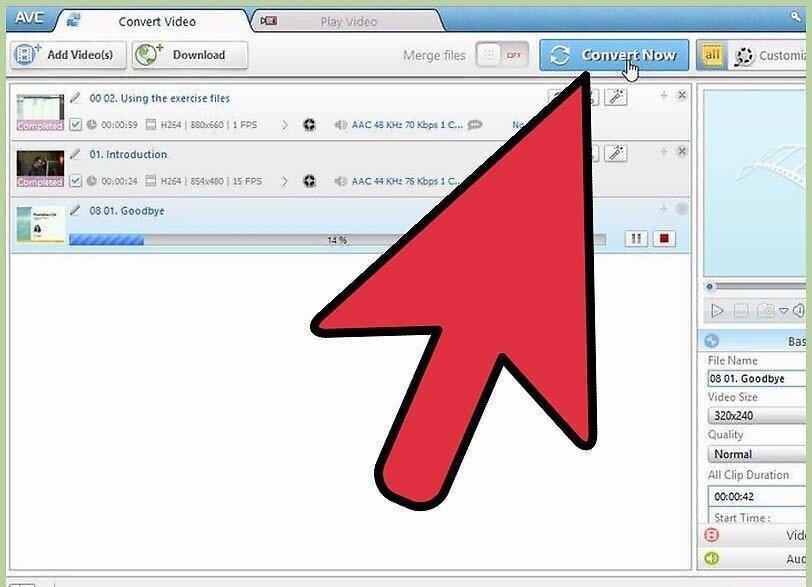
Any Video Converter is a free and fast program available only for Windows users.
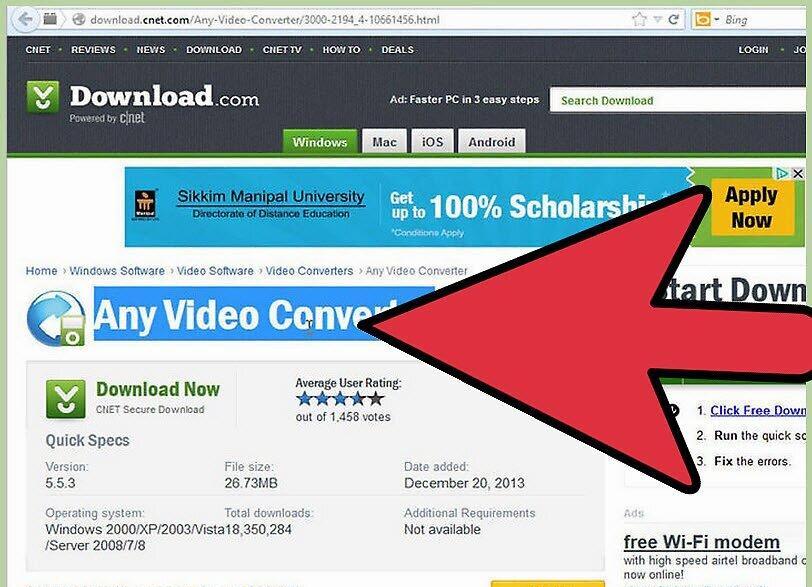
Step 2. Download Any Video Converter from http://download.cnet.com/Any-Video-Converter/3000-2194_4-10661456.html
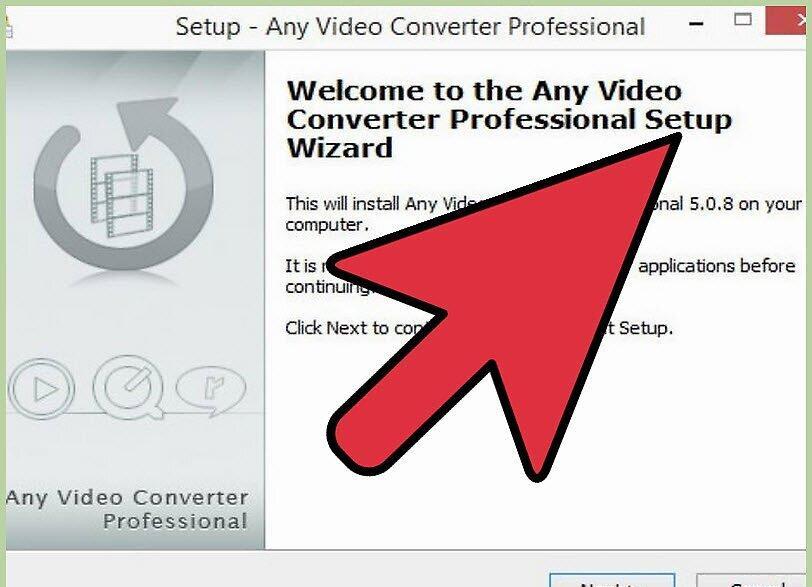
Step 3. Install the program on your computer.
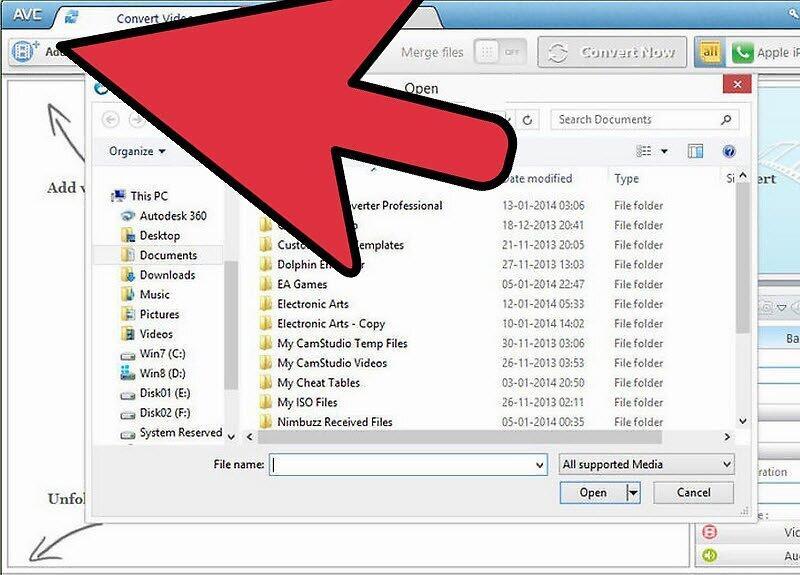
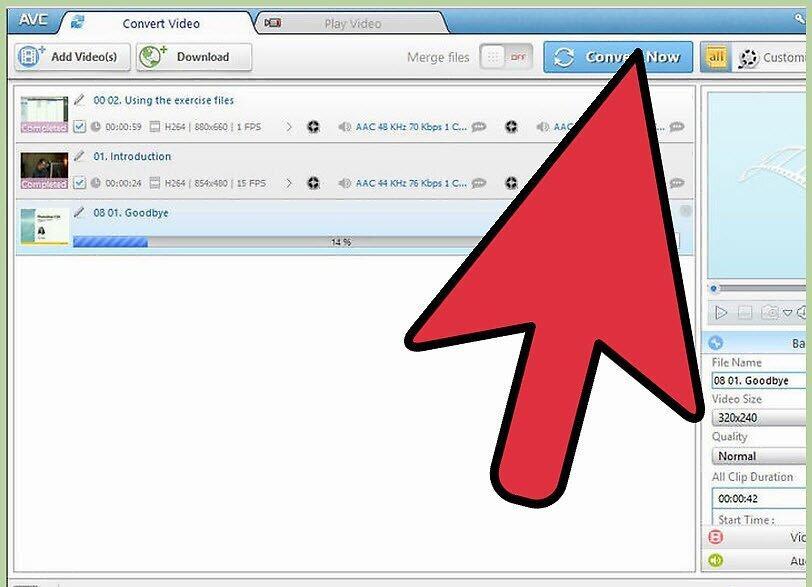
Step 4. Import your file by clicking the "Add Video" button.
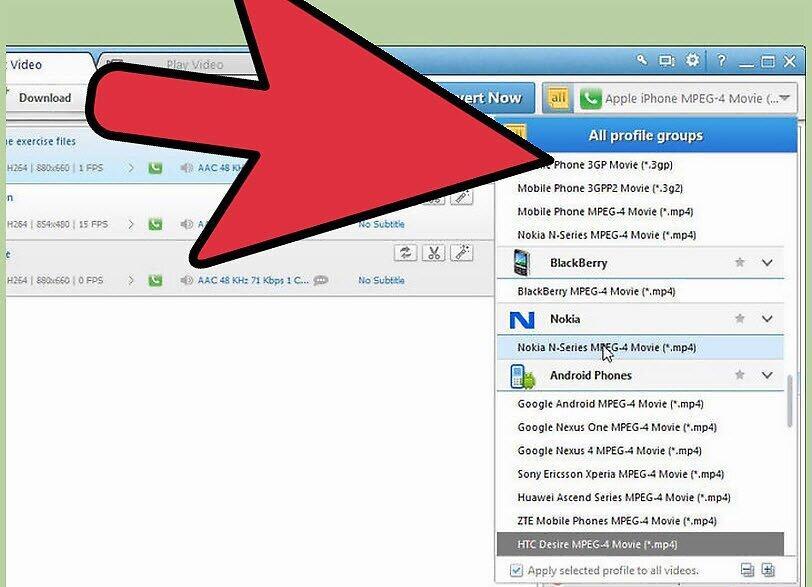
Step 5. In the dropdown menu at the top right, select the "MP4" option.
Step 6. Click the "Convert" button.
Amazon Web Services
Step 1. Using Amazon Web Services is one of the fastest and most affordable ways to convert large quantities of files, allowing you to create a "pipeline" for regular conversions.
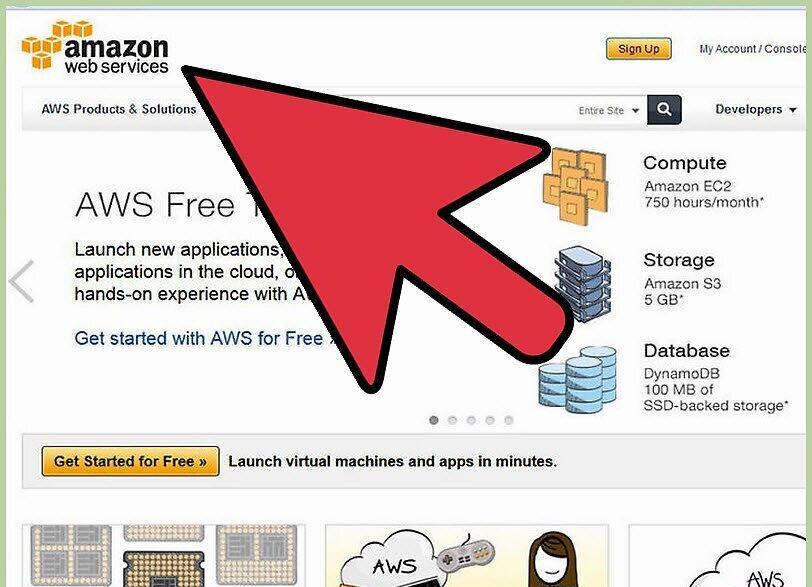
Step 2. Log in to your AWS account.
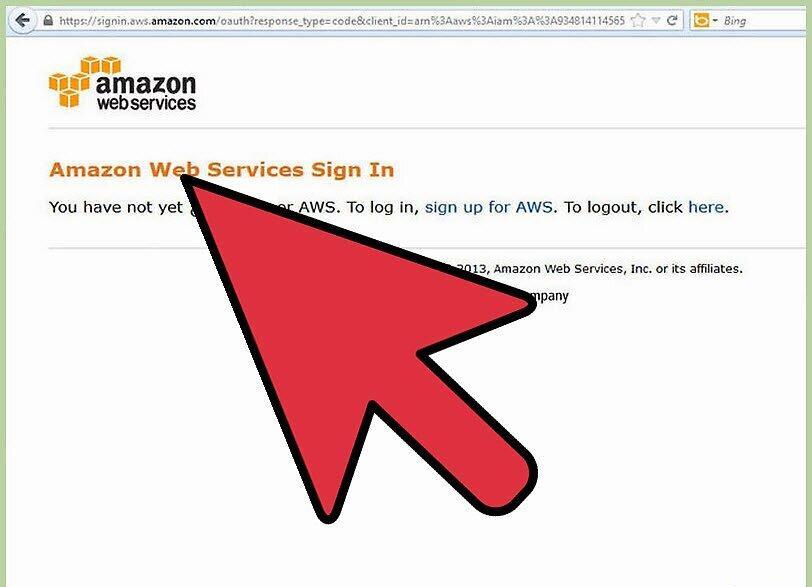
Use your Amazon account username and password to log in.
Step 3. Create a bucket for uploading the files to be converted.
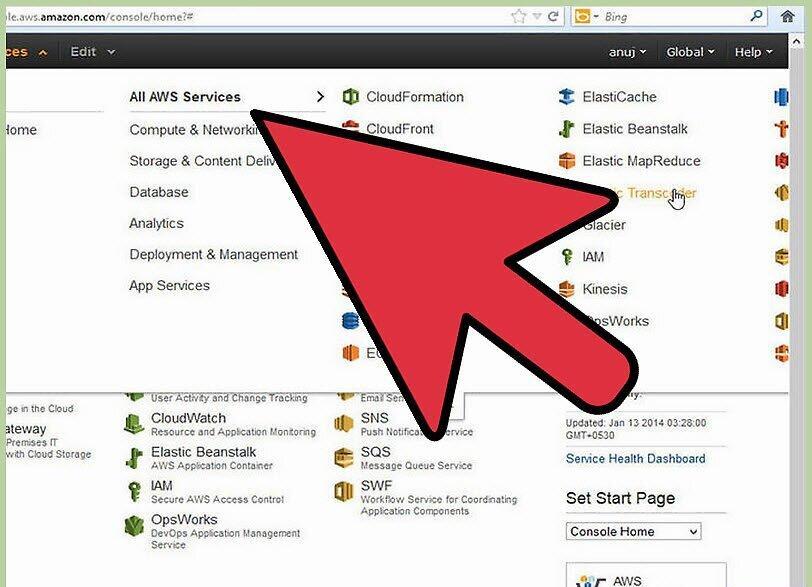
- Go to console.aws.amazon.com/s3 and click "Create Bucket."
- Upload the necessary files to it.
Step 4. Select "Services" and then "Amazon Elastic Transcoder."
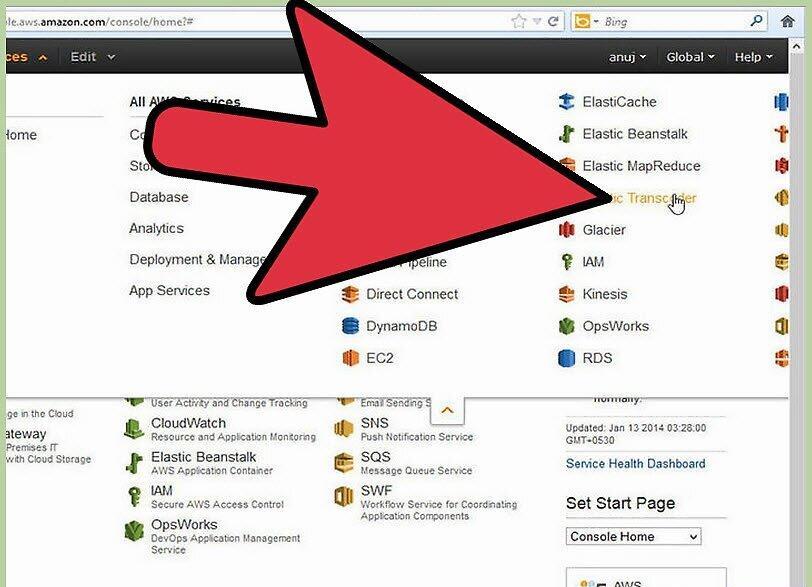
Step 5. Create a pipeline.
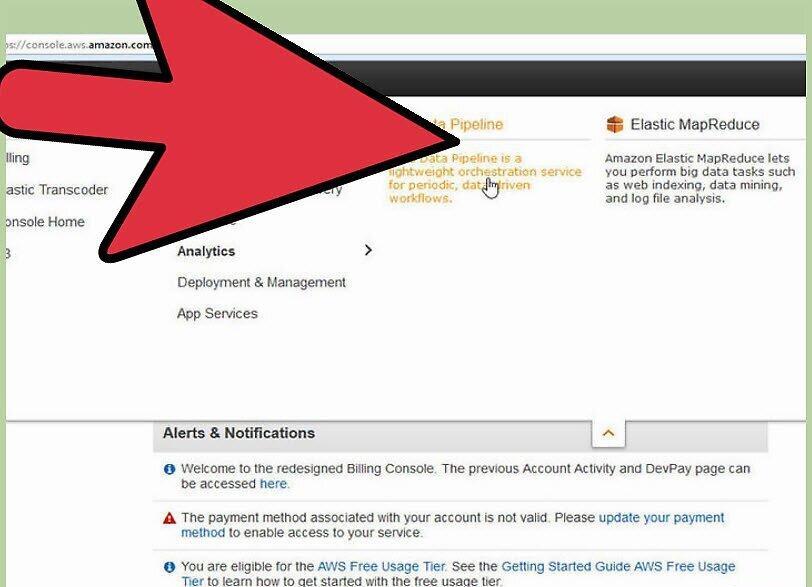
Come up with a name for the pipeline, such as "MOV to MP4 Converter."
Step 6. Configure the task for converting files.
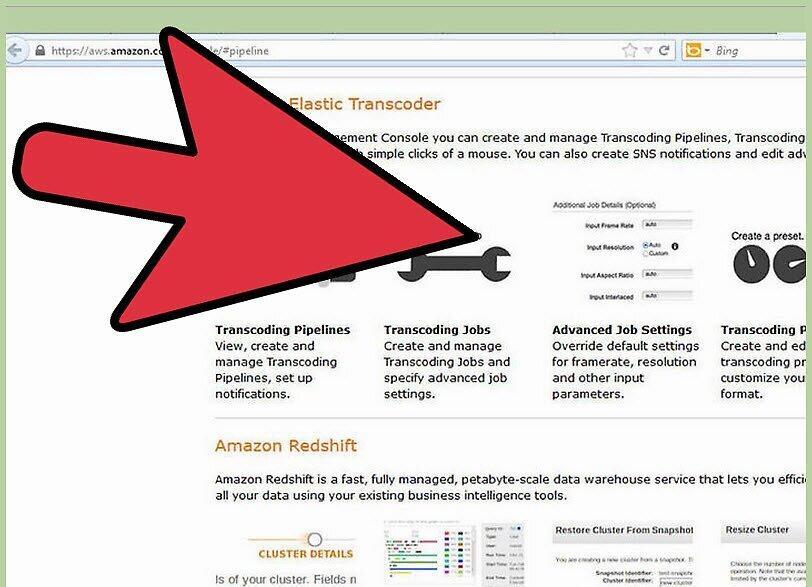
- In the task creation menu, select your configured pipeline.
- Specify the "source key" (the filename to be converted).
- Enter the "destination prefix" if you want to add it to the output filenames.
- Configure the "settings" (choose the format and quality of the output files).
- Specify the "destination key" (the output filename).


