
Despite its durability, stainless steel requires regular maintenance and attention. This alloy, made from nickel and chromium, forms a protective oxide layer on its surface when exposed to air. If the sink is left wet or dirty with food residues, it cannot create this layer, making it susceptible to stains and rust. Proper care will ensure longevity and maintain the aesthetic appeal of your sink for years to come.
Key Maintenance Tips
Step 1: Regular Cleaning
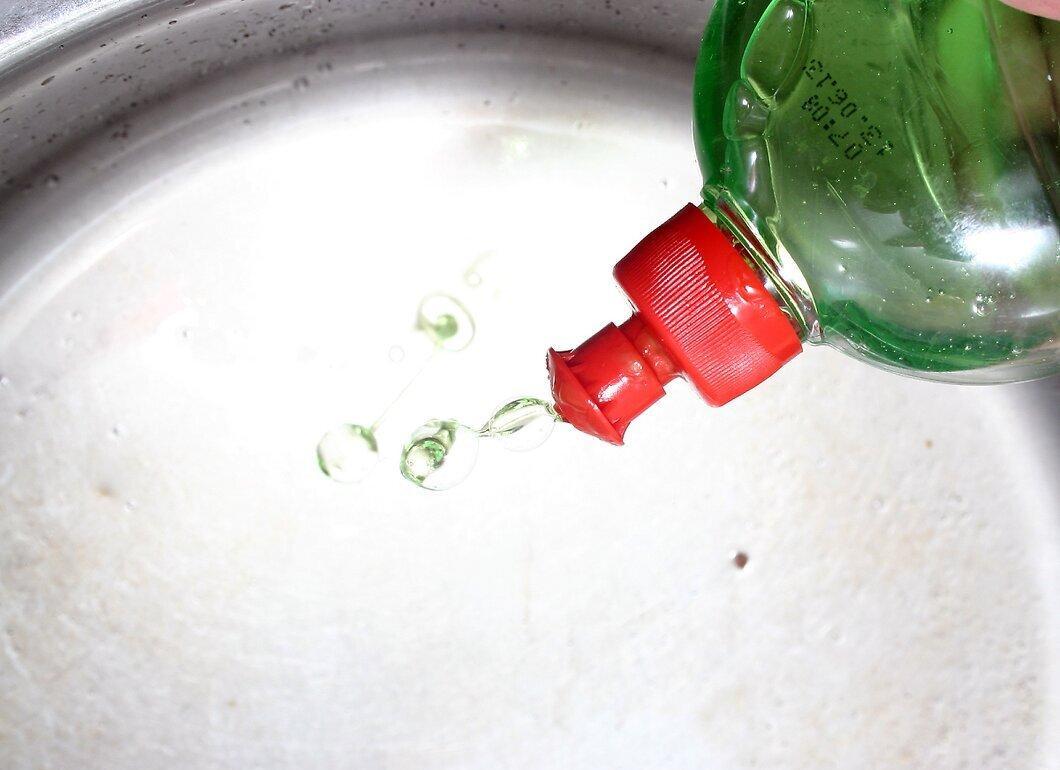
To avoid mineral buildup, clean your sink weekly using a mild detergent and a sponge or soft cloth. Remember to dry the sink after use to prevent water spots that can mar its appearance. For greasy and oily stains, use a baking soda and water solution and gently scrub the surface following the grain. Avoid using steel wool, as it can scratch the surface.
Step 2: Food Residue Removal
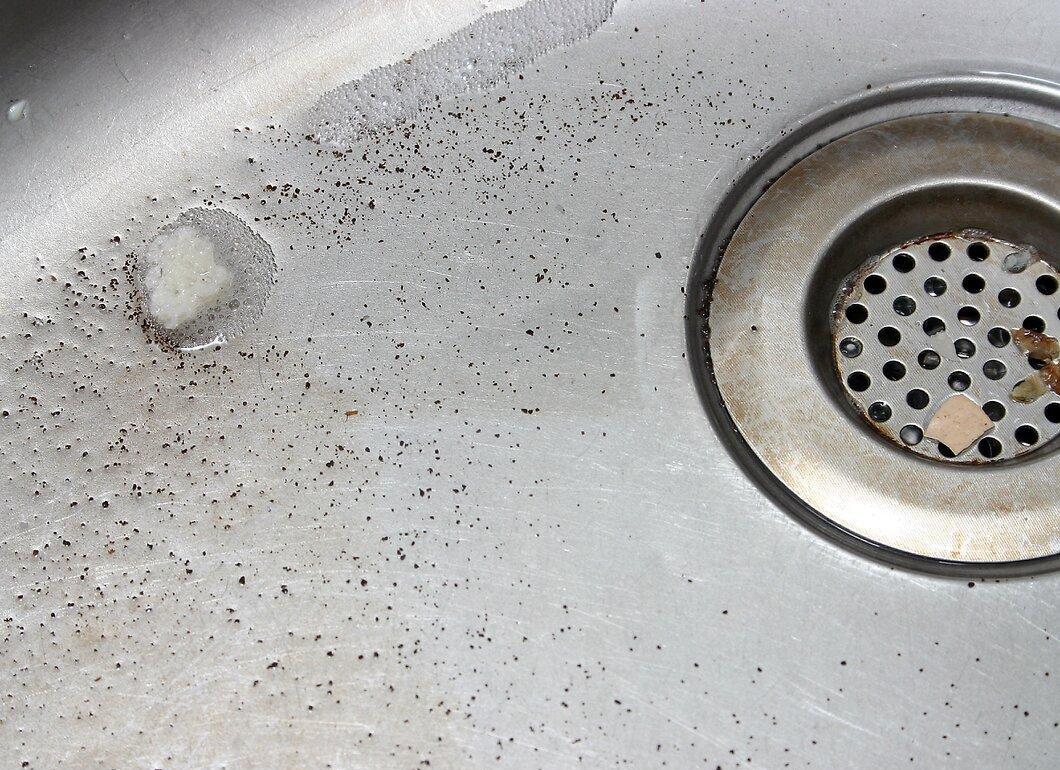
Do not let food remnants dry on the sink, as this can lead to discoloration. Over time, small scratches may appear; in such cases, consider using a protective mat to minimize them. To remove minor scratches, use Bar Keeper's Friend® cleaner, following the instructions on the package.
Step 3: Vinegar for Stain Removal
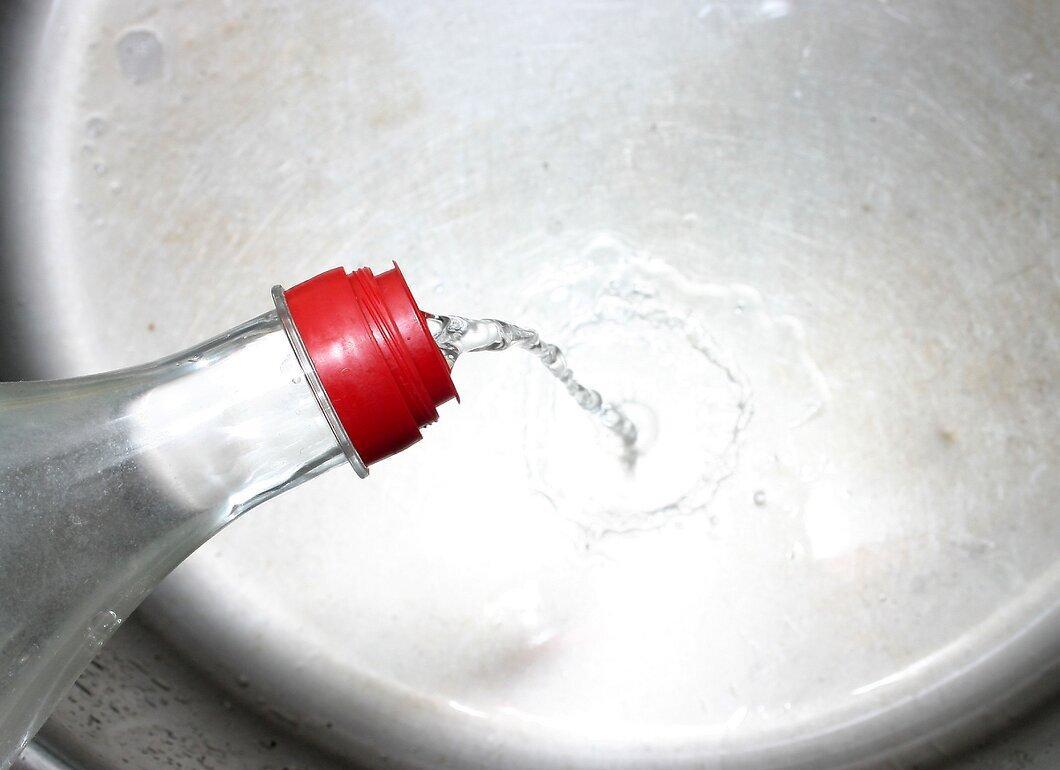
Undiluted white vinegar works wonders on greasy fingerprints! Simply apply vinegar to a soft cloth or paper towel and wipe the soiled areas. Rinse the sink thoroughly afterward. You can also use an ammonia-based window cleaner, but be cautious: ammonia can discolor granite and other durable surfaces.
Step 4: Polishing with Oil
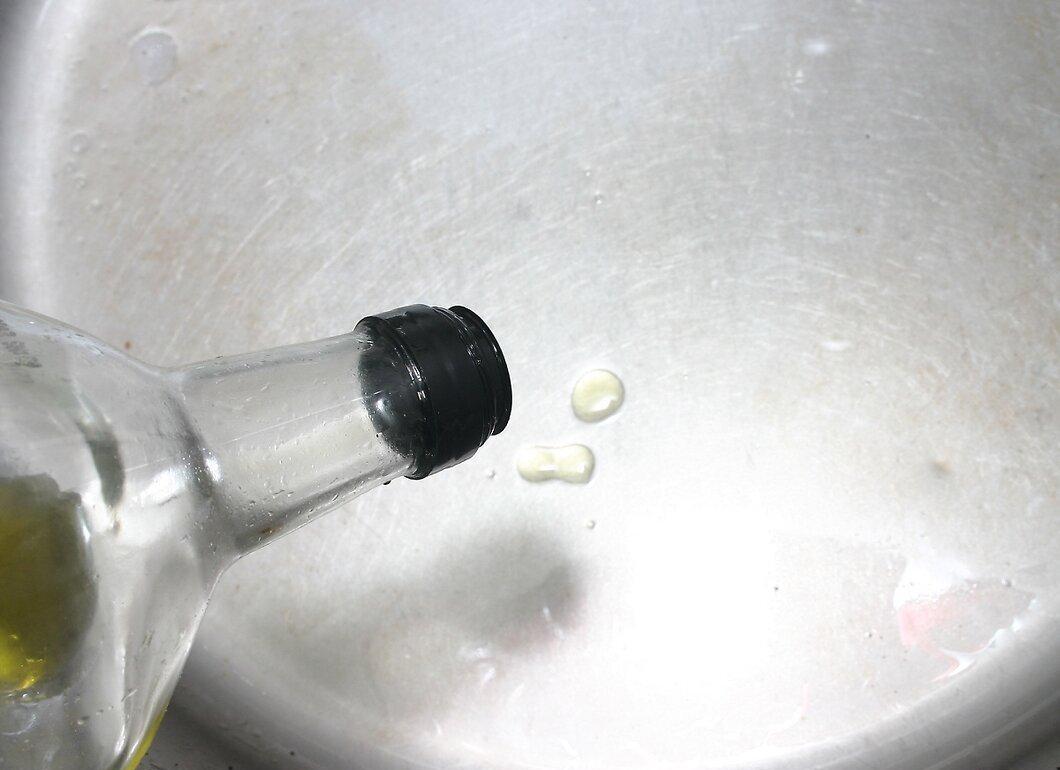
Mineral or olive oil can help eliminate streaks and give your sink a shine. First, dry the sink thoroughly, then apply a few drops of oil to a paper towel and evenly wipe the entire surface. Repeat this process until you achieve the desired result.
Step 5: Rust Removal
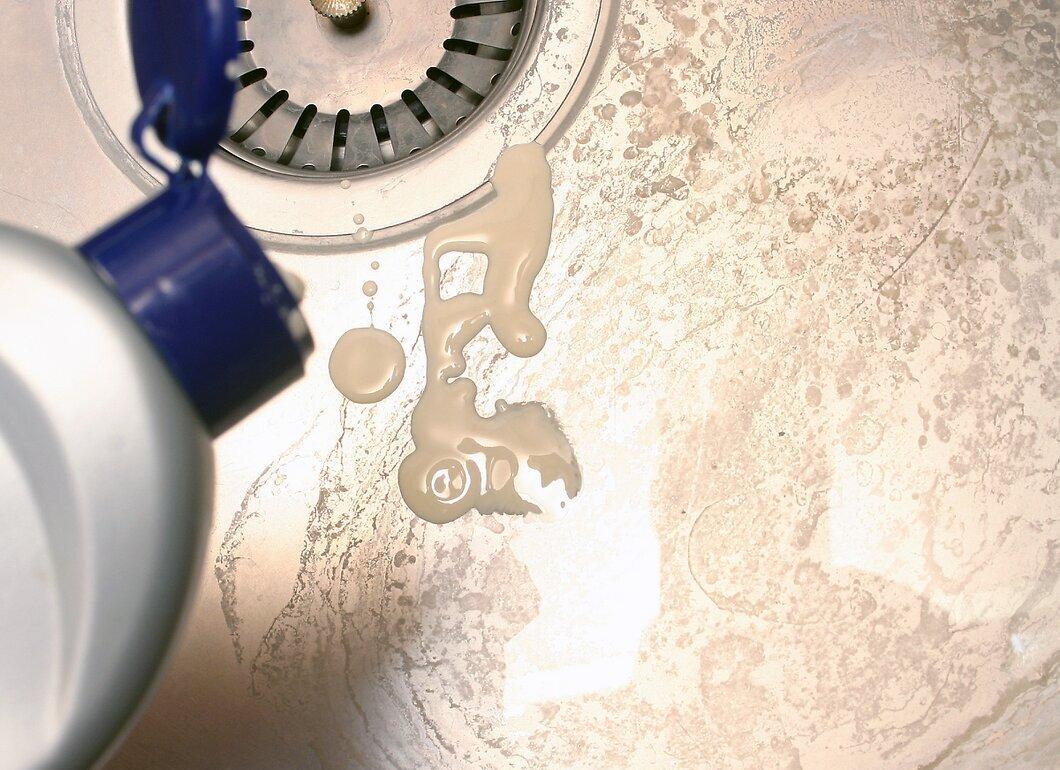
If rust appears on your sink, use Bar Keeper's Friend. Rust typically forms from pots and utensils left in the sink. It can be easily removed with baking soda and water or the specified cleaner (available at most supermarkets). Follow the instructions on the package and repeat if necessary. After cleaning, rinse the surface thoroughly and wipe it with a soft cloth.
Step 6: Concealing Deep Scratches
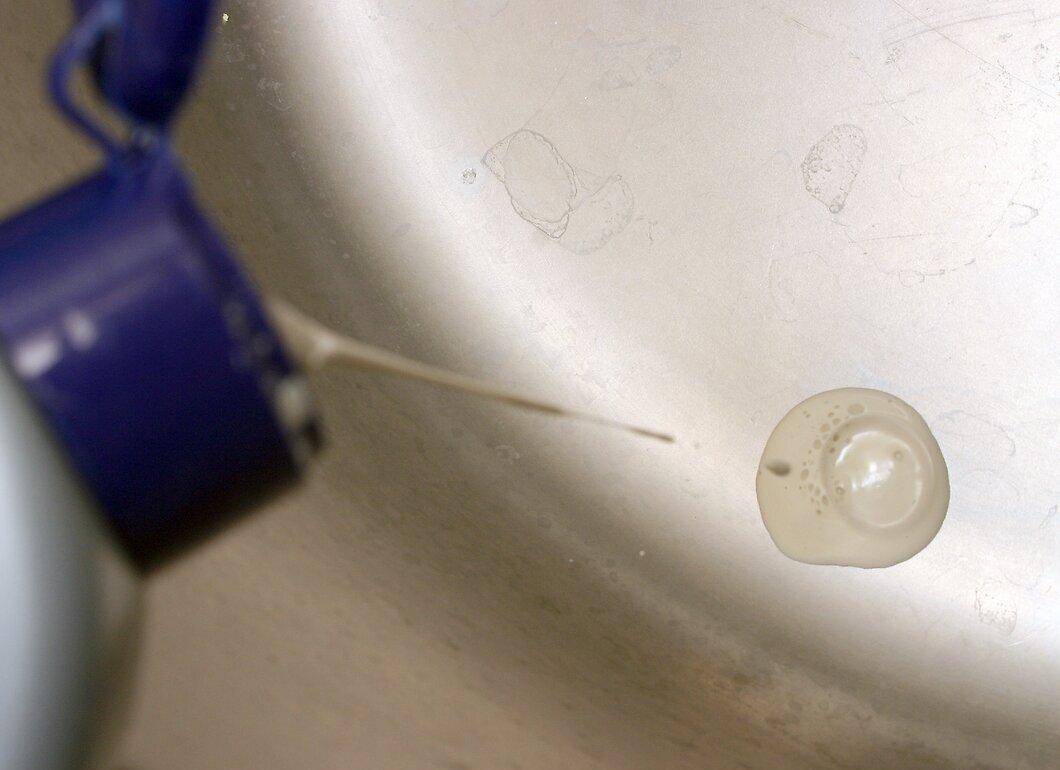
For deeper scratches, use an SOS® abrasive sponge. Gently scrub the scratch and the surrounding area, then rinse and dry the sink. Note: This step is only suitable for deep damage, as using such a sponge may create new scratches.


