
Fiberglass Repair: A Beginner's Easy Guide
This guide will help you make minor repairs to boats, cars, and other fiberglass items on your own. It's particularly useful for items frequently exposed to water. In this article, we will focus on the basic principles of repair rather than cosmetic procedures and will not cover the application of gel coats.
Part 1
Step 1: Assess the Size of the Damaged Area.

First, measure the damaged area. If it exceeds 20 cm, you will need epoxy resin. For smaller damages, polyester resin will suffice. Composites with a slow curing time offer greater strength, unless you are using UV-curing gel coats.
Step 2: Important Note:
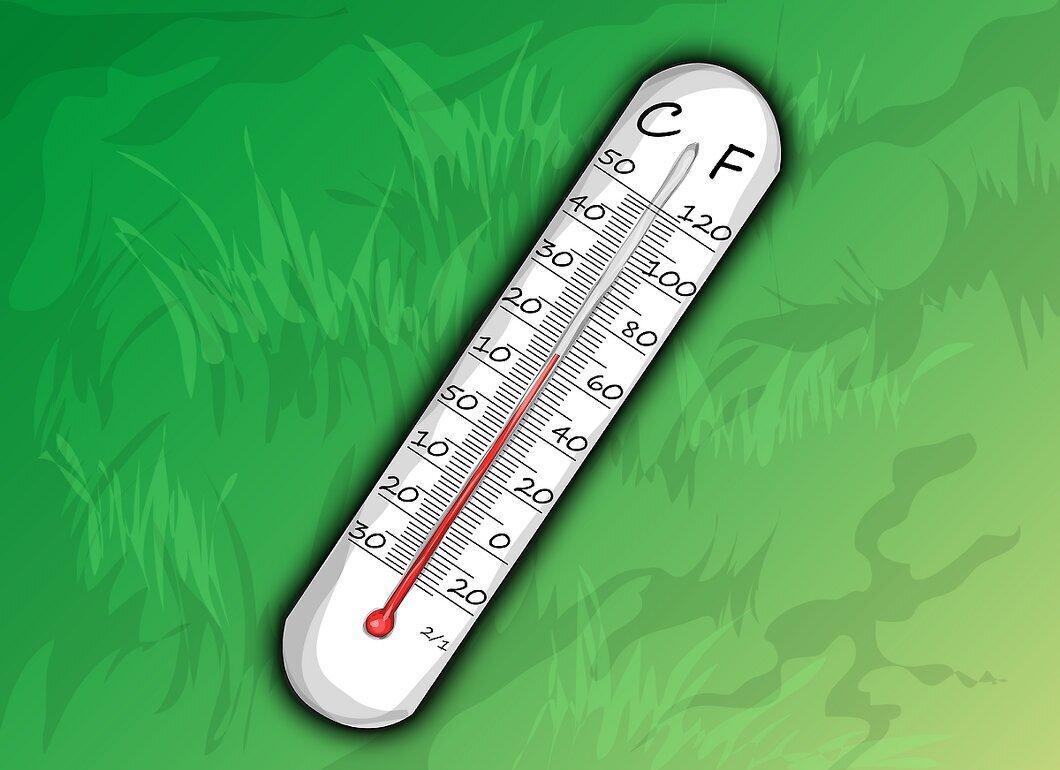
Important: Resin cures best at temperatures above 18 degrees Celsius and in moderate humidity.
Step 3: Important Note:
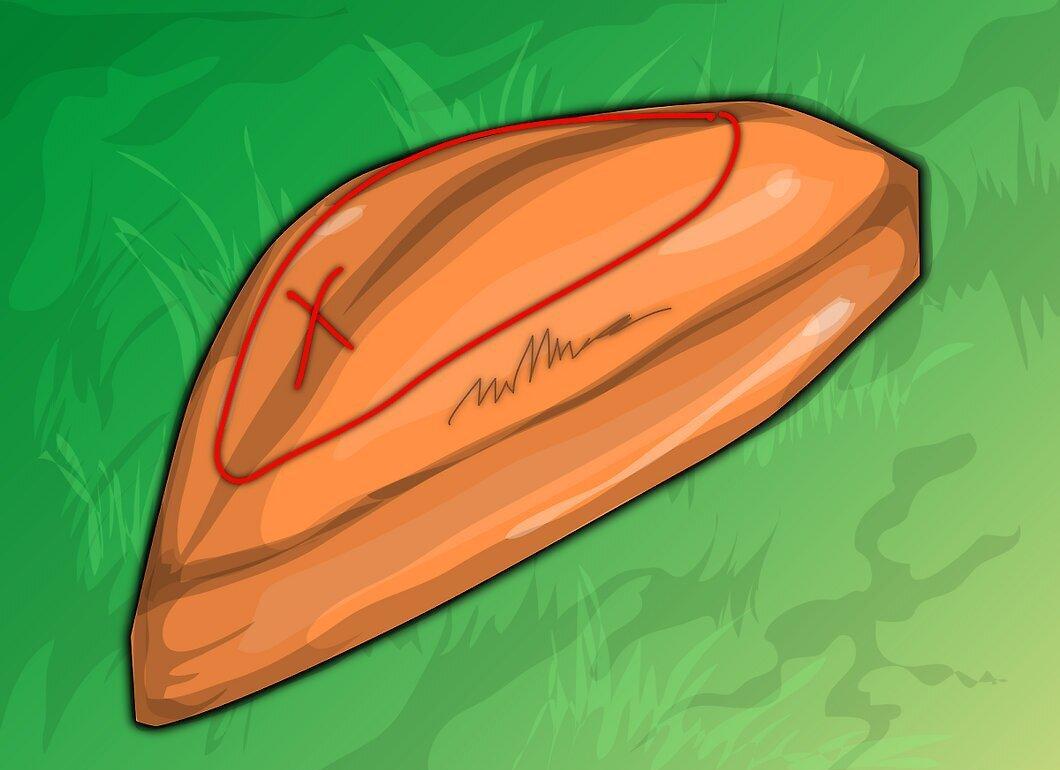
Keep in mind that polyester resin is porous and may not be suitable for areas that are frequently submerged in water.
Step 4: Choose the Glass Reinforcement.
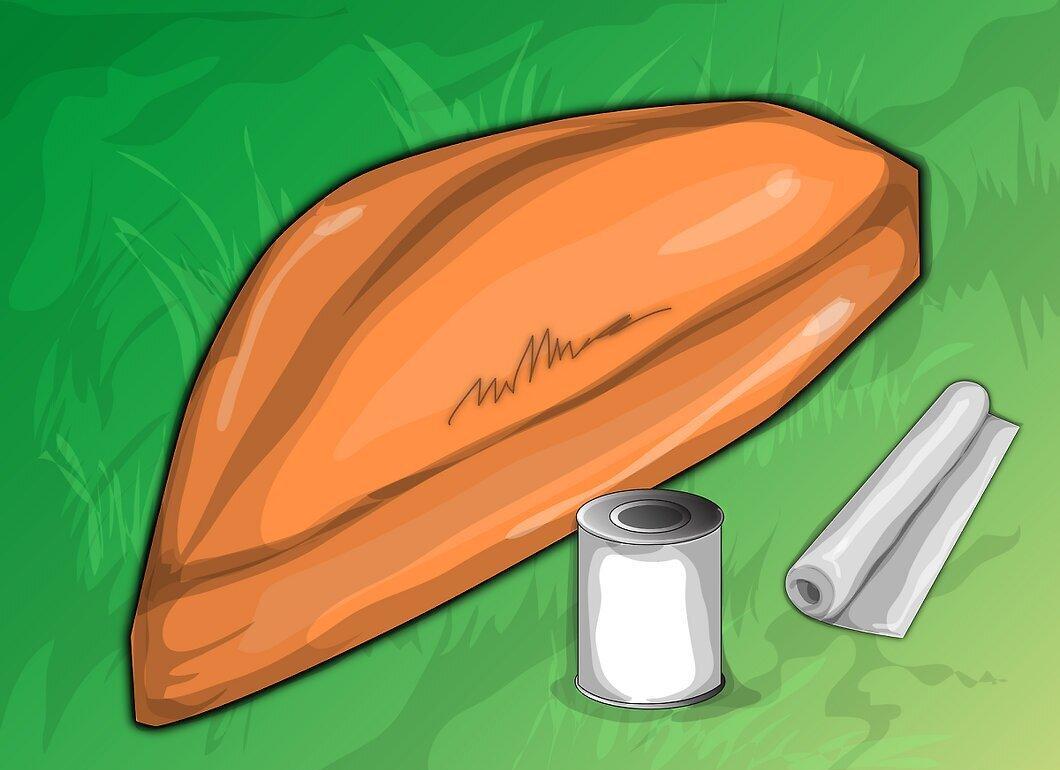
The choice of glass reinforcement depends on the size of the damage. If it is significant or located in a critical structure of the item, glass should be used. For smaller repairs that require additional strength, fiberglass filler is suitable, while in other cases, fiberglass cloth can be used.
Step 5: Prepare the Surface.
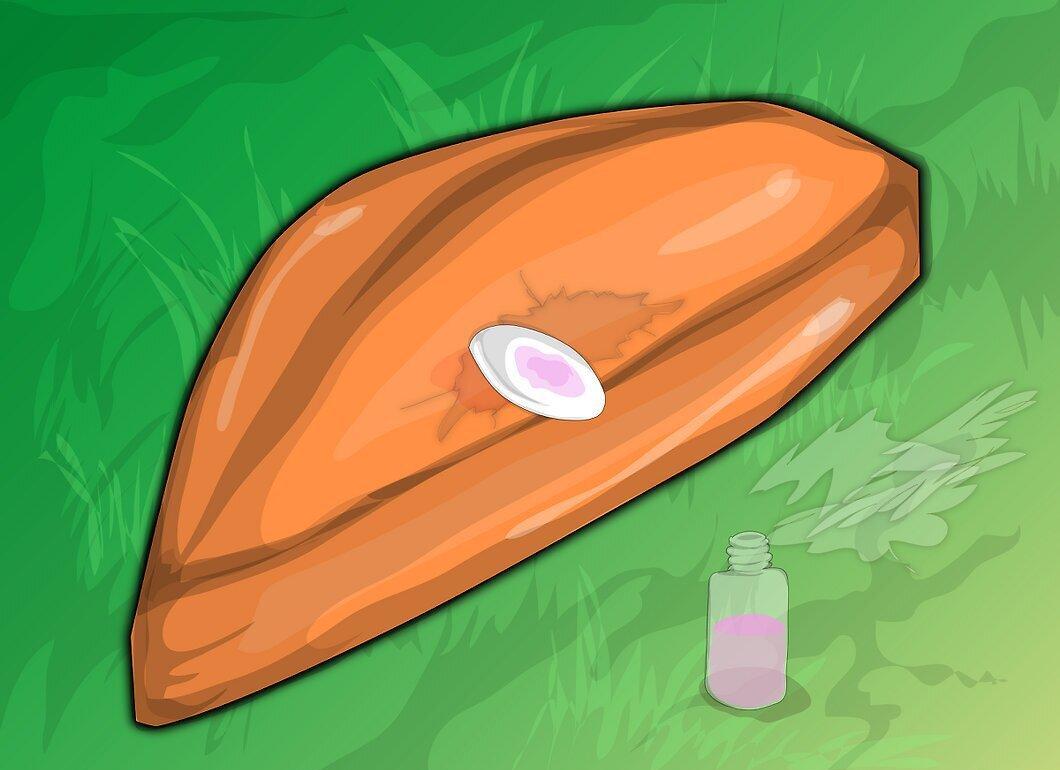
Thoroughly clean the damaged area of debris and treat the surface with acetone to remove contaminants.
Step 6: Mark the Work Area.
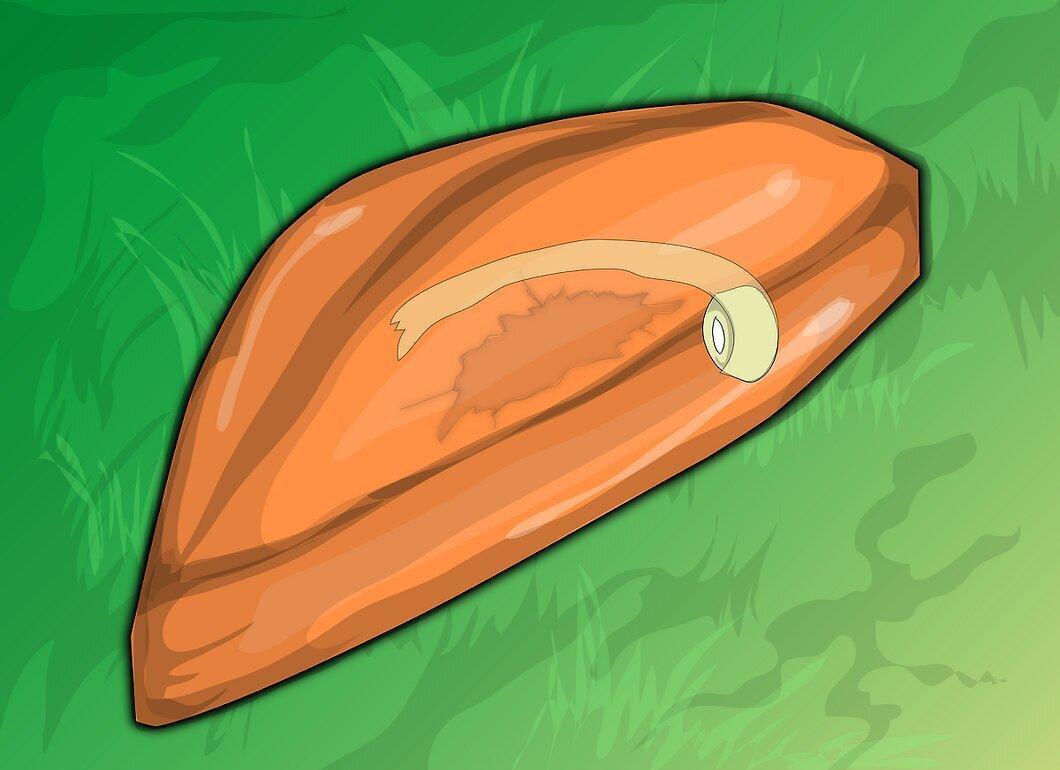
Apply masking tape around the repair area for accuracy.
Step 7: Prepare the Resin.
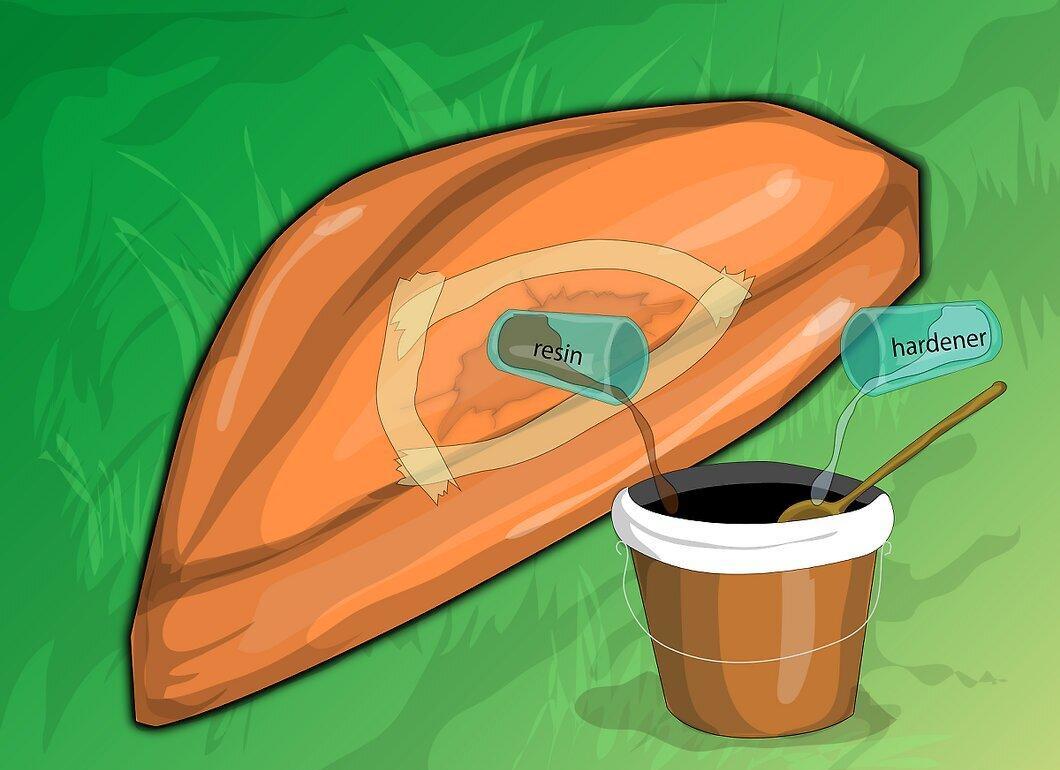
Mix the resin and hardener in the ratio specified on the packaging to obtain an amount that is twice the area of the damaged section. Use a cup and mixing tool.
Step 8: Ensure Safety:

Note: Avoid skin contact, and use safety goggles and a breathing mask.
Step 9: Adding Filler.
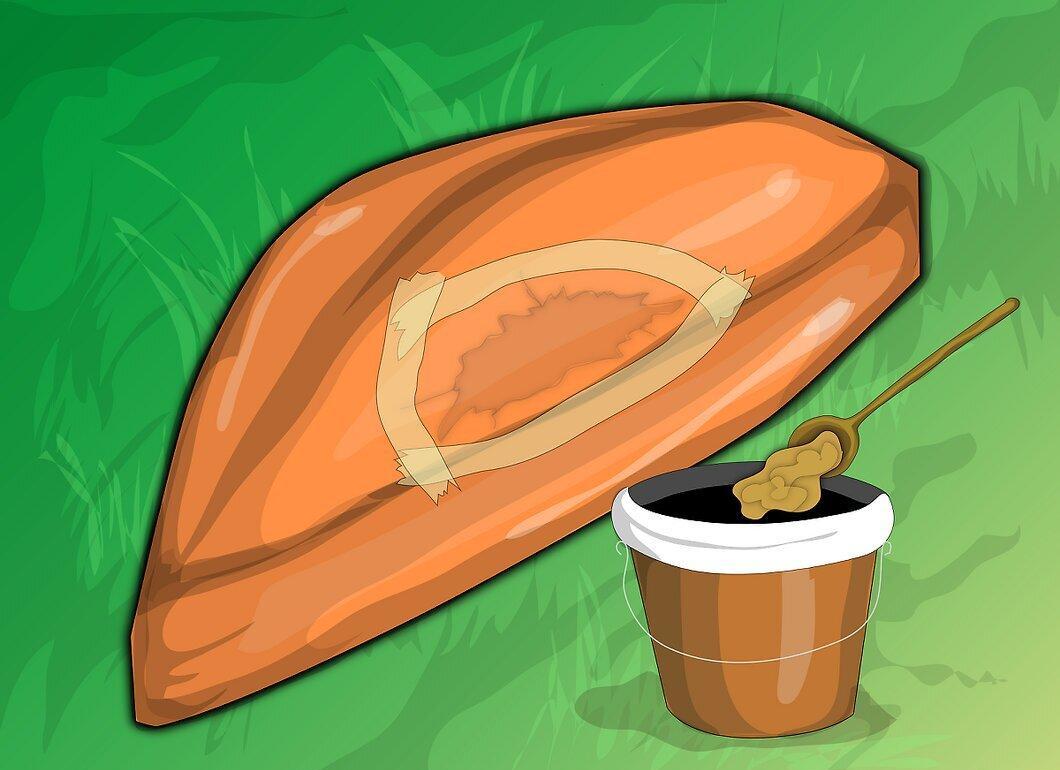
If you are using fiberglass filler, add it to the resin until the mixture resembles peanut butter in consistency.
Step 10: Preparing the Fiberglass Cloth.
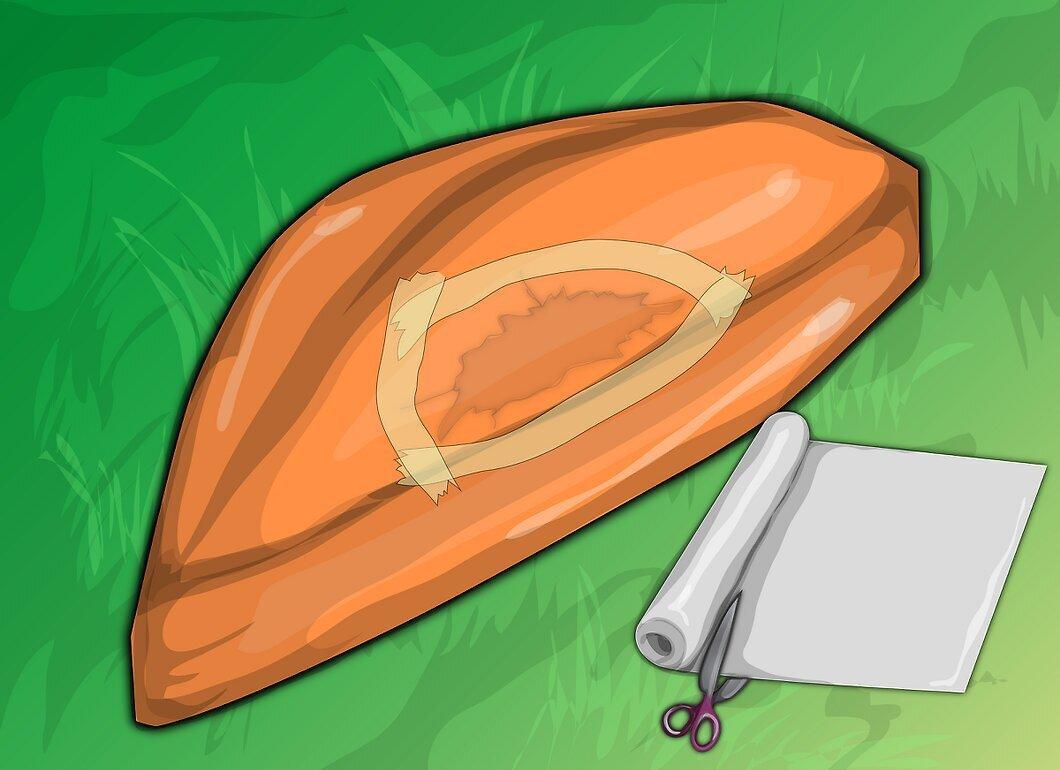
If you are using fiberglass cloth, cut a piece that completely covers the damaged area. Apply resin to both sides of the fabric until lightly saturated.
Step 11: Filling the Area.
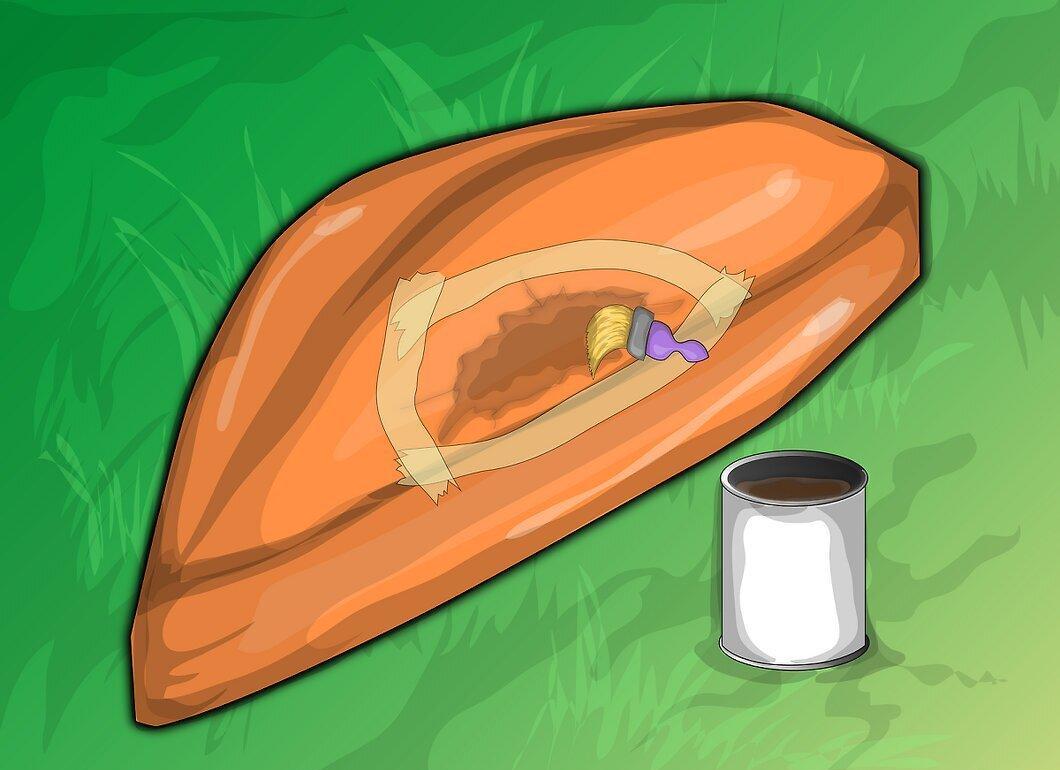
If you are using resin without reinforcing filler, apply it until the damaged area is completely filled, allowing the resin to slightly overflow its edges.
Step 12: Applying Woven Roving.
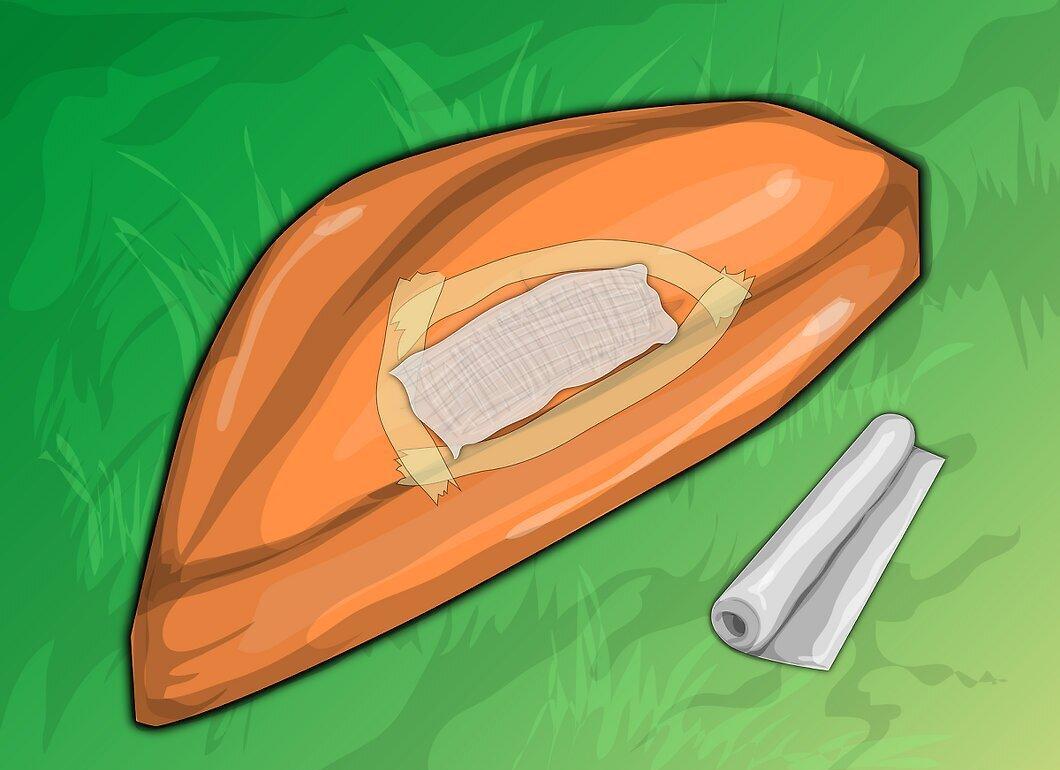
When using woven roving, apply the material until it covers the inner part of the damaged area. If there are holes, fill them with resin or resin with filler as described earlier.
Step 13: Important Note:
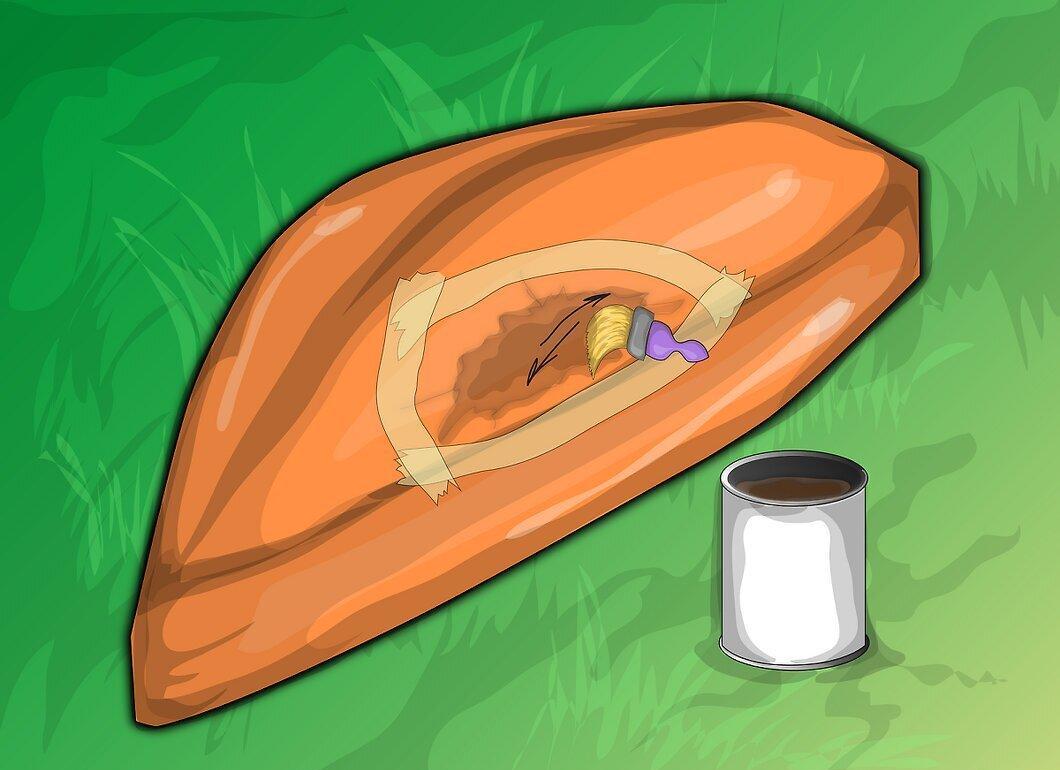
Important: If you've chosen a hardener with a short curing time, act quickly — the composite must be applied before it starts to set.
Step 14: Allow Time to Cure.

Make sure you allow enough time for curing according to the resin manufacturer's recommendations.
Step 15: Be Cautious:
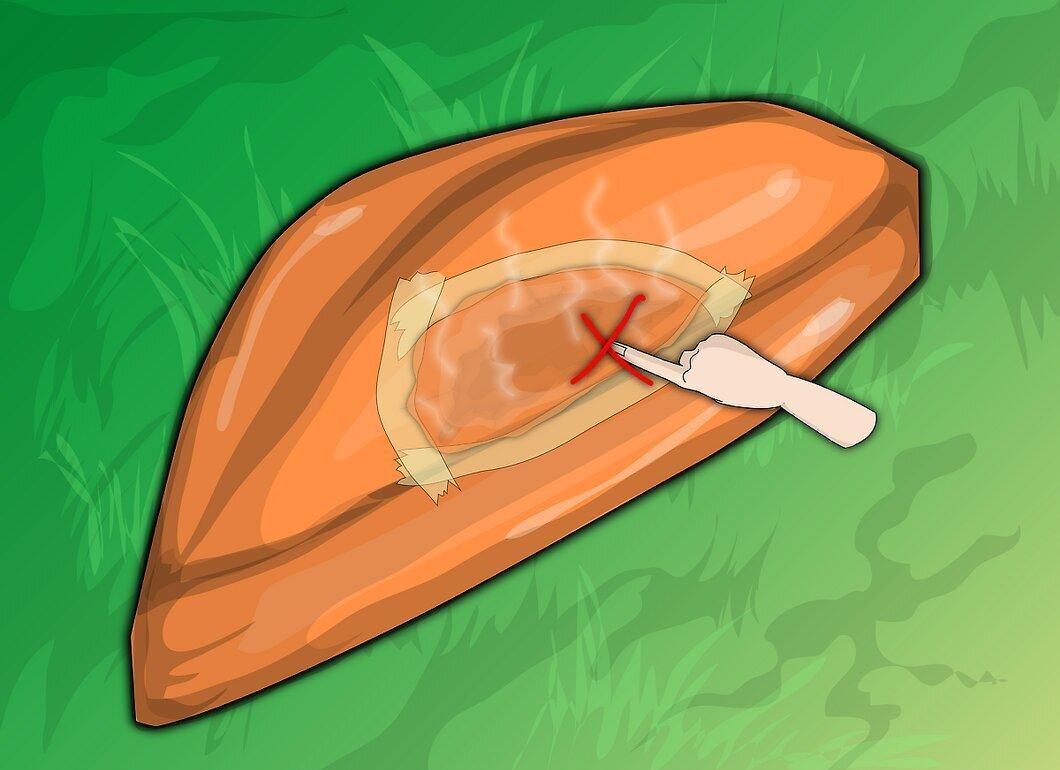
Caution: Curing composites can be hot! Do not touch them.
Step 16: Finishing Touches.
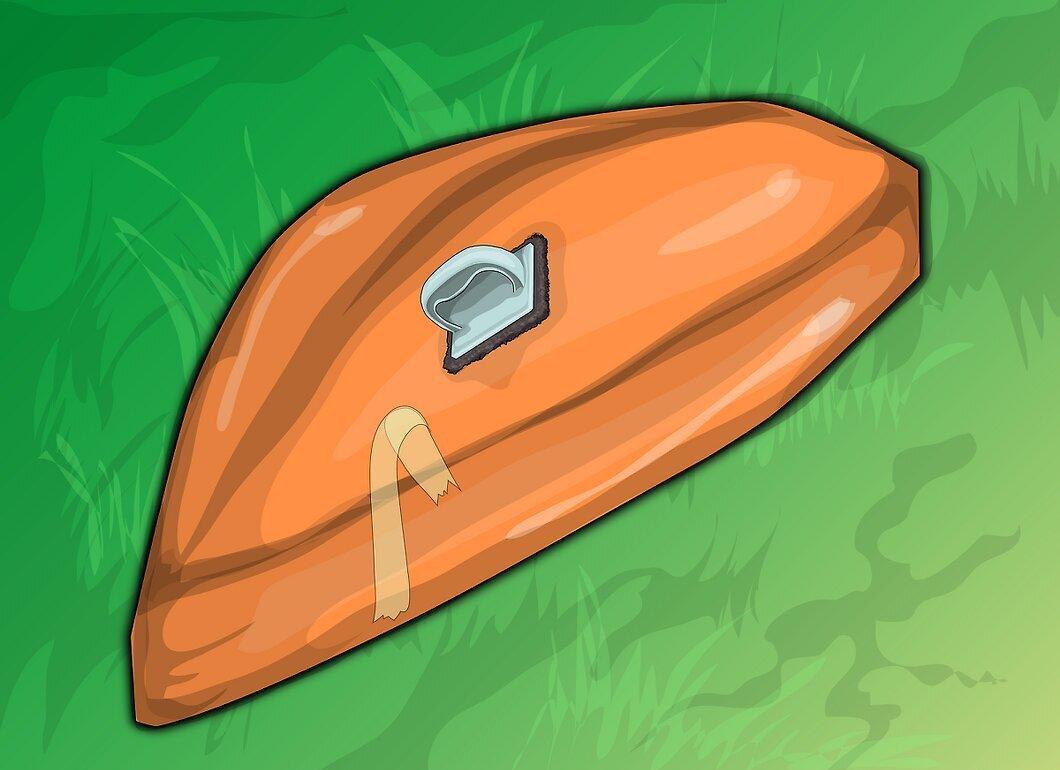
Once fully cured, remove the masking tape and sand the area. Start with coarse sandpaper (grit 40–60), then move to medium (100–200), and finish with fine (300 and above). You can also use polishing compounds to achieve the desired level of smoothness.
Step 17: Safety While Sanding:
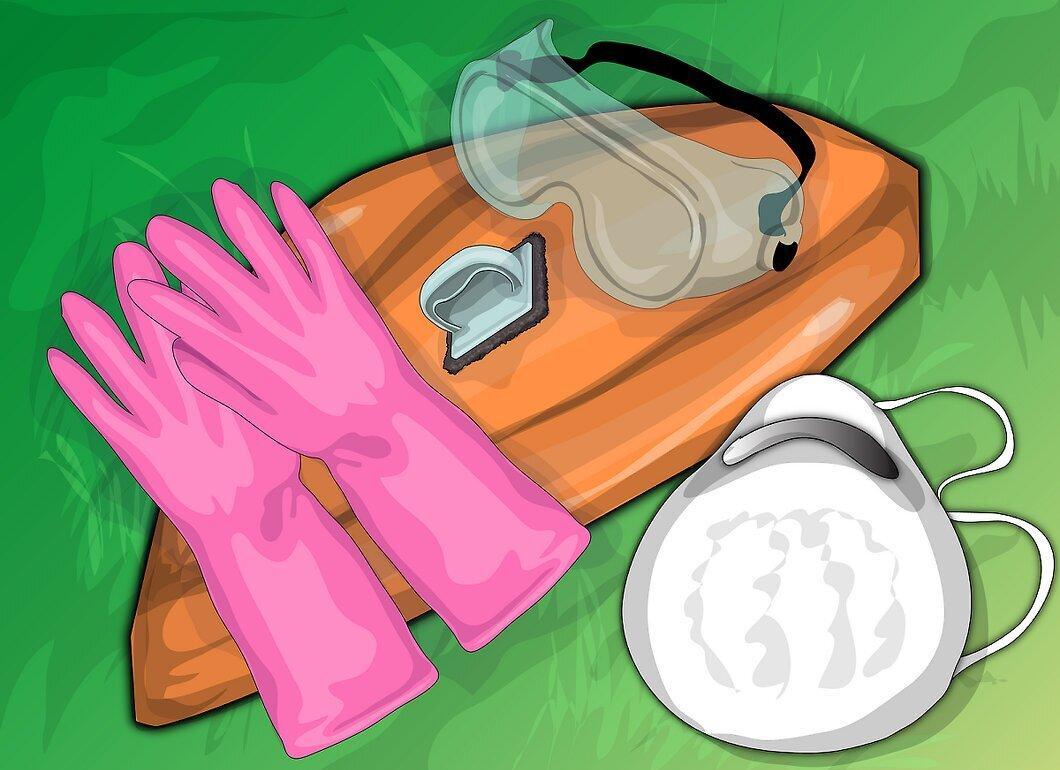
Don't forget about safety: when sanding, always wear safety goggles, a mask, and gloves. Even though cured epoxy resin may not have a strong odor, particles created during sanding can be toxic.


