
For centuries, humanity has sourced its own food through hunting, fishing, foraging, and farming. In today’s world, where groceries are readily available in stores, these methods have become more of a hobby. However, growing your own food can bring health, confidence, and pleasure to you and your family.
Planning
Step 1: Learn what crops are suitable for your region.
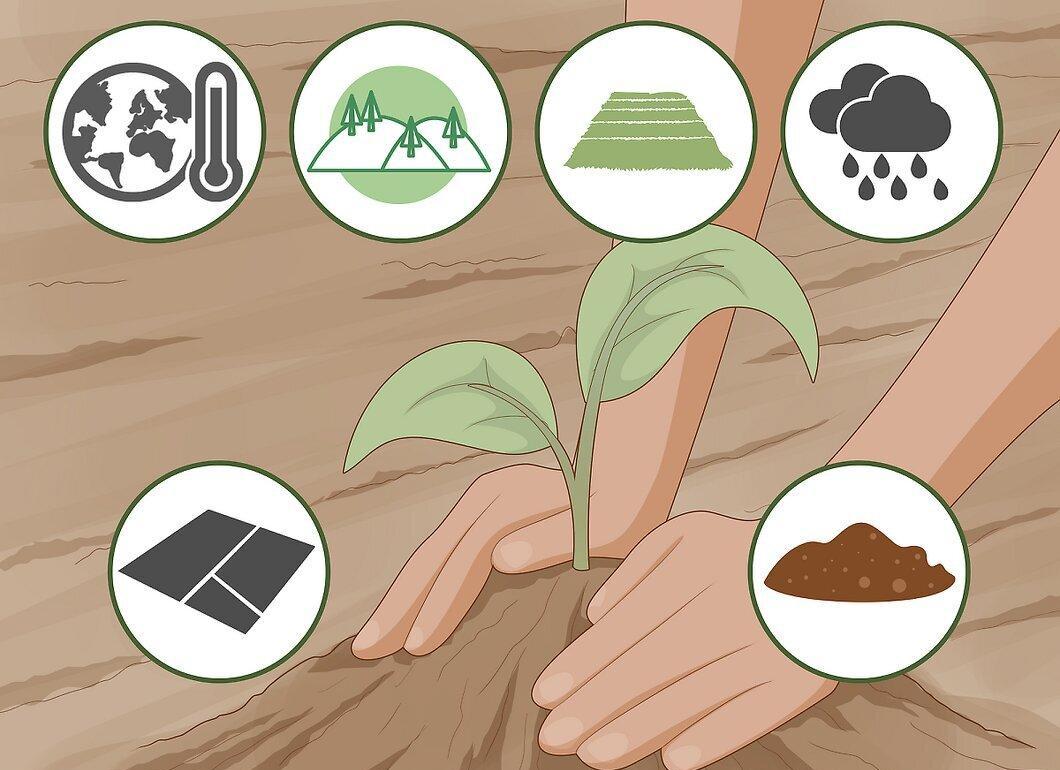
The first step is to determine which plants can thrive in your climate. Key factors include weather conditions, soil type, rainfall, and available space. A great way to learn what you can grow is to visit local farms or gardens. Here are some key questions to consider before you start:
- Climate. In some regions, the growing season is short, like in Northern Europe or Africa, so it's better to plant fast-growing crops. In warmer areas, you can harvest year-round.
- Soil. Different plants require different types of soil. Choose crops that are best suited to your soil type, and allocate small patches for those needing special care.
- Rainfall. Most plants require regular watering. Consider the rainfall levels in your area and the possibility of irrigation. If you live in a dry climate, think about a rainwater collection system.
- Space. If you have a large area, you can grow a variety of crops. In limited spaces, consider hydroponics, container gardening, or vertical gardening.
Step 2: Understand the agricultural season.
It's important to understand how to organize the agricultural season. Growing food isn’t just about sowing seeds and harvesting. In the "Growing" section, we will discuss key stages for each crop. Preparing crops for planting is similar, but each plant has its unique requirements.
Step 3: Explore different types of crops.
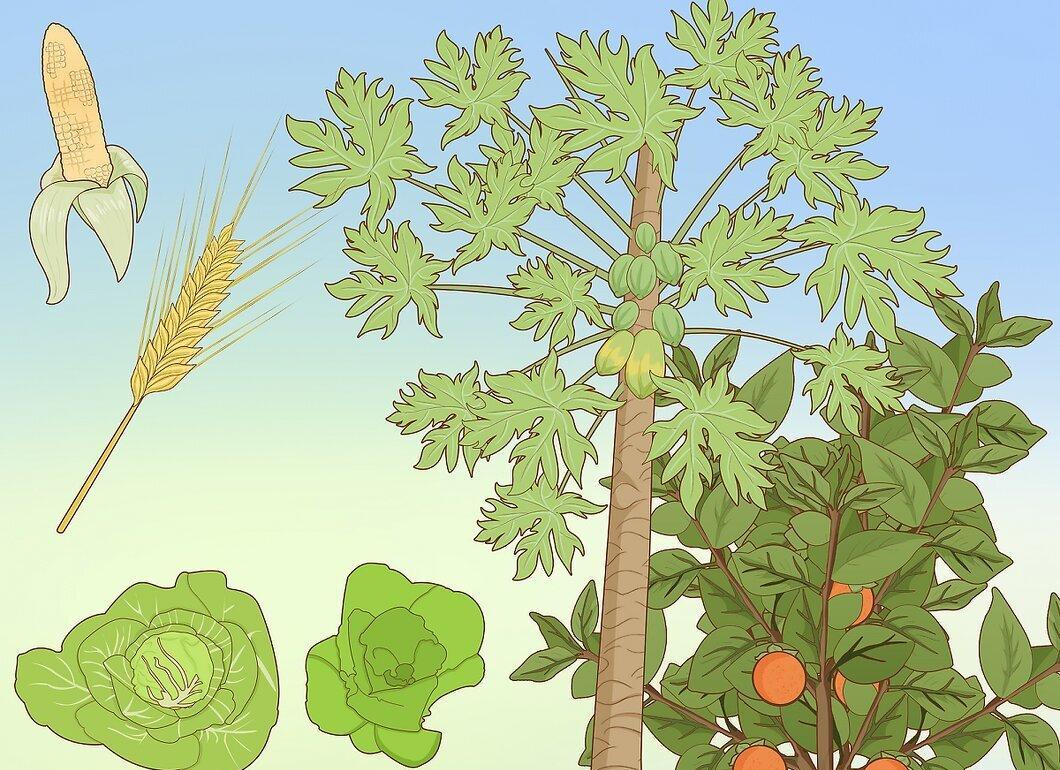
When thinking about vegetables, don’t just envision supermarket shelves. If you're looking to produce your own food, consider your entire dietary needs. Here are some groups of crops to think about:
- Fruits. They are not only sources of vitamin C but also many other vitamins and minerals, adding variety to your diet. Fruits can be stored dried or canned, eliminating the need for refrigeration.
- Grains. Many overlook the importance of grains, but they play a key role in one’s diet.
- Vegetables. This includes legumes, greens, root vegetables, and gourds—all rich in nutrients.
- Corn. This versatile crop is easy to store and grow. Freezing is a great way to preserve corn for winter.
- Wheat. It’s used for flour production and requires more labor-intensive harvesting than corn.
- Oats and rice. These crops can be suitable depending on your region.
Step 4: Choose varieties that suit your climate.
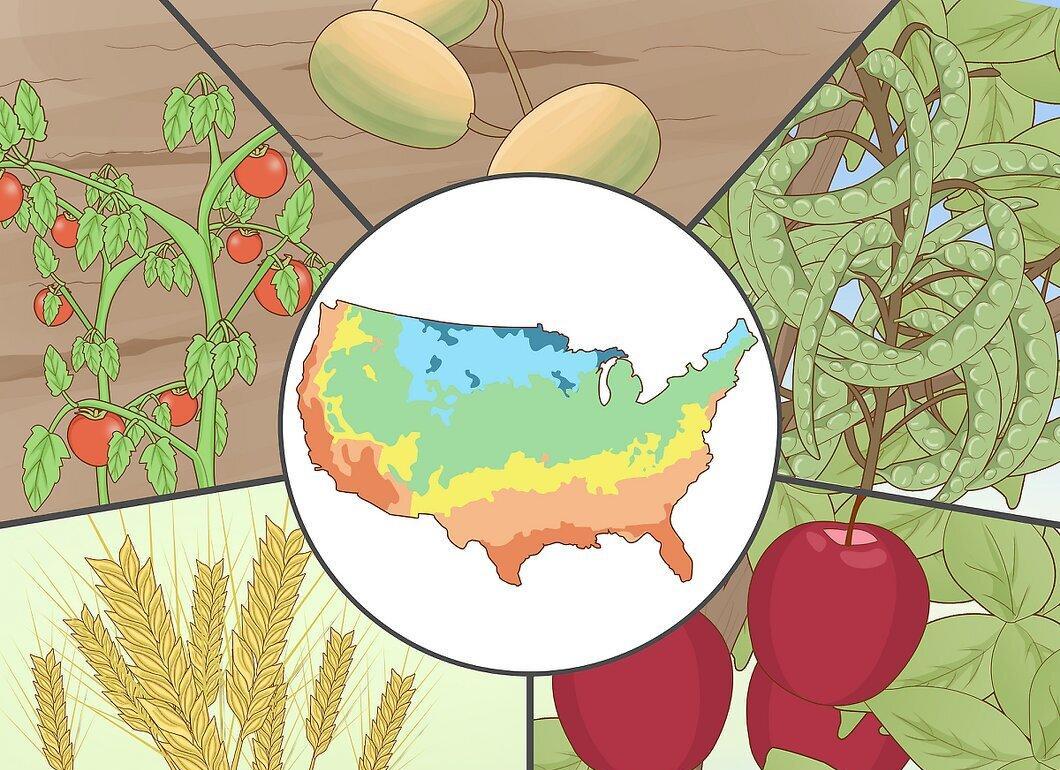
The choice of crops should match the climatic conditions. While it's impossible to cover all regions in this article, we’ll provide basic recommendations from the USDA for assessing plant germination ability in your area.
- Legumes. These are planted after the frost threat has passed and require 75 to 90 days for the first harvest.
- Gourds. This includes zucchinis and cucumbers, which are sown after the last frost.
- Tomatoes. These plants can be started in containers and transplanted outdoors after the frost threat.
- Grains. There are many types that are sown at different times of the year, depending on the type.
- Fruit trees. Apple and pear trees are generally perennial and require pruning and care.
Step 5: Create a planting plan.
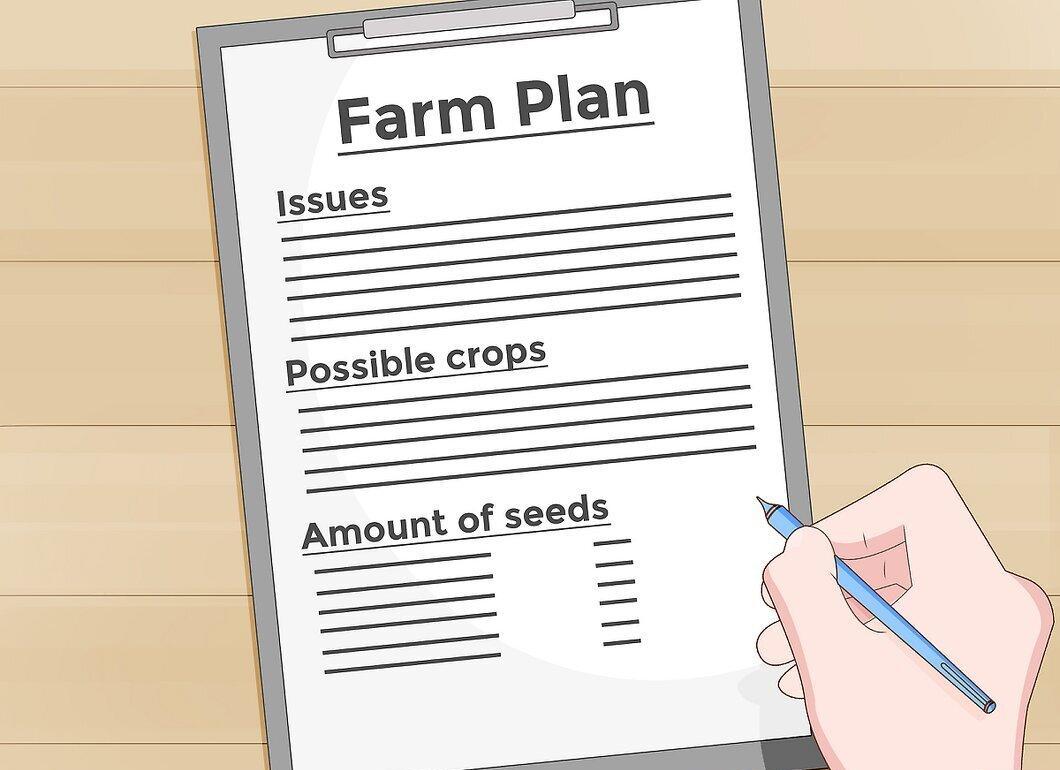
When planning, it's important to consider many factors, such as protection from wildlife, access to sunlight, and terrain. Make a list of crops you can grow based on their nutritional values.
- If your area is small, plan efficiently to utilize all available space. In some regions, you can harvest even in winter by using different varieties.
Step 6: Think about storage.
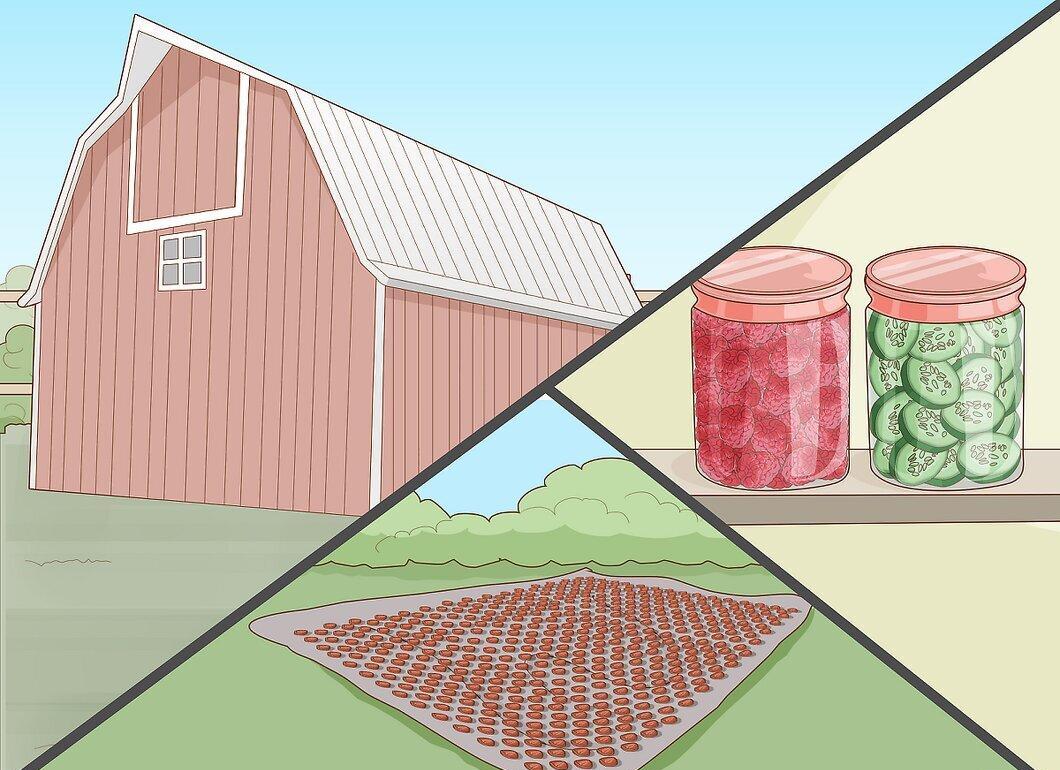
If you plan to grow grains, you will need storage silos. For home consumption, it's best to organize a system for storage and preservation. Here are the main methods:
- Drying. An effective way to store fruits and vegetables.
- Canning. Requires special containers and skills.
- Freezing. Needs a freezer and appropriate packaging.
- Clamping. An efficient method for storing root vegetables.
- In the ground. Some crops can overwinter in the garden with proper protection.
Step 7: Assess costs and profits.
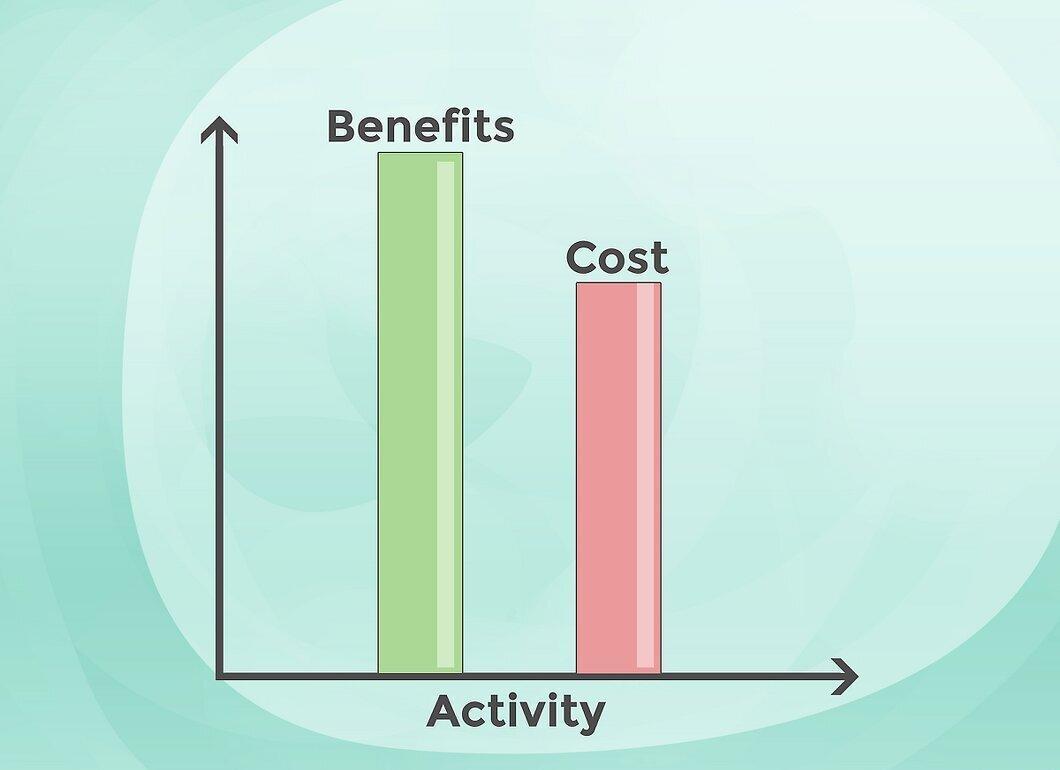
Starting out may require significant investment, especially if you lack equipment. Evaluate the profitability of the project and your physical capabilities. Remember, the main benefit is fresh food without chemicals.
Step 8: Start small.
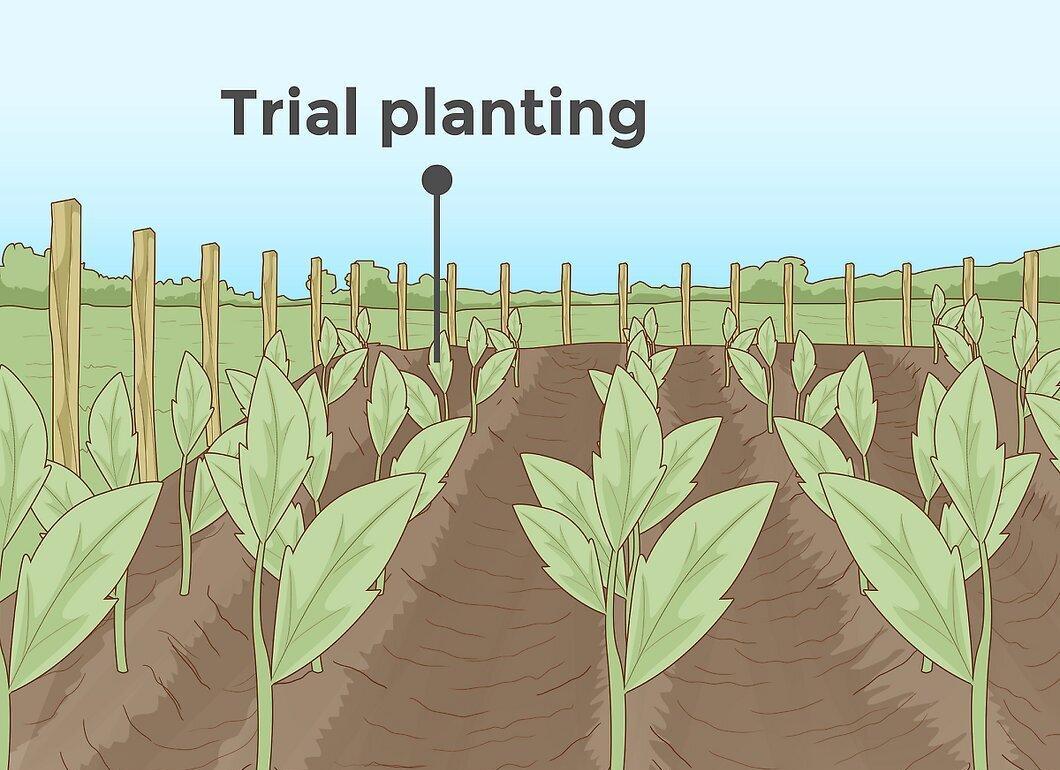
If you have good conditions, you can start on a larger scale, but it’s better to begin with a small test. Communicating with experienced local farmers can help you choose the right crops. In your first year, try planting a small area to assess the yield and improve your skills.
Growing
Step 1: Prepare the soil.
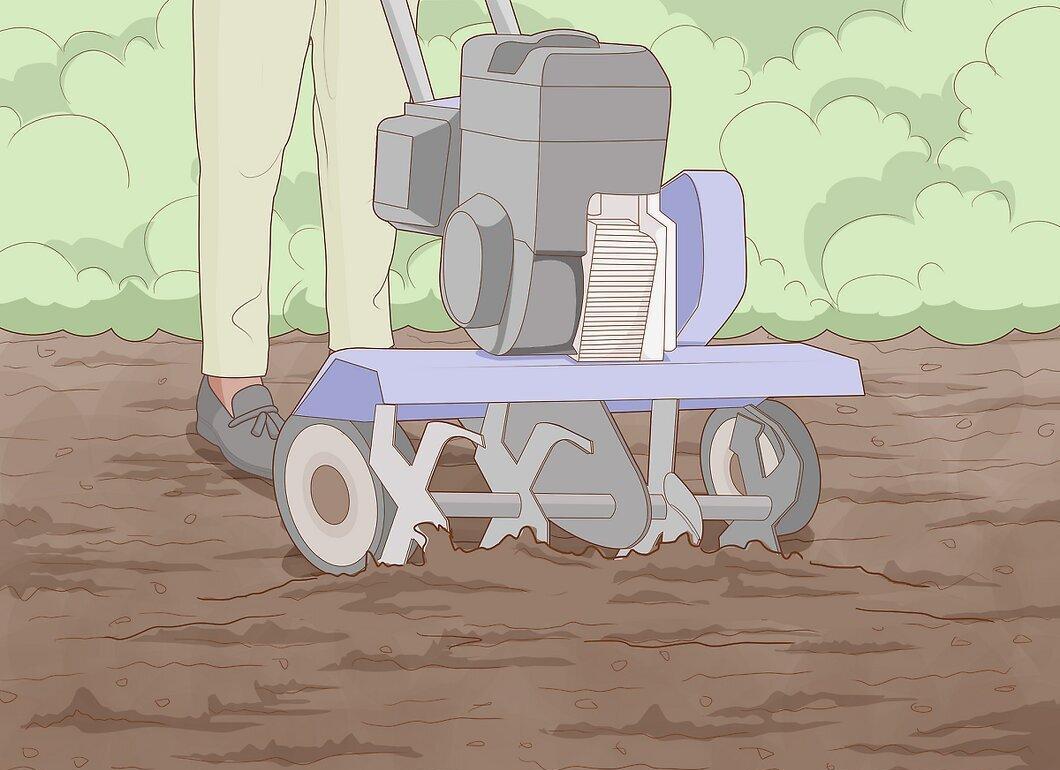
If the soil is already tilled, simply loosen it. For larger areas, use a tractor; for smaller ones, a tiller or hand tools. Before plowing, remove stones and weeds.
Step 2: Prepare the beds.
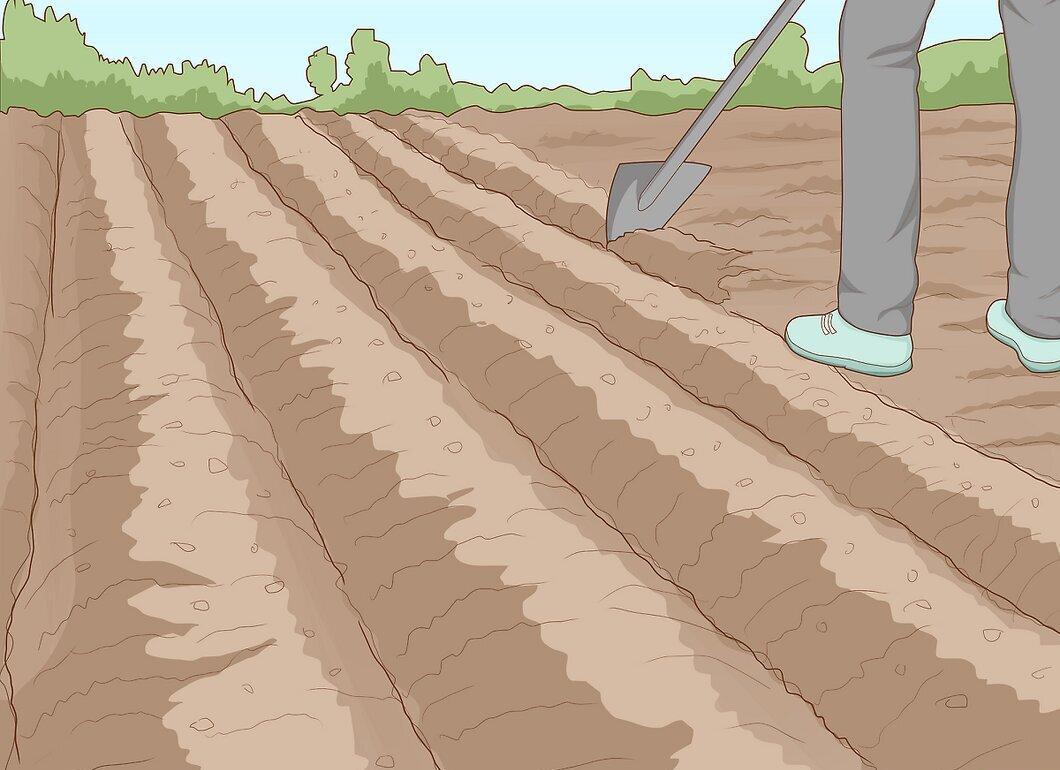
Define the boundaries of the beds and create low mounds of loose soil. Use a hoe or plow. Then make shallow holes for the seeds.
Step 3: Plant seeds at the right depth.
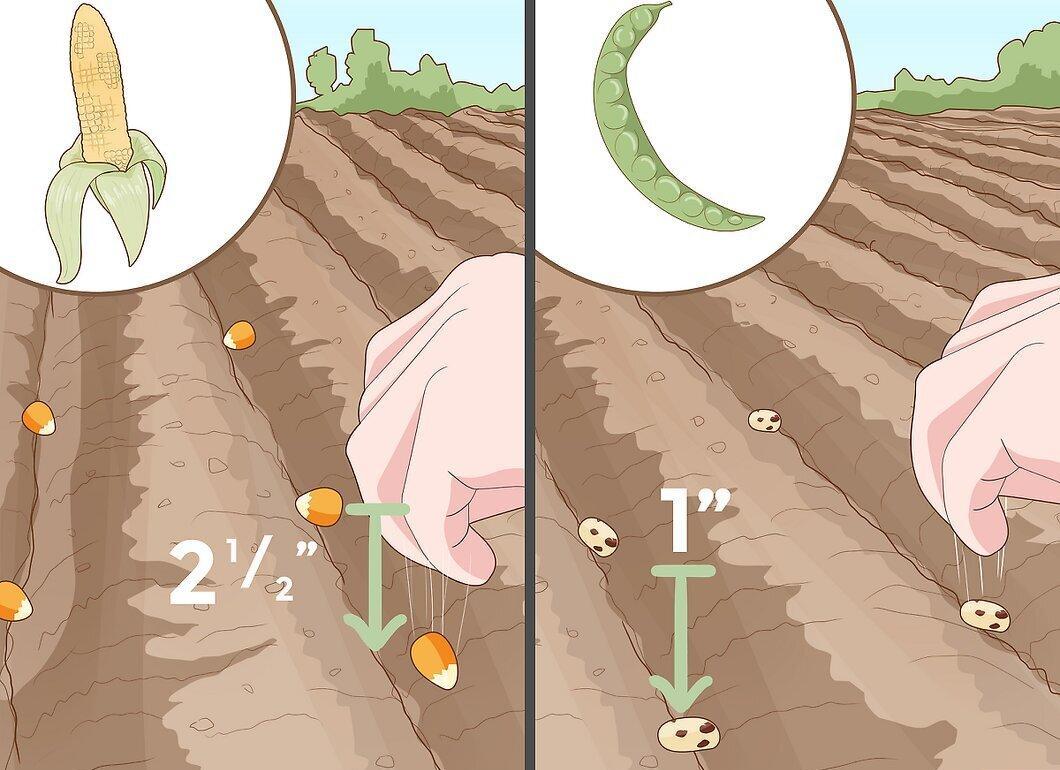
Plant seeds at the recommended depth. For gourds and legumes, it's 2-2.5 cm; for corn and potatoes, 6-9 cm. Cover them with soil and lightly compact.
- You can start seeds indoors or in a greenhouse and then transplant them.
Step 4: Hill up and weed.
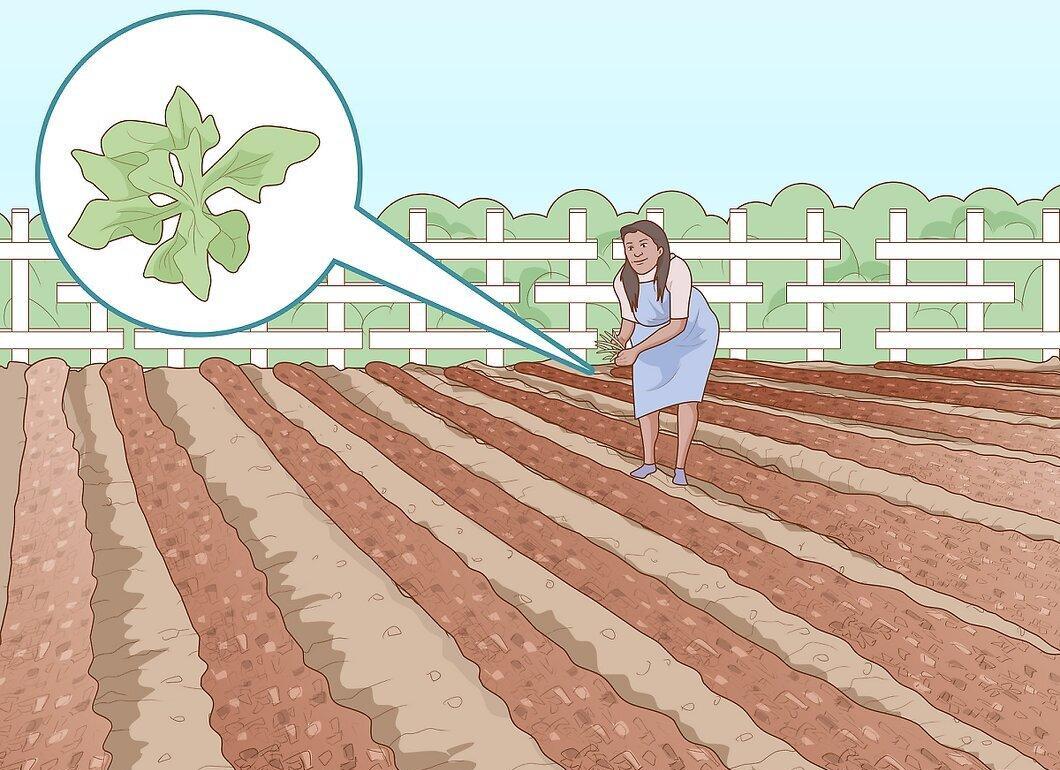
Once the soil compacts, hill up the plants by gently loosening the soil at the roots without damaging them. Mulching will help control weed growth.
Step 5: Protect from pests.
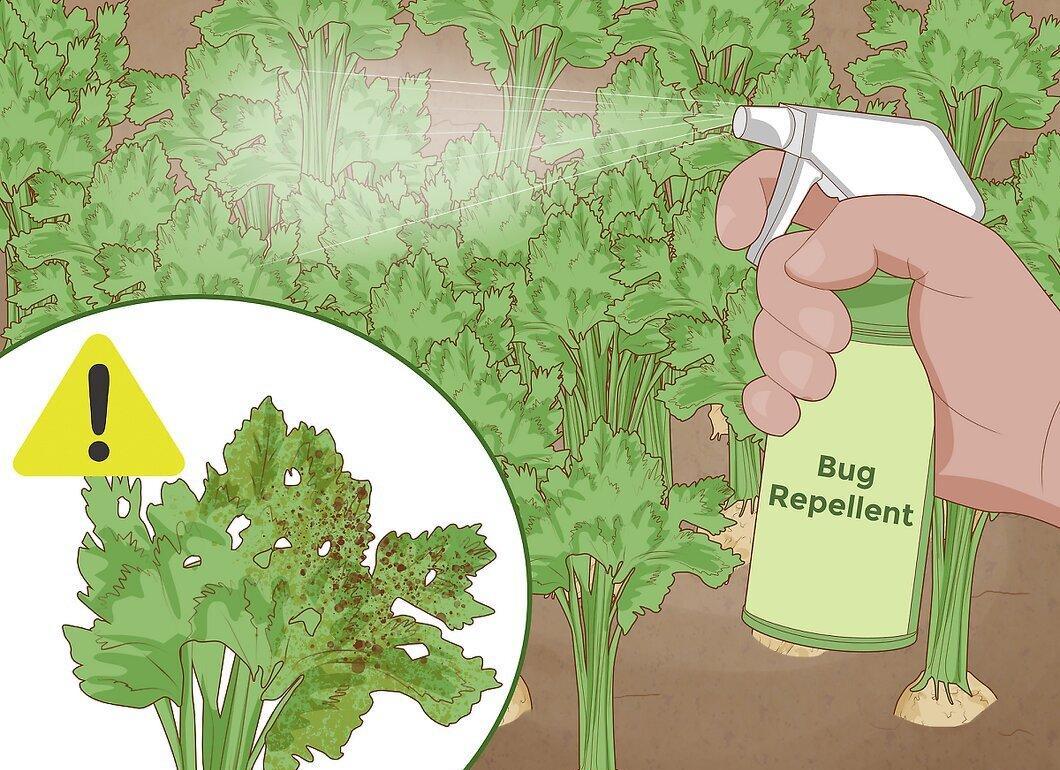
Watch for damage from insects and animals. If you find chewed leaves, determine the cause and take action. For small pest problems, manual removal may suffice, but in severe cases, special protection methods may be needed.
Step 6: Harvesting.
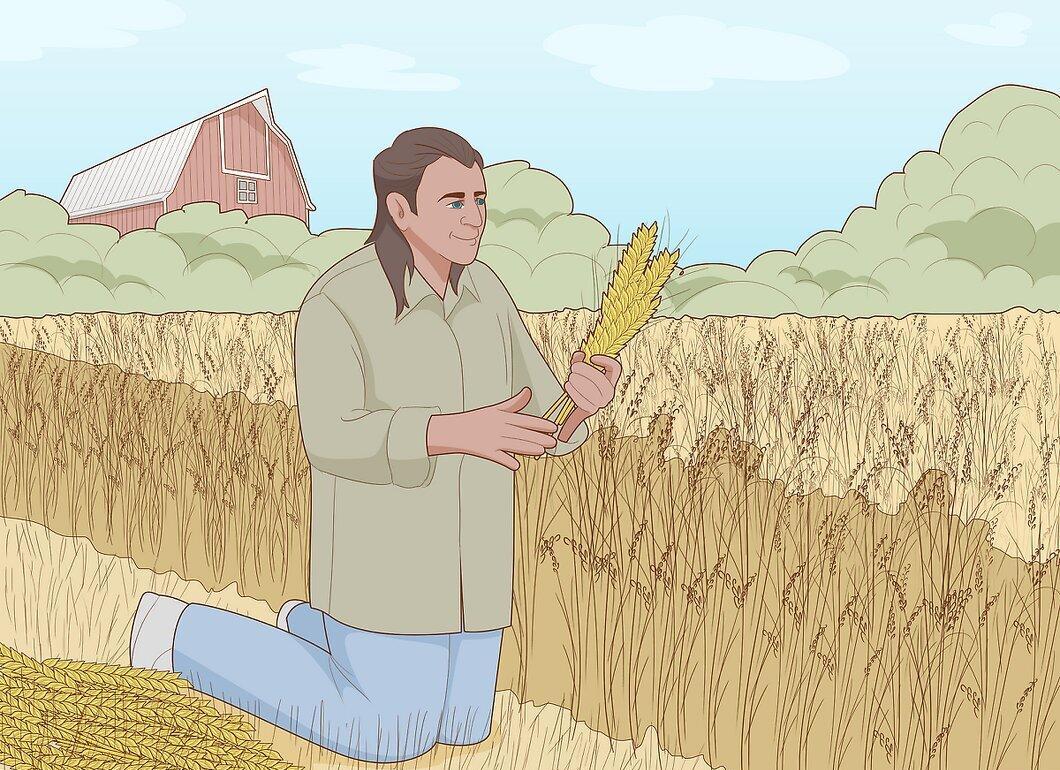
Prepare for harvesting, which requires knowledge and skills. Vegetables are harvested as they ripen, while grains are collected when fully dried. With experience, you can optimize the harvesting process.
Step 7: Preserving the harvest.
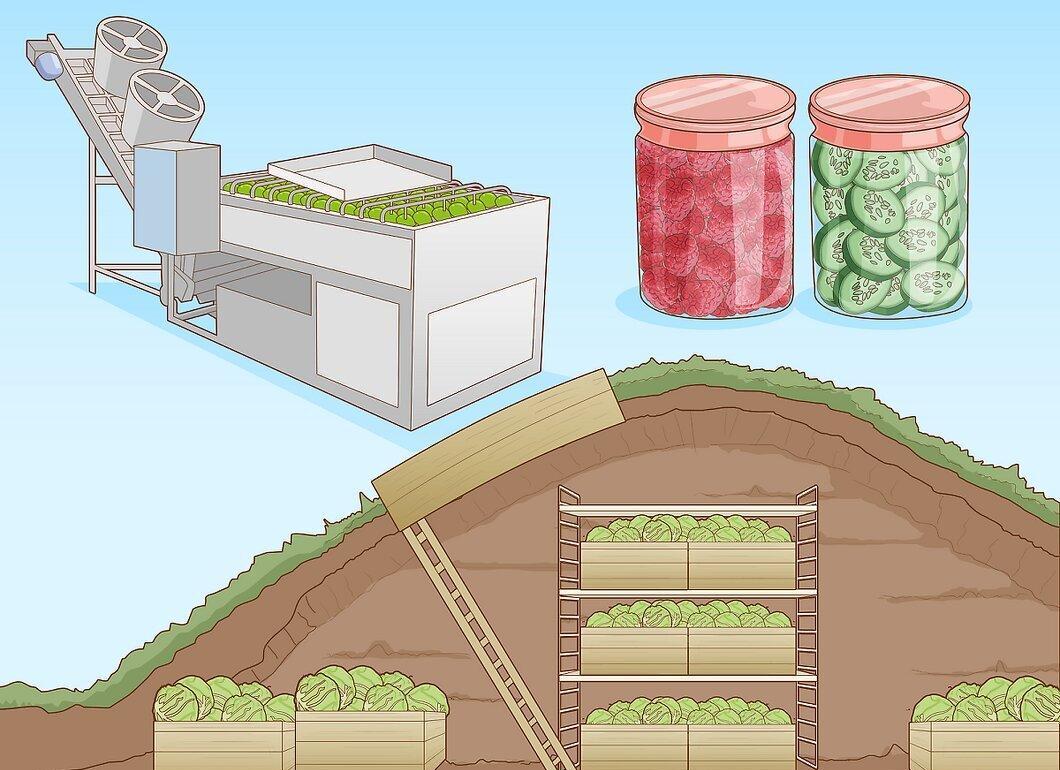
There are several ways to store vegetables during the off-season. Root vegetables can be kept in the fridge, while others can be dried, canned, or frozen. Vacuum sealing before freezing greatly extends shelf life.


