
You have a TV, a Blu-ray player, and a gaming console, but you're missing that immersive surround sound experience. Investing in a receiver makes sense, as managing all the cables can be tricky, especially compared to simply connecting a DVD player to your TV. Not to mention that everything needs to be set up correctly and the levels properly adjusted. Start with Step 1 below for a proper installation the first time, and you'll be back to enjoying what you love.
Speaker Placement
Step 1. Position the Subwoofer.
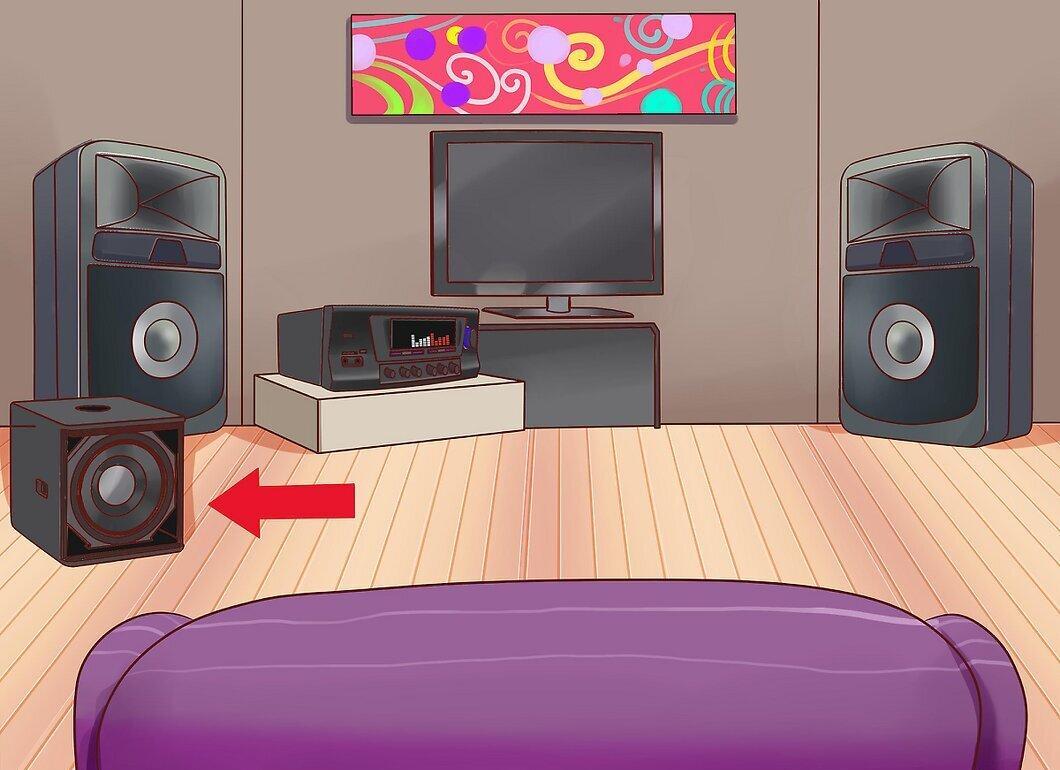
Place the subwoofer. The subwoofer is an omnidirectional sound source, which means you'll achieve consistent results regardless of its placement. Most people position it at the center of their setup, making it easier to connect to the receiver.
Step 2. Avoid Corners and Walls.
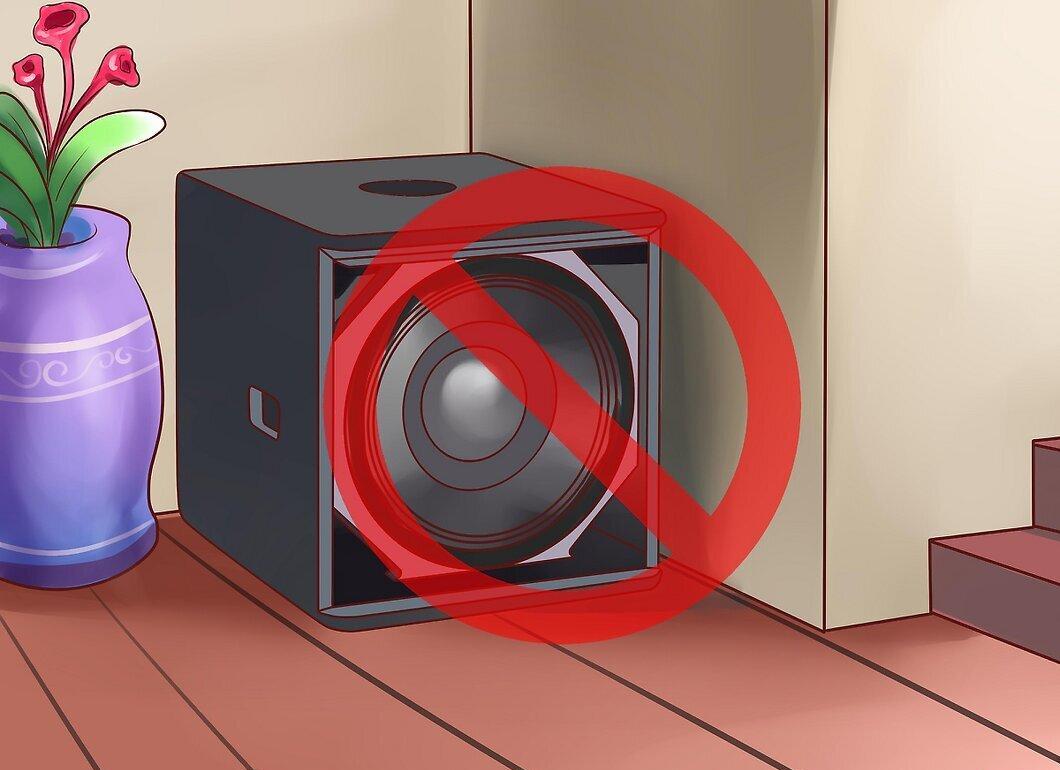
Avoid corners and walls. While the subwoofer is omnidirectional, placing it against a wall or in a corner can distort the bass, making it harder to tune. Position the subwoofer in a spot that allows the sound to spread freely. This will make it easier to adjust the levels.
Connecting the Speakers
Step 1. Place the Front Speakers on Either Side of the TV.
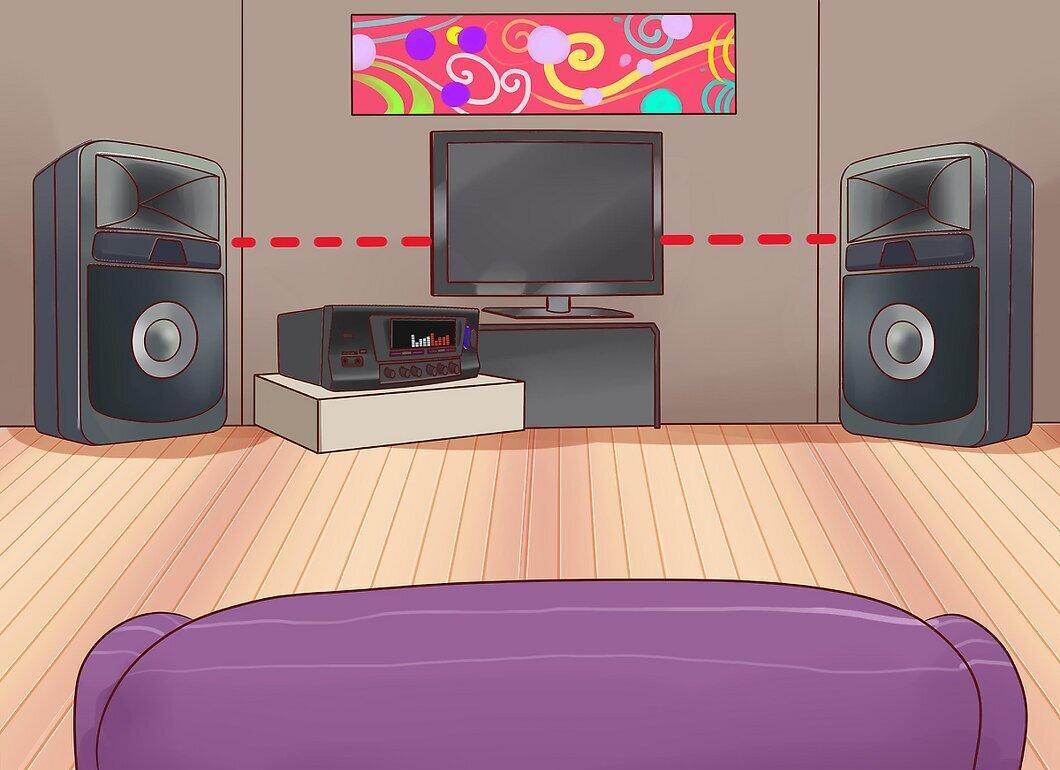
Position the front speakers on either side of the TV. Ensure that the speakers are placed correctly if they are marked. The front speakers should be equidistant from the TV, which is typically about a meter apart.
Step 2. Choose the Angle for Speaker Placement.
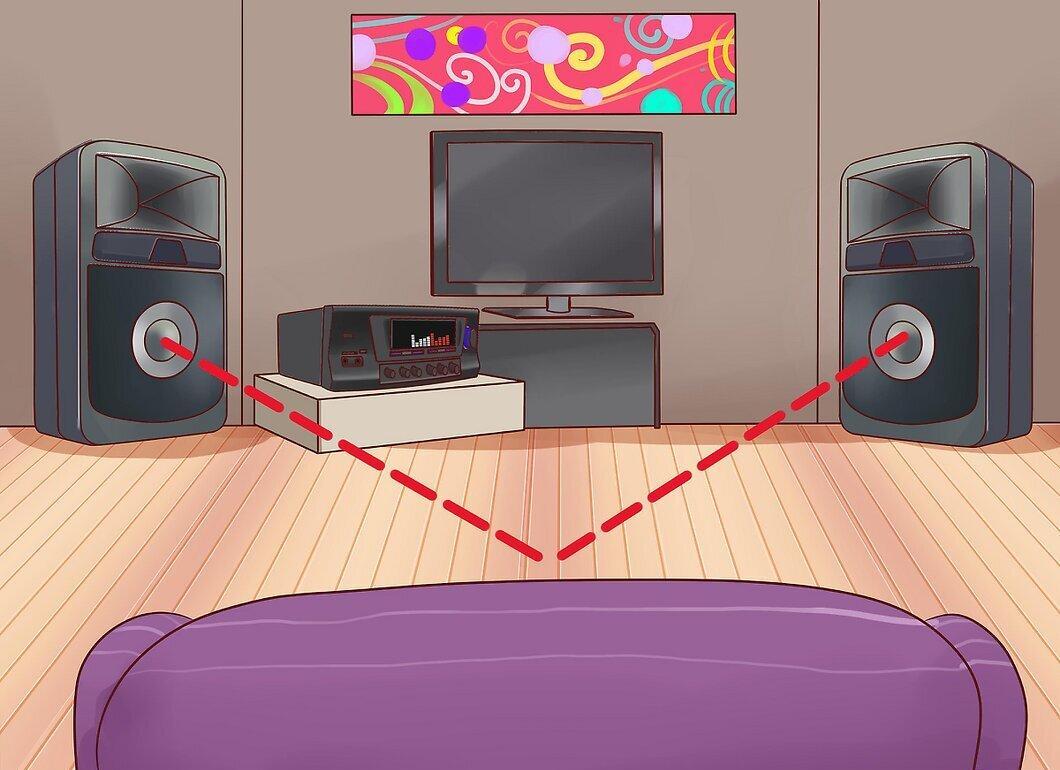
Choose the angle for the speakers. Each speaker should be directed precisely toward the center of the listening area.
Step 3. Elevate the Speakers.
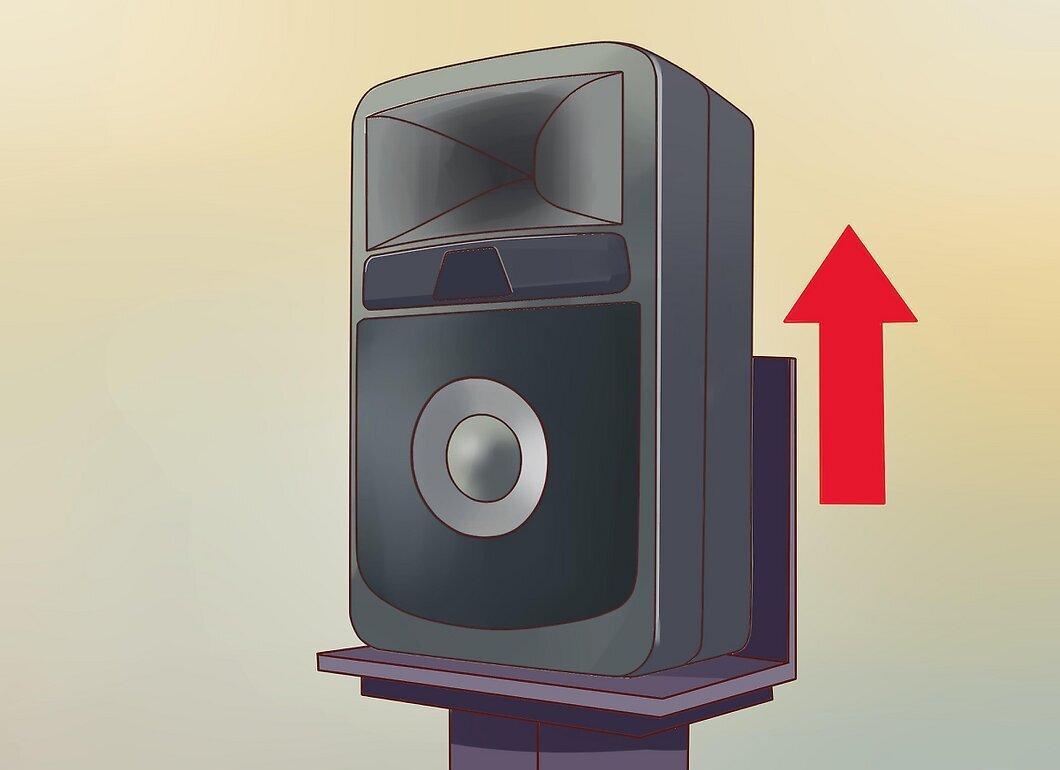
Elevate the speakers. For optimal sound quality, the front speakers should be at ear level. You can use speaker stands for your home stereo system.
- If you're using a 2.1 system, you're done with speaker placement and can move on to the Speaker Connection section.
Connecting Your Equipment
Step 1. Position the Center Speaker at the Same Level as the TV.
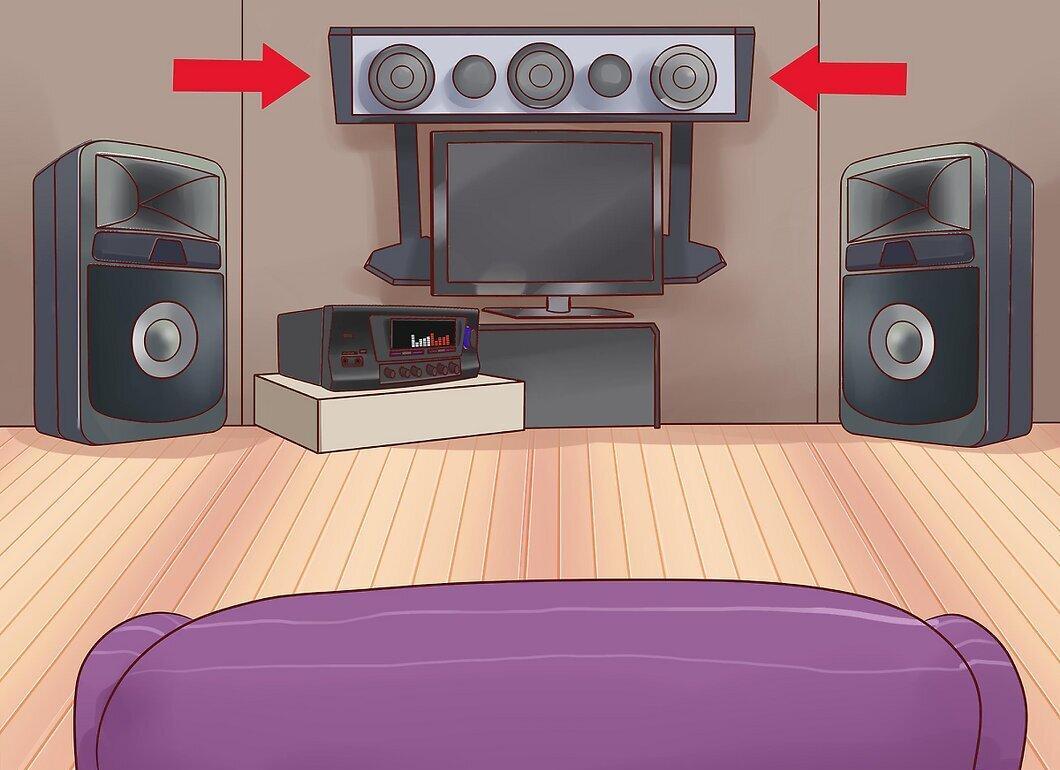
Place the center speaker at the same level as the TV. The center channel fills the gap between the left and right speakers. This helps in sound panning from left to right and syncs dialogue with the movements of mouths on screen. The center channel should be placed directly in front of the TV, whether above or below it.
- Try to position the center channel at ear level. This can be tricky depending on the position of the TV itself.
- Do not place the center channel behind the TV, as you won't hear the signal from it.
Checking the Results
Step 1. Position the Speakers to the Sides of Your Line of Sight.
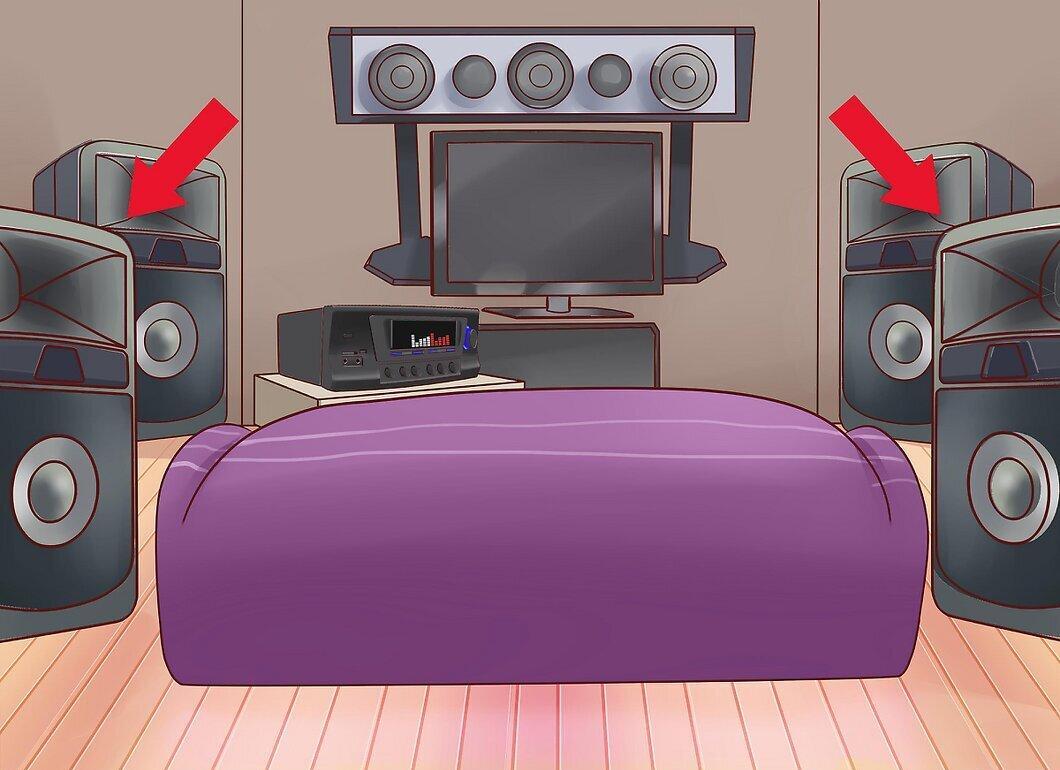
Place the surround speakers to the sides of your line of sight. Surround speakers create an immersive sound effect around you. They don’t transmit as much sound as the front speakers but widen the sound field and engage the viewer.
- Your two surround speakers should be positioned on either side of your line of sight and aimed directly at the viewers. You can place them just behind the viewer if you’re not using a 7.1 system, as they will still be directed straight at the viewer. They should be positioned at an angle of 90°-110° relative to the TV.[2] X Source
Step 2. Elevate the Speakers.
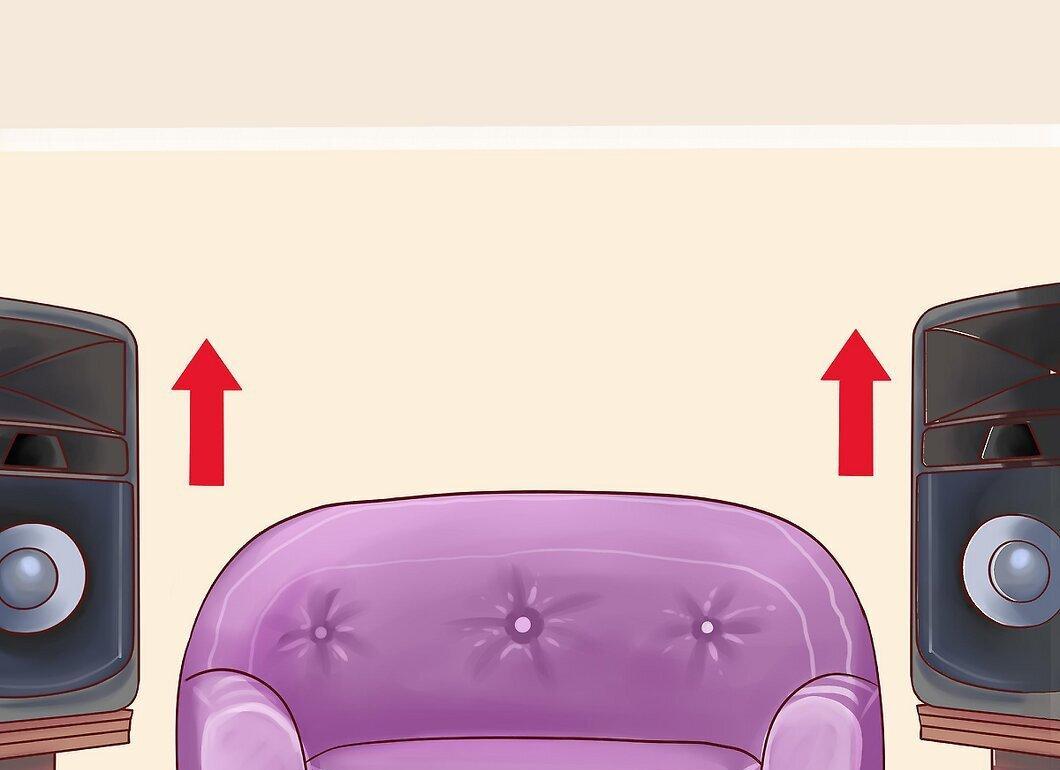
Elevate the speakers. Surround speakers should be at ear level for the best results. Use any available speaker stands or furniture.
- If you’re installing a 5.1 system, you’re done with speaker placement and can proceed to the Speaker Connection section.
Part 5
Step 1. Position the Speakers Behind the Field of View.
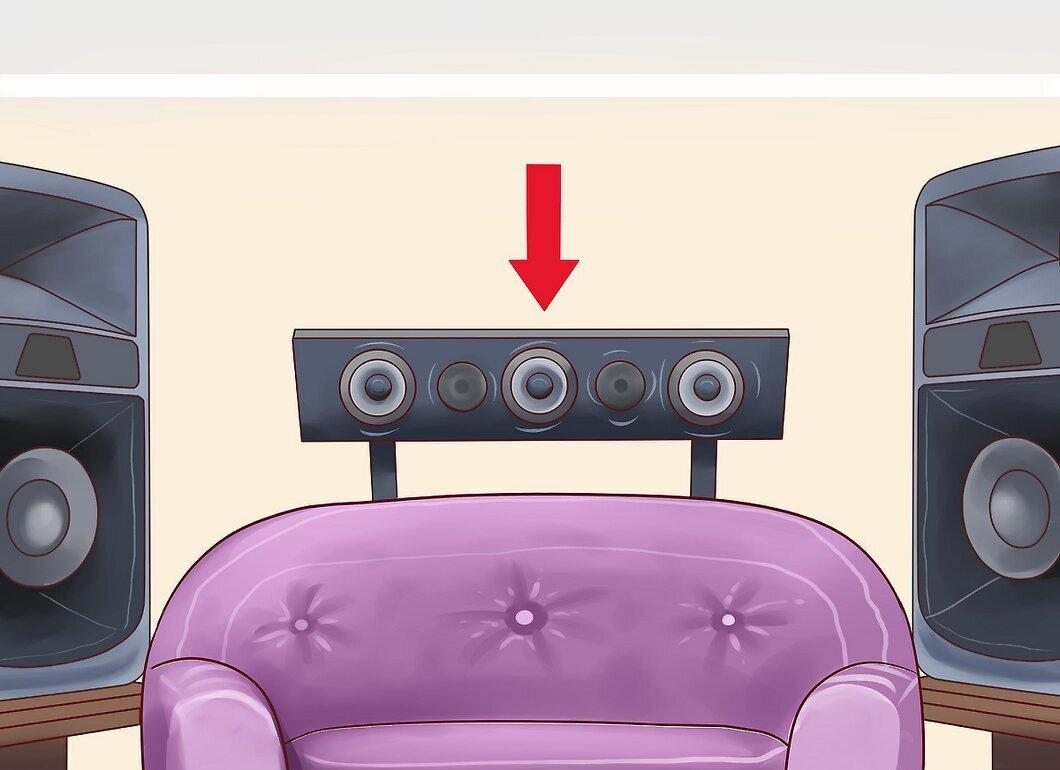
Place the rear speakers behind the field of view. Rear channel speakers enhance immersion and complement the surround speakers. They create a sound bubble around the viewers.
Step 2. Choose the Angle for the Rear Speakers.
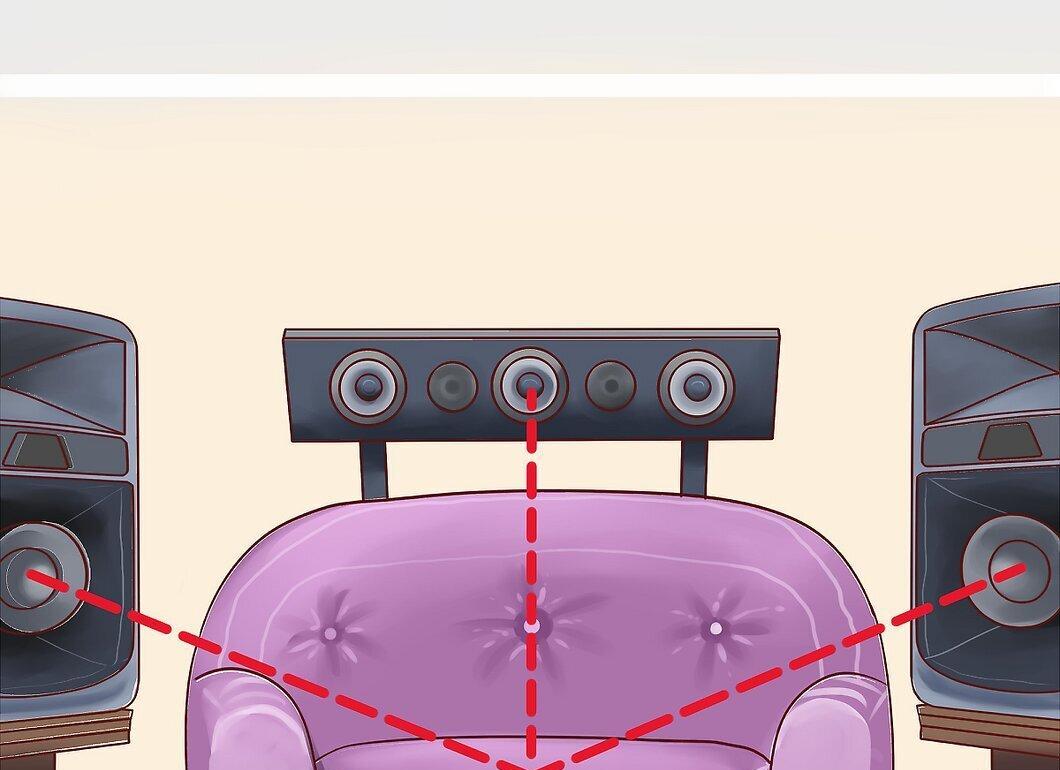
Choose the angle for the rear speakers. Just like the front speakers, the rear speakers should be directed straight at the center of the viewing area.
Step 3. Elevate the Rear Speakers.
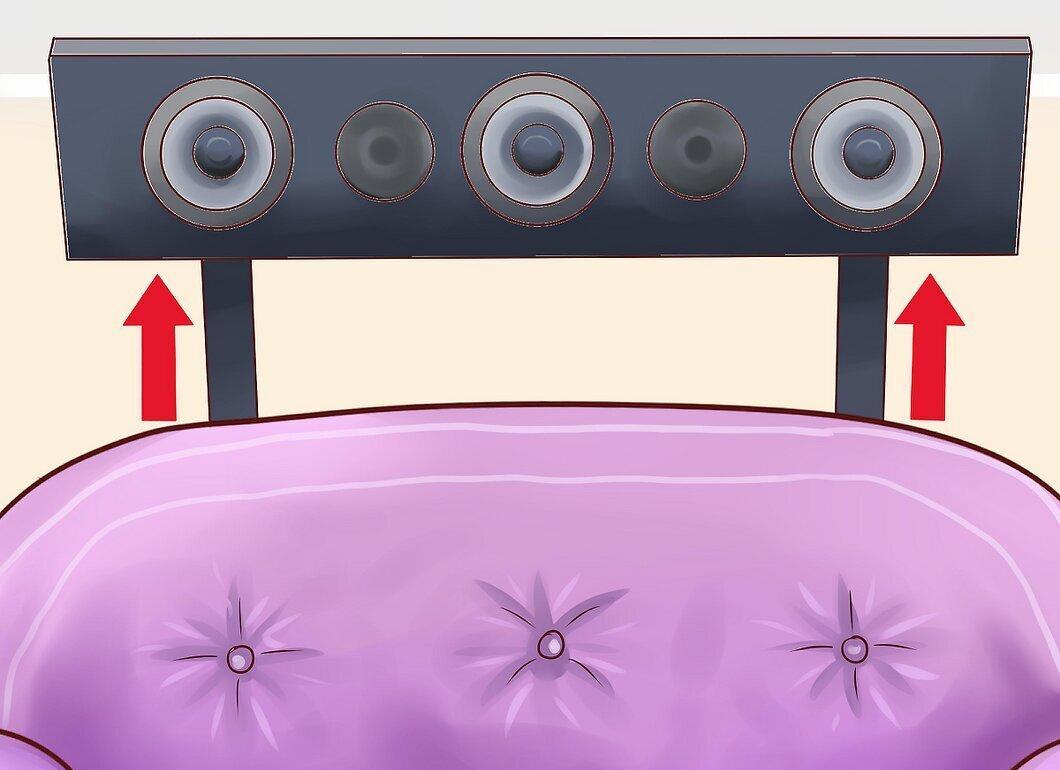
Elevate the rear speakers. The rear speakers should be at the same height as the surround speakers.
Part 6
Step 1. Position the Receiver Near Your TV.
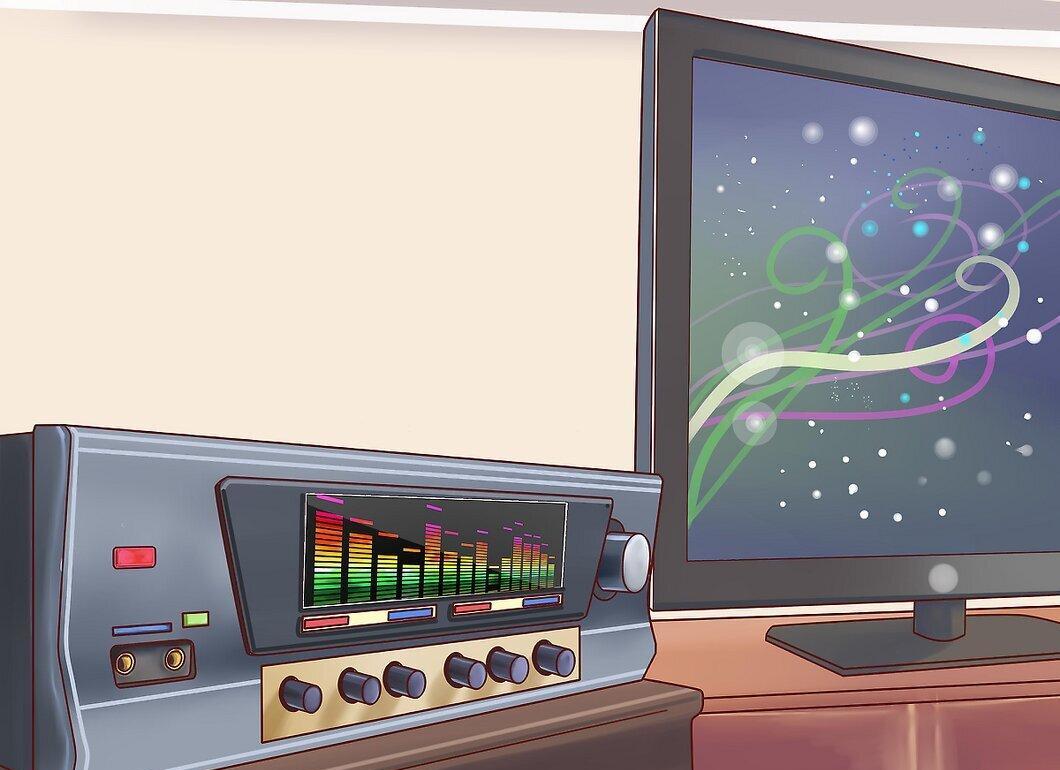
Place the receiver near your TV. All surround sound systems go through the receiver. The receiver processes the incoming signal and sends the audio signal to all connected speakers. It should be placed near your TV so that cables can reach it, and you need space around it for proper ventilation.
Step 2. Turn Off All Equipment.
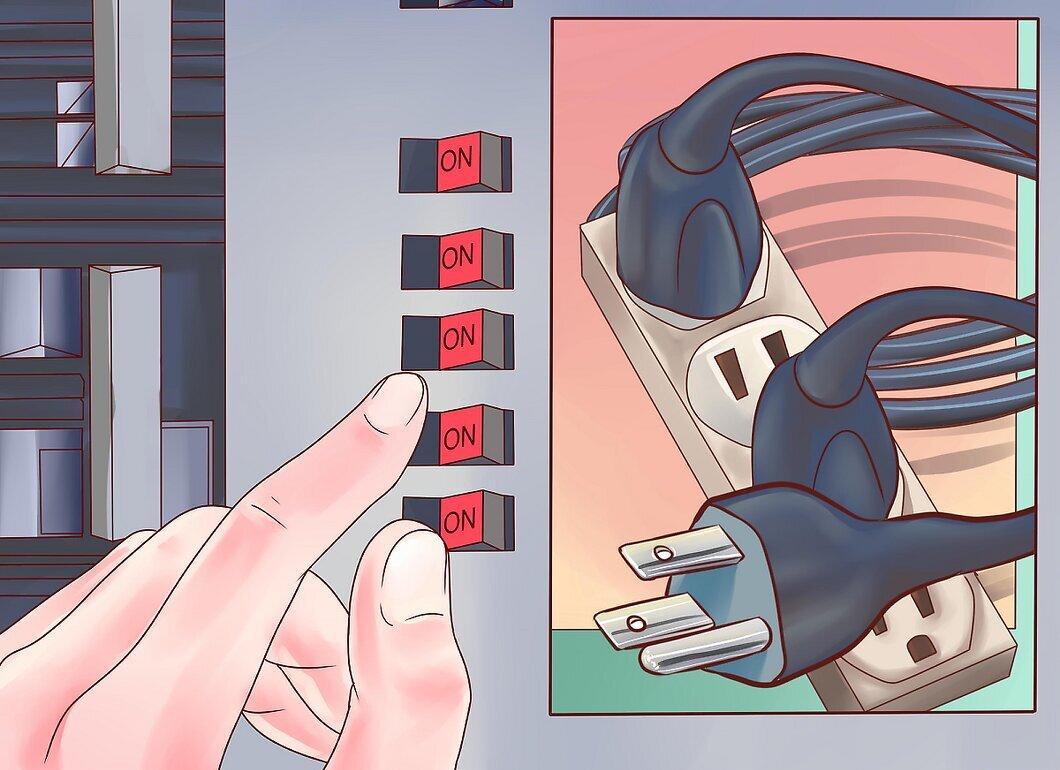
Turn off all equipment. When setting up the speakers, there is a risk of electric shock. To be safe, turn everything off and unplug it.
Step 3. Inspect Your Speaker Connections.
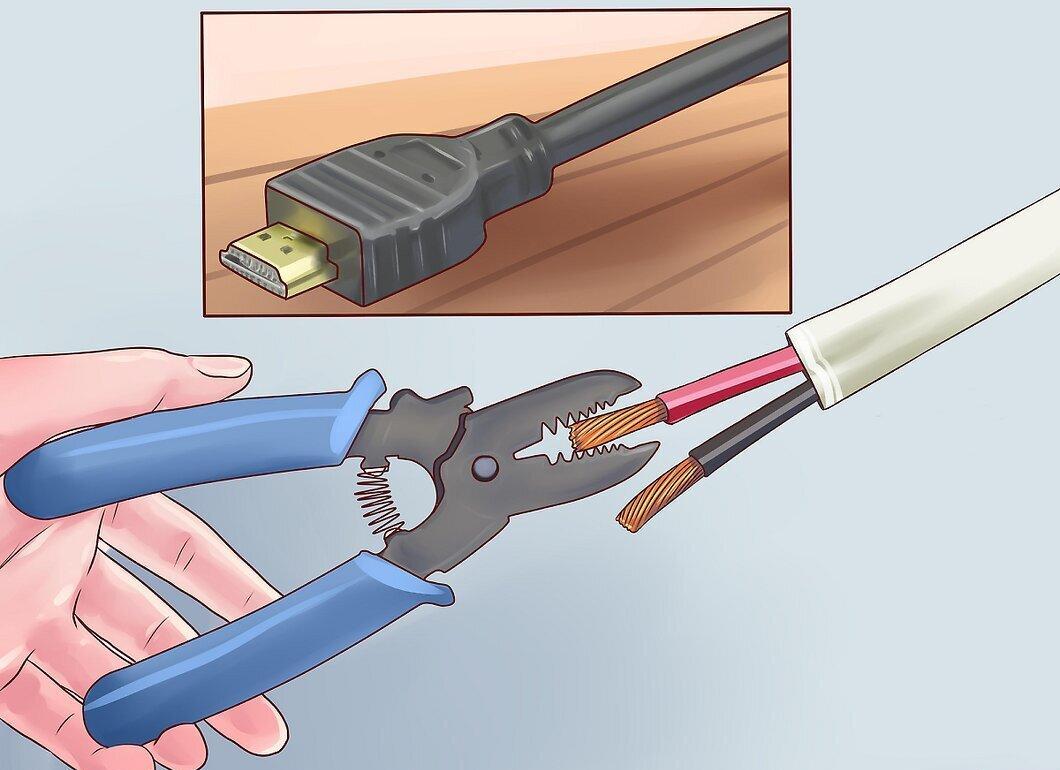
Inspect your speaker connections. Some surround sound systems have ports for each speaker, so you can connect all the plugs correctly. Others use connectors to attach wires to the receiver. If your system uses connectors, you’ll need wire cutters to strip the contacts from the protective sheath.
Step 4. Begin Running Cables.
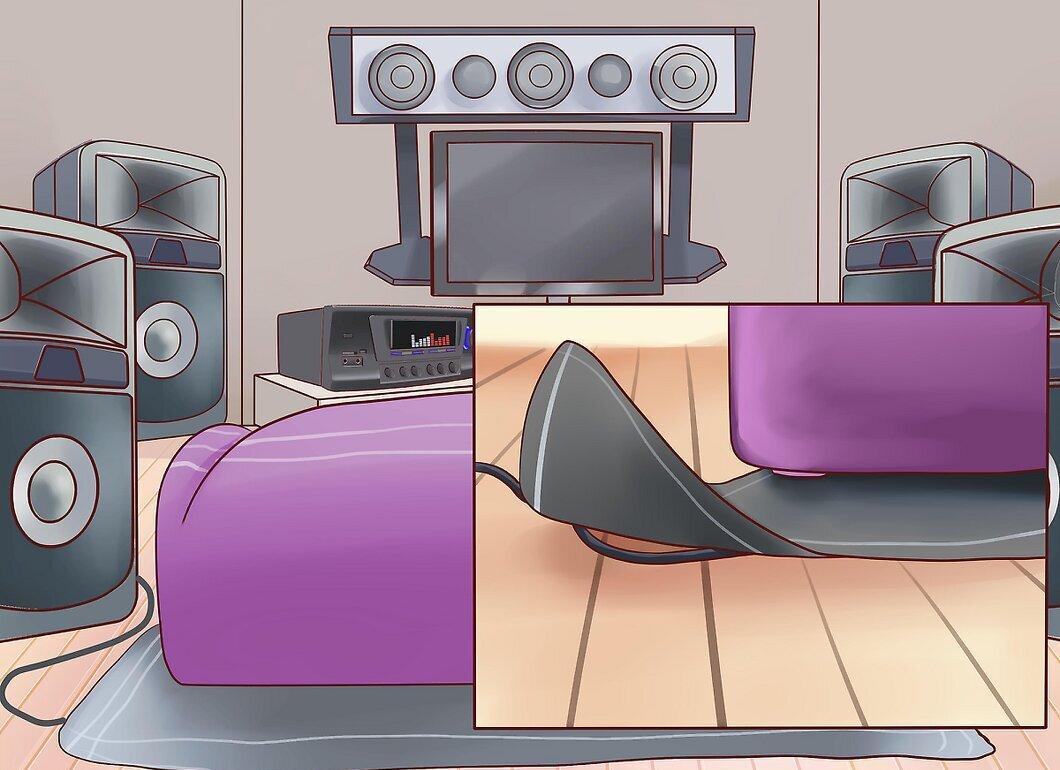
Start running the cables. Do your best to hide the cables you run. This will not only look better but also keep people and pets from tripping over them and damaging your speakers.
- If possible, run the cables under carpets or through walls. This will give your system a more polished appearance.
Step 5. Connect the Speakers.
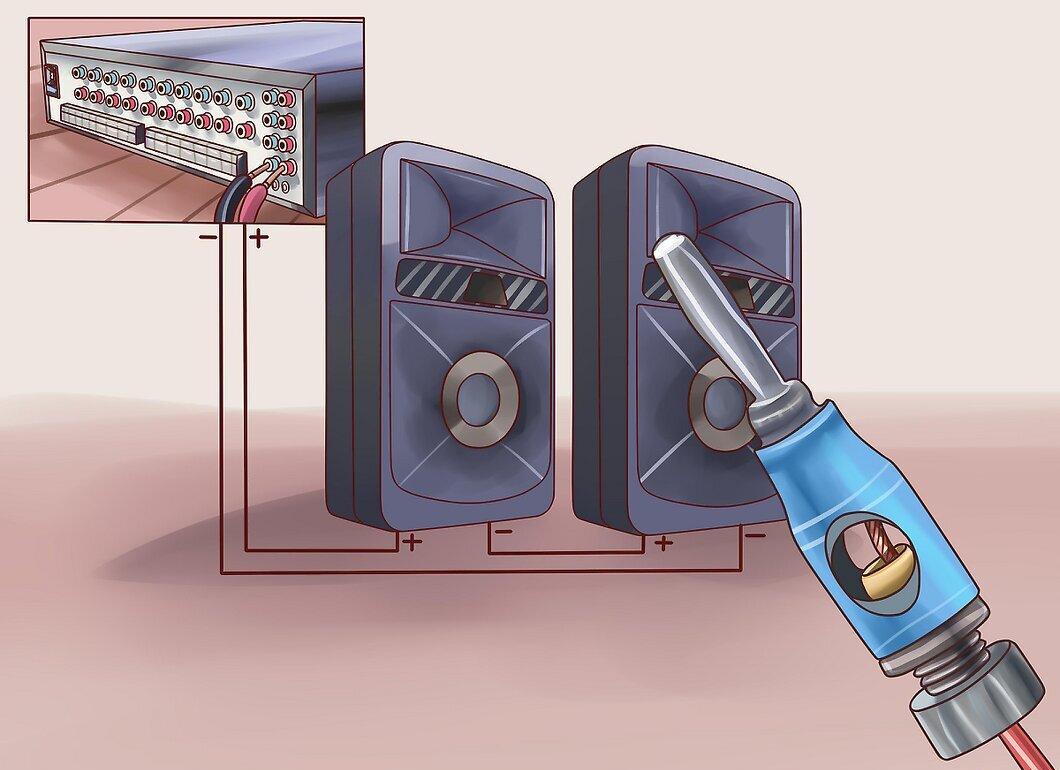
Connect the speakers. If your speaker cables already have connectors, simply plug them into the corresponding ports on the back of the receiver. If you’re using standard cables to connect the speakers to the receiver, you’ll need to go through a few additional steps.
- Measure your cable lengths. Measure the length of cable you need from the spool. Measure a little extra length to ensure you have enough slack to hide the wire and connect it without issues.
- Strip one end. Use wire cutters to strip two centimeters of insulation from the wire. You will see two separate strands. Make sure not to strip too much insulation from the wire, or you may touch it and cause a short circuit.
- The wires connecting the speakers consist of two different cables: positive and negative. Both are identical but must be connected to the speakers and the receiver. For example, if you connect one of the two wires to the positive terminal of the speaker, you must connect the same wire to the positive terminal of the receiver.
Step 6. Connect the Subwoofer.
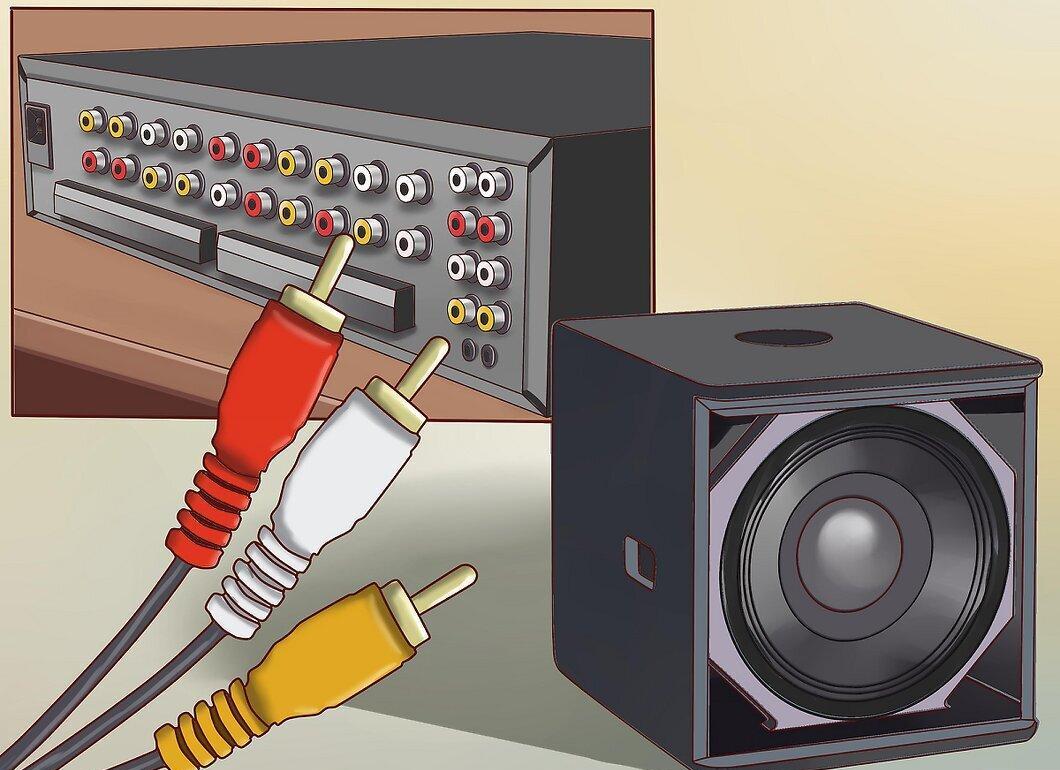
Connect the subwoofer. Most subwoofers connect to the receiver using a standard RCA cable. You can purchase expensive subwoofer cables, but in most cases, you won’t hear a difference compared to a standard cable.
- The ports on the receiver are usually labeled "sub out" or "sub preout."
- If your subwoofer doesn't have multiple inputs, connect only one, marked "LFE in" or the far left if there are no labels.
- Using the knobs on the back of the subwoofer, set the volume to halfway and turn off the low-pass filter by turning the knob to the top position.
Part 7
Step 1. Connect All HDMI Devices to the Receiver.
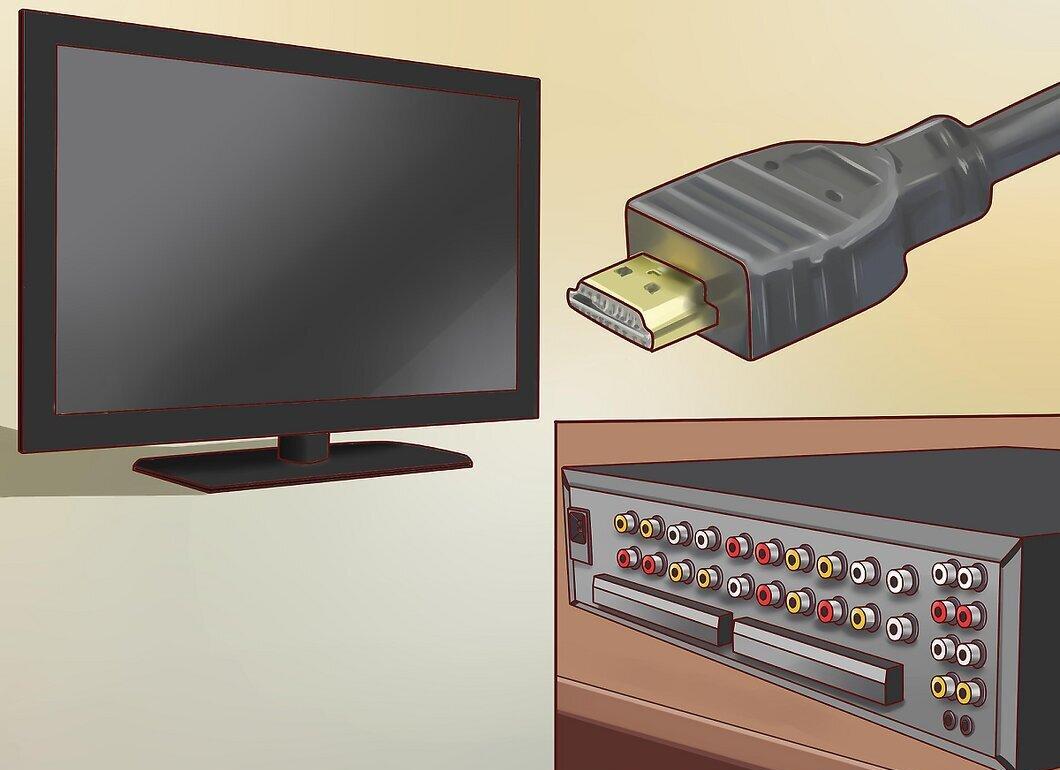
Connect all HDMI devices to the receiver. Most modern receivers support HDMI input and output, allowing you to connect HDMI-compatible devices to the receiver and then connect the receiver to the TV.
- If you have the option to connect multiple HDMIs, connect the devices in the order you want them to appear in the receiver menu.
- HDMI transmits audio and video signals, so there’s no need to connect additional cables.
Step 2. Connect All Component Devices.
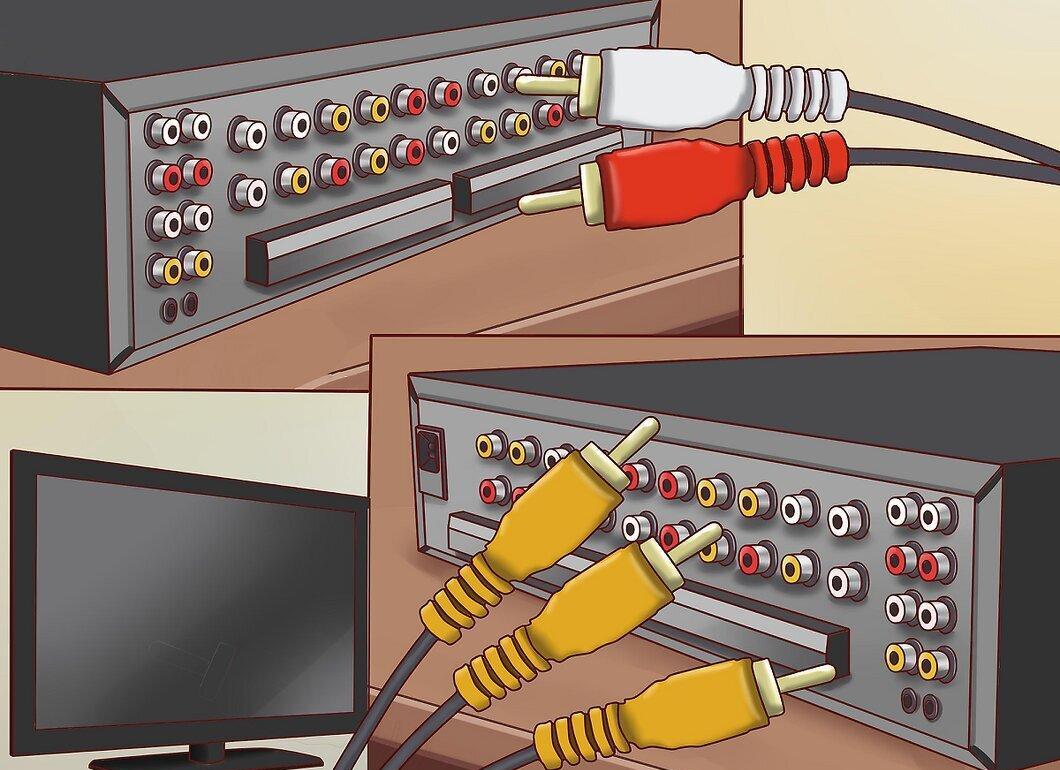
Connect all component devices. If you’re using older equipment that doesn’t support HDMI, you can connect it via component cables. These are cables with five connectors: three for video and two for audio.
- Connect the three video connectors of matching colors to the device you want to connect.
- Connect the two audio connectors of matching colors. Make sure they are also connected to the video output; otherwise, the sound won't accompany the video.
Step 3. Connect All Composite Devices.
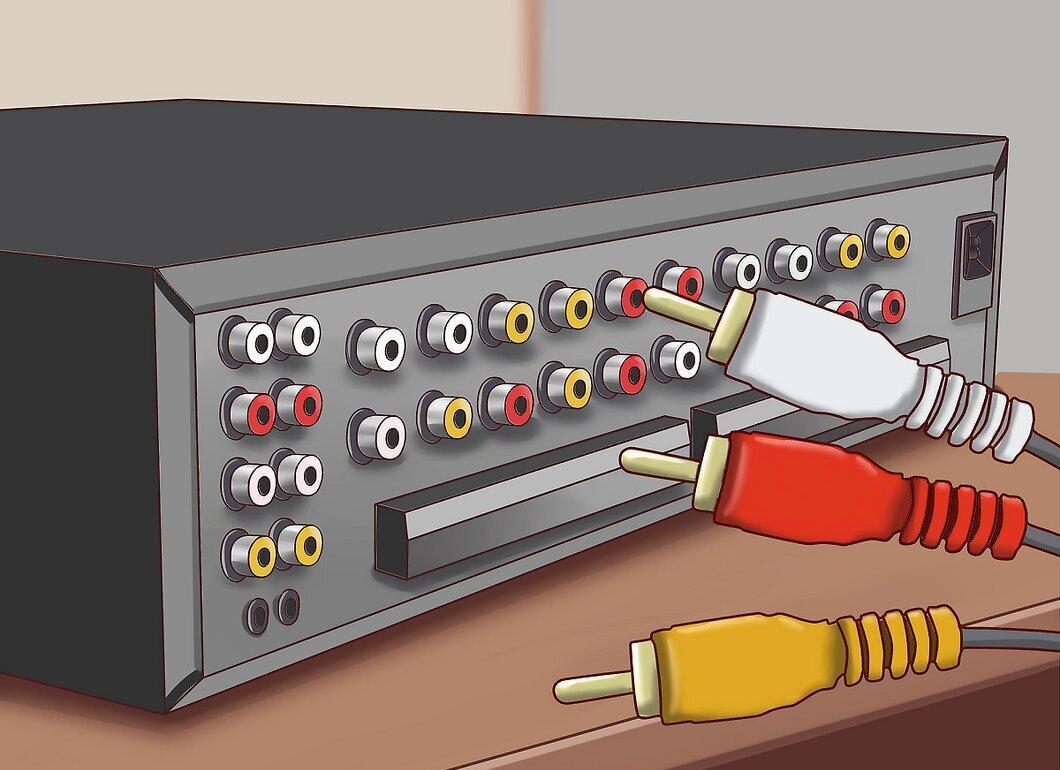
Connect all composite devices. There are also older configurations still in use: three composite connectors with one connector for video and two for audio. This connection transmits the lowest quality signal of those supported by surround sound systems.
- Connect the yellow (video) connector to one of the available matching inputs, then connect the audio cables to the corresponding audio outputs.
Step 4. Connect the TV to the Receiver.
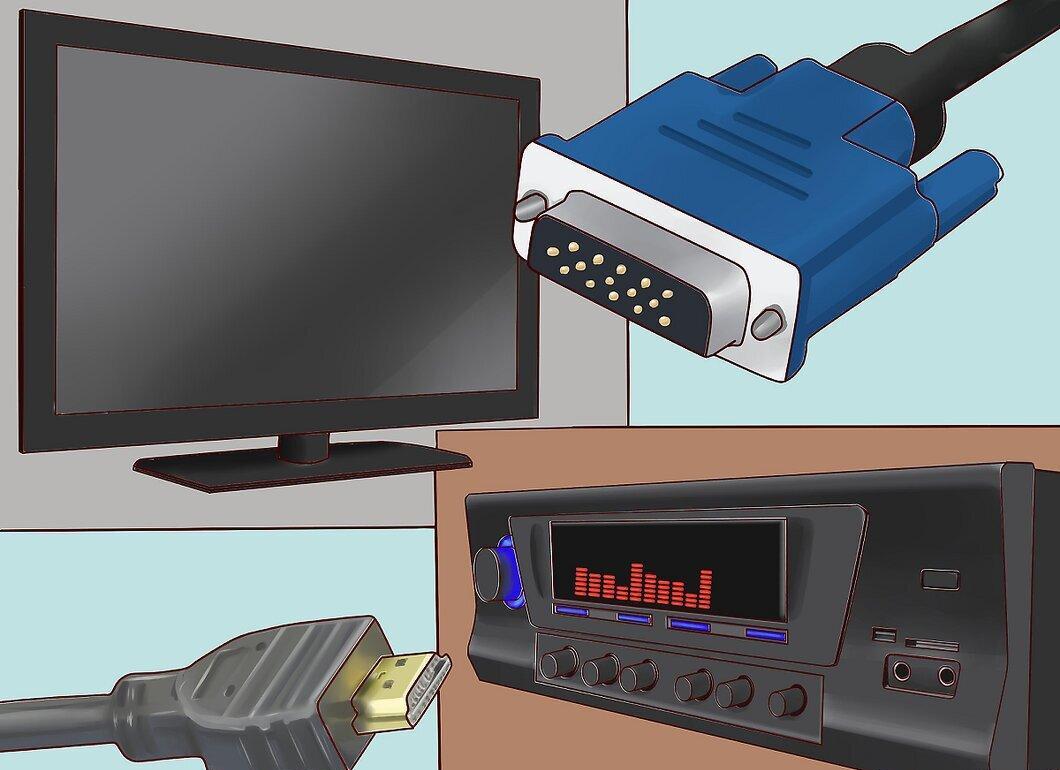
Connect the TV to the receiver. For the best results, use an HDMI connection to connect the TV to the output ports of the receiver. You can use other types of connections, but you’ll get lower quality as a result. Most modern TVs support HDMI.
Step 5. Organize the Cables Together.
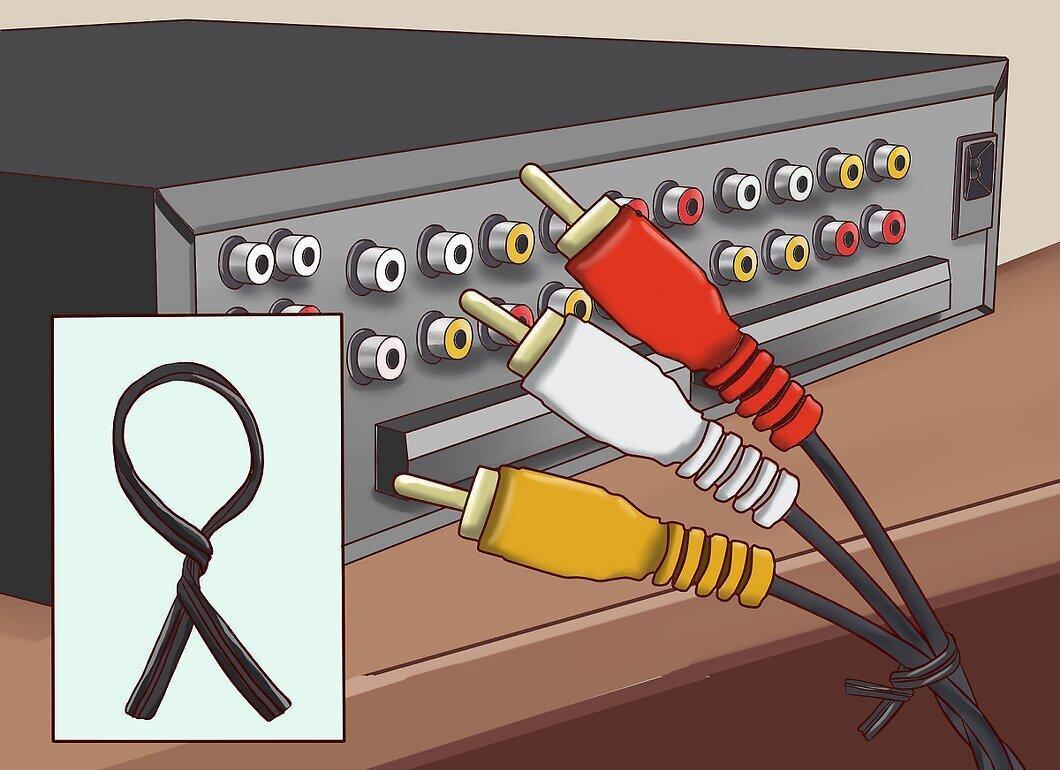
Organize the cables together. You’ll end up with many cables going into your receiver, so it’s best to bring them together in an orderly manner. Use cable ties and fasteners to secure them together.
Part 8
Step 1. Calibrate Your TV.
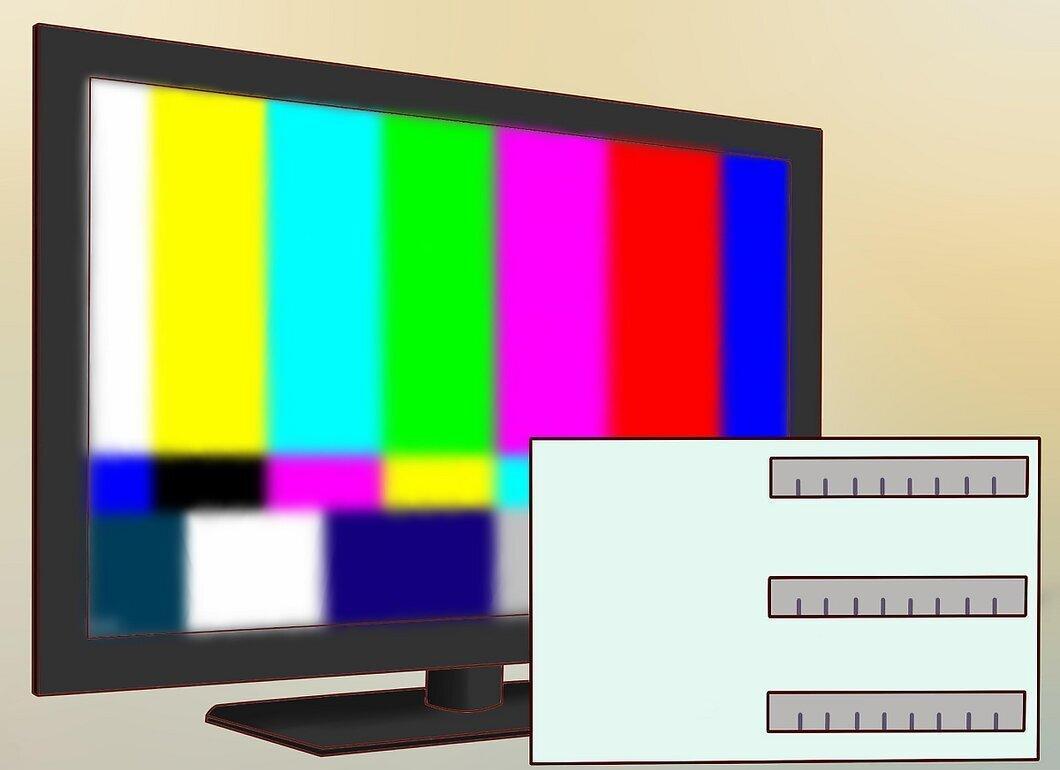
Calibrate your TV. While this doesn’t relate to the sound of your surround sound system, a well-calibrated TV will make a good home theater system even better.
Step 2. Set Up Your Devices for Proper Audio Output.
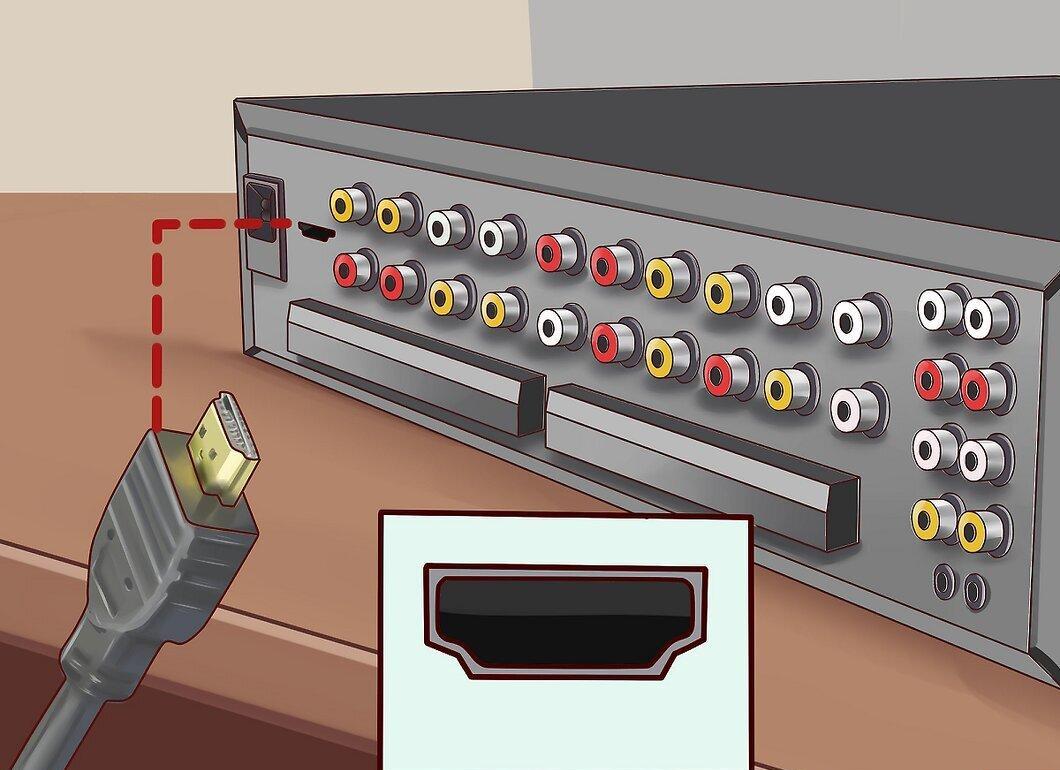
Set up your devices for proper audio output. Before you start testing all your equipment, you need to ensure that all your devices are correctly transmitting audio signals to get the full benefit from your sound system. Typically, you will need to activate the "Dolby Digital" option in the setup menu of each of your devices. All devices vary, so refer to the manuals.
- For your Blu-ray player, make sure you are using uncompressed audio. It’s typically labeled as "bitstream uncompressed" or "pass-through."
Step 3. Start the Auto-Calibration Process for Your Receiver.
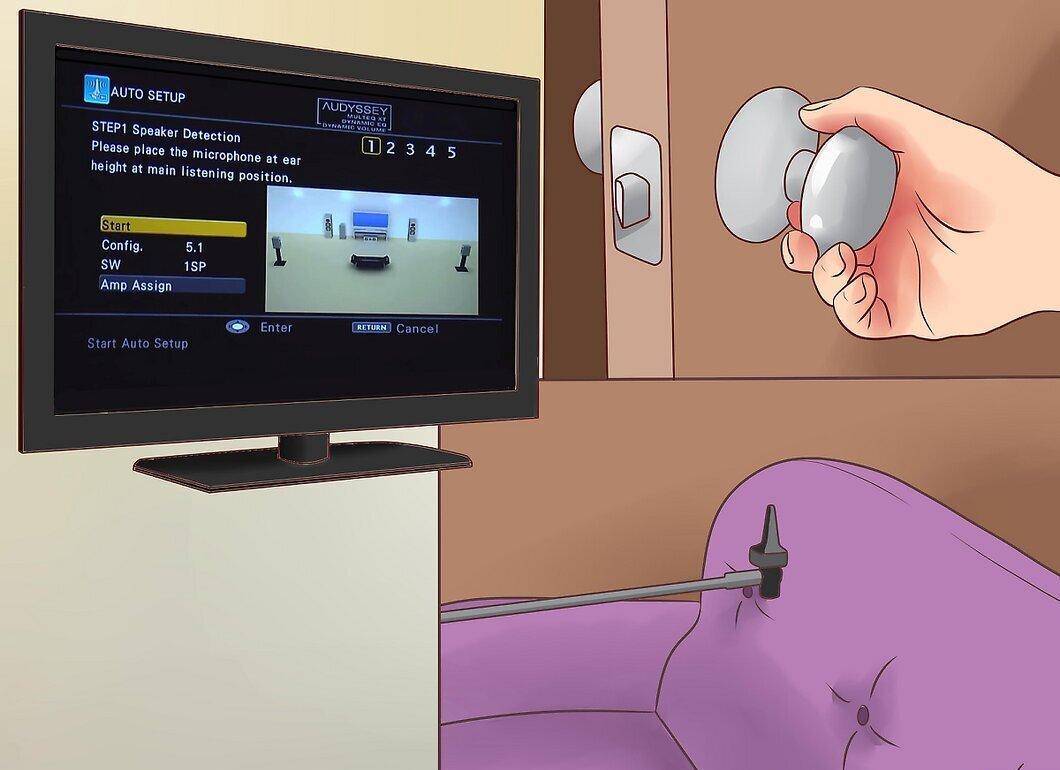
Start the auto-calibration process for your receiver. Almost all receivers come with a microphone so you can automatically configure the levels. Ensure that the microphone is placed in the center of your room at ear level.
- During auto-calibration, exit the room to avoid blocking the sound.
- Try to keep quiet during the test. Avoid running the dishwasher, take the dog out of the room, and so on.
Step 4. Manually Adjust Your Levels.
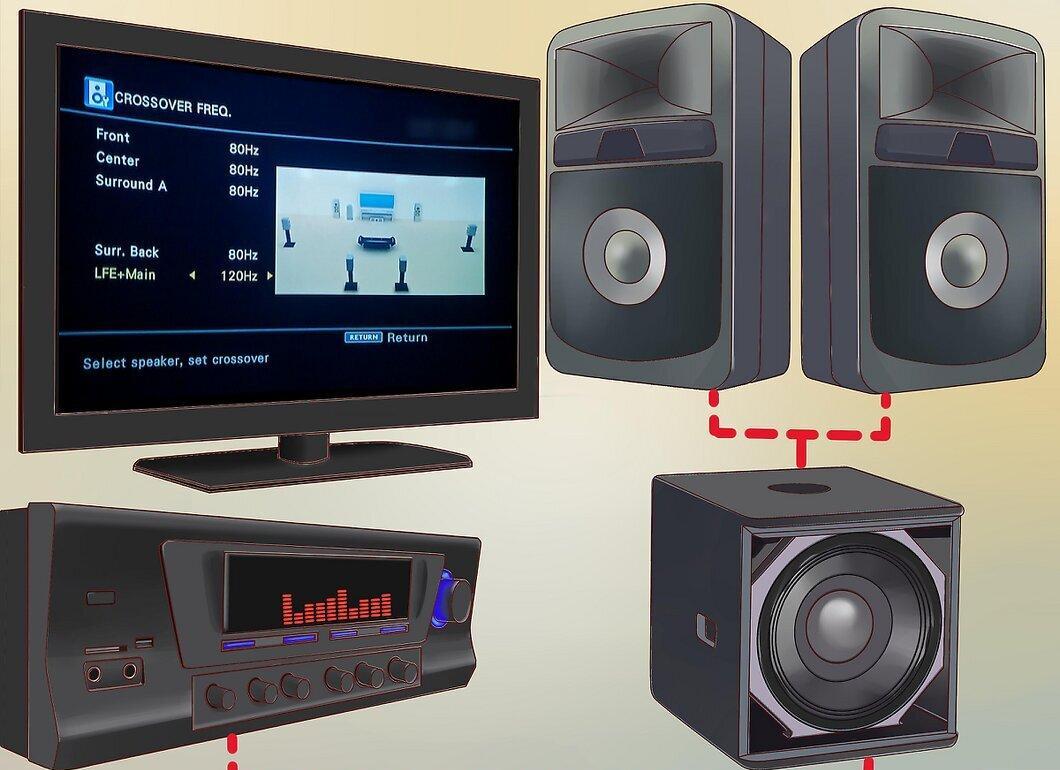
Manually adjust your levels. After the auto-calibration is complete, you’ll need to go back into the settings and tweak a few things. The main focus is on adjusting your subwoofer settings.
- Go to the "Bass Management" section of your surround sound setup menu.
- If you only have small speakers for the surround speakers, set their size to "Small." Or set it to "Large" if they are big.
- Set the subwoofer crossover frequency to 80Hz as a starting point. If you’re using only small additional surround speakers, you can set it to 100-120Hz. This will make the low frequencies clearer.
Step 5. Start Listening.
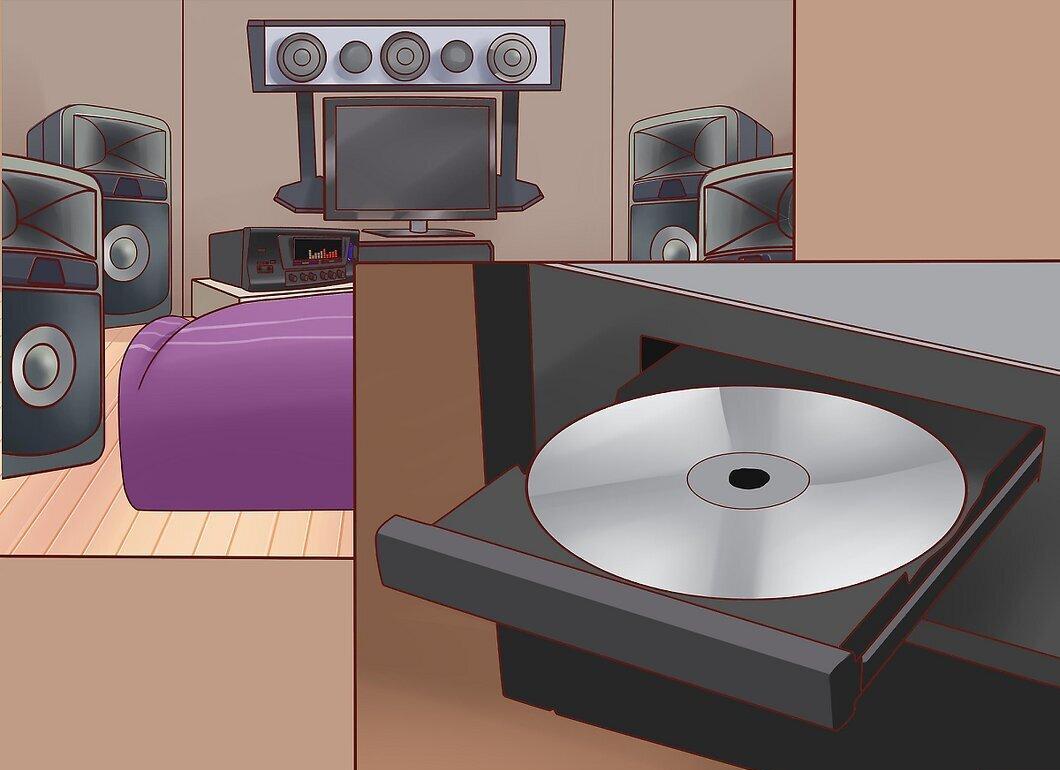
Start listening. After the setup is complete, it’s time to test! Play your favorite album or movie and listen closely. If everything sounds good, you’re done with the setup! You can always revert to the original settings and adjust them to your liking, as there are plenty of sources available for tuning crossover frequencies.


