
Got a smartphone or a dedicated device with a 'hotspot' feature? It’s great for connecting one or two computers to the internet, but it falls short for creating a full wireless network, backing up data to a network storage, transferring files between computers, and more. You probably have a router/switch to handle all this heavy lifting, but connecting to a wireless device can be tricky.
At Home (Apple Time Capsule, T-Mobile 4G Hotspot, WET610N)
Step 1. Purchase a Wireless Network Bridge.
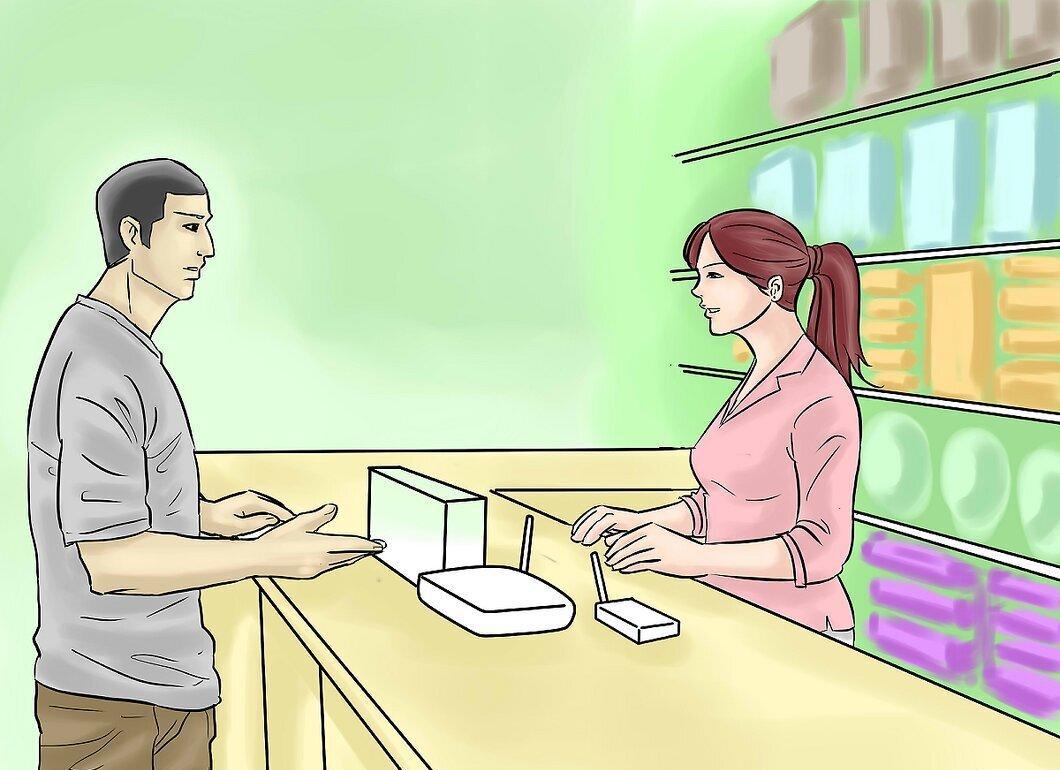
Buy a wireless network bridge. Searching online for 'wireless network bridge' will yield plenty of options. Don’t forget to download and read the device's manual to familiarize yourself with what you’re dealing with.
Step 2. Configure the Network Bridge to Connect to Your 'Wi-Fi Hotspot' on Your Device/Phone/etc.
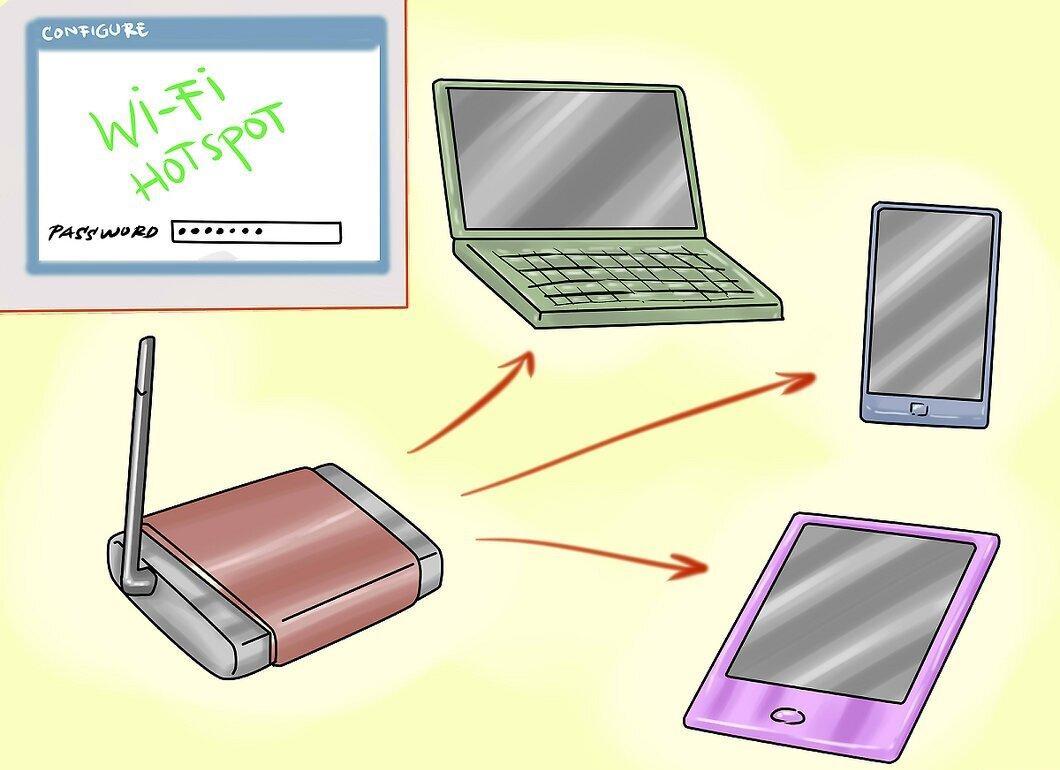
Set up the network bridge to connect to your 'Wi-Fi hotspot' on your device/phone/etc. Make sure to use the CORRECT password, as you usually won’t get a prompt for incorrect entries. Each device is unique. Most come with software included. Many devices have a 'web page' interface for personal setup without software. Read the manual carefully.
Step 3. Connect Your Bridge to Your Router or Switch.
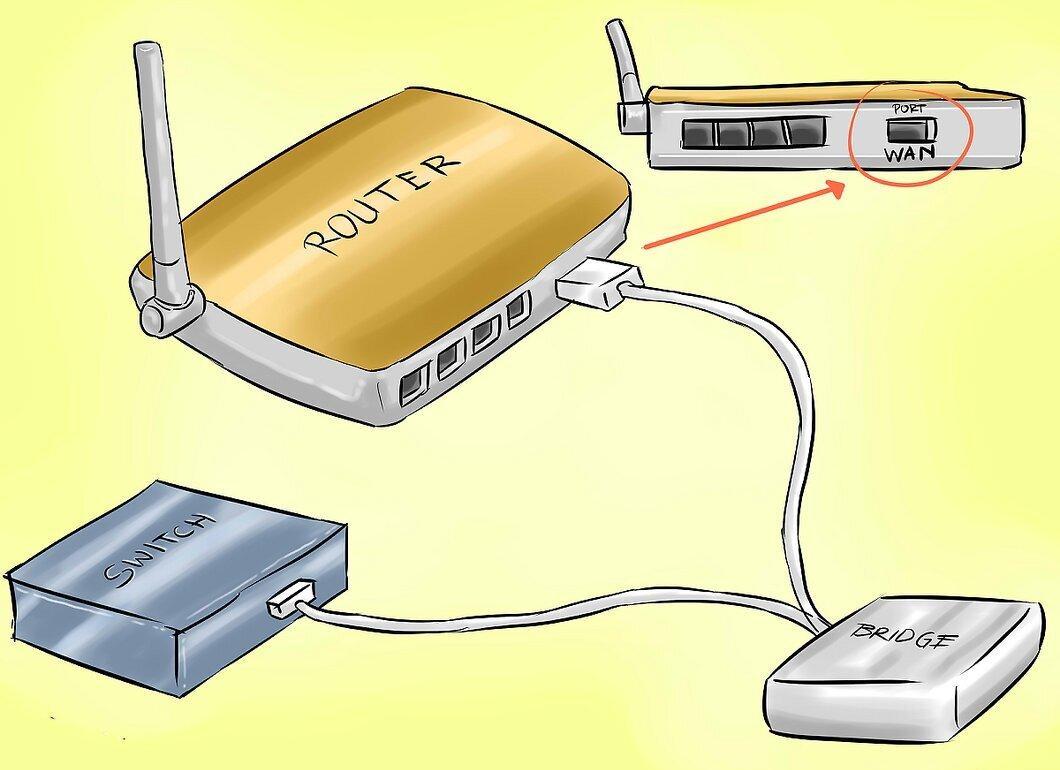
Connect your bridge to your router or switch. If you have a switch, you’re all set. If you have a router, make sure the device is plugged into the 'WAN' port.
Step 4. Switch Your Router to 'Bridge Mode'.
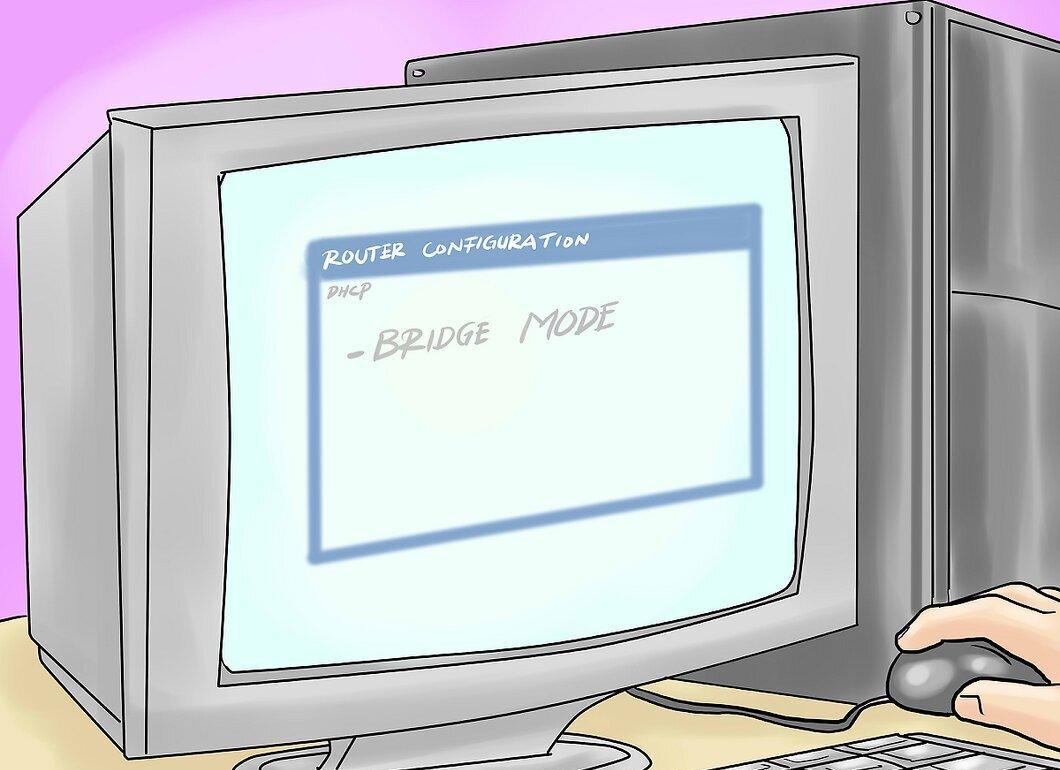
Switch your router to 'Bridge Mode'. The DHCP on the wireless device will take care of the rest.
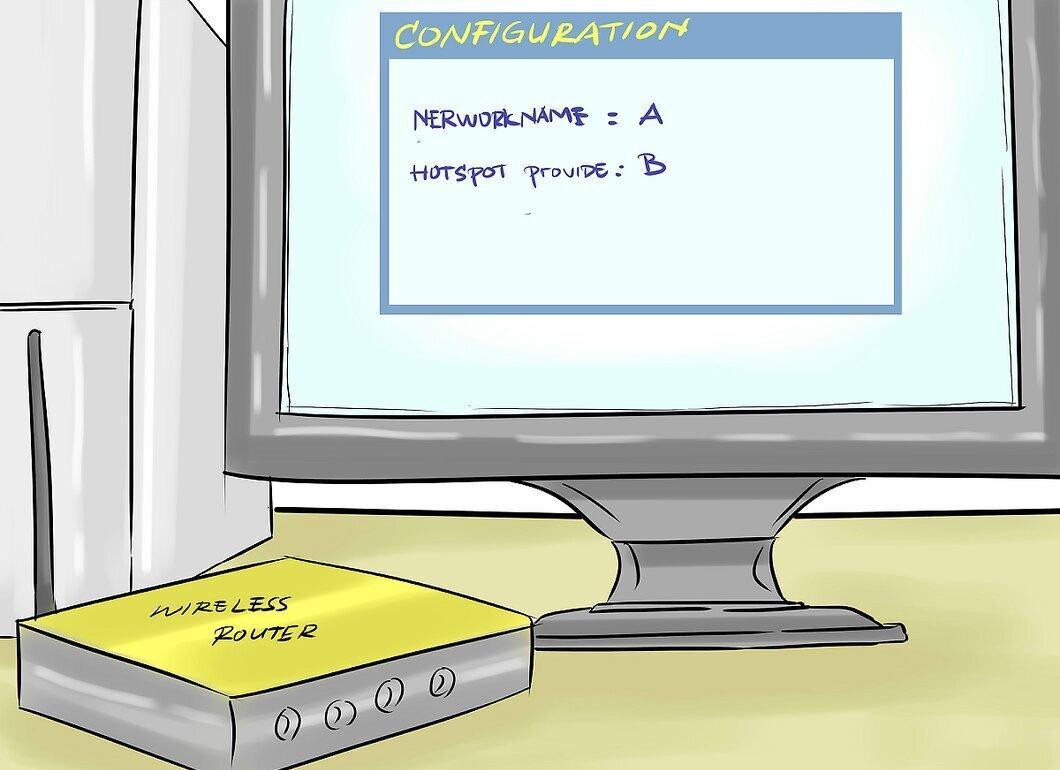
Step 5. If You Have a Wireless Router, Just Ensure the Name Differs from the Wireless Network Provided by the 'Hotspot'.
Step 6. Connect Your Computers, Printers, etc.
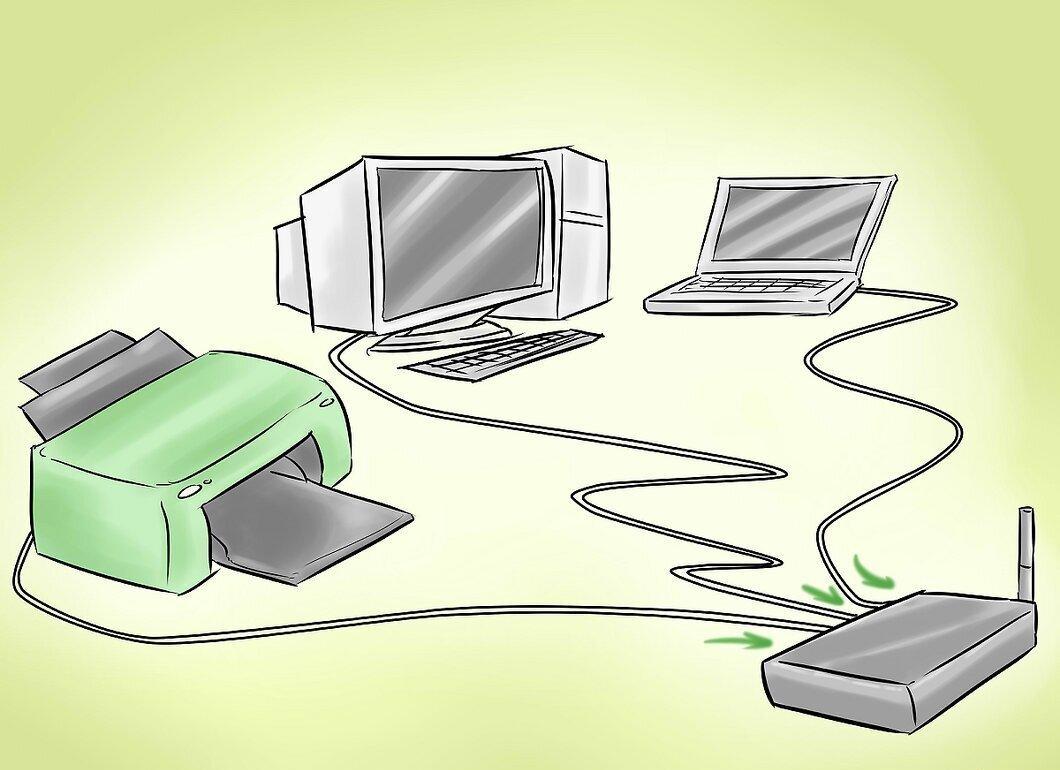
Connect your computers, printers, etc., to the router/switch.
Step 7. Everyone Should Have Internet Connection, and All 'High-Speed' Activities Will Bypass Your 'Hotspot'.
At Home (Apple Time Capsule, T-Mobile 4G Hotspot, WET610N)
Step 1. Set Up the 'Wireless Hotspot'.
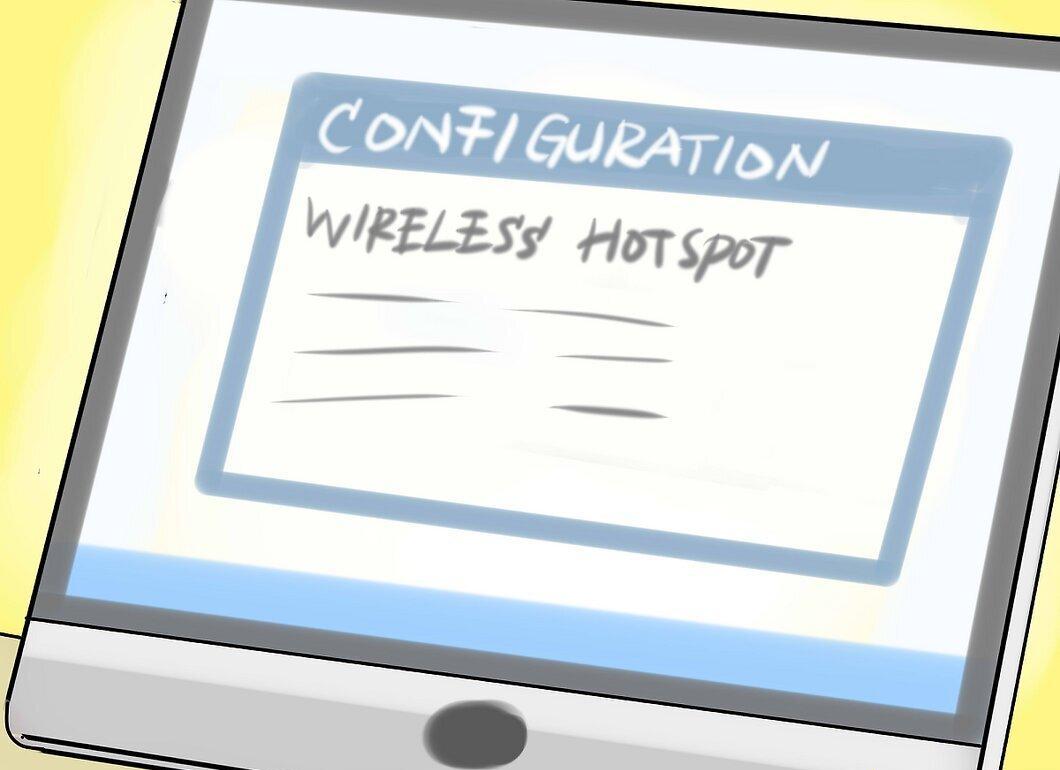
Set up the 'Wireless Hotspot'. The default password can be hard to remember, and using just numbers will make your security extremely weak against attacks. I had a manual inside along with a web interface. Once the included software was installed, setting it up was easy if you’re familiar with Wi-Fi devices.
Step 2. Set Up the 'Wireless Network Bridge'.
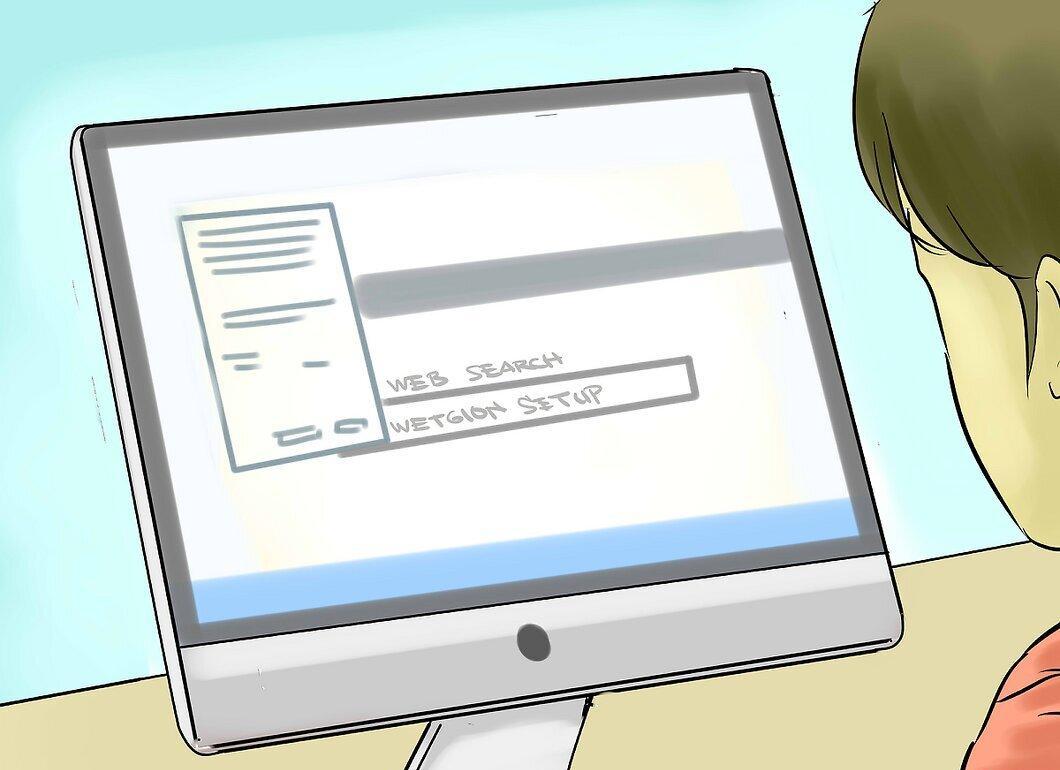
Setting up the 'wireless network bridge' was MUCH harder. The 'Secure Wi-Fi Setup' didn’t work. There was no OS X software included, and the 'Mac program' on their support site wouldn’t install. So, I had to figure out how to configure the web interface (search online: setting up WET610N using the setup web page). Connect the device to the 'hotspot' and enter the CORRECT password.
Step 3. Connect the Wireless Network Bridge to the WAN Port of Your Router.
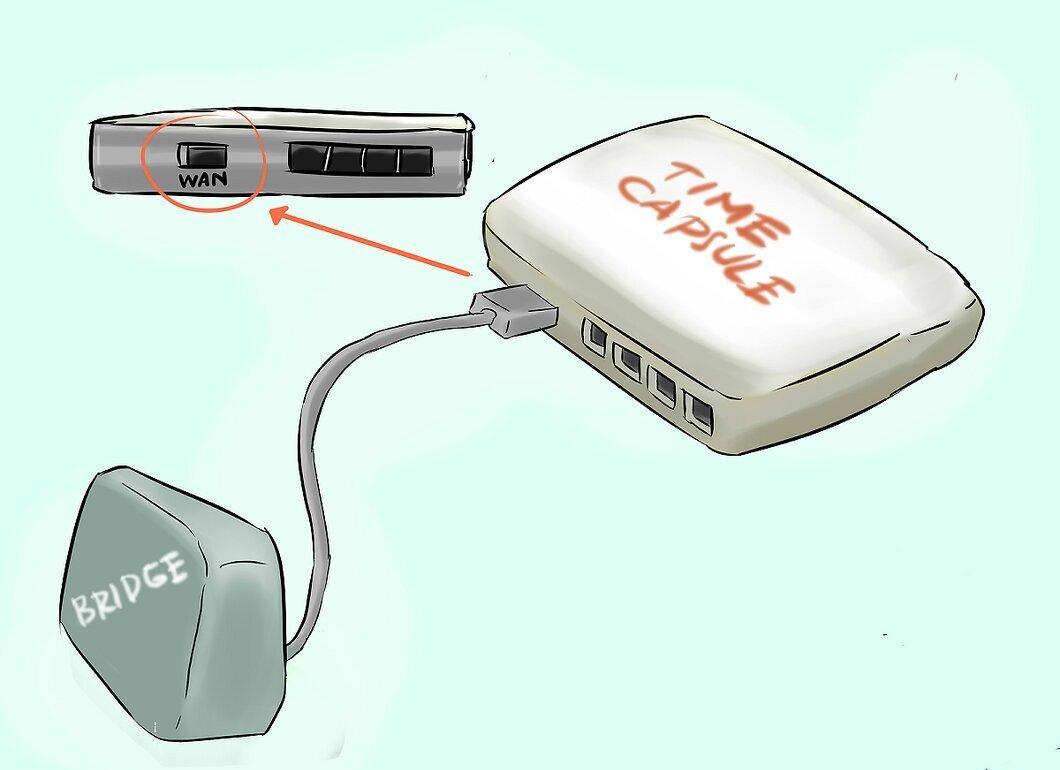
Step 4. Configure the Router to Connect to the Wireless Network Bridge Using the 'Airport Utility'.
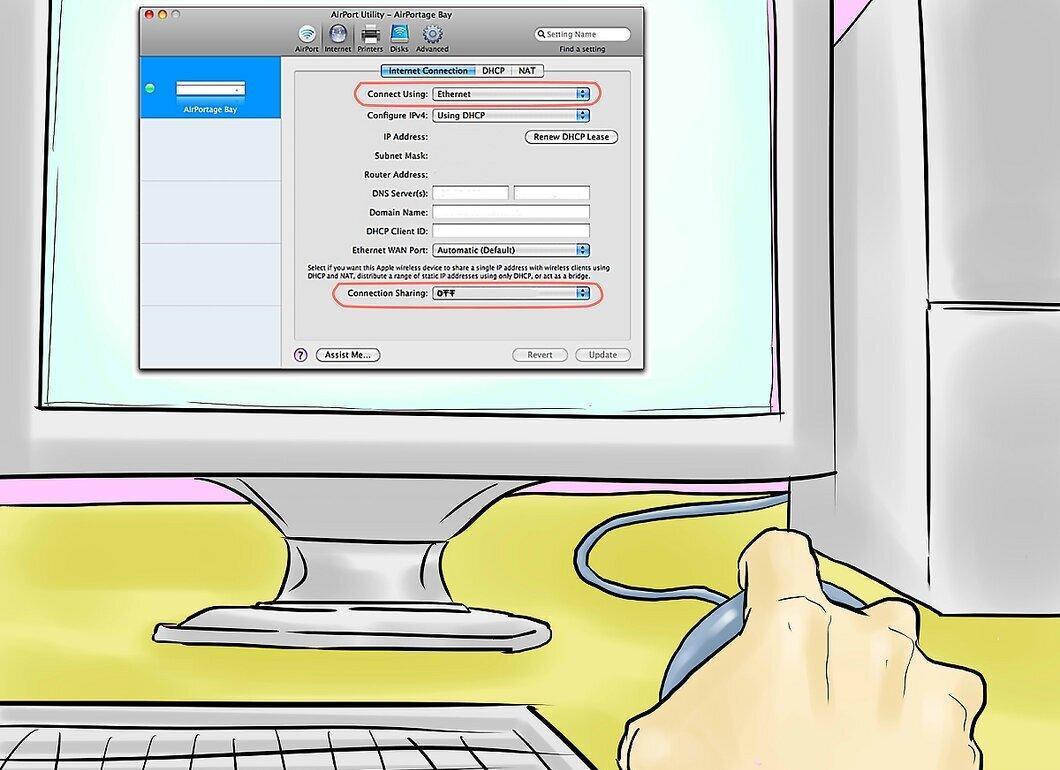
Configure the router to connect to the wireless network bridge using the 'Airport Utility'. In this case, 'Time Capsule 2TB'. 'Connect Using': Ethernet. 'Connection Sharing': Off (Bridge Mode).
Step 5. Optionally:
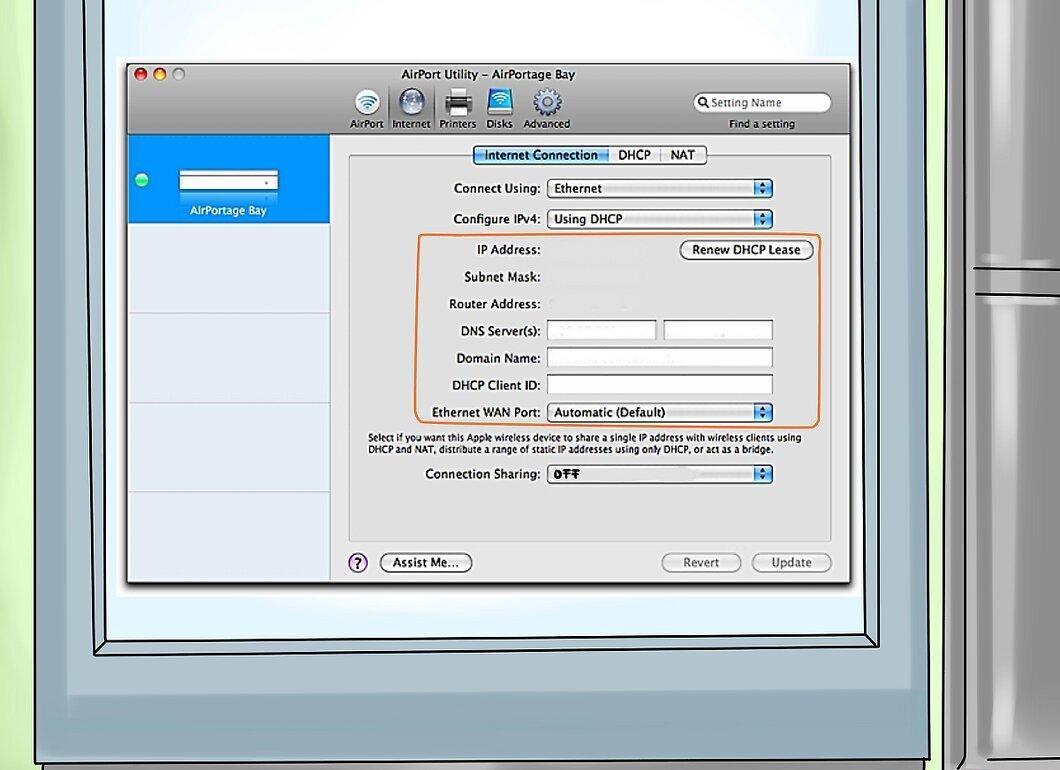
Optionally: instead of 'Bridge Mode', disable DHCP on the wireless hotspot, then set 'Connection Sharing: Distribute a range of IP addresses', and manually enter IP addresses for the 'hotspot', router, and DHCP addresses to avoid conflicts. This setup 'may' require you to change the settings back on the 'hotspot' if you change your mind and want to reopen the connection. The upside is that it will resolve any 'limitations' the 'hotspot' has regarding the number of active connections.
Step 6. Connect All Your Computers to Wired or Wireless Connections from the Router.
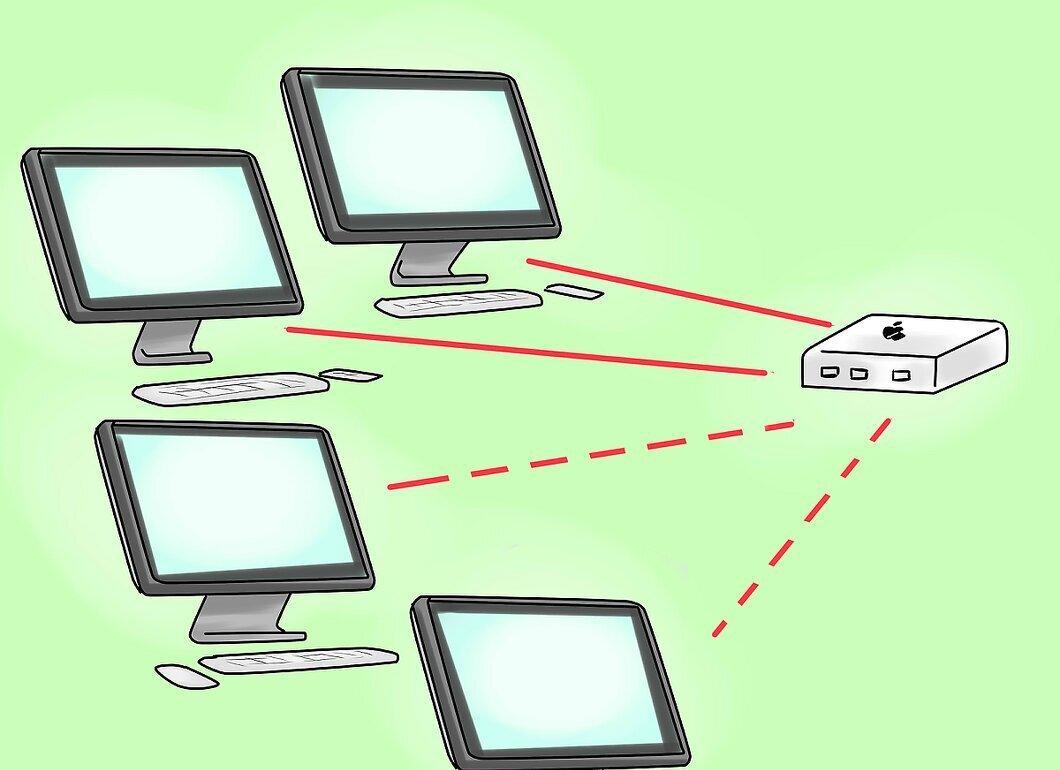
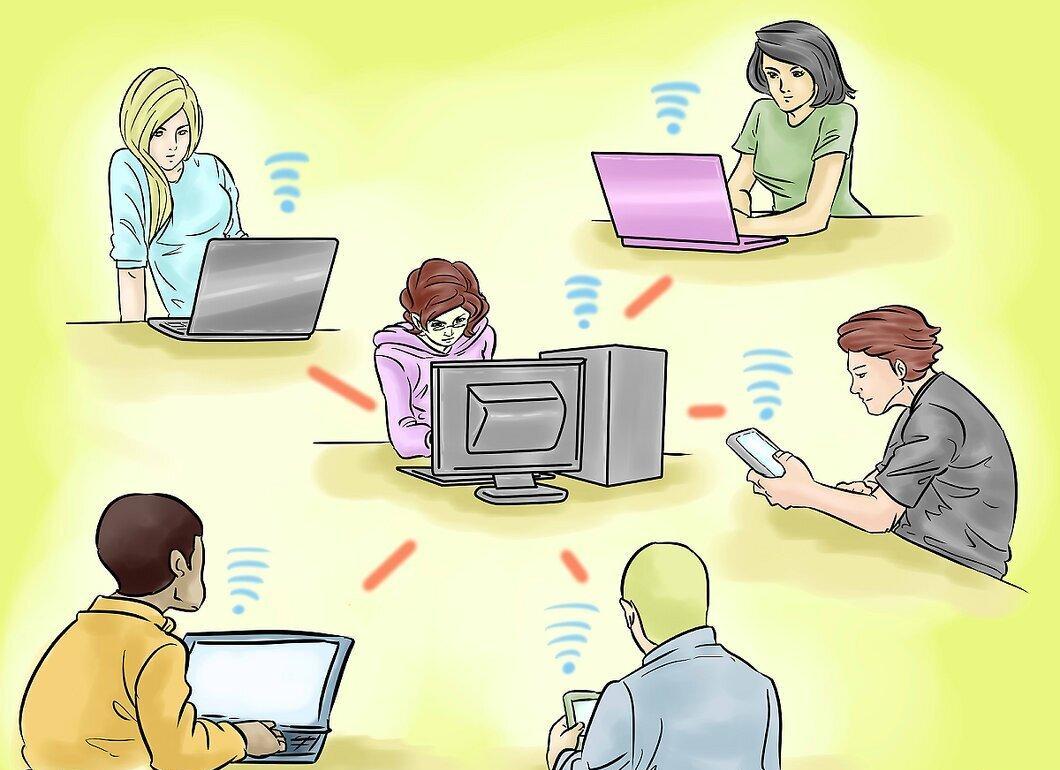
Connect all your computers to wired or wireless connections from the router. All devices should share the internet connection when the wireless hotspot is on or within range.


