
MP3 players are everywhere today. Many people listen to music on their smartphones, leading to frequent questions about album covers. Sometimes this issue occurs, sometimes it doesn't. In this article, you will learn how to use iTunes to attach missing album art to your music tracks.
Part 1
Step 1. Find all the songs on your player that lack album art.
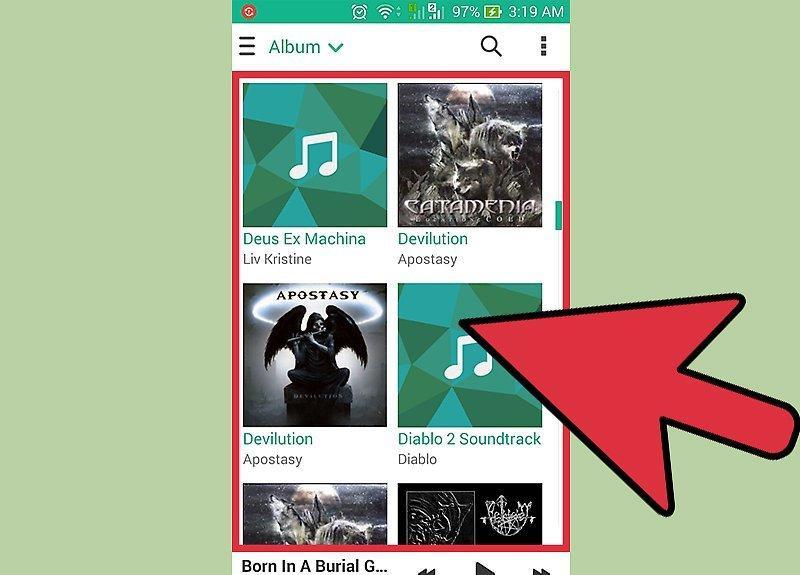
Identify all the songs on your player that are missing album art. You may find that some tracks already have covers while others do not—this largely depends on the source from which you downloaded the track or its format.
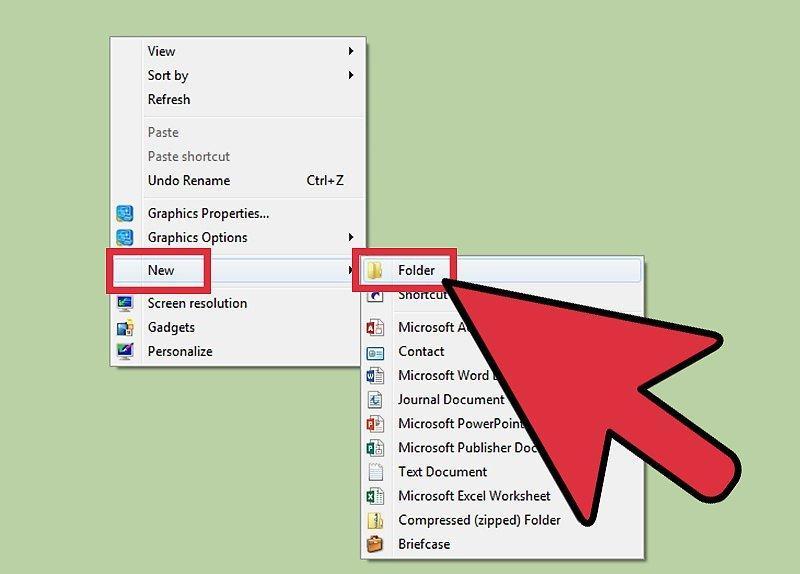
Step 2. Create a new folder on your desktop.
Step 3. Connect your smartphone or MP3 player to your computer and locate the songs without album art.
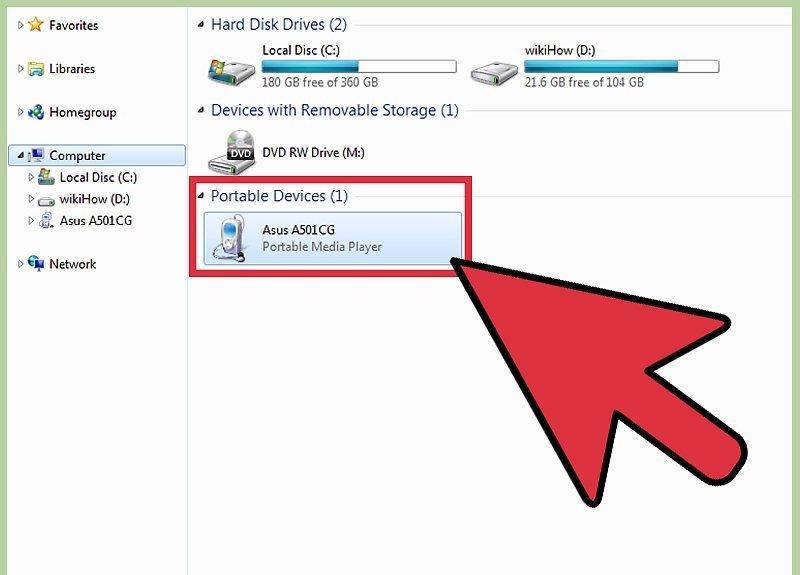
Connect your smartphone or MP3 player to your computer and find the songs that lack album art. Usually, when you connect the device to the computer, a pop-up window appears showing a list of possible actions. If this happens, select "Open folder to view files." If it doesn't, open "My Computer" and find your device in the list of "Removable Devices."
Step 4. Select all songs without covers and move them to the new folder you just created on your desktop.
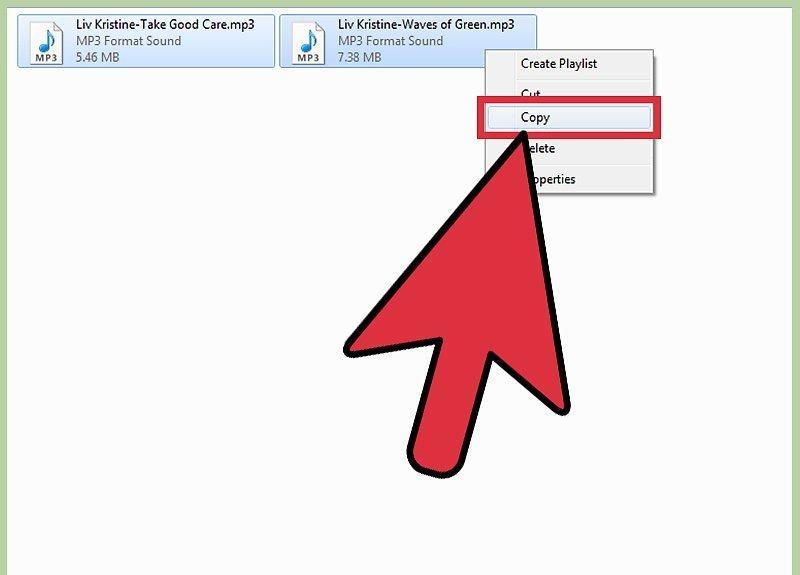
Select all the songs without covers and move them to the new folder you just created on your desktop. In this step, you will create copies of the songs on your computer.
Step 5. Once all the tracks are copied to your computer, open iTunes and create a "new playlist."
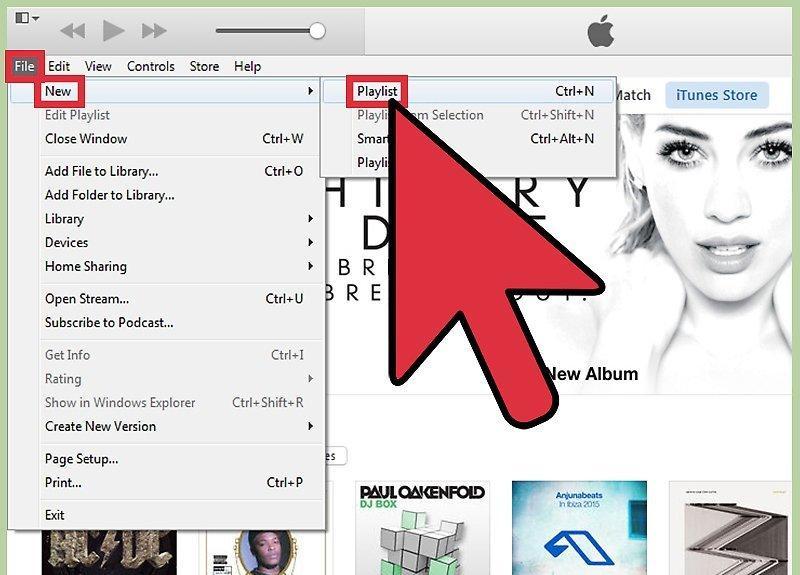
Once all the tracks are copied to your computer, open iTunes and create a "new playlist." (To do this, click on "File," then "New Playlist.")
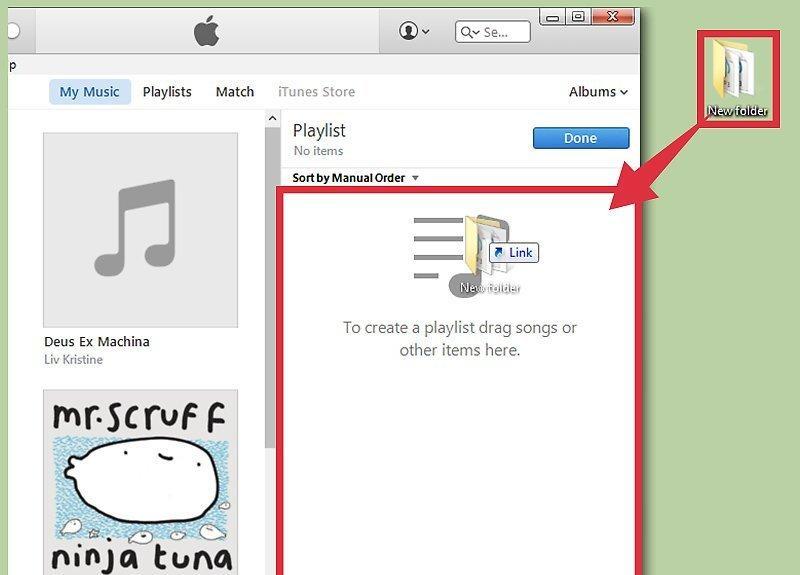
Step 6. Next, select all the music tracks in your new folder and drag them into this new playlist in iTunes.
Step 7. Start adding covers.
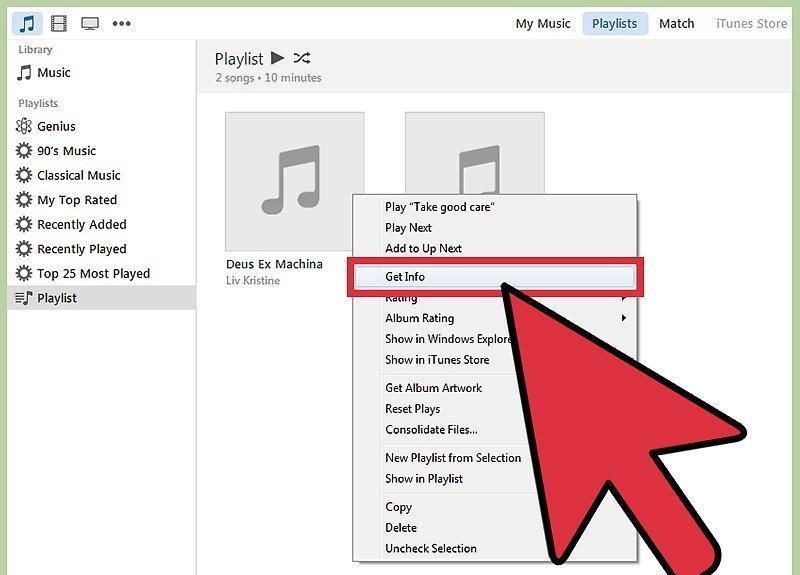
Begin adding covers. Now you can add album art directly in this playlist in iTunes. You should proceed methodically—one song at a time or one album at a time.
- Don’t forget that if you don’t have the necessary cover on your computer (which is likely), you will first need to find it, and the best help for this is the internet.
Step 8. Before adding covers, open "My Computer," then the "Pictures" folder, right-click, and select "New Folder."
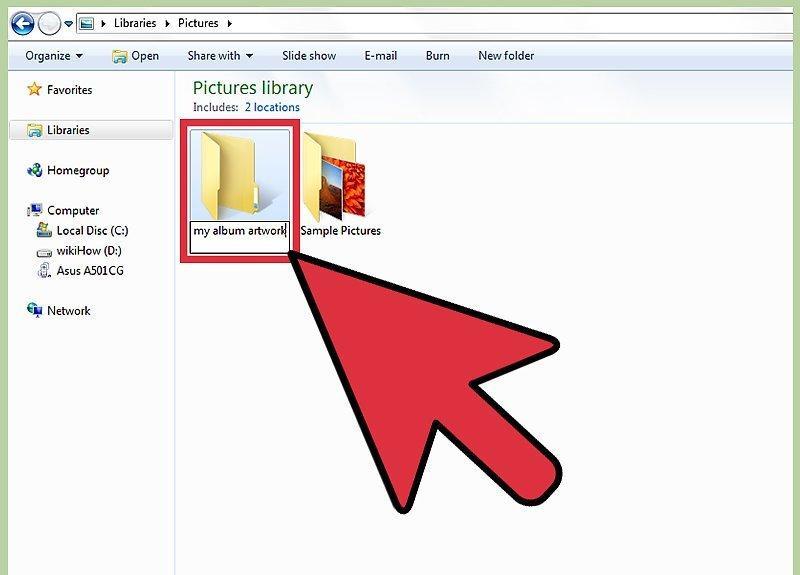
Before adding covers, open "My Computer," then the "Pictures" folder, right-click, and choose "New Folder." You can name it "My Album Covers."
Step 9. Once you create this folder, start searching for the necessary covers online.
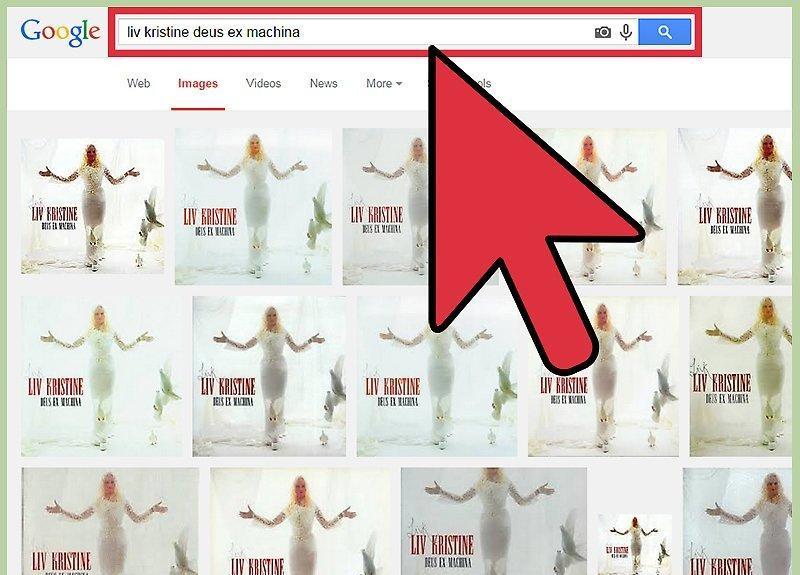
Once you create this folder, start searching for the necessary covers online. A great place to find them is on the website www.amazonmp3.com, or you can find covers using Google Images. Once you find the desired image, right-click on it and select "Save image as..." Then save the image in the new folder located in "Pictures > My Album Covers." After saving the image in the correct folder, you can open iTunes, click "Add," open the album covers folder, and select the image you want to assign to the music track.
Step 10. Keep in mind that when you make changes to songs through iTunes, they will also apply to the original files.
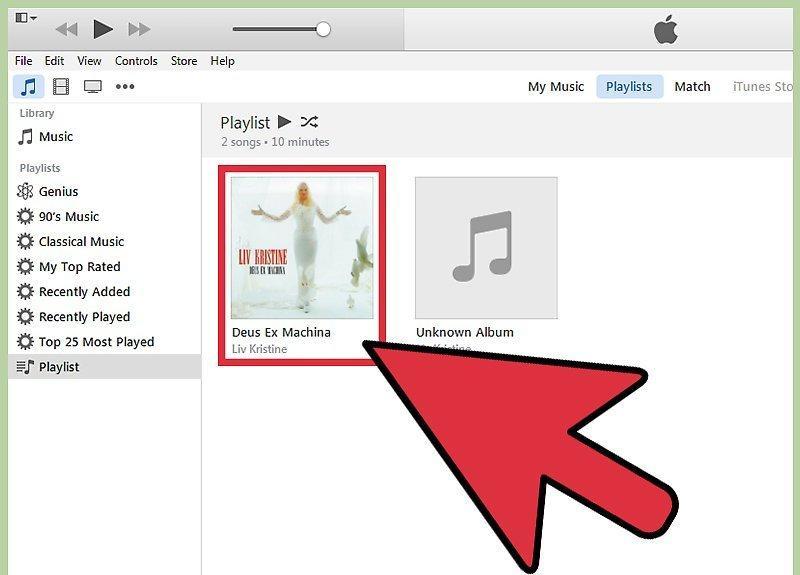
Keep in mind that when you make changes to songs through iTunes, they will also apply to the original files. This means that the files you initially copied to the new folder on your computer will also be modified. Once you’ve made all the necessary changes to the files, you can simply copy them back to the MP3 player. When copying, a pop-up window will appear notifying you that the files you want to copy to the device already exist on it; in this case, select "Move and replace." This means that the old files on your device that lacked album art will be replaced with the new ones to which you just added the missing covers.
Step 11. That's it!
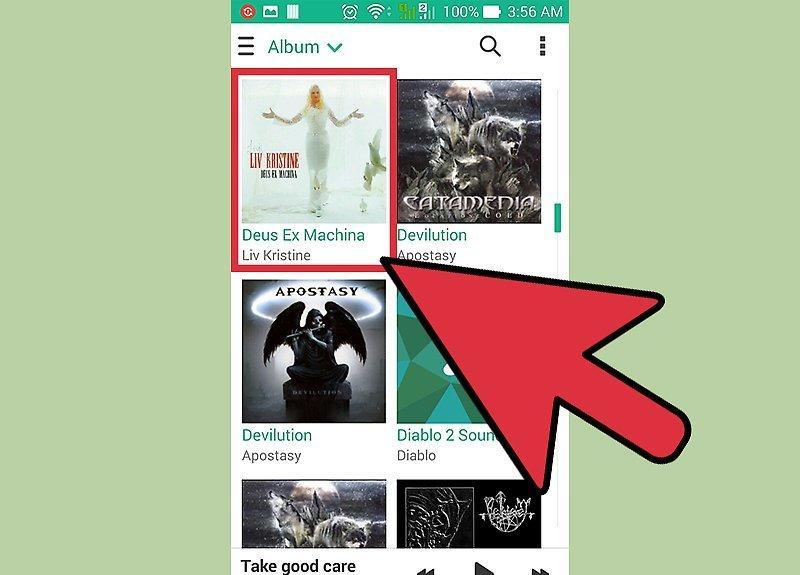
That's it! Don’t be surprised if it takes some time for your MP3 player to display the new album covers. This is especially true for smartphones, where the speed of processing tracks will depend on the processor.


