
By adding images to iMovie, you can create a personalized reel of still images filled with graphic effects, sound effects, and professional editing. It also makes it easier to sort your photos by date, event, or vacation. Additionally, you can add images to iMovie projects that use video clips, creating a custom iMovie reel.
Drag and Drop Images in iMovie
Step 1. Open iMovie and select the existing iMovie project you want to add still images to, or create a new iMovie project.

- To create a new iMovie project, open the "File" tab located next to the top menu bar. Select "New Project"; a dialog box will appear asking for the name of the new project. Enter your project name in the "Project Name" field and then choose settings for the "Aspect Ratio" option. Click on "Create."
Step 2. Click on the "Photos" button, which looks like a camera icon, located on the right side of the main menu panel.
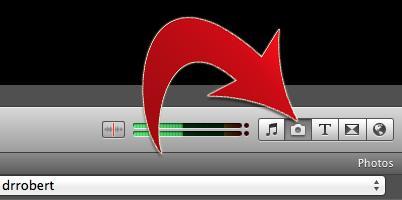
Click on the "Photos" button, resembling a camera icon, located on the right side of the main menu panel. A window will appear with all your still images in the bottom right corner of the iMovie window. The dropdown menu at the top of this window allows you to sort your photos by "Last 12 Months," "Events," "Photo Albums," by date, by program, or to view all photos in your computer's library. You can also search for specific images using the search field at the bottom of the window.
Step 3. Select the images you want to add to your iMovie project by clicking on and highlighting the image.
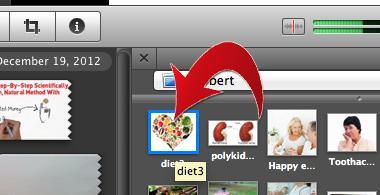
Select the images you wish to add to your iMovie project by clicking on and highlighting the image. To select multiple images at once, click on one image, then hold down the “Shift” key on your computer keyboard and use the arrow keys or click on each image one by one to select them.
Step 4. Click on one of the highlighted images and drag it to the timeline, onto the diagonal section of the image window.
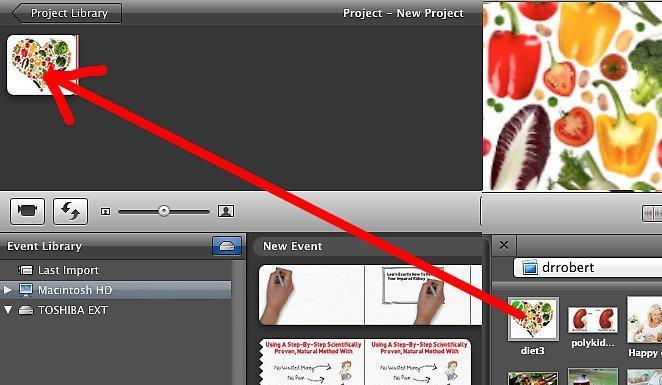
Click on one of the highlighted images and drag it to the timeline, onto the diagonal section of the image window. If you have selected multiple images, they will be moved simultaneously.
Step 5. Release the mouse button to drop the images onto the timeline.
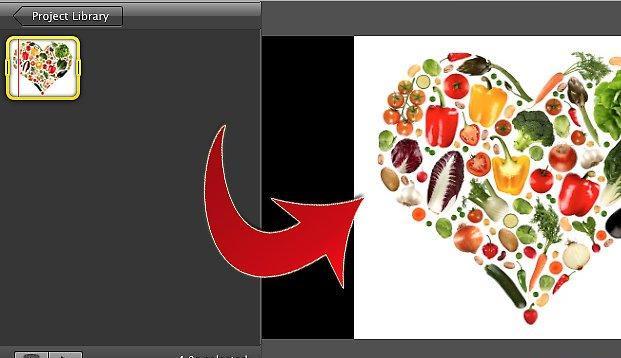
Release the mouse button to drop the images onto the timeline. If you are using still images at specific points in your iMovie project, place them at the desired points in your iMovie images or clips. These images will appear in the preview window to the right of the timeline. You can edit them.
Import Images to iMovie
Step 1. Open the iPhoto app (or the app where your images are located for importing into iMovie).

Open the iPhoto app (or the app where your images are located for importing into iMovie). You can start iPhoto by clicking the icon with the tropical picture and camera in the foreground.
Step 2. Browse your photos and select the ones you want to import into your iMovie project.

Browse your photos and select the ones you want to import into your iMovie project. To select multiple still images, hold down the “Shift” key while clicking on the pictures you want to add.
Step 3. Continue holding down the mouse button while dragging the still images from iPhoto into the iMovie project window.
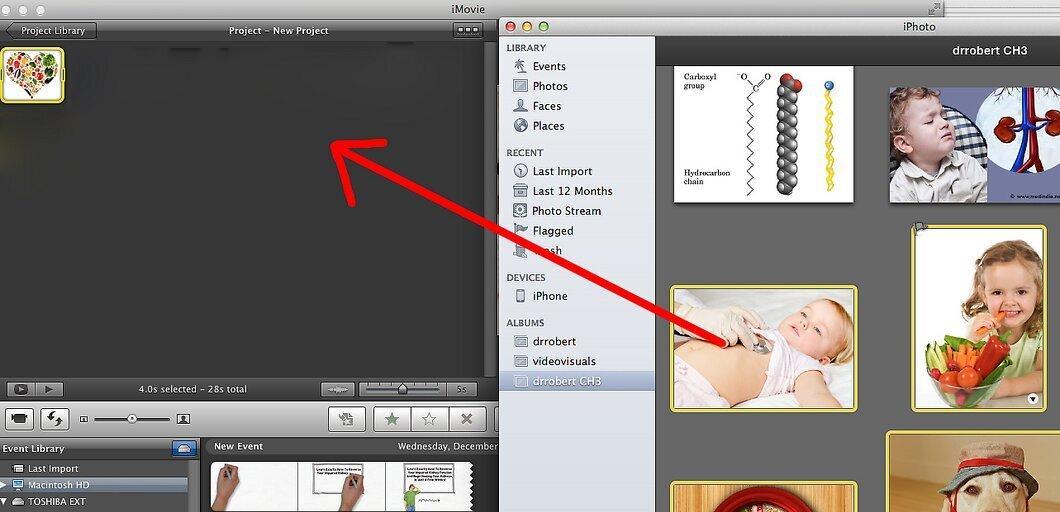
Step 4. Drop the still images by releasing the mouse button when the images are over the timeline of the iMovie project.
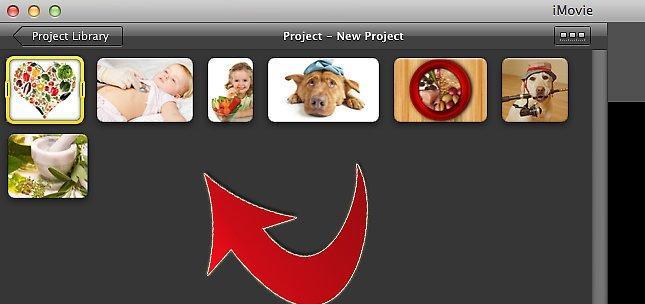
Drop the still images by releasing the mouse button when the images are over the timeline of the iMovie project. The added images will appear in your clip's timeline, as well as in the preview window to the right of the timeline window. Now you can edit and add effects to your iMovie project with the still images using the app's features.


