
Syncing your iPod with iTunes automatically erases and adds music files to the device. Typically, an iPod can only sync with one iTunes library on a single computer. When connecting your iPod to another computer, you will be prompted to erase all content on the device. To prevent this in the future, adjust your iPod settings. Alternatively, you can use a special program that allows you to copy music files to your iPod without using iTunes.
Managing Music Manually
Step 1. Launch iTunes before connecting your iPod to the computer.
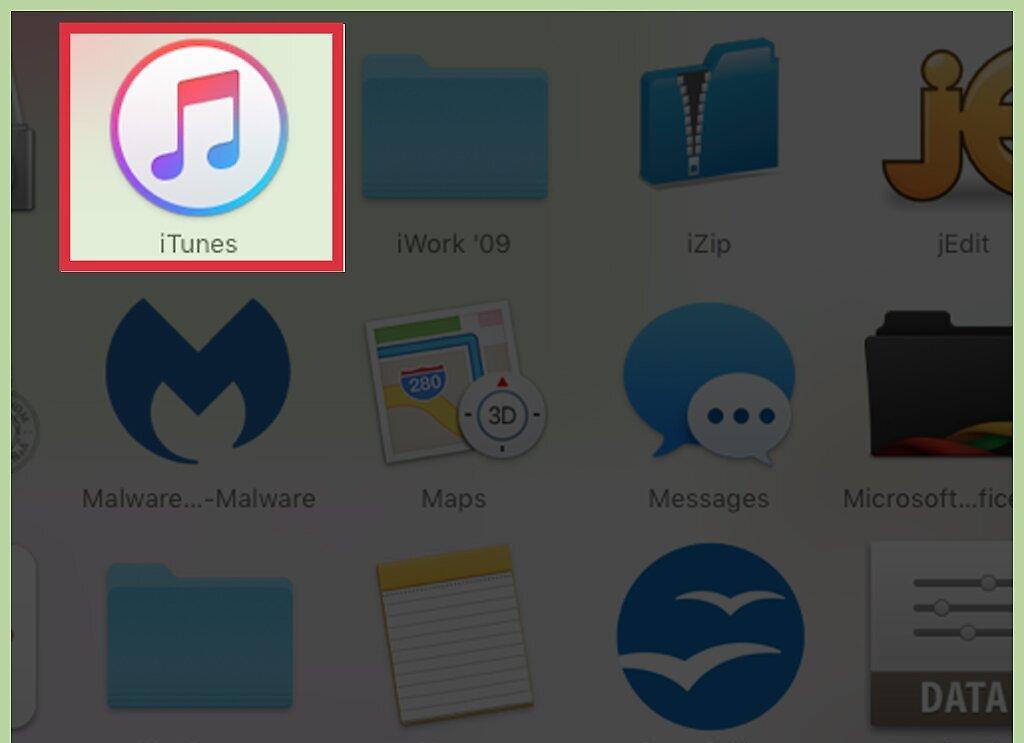
Launch iTunes before connecting your iPod to the computer. If you connect the iPod to a computer with iTunes already running, the device and computer will automatically sync. To avoid erasing your iPod's content, turn off auto-sync in iTunes beforehand.
- Note that this method will still lead to the content on the iPod being erased, but only upon the first activation. After enabling manual management, the iPod's content will be erased, but you can then connect the device to any iTunes library and transfer music files. Thus, use this method before copying audio files to your iPod.
- If the audio files do not play on the iPod, proceed to the next section.
Step 2. Click on "iTunes" (Mac OS) or "Edit" (Windows).
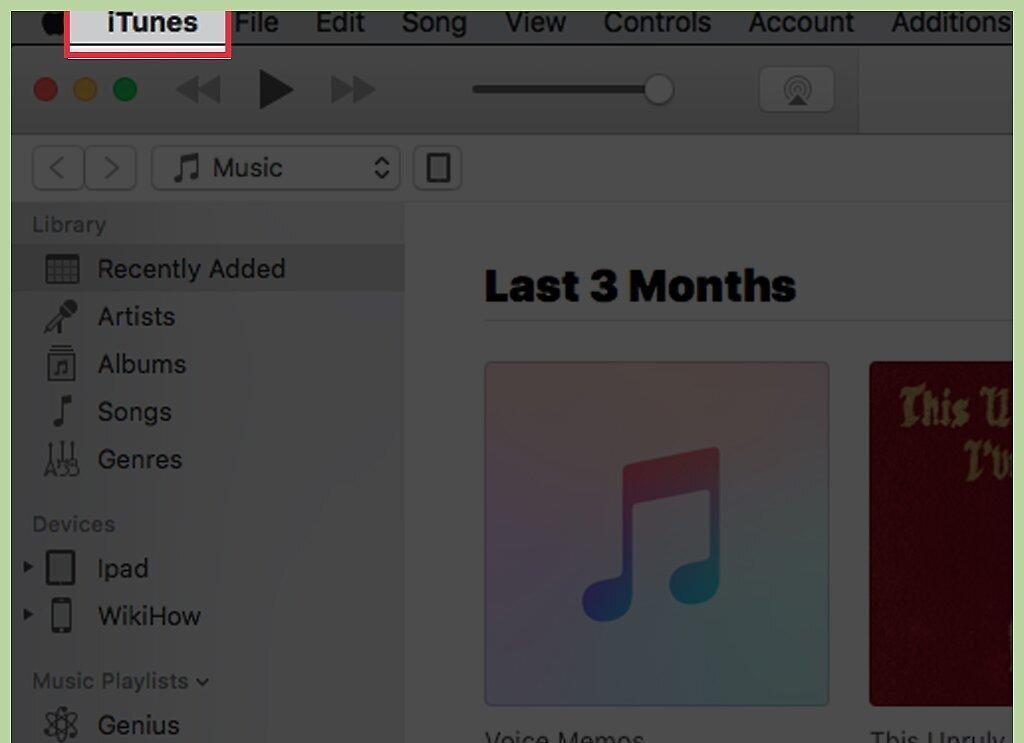
Click on "iTunes" (Mac OS) or "Edit" (Windows). If the menu bar is not visible in Windows, press Alt.
Step 3. Click on "Preferences".
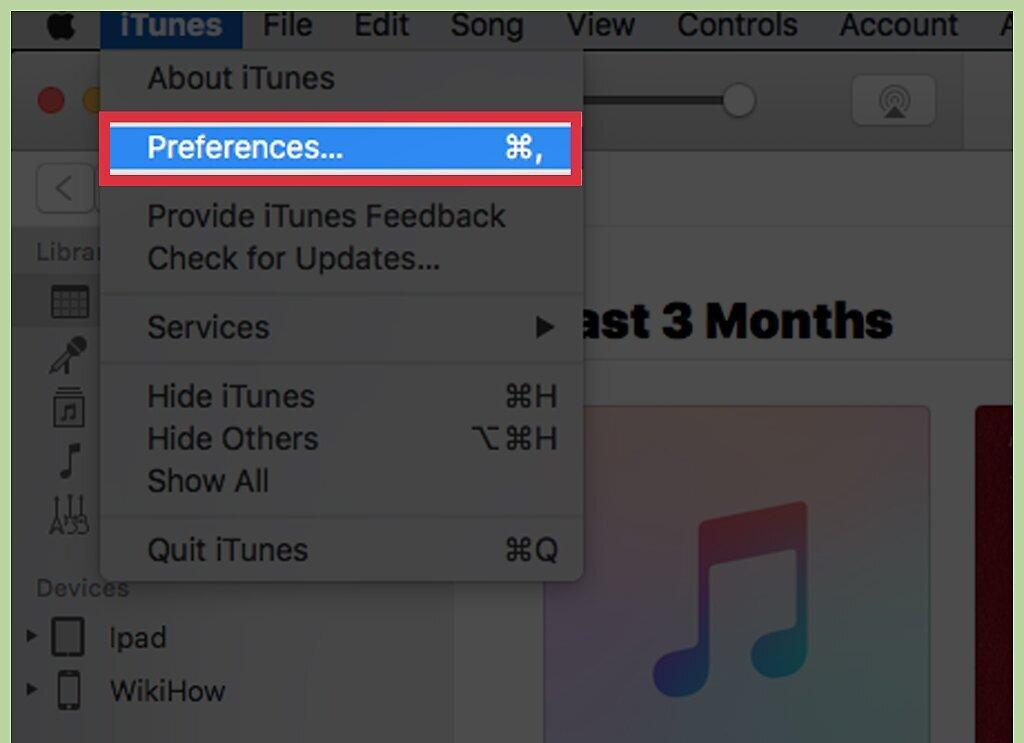
Click on "Preferences". The iTunes settings will open.
Step 4. Go to the "Devices" tab.
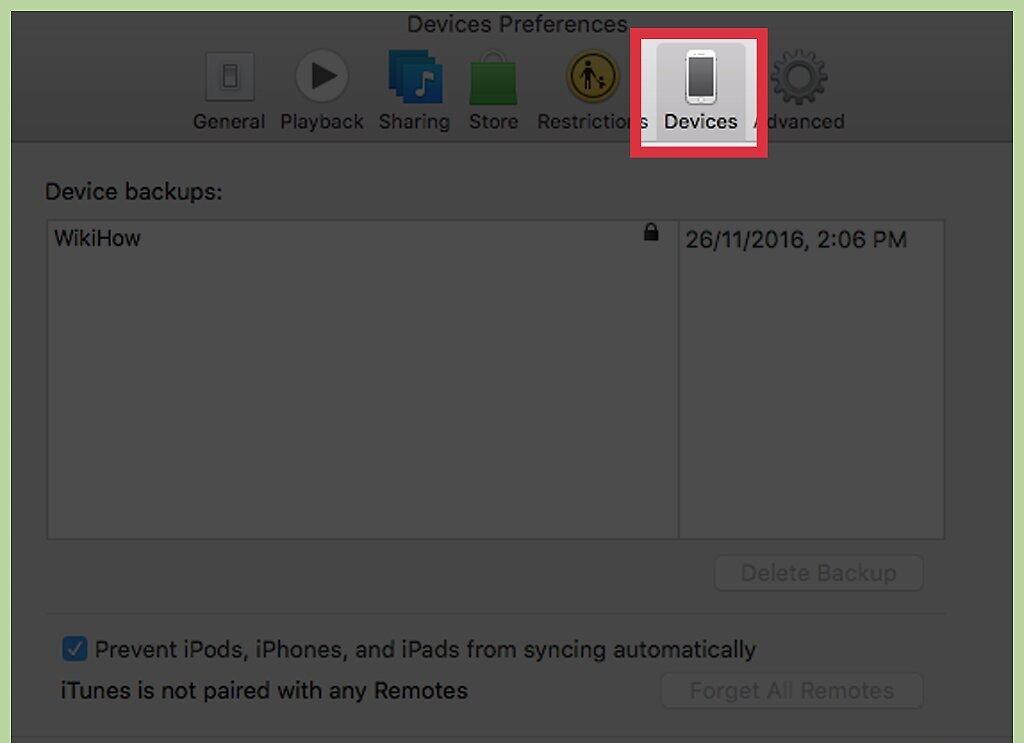
Go to the "Devices" tab. The settings related to connected devices, such as the iPod, will appear.
Step 5. Check the box for "Prevent iPods, iPhones, and iPads from syncing automatically".
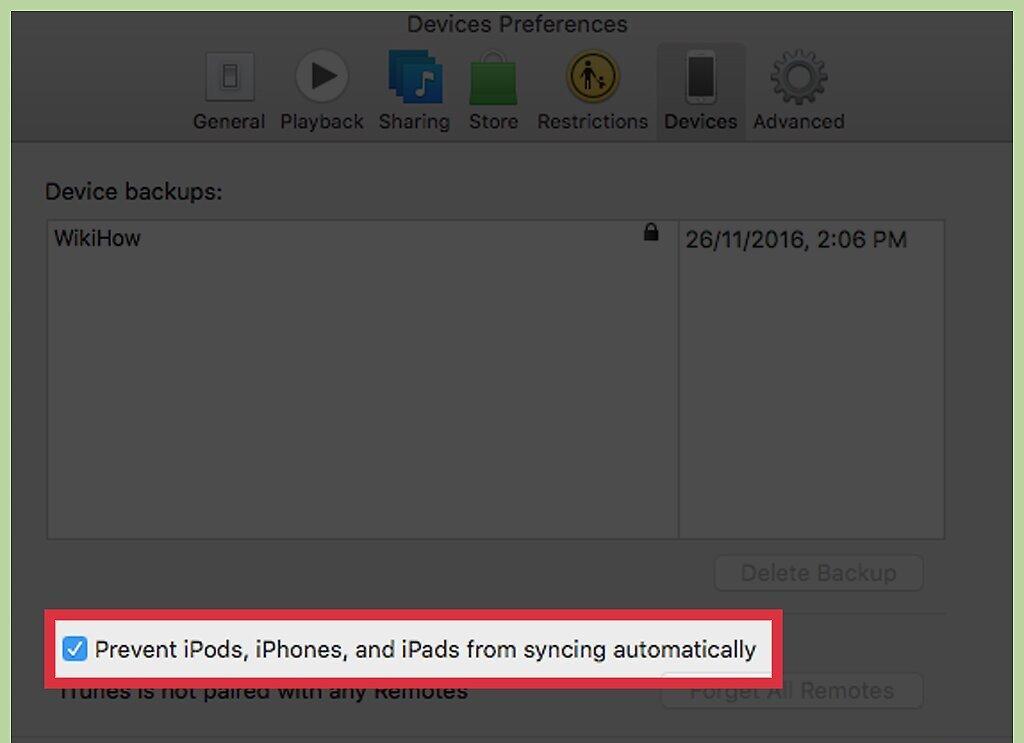
Check the box for "Prevent iPods, iPhones, and iPads from syncing automatically". This way, iTunes will not automatically sync and erase content from your iPod when the device is connected to the computer.
Step 6. Connect your iPod to the computer via USB.
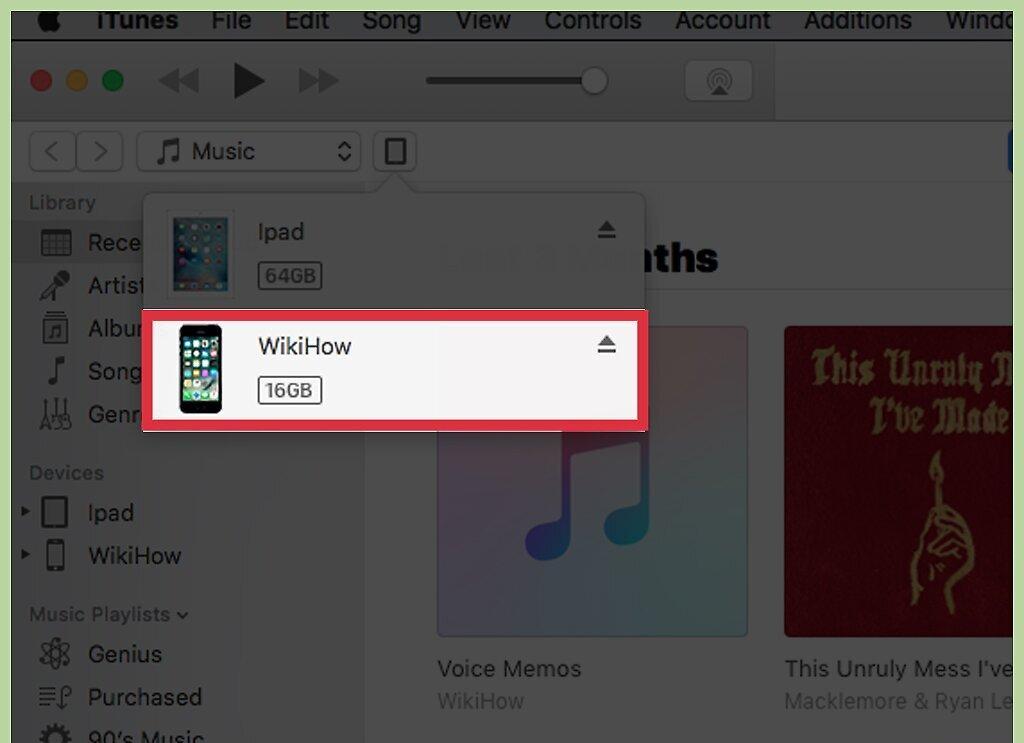
Connect your iPod to the computer via USB. The device will be displayed at the top of the iTunes window.
- If the music files on the iPod are not synced with the iTunes library, this program will prompt you to erase the device’s content. This is a piracy prevention measure. If you need to copy audio files from another iTunes library, proceed to the next section.
Step 7. Click on the iPod icon at the top of the iTunes window.
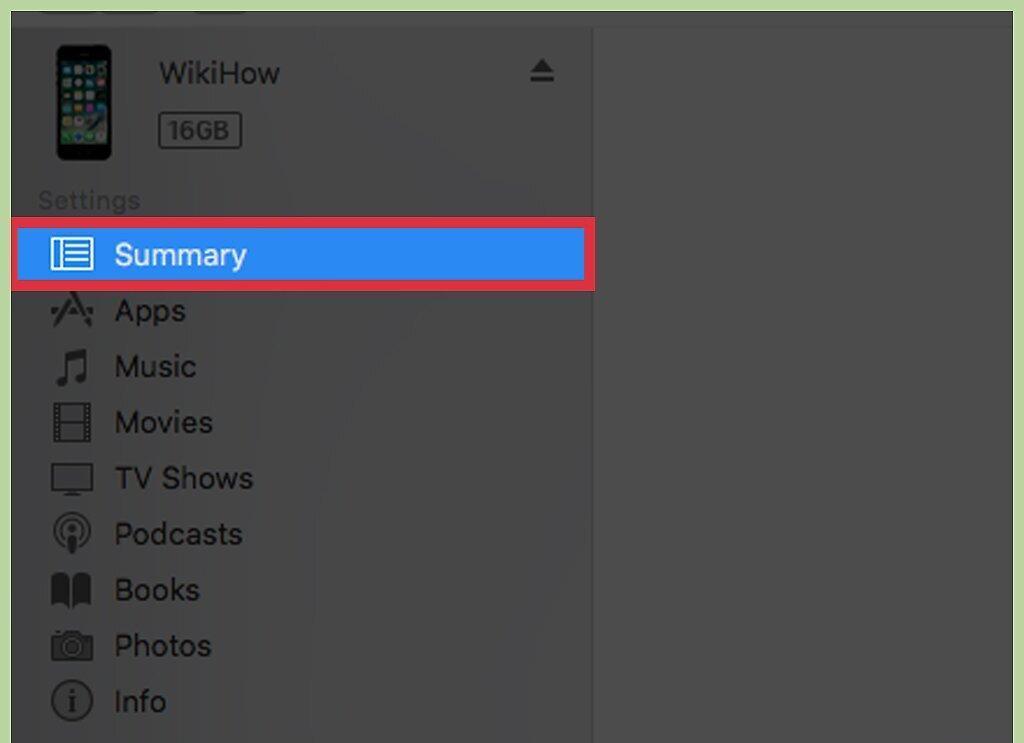
Click on the iPod icon at the top of the iTunes window. The "Summary" page with information about the iPod will open in the iTunes window.
Step 8. Scroll down and check the box for "Manually manage music and videos".
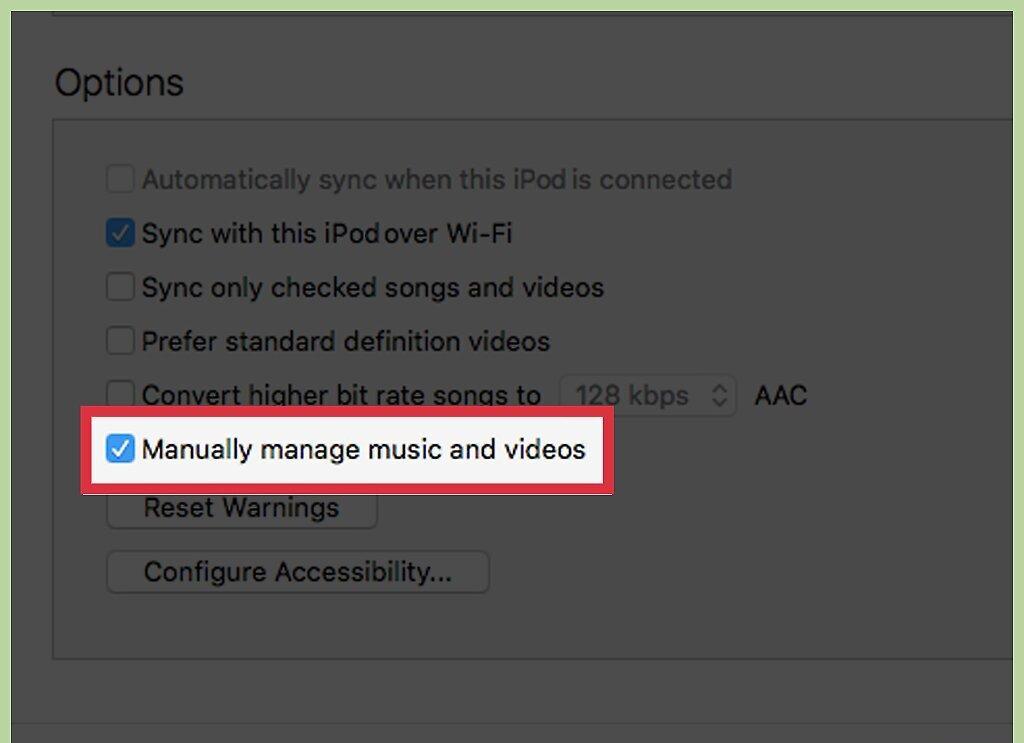
Scroll down and check the box for "Manually manage music and videos". This will allow you to manually copy and delete audio files from the iPod (i.e., manual management will replace auto-sync).
- You will still be prompted to erase the iPod's content, but only once during the first settings change. After enabling manual control, you can connect the iPod to any computer and copy music files to the device. If you do not want to erase the iPod's content, proceed to the next section.
Step 9. Uncheck the option "Automatically sync when this iPod is connected".
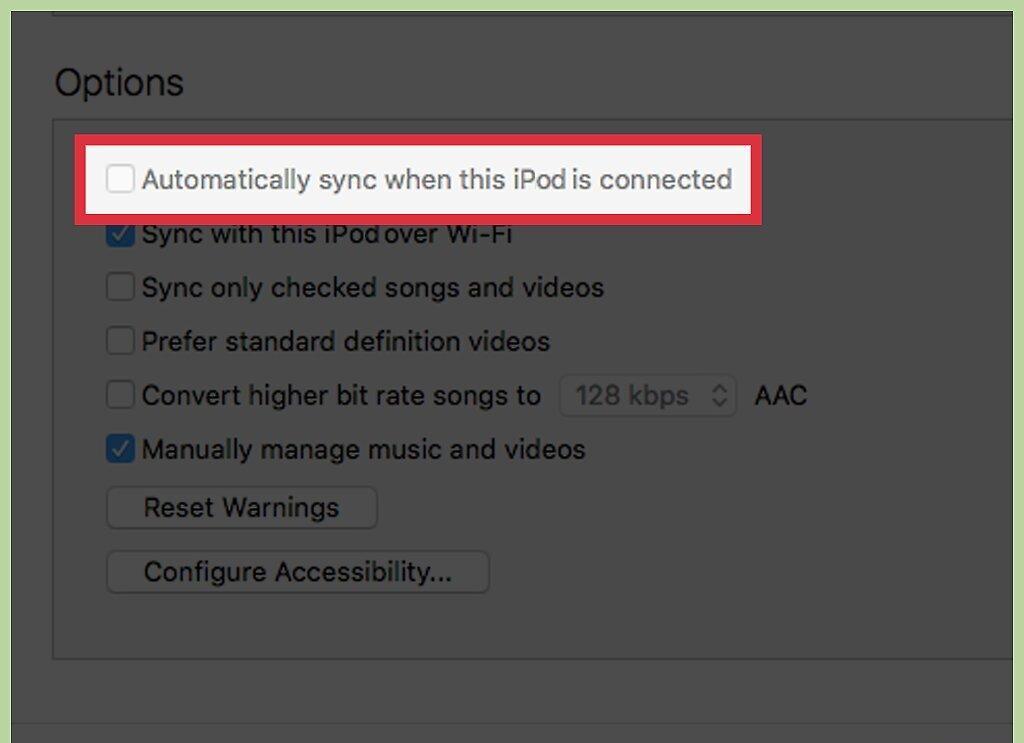
Uncheck the option "Automatically sync when this iPod is connected". This way, the iPod will not automatically sync with other computers.
Step 10. In the iTunes window, click "Music" and select the tracks you want to copy to your iPod.
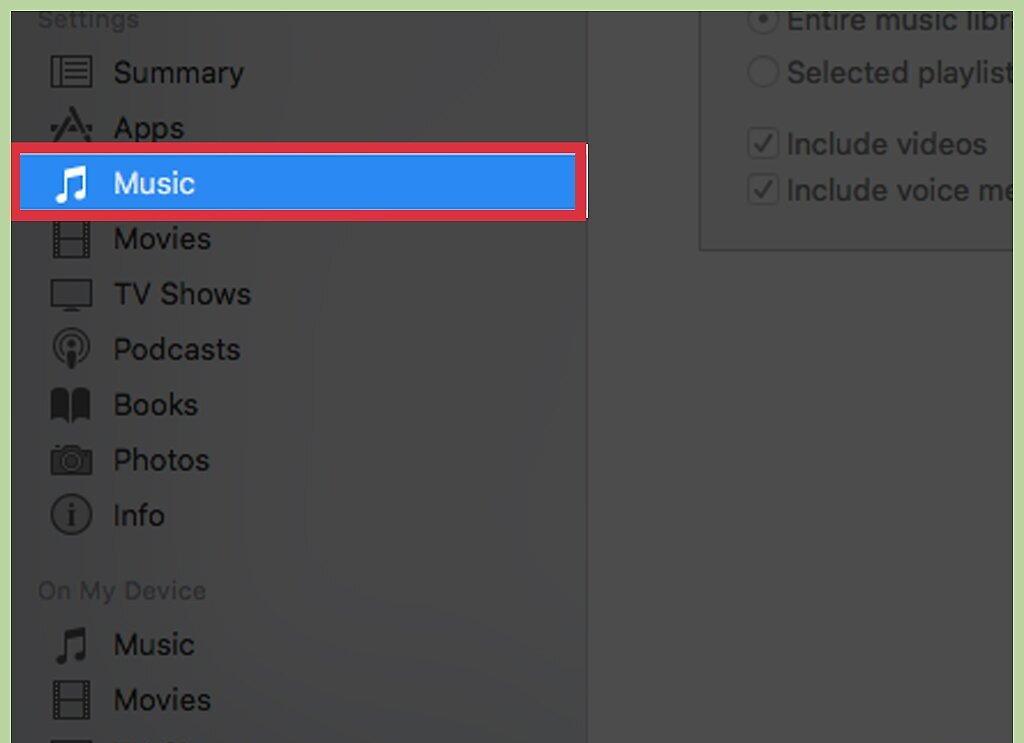
In the iTunes window, click "Music" and select the tracks you want to copy to your iPod. If the desired audio files are not in iTunes, first drag them into this program's window to add them to the iTunes library.
Step 11. Drag and drop the selected music tracks.
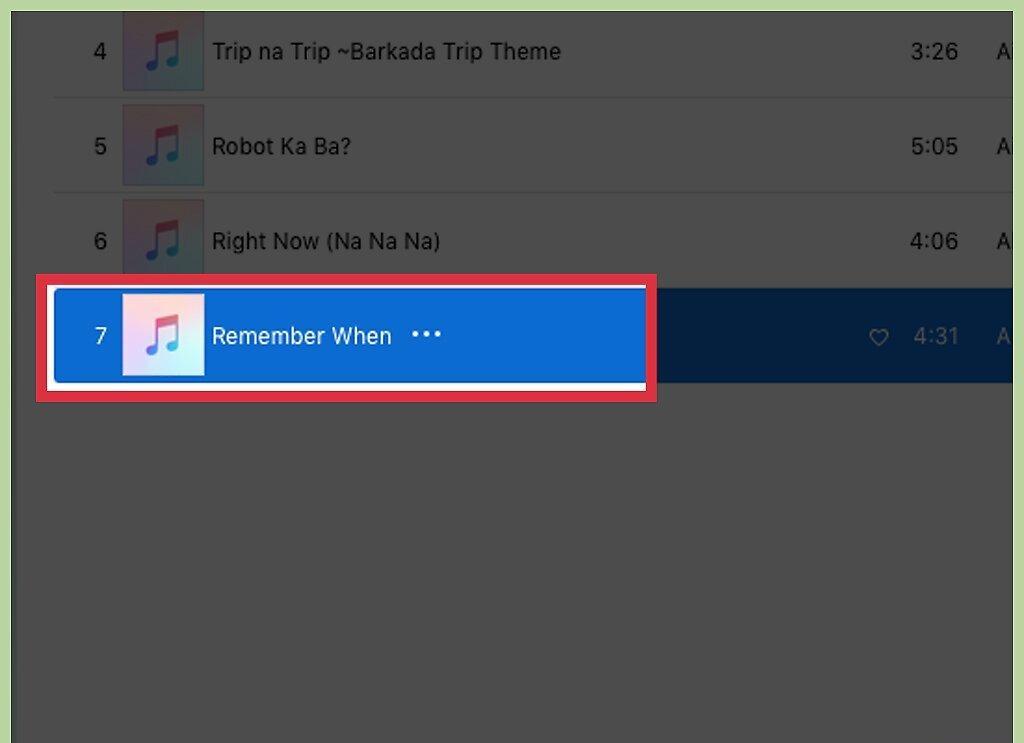
Drag and drop the selected music tracks. The left side of the iTunes window will display a sidebar where you can find the icon of the connected iPod under "Devices".
Step 12. Drop the music tracks onto the iPod icon displayed in the sidebar.
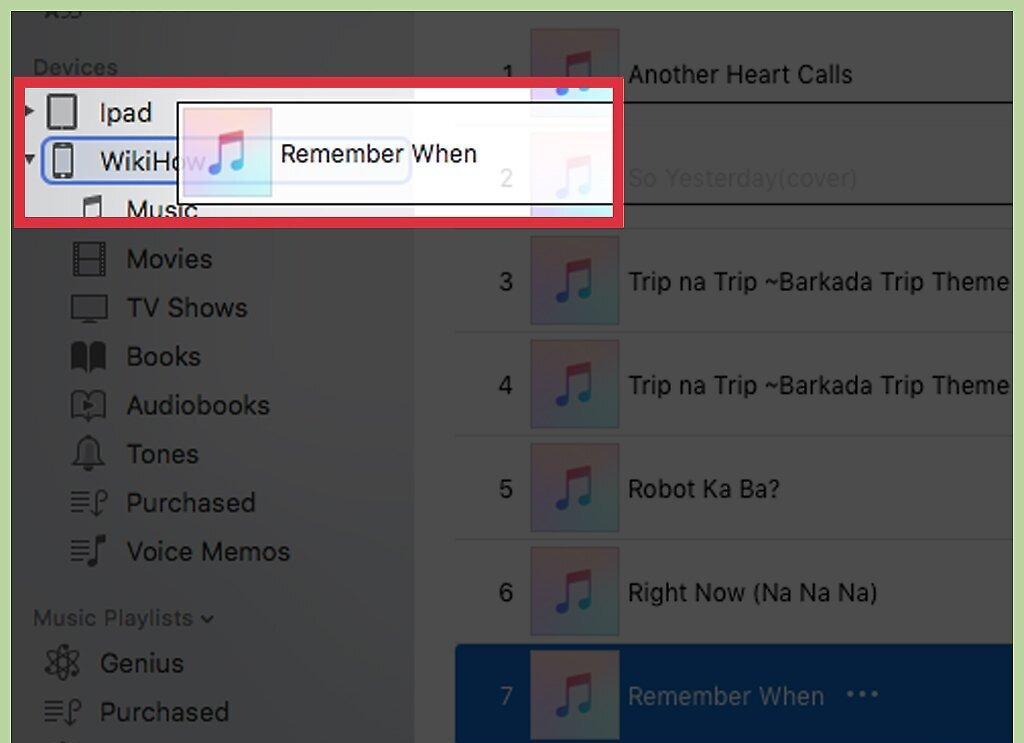
Drop the music tracks onto the iPod icon displayed in the sidebar. The process of copying audio files to the device will begin.
Step 13. Wait for the copying process to complete.
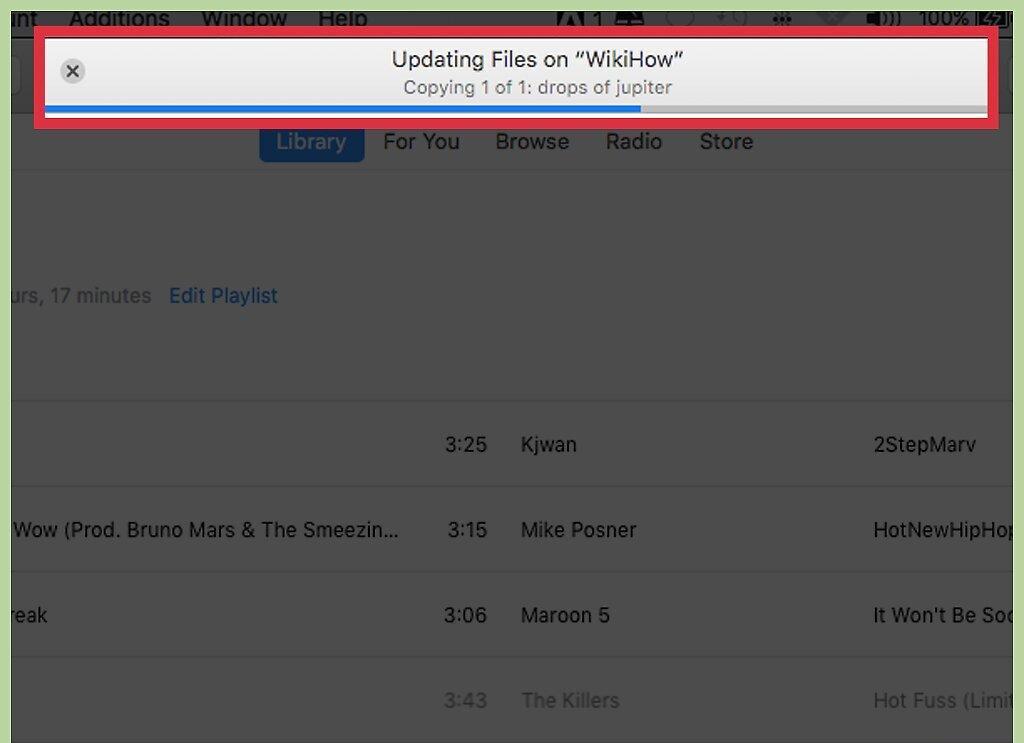
Wait for the copying process to complete. The progress of the copying will be displayed at the top of the window. The process of copying audio files may take some time.
Step 14. Disconnect your iPod and play the copied music files.
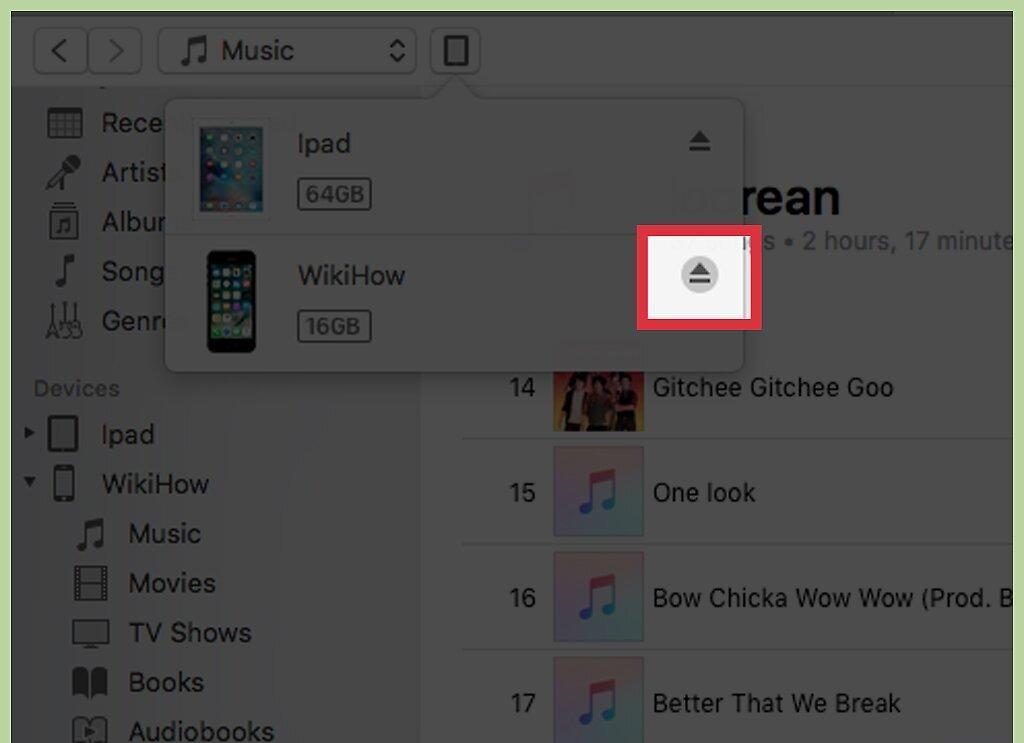
Disconnect your iPod and play the copied music files. In the iTunes window, right-click the iPod icon and select "Eject". Now disconnect the iPod and play the copied music files.
- You can now connect your iPod to any computer and copy music files to and from iTunes – the content of the iPod will not be erased.
Using Third-Party Software
Step 1. Install iTunes (Windows only).
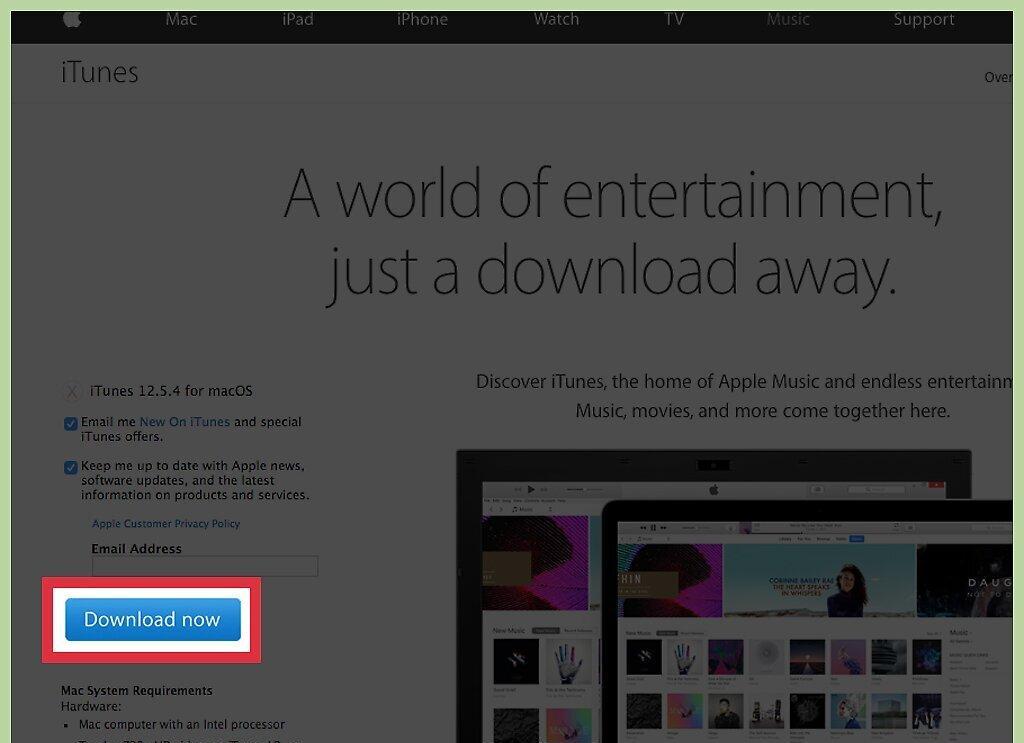
Install iTunes (Windows only). You need to install iTunes for the PodTrans program to connect to your iPod. Do this if you are using Windows, as iTunes is pre-installed by default on Mac OS.
- You can download iTunes for free at apple.com/itunes/download.
- Just install it, but do not use iTunes.
Step 2. Download and install PodTrans.
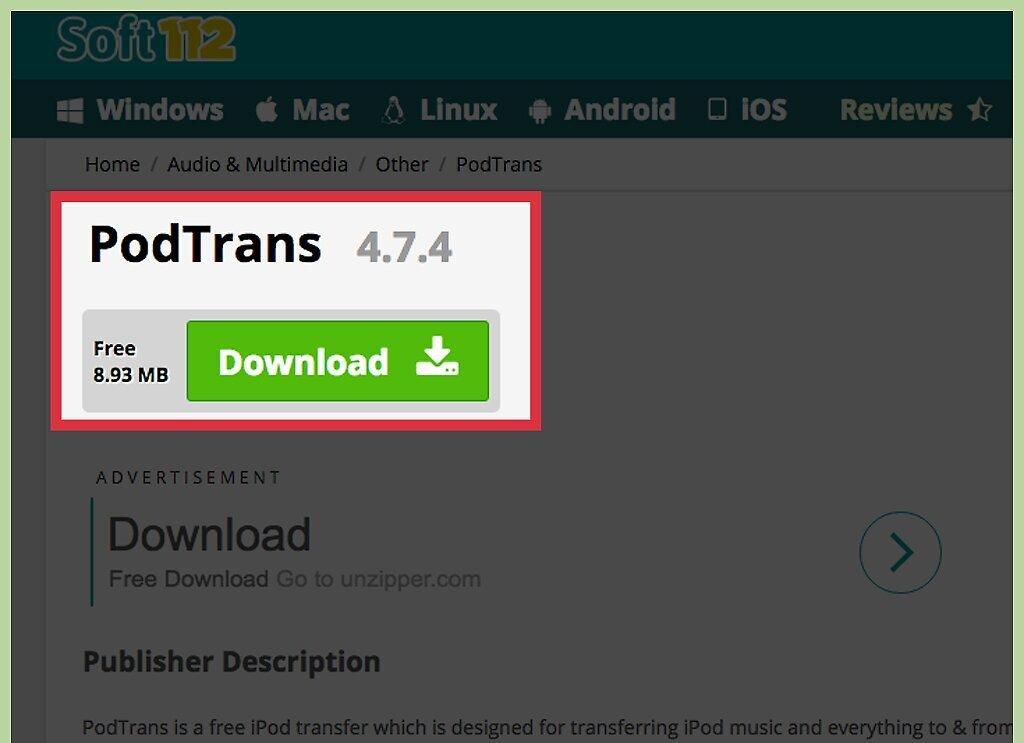
Download and install PodTrans. This program will allow you to copy audio files to your iPod without using iTunes. With PodTrans, you can copy music files without deleting the content of your iPod.
- The free version of PodTrans can be downloaded at imobie.com/podtrans/. PodTrans supports both Windows and Mac OS.
- You will be prompted to choose one of two versions of PodTrans. If you have installed the latest version of iTunes, select the "V12.1 or later" version. If you have installed an older version of iTunes, choose the other version of PodTrans.
- PodTrans does not support iPhone and iPad. For these devices, a different file transfer program, such as AnyTrans, is needed.
Step 3. Connect your iPod to the computer using a USB cable.
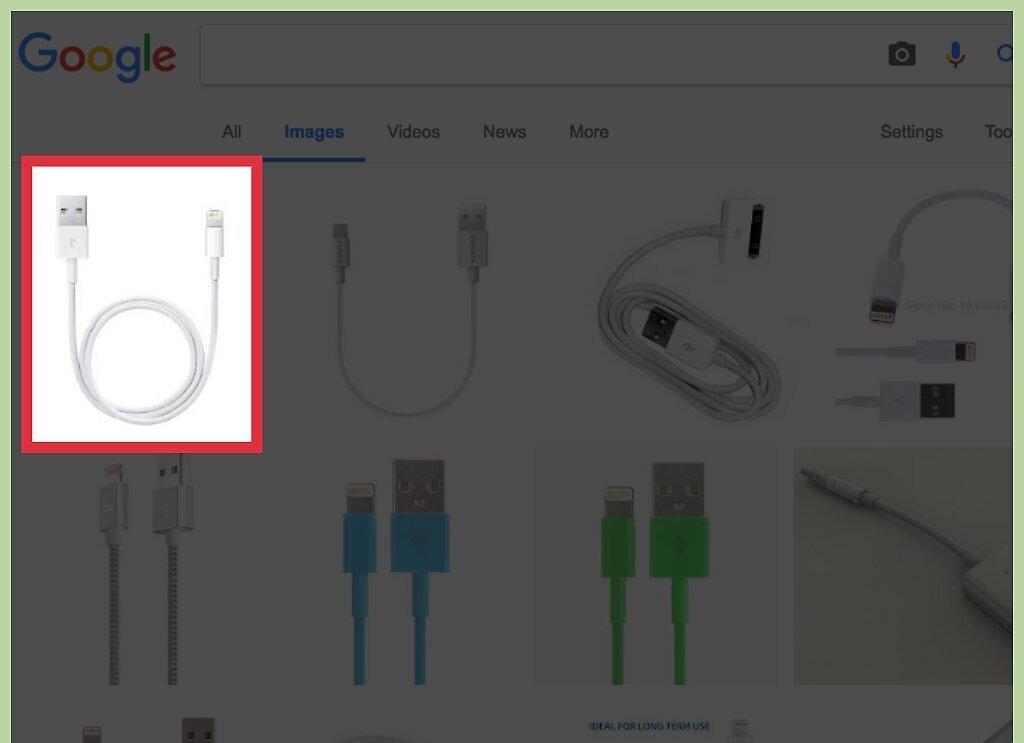
Connect your iPod to the computer using a USB cable. Close iTunes if it opens automatically.
Step 4. Launch PodTrans.
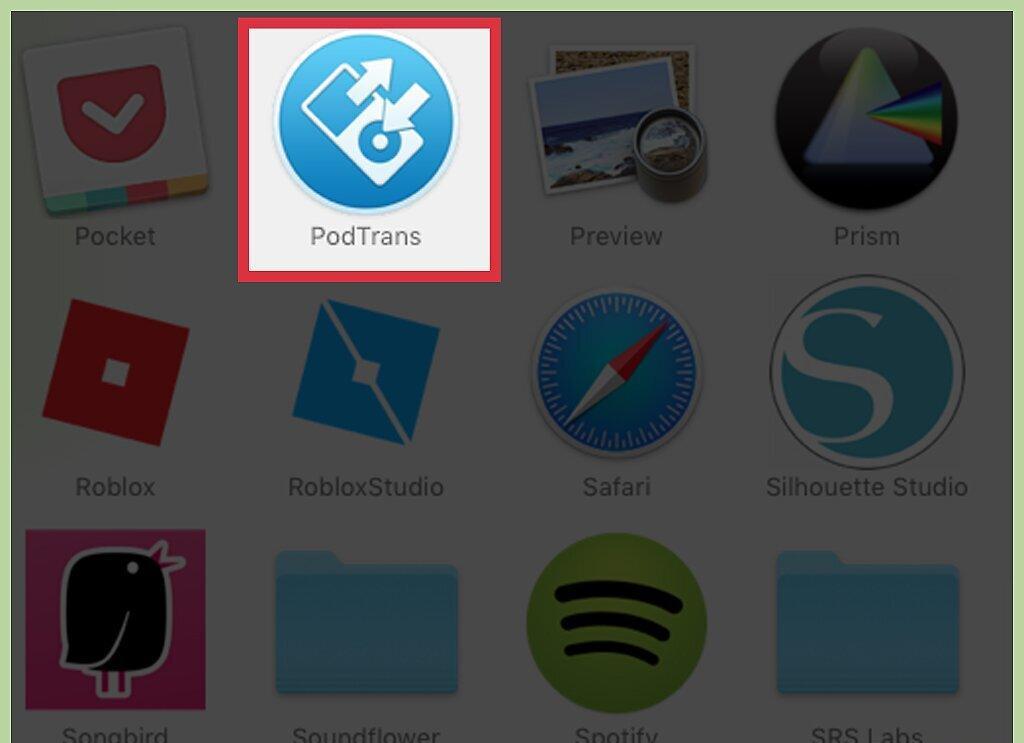
Launch PodTrans. The window of this program will display all the contents of your iPod, but this may take some time.
Step 5. In the PodTrans window, click "Music" under the iPod icon. A list of all audio files stored on the iPod will appear.
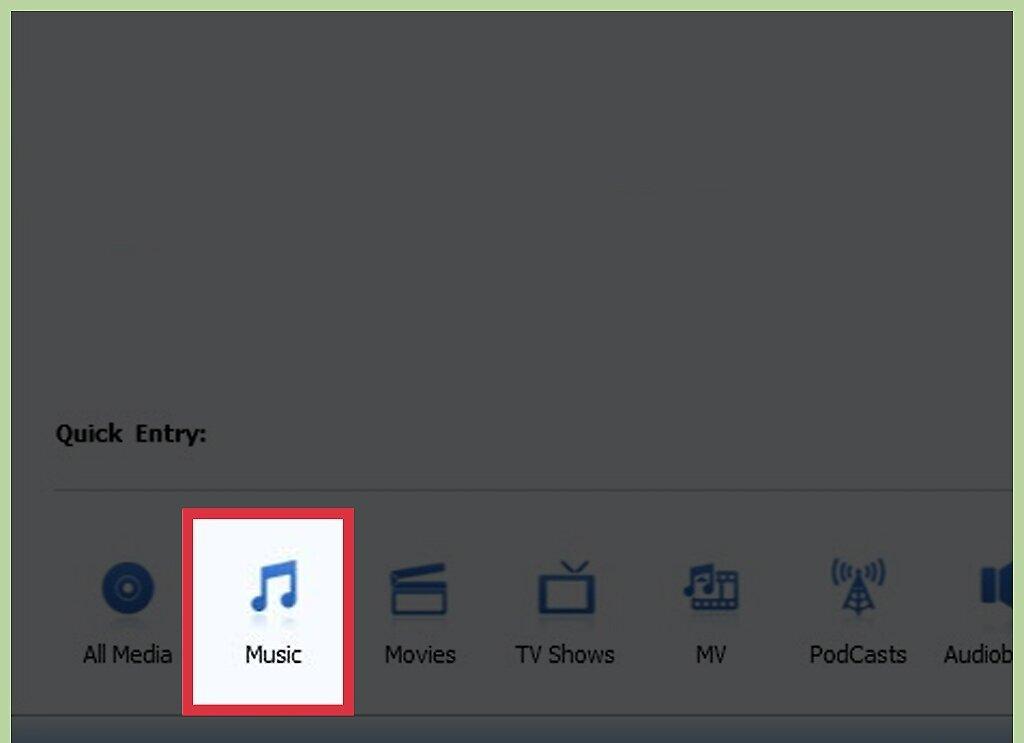
Step 6. Drag and drop the desired music files into the PodTrans window.
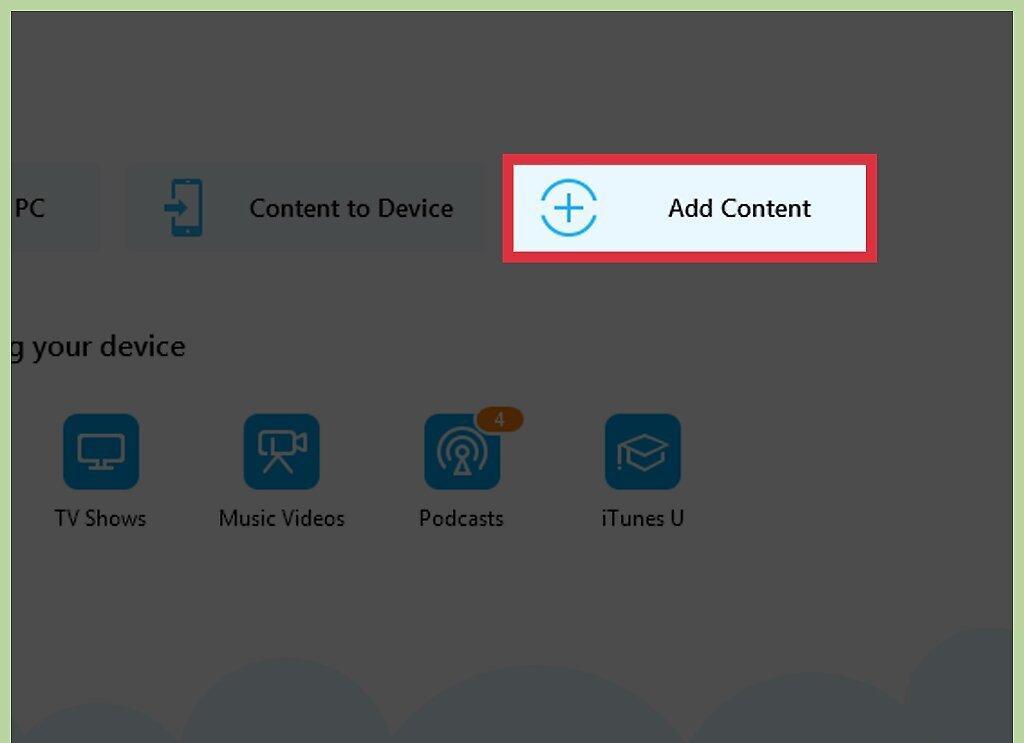
Drag and drop the desired music files into the PodTrans window. The process of copying audio files to the iPod will begin. You can drag music files from the iTunes library or from any folder stored on your computer.
- Alternatively, click the “+” button and select the desired music files.
Step 7. Wait for the copying process to finish.
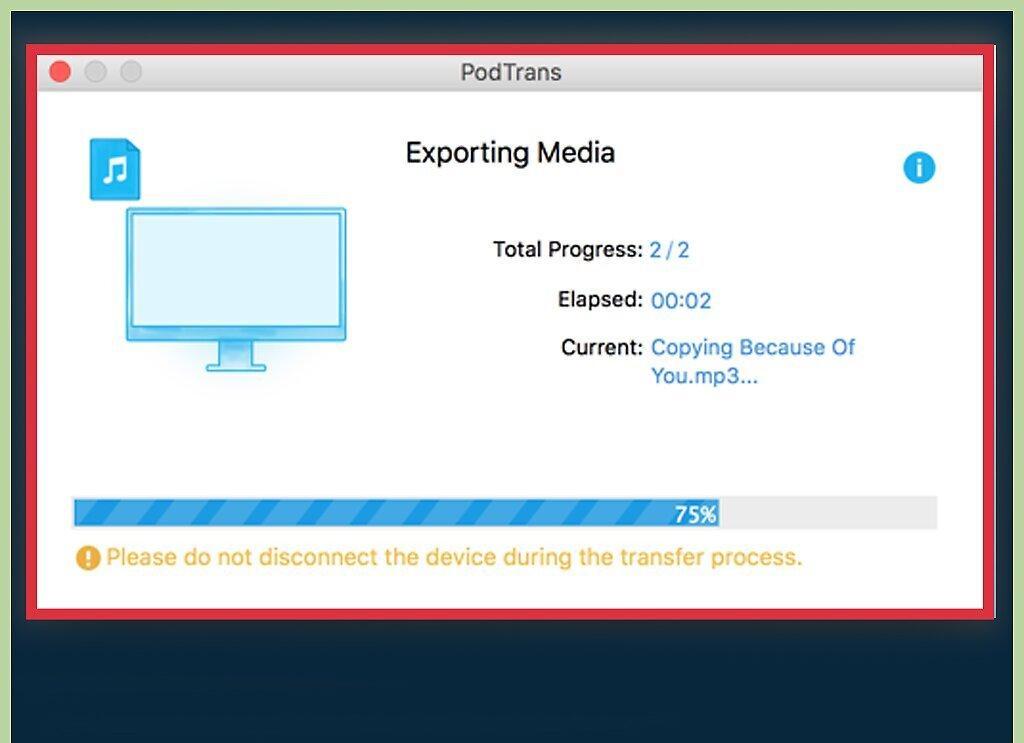
Wait for the copying process to finish. The progress of the copying will be displayed at the top of the window. Do not disconnect the iPod during this process.
Step 8. Once the audio files have been copied, disconnect your iPod.
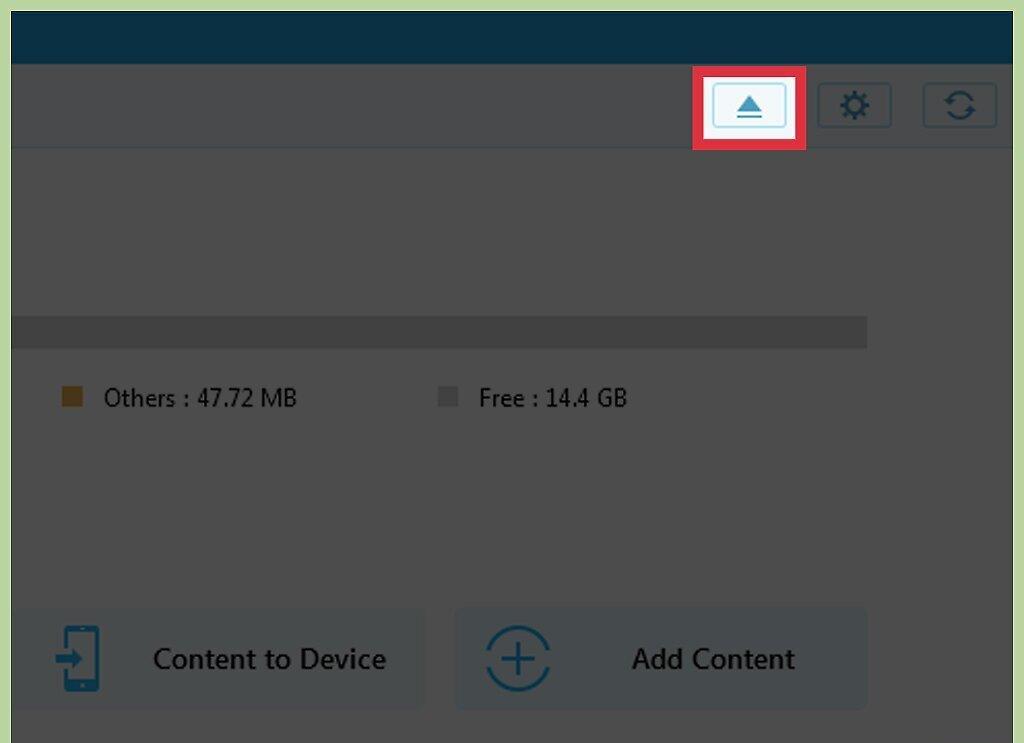
Once the audio files have been copied, disconnect your iPod. The new music files will play just like any others.


