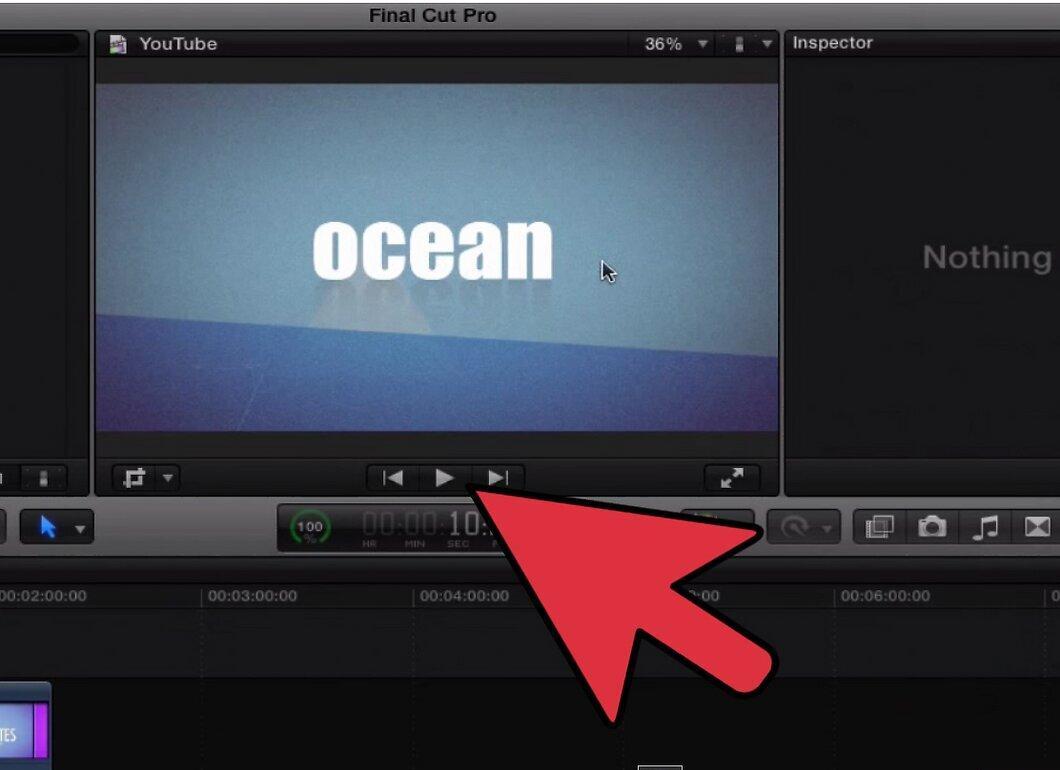
Final Cut Pro is an Apple-supported software that allows you to create and edit videos. With Final Cut Pro, you can easily add text to your video. Text can be inserted as subtitles, opening and closing credits, dates, times, and more.
Part 1
Step 1. Open Final Cut Pro.
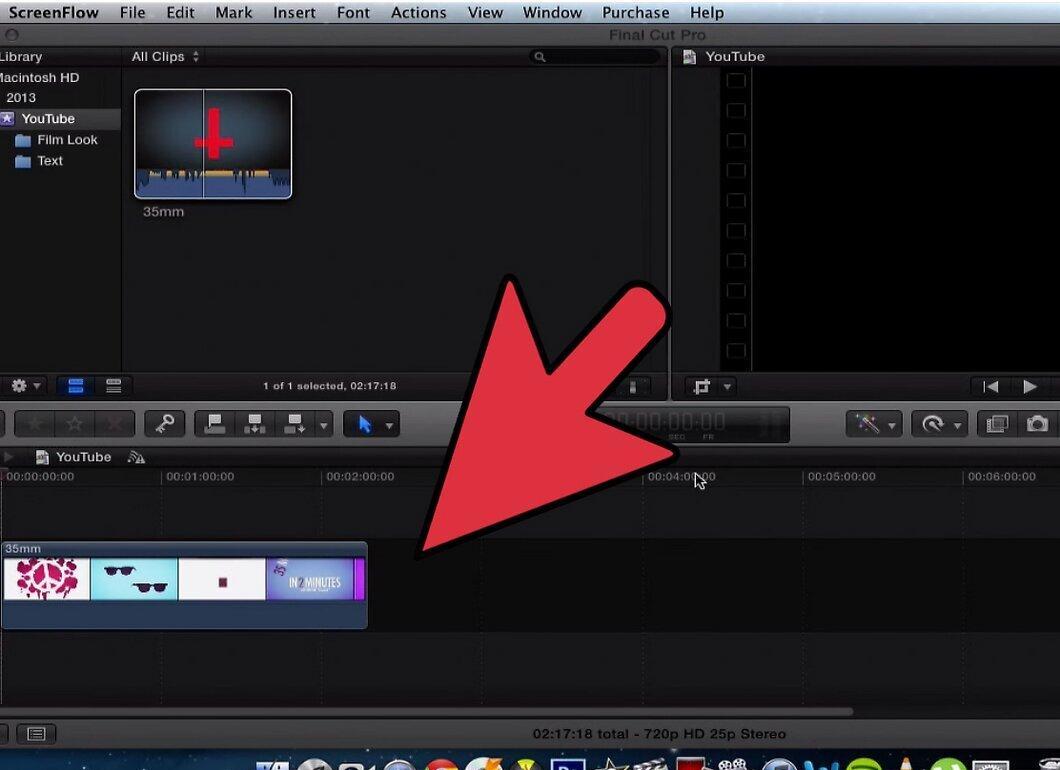
Step 2. Open your Library Project by clicking on the film reel icon located in the bottom left corner of Final Cut Pro.
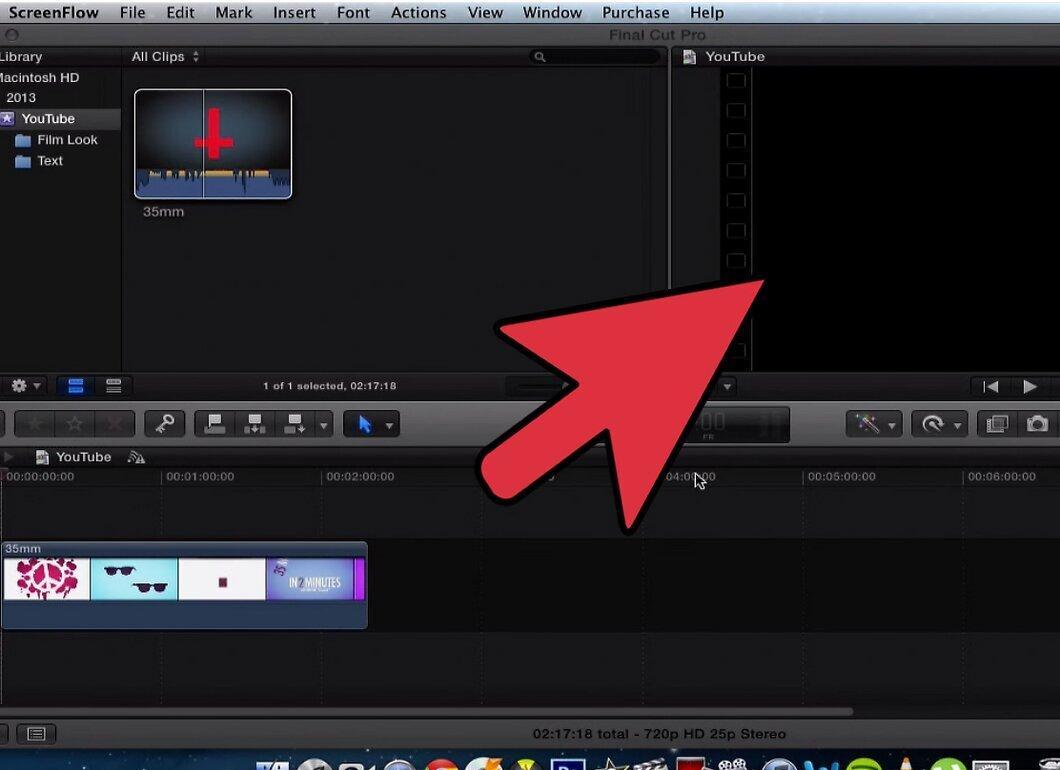
Step 3. Open the clip you want to add text to by double-clicking its name.
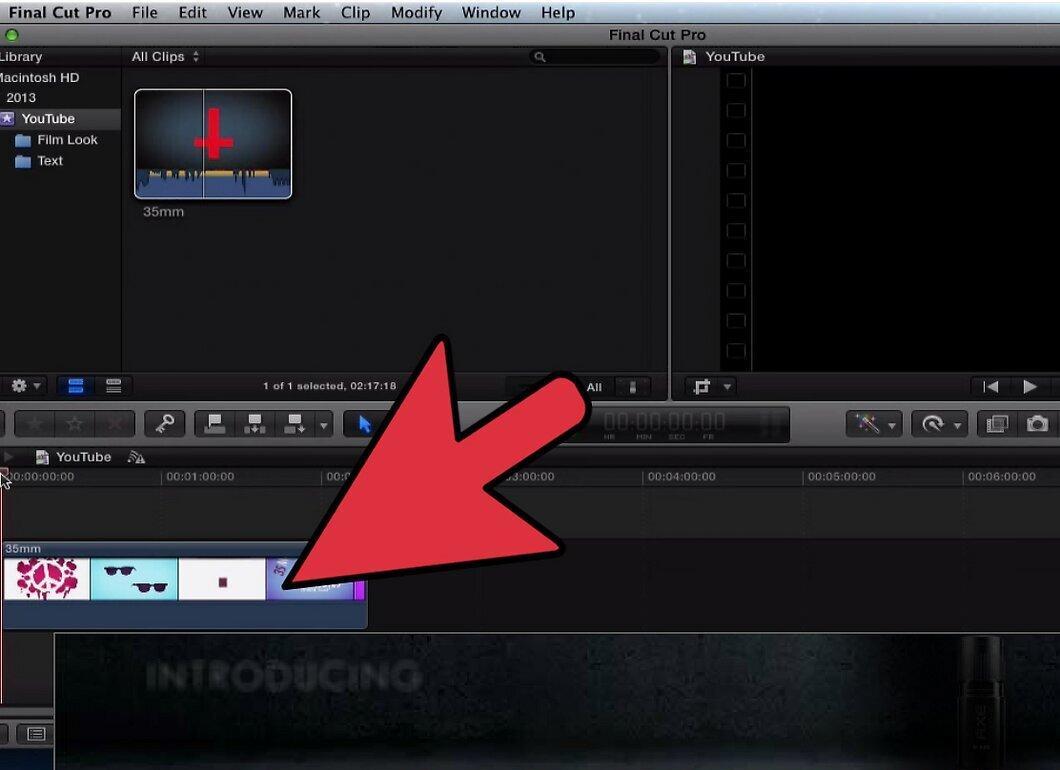
Step 4. Navigate to the “Effects” tab.
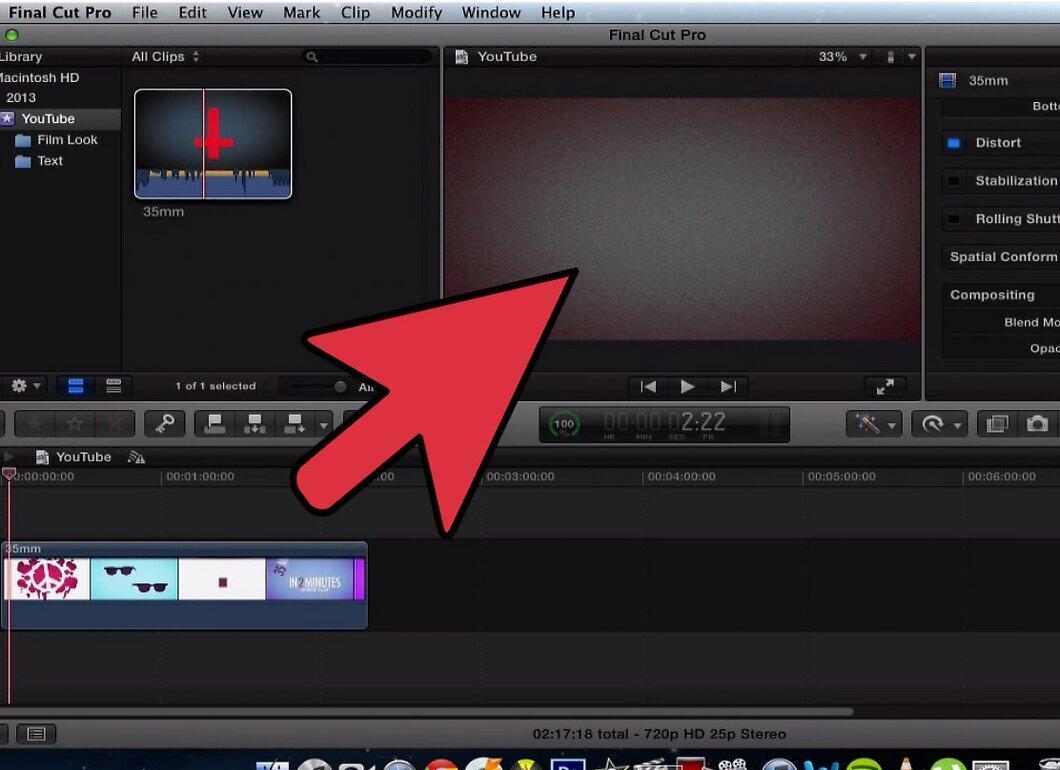
- The tabs are located in the upper left corner of the Final Cut Pro project window.
Step 5. Click on the “Video Generators” folder to open it and view additional options.
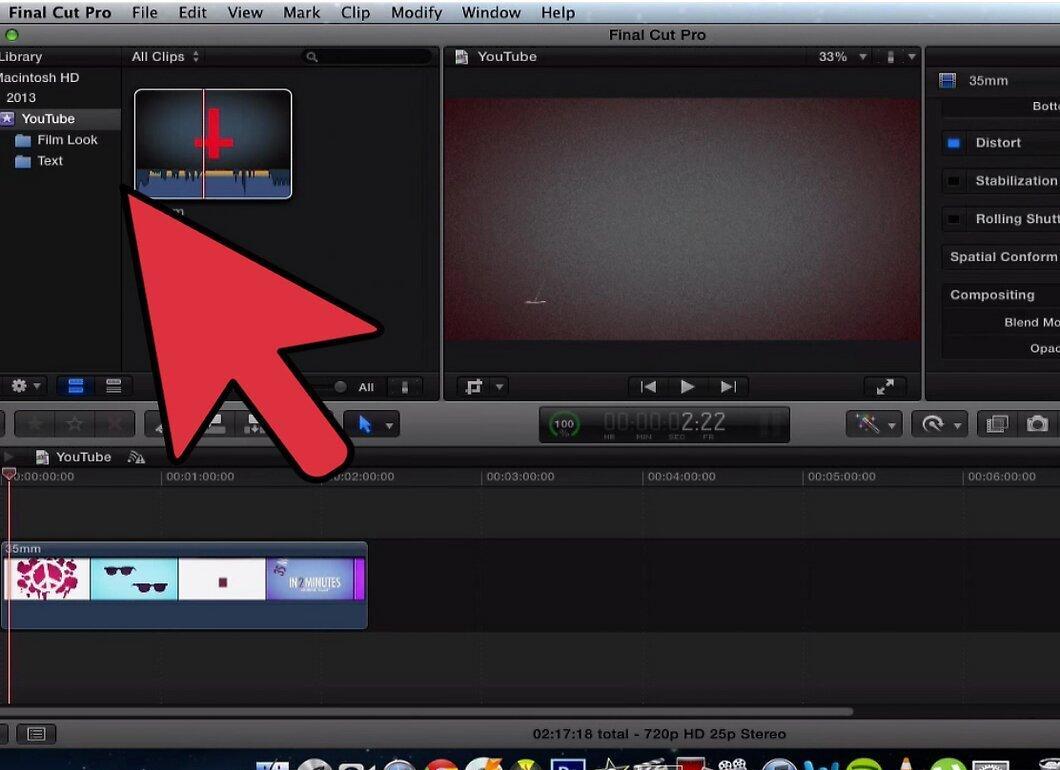
Step 6. Open the “Text” folder.
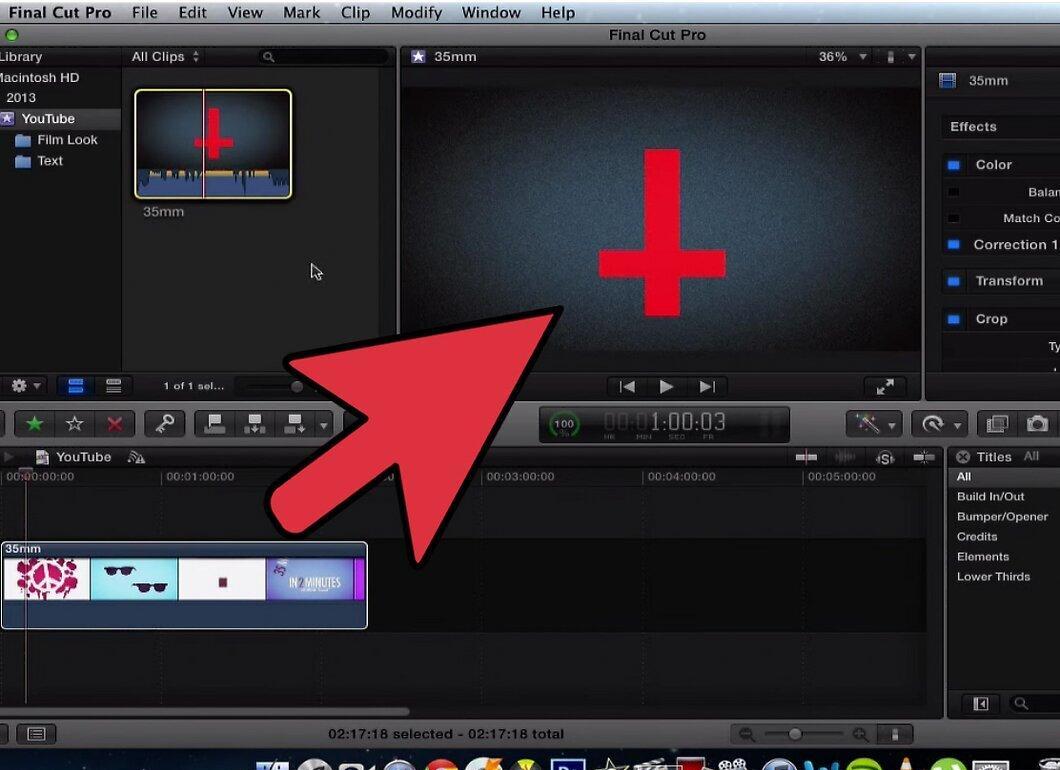
Step 7. Click on the “Text” option and drag it to an empty space in the Sequence (within the timeline) where you want to add the text.
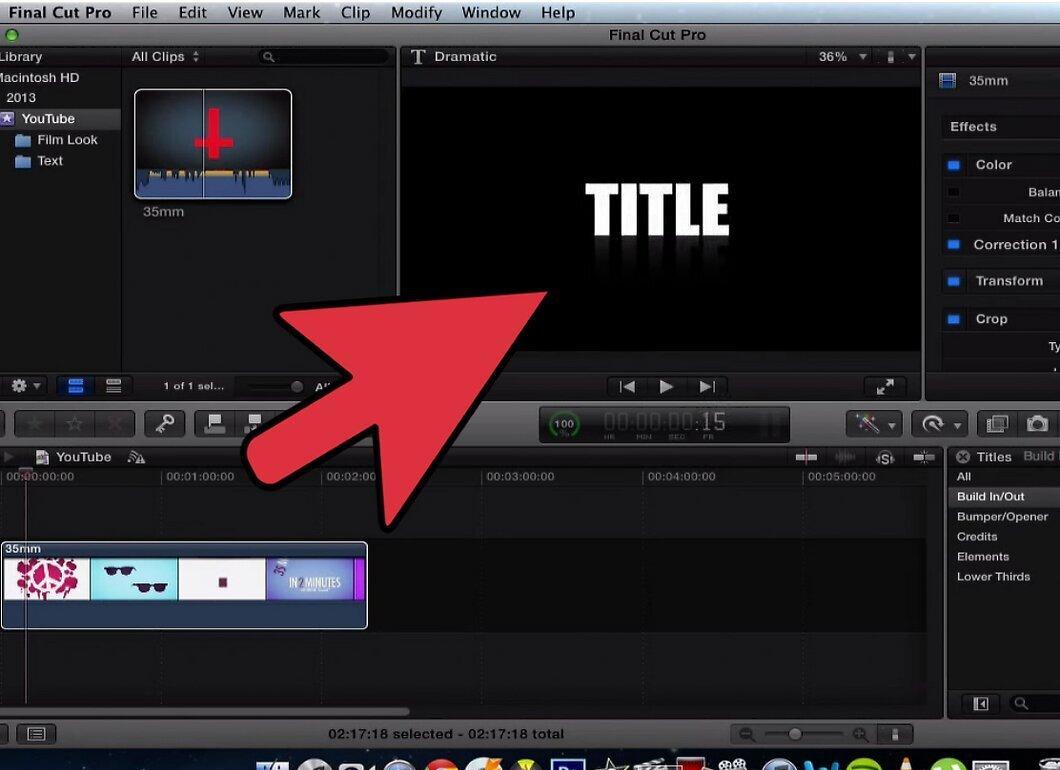
- The timeline is located at the bottom of the Final Cut Pro window.
- The Sequence is a time segment of the video within the timeline.
- If you need to add a new Sequence for the text, click “File” - “New” - “Sequence”.
Step 8. Open the text box displayed in the Sequence by double-clicking on it.
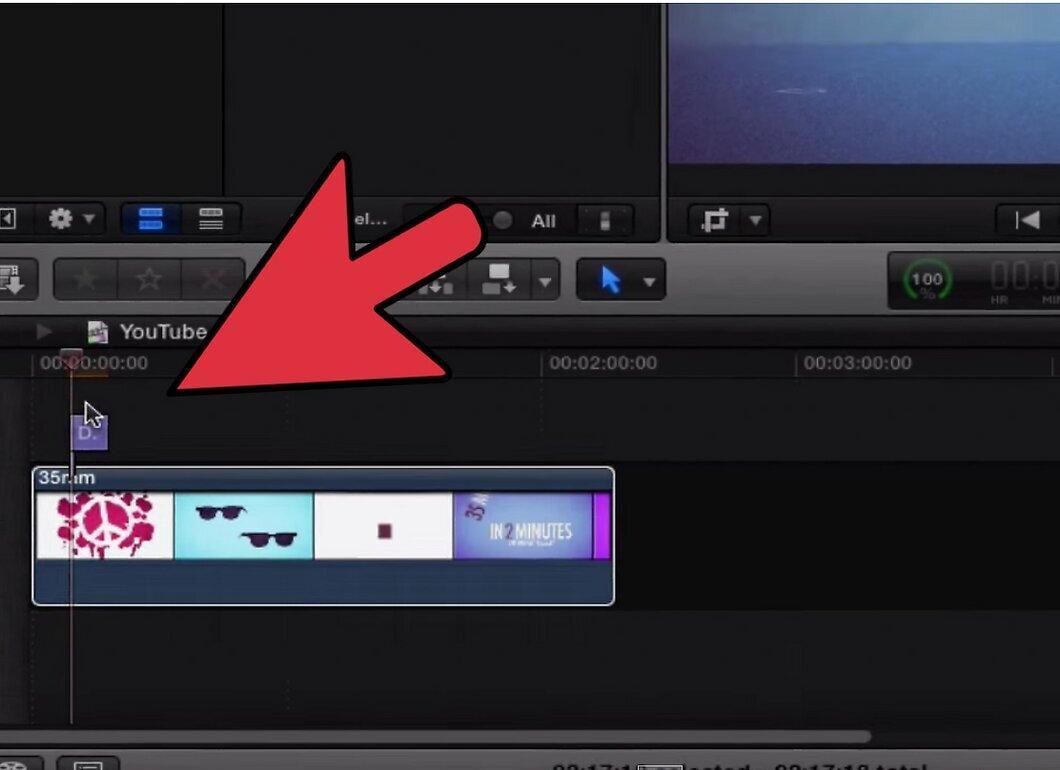
- This will bring up a larger view of the text for preview and placement in the “Viewer” window.
- The “Viewer” window is located in the middle of the Final Cut Pro window.
Step 9. In the “Viewer” window, go to the “Controls” tab to open the control panel for entering and editing text.
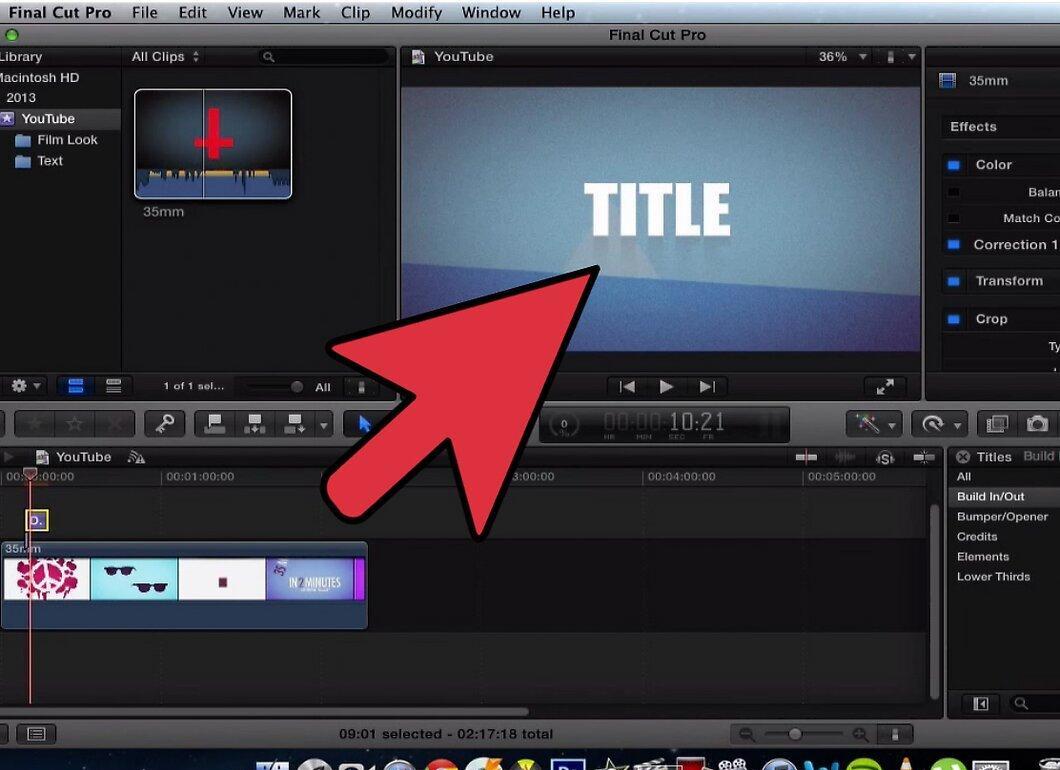
Step 10. Click on the empty field to the right of the “Text” section to enter your desired text.
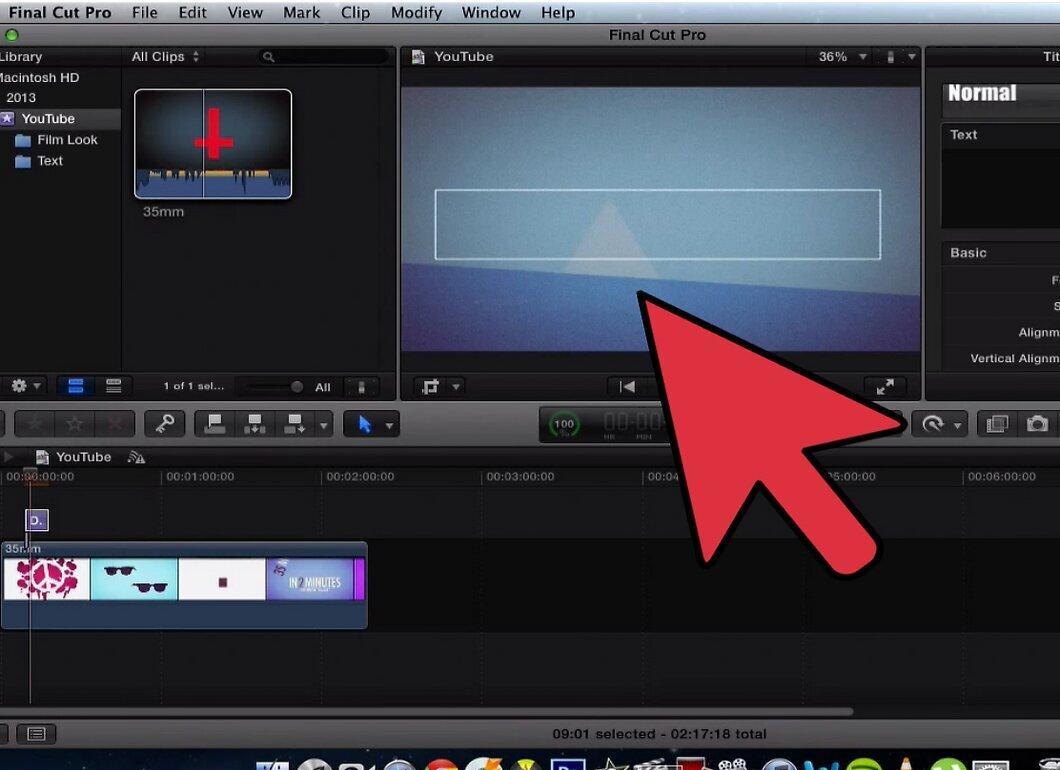
- You can access additional text formatting options in the text control panel, such as fonts, sizes, text color, and alignment.
Step 11. Review the entered text by clicking outside the control panel.
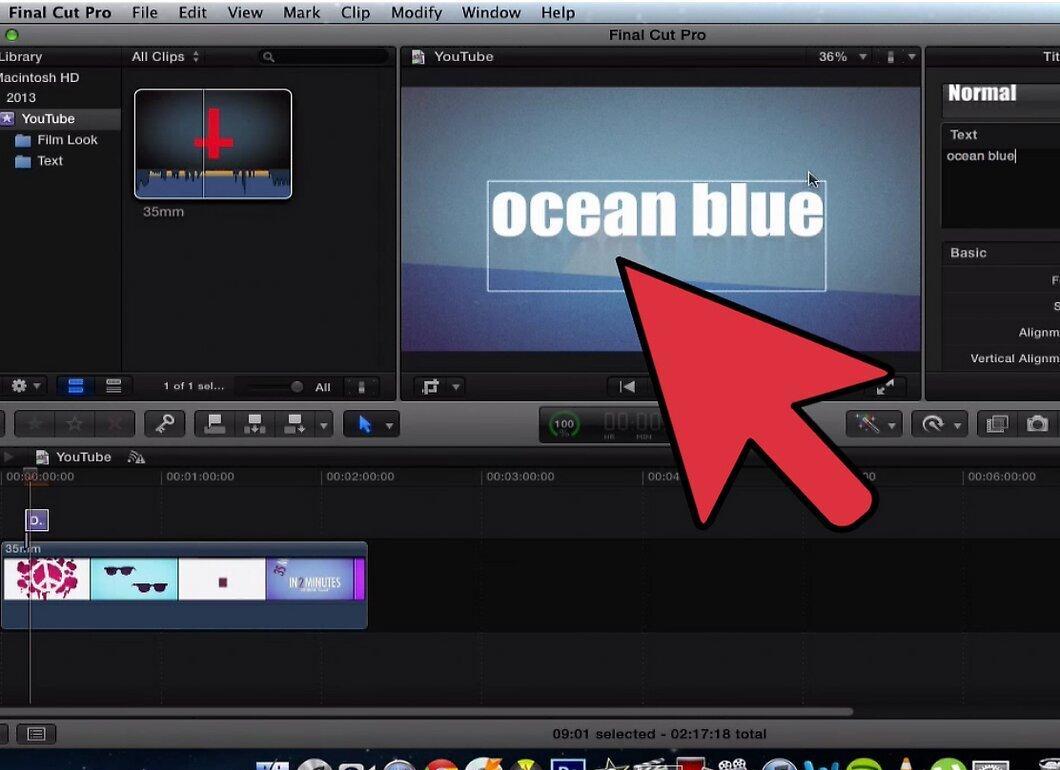
- You can view the text in the “Viewer” window. To return to editing the text, click on the text control panel.
- You can also preview the text in the “Canvas” window by dragging the “Playhead” button over the text box in the Sequence. The “Playhead” button is represented by a yellow inverted triangle icon. The “Canvas” window is located to the right of the “Viewer” window.
Step 12. Drag the text (text box) to a layer above the video clip, positioning it as it should appear in the video.
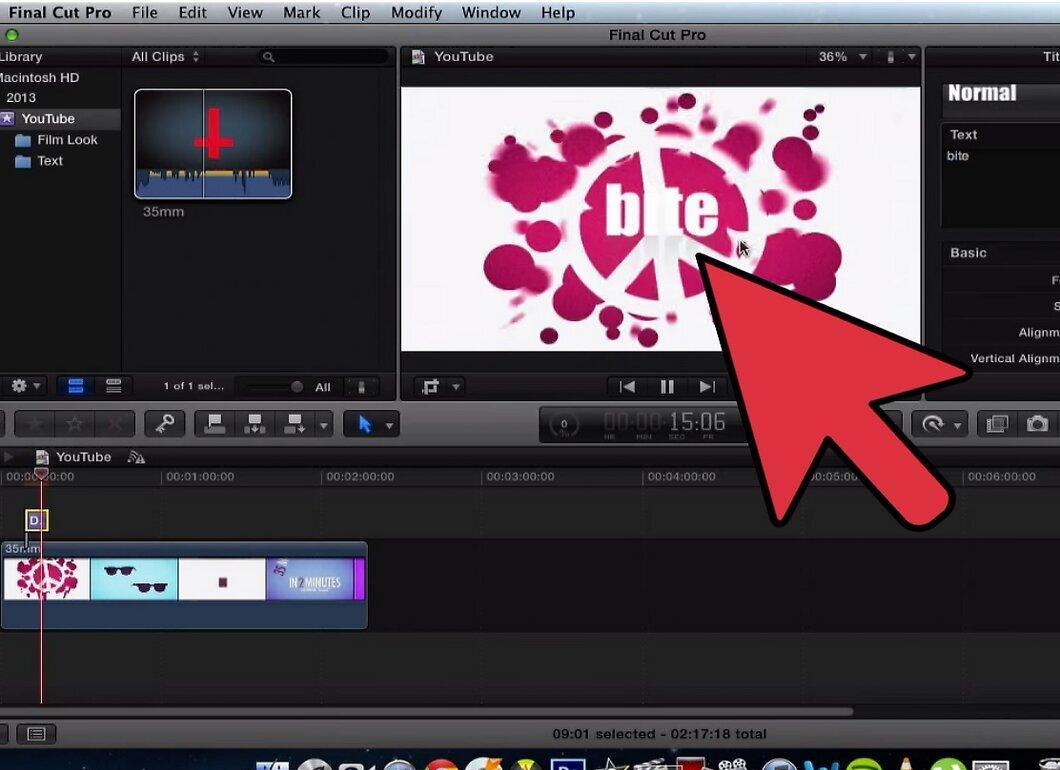
- Navigate to the “Video” section in the Sequence.
- Click and drag the text box to the position above the video clip in the Sequence.
Step 13. Save your video by clicking “File” - “Save Project”.