
Tunnels were initially created for transporting water and draining sewage; the first structures of this kind emerged during the Roman Empire. The use of tunnels for transportation began in the 17th century when they were integrated into canal systems. With the advent of railways in the 19th century and automobiles in the 20th century, tunnels became longer and more technologically advanced. The primary methods of tunnel construction include: trench excavation with lining installation, underwater tunnel construction using sinking sections, and the use of tunnel boring machines.
Factors Influencing Tunnel Construction
Step 1. Determine the Tunnel Location.
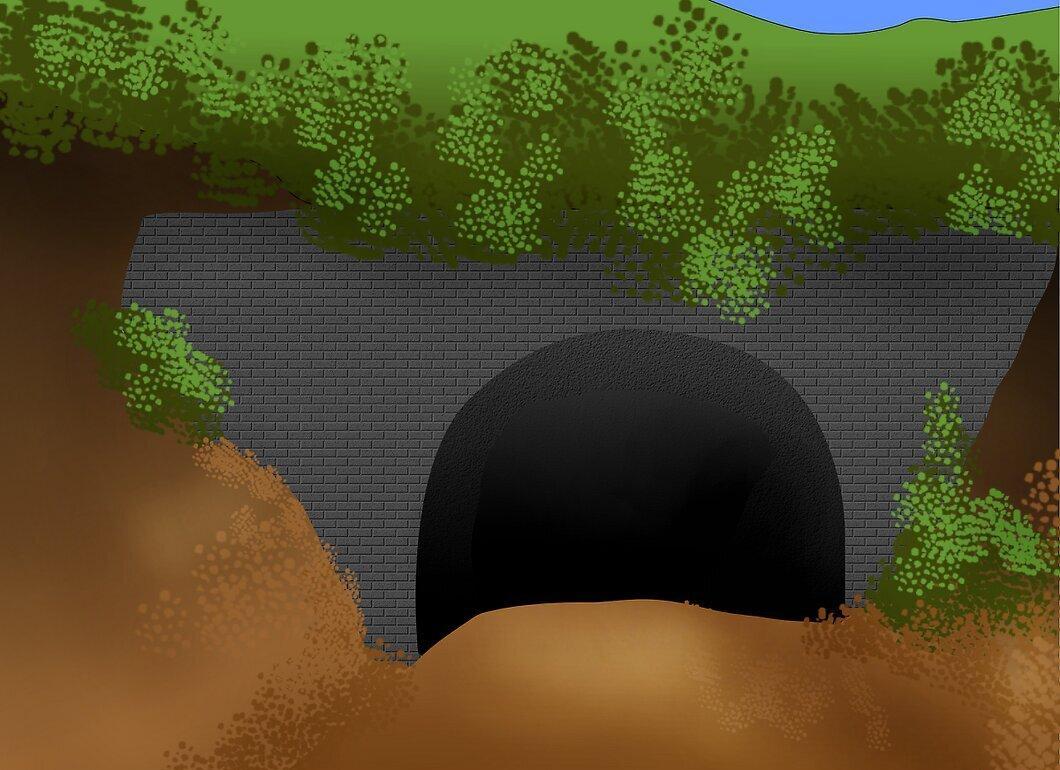
It's essential to carefully consider the location where the tunnel will be laid. The choice of site affects the methodology and equipment to be used. Tunnels can be classified into three types:
- Soft Ground Tunnels. These require additional reinforcement to prevent collapses and are typically shallow. They are most often used for subways, water supply, and sewage systems.
- Hard Rock Tunnels. These structures usually do not require significant reinforcement, and in most cases, none at all. Such tunnels are built for roadways and railways.
- Underwater Tunnels. These tunnels are constructed beneath the beds of rivers, lakes, and canals; a notable example is the Eurotunnel under the English Channel. Building underwater tunnels is the most complex, as it requires water diversion during both construction and operation.
- Urban Tunnels. Constructing tunnels beneath cities also presents many challenges, as the weight of buildings can cause soil settlement above the tunnel. Understanding the geology of the area helps predict settlement levels and minimize them.
Step 2. Analyze the Tunnel Route.
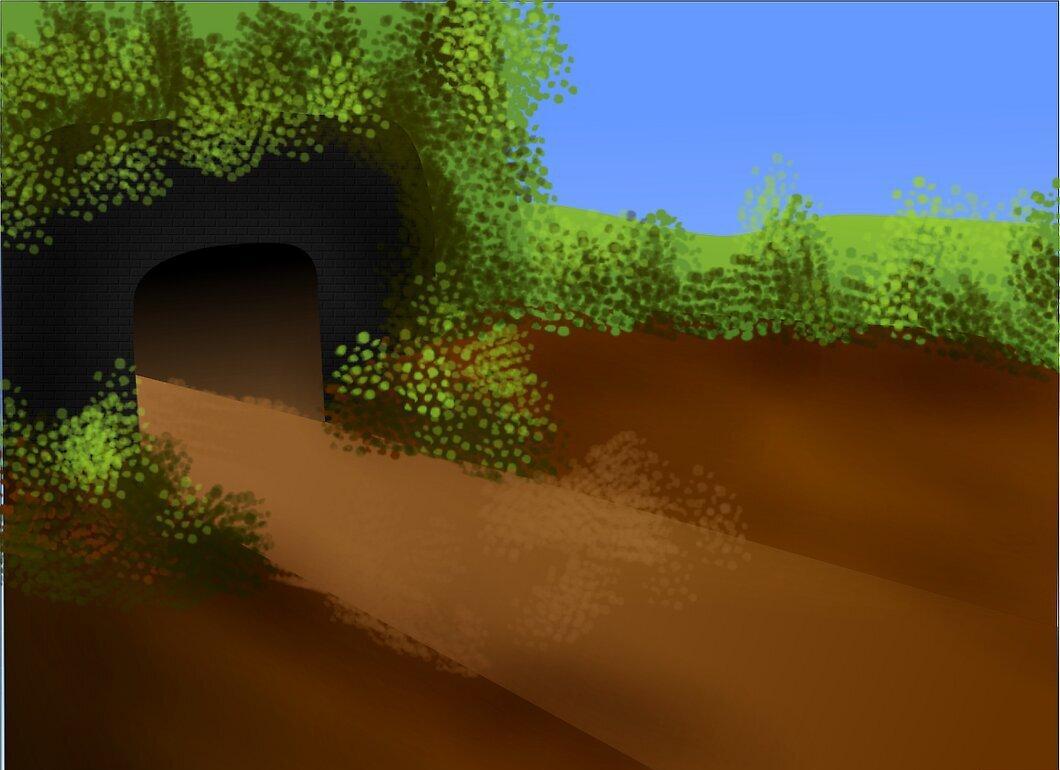
It is important to analyze the route of the future tunnel. Straight and long tunnels are easier to construct using a tunnel boring machine, while curved tunnels require more complex solutions.
- For short tunnels, using a boring machine is impractical due to high costs.
- The need for bits of various diameters also complicates operations, as changing the bit slows down the process.
- Using a boring machine is not cost-effective if the tunnel includes bends or branches.
Step 3. Define the Purpose of the Tunnel.
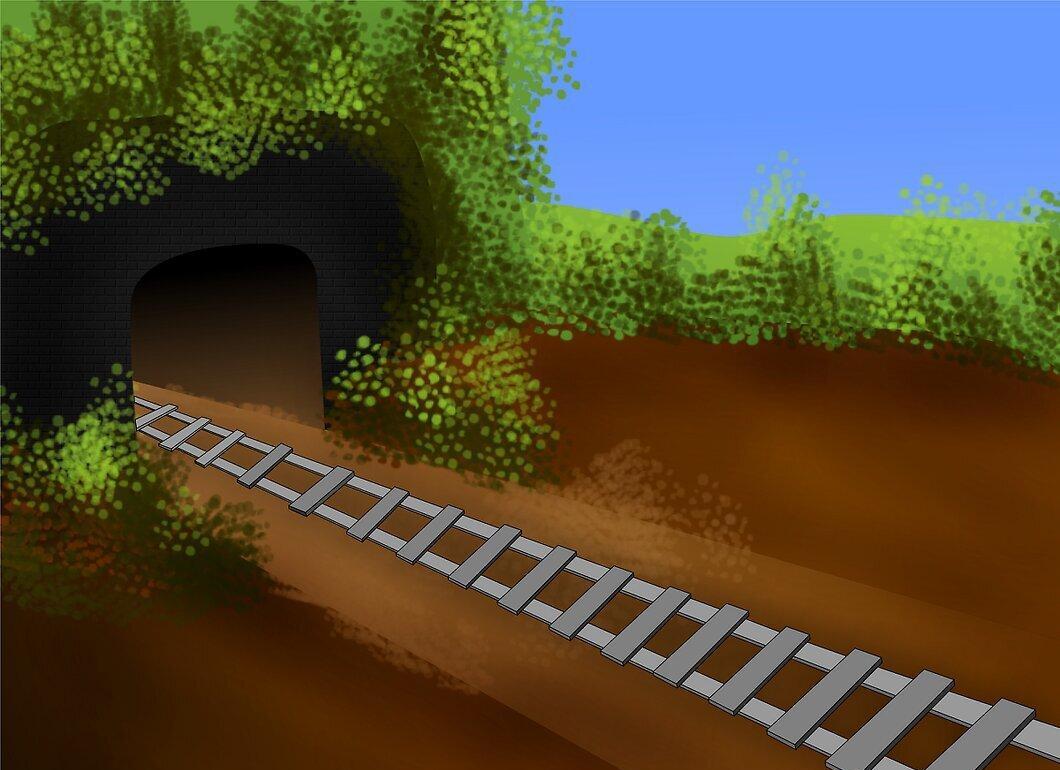
It's crucial to consider the tunnel's intended use, as this affects additional work that must be done after construction.
- If the tunnel is intended for passenger vehicles, a ventilation system will be necessary. In road tunnels, this involves a network of ventilation shafts to remove carbon monoxide, while in railway tunnels, forced ventilation is needed to vent exhaust gases. A smoke extraction system is also required in case of fire.
- In actively used tunnels, such as the Big Dig in Boston, management centers with cameras may be installed to monitor traffic and prevent emergencies.
- Long road tunnels, such as the Lefortovo Tunnel in Moscow, are often equipped with suspended lights for driver convenience. In some cases, tunnels are designed with openings for sunlight (e.g., the Eisenhower Tunnel in Colorado, USA).
- Some tunnels, like the Queensway between Liverpool and Birkenhead or the Lion Rock Tunnel in Hong Kong, combine roadways with water and sewage pipes, as well as cables. The SMART tunnel in Malaysia serves multiple purposes, including flood prevention.
Trench Excavation and Lining Installation
Step 1. Excavate the Trench.
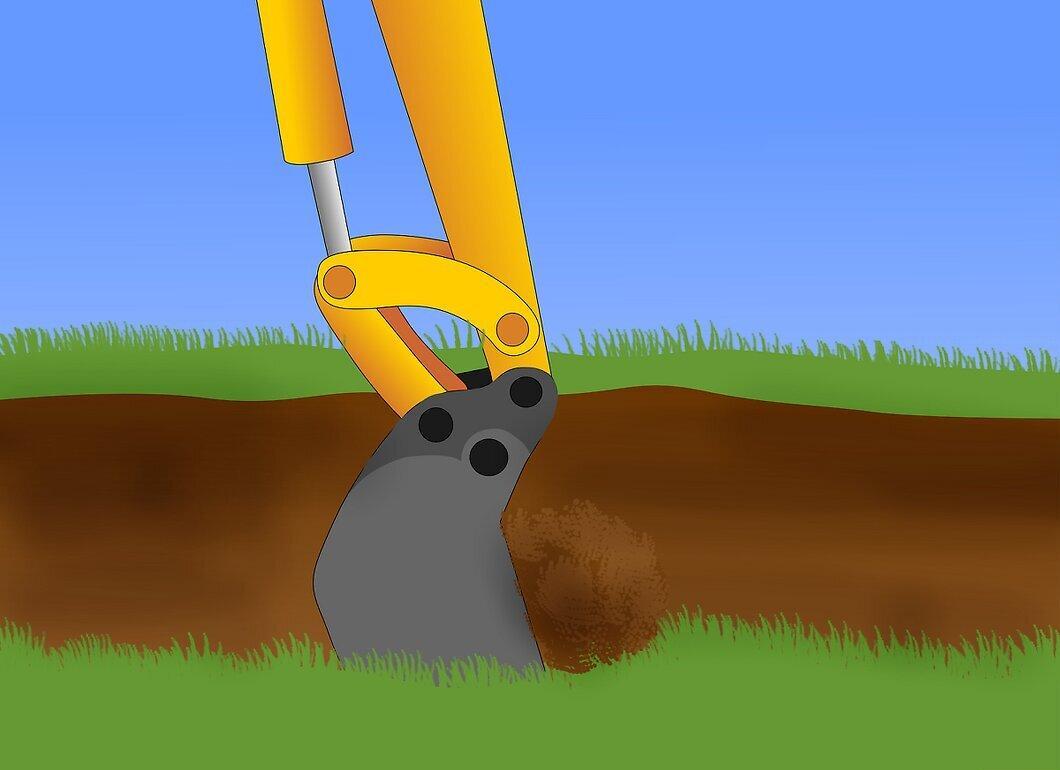
Start by excavating the trench. You need to remove soil from the area where the tunnel will be built, after which the roof is formed. There are two main methods for creating tunnels:
- Bottom-Up: A support structure is created first, followed by the tunnel itself.
- Top-Down: The walls and roof of the tunnel are built at the surface, and then the tunnel is excavated beneath them.
- Both methods are most commonly used for shallow tunnels, although the top-down method allows for deeper constructions. Deeper tunnels can be built using a tunnel shield—a device resembling a box with cutters that carve into the rock. The shield gradually advances as the soil is removed.
Step 2. Form the Tunnel Walls and Roof.
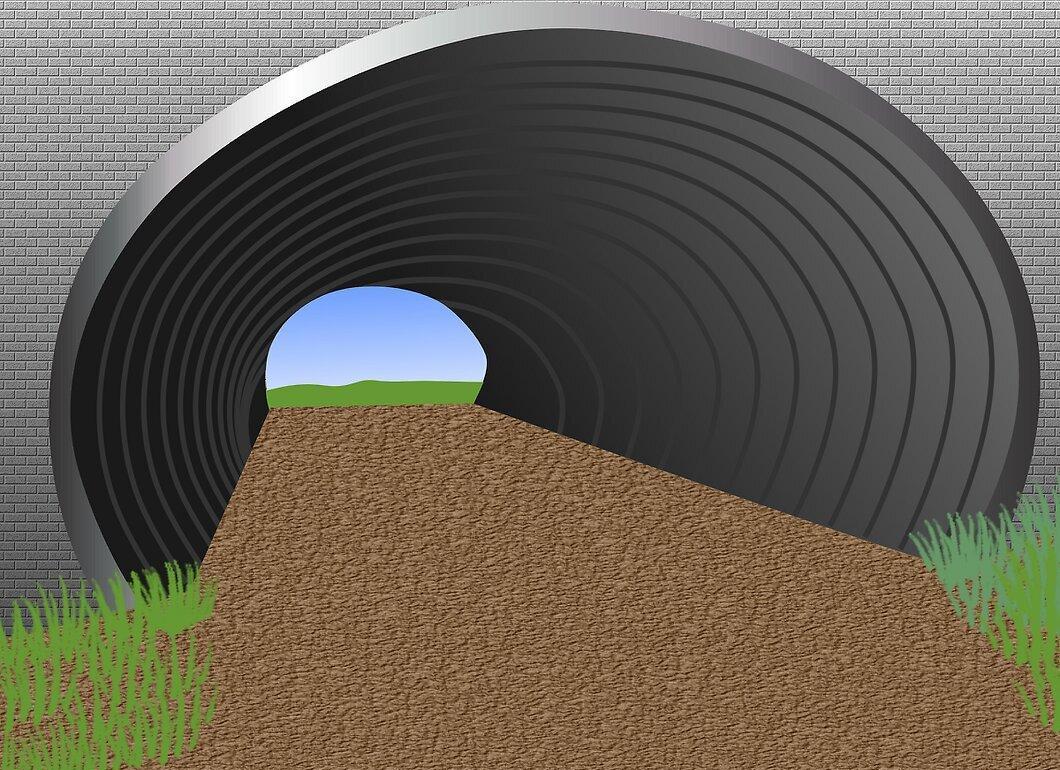
Creating the walls and roof can be done after excavating the tunnel or in advance to be installed in the completed tunnel. Materials used may include:
- Corrugated steel arches.
- Precast concrete arches.
- Cast-in-place concrete walls.
- Sprayed or powdered concrete, which is often used in conjunction with precast arches.
Step 3. Complete the Tunnel.
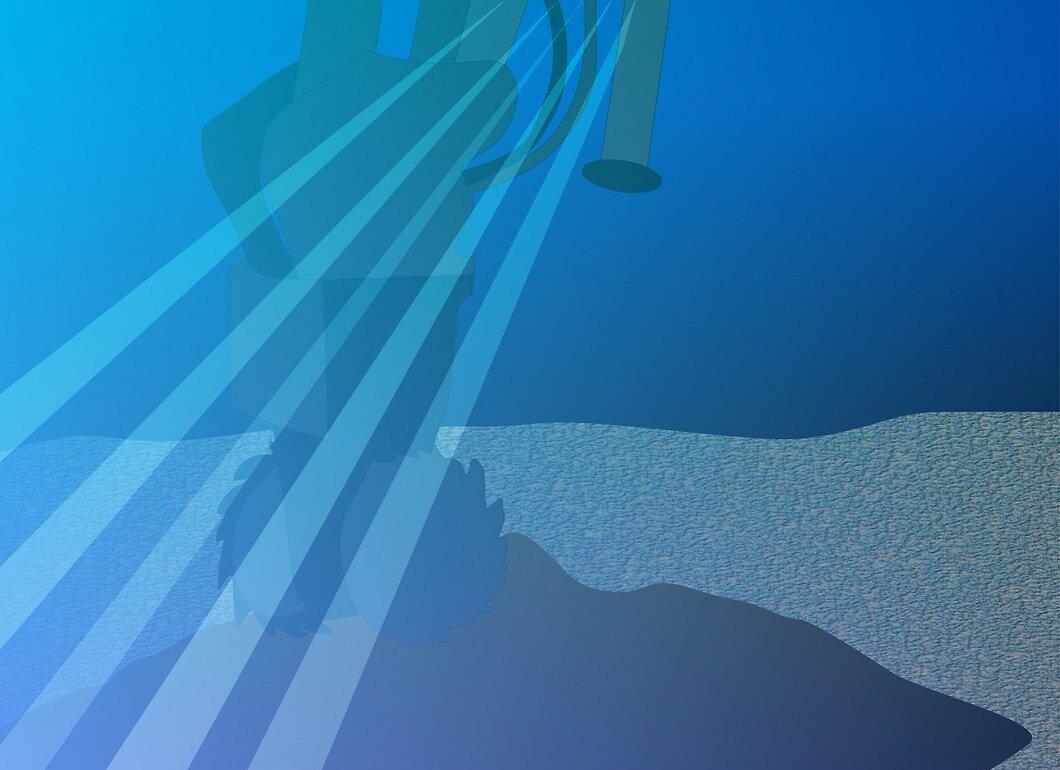
The final stage depends on the chosen construction method (bottom-up or top-down).
- Tunnels built using the bottom-up method require supports to ensure the stability of the walls and roof under the pressure from above.
- Tunnels constructed using the top-down method are excavated beneath the ground that serves as walls, in which case a durable slab floor must be laid.
Sinking Sections Tunnel
Step 1. Excavate the Trench for the Tunnel.
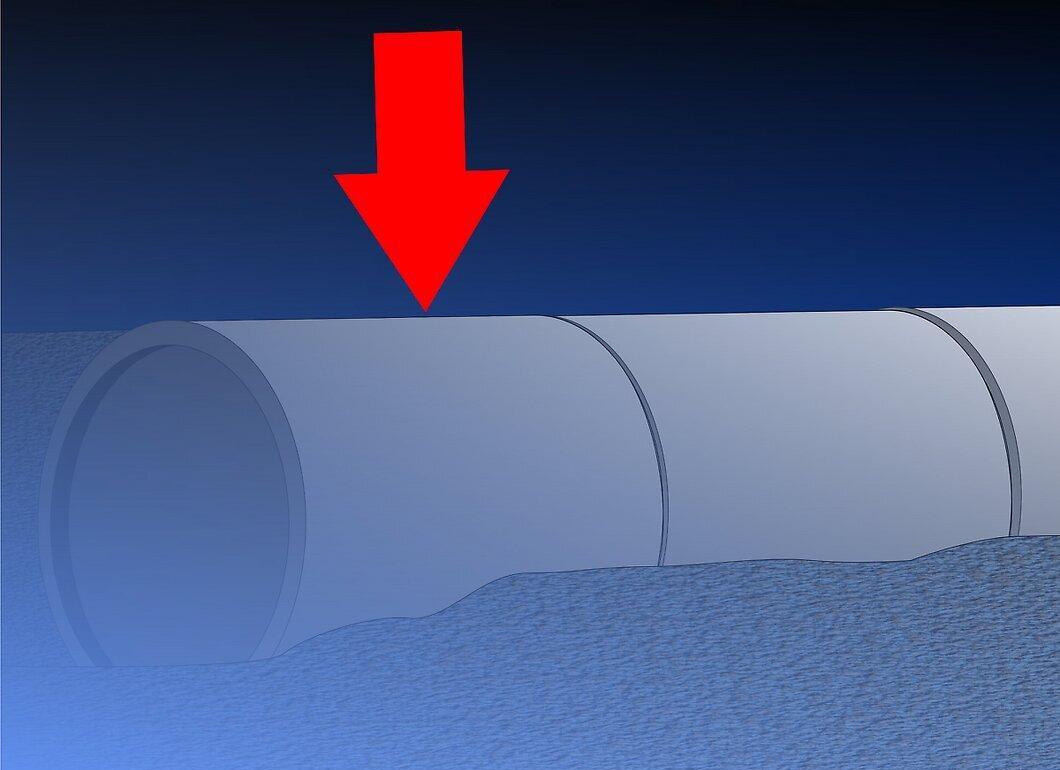
Begin by excavating a trench at the location where the tunnel will be located. This method resembles the previous one but is intended for underwater tunnels. Excavate a trench along the entire route the tunnel will take.
Step 2. Place Steel Pipes in the Trench.
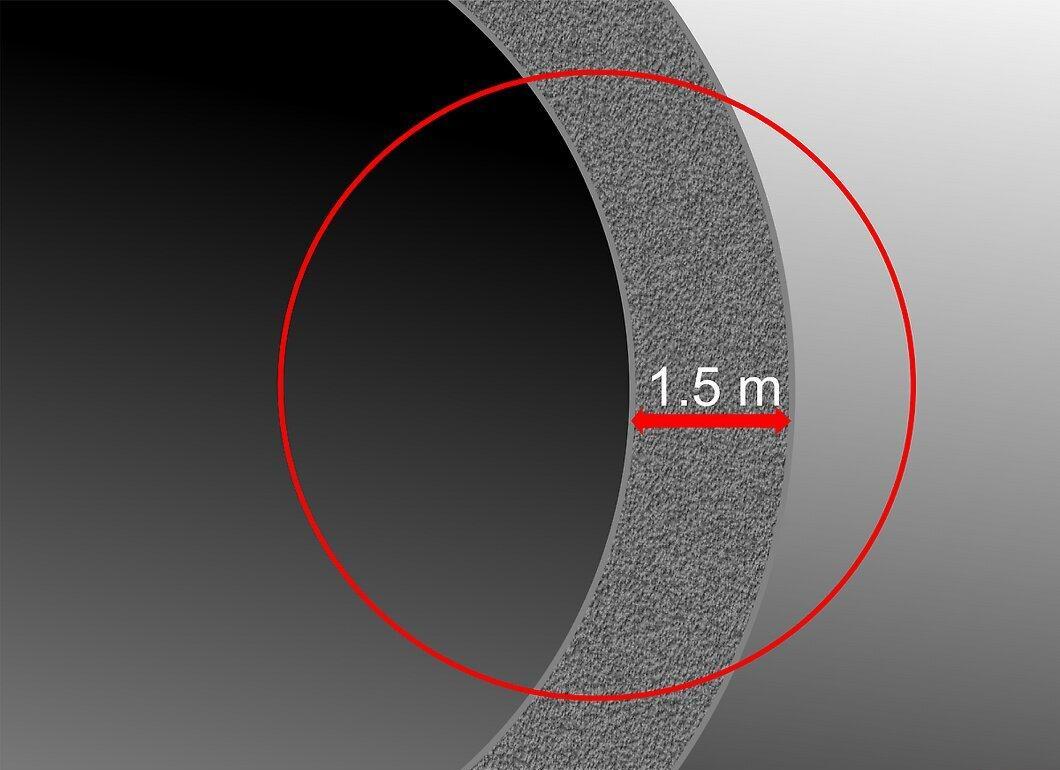
Install steel pipes in the excavated trench. They should be sealed at the ends to prevent water ingress. For tunnels intended for vehicular traffic, the pipes should contain pre-prepared road surfaces.
Step 3. Fill the Pipes to Prevent Deformation.
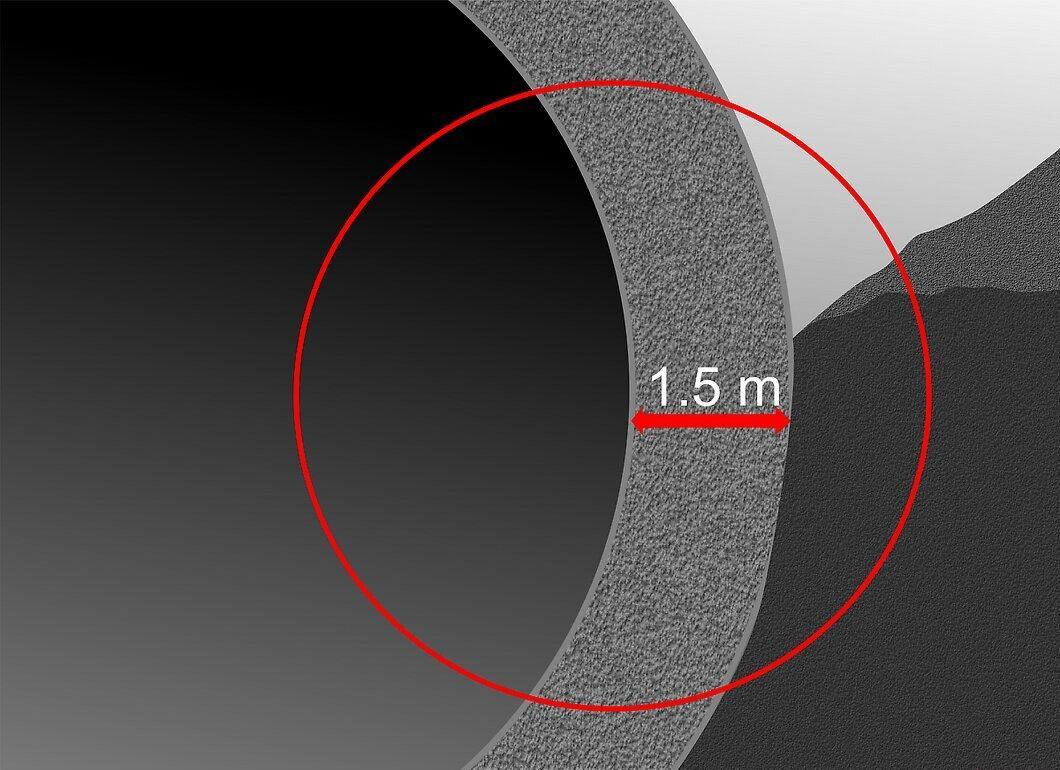
Fill the pipes with material that will prevent deformation under water pressure. For example, during the construction of the Ted Williams Tunnel in Boston, the pipes were filled with rocks measuring one and a half meters.
Step 4. Remove the Caps from the Pipe Ends and Connect Them.
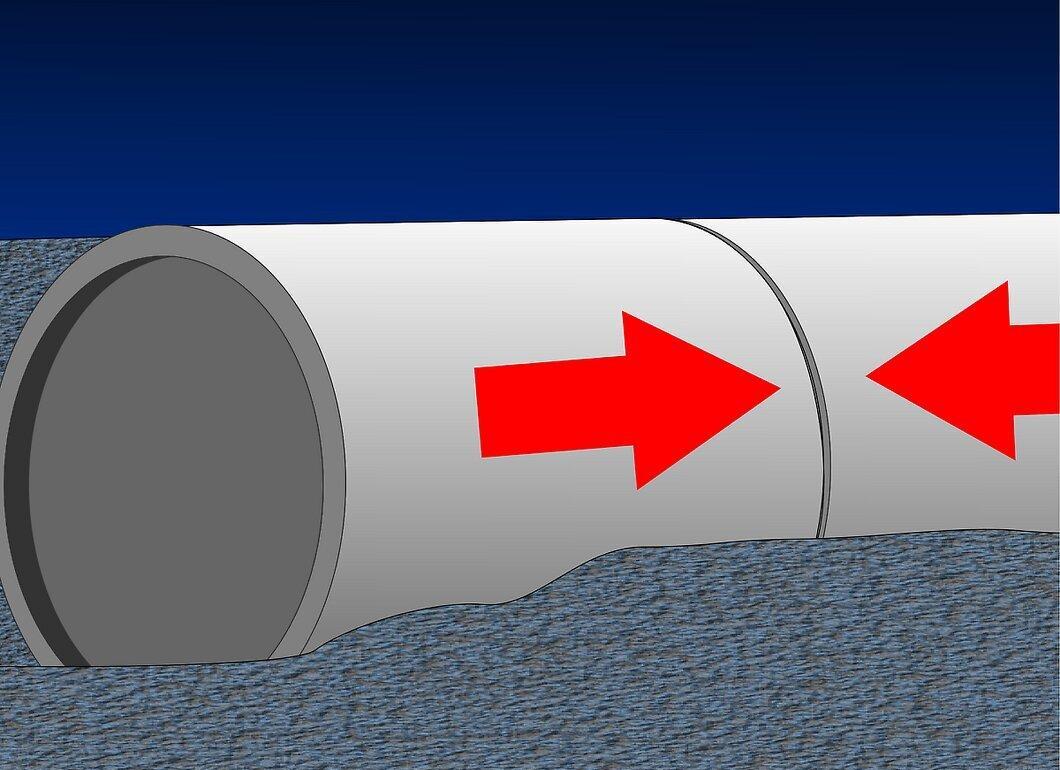
After removing the caps from the ends of the pipes, connect them together. It's also necessary to join the pre-prepared segments of the roadway or railway located inside the pipes.
Using a Tunnel Boring Machine
Step 1. Choose the Right Boring Machine.
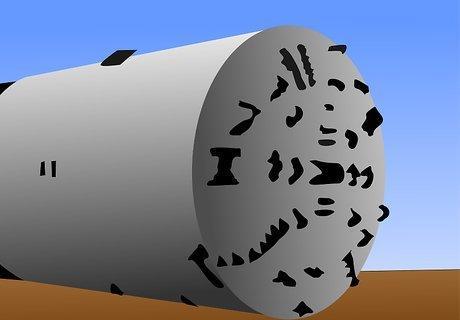
Select a boring machine that suits your needs. Tunnel boring machines, also known as tunnel shields or "moles," have rounded cutters at the front. These cutters penetrate the rock, and soil pieces pass through openings at the front of the shield onto a conveyor belt that carries them away from the machine.
- The type of machine used depends on the type of rock the tunnel will pass through: soft, wet, or rocky. The diameter of the boring shields varies; for instance, the shield from Aker Wirth used for the construction of the Lint-Limmern power station in Switzerland had a cross-section of 8.03 m (26.3 ft), while the diameter of the "Big Bertha" shield from Hitachi Zosen is 17.5 m (57.5 ft).
- For underwater tunneling, machines are additionally equipped with chambers to create pressure in the rock.
- For large-scale projects, multiple boring machines may operate simultaneously. For example, 11 setups were used during the construction of the tunnel under the English Channel.
Step 2. Position the Machine at the Work Site.
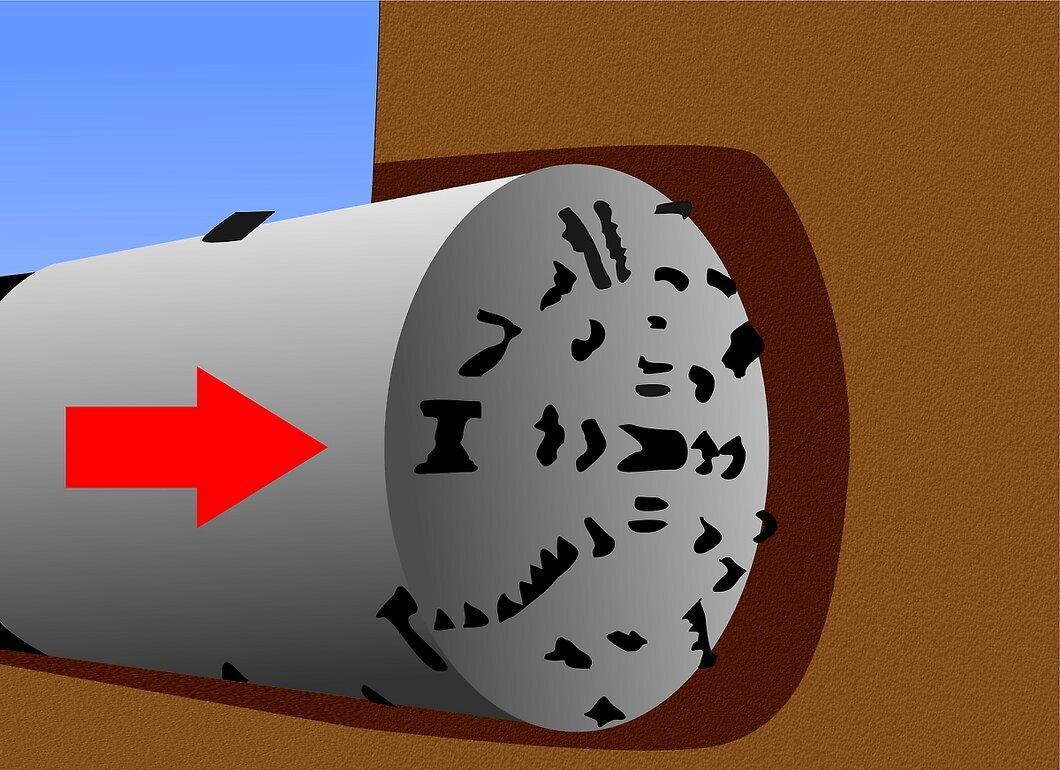
Position the machine at the site where the work will take place. When tunneling at ground level, this is relatively straightforward. For deep tunnels, an entry hole (usually circular) is typically drilled first and reinforced with concrete. The tunnel boring machine is then lowered into this hole to begin construction.
- For long tunnels, multiple entry shafts are drilled.
- After the tunnel is completed, the entry shafts can be used as ventilation holes or emergency exits. If they are not needed, they can simply be left.
Step 3. Install Supports as the Tunnel is Built.

As the tunnel is being constructed, install supports within it. Cast concrete rings can be used as supports, placed behind the boring machine at regular intervals.
Step 4. Spray the Walls with Concrete Mixture Between Rings.
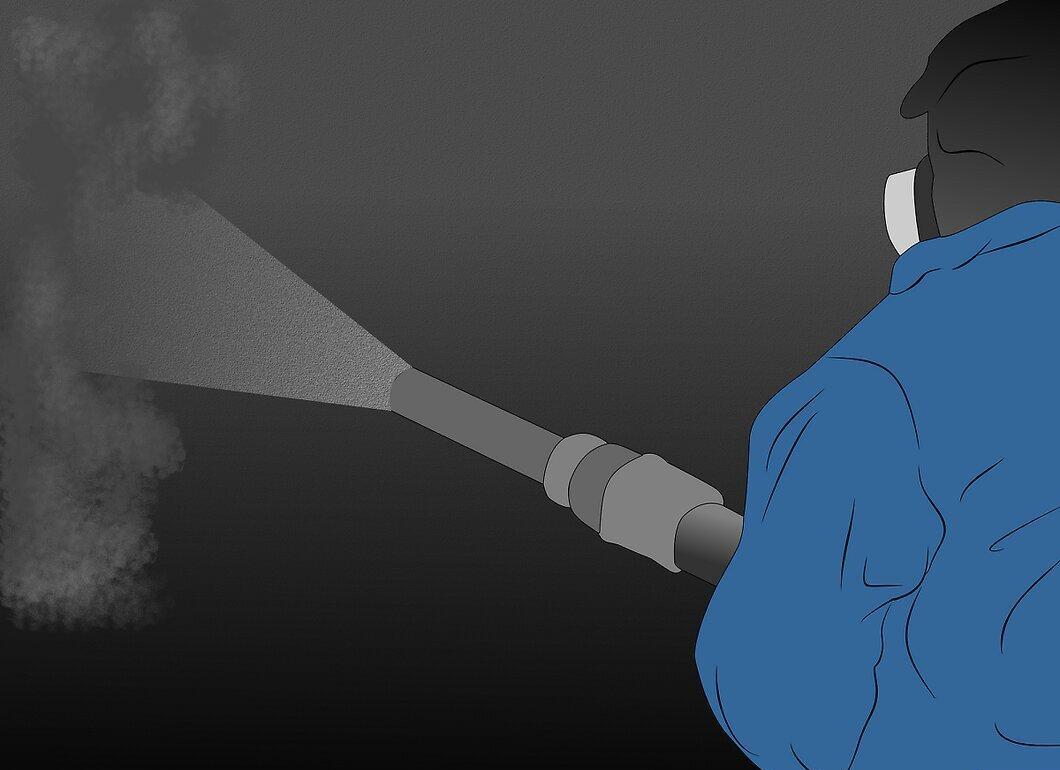
Spray the walls between the rings with concrete mixture. Shotcrete allows for the strengthening of tunnel structures. For added strength, steel or polypropylene fibers are often added to the shotcrete, making it similar to reinforced concrete. Shotcrete also contains catalysts that improve its adhesion to the walls and speed up curing.


