
Once you master the art of crafting speaker enclosures, you can create designs that deliver the sound quality you desire. A standard enclosure design for dual speakers involves a sealed vented box. This article outlines how to construct a sealed enclosure that separates sound waves from the front and rear of the speakers to enhance bass performance.
Part 1
Step 1: Determine the Size of the Speaker Enclosure.
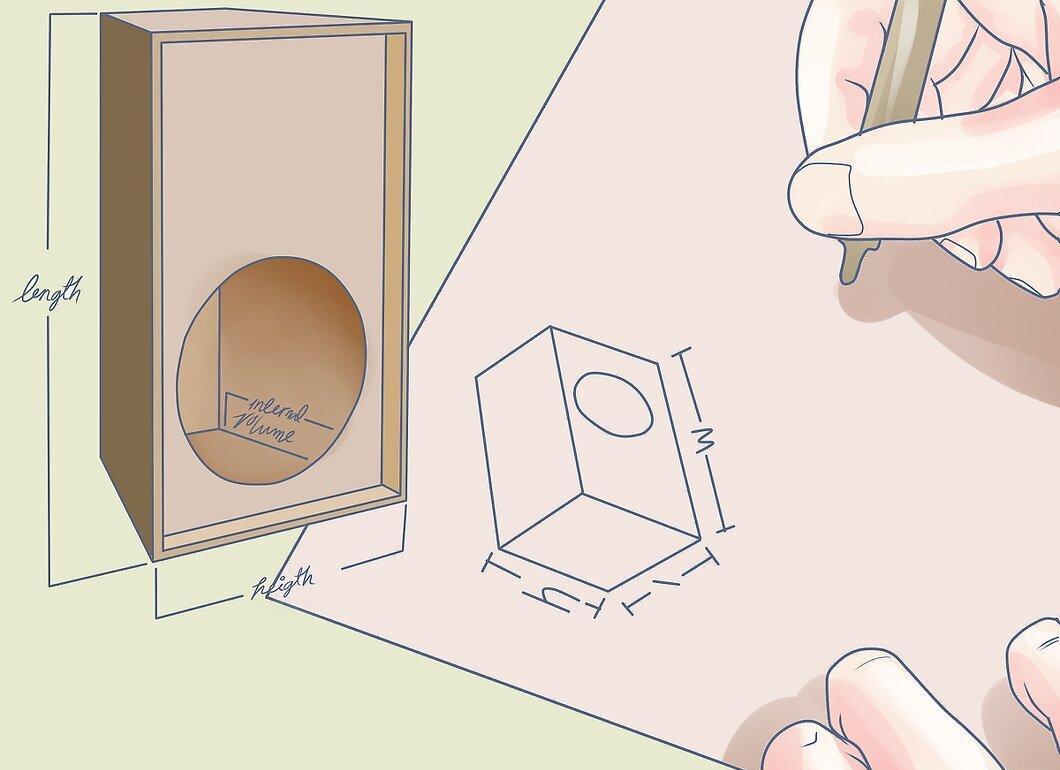
Determine the size of the speaker enclosure. Measure the depth of the speaker and add 2 inches (5 cm). Use the height and width of the speaker as the internal height and width of the enclosure. Multiply the depth by the height and width to find the internal volume.
- To find the dimensions of the speaker, refer to its template. Templates and additional documentation should come with the speakers. If a template was not included, contact the manufacturer or measure the speaker yourself:
Step 2: Check if the Internal Volume Matches the Manufacturer's Recommendations.
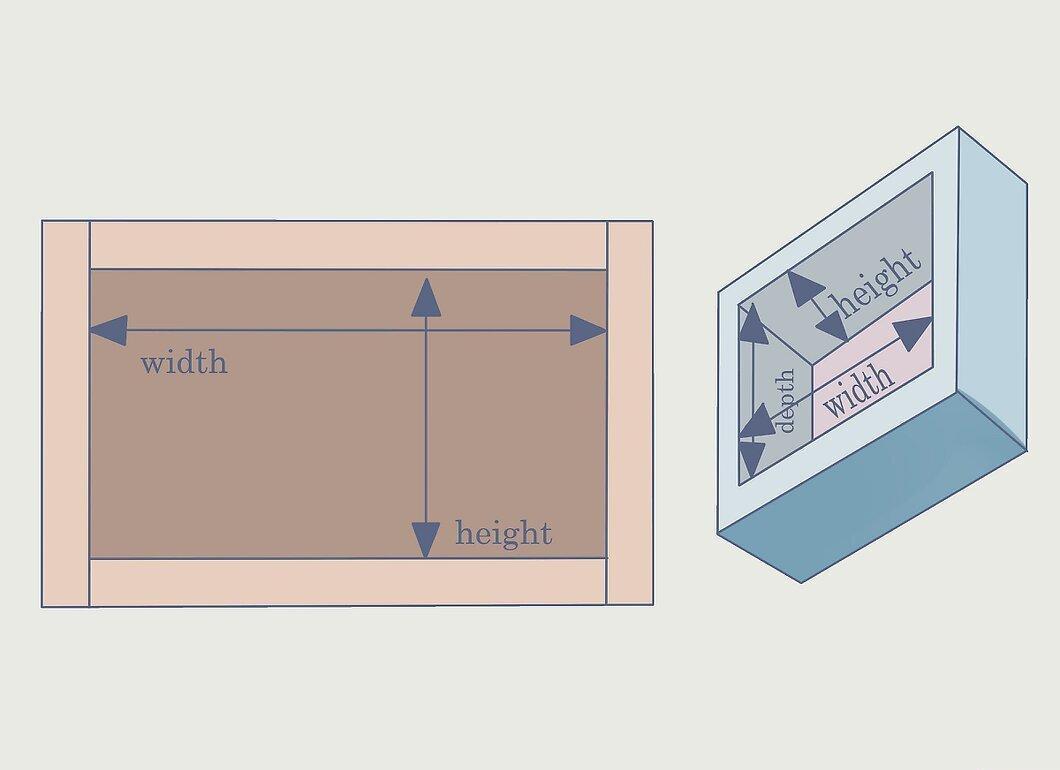
- Adjust the dimensions as needed until you reach the desired values.
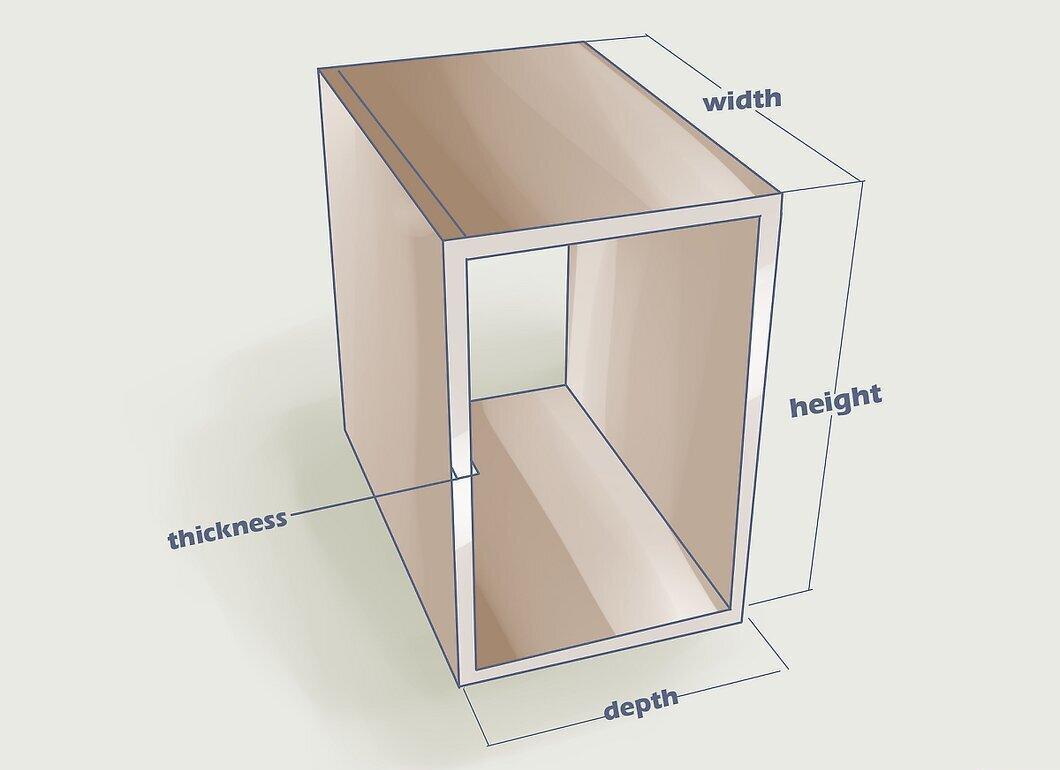
Step 3: Add the Wood Thickness to Calculate the External Dimensions of the Enclosure.
Step 4: Measure the Available Space for the Speaker Enclosure.
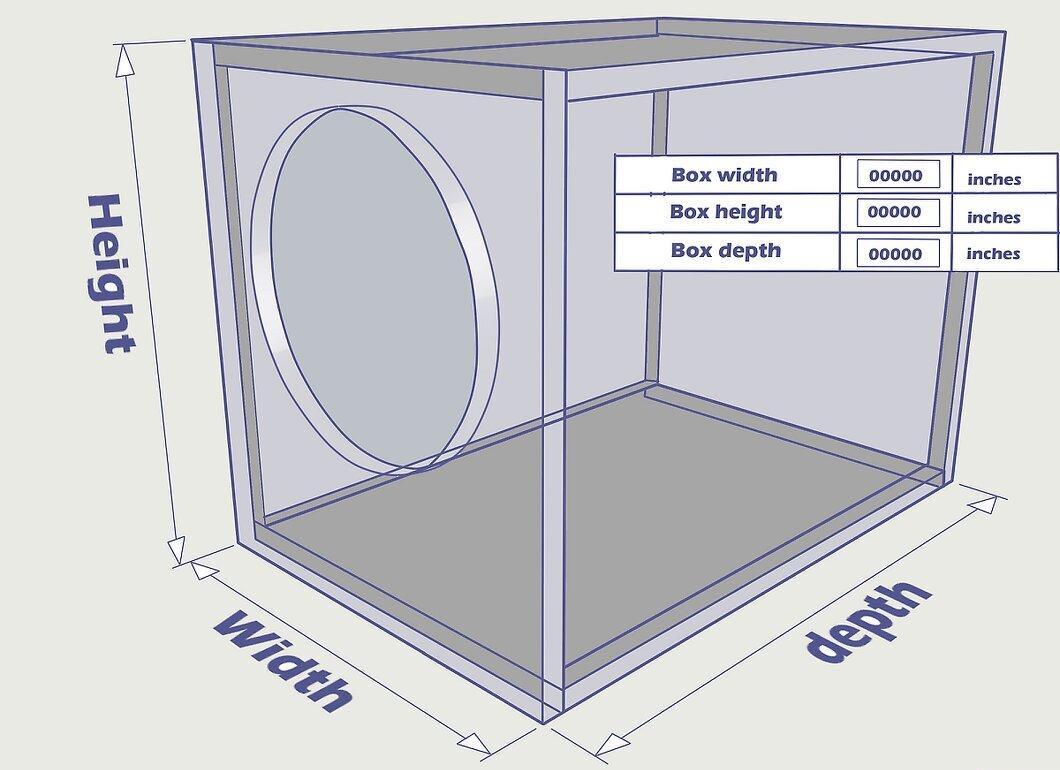
- Measure the height, width, and depth of the available space where the enclosure will be installed to ensure it fits without issues.
Step 5: Construct the Speaker Enclosure.
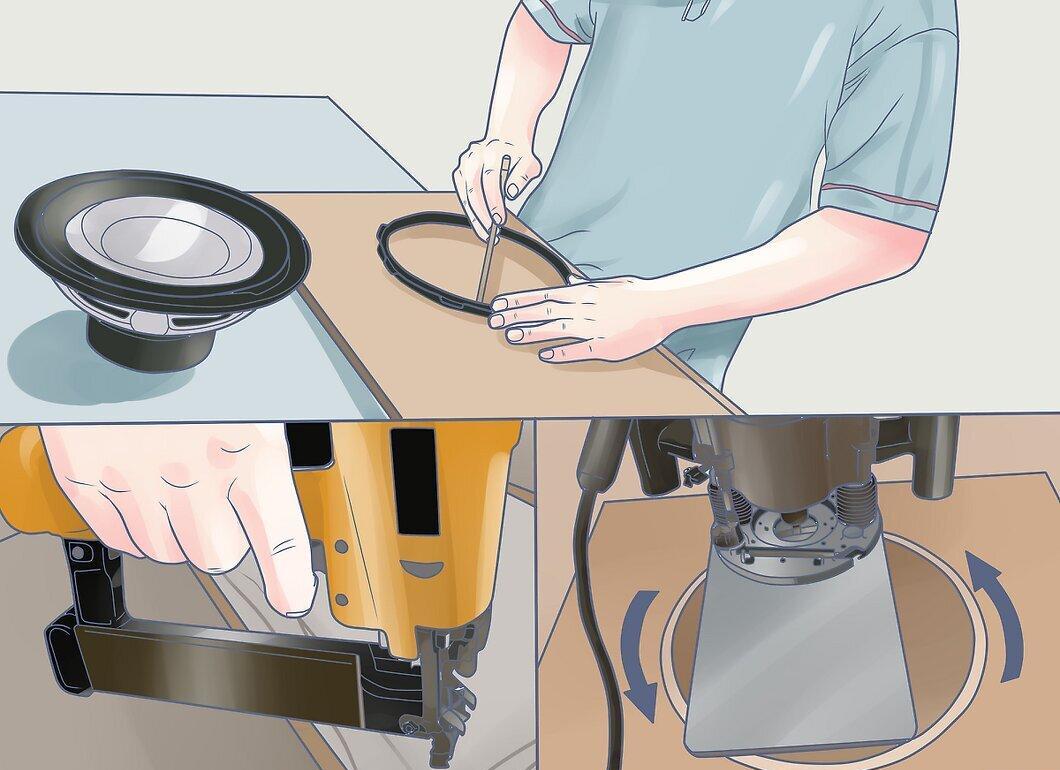
Construct the speaker enclosure. Use a jigsaw to cut the enclosure parts. Use a router to create round holes. Sand down any sharp corners.
- Draw the template on MDF (Medium-Density Fiberboard) from the outer side of the enclosure. Also, mark the round holes for the speakers and connectors. Necessary dimensions can be found on the speaker template. If there is no template, outline the front of the speaker on the front of the enclosure and make 2-inch (5 cm) holes on the back for the connectors.
Step 6: Assemble the Enclosure Using 1-inch (2.5 cm) Wooden Strips.
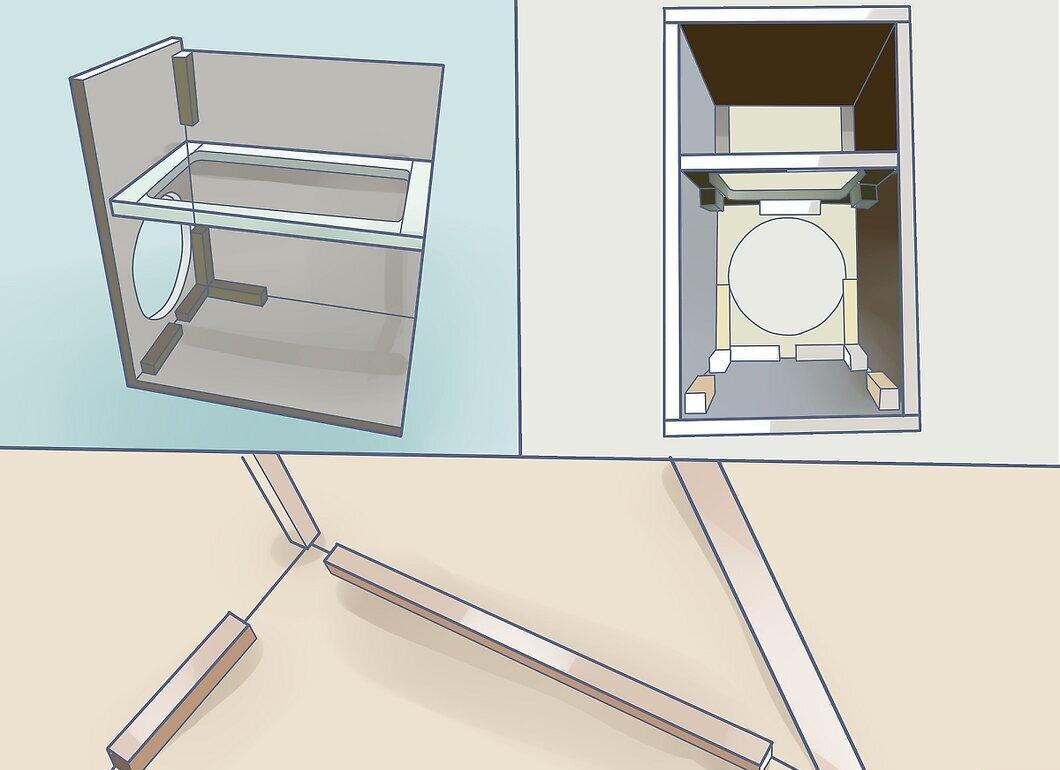
- Cover 60 percent of each inner corner with the wooden strips.
- Screw the strip to the MDF.
Step 7: Align the Cut Pieces to Ensure They Are Identical.
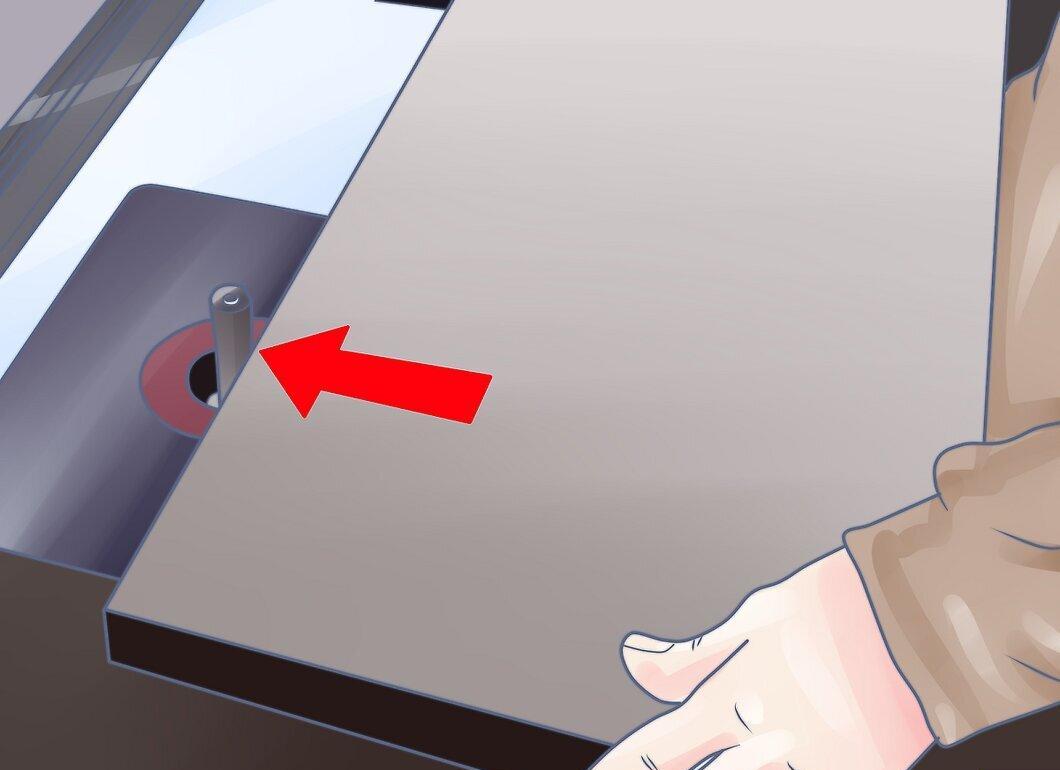
Step 8: Pre-drill All Holes and Apply a Small Amount of Glue at the Joints When Assembling the Enclosure.
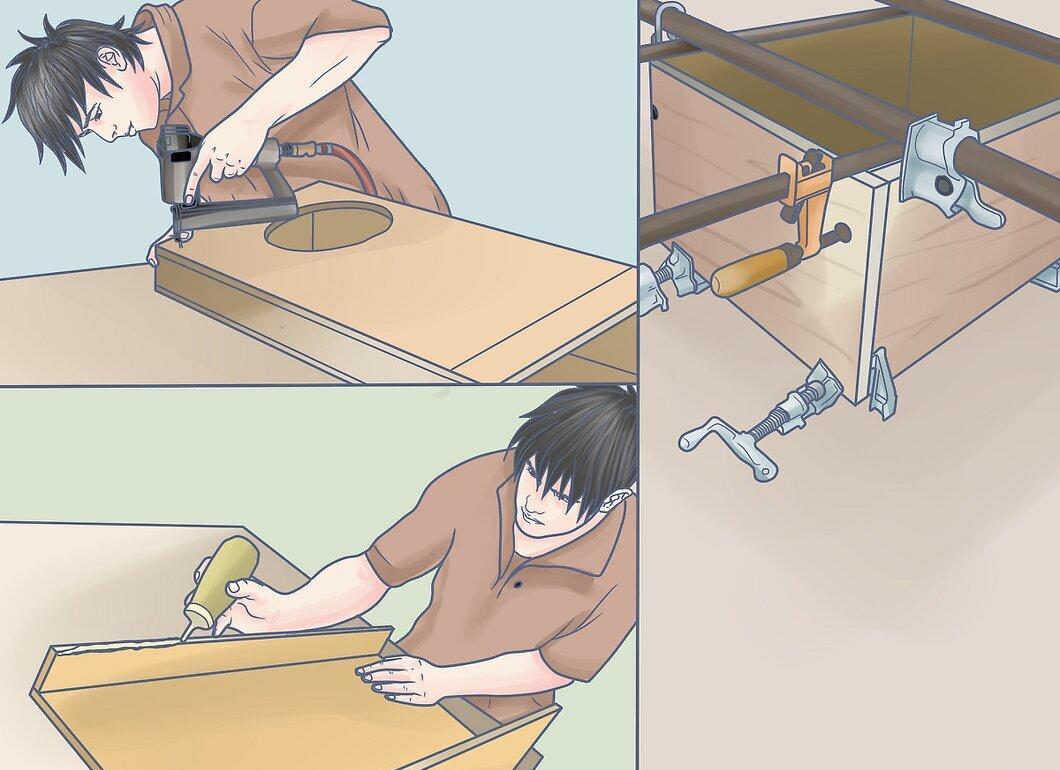
- Use furniture clamps to keep the enclosure parts level.
Step 9: Place the Speakers in the Enclosure to Check the Fit.
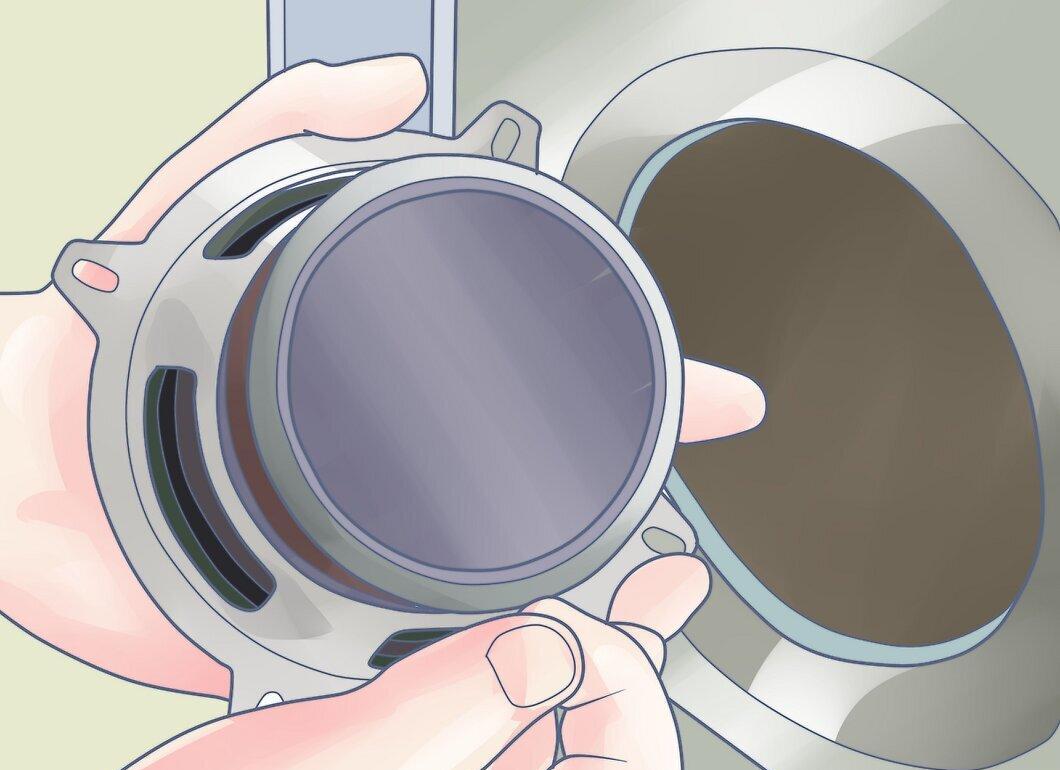
Step 10: While the Speakers Are in the Enclosure, Mark Where to Drill Holes for Mounting.
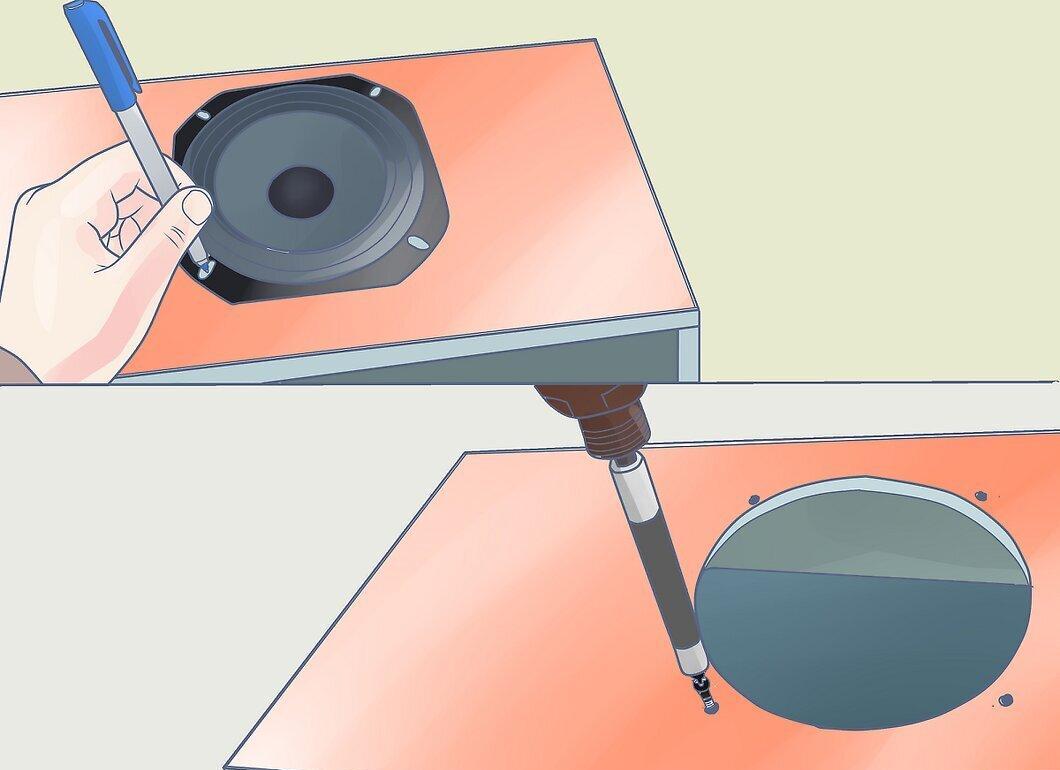
- Remove the speaker and drill holes in the marked spots.
- Wait for the glue to dry.
Step 11: Apply Silicone Sealant to Internal Joints and Holes to Make the Enclosure Airtight.
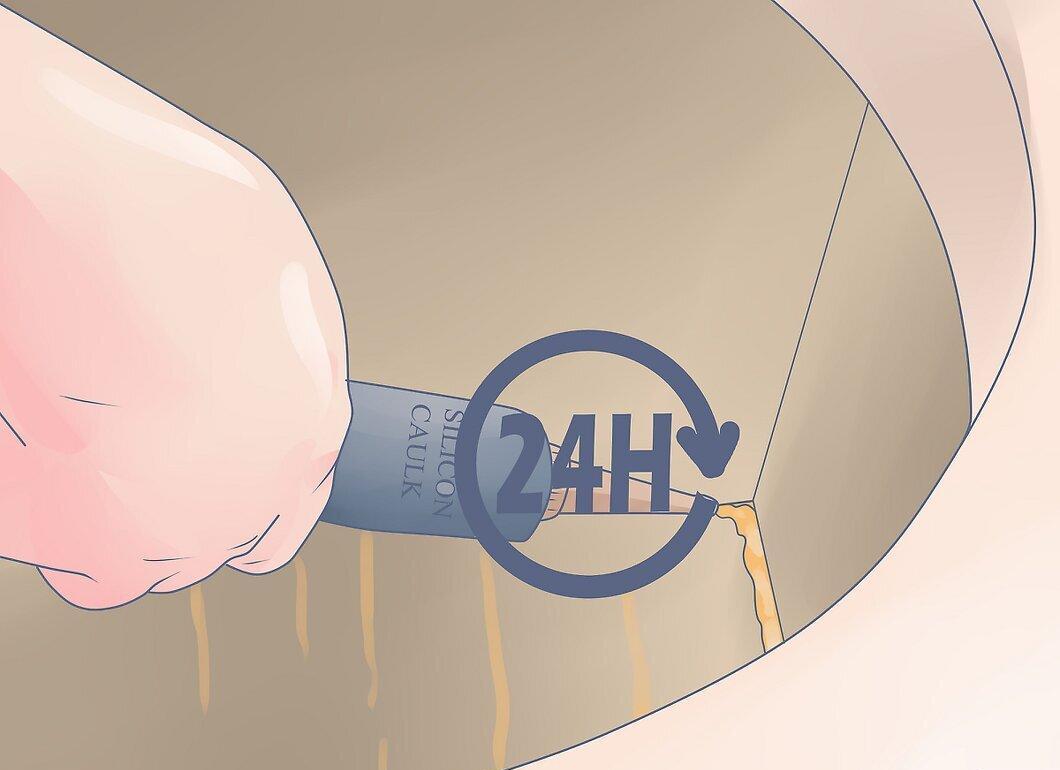
- Allow the enclosure to sit for 12-24 hours until the silicone sealant dries.
Step 12: Complete the Assembly of the Speaker Enclosure.
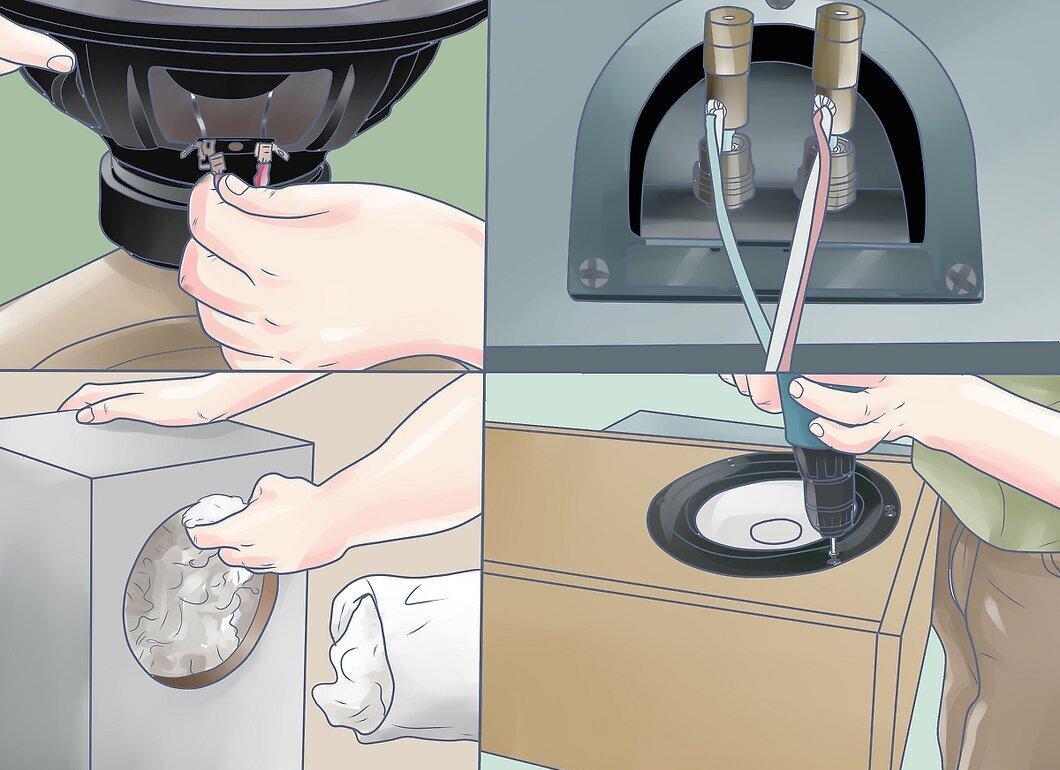
- Connect the speaker wires.
- To minimize resonance, cover the back, top, and bottom of the enclosure with a 1-inch (2.5 cm) layer of polyester fiber.
- Insert the speakers and connect them to the connectors.
- Screw the speakers into the enclosure to secure them.
- To ensure the enclosure is airtight, seal all gaps with silicone sealant.
- Wait 12 to 24 hours for the silicone sealant to dry.


