
If you have the "Windows 7 Starter" edition installed on your netbook, you might find it quite frustrating that you can't change the desktop image. While there's no official way to set your own picture, several methods can help you bypass this limitation. Read on to learn how to set your own image as the desktop background.
Installing Third-Party Software
Step 1. Download a wallpaper changer program.
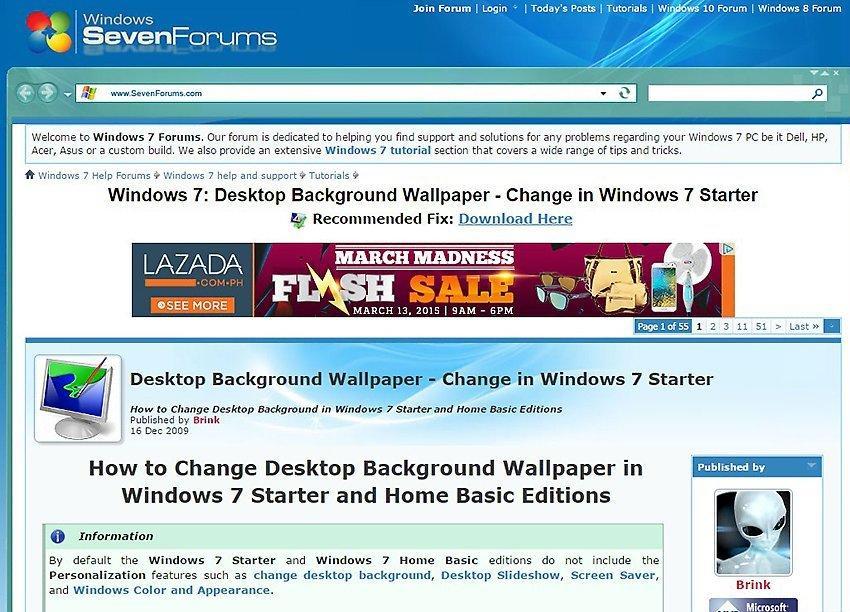
Download a wallpaper changer program. There are several different programs available online that you can download for free. One of the most popular options is Oceanis. You can download it via the link. Oceanis is a free program that contains no viruses or spyware. This method is written specifically for it.
Step 2. Extract the ZIP file.
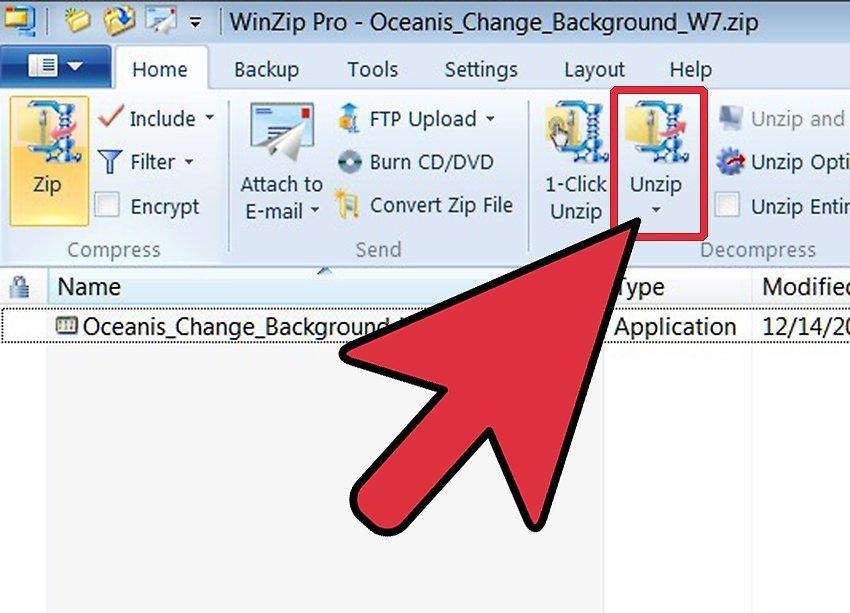
Extract the ZIP file. The .zip file you downloaded contains an .exe file. To extract it, right-click on it and select "Extract All..." You will be prompted to choose a location to extract it to. Once you extract the file, move it (Oceanis_Change_Background_W7.exe) to your desktop.
Step 3. Open the file.
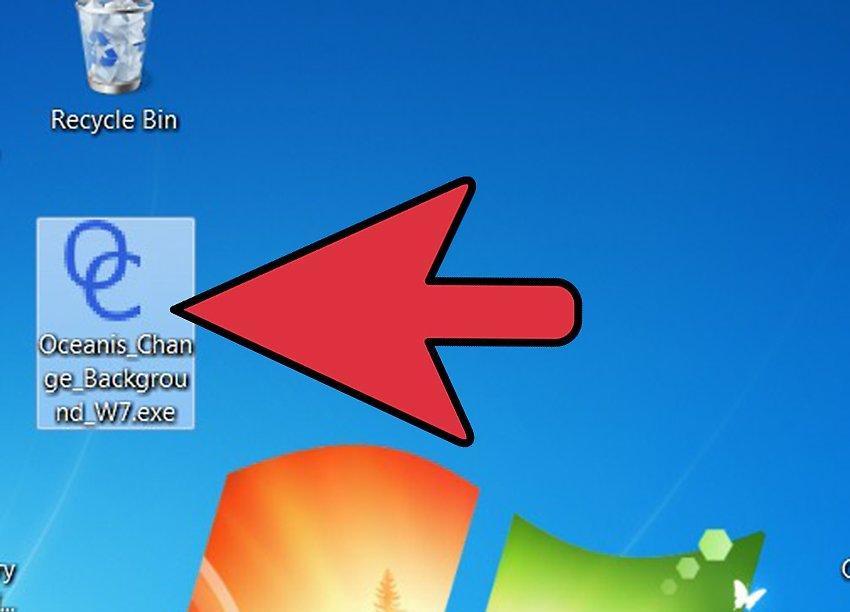
Open the file. Double-click it as soon as you move it to your desktop. Your PC will automatically restart. Once it turns back on, you will see that the default wallpaper of your netbook has been changed to the standard Oceanis image.
Step 4. Open Oceanis.
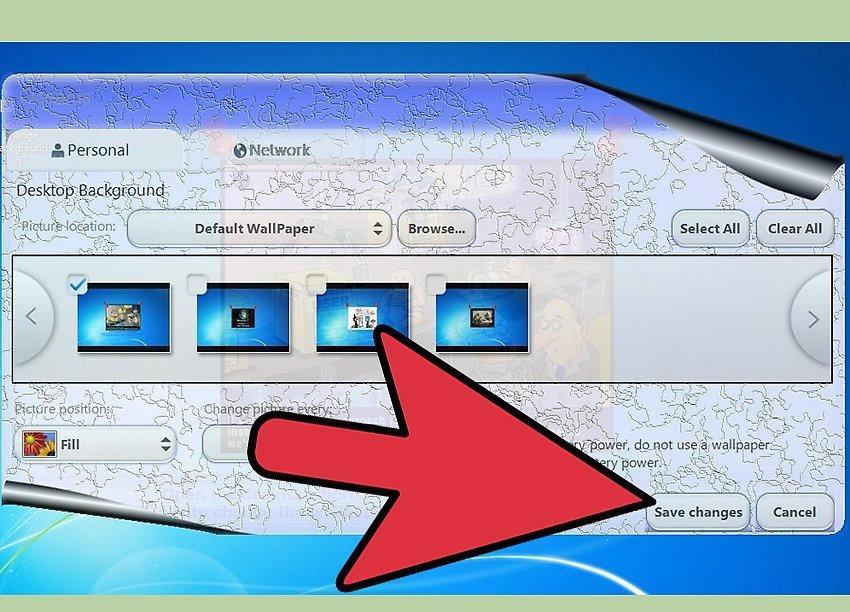
Open Oceanis. After your computer restarts, open the shortcut "Oceanis Change Background Windows 7." The Oceanis program will open, allowing you to choose a desktop wallpaper image.
- Check the box next to "Multiple images" to create a slideshow of images. You can change the wallpaper settings as desired.
Editing the Registry
Step 1. Open regedit.
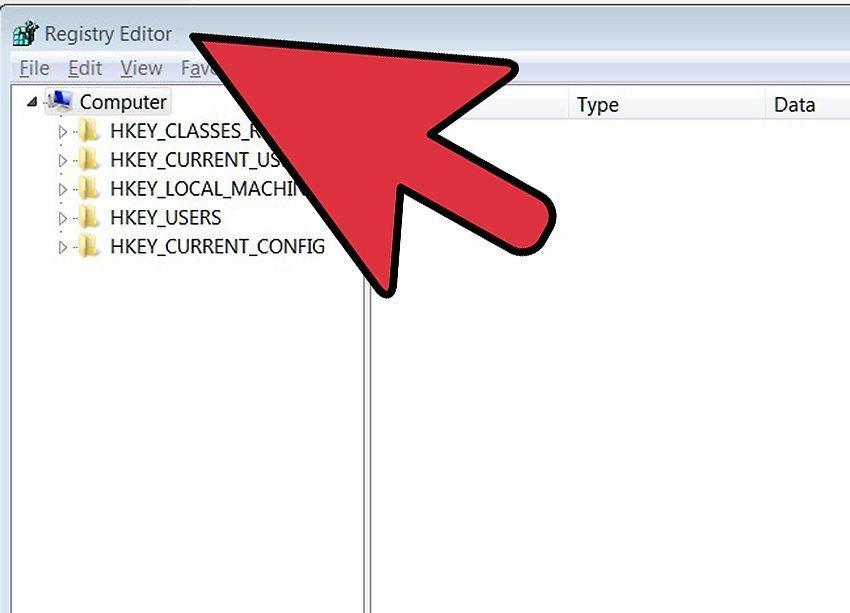
Open regedit. This program allows you to edit the Windows registry entries. Click "Start" and type "regedit" into the search box. Select regedit from the list of programs that appears.
- Be extremely careful when changing registry entries, as this may lead to incorrect functioning of your PC.
- Locate the required folder. From the left window, select the HKEY_CURRENT_USER list. From the opened list, choose "Control Panel," and then select "Desktop."
Step 2. Change the image path.
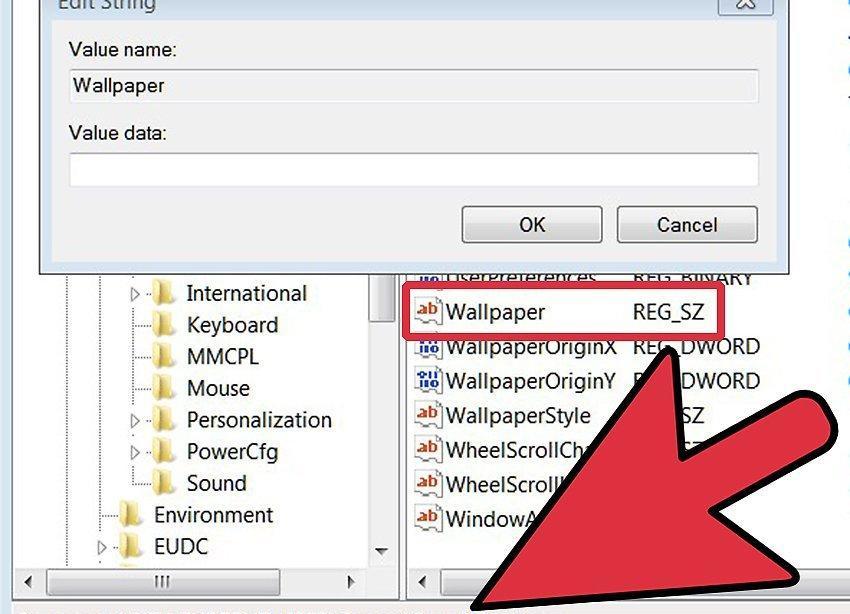
Change the image path. After selecting Desktop, find the entry labeled Wallpaper and double-click on it. In this field, enter the path to your new background image.
- Example: “C:\Users\John\Pictures\new_wallpaper.jpg”
Step 3. Change permissions.
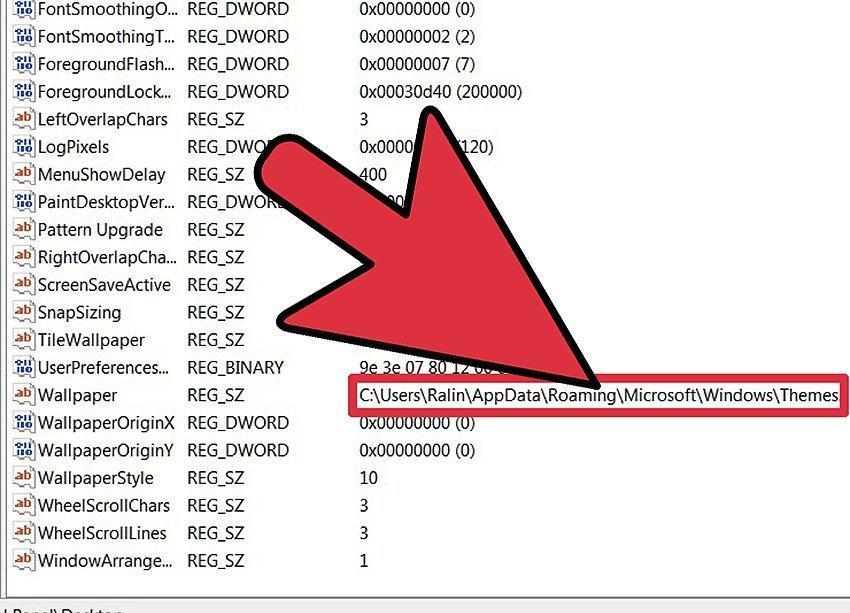
Change permissions. Right-click on the Desktop folder. Select "Permissions." Click "Advanced" and open the "Owner" tab. In the "Change owner to" window, select your name (there should only be your name and the administrator's name) and click OK.
- Click "Advanced" again. Uncheck the box that says "Include inheritable permissions from this object's parent..." In the pop-up window, click "Remove."
- Click "Add." Enter "Everyone" in the field and click OK. Allow read access and click OK. In the next window, click OK.
- Highlight the new entry "Everyone" and click "Allow Read." Click OK.
Step 4. Restart your computer.
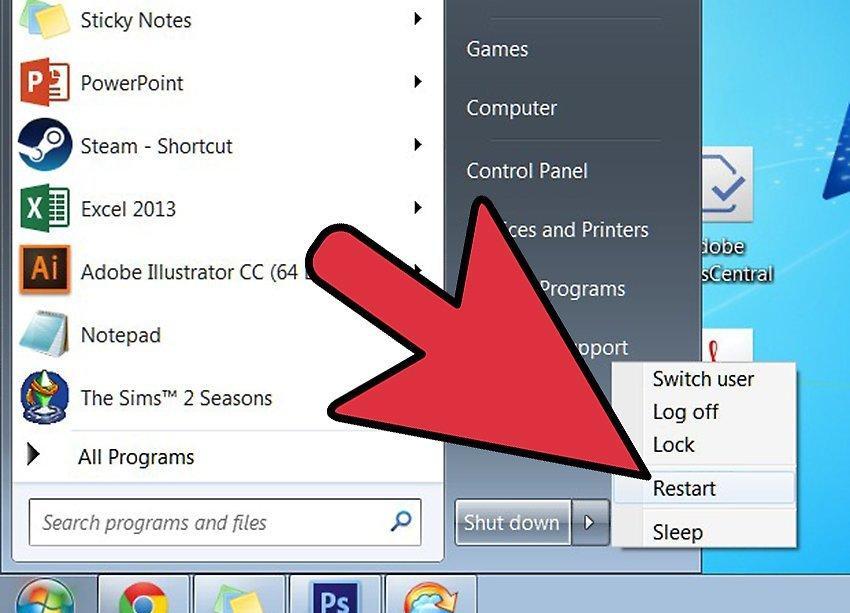
Restart your computer. Once your computer is restarted, you will see the new background image on your desktop.


