
Tired of the default cursor? Replace it with something more unique! Changing the cursor in Windows is quite straightforward, while on Mac OS, it requires a bit more effort, as this system does not support third-party cursors. You can find a multitude of cursor options online.
Windows
Step 1. Find downloadable cursors.
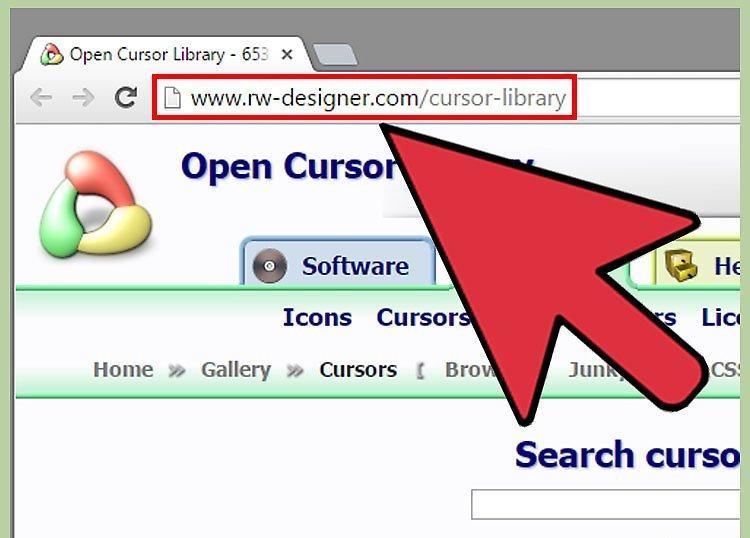
Look for downloadable cursors. There are numerous websites where you can download cursors. You can replace the default cursor with any third-party cursor. Cursors can be downloaded from the following sites:
- Open Cursor Library - rw-designer.com/cursor-library
- DeviantArt - deviantart.com/browse/all/customization/skins/windows/cursors/
- Customize.org - customize.org/cursor
Step 2. Download the cursor archive.
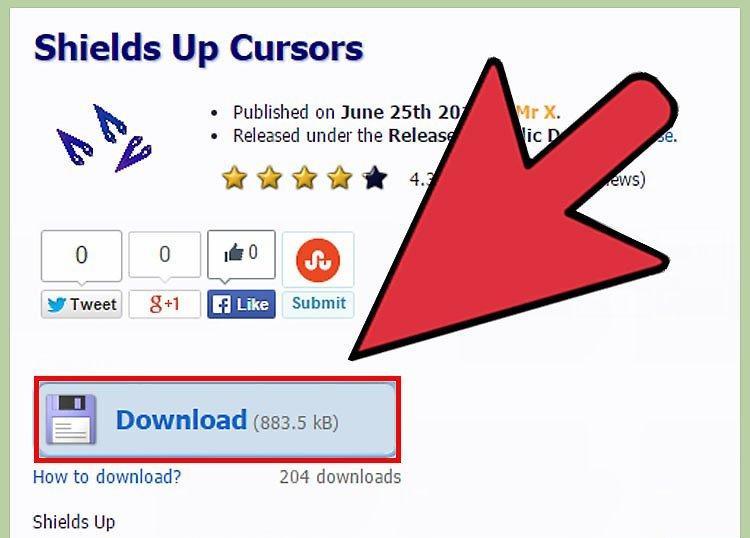
Download the cursor archive. Most of the time, cursors are downloaded as ZIP files. Never download cursors in EXE format, as this could infect your computer with malware.
- To change your cursor, downloading an archive is not mandatory – Windows comes with several pre-installed cursor options.
Step 3. Extract the downloaded archive (ZIP file).
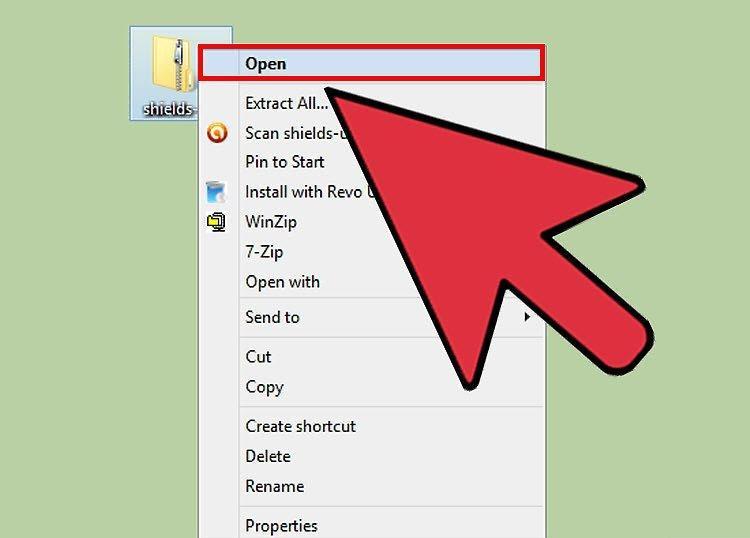
Extract the downloaded archive (ZIP file). To do this, double-click the ZIP file. Simple cursors are in CUR format, while animated ones are in ANI format.
Step 4. Open the folder.
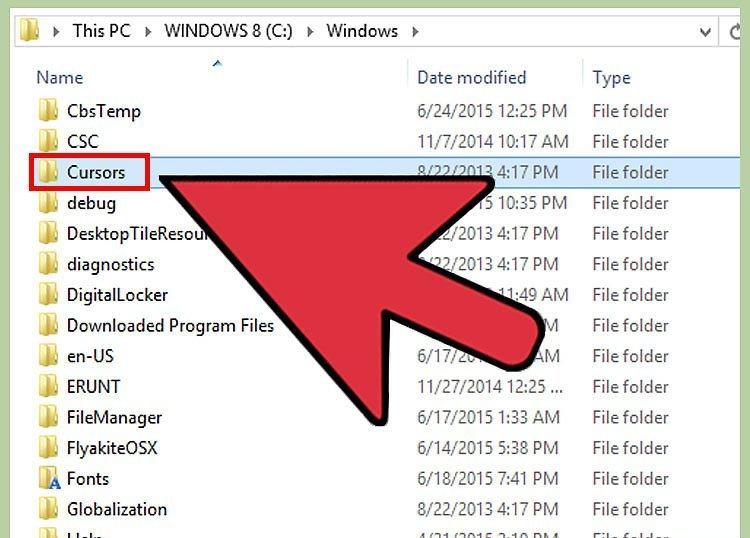
Navigate to the folder C:\Windows\Cursors. This folder contains all the cursors installed on this computer.
Step 5. Drag the downloaded cursors into the folder.
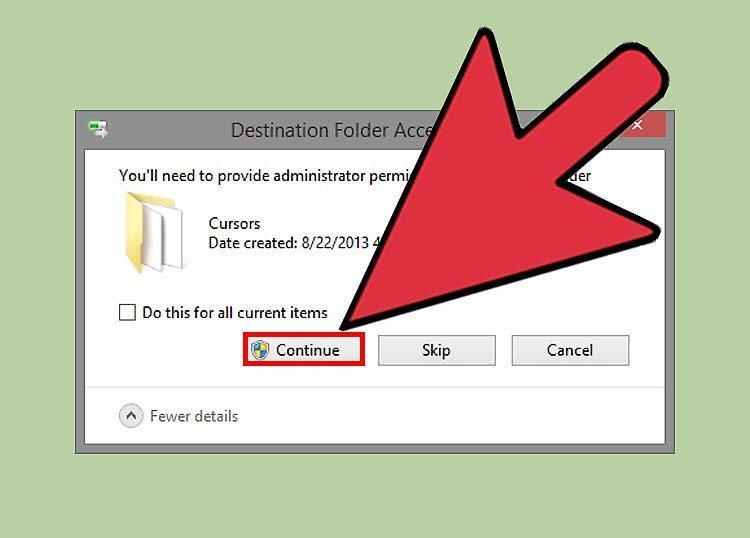
Drag the downloaded cursors into the Cursors folder. If prompted for an administrator password, click Continue and enter the password. Remember that administrative access is required to install new cursors.
Step 6. Open the Control Panel.
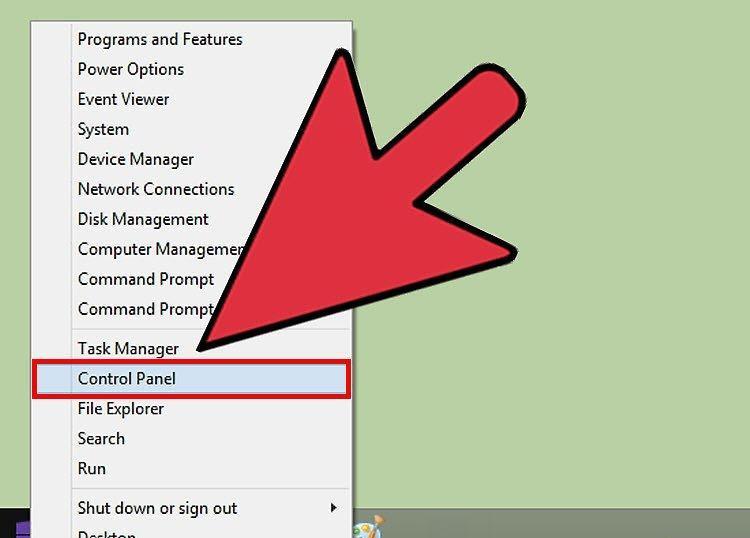
Open the Control Panel. You can select a new cursor through the Control Panel.
- In Windows 7, Vista, XP, click "Start" – "Control Panel".
- In Windows 8.1, right-click the "Start" button and select "Control Panel", or press Ctrl+X and choose "Control Panel".
Step 7. Click on "Mouse" or click "Hardware and Sound" – "Mouse".
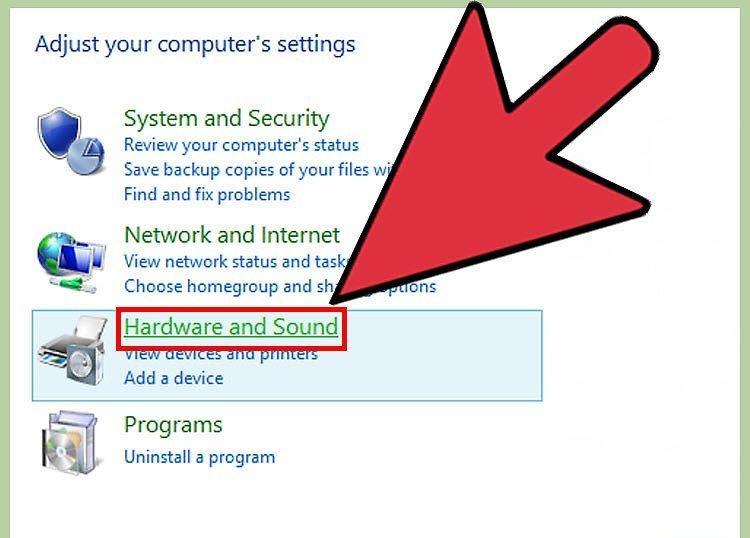
Click on "Mouse" or navigate to "Hardware and Sound" – "Mouse". The available option depends on your Control Panel view settings.
Step 8. Go to the "Pointers" tab.
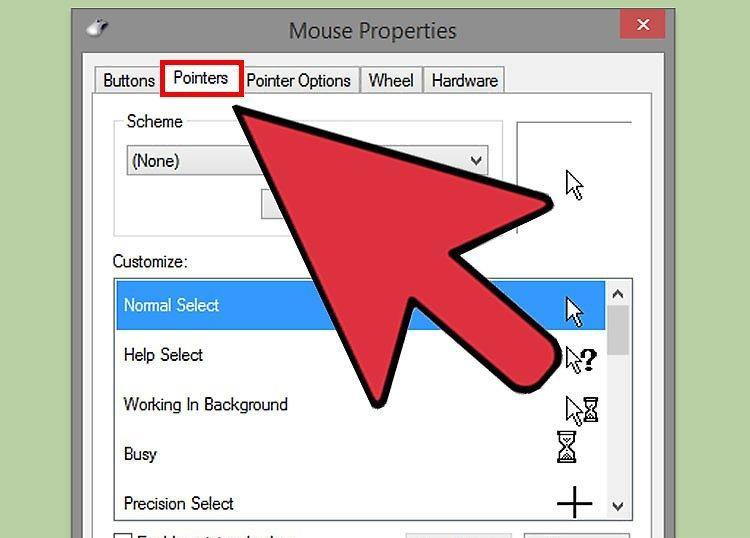
Switch to the "Pointers" tab. Here you will find the current scheme and cursor settings.
- In the "Scheme" section, open the dropdown menu to select one of the pre-installed cursors.
Step 9. Select the desired cursor.
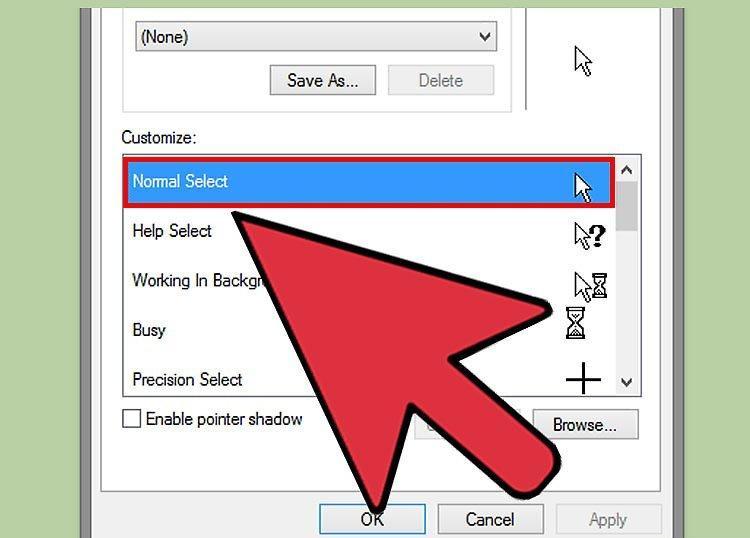
Highlight the cursor you want. You can change the current cursor to any of the pre-installed options. The standard cursor is labeled as "Normal Select," while the text selection cursor is marked as "Text Select".
Step 10. Click "Browse...".
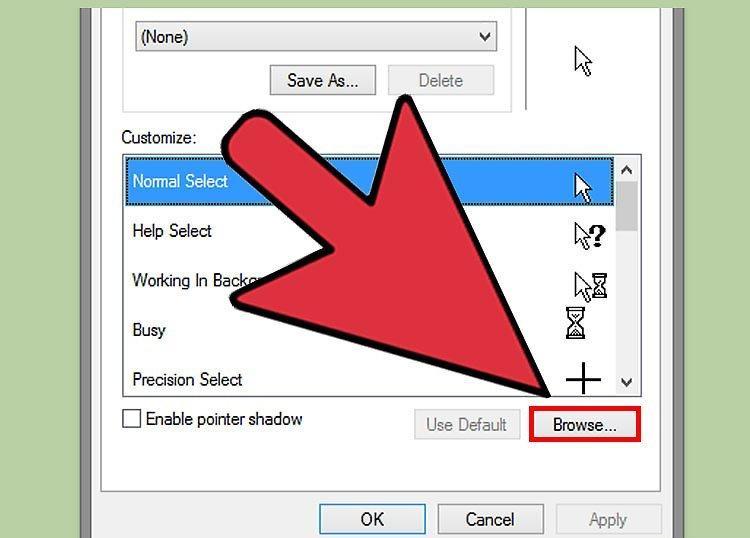
Click "Browse...". The system explorer window will open with the Cursors folder displayed. Select the desired cursor and click Open.
- Similarly, change any other cursor.
Step 11. Click "Apply".
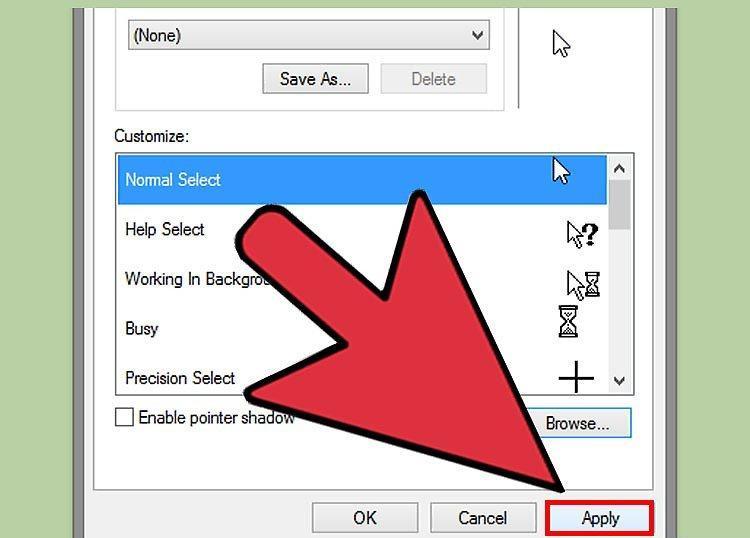
Click "Apply". The changes will take effect, and the new cursor will appear on the screen.
- To restore the default cursor, select it from the cursor list and click "Default".
Mac OS
Step 1. Change the cursor size.
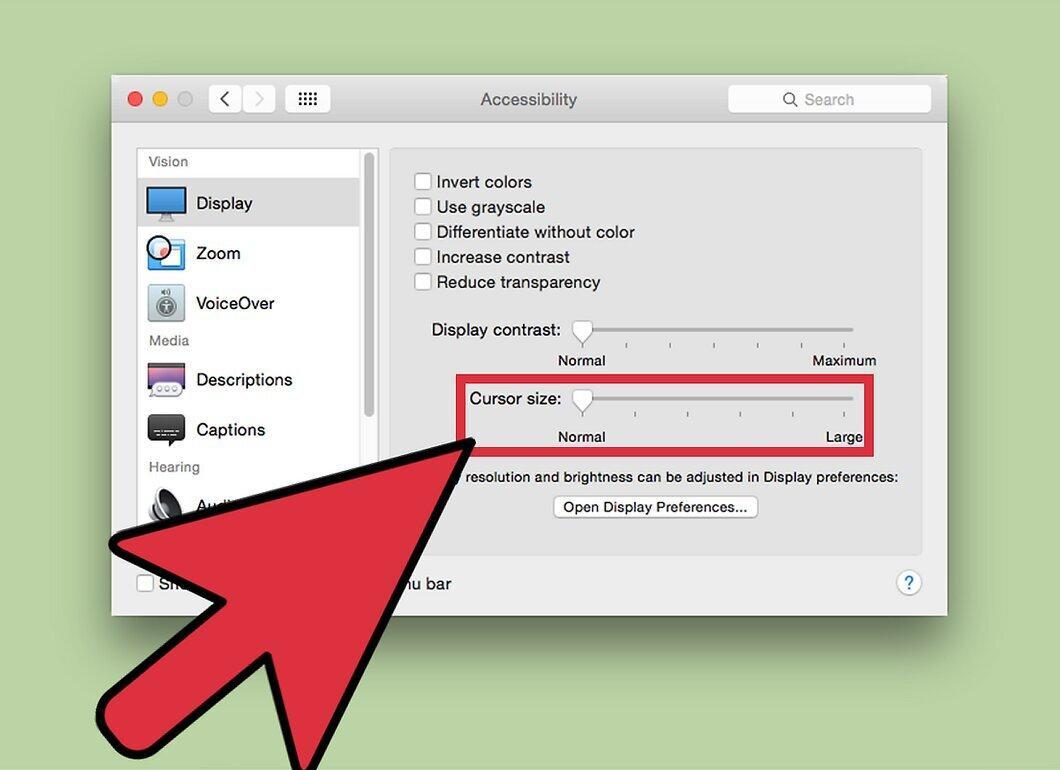
Change the cursor size. In OS X, you cannot replace the default cursor with a third-party one; moreover, the cursor design depends on the application rather than the system. In the "System Preferences" menu, you can adjust the cursor size. To change the actual cursor, you will need to use a special program (read on).
- Open the Apple menu and click "System Preferences".
- Click "Accessibility" and go to the "Display" tab.
- In the "Cursor Size" section, use the slider to adjust the cursor size.
Step 2. Download and install Mousecape, which allows you to use third-party cursors.
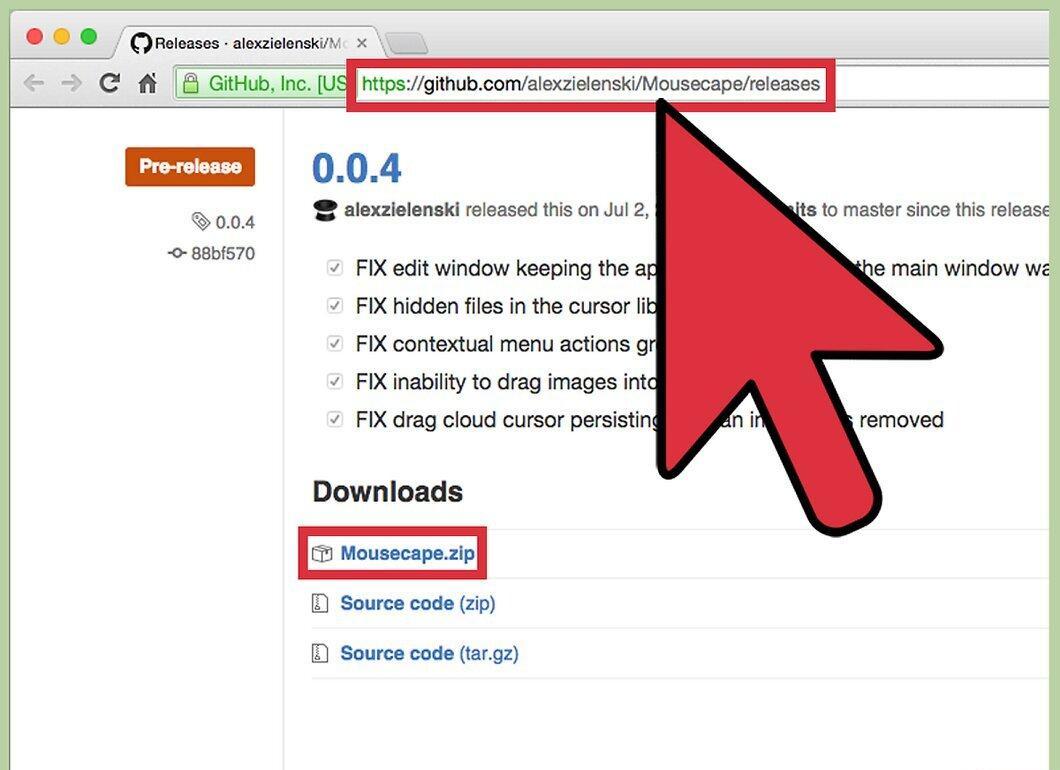
Download and install Mousecape, which allows you to use third-party cursors. This free program enables the installation of third-party cursor packages in OS X. Currently, Mousecape is the easiest way to change your cursor in OS X.
- You can download Mousecape from github.com/alexzielenski/Mousecape/releases. Download the latest version of the Mousecape.zip file and drag the .app folder into the Applications folder.
Step 3. Find the desired cursors.

Look for the cursors you want. Using Mousecape, download cursor packages in CAPE format. Such packages can be found on many websites, including DeviantArt. Additionally, you can drag an image into the Mousecape window to create a cursor, meaning you can use Windows cursor graphic files to create new cursors in Mac OS.
Step 4. Launch Mousecape.
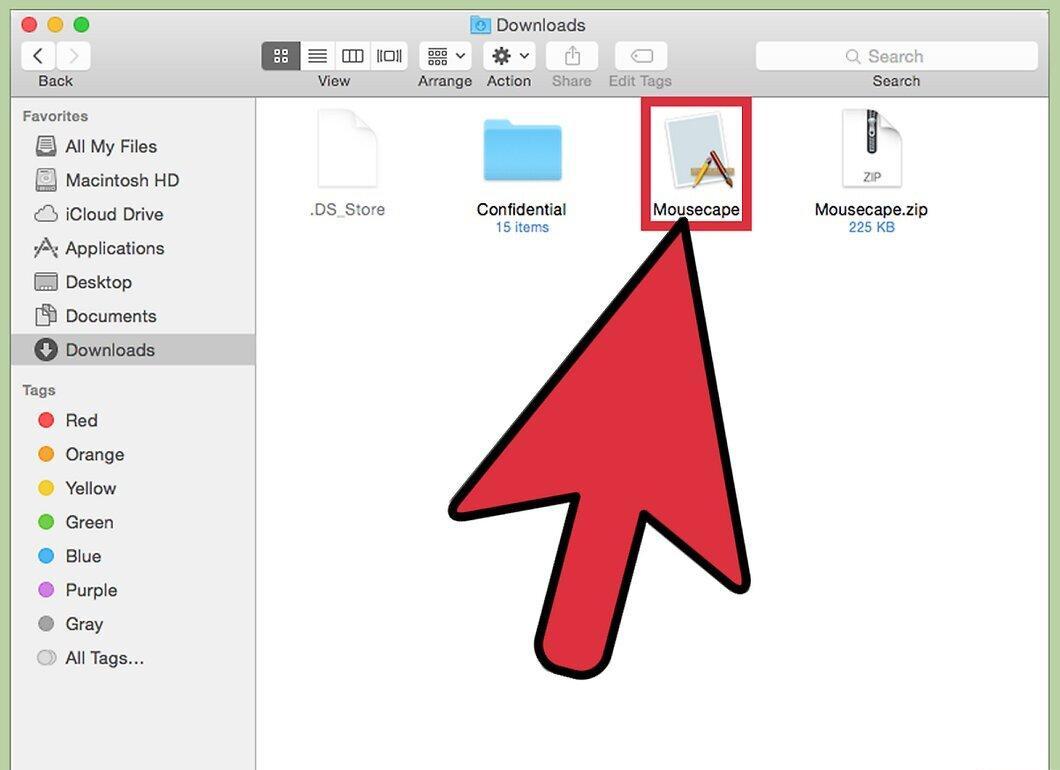
Open Mousecape. A list of available cursors will appear, which will likely be empty.
Step 5. Add CAPE files (if available).
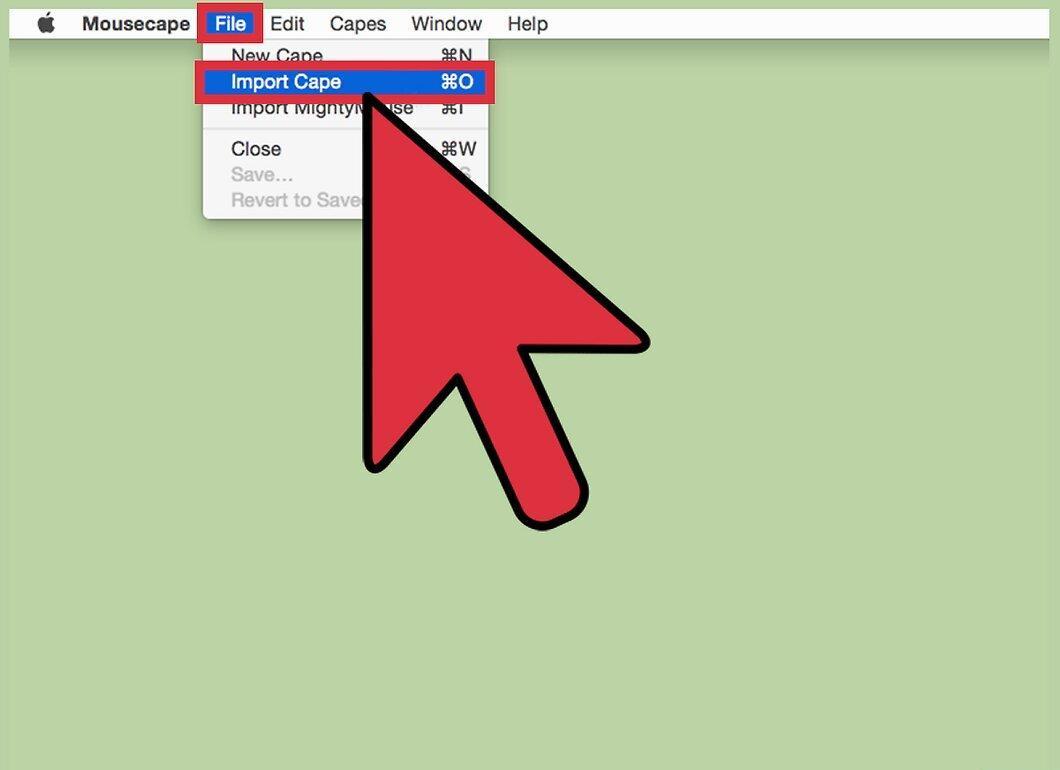
Add CAPE files (if you have them). If you have already downloaded CAPE files, add them to the Mousecape program by dragging the files directly into the program window.
Step 6. To create a new cursor, click ⌘ Cmd+N.
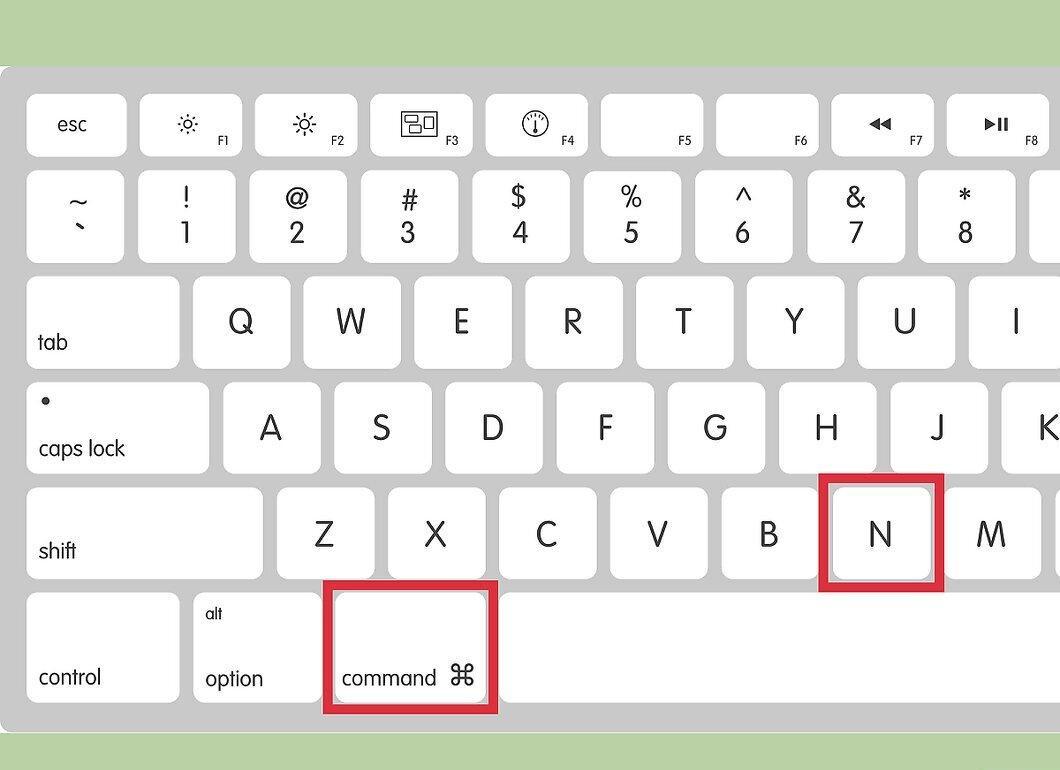
To create a new cursor, click ⌘ Cmd+N. In the opened list, select the desired cursor and click ⌘ Cmd+E to edit it. Enter the name for the new cursor.
- If you are using a Retina display, check the "Retina" option.
Step 7. Click "+".
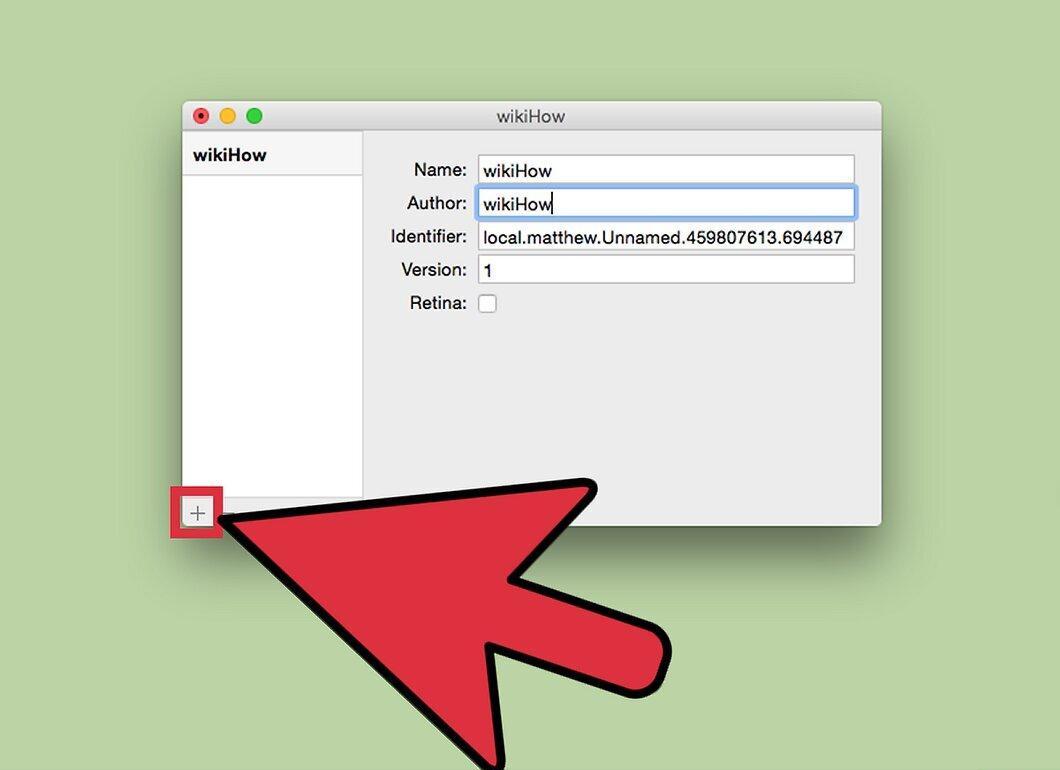
Click "+". This will create a new object in the new CAPE file.
Step 8. Drag the desired image into the first field.
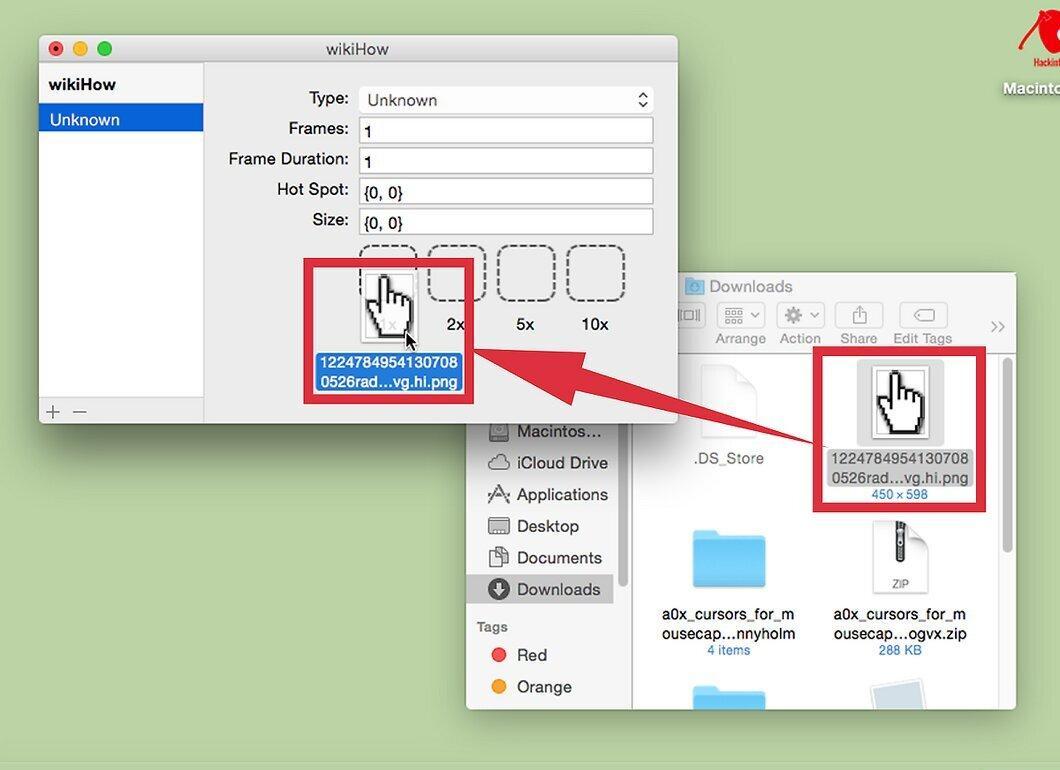
Drag the desired image into the first field. If you want to use a larger cursor, drag additional copies of the image into the neighboring fields.
Step 9. In the "Type" dropdown menu, select the desired cursor type.
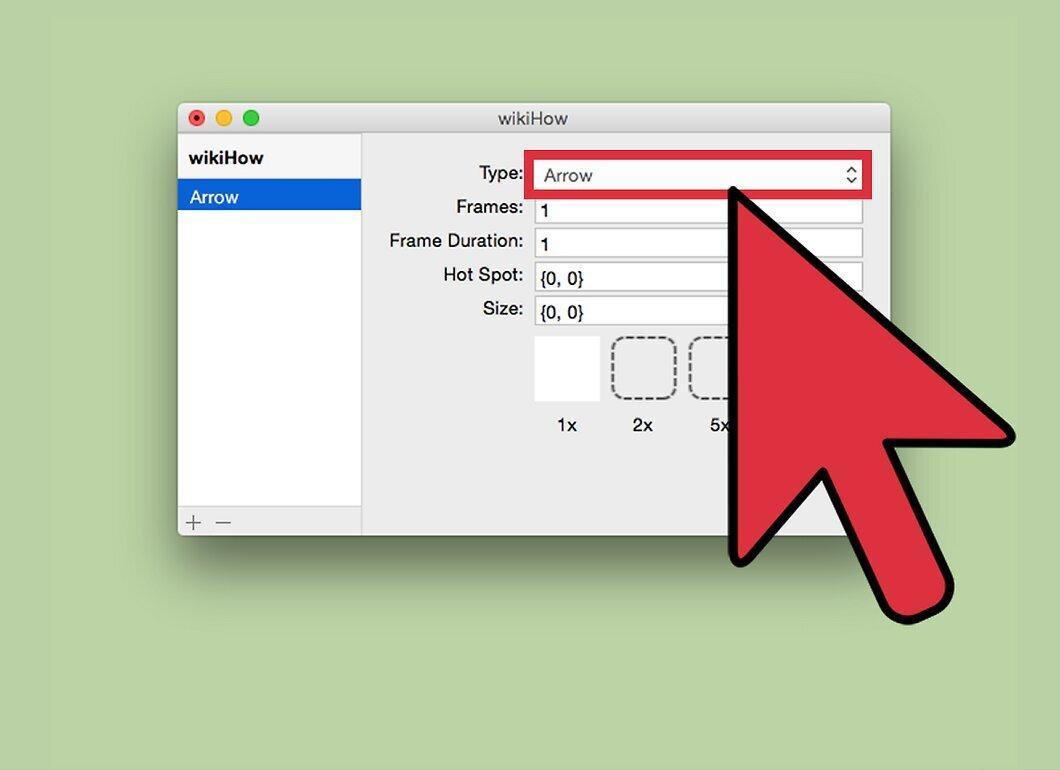
In the "Type" dropdown menu, select the desired cursor type. The default system cursor is labeled as "Arrow".
Step 10. Adjust the "Hotspot" values.
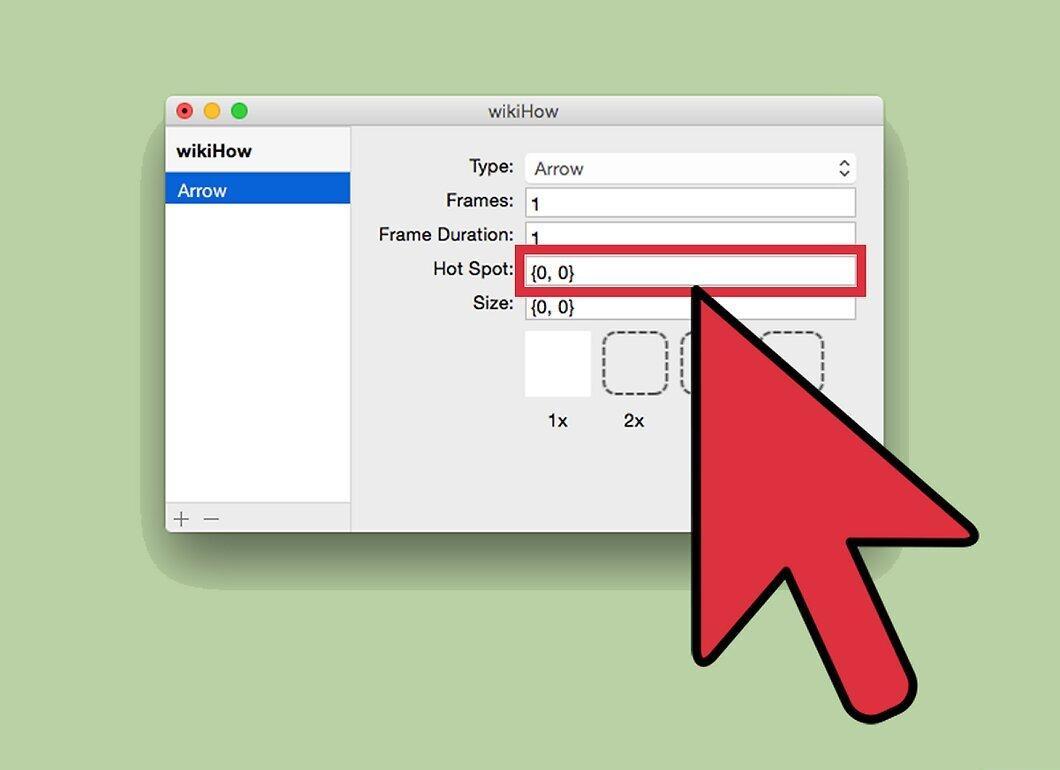
Change the "Hotspot" values. This defines the actual position of the pointer on the image. The "hotspot" counting starts from the top left corner of the image. The first value is the number of pixels moving the "hotspot" to the right, and the second value is the number of pixels moving it down. Entering new values will display the position of the new "hotspot".
Step 11. Save the created cursor.
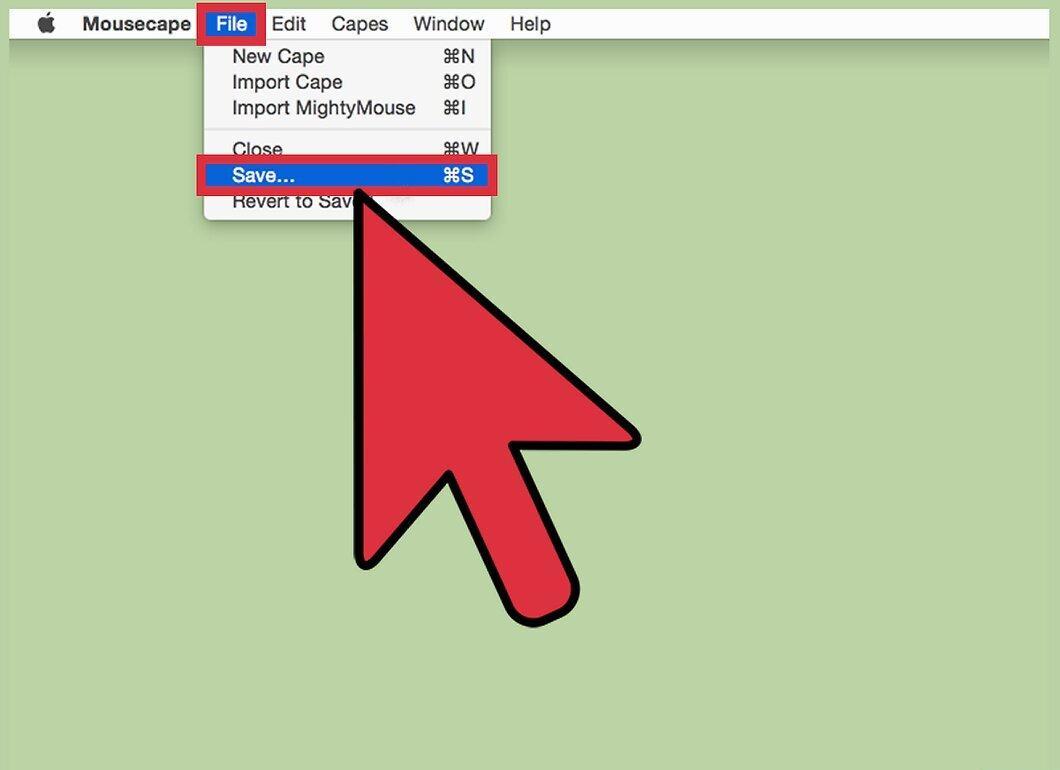
Save the created cursor. To do this, click "File" – "Save" or simply press ⌘ Command+S. You can now close the cursor creation window.
Step 12. Double-click the created cursor that will appear in the list.
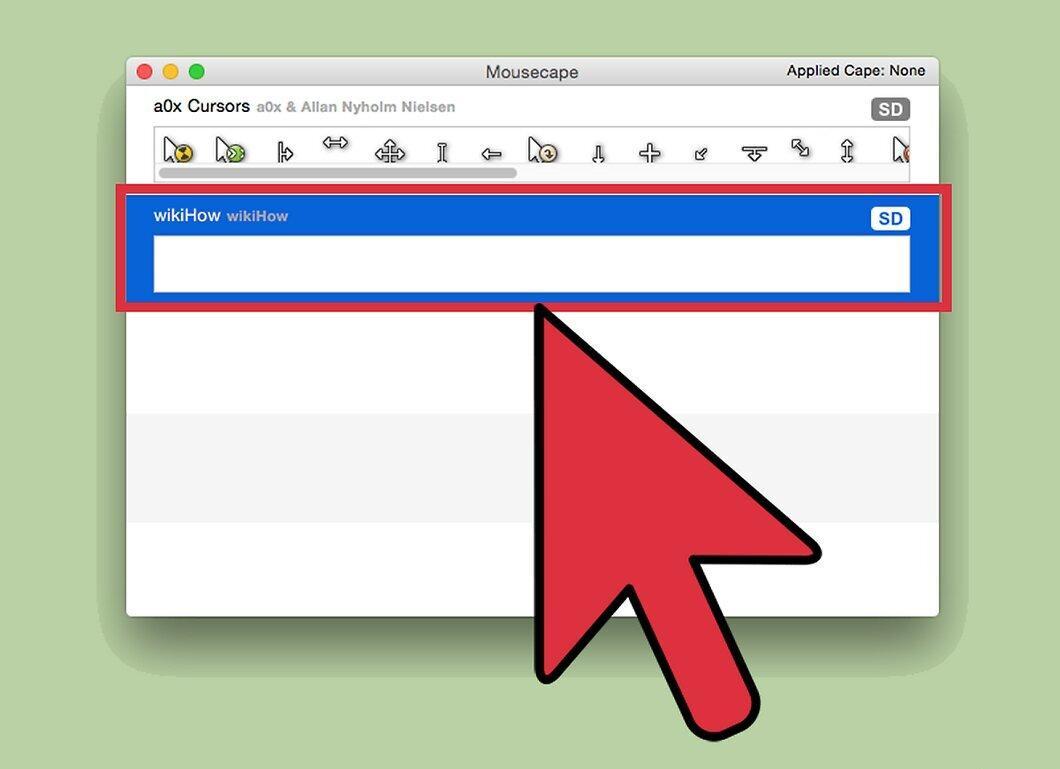
Double-click the created cursor that will display in the list. A preview of the new cursor will open. Double-click the cursor to replace the current one.


