
This article explains how to switch the iCloud account linked to your iOS device to a different one.
On iPhone or iPad
Step 1. Open the Settings app.
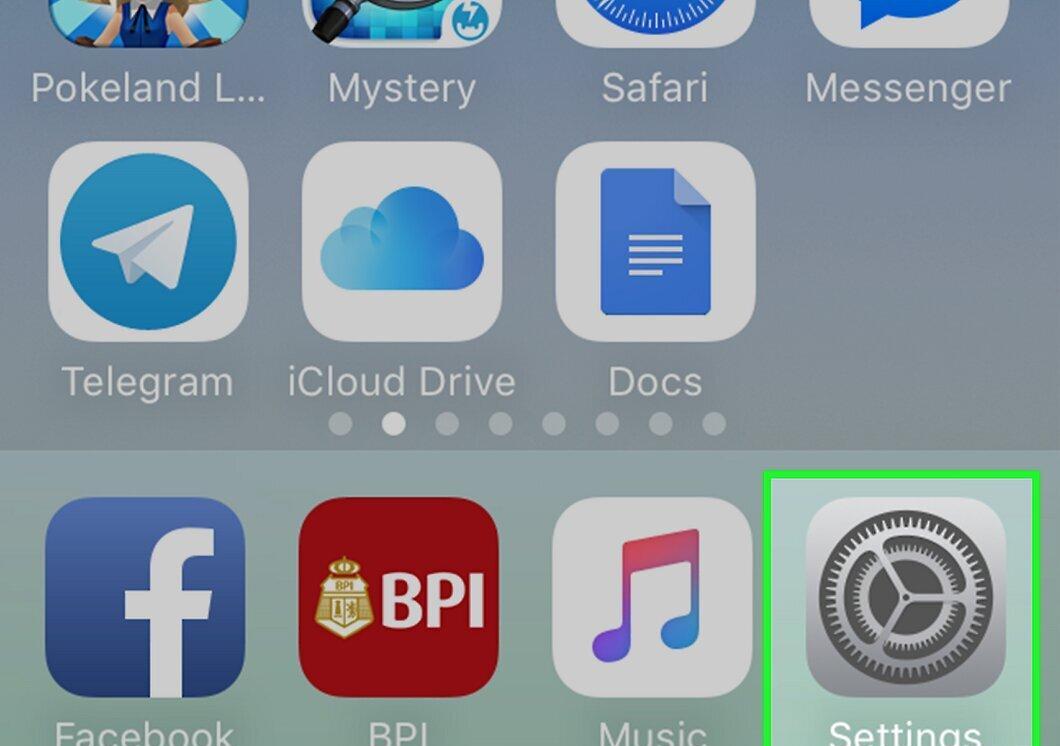
Open the Settings app. Its icon resembles a gray gear (⚙️) and is usually found on the home screen.
- If you need to change iCloud accounts on a second-hand iPhone or iPad, go to the "Used iOS Device" section below.
Step 2. Tap on your Apple ID.
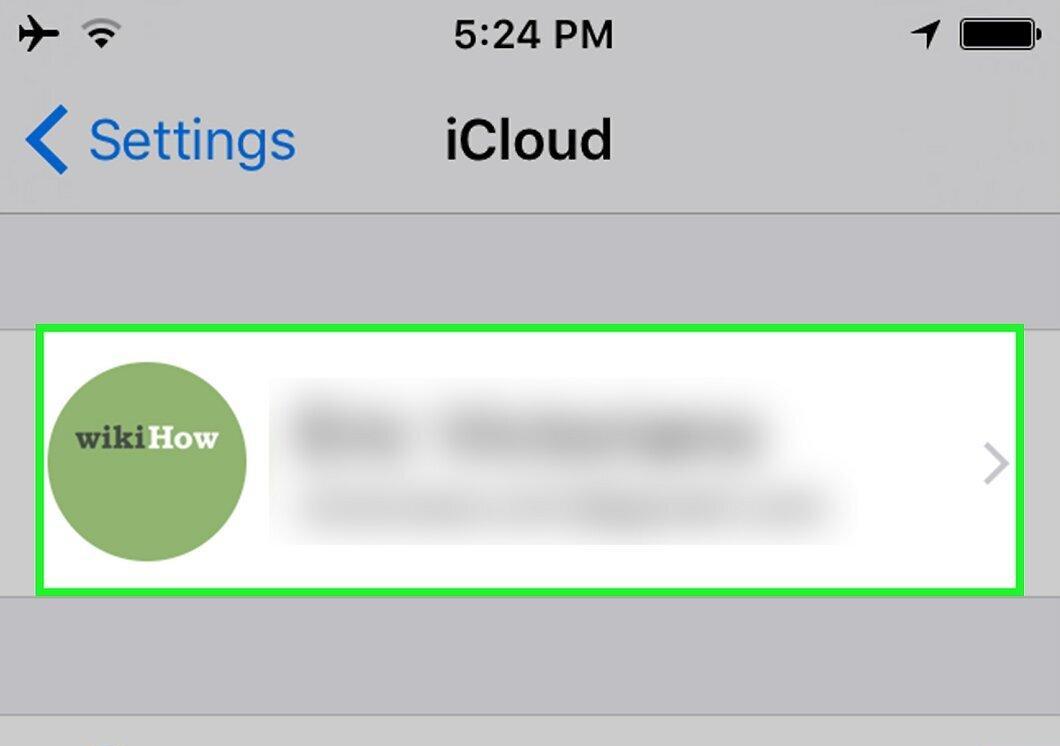
Tap on your Apple ID. This section is located at the top of the screen and contains your name and profile picture (if available).
- On older versions of iOS, tap on iCloud.
Step 3. Scroll down and tap Sign Out.
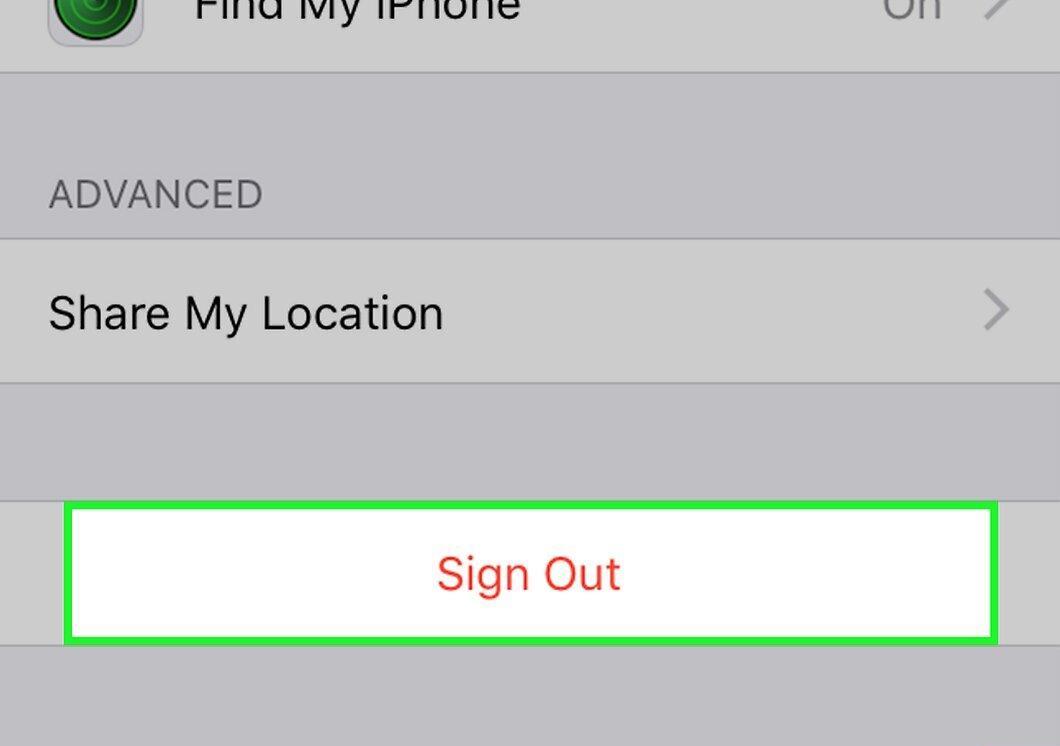
Scroll down and tap Sign Out. This is the last option in the menu.
Step 4. Enter your password.
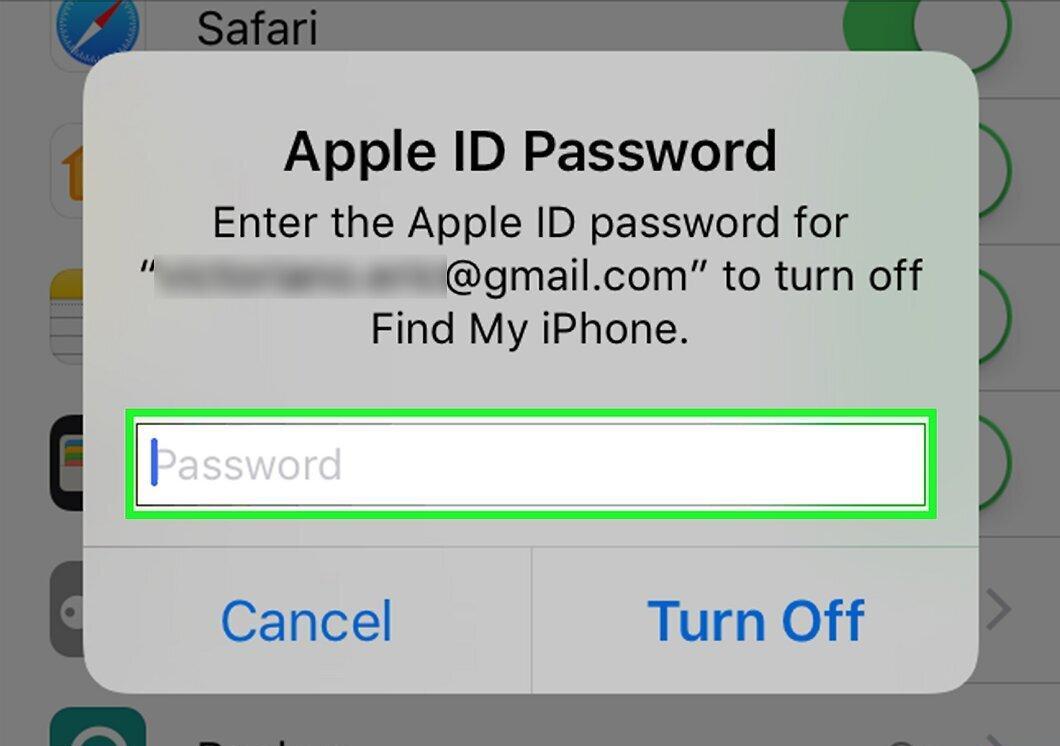
Enter your password. In the dialog box, input the password associated with your Apple ID.
Step 5. Tap Turn Off.
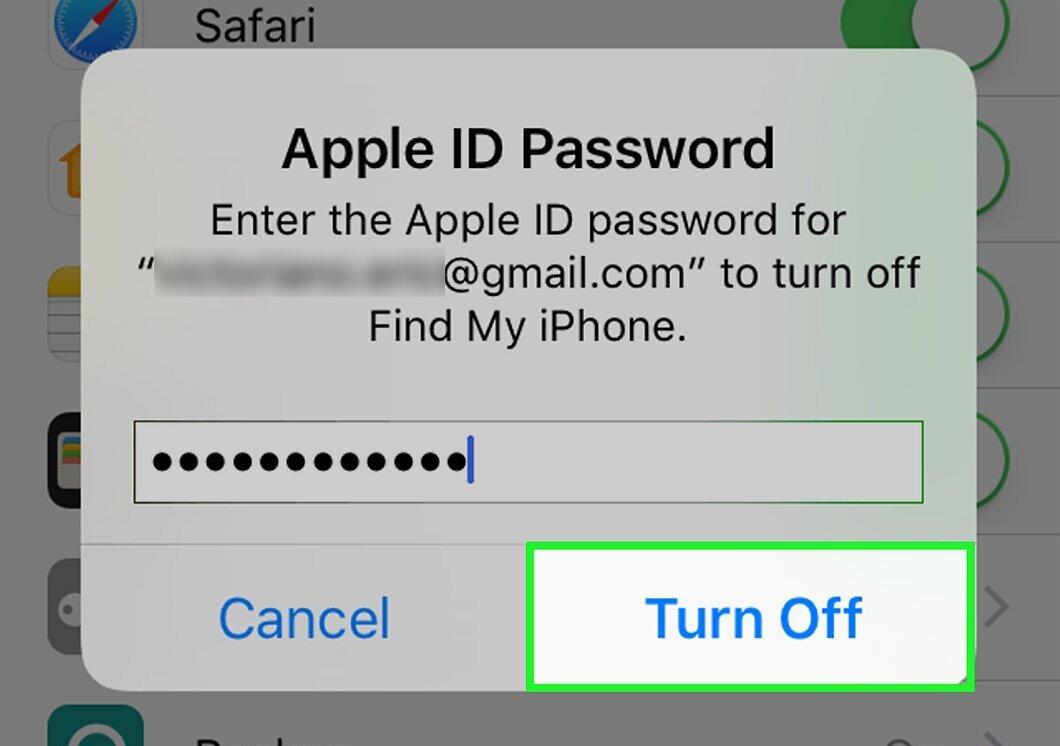
Tap Turn Off. This button is located at the bottom of the dialog box. This will disable the "Find My iPhone" feature for the current iCloud account.
Step 6. Choose the data to keep on the device.
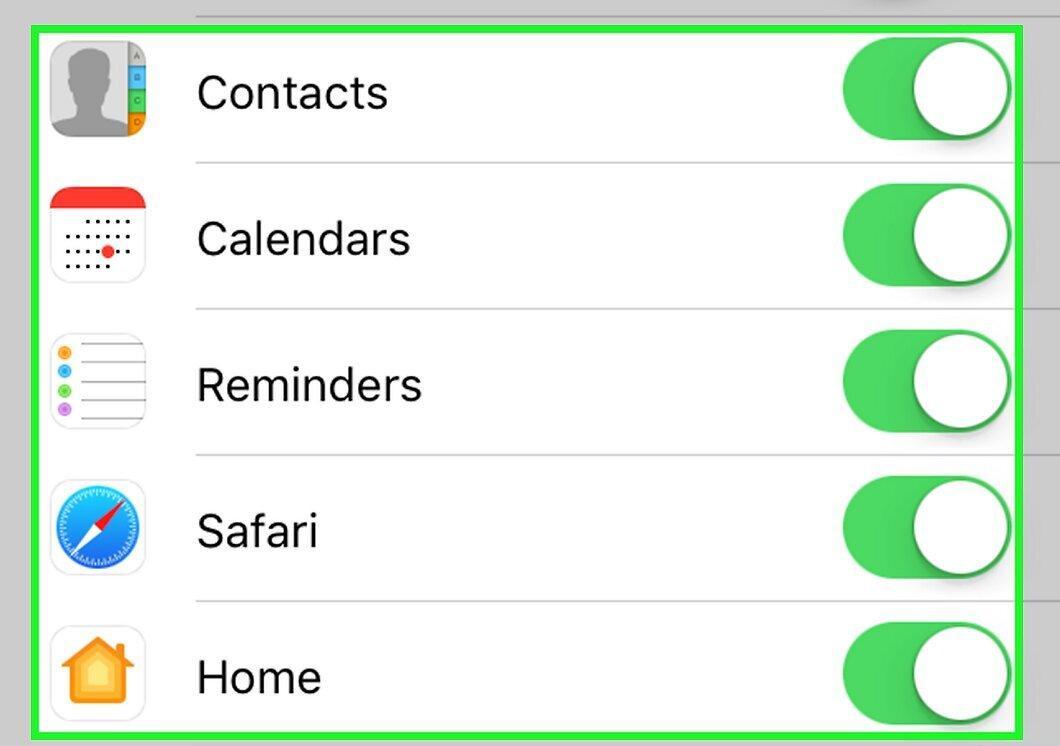
Choose the data to keep on the device. To copy desired data (like contacts) from iCloud to the device, slide the toggles for the relevant apps to the "On" position (in this position, the toggles are colored green).
- To delete all iCloud data from the device's memory, slide all toggles to the "Off" position (in this position, the toggles are colored gray).
Step 7. Tap Sign Out.
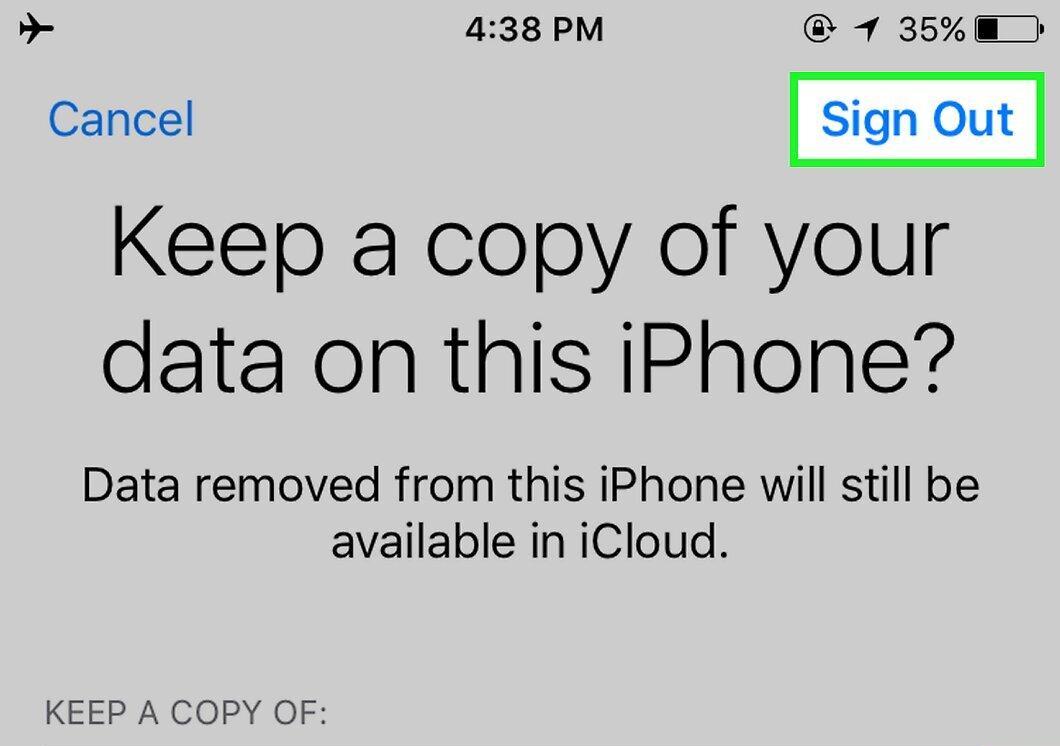
Tap Sign Out. This button is located in the upper right corner of the screen.
Step 8. Tap Sign Out.
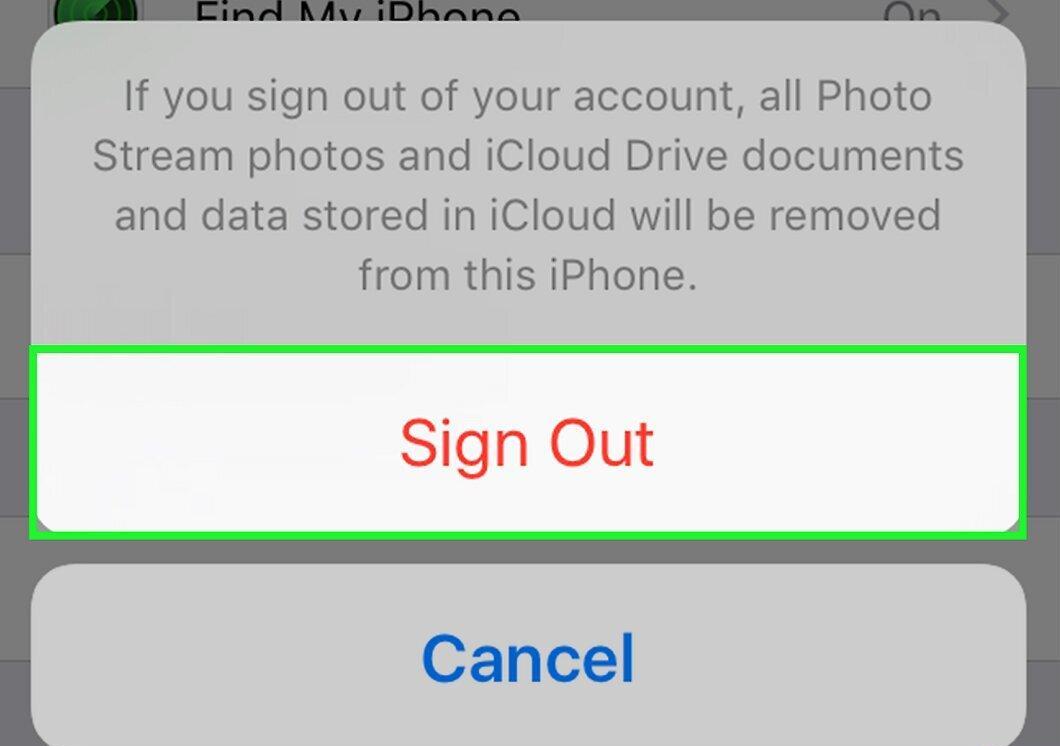
Tap Sign Out again. This will confirm that you want to sign out of the iCloud account currently linked to the device.
Step 9. Open the Settings app.
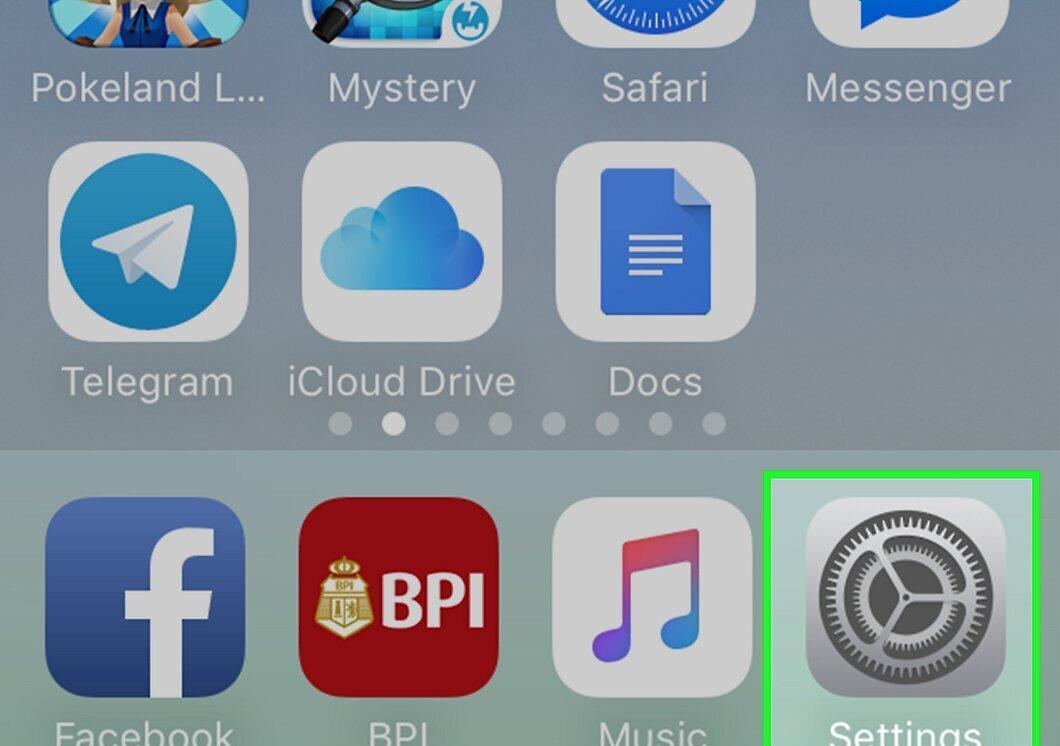
Open the Settings app. Its icon resembles a gray gear (⚙️) and is located on the home screen.
Step 10. Tap Sign in to <device>.
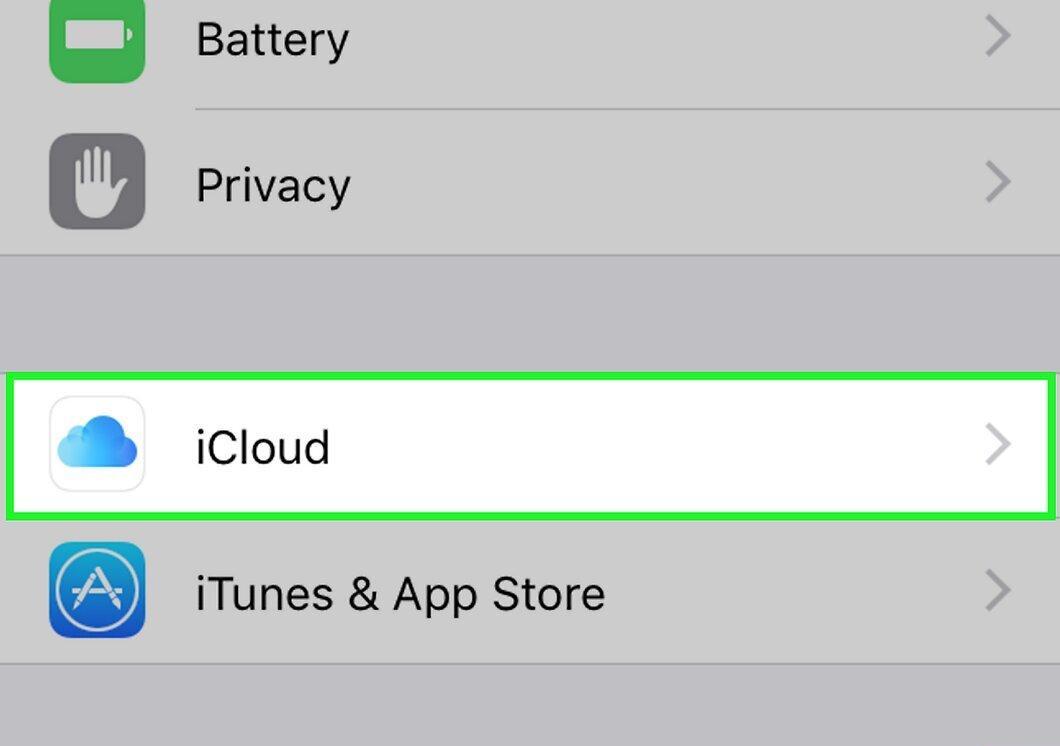
Tap Sign in to <device>. This button is located at the top of the menu.
- If you want to create a new Apple ID, tap "Don’t have an Apple ID or forgot it?" This option is located below the password entry field. Follow the on-screen instructions to create an Apple ID and set up an iCloud account for free.
- On older versions of iOS, tap iCloud.
Step 11. Enter your Apple ID and password.
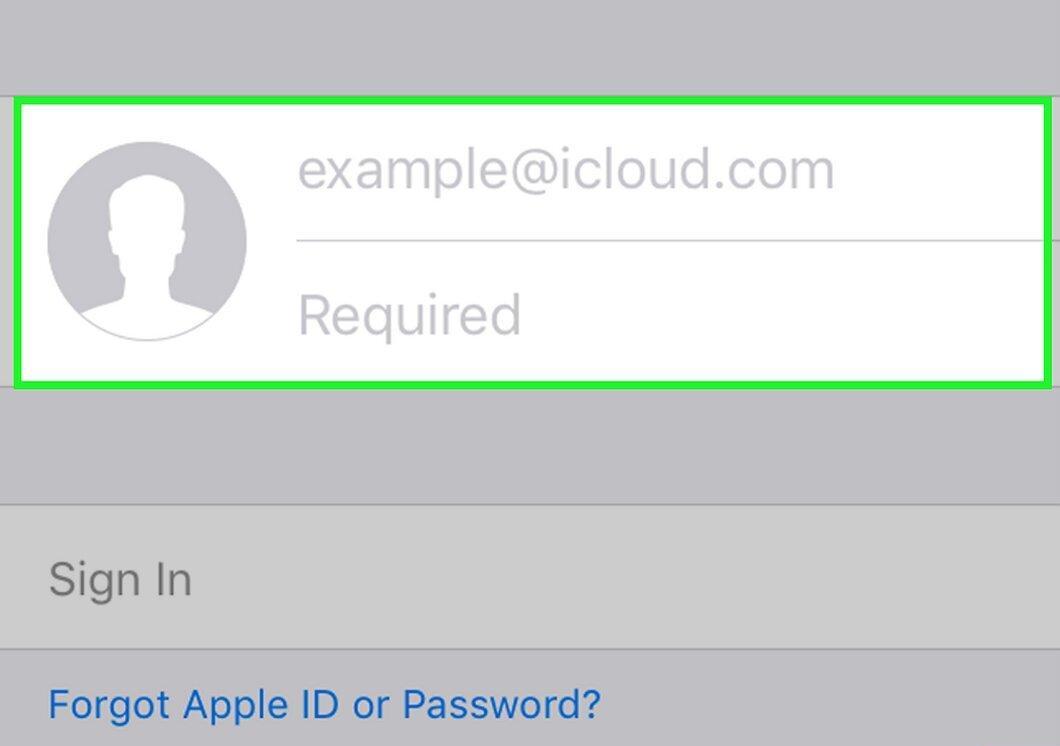
Step 12. Tap Sign In.
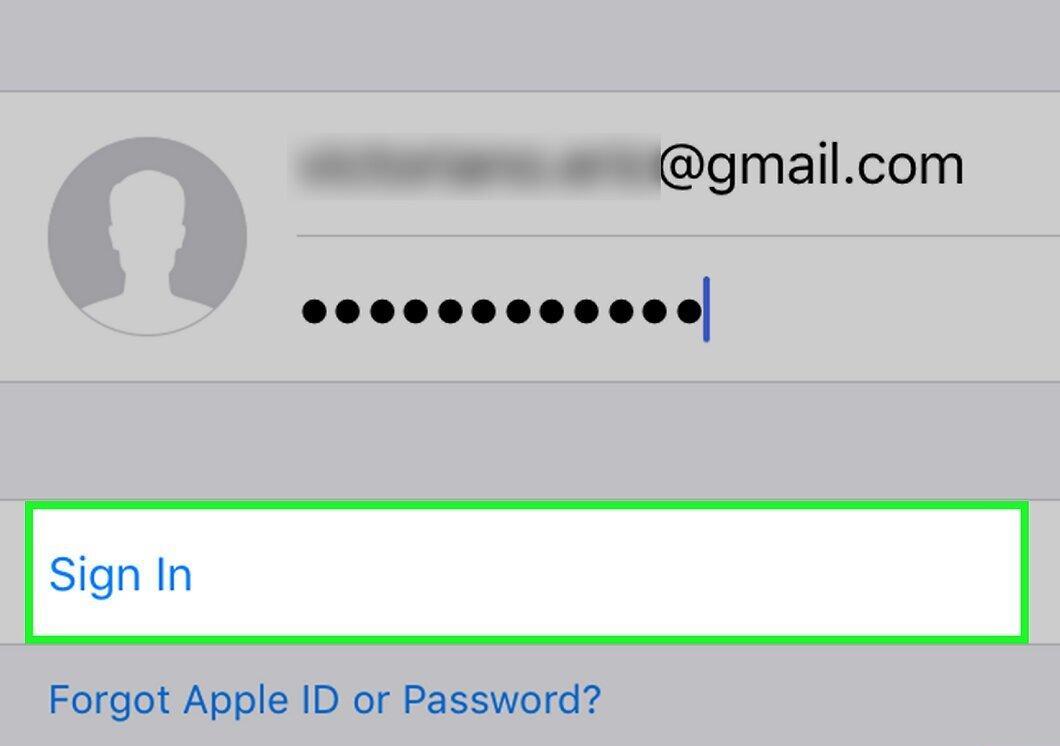
Tap Sign In. This button is located in the upper right corner of the screen.
- While signing in, you will see a message saying "Signing into iCloud" as the system accesses user data.
Step 13. Enter your device passcode.
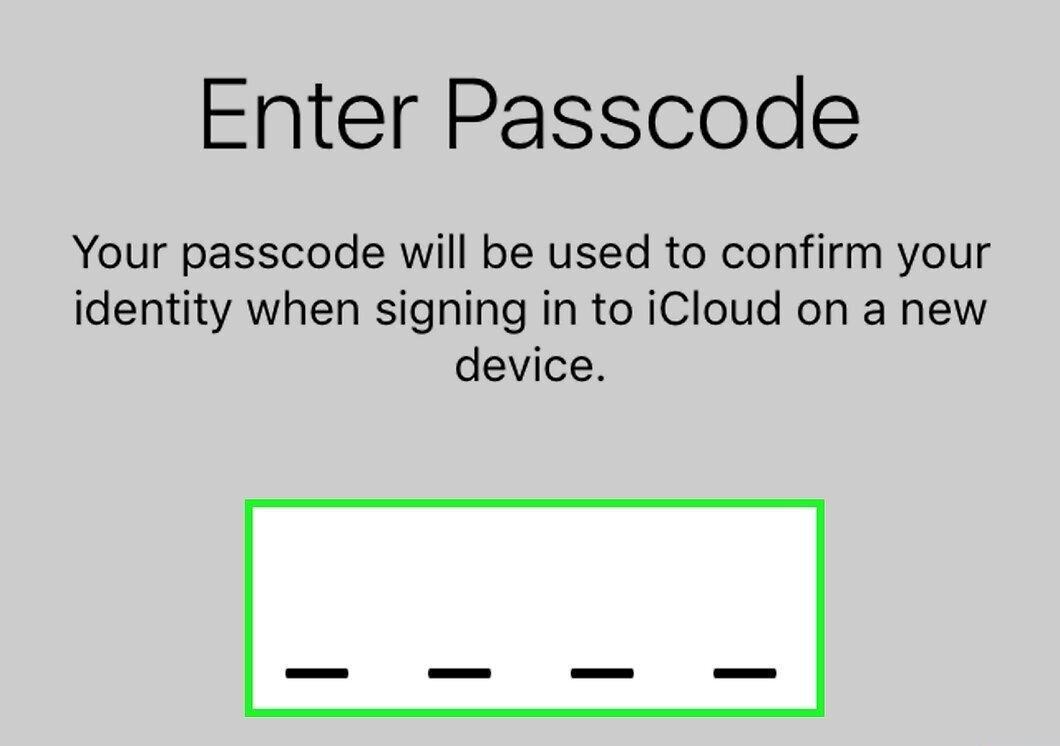
Enter your device passcode. This is the code you set when you configured the device.
Step 14. Merge user data.
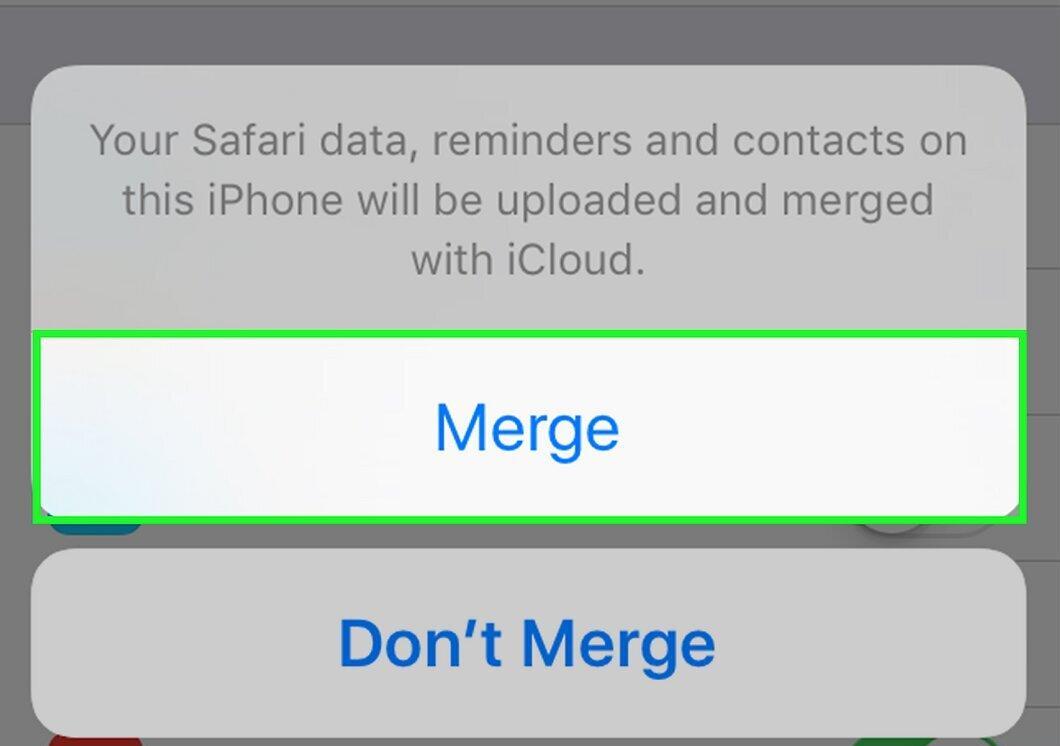
Merge user data. If there is user data on the device, such as calendars, reminders, contacts, and notes that you want to merge with the iCloud account, tap "Merge." Otherwise, choose "Don’t Merge."
Step 15. Tap iCloud.
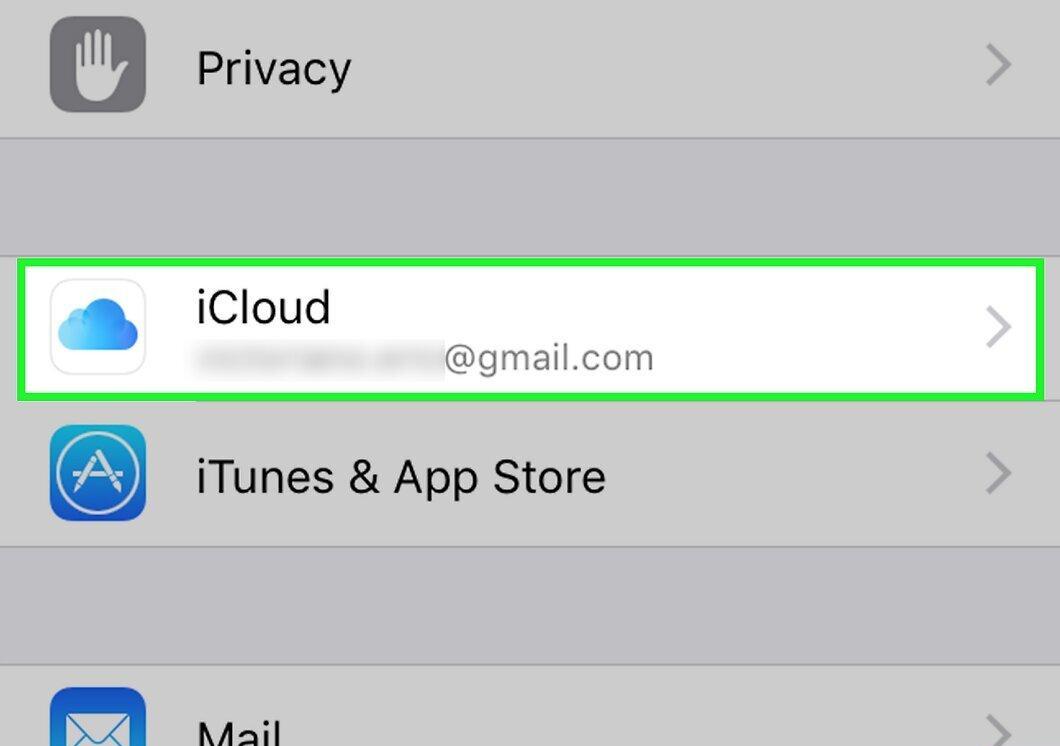
Tap iCloud. This option is located in the second section of the menu.
Step 16. Choose the types of data to store in iCloud.
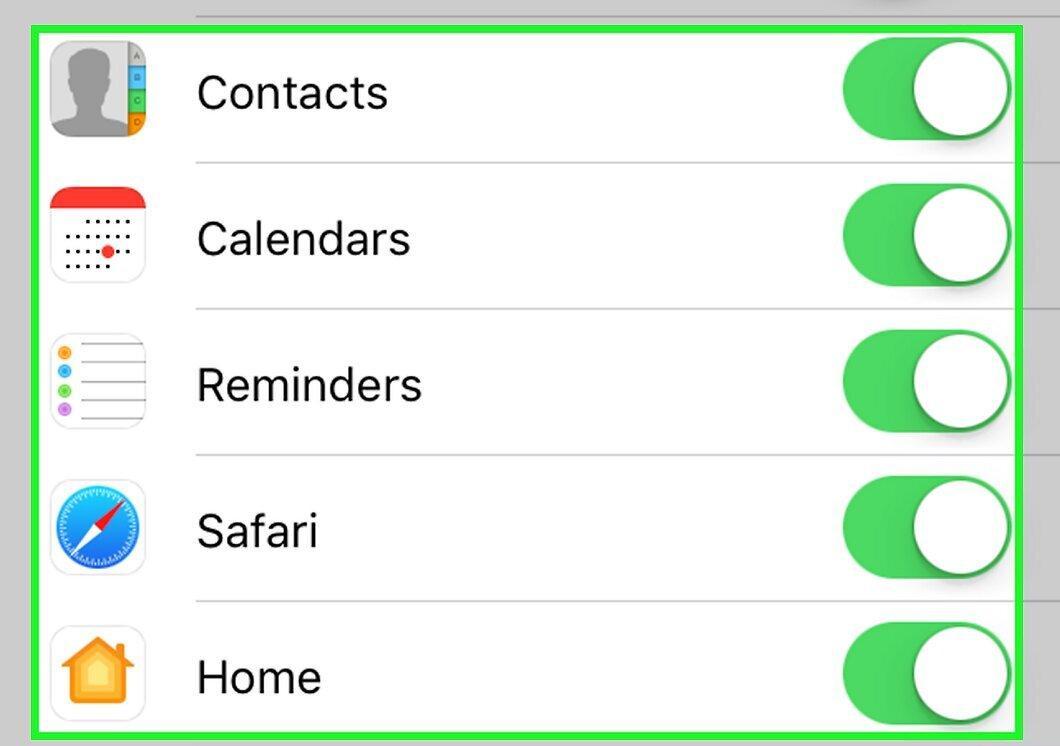
Choose the types of data to store in iCloud. In the "Apps using iCloud" section, toggle the switches for the relevant apps to "On" (green) or "Off" (gray).
- The selected data will be available in iCloud and on any devices signed in to the current iCloud account.
- Scroll down to see all apps that have access to iCloud.
On Mac OS X
Step 1. Open the Apple menu.
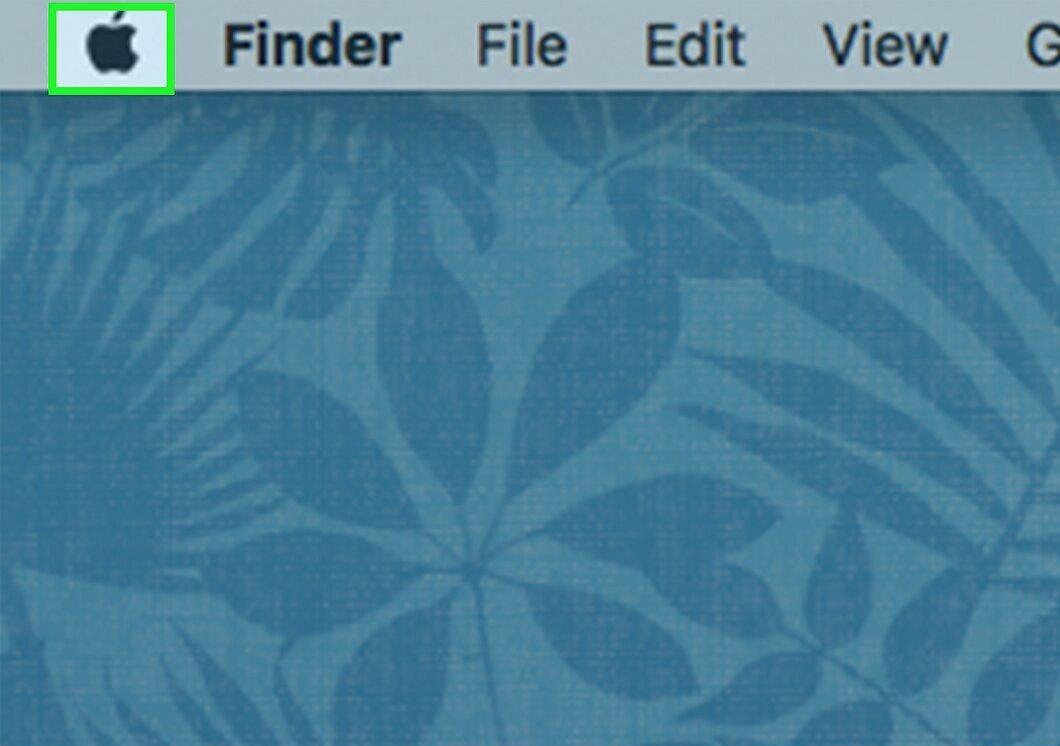
Open the Apple menu. The icon for this menu is a black apple located in the upper left corner of the screen.
Step 2. Click System Preferences.
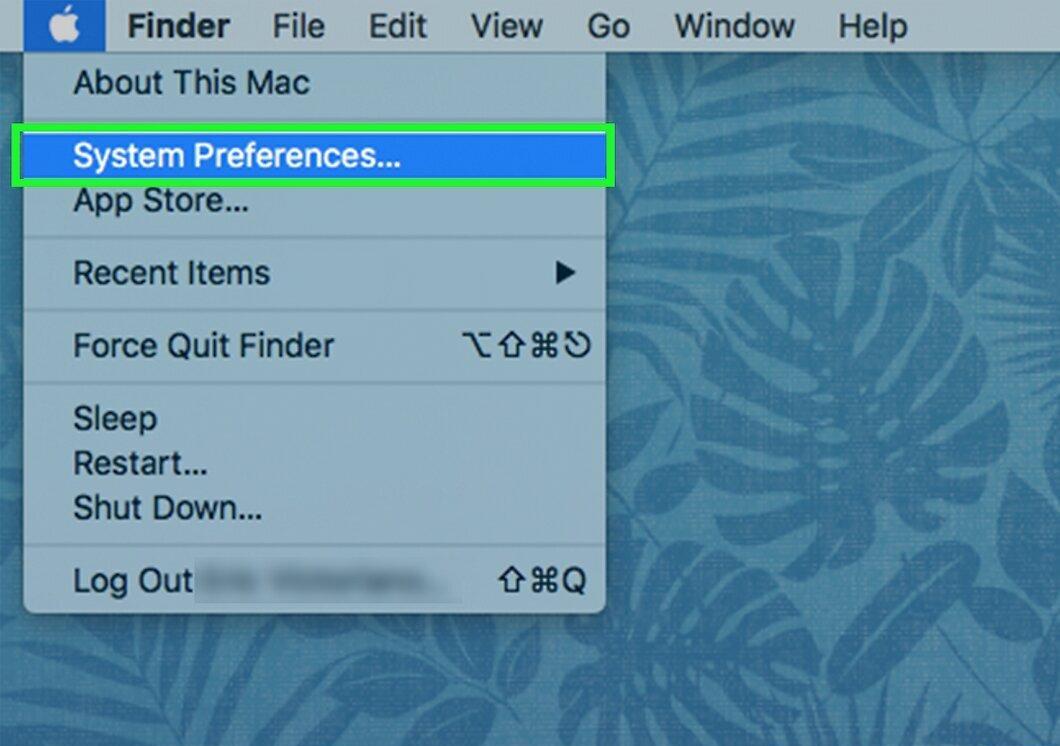
Click System Preferences. This option is found in the second part of the drop-down menu.
Step 3. Click iCloud.
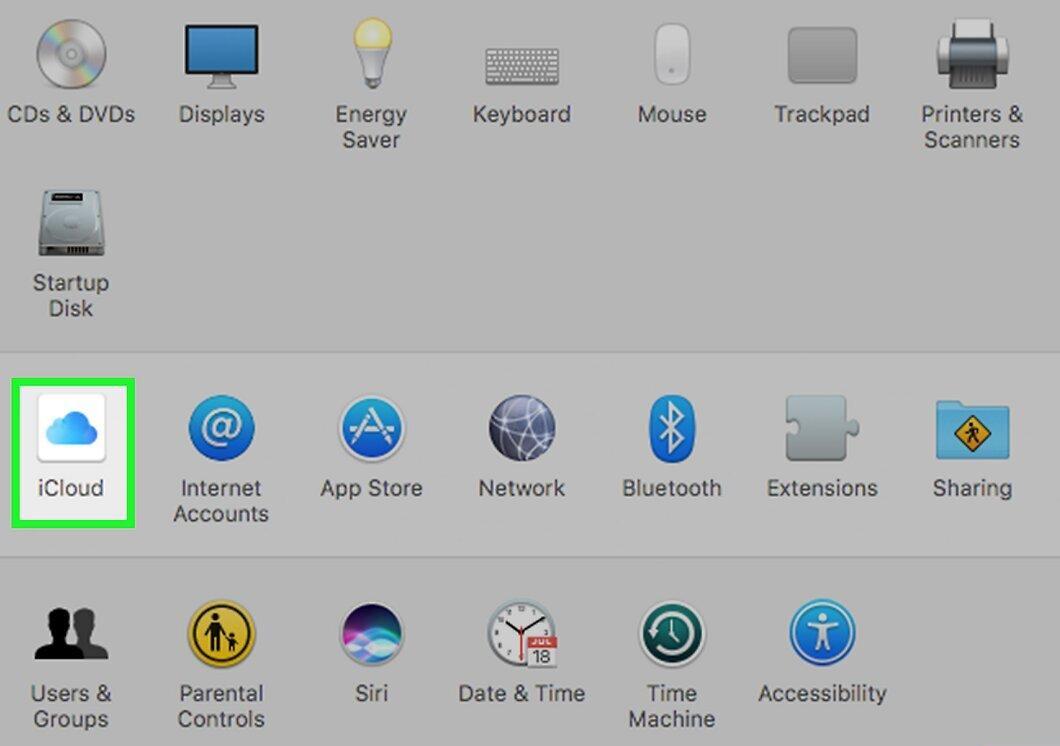
Click iCloud. You will find this button on the left side of the window.
Step 4. Click Sign Out.
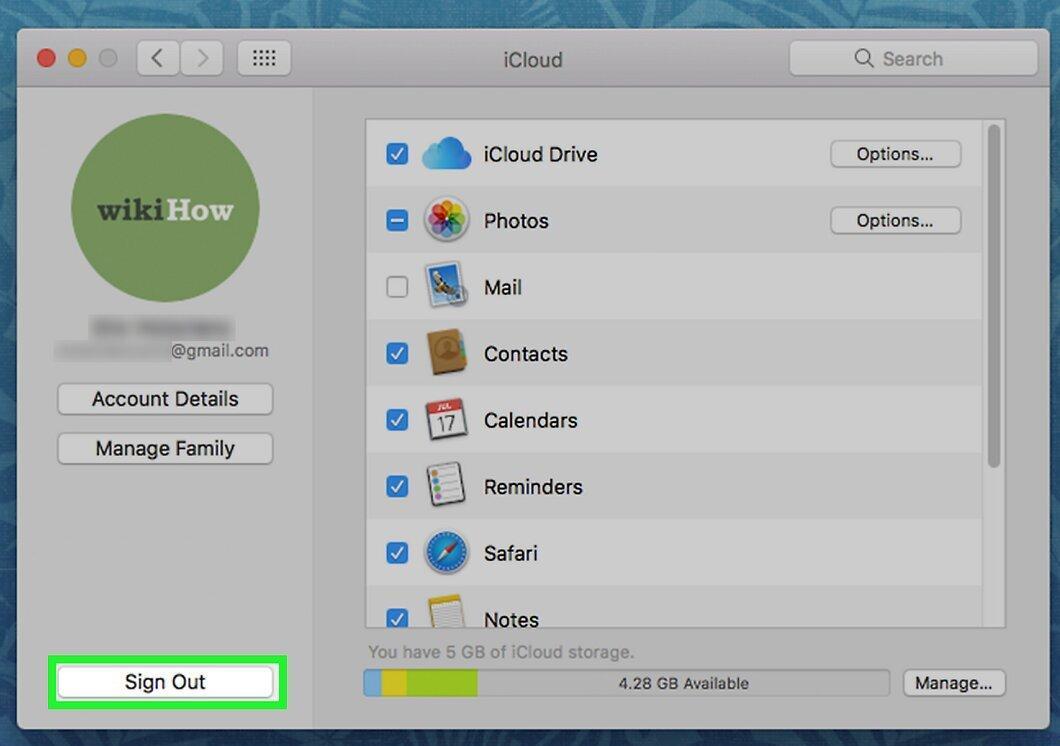
Click Sign Out. This button is located in the lower left corner of the window.
- All iCloud user data, including calendar entries and photos, will be removed from the Mac OS X computer.
- During the sign-out process, an error message may appear, caused by a conflict with an iPhone or another iOS device. In this case, open the Settings app on the device, tap "Apple ID" – "iCloud" – "Keychain" and toggle the "iCloud Keychain" switch to "On" (green).
Step 5. Open the Apple menu.
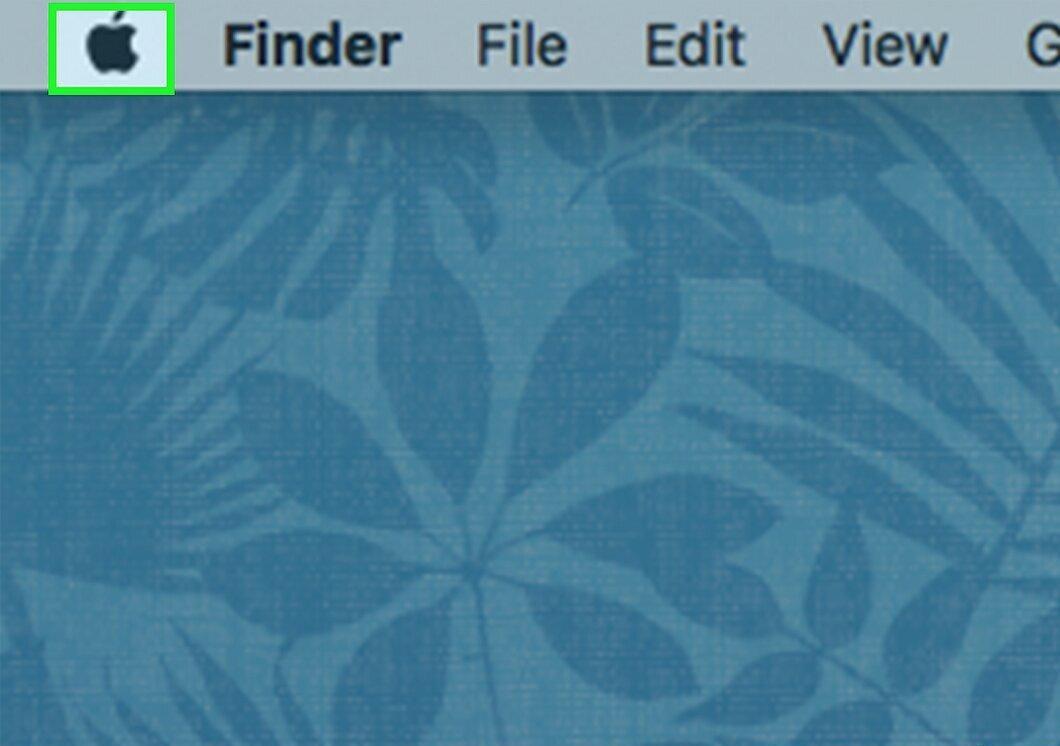
Open the Apple menu. The icon for this menu is a black apple located in the upper left corner of the screen.
Step 6. Click System Preferences.
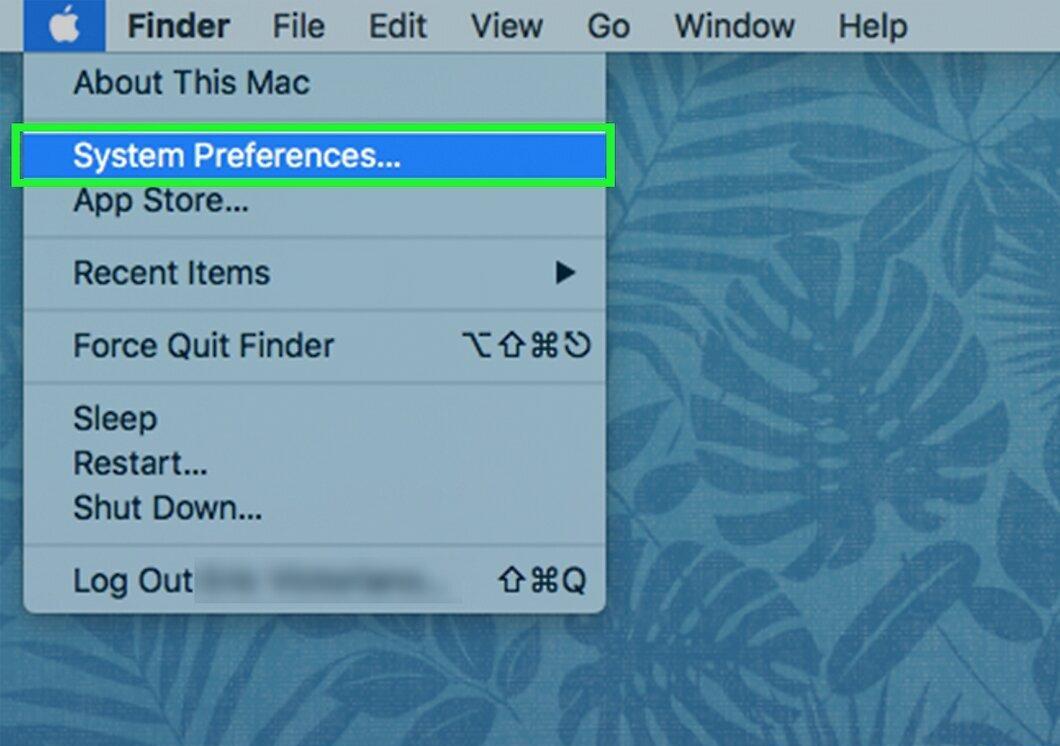
Click System Preferences. This option is found in the second part of the drop-down menu.
Step 7. Click iCloud.
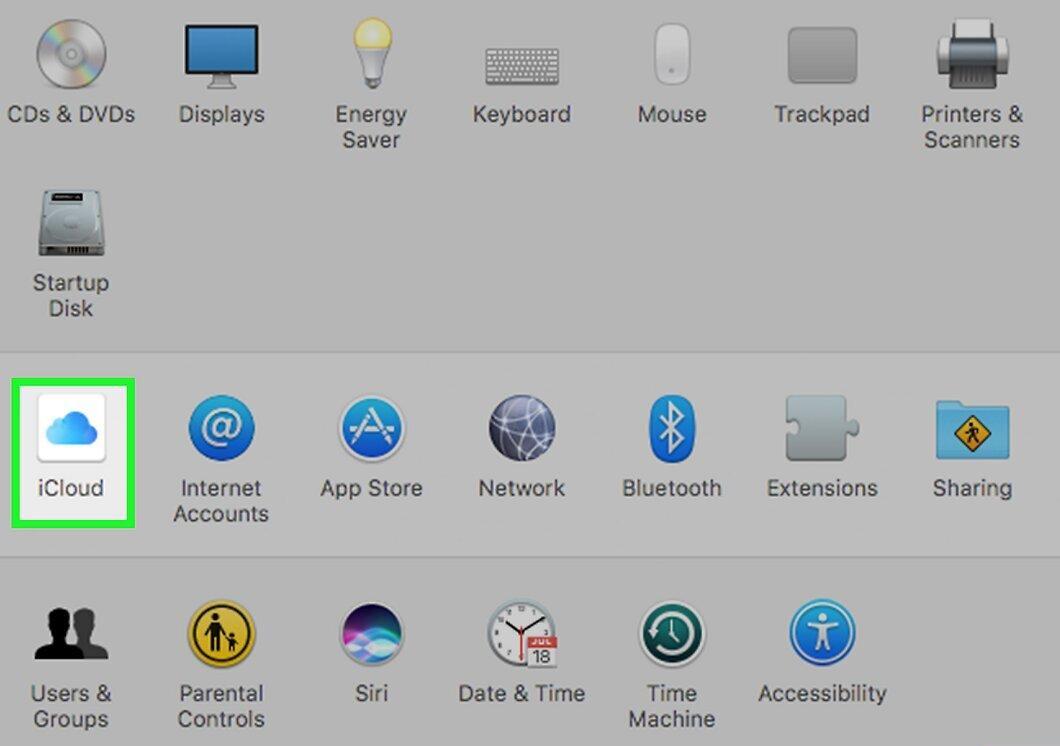
Click iCloud. You will find this button on the left side of the window.
Step 8. Click Sign In.
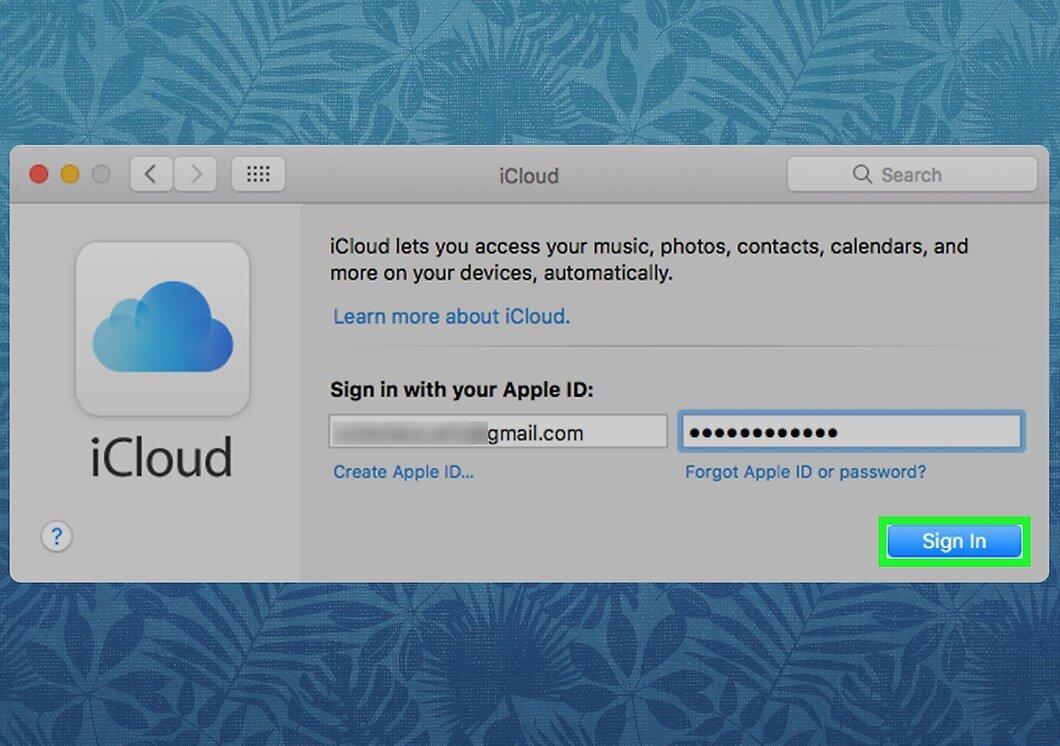
Click Sign In. This button is located at the top of the window.
- If you need to create a new Apple ID, click "Create Apple ID" (below the "Apple ID" field) and follow the instructions to create an Apple ID and set up an iCloud account for free.
Step 9. Enter your Apple ID and password.
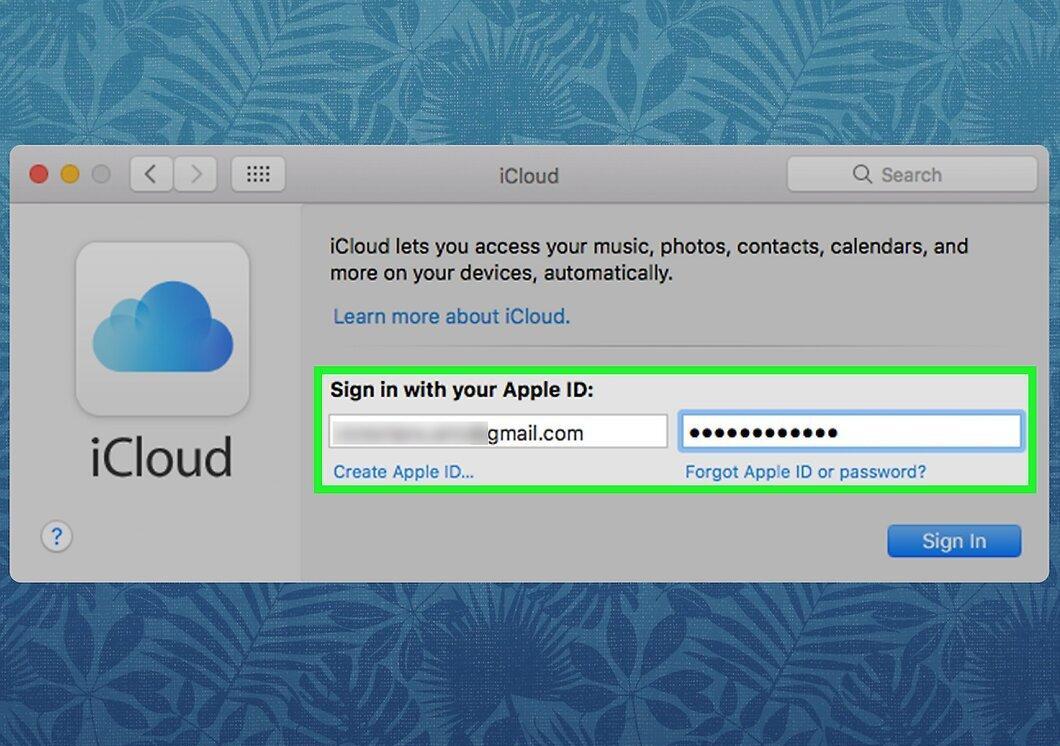
Enter your Apple ID and password. For this, input the email address and password associated with your Apple ID in the corresponding fields on the right pane of the window.
Step 10. Click Sign In.
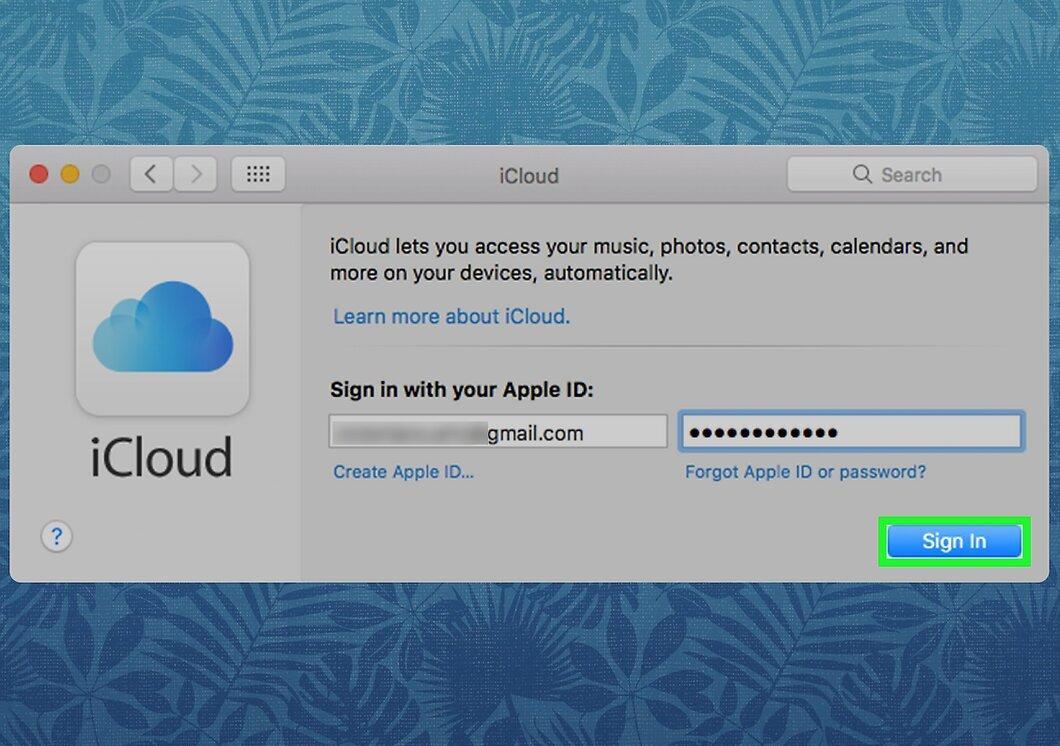
Click Sign In. This button is located in the lower right corner of the window.
Step 11. Allow changes to iCloud settings.
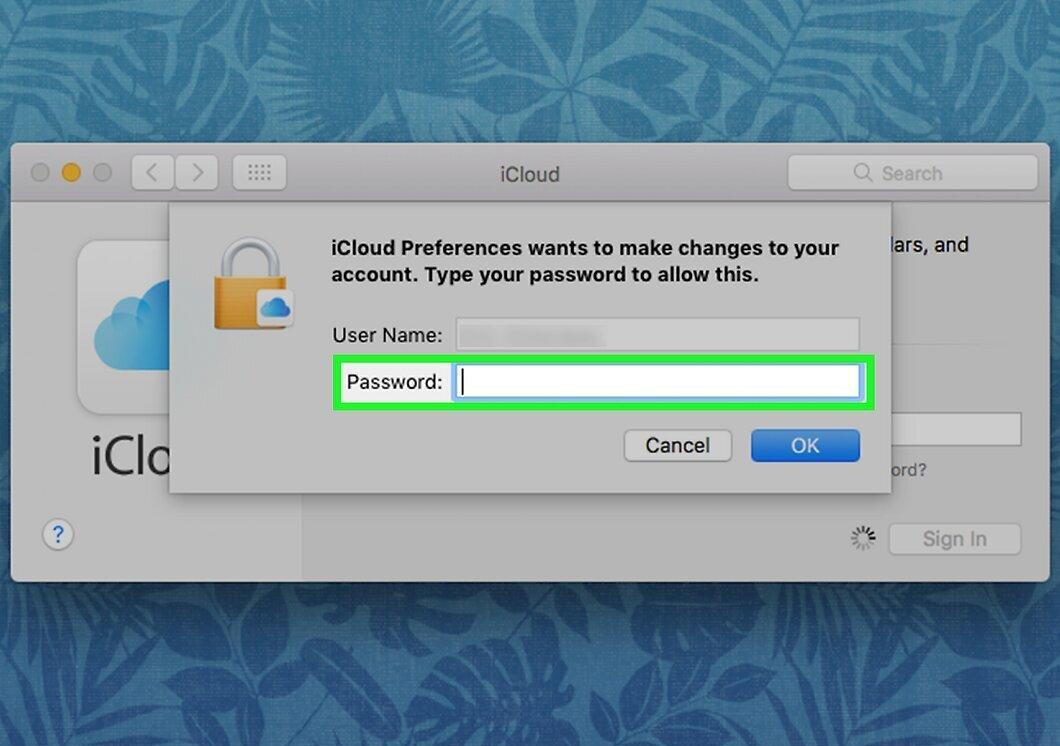
Allow changes to iCloud settings. To do this, enter the name and password of the administrator of the Mac OS X computer.
- If prompted, enter the unlock code from another device. This is due to two-step authentication being enabled.
Step 12. Set up synchronization.
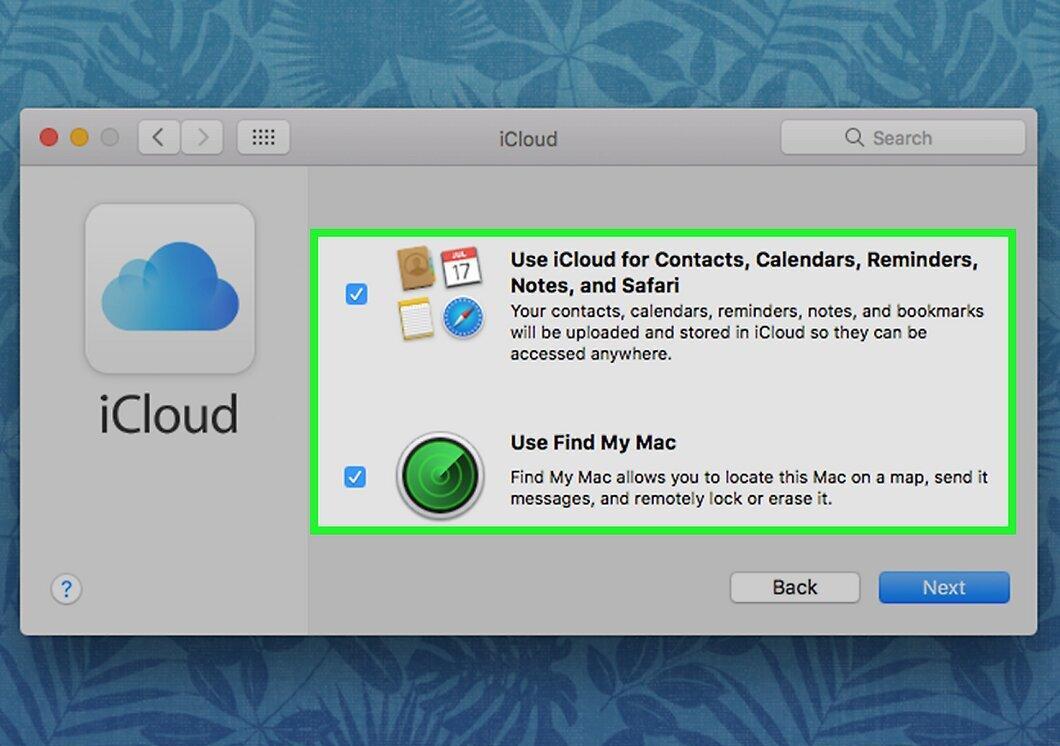
Set up synchronization. If you want to merge calendars, reminders, contacts, notes, and other data stored on the device with the data in your iCloud account, select the top option in the dialog box. Check the bottom option to be able to find your Mac if it is lost or stolen.
Step 13. Click Next.
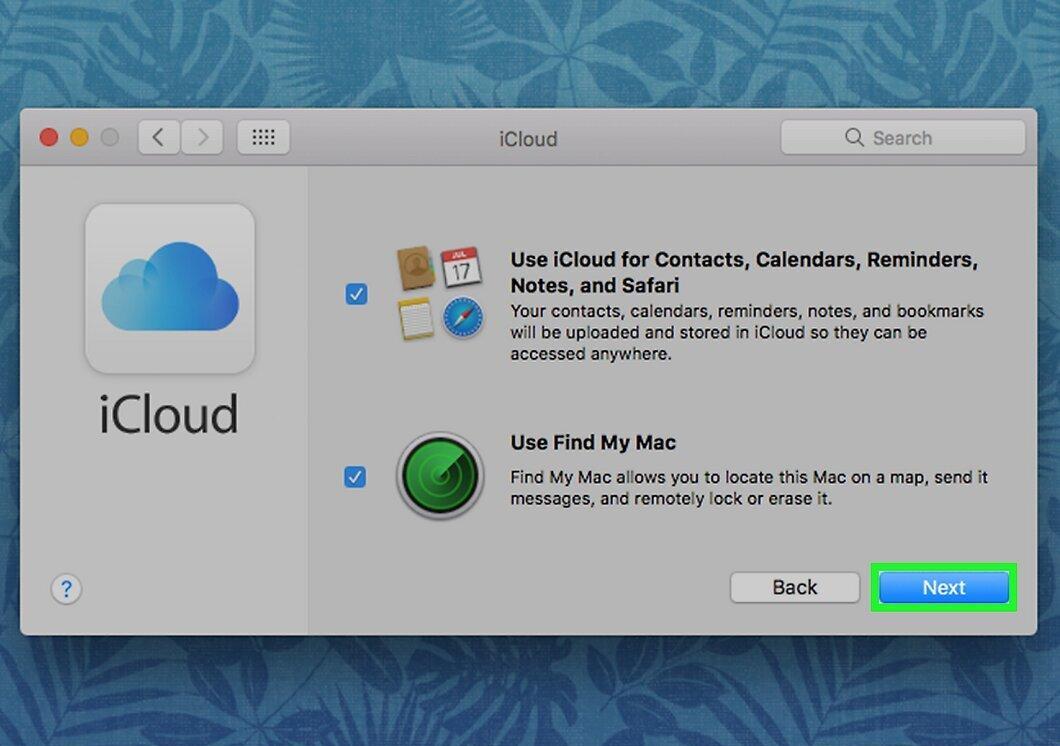
Click Next. This button is located in the lower right corner of the window.
- Click "Allow" to enable location services used by the "Find My Mac" feature.
Step 14. Check the box next to the "iCloud Drive" option.
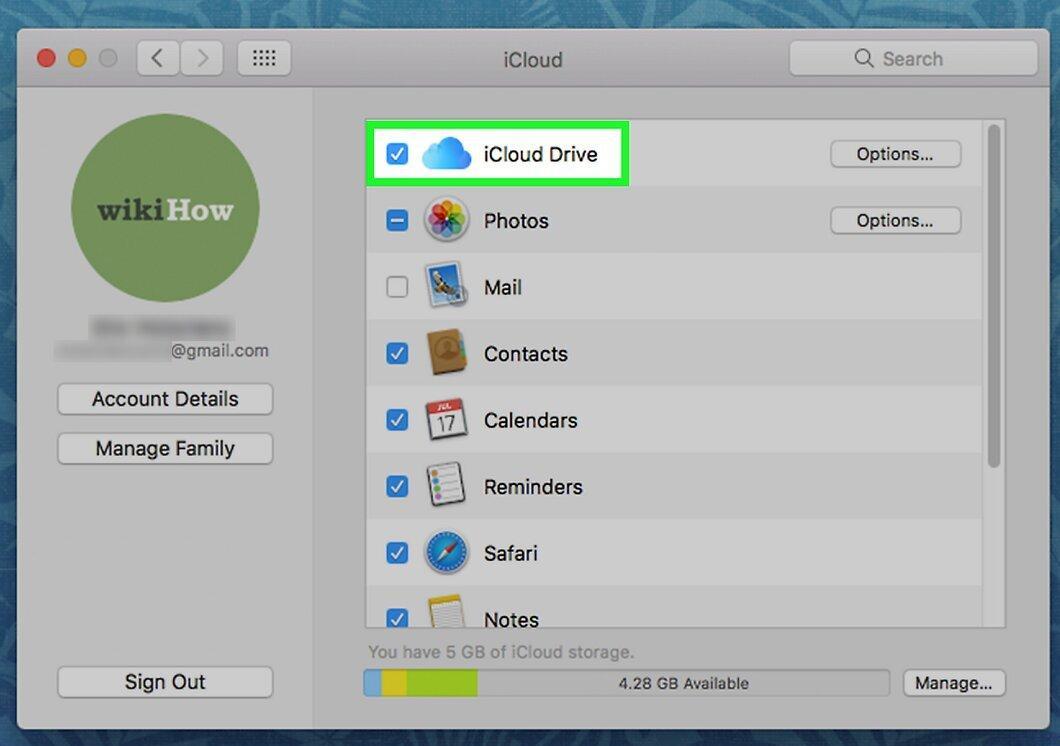
Check the box next to the "iCloud Drive" option. Do this to enable file storage in iCloud.
- Select the apps that have access to iCloud storage by clicking the "Options" button next to the "iCloud Drive" option.
Step 15. Choose the types of data to sync with iCloud.
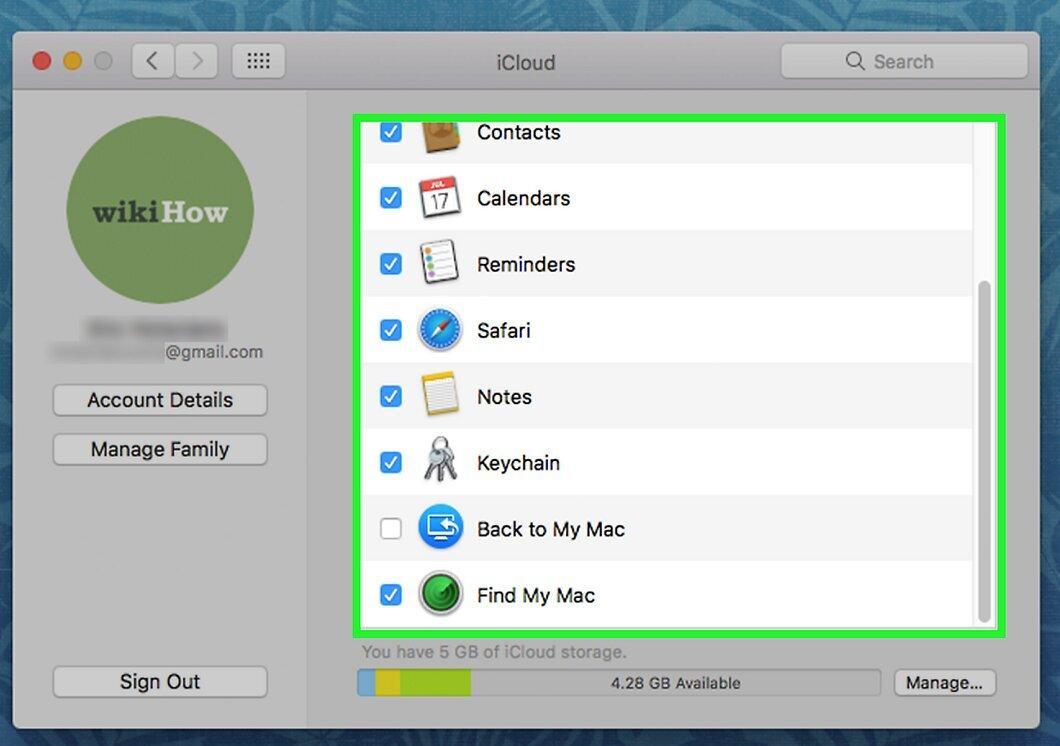
Choose the types of data to sync with iCloud. For this, check the boxes next to the relevant apps (under the "iCloud Drive" option). For example, check the box for "Photos" if you want to back up and access your photos in iCloud. This way, the selected data will be available in iCloud and on any devices signed into the current iCloud account.
- Scroll down to see all applications.
Used iOS Device
Step 1. Contact the previous owner of the device.

Contact the previous owner of the device. If the device was purchased from someone else and their iCloud account is still linked to the device, ask that person to remove the device from their account. There is no other way to unlink the device from an external account. Even if you reset the device to factory settings, the system will prompt you to enter the previous owner's credentials.
Step 2. Ask the previous owner to sign into their iCloud account.
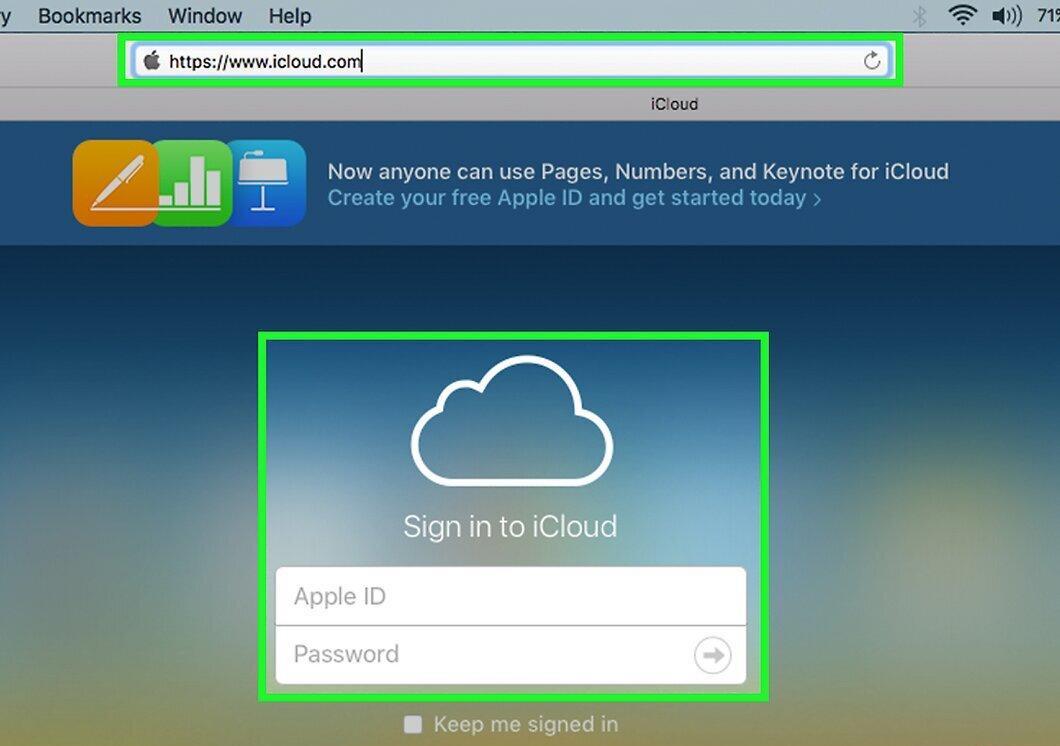
Ask the previous owner to sign into their iCloud account. The device can be unlinked from any account on the iCloud website. Request that they visit icloud.com and log in to the account associated with your device.
Step 3. On the iCloud site, the previous owner should click on "Settings."
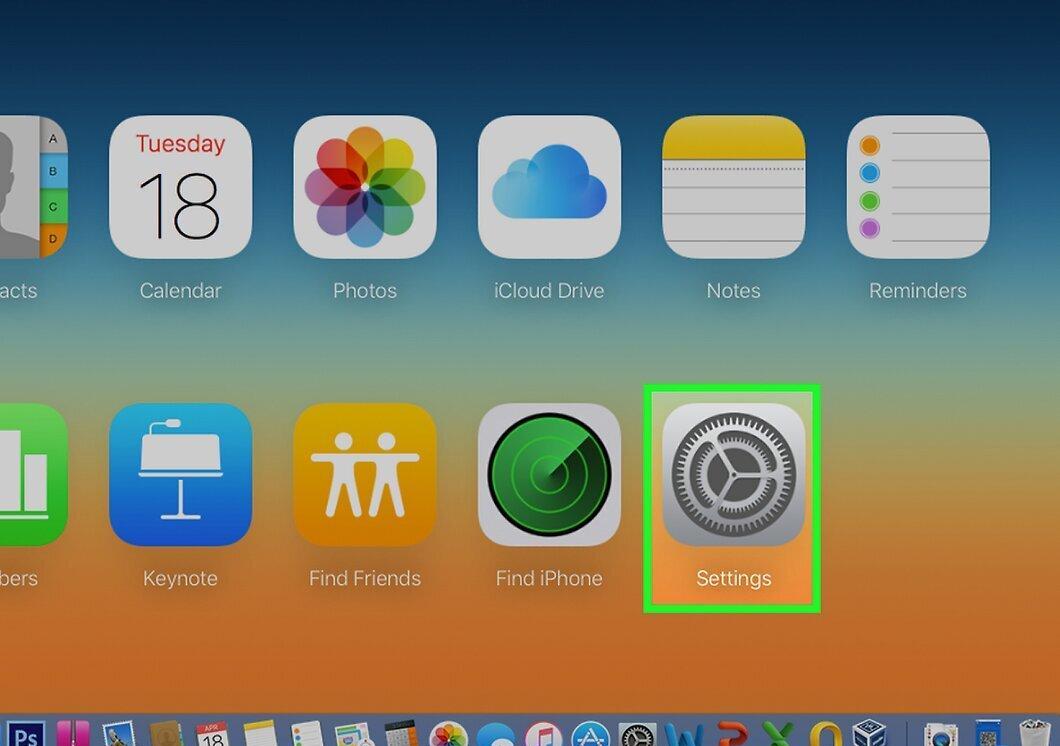
On the iCloud site, the previous owner should click on "Settings." A page with iCloud settings will open.
Step 4. Now the previous owner should click on the icon of their old device in the list of devices.
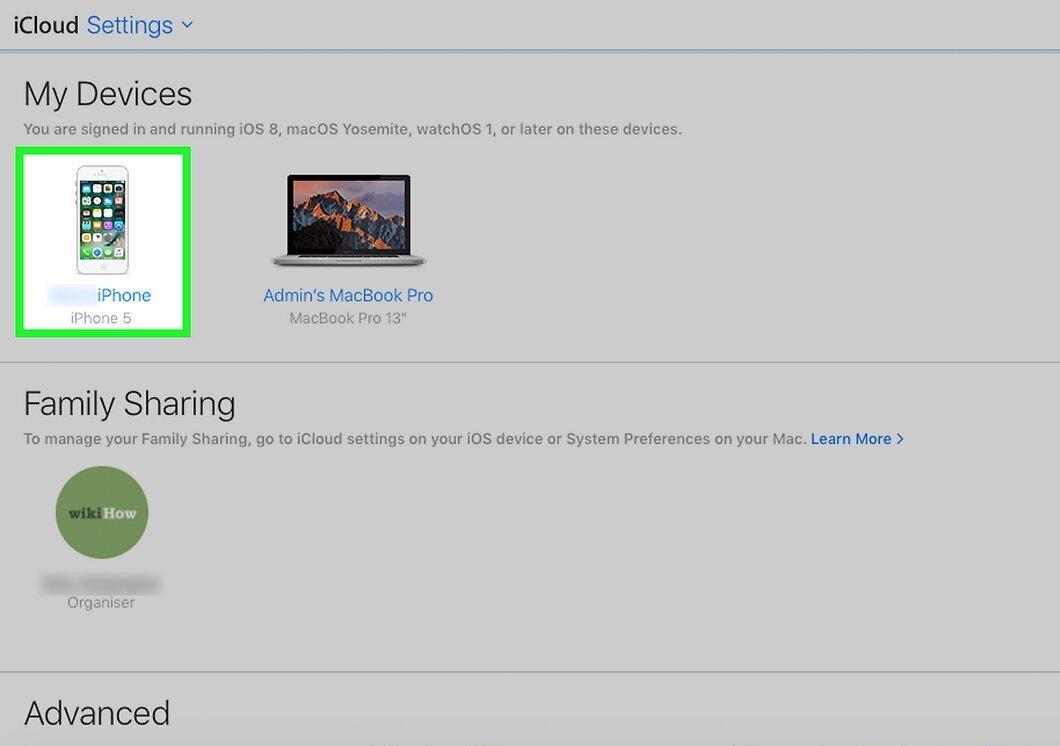
Now the previous owner should click on the icon of their old device in the list of devices. A new window with device data will open.
Step 5. Ask the previous owner to click the "X" button next to your device.
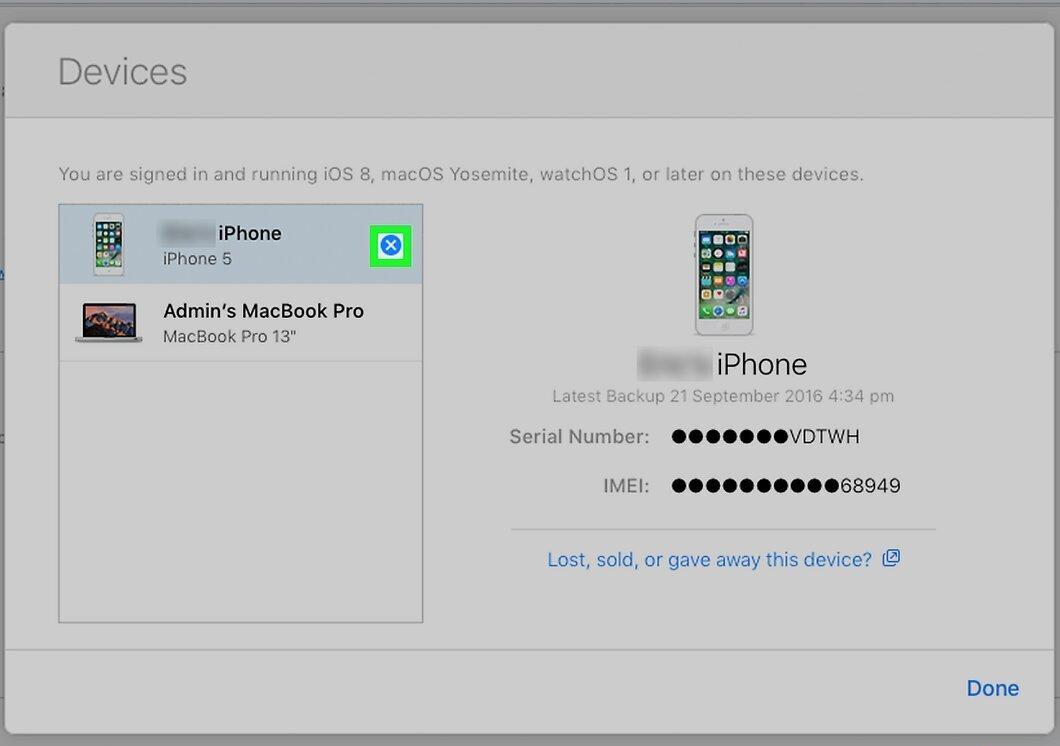
Ask the previous owner to click the "X" button next to your device. This will remove the iPhone from the previous owner's account, and you will be able to sign in to your own iCloud account.


