
On the hottest day of the year, your air conditioner may decide to stop working unexpectedly. The repair process can be quite costly, leaving you waiting for a technician from a service company. But is that really necessary? Perhaps the following tips will help you save money and maintain a comfortable indoor temperature.
Troubleshooting
Step 1. Identify the Problem.
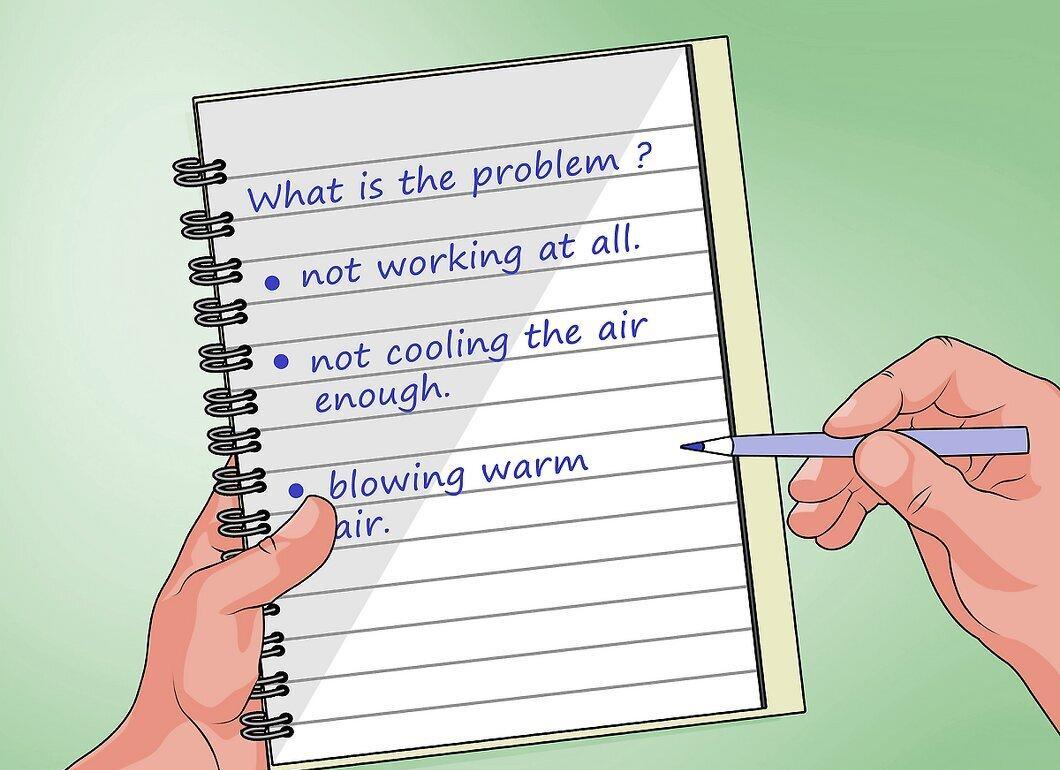
Try to determine what the issue is. Is the air conditioner completely non-functional, or is it just not cooling and blowing warm air?
Step 2. If the Unit is Completely Non-Functional:
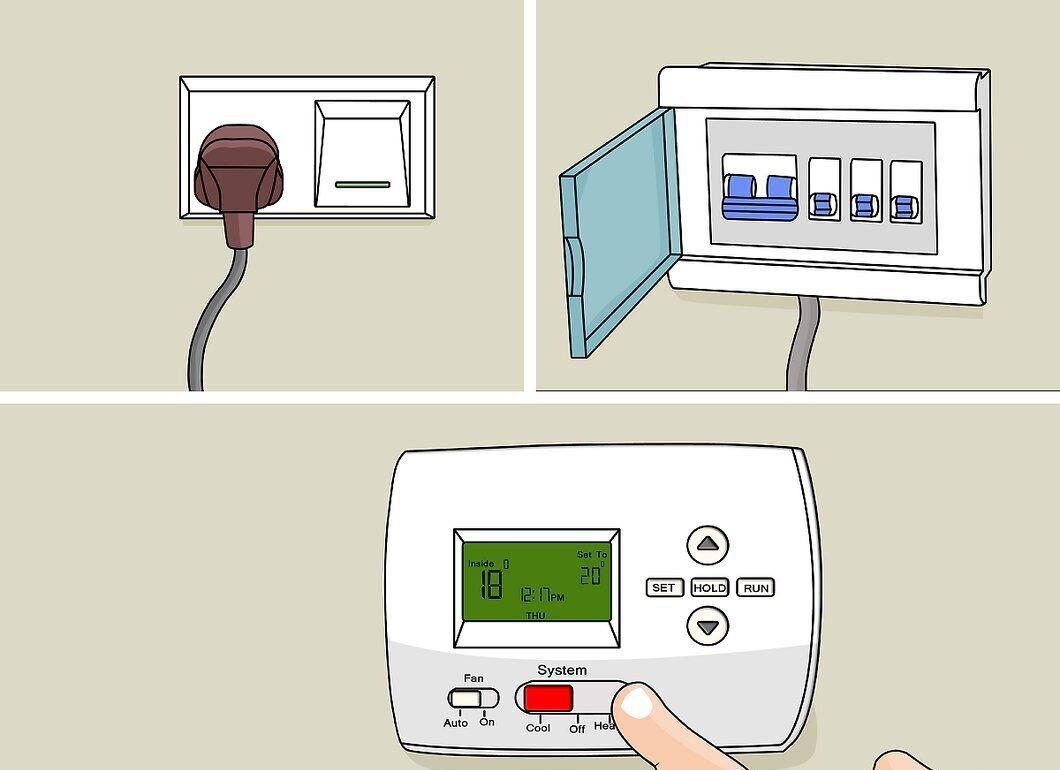
If the unit has stopped working, figure out what exactly is not functioning—the outdoor unit or the indoor unit.
- Make sure the air conditioner is plugged into the power outlet. Although it sounds trivial, this is often the source of the problem. The plug may have been accidentally pulled out of the socket, perhaps by children or pets.
- Check the circuit breakers and fuses. Ensure they are in place and functioning. In older homes, wiring can become overloaded if both the air conditioner and, say, an iron or refrigerator are connected to the same circuit.
- Check the thermostat settings. Ensure it is set to cooling mode and is functioning properly. Just like with the plug, the settings may have been accidentally changed.
Step 3. Inspect the Fan and Belt.
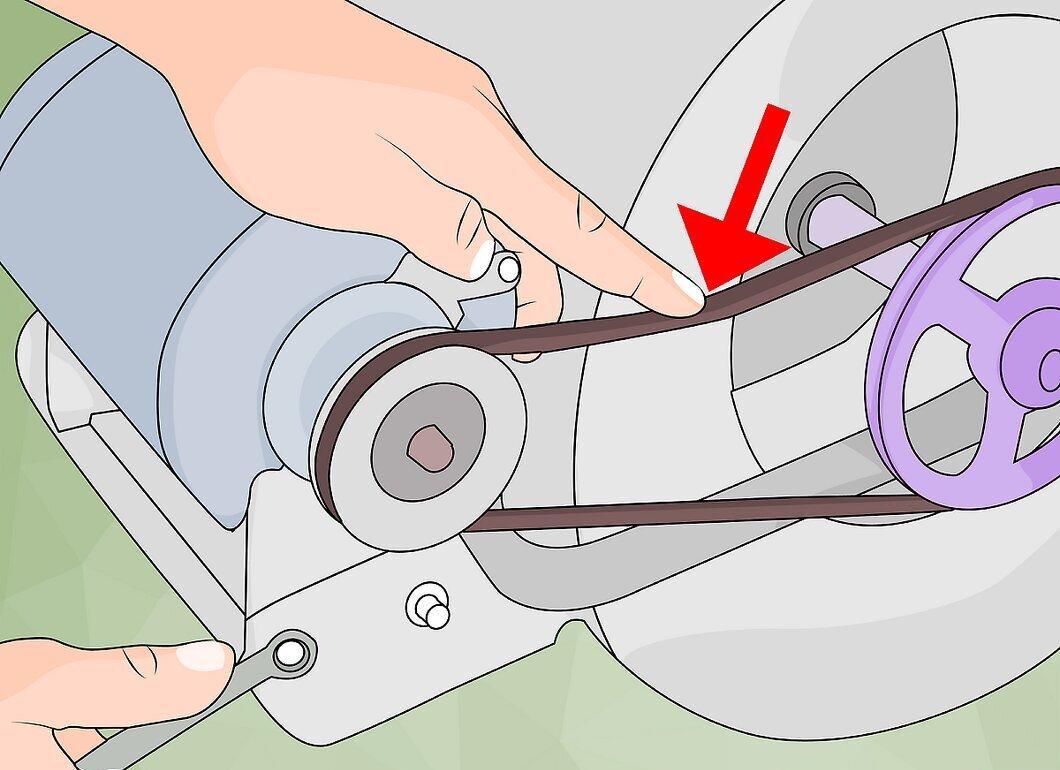
Check the condition of the fan belt—see if it is sagging, if there are any damages or tears, and whether the fan is spinning. If the airflow is weak, it could lead to ice buildup and reduced cooling efficiency.
- If the belt is damaged, repair or replace it. Allow the ice to completely melt before turning the air conditioner back on.
Step 4. Check the Heat Exchanger and Filters.
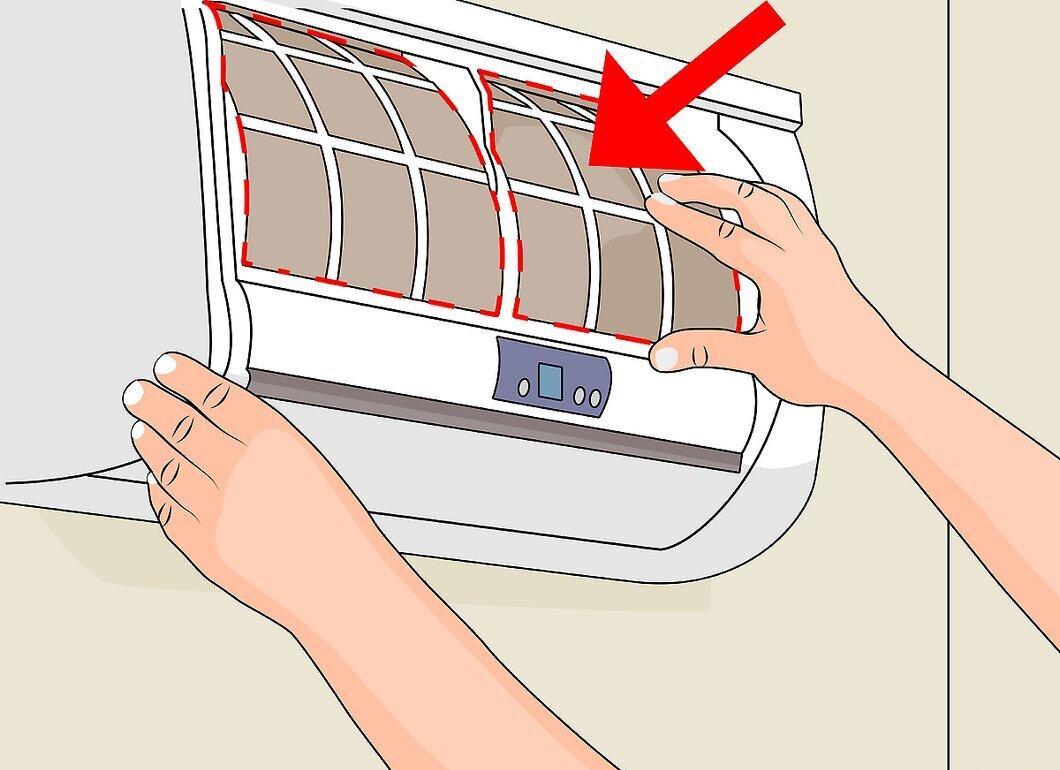
Assess the condition of the heat exchanger and filters. If they are clogged with dirt, clean them thoroughly. Make sure the ice has completely melted before restarting the unit.
Step 5. Contact a Service Center.
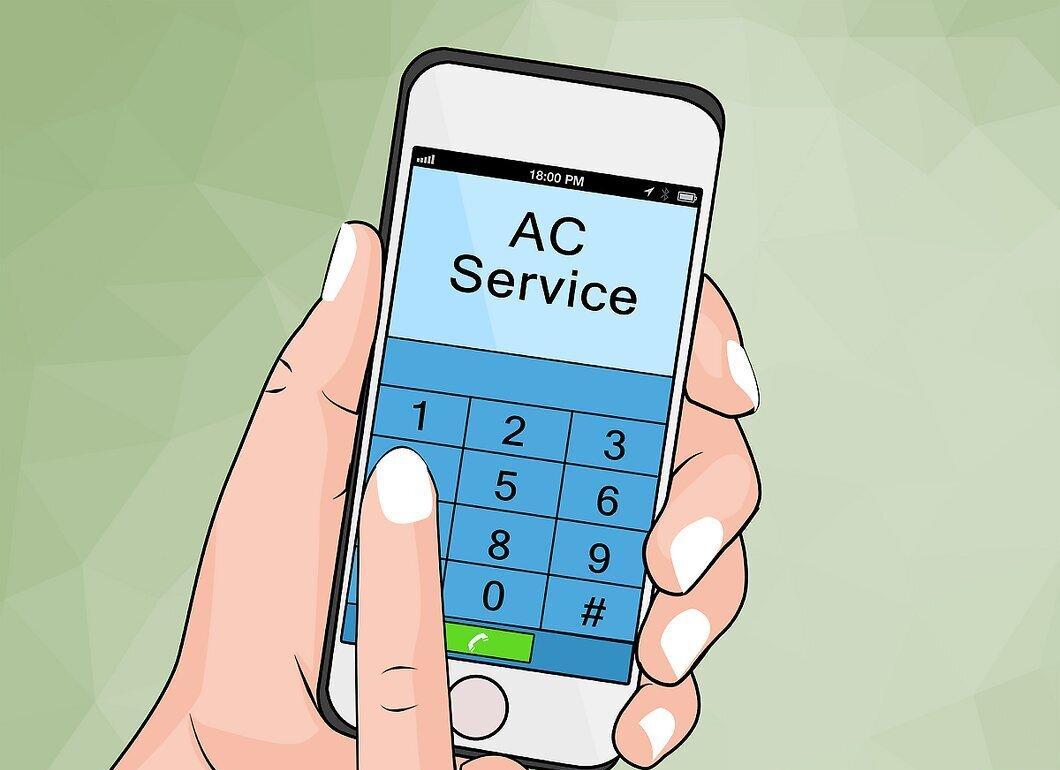
If you’ve checked all of the above and everything seems fine, it might be time to call a service company.
Prevention and Maintenance
Step 1. Clean the Heat Exchanger Before the Season Starts.
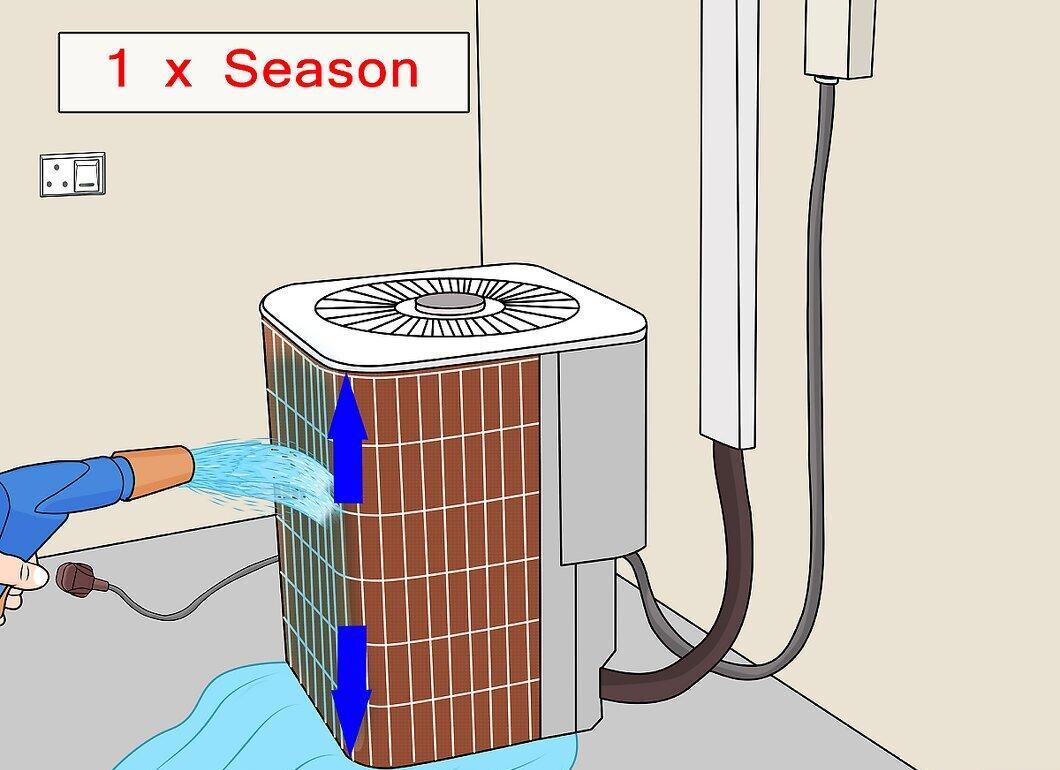
Before the hot season begins, make sure to clean the heat exchanger. Turn off the air conditioner and, using a hose, wash it from top to bottom. Be cautious if your outdoor unit is near vent openings or cottonwood trees—dust and fluff can negatively affect its performance.
Step 2. Regularly Clean the Filters.
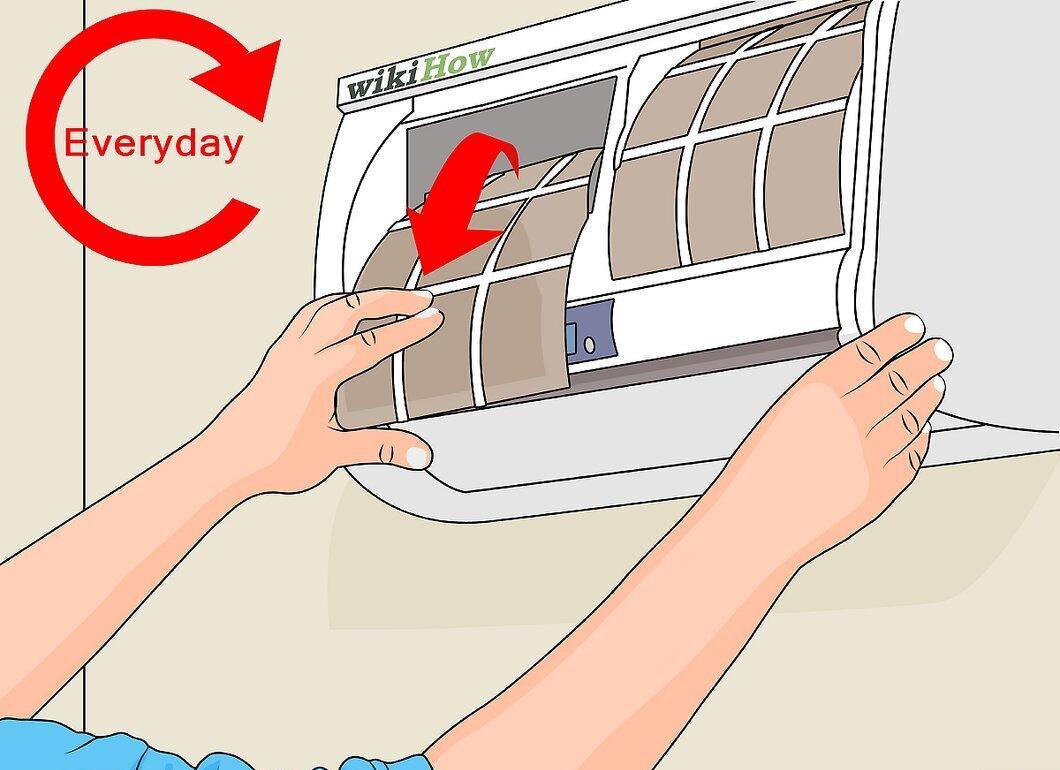
Don’t forget to regularly clean or replace the filters. This simple yet effective step can improve your air conditioner’s performance. It will also reduce the frequency of its startup, extending the lifespan of the unit.
- If you notice ice formation on the evaporator or radiator, it’s a clear sign that the filter needs cleaning.
- Although the filter may be hidden, you will feel the difference in temperature when touching the unit. Ice can also form on the pipe leading to the outdoor unit.
- Ice buildup may indicate that the filter is too dirty, obstructing normal airflow and preventing the cooling unit from working effectively.


