
Want to be sure that no one can recover your personal data from your hard drive? Let’s explore several reliable ways to make your information inaccessible for recovery.
Boot and Nuke Method
Step 1: Download Darik's Boot and Nuke (DBAN)
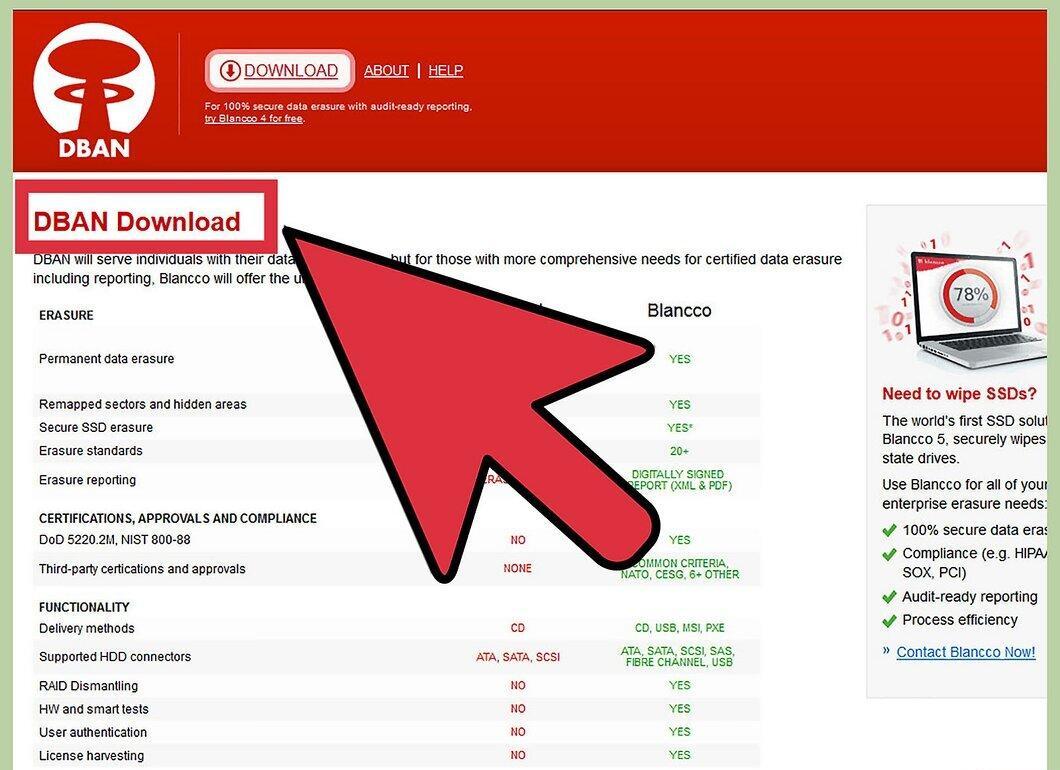
Start by downloading Darik's Boot and Nuke (DBAN) from this link. There are two versions of the program: one for modern PCs and Macs, and another for older Mac models. This makes DBAN usable on nearly all computers released in the last decade.
Step 2: Burn DBAN to a Disk.
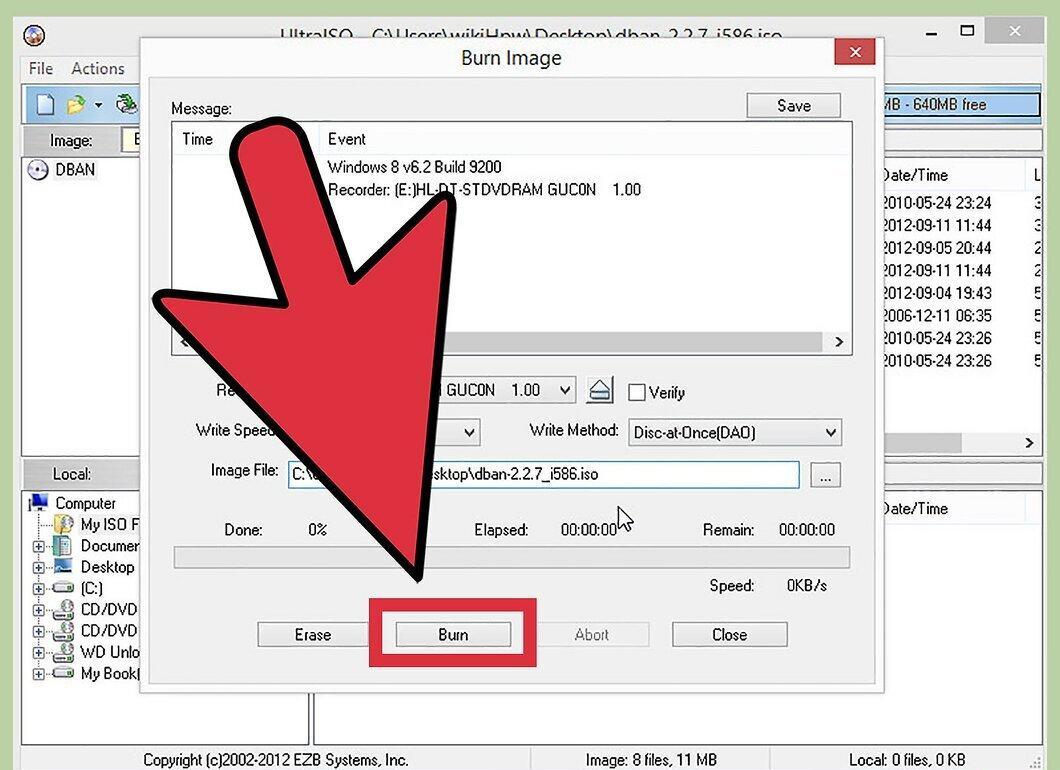
Next, burn DBAN to a CD. Since DBAN is an ISO file, you will need special software to write it to a disk; a standard burn won’t work. Ensure that the burned disk includes an "ISOLINUX" folder; otherwise, you won’t be able to use it to wipe the hard drive.
- If you have Windows 7, you already have the necessary software to burn ISO files—just double-click the file. If you’re using an older version of Windows without suitable software, download something like BurnCDCC.
Step 3: Boot from the CD.
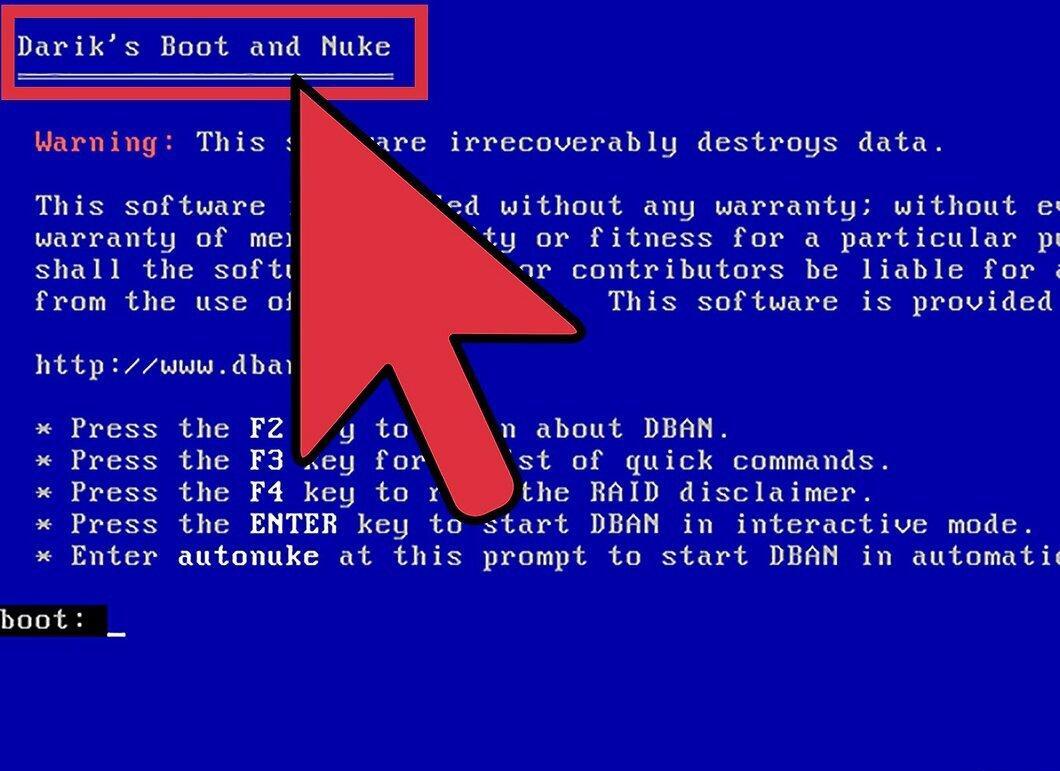
Insert the CD into your computer’s drive and boot from it. If it doesn’t boot automatically, you may need to change the boot order in the BIOS. On Apple Mac computers, hold down the "C" key during startup.
Step 4: Wipe the Data.
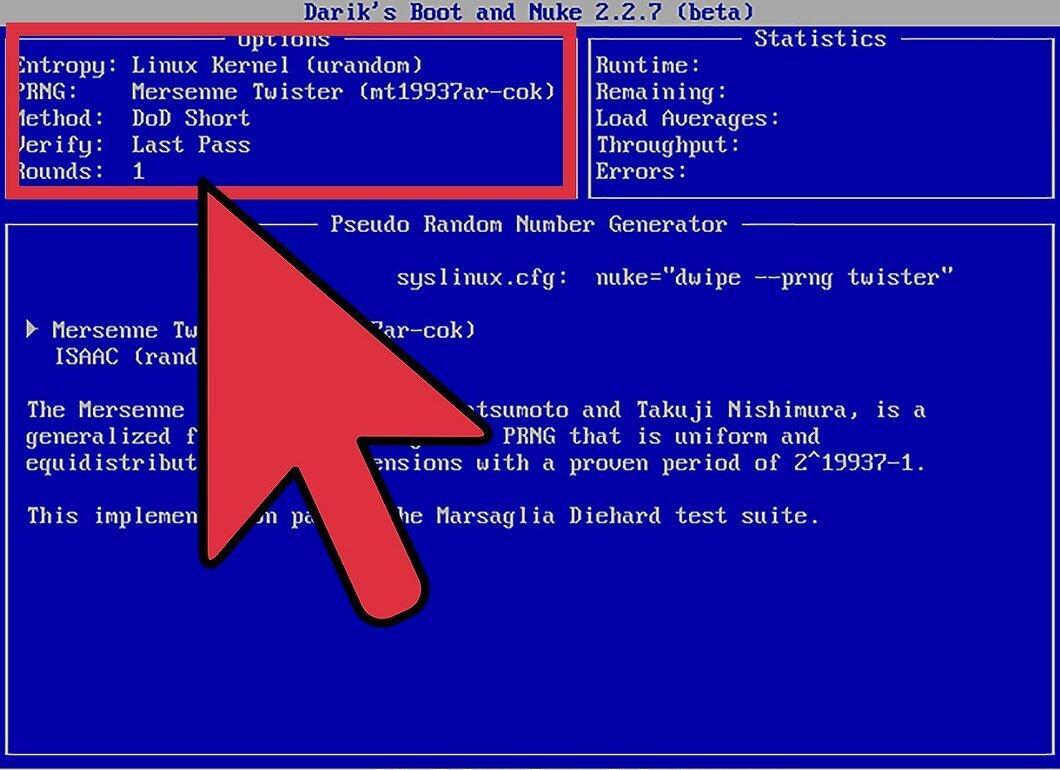
Select the disk you want to wipe (be sure to select the correct disk, as recovering data will be impossible). You can configure the number of overwrites and erase the data. The default of three passes is more than sufficient. Overwriting once with random data will provide protection against data recovery.
Physical Destruction Method
Step 1: Remove the Hard Drive from the Computer or External Enclosure.
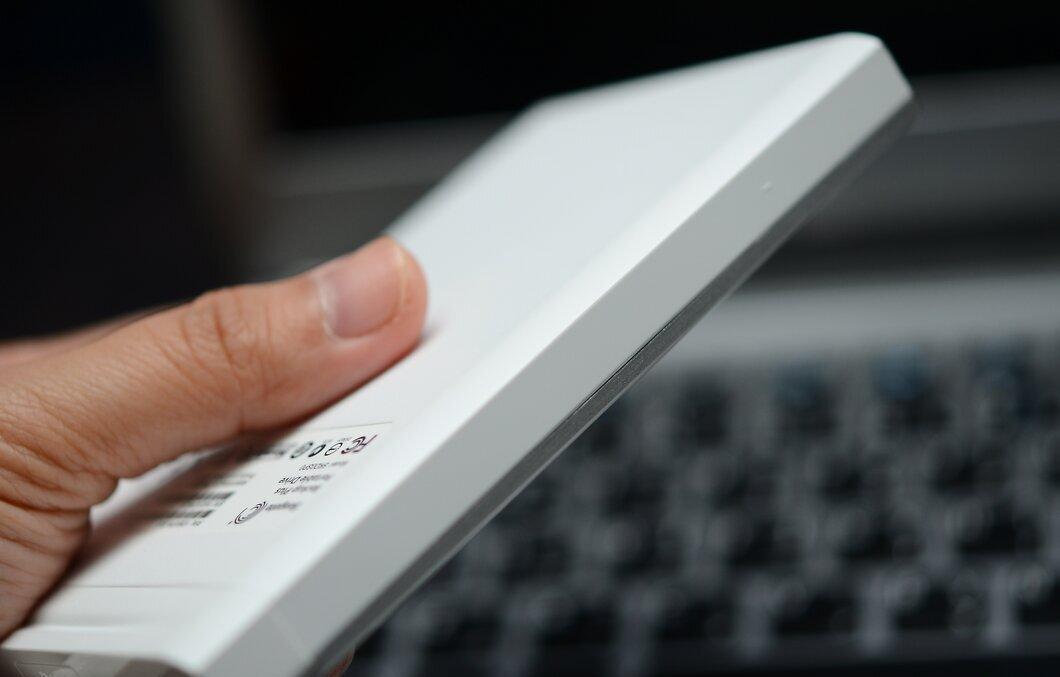
Step 2: Remove the Top Cover by Unscrewing the Screws.
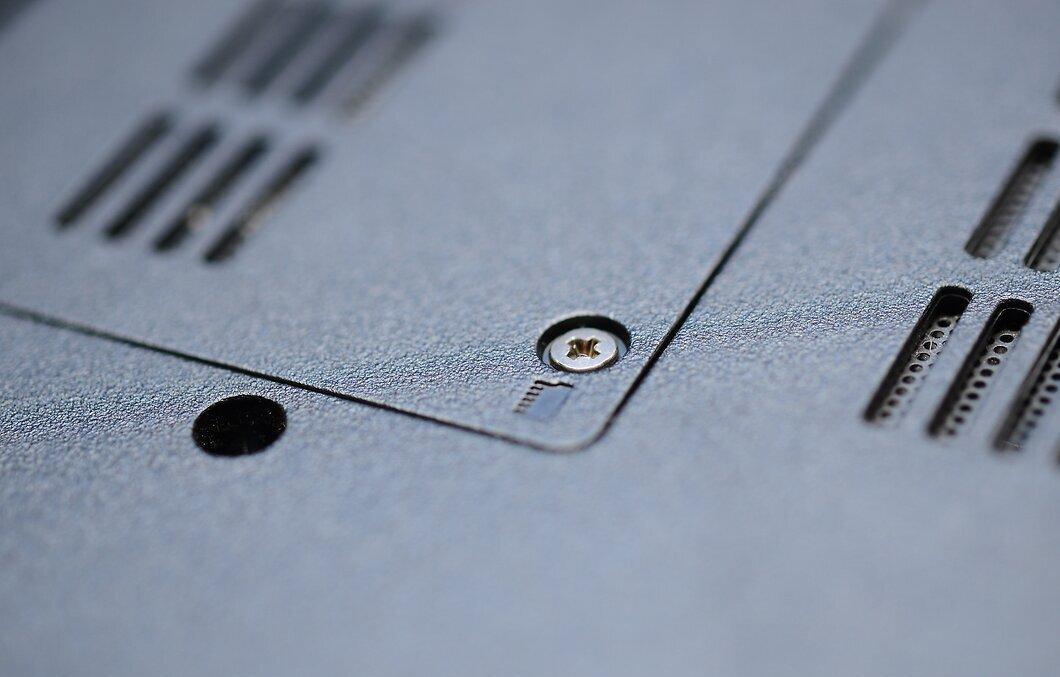
Unscrew the screws holding the top cover in place. Most hard drives require a T-9 screwdriver. Sometimes, a sealing compound is used that also needs to be removed.
Step 3: Destroy the Disks.
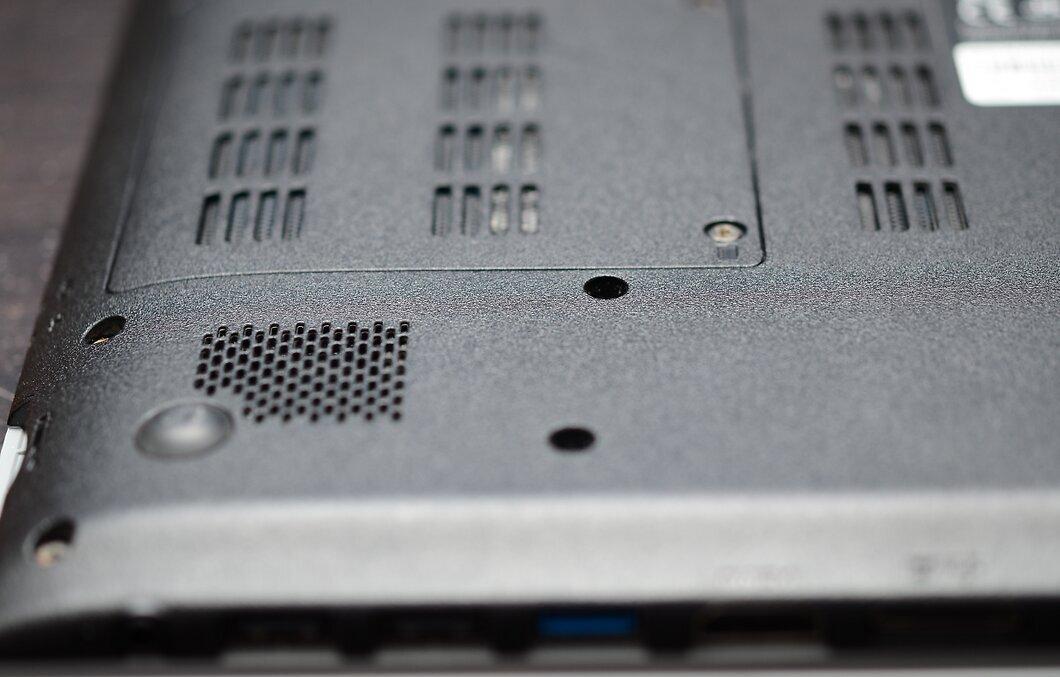
Once the cover is removed, you will see 2 or 3 silver platters. Use a screwdriver to scratch their surface several times, and then smash them with a hammer. Do this outside, placing the hard drive on a sturdy surface like concrete. Be sure to protect your eyes from flying shards. If you have a heavy hammer (about 10 lbs), you can skip opening the casing—just a few strong strikes will shatter it and destroy the platters. This method is also suitable for older 5.25" hard drives with metal platters.
Selective File Deletion Method
Step 1: For Windows
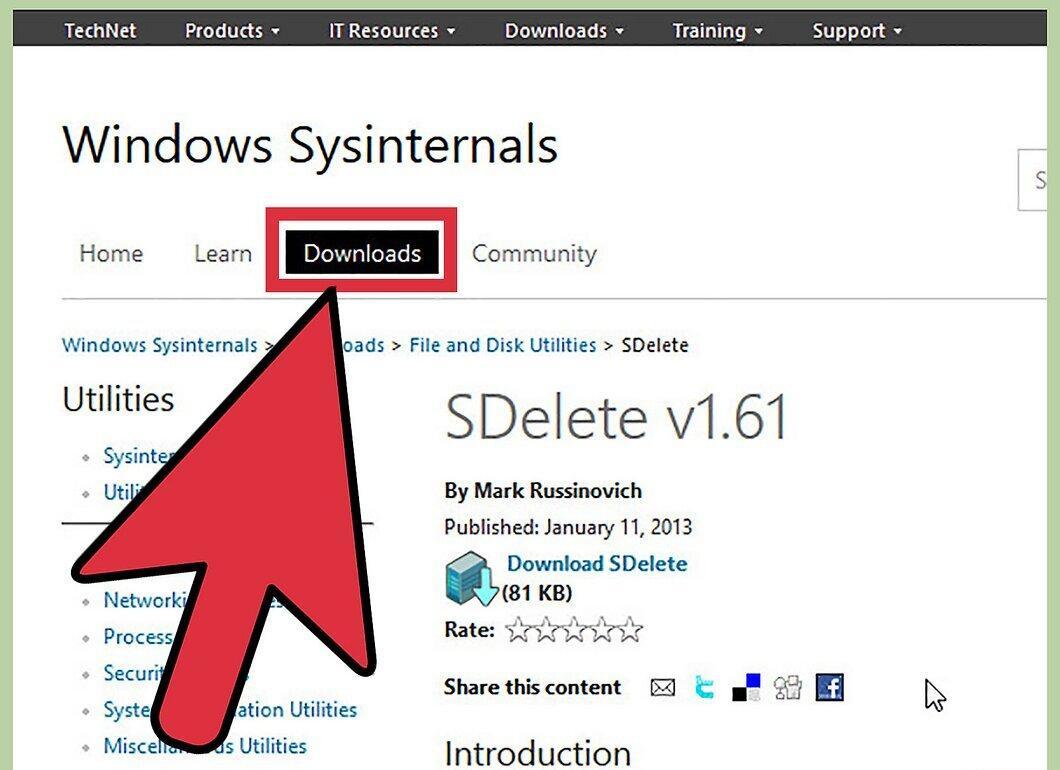
- Microsoft SDelete: securely delete files and clean free space.
- Wipe File: overwrites the disk area occupied by the deleted file.
- DeleteOnClick: offers a "Securely Delete" option that removes files using the DoD 5220.22-M algorithm.
- Eraser: allows you to schedule regular overwriting of free disk space to protect against recovery.
- WBD (Wipe Bad Disk): can work with disks that have bad sectors.
Step 2: For Mac OS X
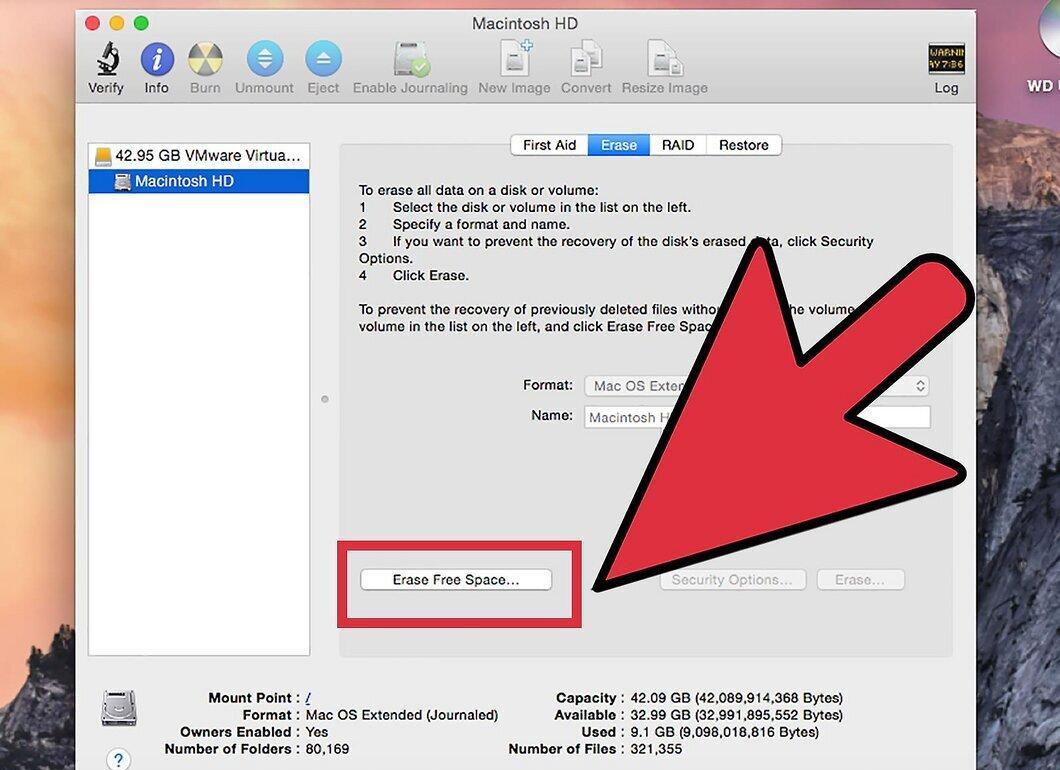
- Permanent Eraser: an alternative to the "Empty Trash Securely" function, overwriting files 35 times.
- Disk Utility: a built-in utility in Mac OS X that features an "Erase Free Space..." option, performing overwrites on unused space 1, 7, or 35 times.
- srm: a terminal command for securely deleting and overwriting files.
Step 3: For Linux (Ubuntu)
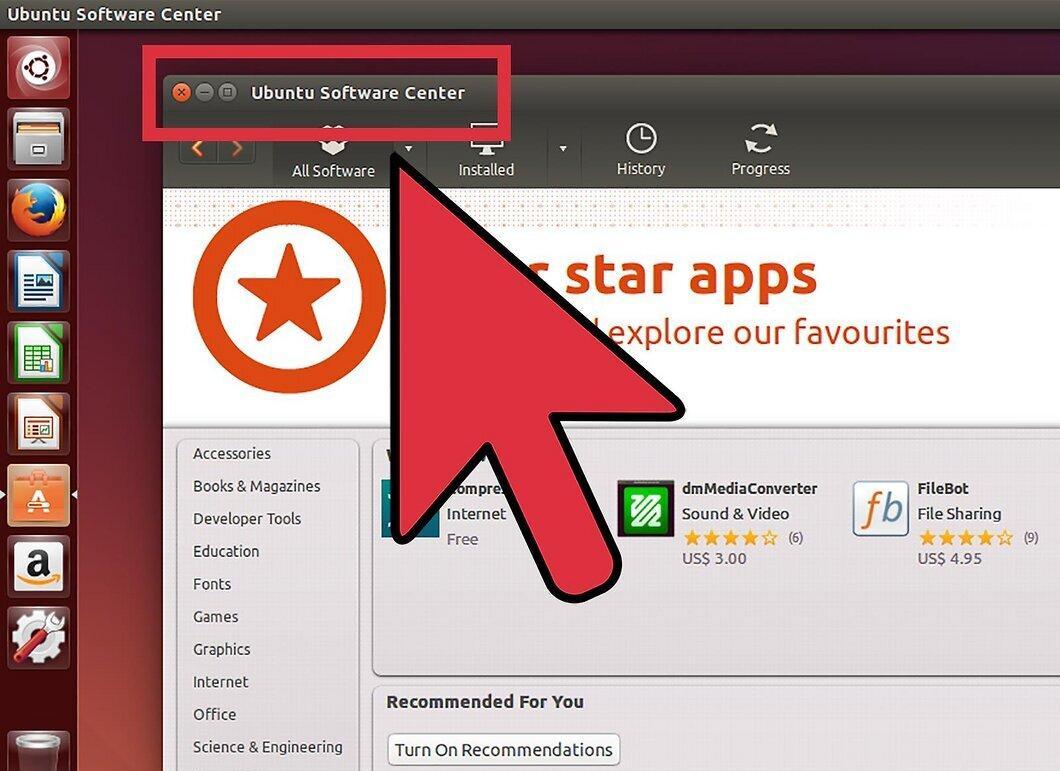
- Wipe Package from Ubuntu Unleashed: adds the ability for secure deletion in multiple passes, similar to DeleteOnClick for Windows.


