
In this article, you'll learn how to connect a compatible HP printer to a wireless network, allowing you to print documents without needing to connect the printer to your computer. Not all HP printers come with a wireless module, so first, ensure that your printer can connect to the internet.
How to Connect Automatically
Step 1. Ensure your computer and network are compatible.
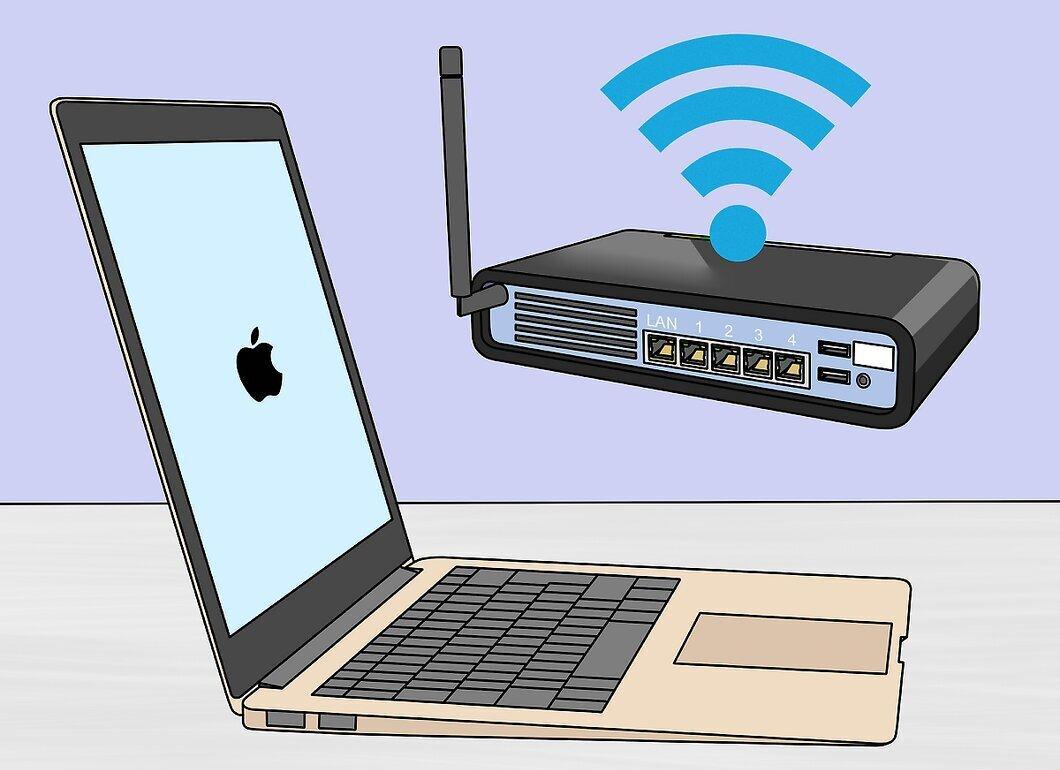
Make sure your computer and network are compatible. To use the "Auto Wireless Connect" feature, the configuration of your computer and network must meet the following requirements:
- Your computer must be running Windows Vista or later, or OS X 10.5 (Leopard) or later;
- Your computer must be connected to a wireless router 802.11 b/g/n via a 2.4 GHz connection. Currently, HP does not support 5.0 GHz networks;
- The operating system on your computer must control the wireless network;
- Your computer must use a wireless connection to the network and operating system;
- Your computer must use a dynamic, rather than a static IP address (if you haven't paid for a static IP address, you likely have a dynamic IP address).
Step 2. Find the printer software.
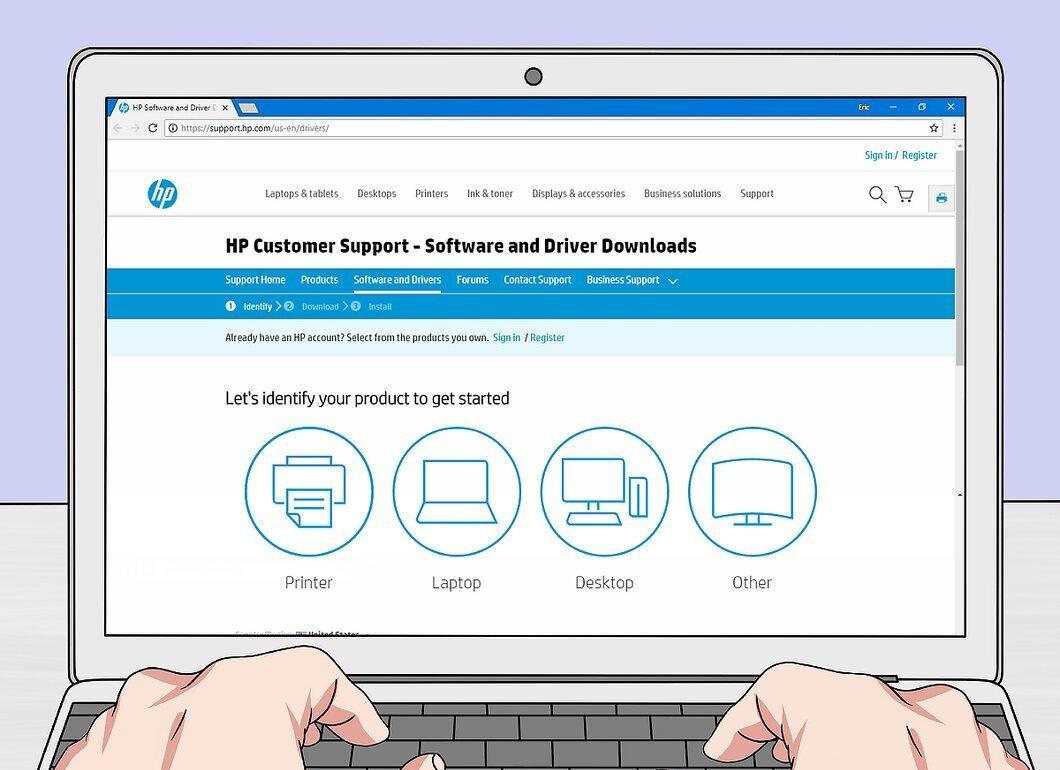
Find the printer software. Go to https://support.hp.com/en-us/drivers/, enter your printer model number, click "Add," and then click "Download" for the software.
Step 3. Double-click the downloaded file.
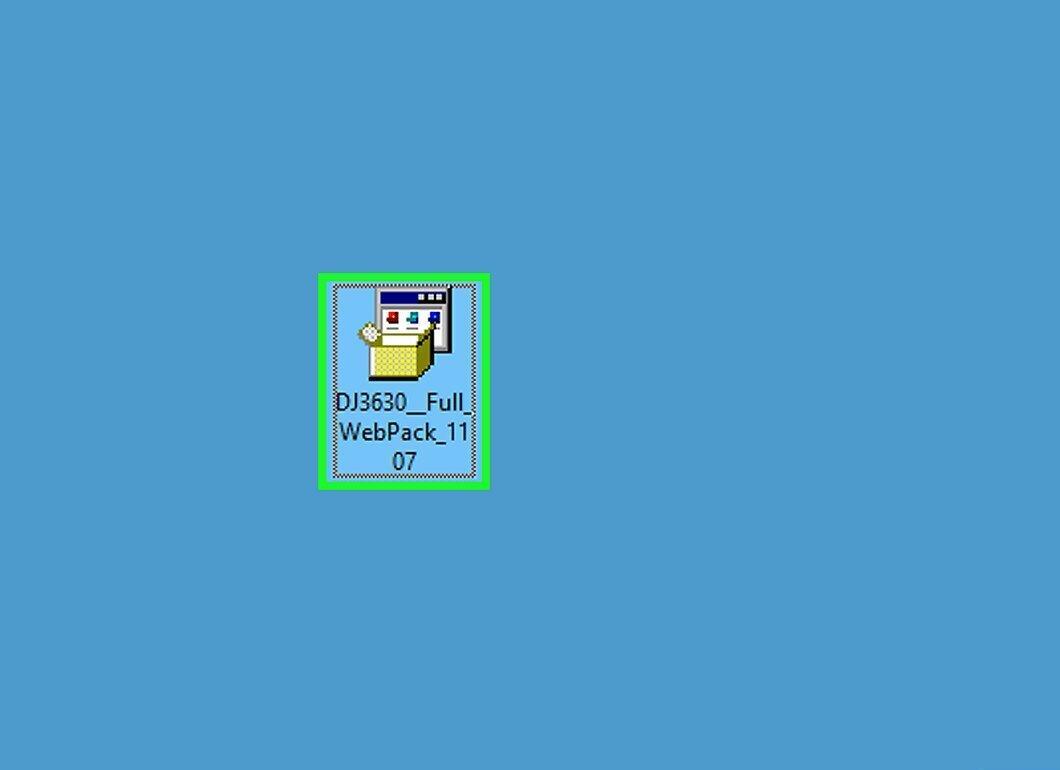
Double-click the downloaded file. The printer setup process will begin.
Step 4. Turn on the printer.
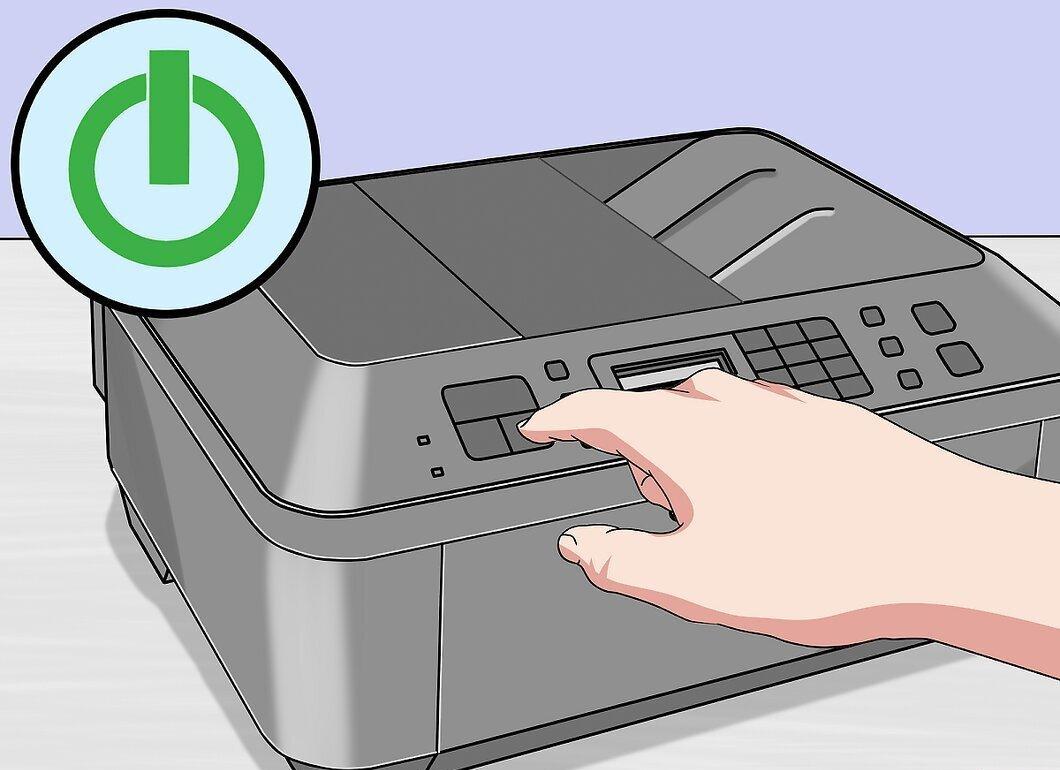
Turn on the printer. If the printer has the "Auto Wireless Connect" feature, it will be ready to connect to the network.
- The printer will remain in a ready state for only two hours.
Step 5. Follow the on-screen instructions until you reach the "Network" section.
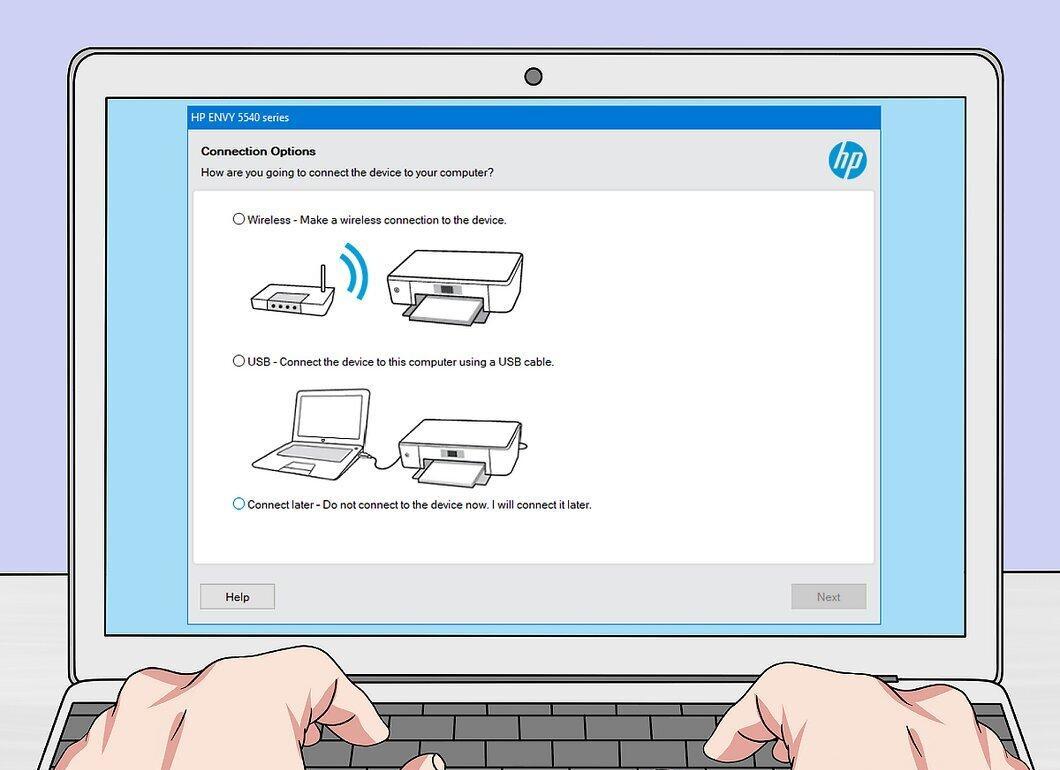
Follow the on-screen instructions until you reach the "Network" section. Instructions will vary depending on your printer model and computer operating system.
Step 6. Select Network (wired/wireless)
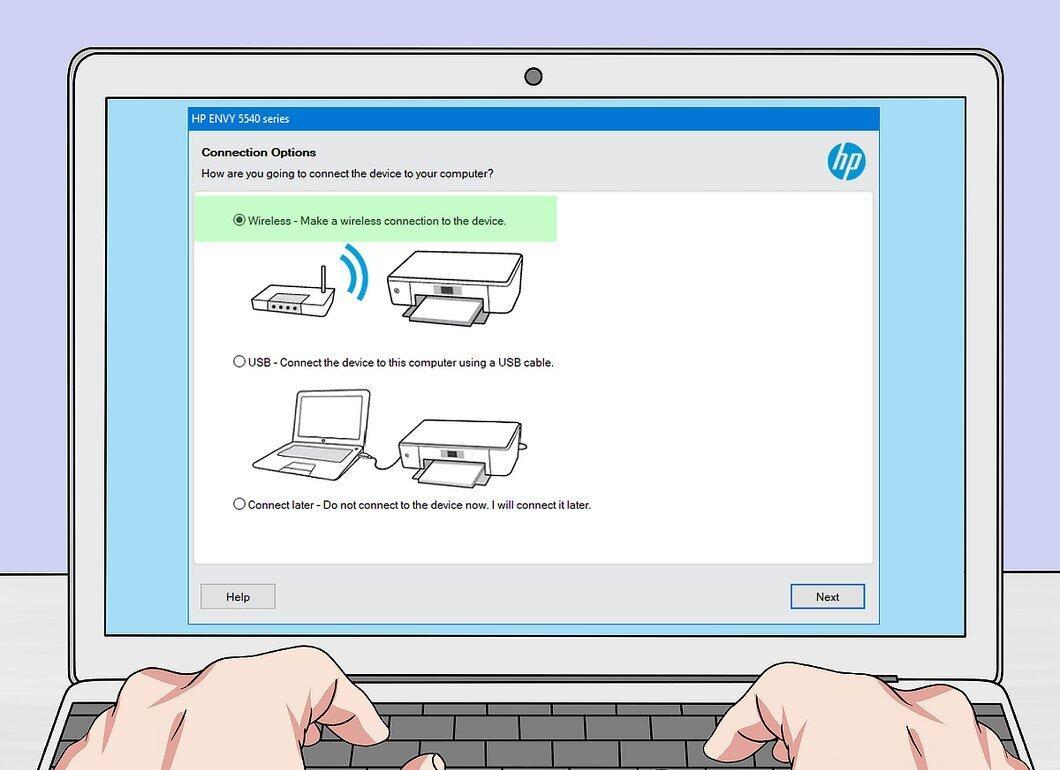
Select Network (wired/wireless). This option is located in the middle of the page.
Step 7. Click Yes to send wireless network settings to the printer.
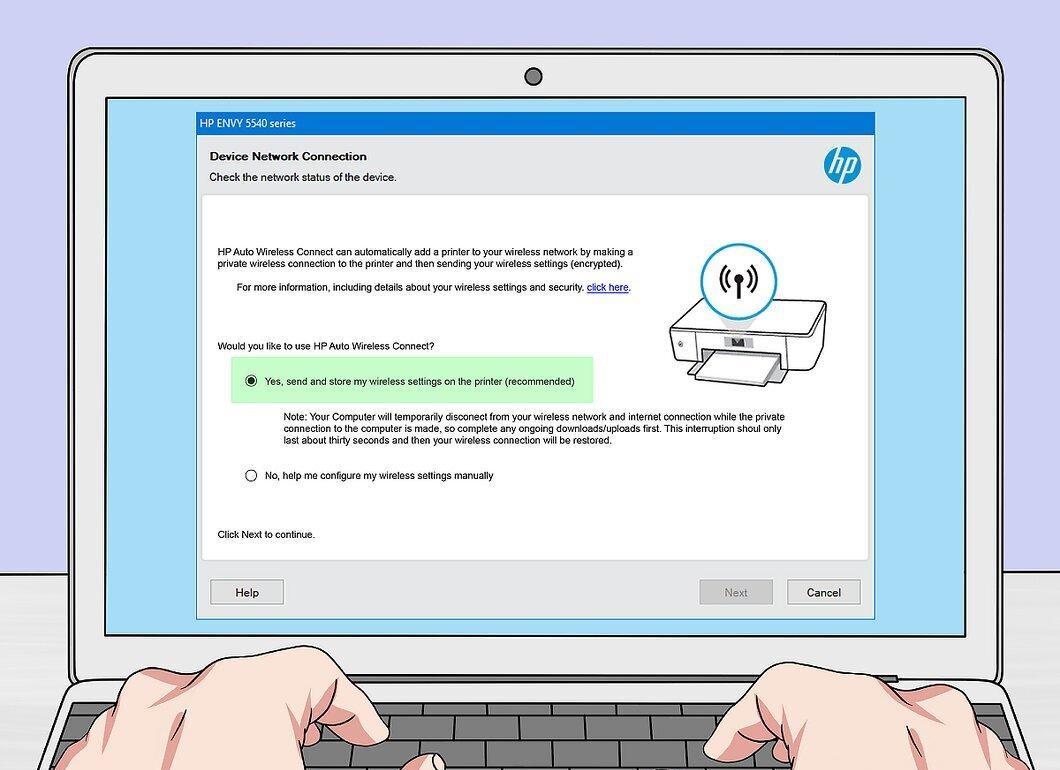
Click Yes to send wireless network settings to the printer. The printer will be found, and the wireless network settings will be sent to it.
Step 8. Wait for the printer to connect to the network.
Wait for the printer to connect to the network. This may take some time, and a confirmation will appear on the screen.
Step 9. Complete the setup.
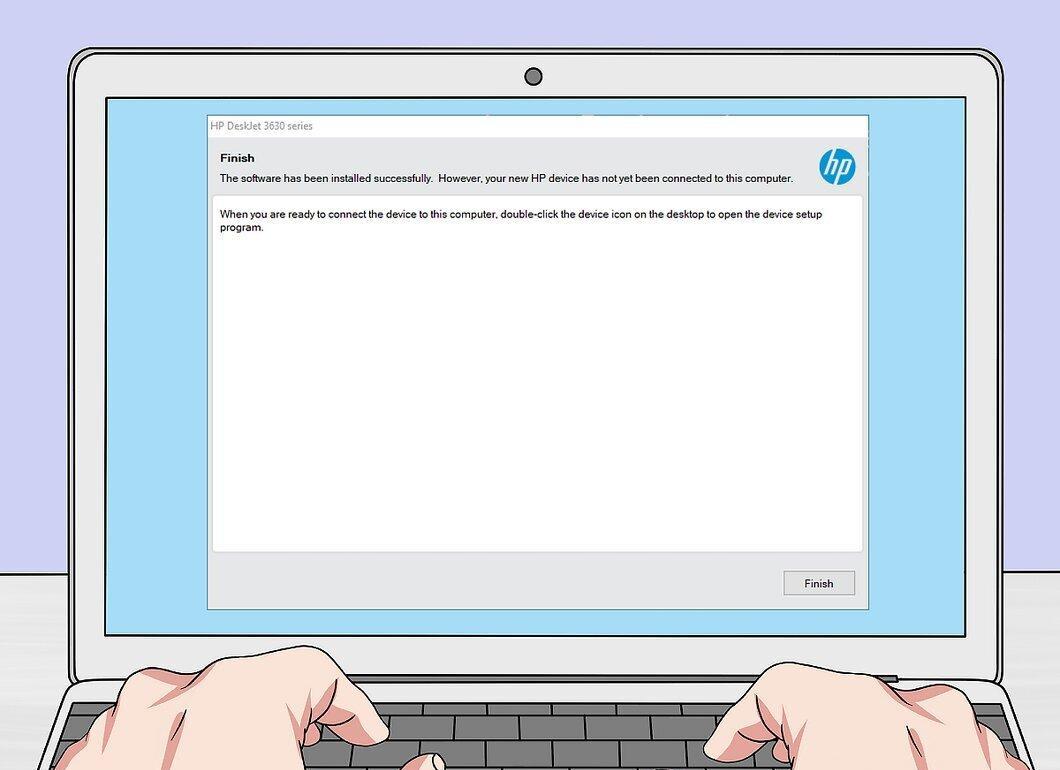
Complete the setup. Follow the on-screen instructions. Your printer is now ready to use.
How to Connect Manually
Step 1. Ensure the printer is installed on your computer.
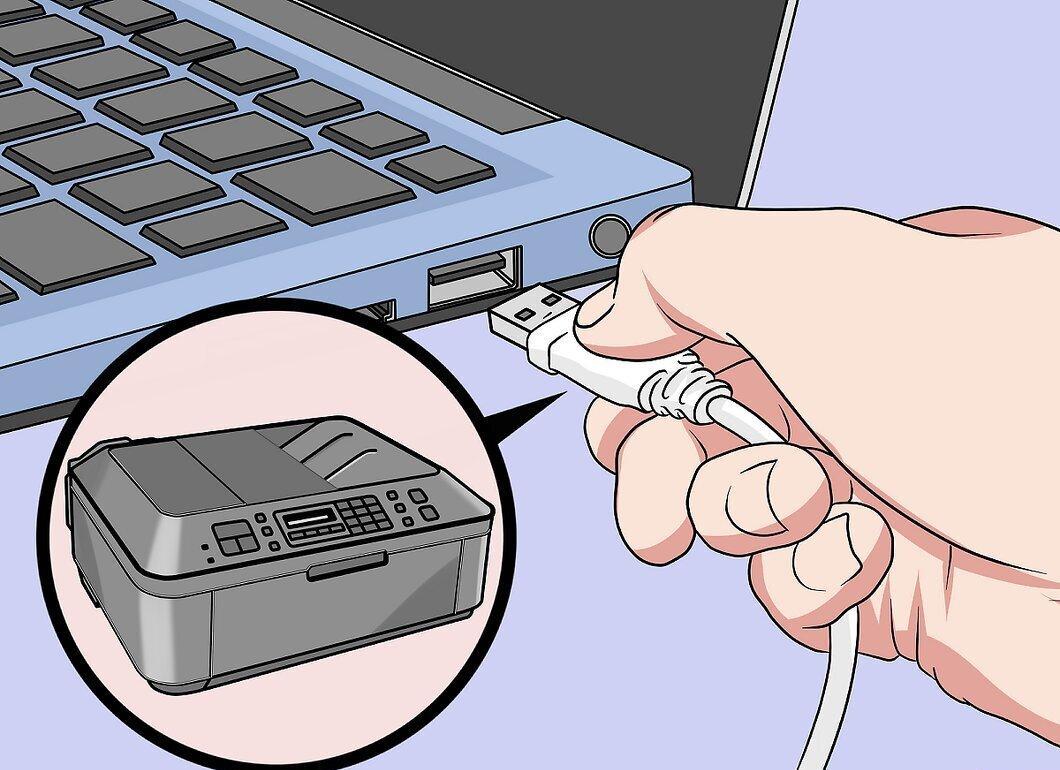
Make sure the printer is installed on your computer. In most cases, you need to connect the printer to your computer using a USB cable and allow the system to install the software, although many printers come with installation CDs.
Step 2. Turn on the printer.
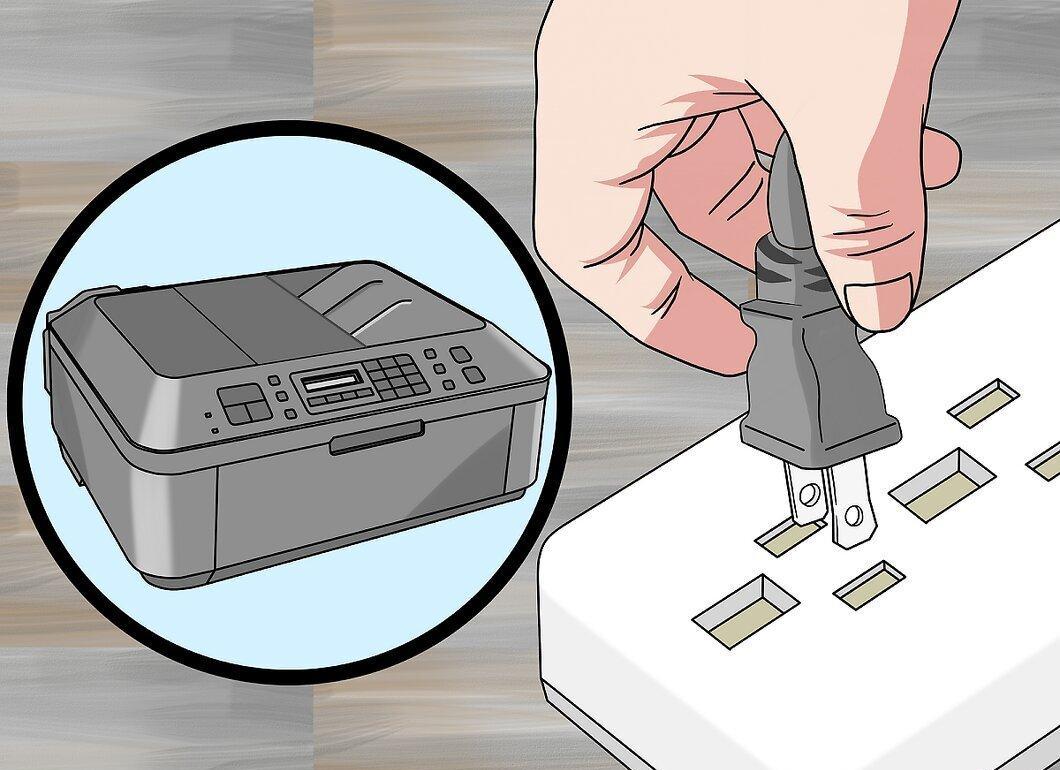
Turn on the printer. Ensure the printer is plugged into a power source and then press the power button.
Step 3. Activate the touchscreen (if necessary).
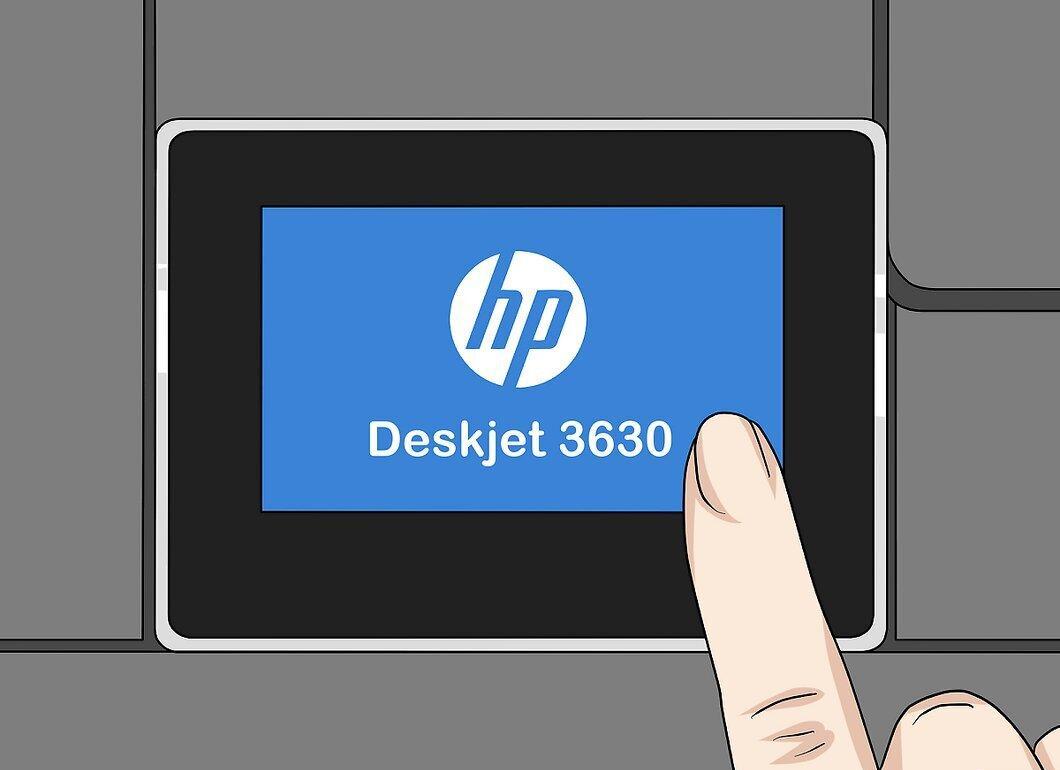
Activate the touchscreen (if necessary). Some printers have touchscreens that need to be turned on separately.
- If the printer does not have a touchscreen, connect the printer to the wireless network through the software settings. If the printer is already installed, remove it and then reinstall it to connect to the wireless network.
Step 4. Press Settings
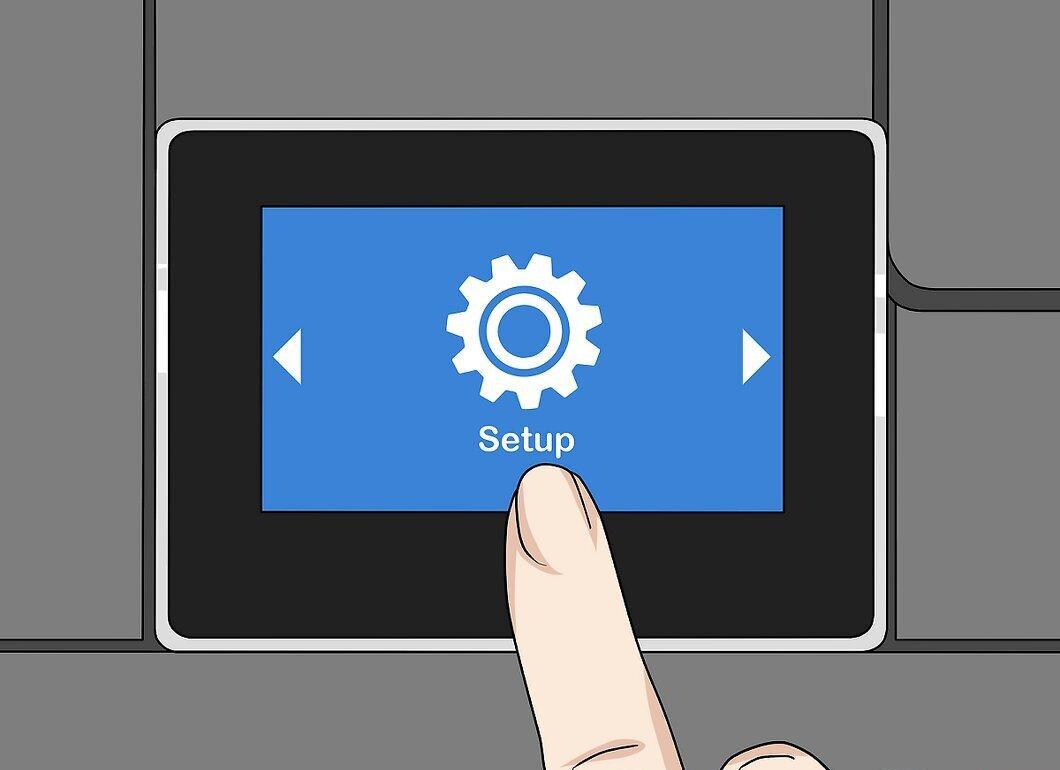
Press Settings. The location and icon for this option vary by printer, but it is often marked with a wrench and/or gear icon.
- You may need to scroll down or right to find the "Settings" option.
- If you see the "Wireless" option, touch it.
Step 5. Select Network
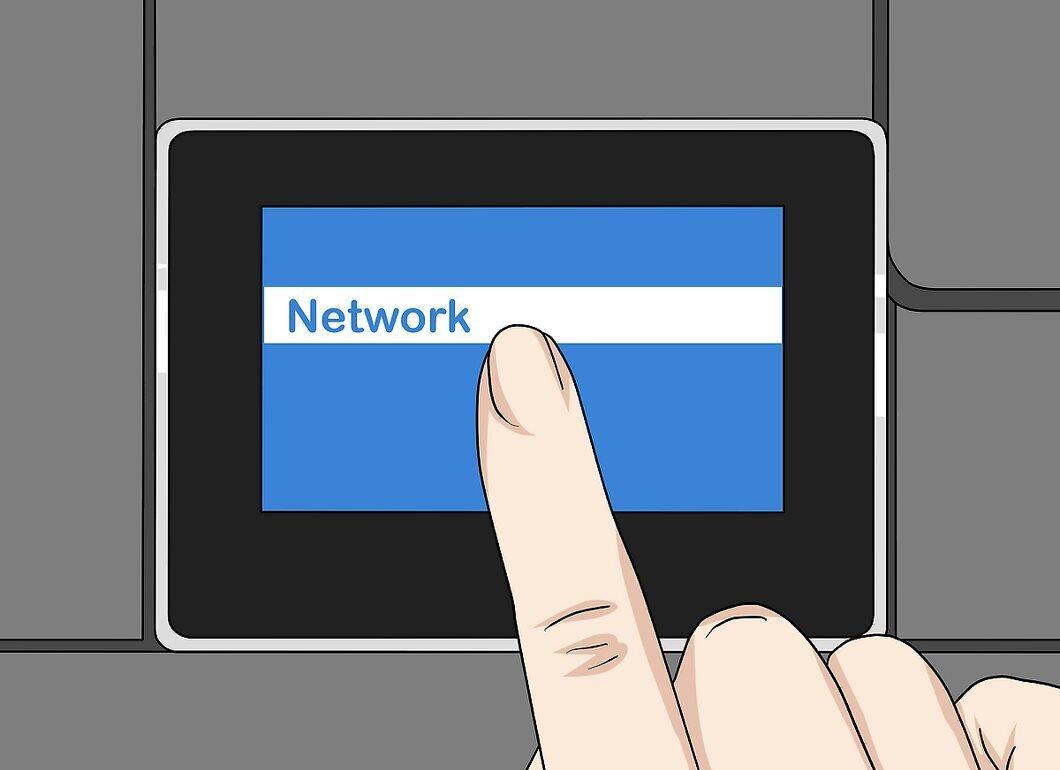
Select Network. Wireless network settings will open.
Step 6. Select Wireless Setup Wizard
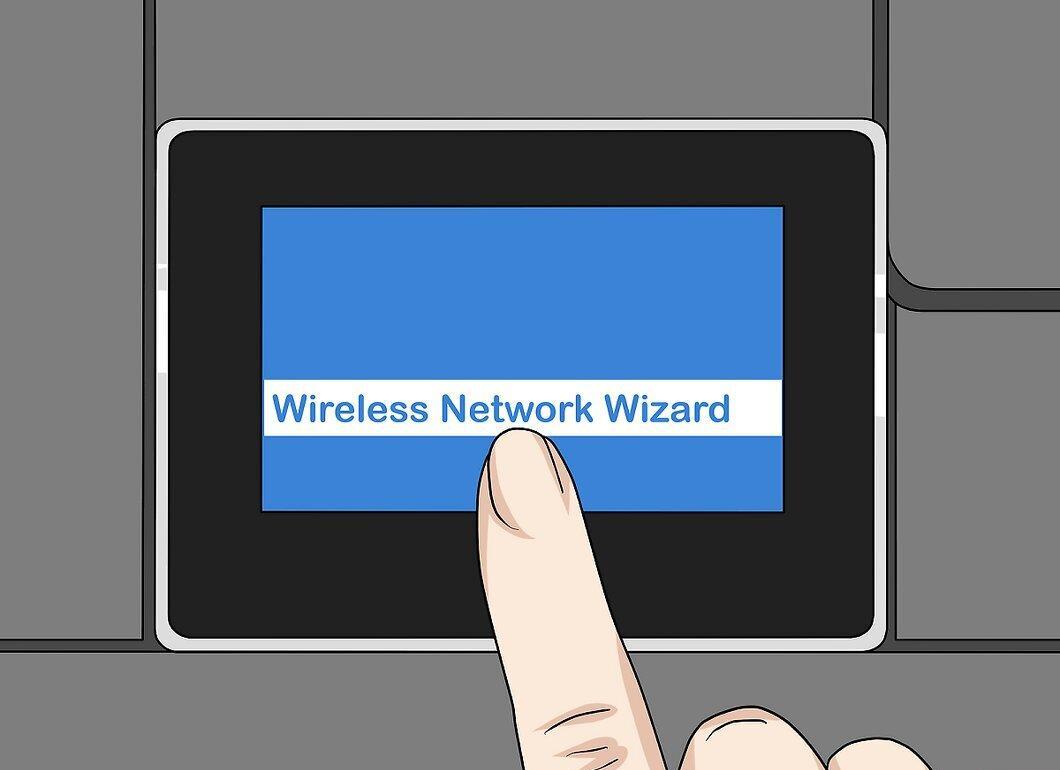
Select Wireless Setup Wizard. The printer will start searching for wireless networks.
- You may need to press "Wireless Network Setup" instead of this option.
Step 7. Select your network name.
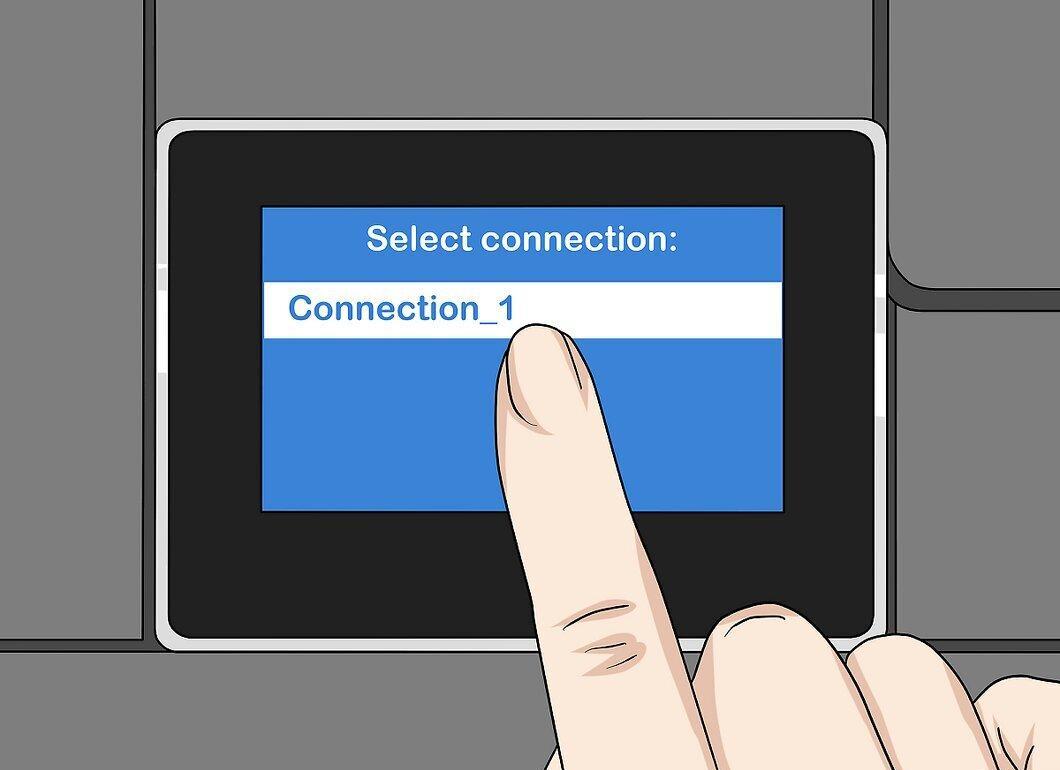
Select your network name. Click on the name you assigned to the network when you created it.
- If you did not assign a name, the screen will display the router model number and the name of its manufacturer.
- If your network name is not listed, scroll down, click the text field, and enter the network name.
Step 8. Enter the network password.
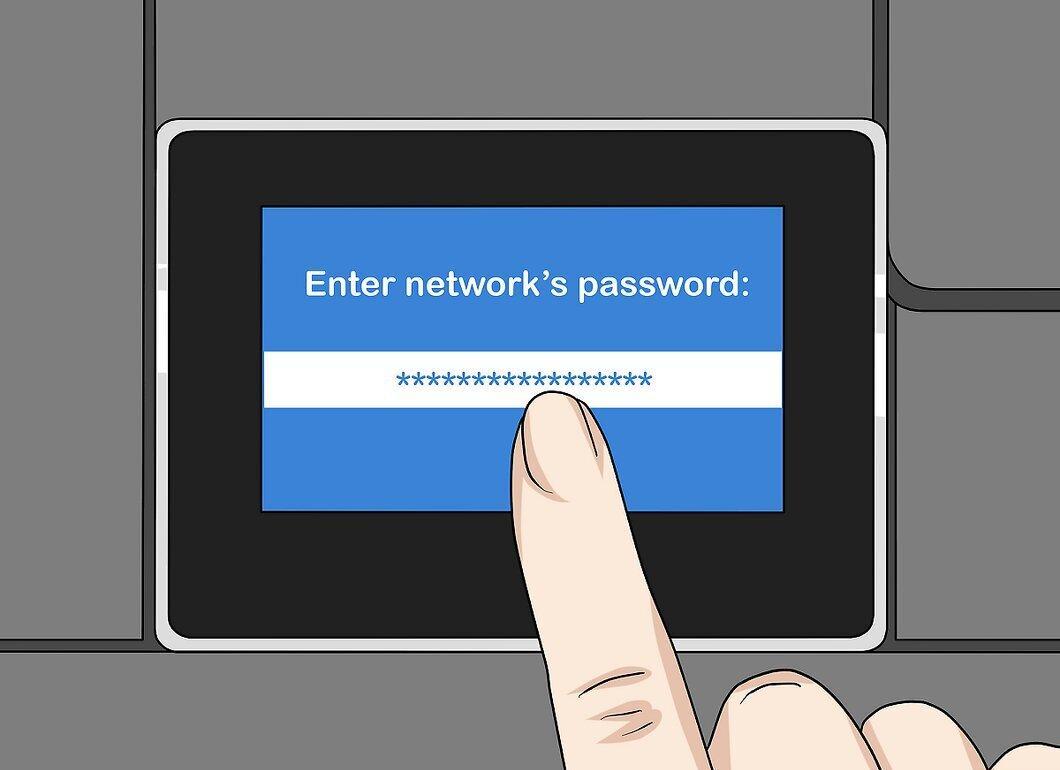
Enter the network password. This is the password you use to connect to your wireless network.
- If your router has a "WPS" button, press and hold it for three seconds.
Step 9. Select Done
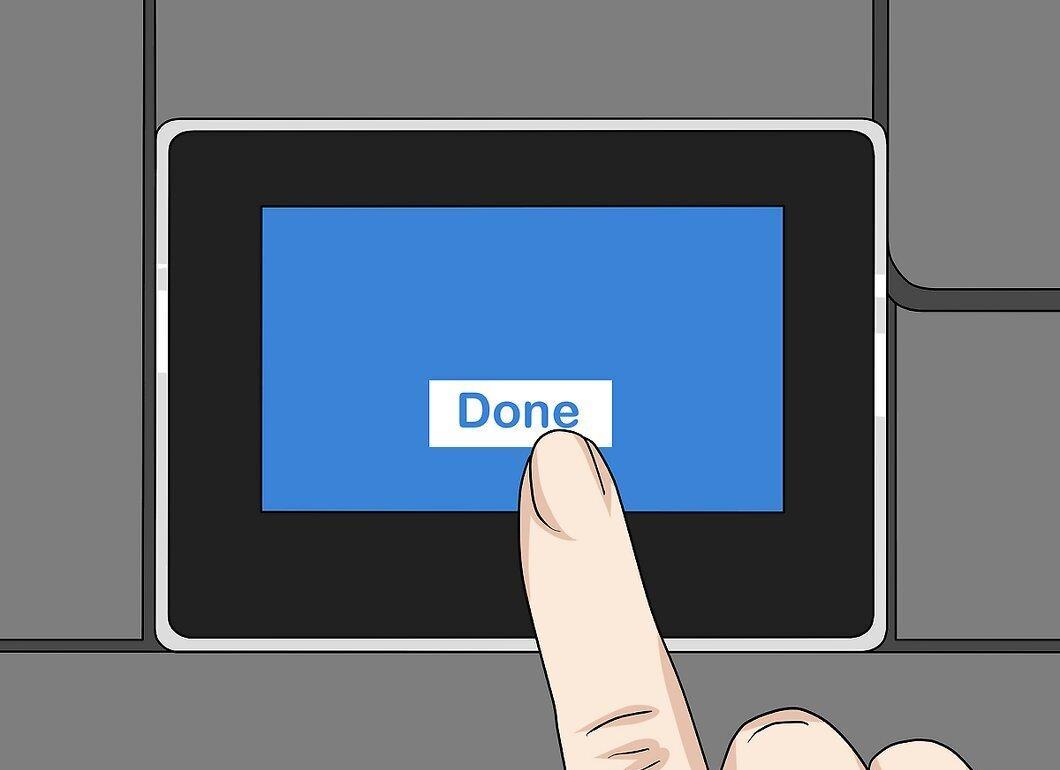
Select Done. Your credentials will be saved. The printer will begin connecting to the network.
Step 10. Press OK
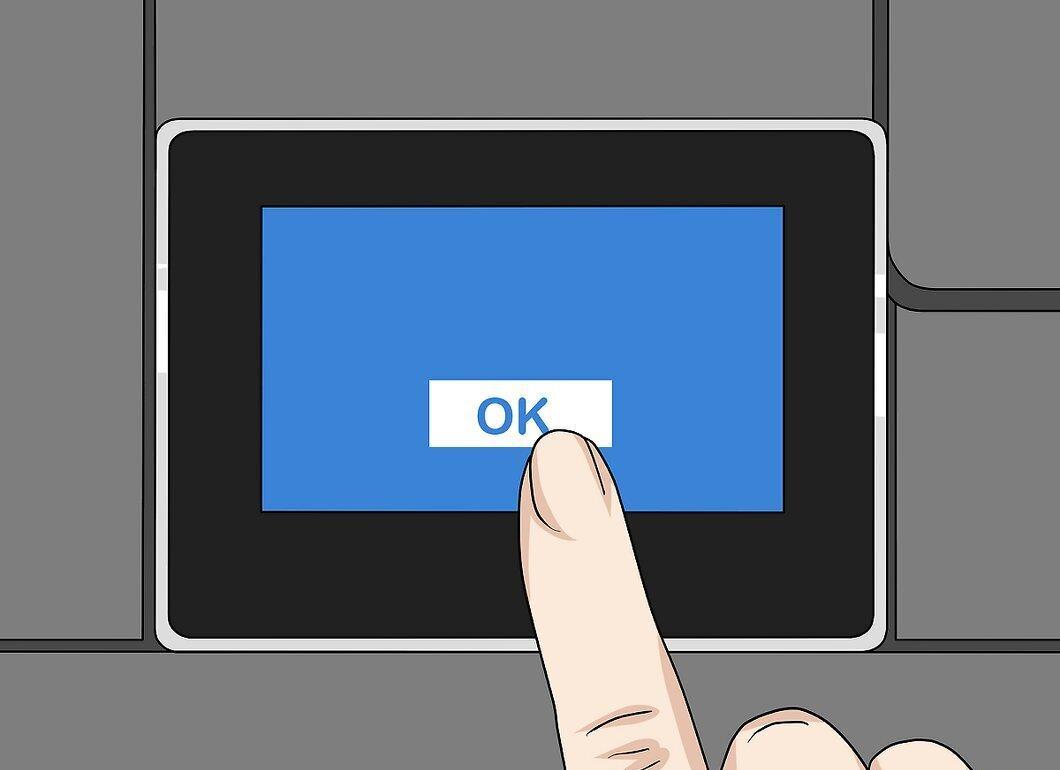
Press OK when prompted. You can now print documents over the wireless network.


