
Have you ever thought about creating a pond in your backyard? Not only will it transform your space, but it will also provide a lovely spot for relaxation. In this article, you'll find a detailed guide on how to create a pond.
Part 1
Step 1. Choose a Location for the Pond.

First, decide where the pond will be located. If you plan to install a pump or filters, make sure there is access to electricity in that area. Avoid placing the pond under trees to make maintenance easier.
Step 2. Outline the Shape of the Future Pond.
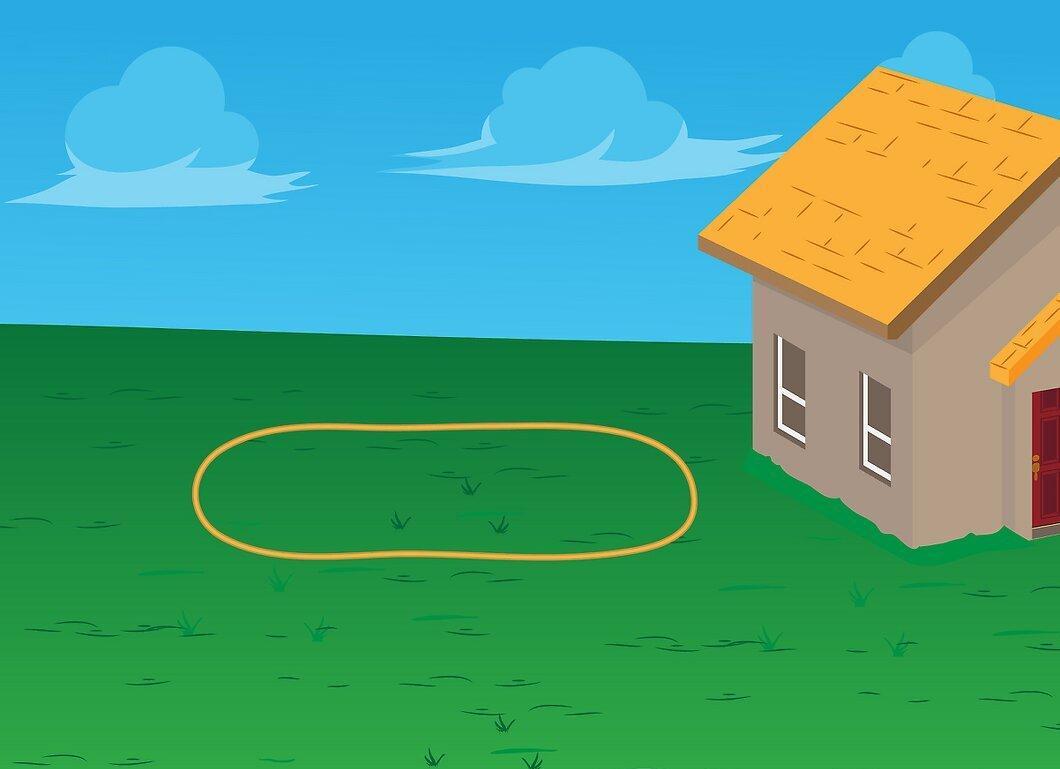
Draw the outline of your pond. A rope, hose, or extension cord works perfectly for this. Using rigid materials can limit your shape, while flexible lines allow you to adjust the contours until you achieve your desired shape. Don’t forget to leave space for landscaping around the pond, and then outline the shape with spray paint.
Step 3. Dig the Pond.

Now it’s time to dig. After obtaining the necessary permits from local authorities, start digging. You can use either a shovel or an excavator. Make sure the pond has several depth levels to create platforms for plants. The edges should rise 7-12 cm above the water level, and the depth of the pond should be at least 60 cm.
Step 4. Prepare a Spot for the Skimmer.

Designate a separate area for the skimmer. If you have one, dig a special spot for it. Install it so that the water level is 2.5 cm below the top of the skimmer for optimal functioning.
Step 5. Dig a Space for the Filter.
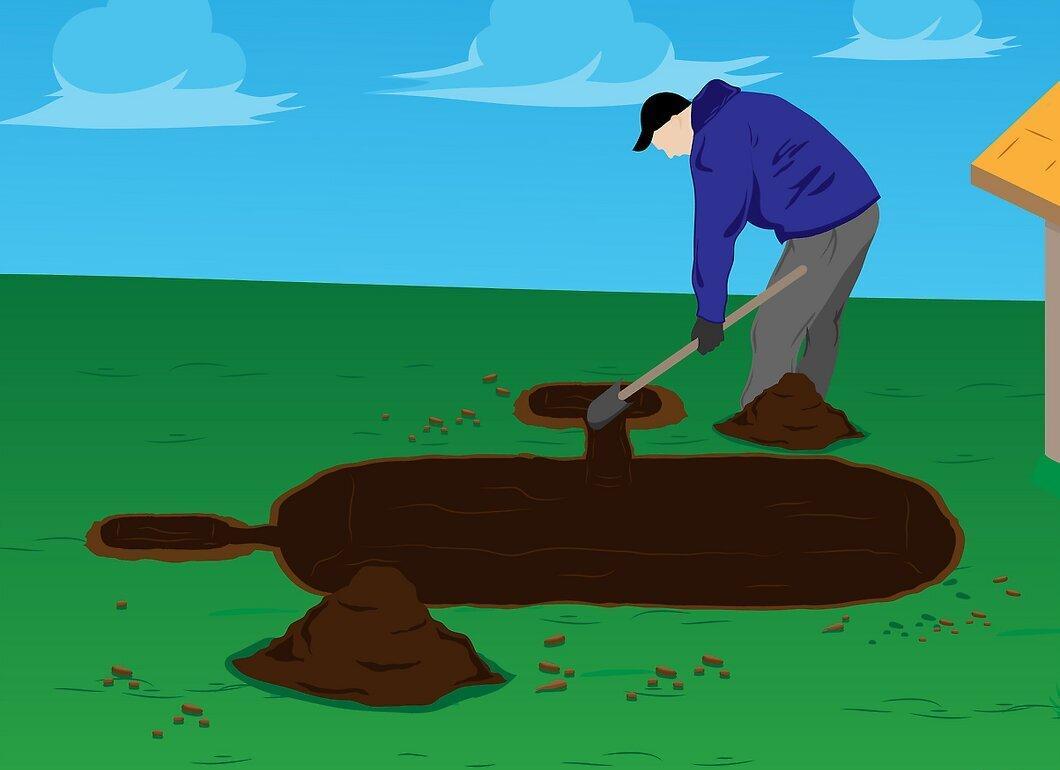
Create a space for the filter. This article discusses the Aquafalls biological filter, which works well with the skimmer. The front of the filter should protrude by 2.5 cm and be level on all sides.
Step 6. Install the Protective Liner and Insert.
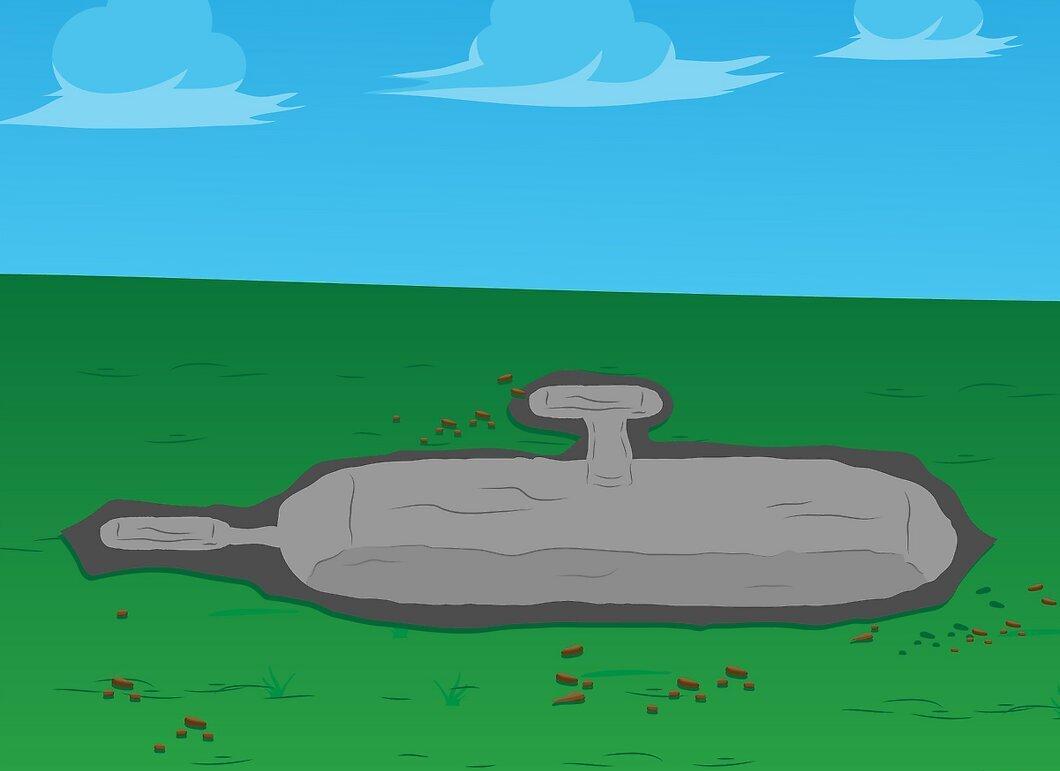
Before installing the protective liner, check for sharp objects that may damage it. Lay the liner at the bottom of the pond, paying attention to the corners. If you have multiple sections, leave excess material and don’t cut it until the pond is filled with water. Install the inserts like the liner, ensuring enough overlap at the edges.
Step 7. Place the Rocks.
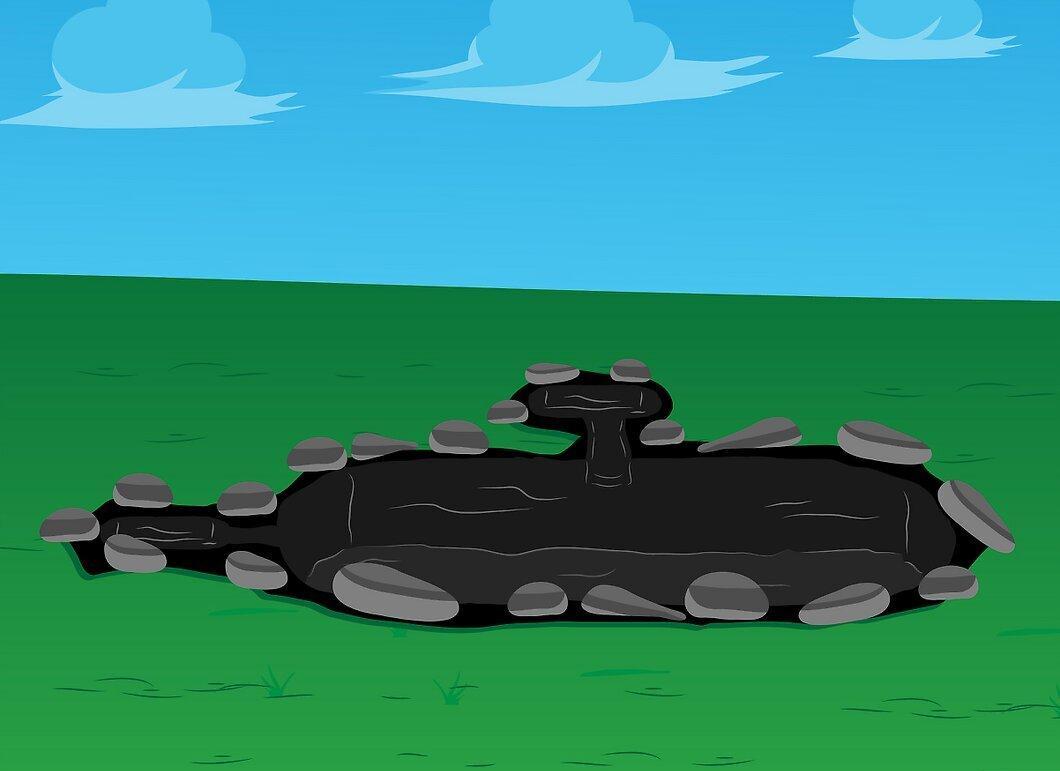
Rocks will not only give a natural look, but they will also create a surface for beneficial bacteria to grow, protecting the inserts from damage. Start placing larger stones (15-30 cm in diameter) on the vertical walls, then fill the horizontal areas with smaller stones (2-5 cm). Once the placement is complete, you can fill the pond with water.
Step 8. Install the Skimmer.
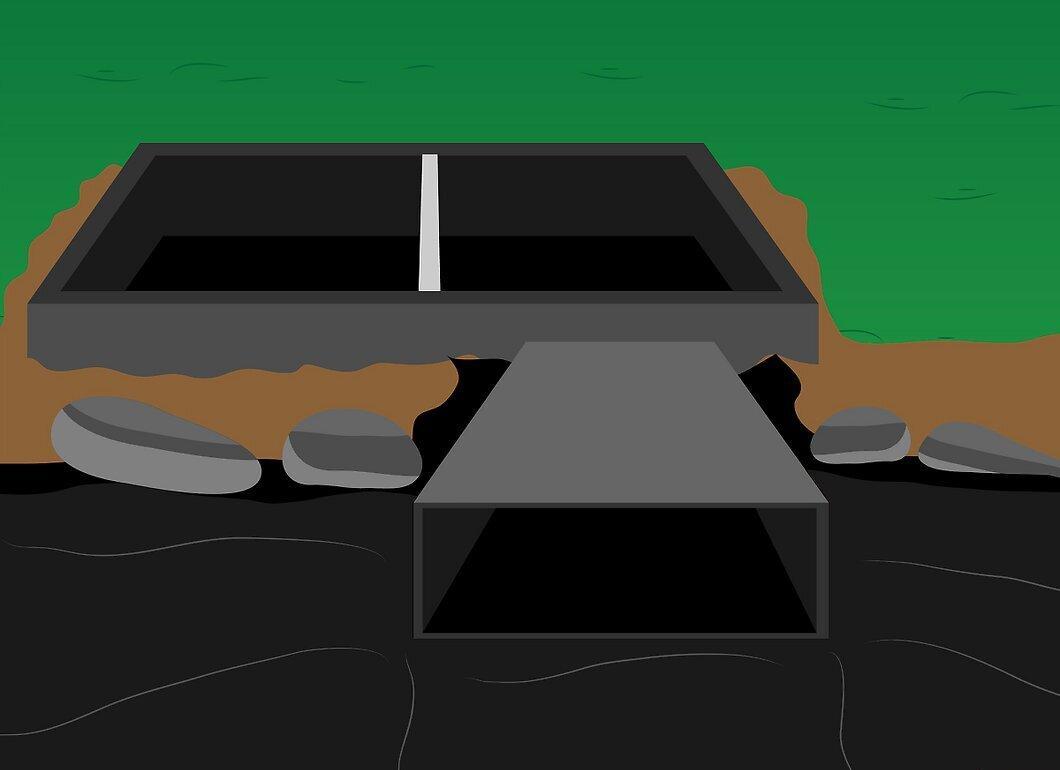
Ensure that the hole for the skimmer has a flat bottom and matches its size. Make sure the water level is 2.5 cm below the top of the skimmer. Follow the installation instructions, as different models may have variations. Secure the insert to the skimmer using silicone, and it’s best to work with a partner for this step.
Step 9. Install the Filter.
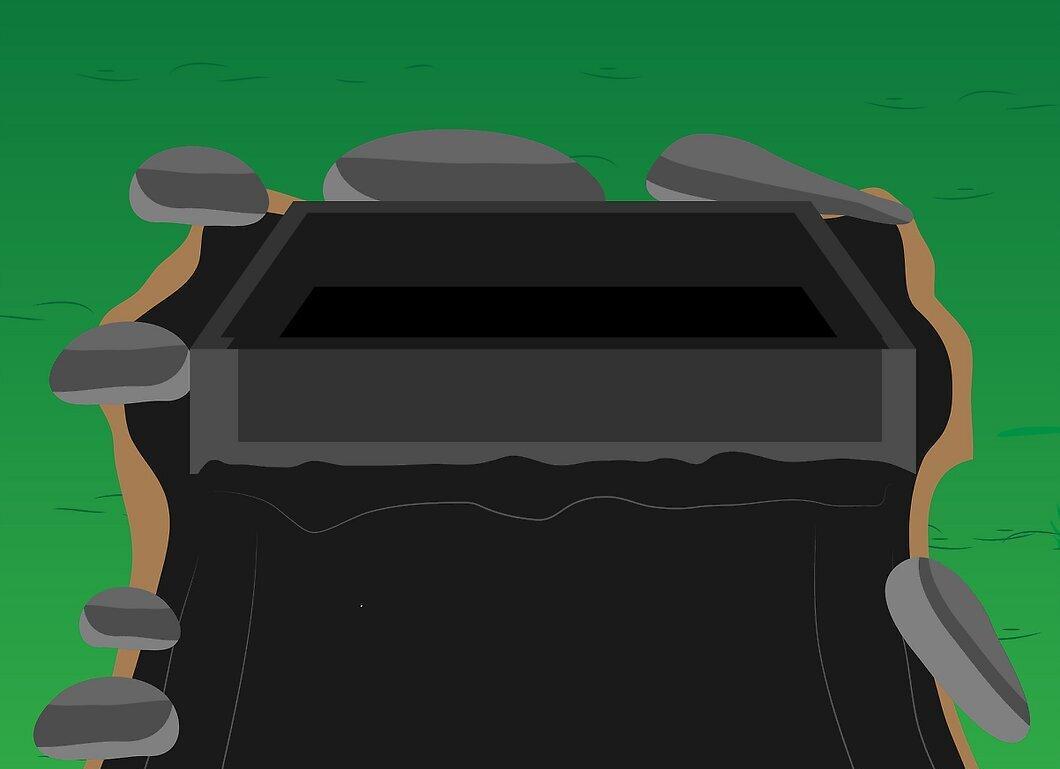
The filter is installed similarly to the skimmer. Ensure that it protrudes by 2.5 cm and is level on all sides. Secure the insert with silicone, just like with the skimmer. After finishing, you can trim any excess insert and proceed with the plumbing connections.
Step 10. Final Touches.
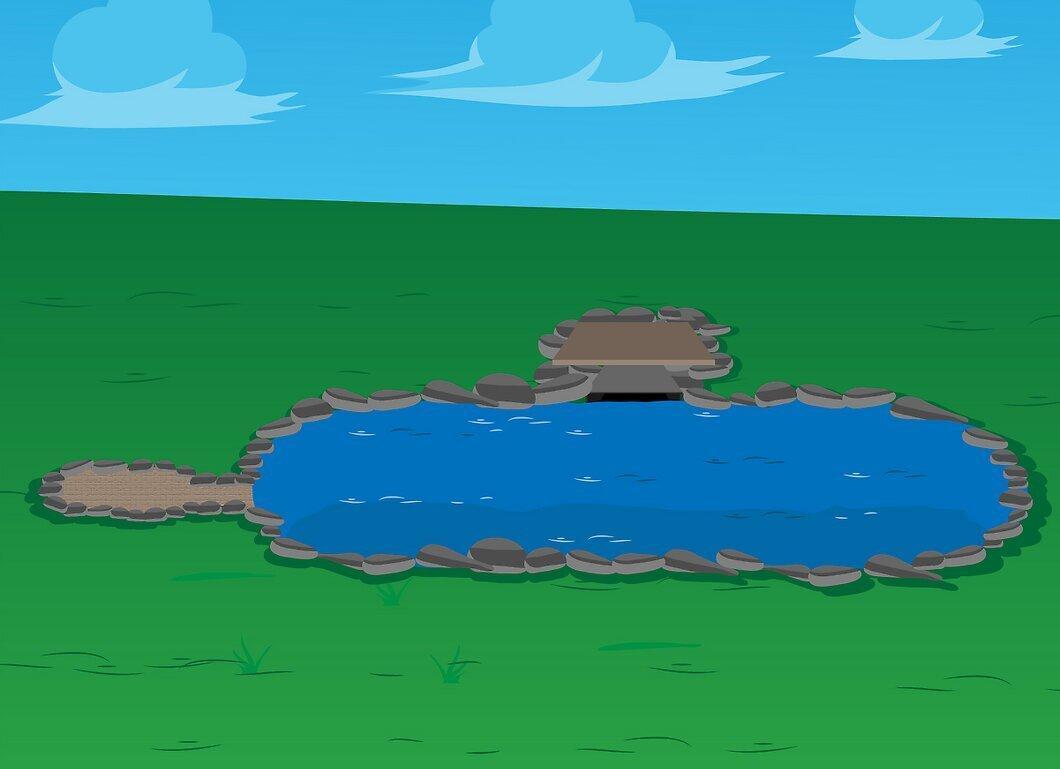
Your pond is almost ready! Fill it with water and start landscaping. Trim any protruding pieces of the insert and liner, leaving about 5-6 cm for later covering with small stones. Once the water level reaches the desired height, connect the pump. The water may be murky at first, but this will clear up in a few days. Keep an eye on the pH level and add bacteria to maintain cleanliness. Before introducing fish or planting plants, allow the pond a few days to stabilize.


