
Have you spotted bats nearby? Or perhaps you have a few residents in your home that you wish to relocate? Build them a cozy nest – a single insect-eating bat can destroy up to 2000 insects in one night! You can find numerous designs for bat houses online. Before you start building, choose the one that suits you best. This article will help you understand the basic principles of creating a bat house without delving into precise measurements.
Preparation
Step 1. Considerations for Building a Bat House:
- Enough space for the entire bat colony.
- A platform for easy entry into the nest.
- Rough surfaces for them to grip onto.
- A closed, airtight space for temperature regulation.
- The right location: the house should hang 15-20 feet high and receive sunlight for at least 4-5 hours a day.
Step 2. Explore Different House Designs.
Look at several models of bat houses. Some may be more suitable than others, but they all share common features.
Step 3. Gather All Necessary Materials and Tools, as well as a Workspace.
Step 4. Make a Plan:
Determine the sequence of work: first take measurements, then carefully cut the pieces, and assemble them together.
Example
Step 1. Cut a 3.6 m (1x8) board into the following pieces:
- Three pieces of 56 cm for the sides and back.
- One piece of 43.8 cm for the front.
- Two pieces of 33 cm for the dividers.
- One piece of 28 cm for the third divider.
Step 2. Important:
Use a fine-toothed saw and make cuts on both sides of the sections and inside the front and back walls. The photograph shows that the house has a landing platform — don’t forget to make cuts on it as well. The cuts should be shallow enough not to damage the structure, but deep enough for the bats to grip onto. Some designs use mesh, but using uneven boards will be cheaper.
Step 3. Measure 43.8 cm on one of the 56 cm boards.
Step 4. Cut diagonally from the 43.8 cm mark to the nearest corner of the board.
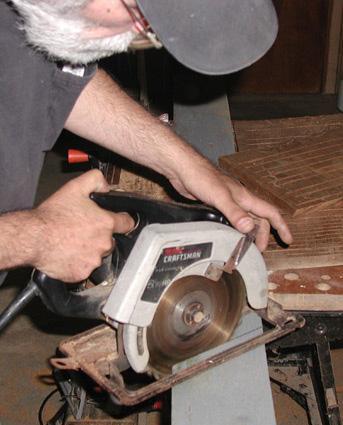
Do this with the other 56 cm board — these will be the sides of your bat house.
Step 5. Set the circular saw to a 33-degree angle.
Step 6. Cut the ends of the following boards at an angle:
- The third board measuring 56 cm.
- The board measuring 43.8 cm.
Step 7. Mark the side walls as follows:
- 1.8 cm
- 8.9 cm
- The last mark should be 3.7 cm from the edge.
Step 8. Before you start drilling, make sure the boards fit together.
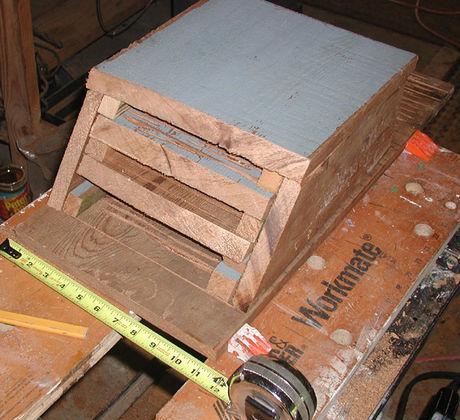
Step 9. Connect the front, back, and side walls so that the corner edges face upwards.
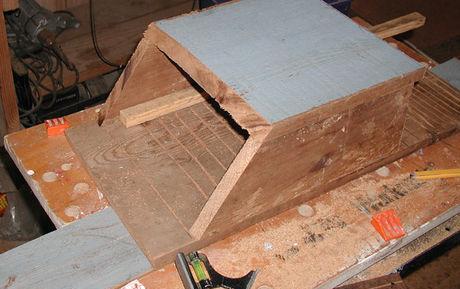
Step 10. Secure all sides of the house using nails or screws (the side boards should slightly overlap the top and bottom).
Step 11. Insert the dividers by laying the house on its side and sliding them in.
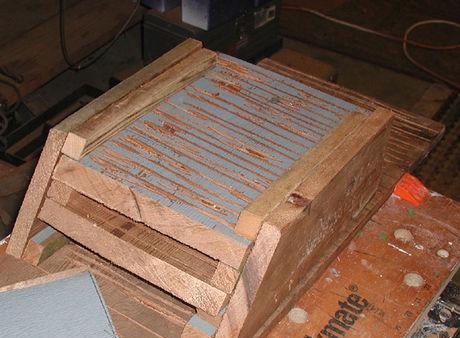
To simplify the process, use a special stick as shown in the picture to keep the dividers at the correct distance from each other. Keep in mind that a stick with a thickness of 1.8 cm will provide the correct dimensions.
Step 12. Align each wall and attach it in place using screws or nails.
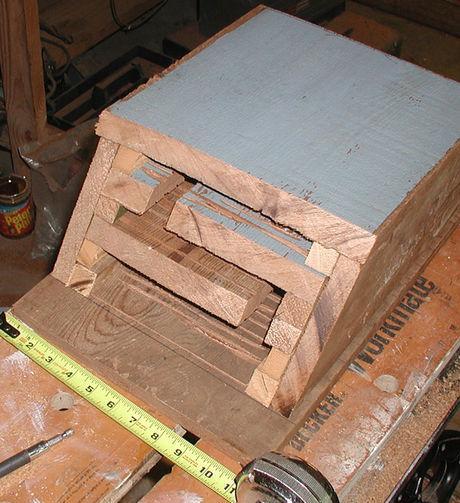
- Ensure that each divider is aligned with the corner edge of the roof. The distance between dividers should be 1.8 cm, and the width of the largest room should be 3.9 cm (two sticks).
- The shorter divider should be at the front, with the longer ones at the back. Create passages in the dividers.
Step 13. Place a 25 cm (1x10) board on top so that its angled edge aligns with the back of the house and it extends beyond the front.
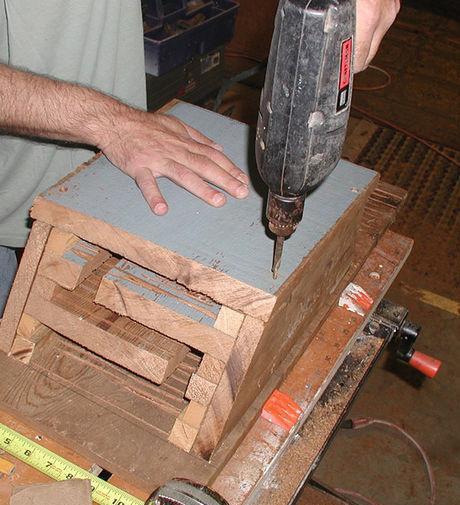
Step 14. Secure the roof with nails or screws.
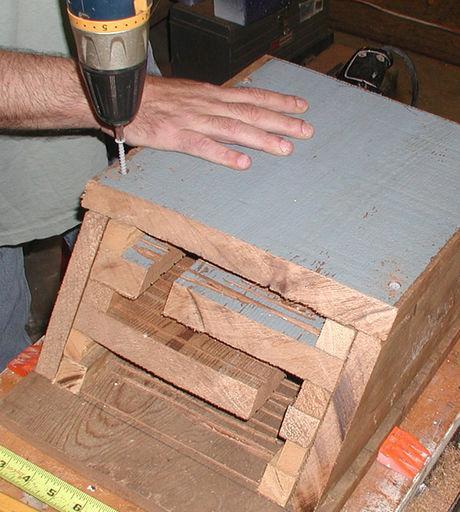
Step 15. Fill all external seams.
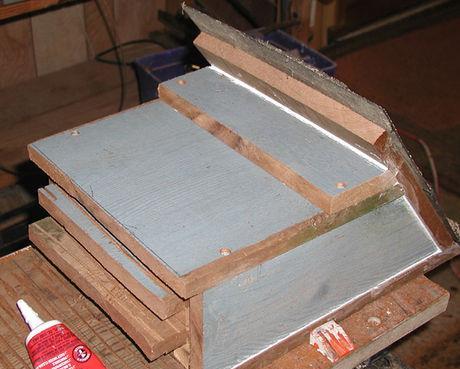
Filling the seams is a great idea to ensure the airtightness of your house. You can use caulk while assembling the structure.
Step 16. To keep the house warmer and extend its lifespan, attach black roofing material to the roof.
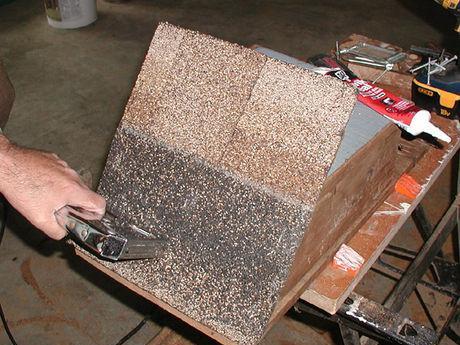
Step 17. Drill two ventilation holes 10 cm from the bottom of the box.
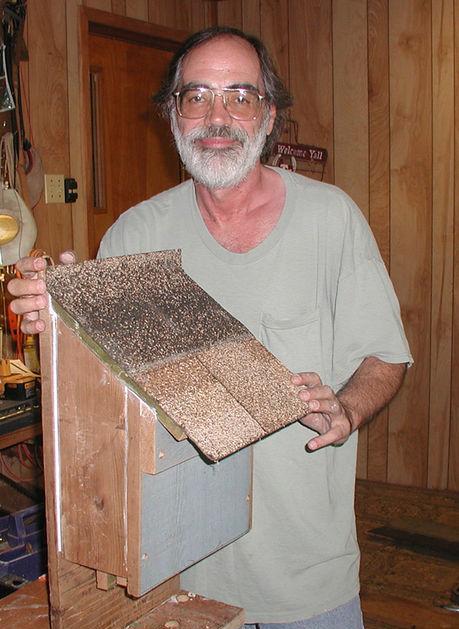
These holes should be located on the front wall at a 40-degree angle to prevent rain from entering. For convenience, you can add chains by attaching them to two screws on the upper back wall.
Step 18. Hang the house at a height of 3.5-4.5 meters from the ground.
Hang the house so that it is on the sunny side and protected from the wind, as bats prefer temperatures between 26-37 degrees Celsius. Ensure that the morning sun warms the house, so it’s best to hang it on a sunny tree.


