Creating a mural requires extensive preparation, the right equipment, and a lot of effort, but the results are worth it. Few art forms can be showcased on such a grand scale. If you're facing this challenge, careful planning and attention to detail will help you succeed.
Part 1
Step 1: Plan the Project Details
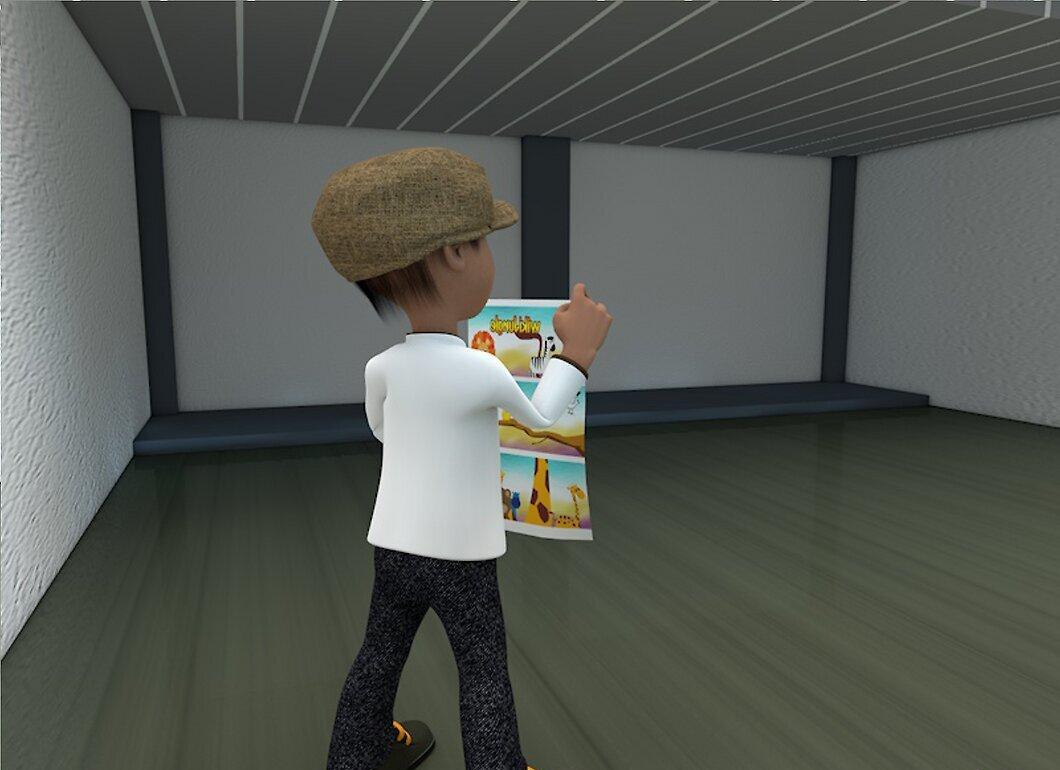
Plan the details of your project. The most crucial aspects include:
- Location. The mural should be painted in a suitable place with a surface that can be painted. Flat and smooth surfaces are ideal, but with proper planning, rounded and rough surfaces can also work.
- Type of Paint. For outdoor projects that need longevity, use alkyd enamel or polyurethane enamel, or a new 100% acrylic paint for exterior use might be your best choice. For indoor walls, latex paints are the best option as they are easier to clean, cost-effective, and have less odor. Regardless of your choice, ensure the paint is available in colors that suit your project.
- Amount of Paint. Since murals can reach tens of meters or even feet in length, a large quantity of paint will be required. You can calculate the total amount of paint needed by measuring the overall area to be covered, but since multiple colors will be involved, you need to account for each one.
- Application Method. Large areas, like the background, can be sprayed with a paint sprayer, while details can be added with brushes or an airbrush.
- Protection from Elements. Paints are sensitive to direct sunlight, high temperatures, and humidity, so plan how to deal with these factors in advance. Interior projects typically have fewer complications, but for public spaces, attention will be needed to preserve the mural. You might consider using a protective varnish.
- Design. Start the project with a design, photo, or sketch to give you a sense of scale and ideas for the color scheme. Landscape scenes differ significantly from still lifes or portraits, and each scene has its unique requirements and elements.
Step 2: Create a Scaled-Down Version of the Mural
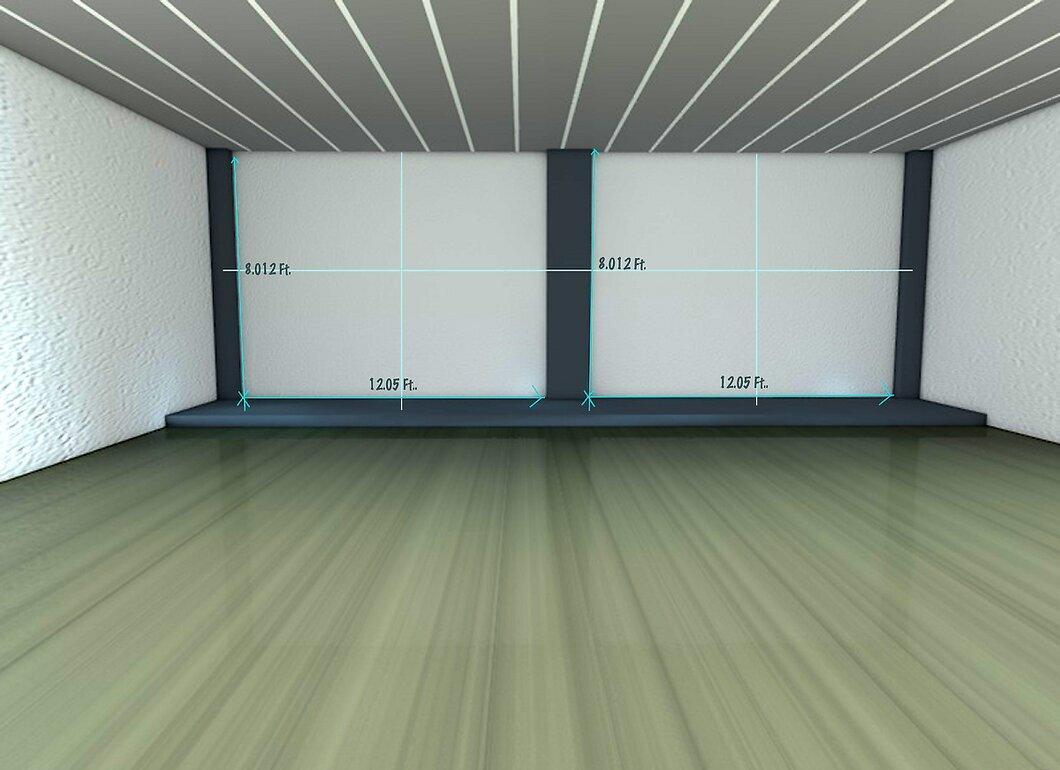
Create a scaled-down version of the mural. Use a photograph (or glued photos) or precise sketches of your theme, and measure the distances and locations of various focal points in scale. For example, the horizon in a landscape should ideally be at one-third of the total area, encompassing everything. Measuring key features will help you calculate the amount of paint needed as each object is defined by its color.
Step 3: Prepare the Wall or Surface for Painting
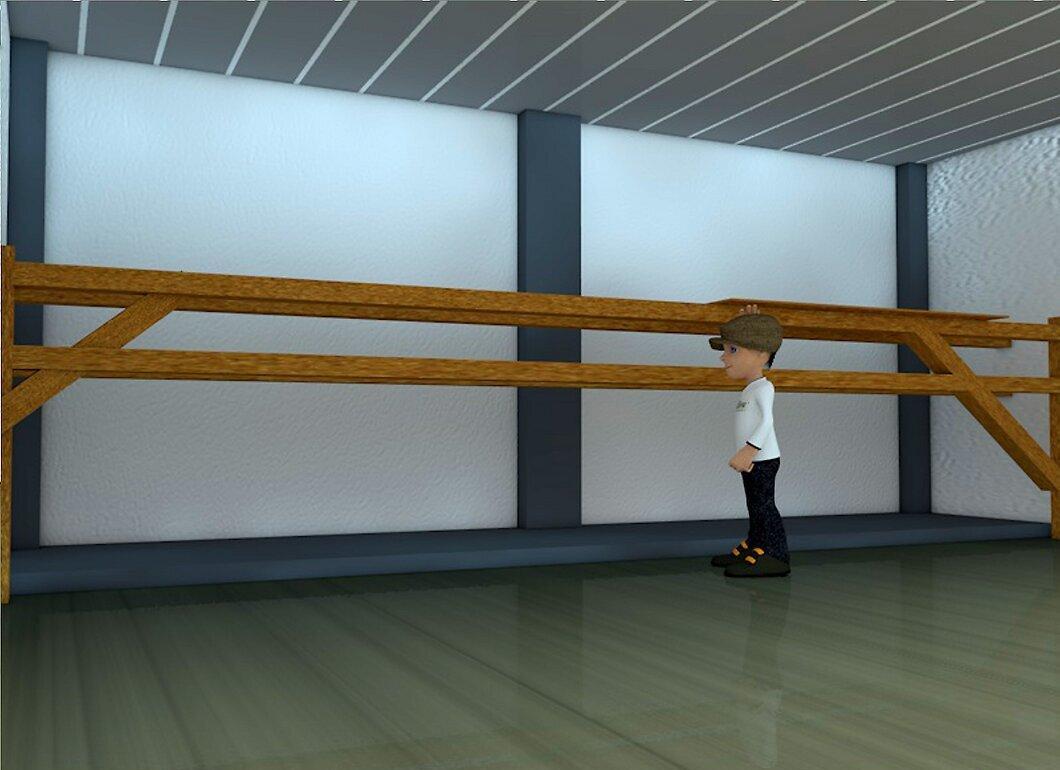
Prepare the wall or other surface for painting. If the surface is low enough, you can paint standing on the ground or using a metal ladder. Now you're ready to clean and prime the surface, but for higher work, you will need to build scaffolding or rent a lift.
Step 4: Measure the Placement of Features in Your Mural and Prime the Surface
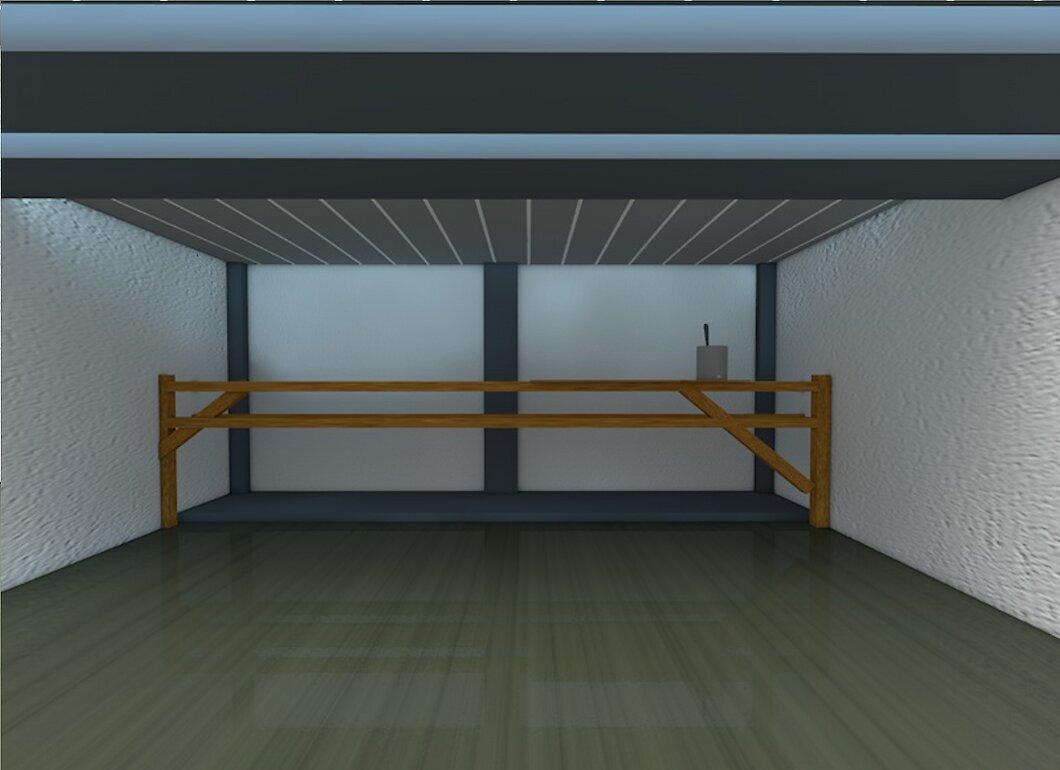
Measure the placement of features in your mural, then prime the surface. For a landscape background (like a seascape), you will need to mark the horizon line, as this is where the sky meets the land, and the colors will distinctly change.
Step 5: Paint the Base Layer of the Background
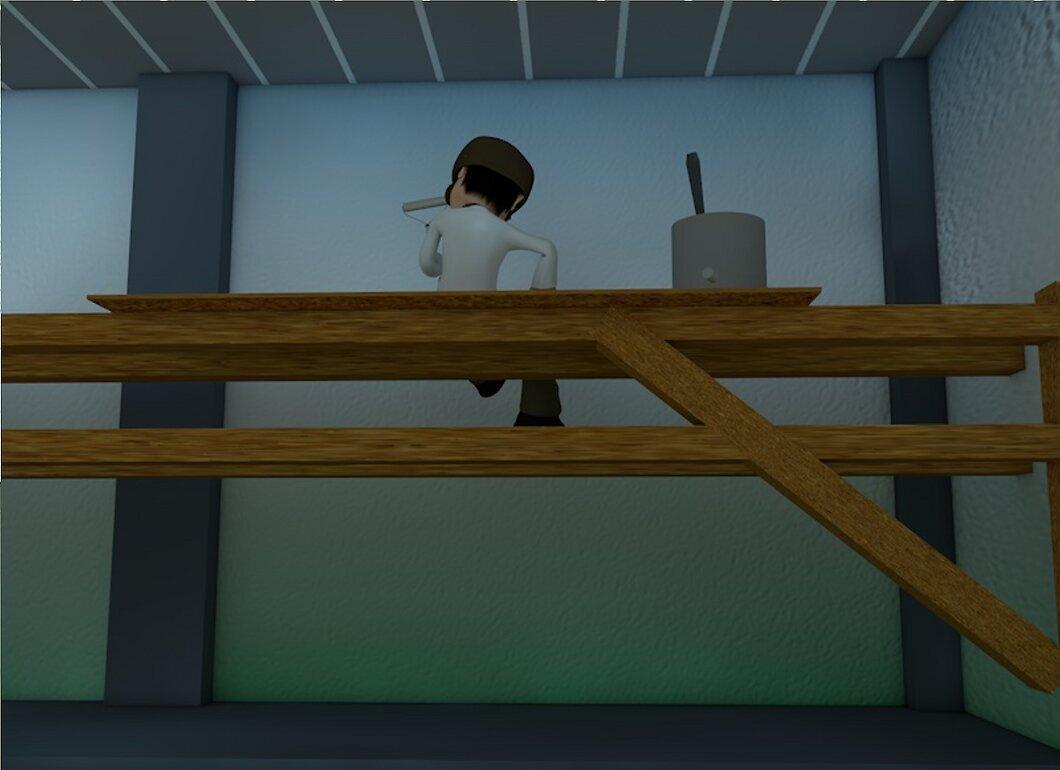
Paint the base layer of the background. If your subject is a landscape, the sky should be a pale blue (daytime sky), while the foreground can be gray, brown, or green, depending on the type of landscape you intend to depict.
Step 6: Allow the Paint to Dry, Then Start Marking with Scaled Sketches
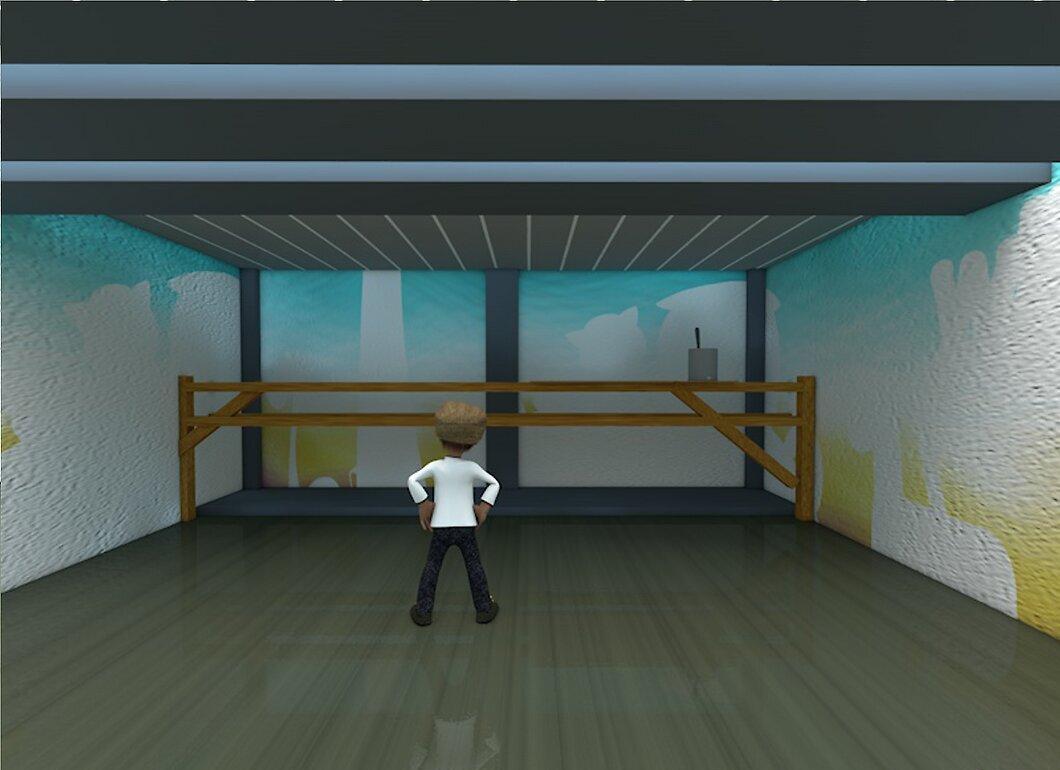
Allow the paint to dry, then start marking with scaled sketches the placement of key foreground elements. Depending on the complexity of the subject, you may create sufficient points and then connect them, but if you're confident in your artistic skills, you can sketch freehand.
Step 7: Work from Background to Foreground
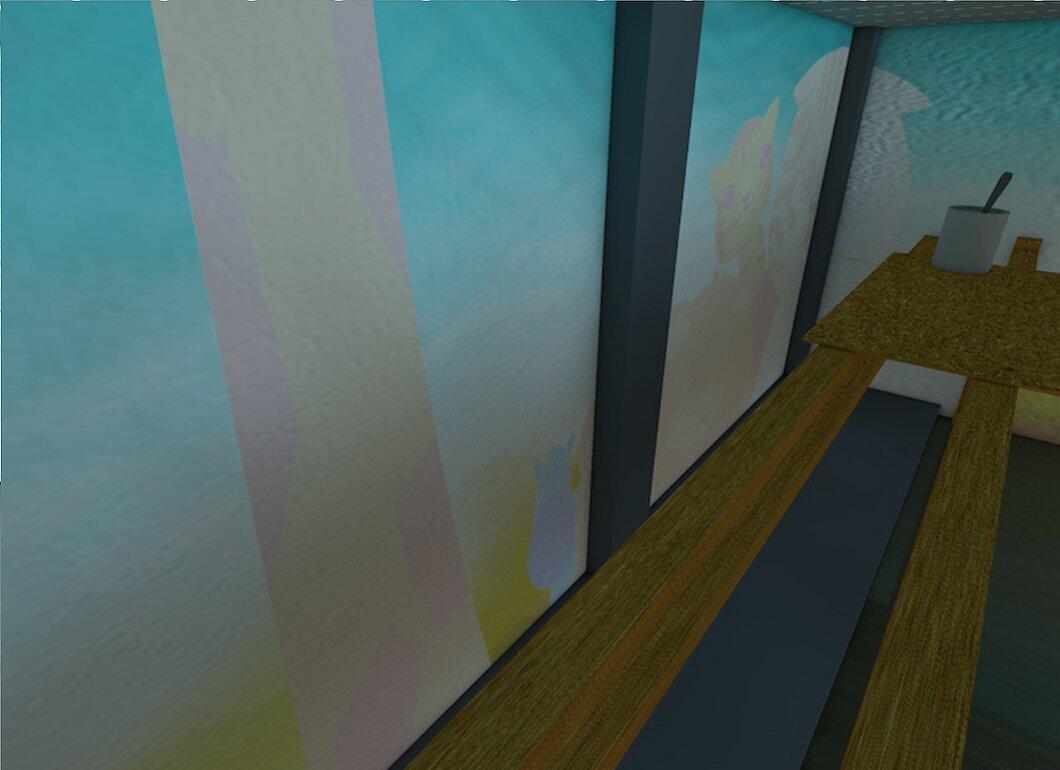
Work from background to foreground, covering large areas with a single color. Be careful to keep the edges of transitions between colors clean, but remember that mistakes can be painted over later. Blocking in large color areas allows you to use paint most efficiently, whether you choose a roller or a sprayer. Always let the color dry before moving on to the next unless you want to blend two (or more) colors to create shadows or intermediate shades and tones as part of your design.
Step 8: Use Brushes of Appropriate Size for Detailing
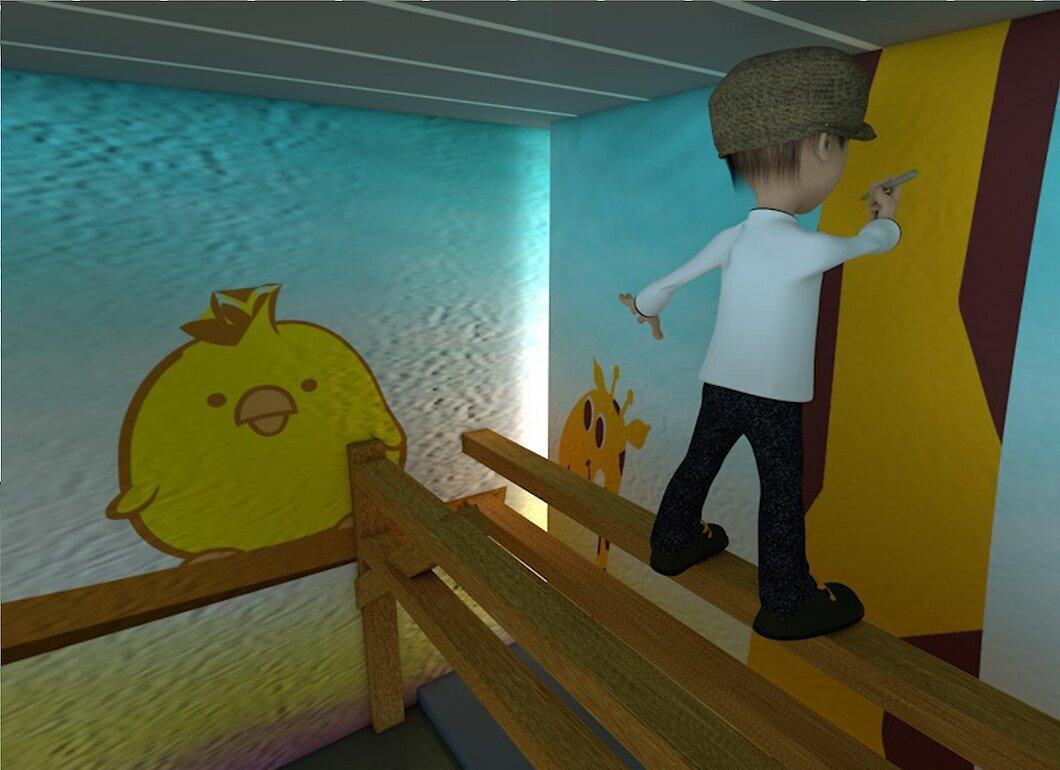
Use brushes of appropriate size for the details of the work you're painting. For example, when painting a large tree, the trunk can be painted with large brushes, while leaves and branches can be done with smaller brushes.
Step 9: Add Original Colors and Effects
Add original colors and effects. If there are drips or runs in the work, paint the area above the image with the appropriate sharpness of lines and color blurriness. You can also add highlights or deep shadows if desired.
Step 10: Seal the Mural if It’s Intended for Long-Term Use
If the project is intended for long-term use and you will be cleaning it, cover it with a sealer.