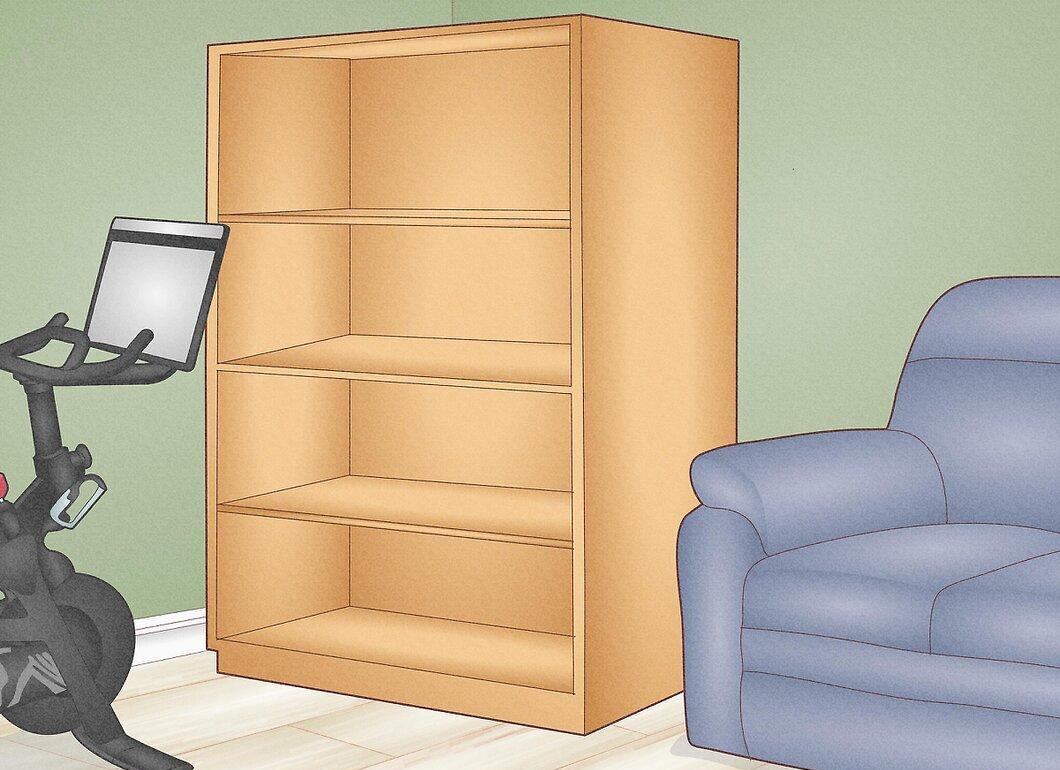
Have you always dreamed of having a stylish bookcase in your basement or closet but don't want to spend a fortune? In this article, we'll explore different types of bookshelves and straightforward, budget-friendly ways to finish them.
Part 1
Step 1: Design Your Bookcase
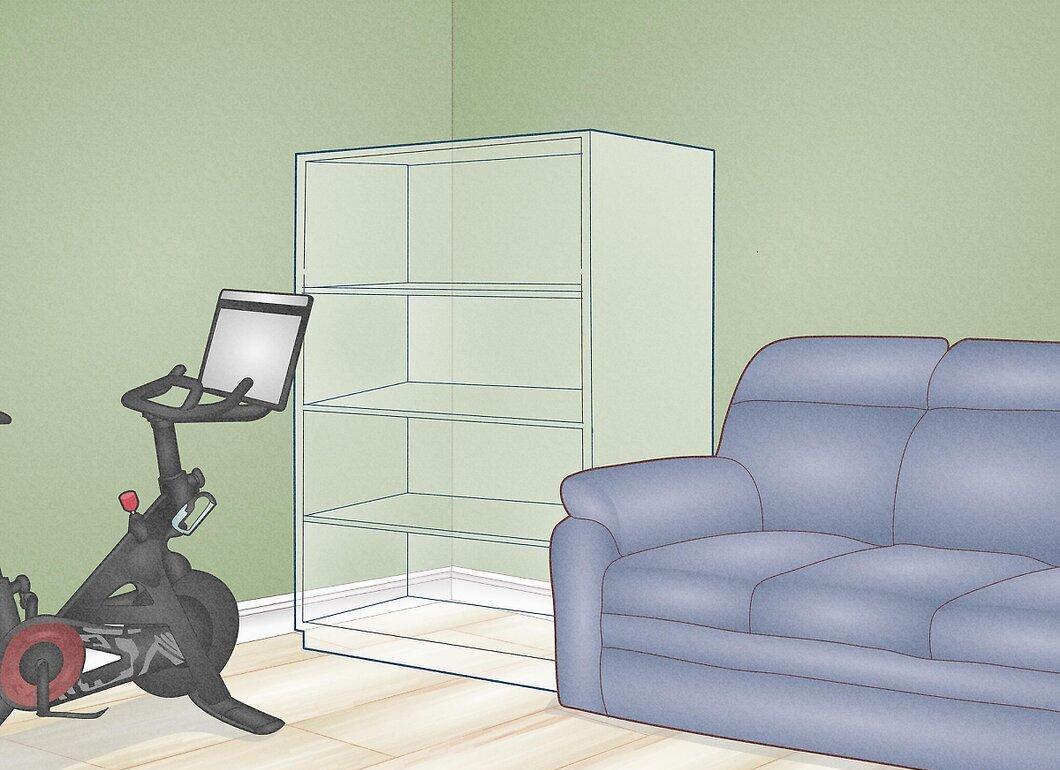
Start by designing your bookcase, taking into account the available space. If you plan to build a built-in bookcase, remember to consider the distance above and below. Don’t rely on perfect verticality of the walls. Divide the bookcase into vertical sections, spacing them no more than 75 cm apart, but at least 45-60 cm apart to prevent shelf sagging. For standard wooden boards that are 25 mm thick, these dimensions are optimal. If a shelf does start to sag, you can add small square side supports made of the same board, positioned vertically under the shelf for additional support. If you're building a built-in unit, create a box that fits the space, then plan the placement of vertical dividers and shelves.
Step 2: Make a Materials List
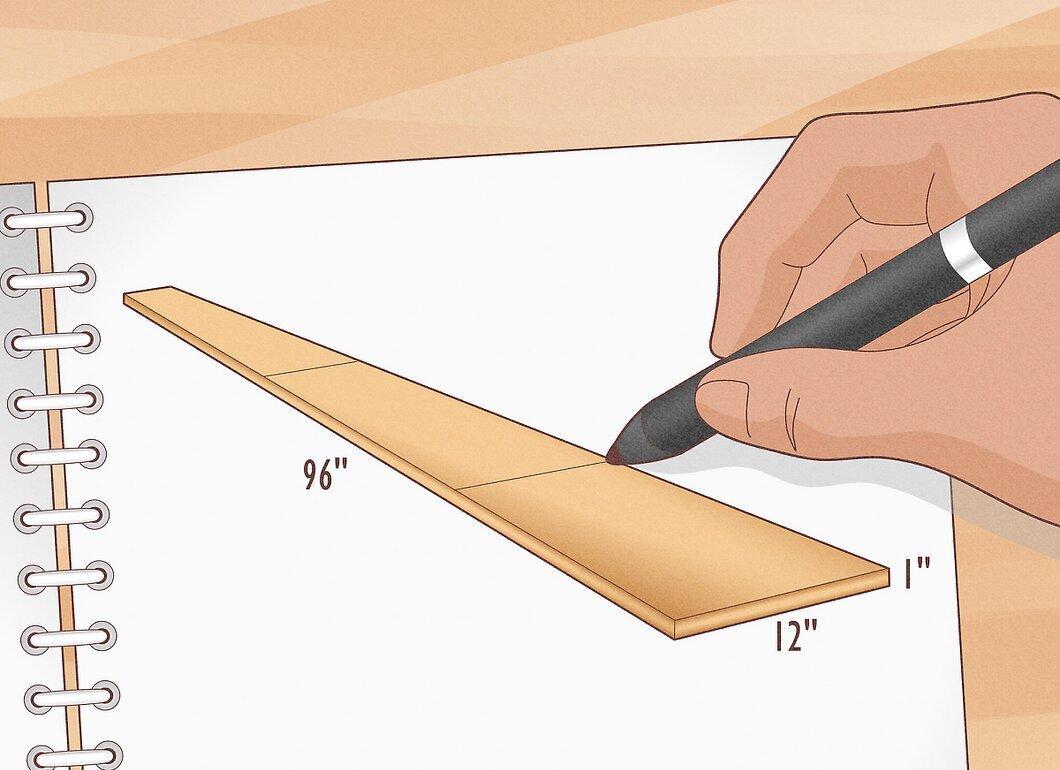
Ensure you have a list of all the necessary materials to create a frame using lumber that is 25x3000 mm. Measure the length of the outer box, vertical dividers, and shelves. Keep in mind that wood is typically sold in lengths of 2500 mm, so you will have some waste. If you’ve planned how to cut the boards in advance, you can buy them shorter (1800 mm) or longer (3000 mm) based on your design. For the bottom boards, it's best to use poplar or maple, as knots can complicate processing and painting.
Step 3: List Additional Materials
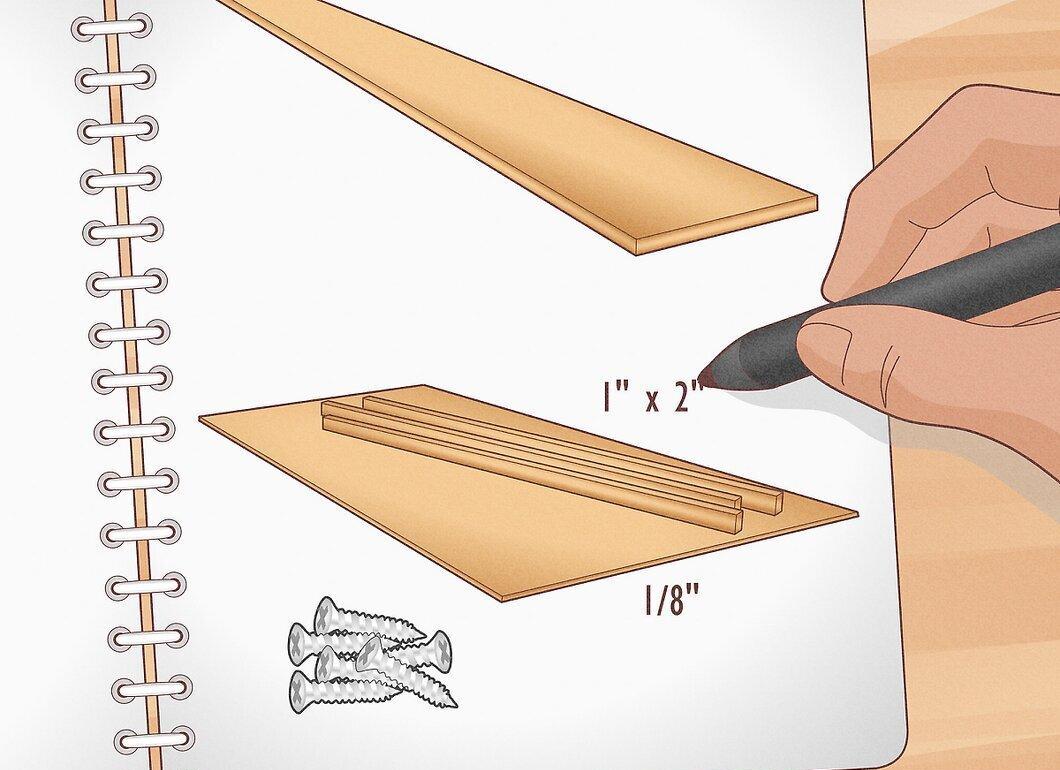
Compile a list of additional materials you will need. You will require two strips that are 25-50 mm wide and as long as the shelves, plywood that is 30 mm thick for the back, 4 bolts per shelf, plenty of wood screws (standard drywall screws will work), thin nails for securing the back, and paint.
Step 4: Cut the Lumber
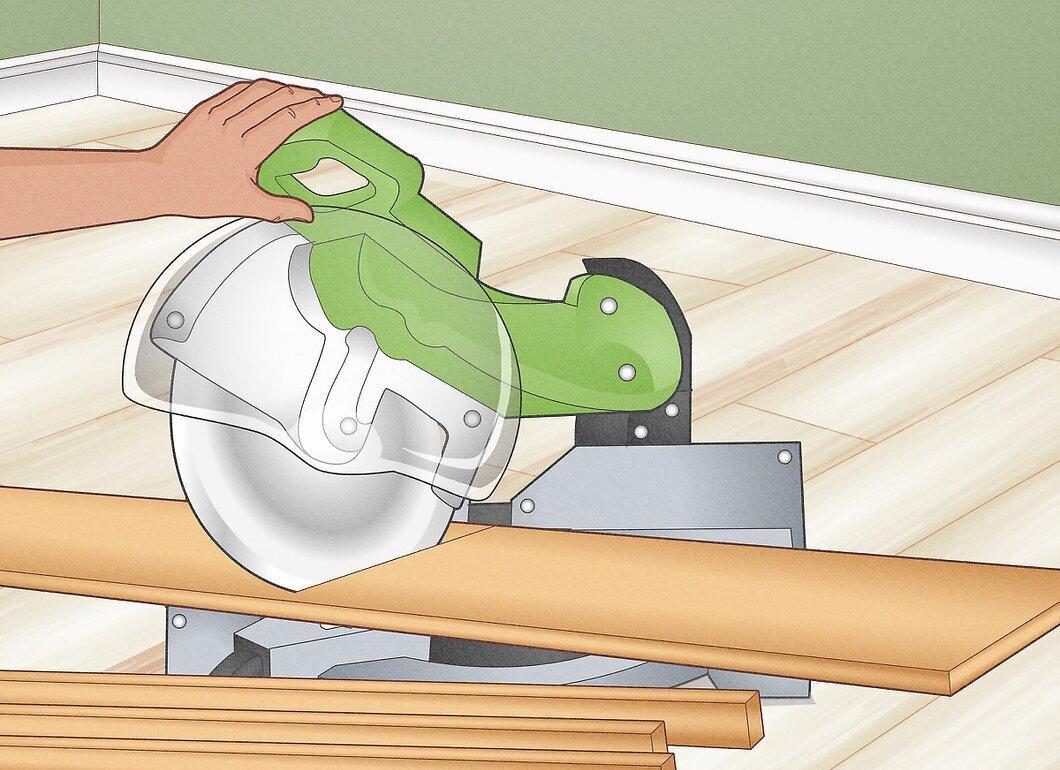
Cut the wood according to your frame design. Be sure to account for the width of the board itself to make the joints properly. Assemble the frame and attach the plywood back. Re-measure each vertical divider and cut it to the appropriate size.
Step 5: Drill Holes
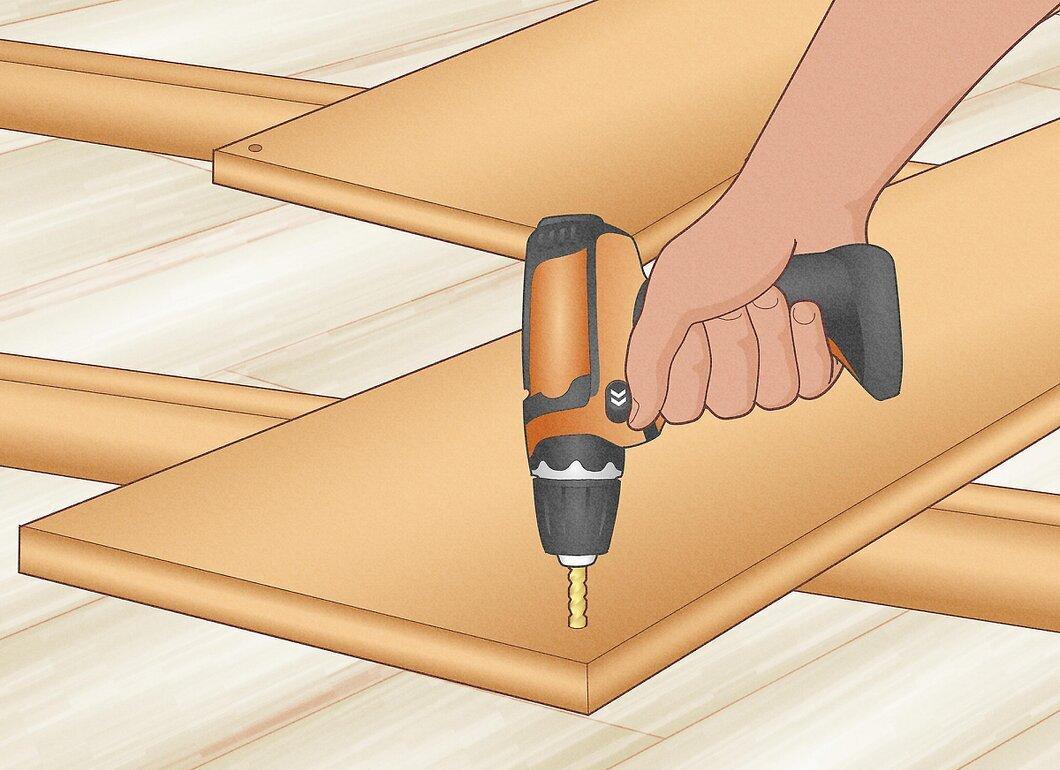
Drill the necessary holes for attaching the vertical dividers to the frame. Create holes for support dowels or cut grooves for the shelves. Measure the diameter of the screws and drill holes with a little extra clearance for fitting, testing on a scrap piece of wood first. Ensure that the holes are drilled perpendicular to the surface of the board, and use a drill if you have one. A marking template can significantly simplify the task. If you're unsure of your tool skills, skip this step and use L-brackets for support. It may not look as aesthetic, but it is fully functional.
Step 6: Install the Vertical Dividers
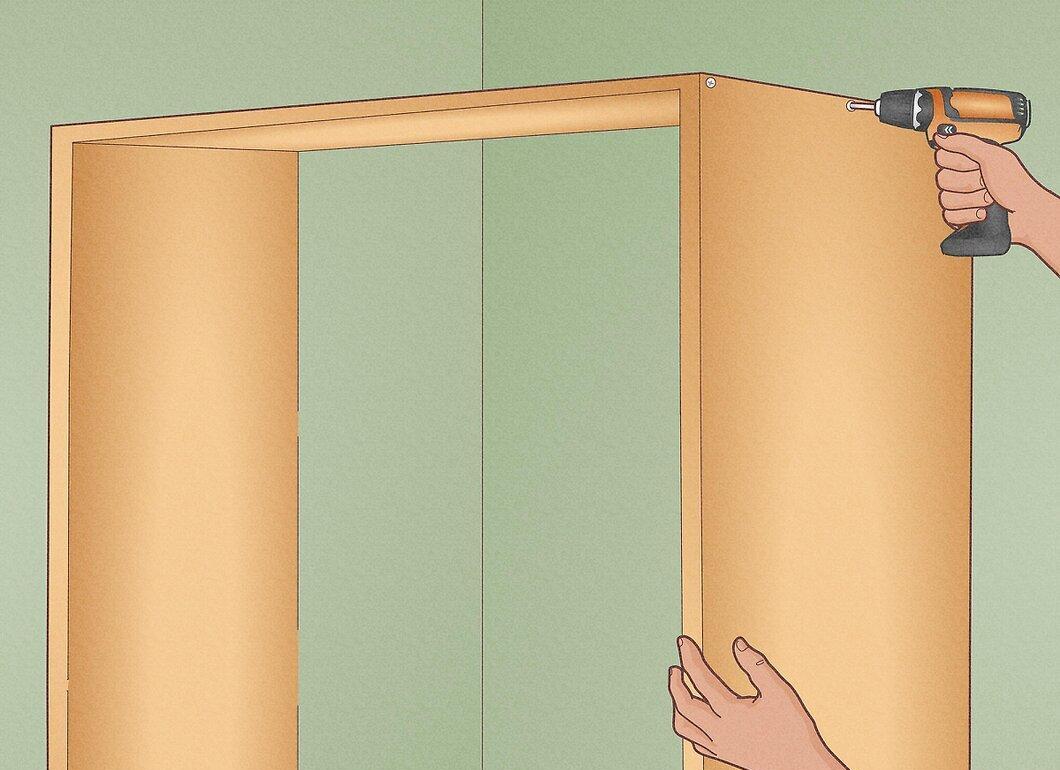
Install the vertical dividers and check their alignment to ensure they are at a right angle. Measure the length of each shelf and cut it to size. Secure them with screws and check if the shelf fits. After that, remove the shelves and add 25-50 mm wide support strips to the front for reinforcement. Place the shelves back in position and, if desired, paint them. You can also use strips sized 25-40 mm x 7 mm along the vertical dividers, sides, and top to hide the joints.
Step 7: Congratulations, You Did It!