
Kokedama is a wonderful way to create a hanging garden. Crafting a kokedama at home can be a fun activity for DIY enthusiasts. To get started, you'll need to make a soil ball using moss and soil, then add a plant and hang it in your home. Remember to water and trim your plants regularly to keep your kokedama thriving.
Preparing the Soil Ball
Step 1. Choose Your Plant.
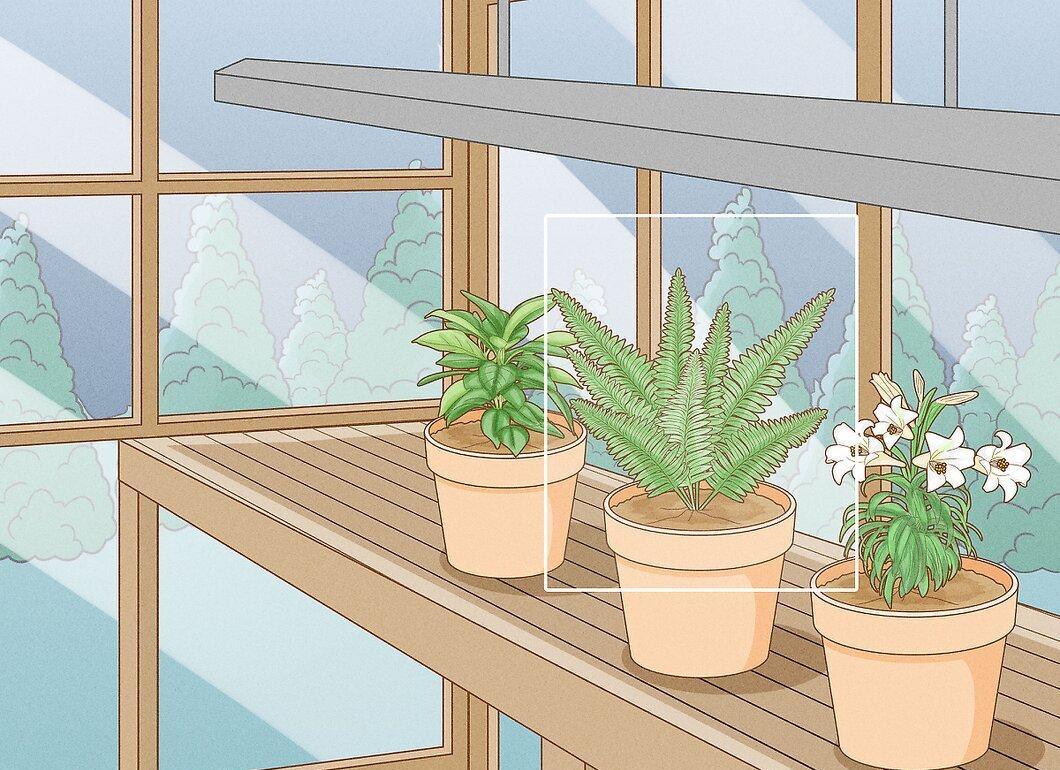
Select an appropriate plant. Various types of plants can be used for kokedama, as long as they can be easily suspended. Secure the plant with string and hang it from a hook. Typically, several types of plants are used, so consider purchasing a few potted plants from a store or taking some from your garden.
Step 2. Extract the Plant with Roots.
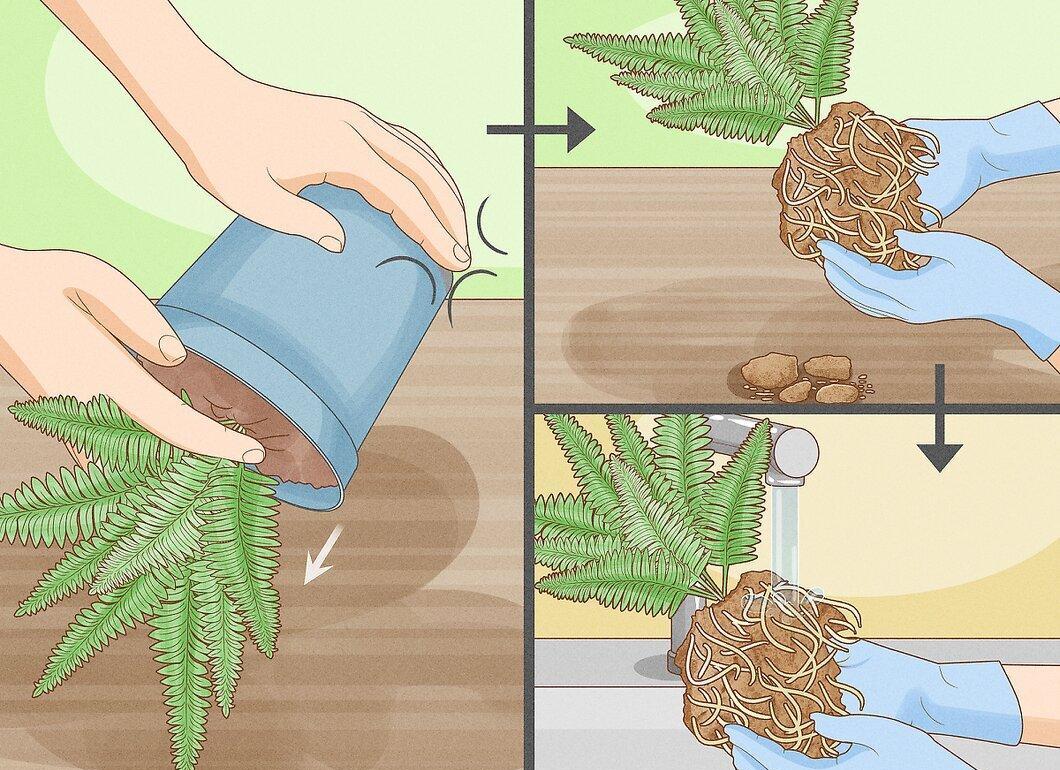
Carefully extract the plant with its roots. Whether it’s from a pot or from the ground, gently remove it with the roots intact. Take the plant out of the pot or soil and carefully remove the dirt from the roots. If the roots are small, you can rinse them under running water in the sink.
- If you took the plant from your garden, be sure to check the leaves for pests before bringing it indoors.
Step 3. Mix Moss with Bonsai Soil.
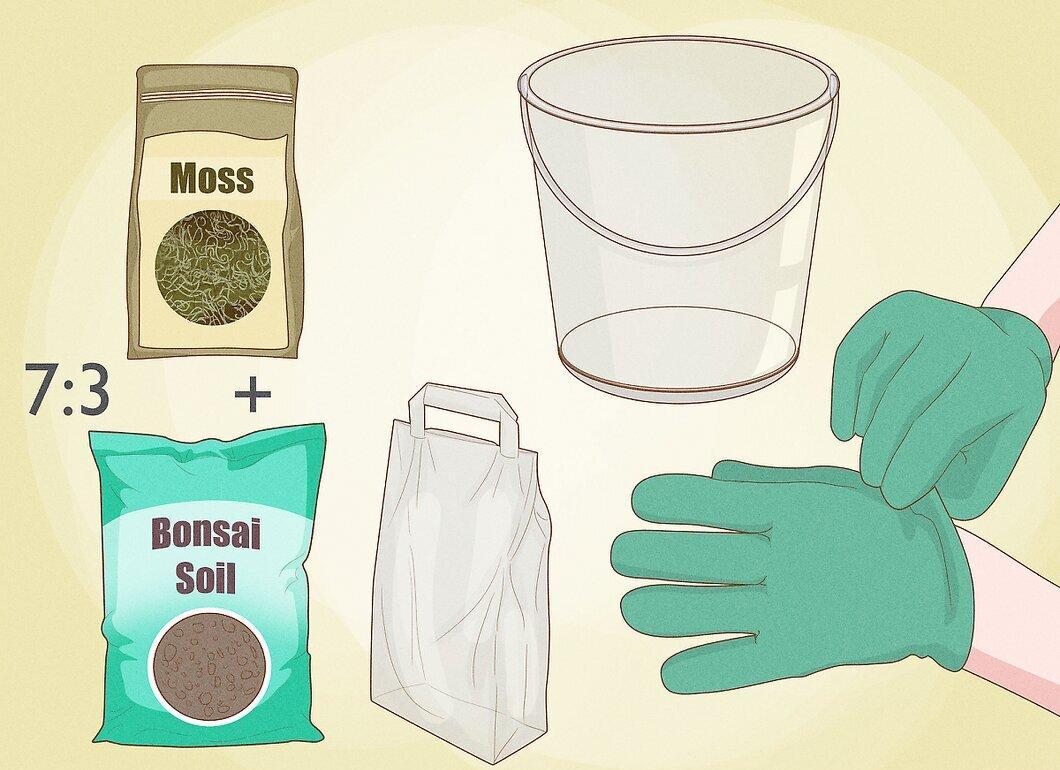
Prepare a plastic bag and a bucket, and put on gloves. For your kokedama, use moss and bonsai soil in a ratio of 7:3, mixing them until you achieve a uniform texture.
- Ensure you have enough mixture to cover all the roots of your plant. The exact amount depends on the size of your future masterpiece.
Step 4. Form the Soil Ball.
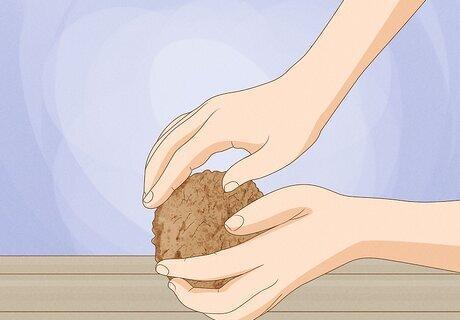
Create the soil ball. Take portions of the moss and soil mixture from the bucket or bag and roll them into a tight ball. It should be large enough to accommodate the roots of your plant. Once done, set the ball aside.
Step 5. Secure the Roots with Moss.
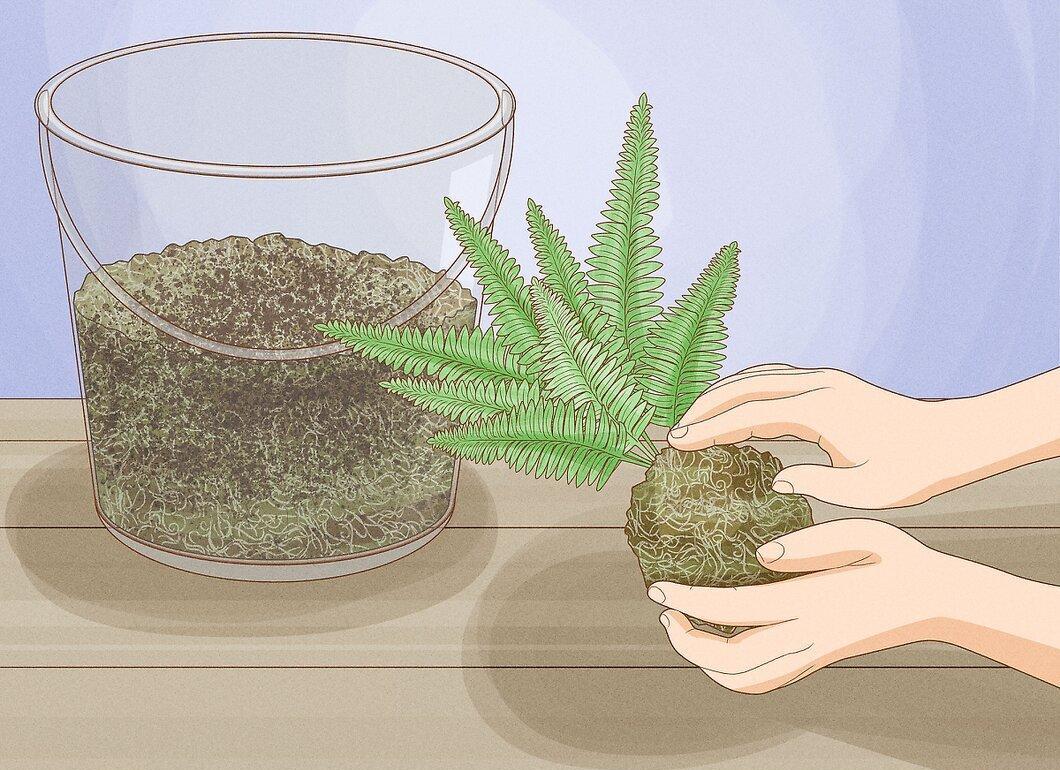
Wrap the plant's roots with moss. You can use sphagnum moss from a greenhouse or order it online. Wrap the roots several times with moss until they are completely covered. Then tie them securely with twine or strong thread.
- Choose the amount of moss based on the size of your soil ball.
Step 6. Place the Roots in the Soil Ball.
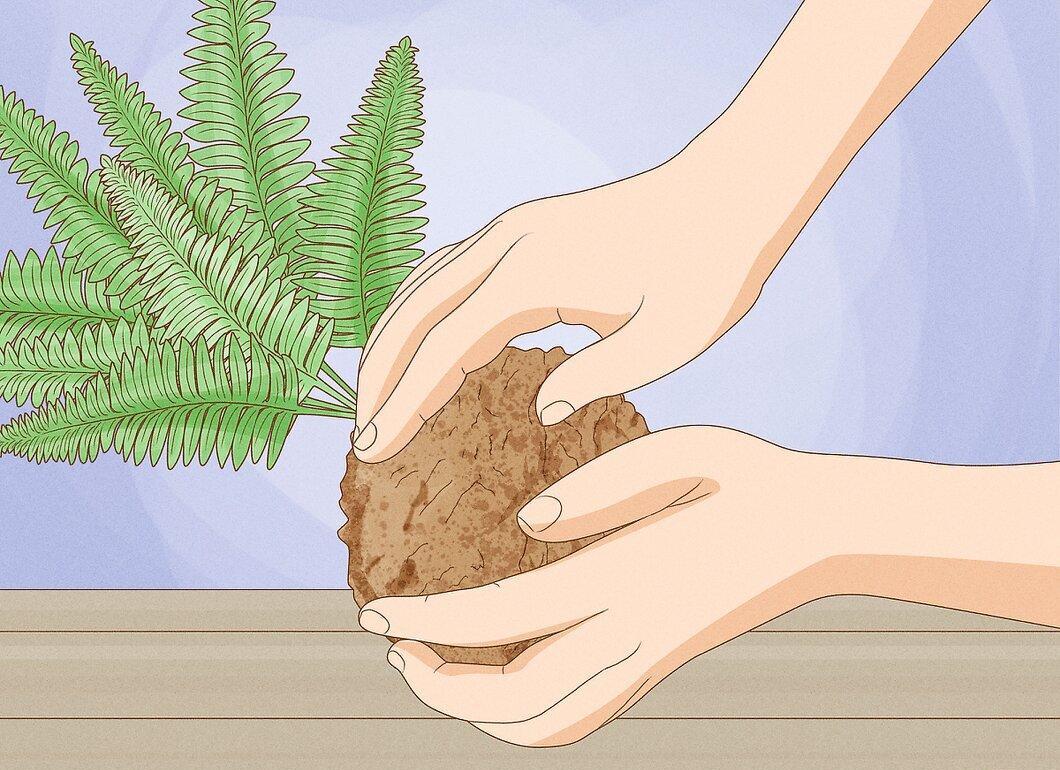
Insert the roots into the soil ball. Split the ball in half and gently place the roots inside. After that, join the halves of the ball and firmly pack the soil around the roots.
Wrapping and Hanging the Plant
Step 1. Cover the Soil Ball with Moss.
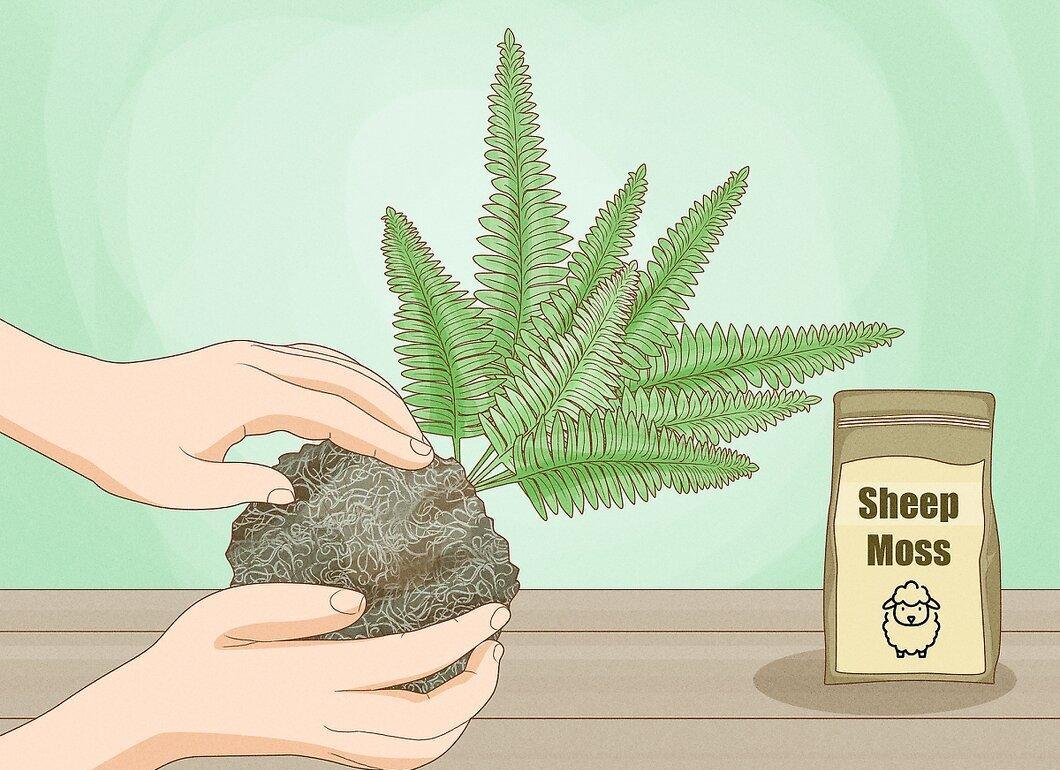
Wrap the soil ball in moss. Cover the ball with a layer of sphagnum moss. This can be purchased from a greenhouse or ordered online. Wrap the soil ball in one layer of moss.
- Try to use enough moss to adequately cover the size of the ball.
Step 2. Tie the Ball with String.
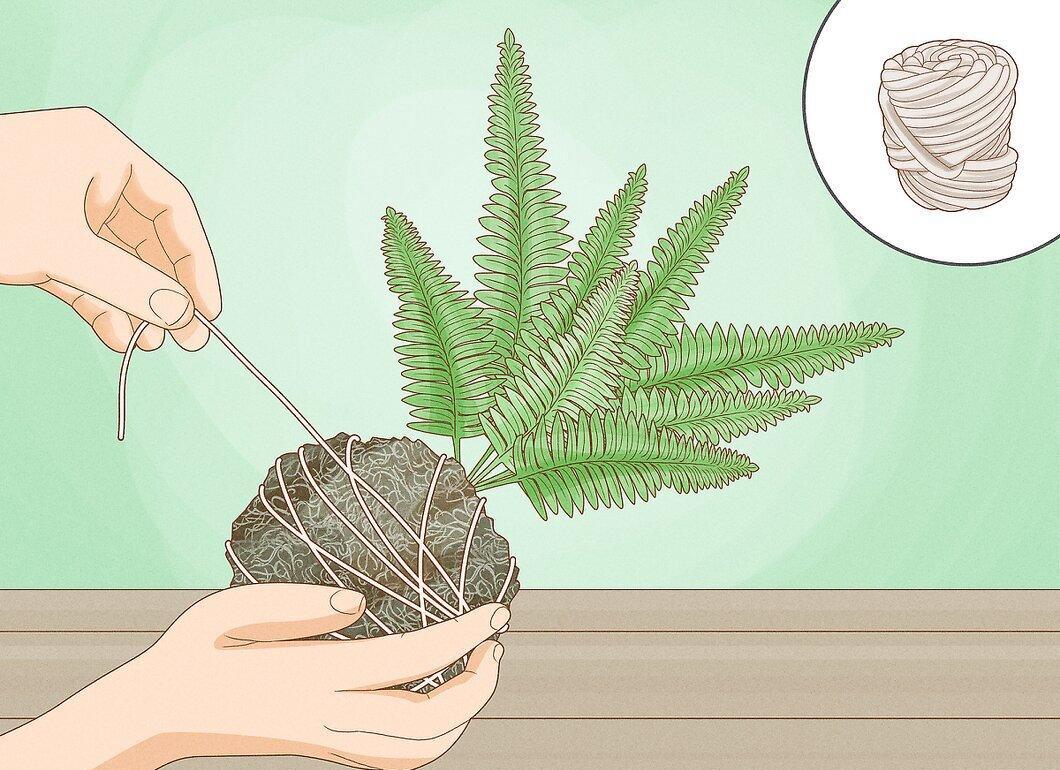
Secure the ball with string. Take a thick thread or rope and wrap it around the ball to securely fasten the moss. Be sure to tightly wrap the string around the ball so nothing falls out.
Step 3. Attach a Hook.
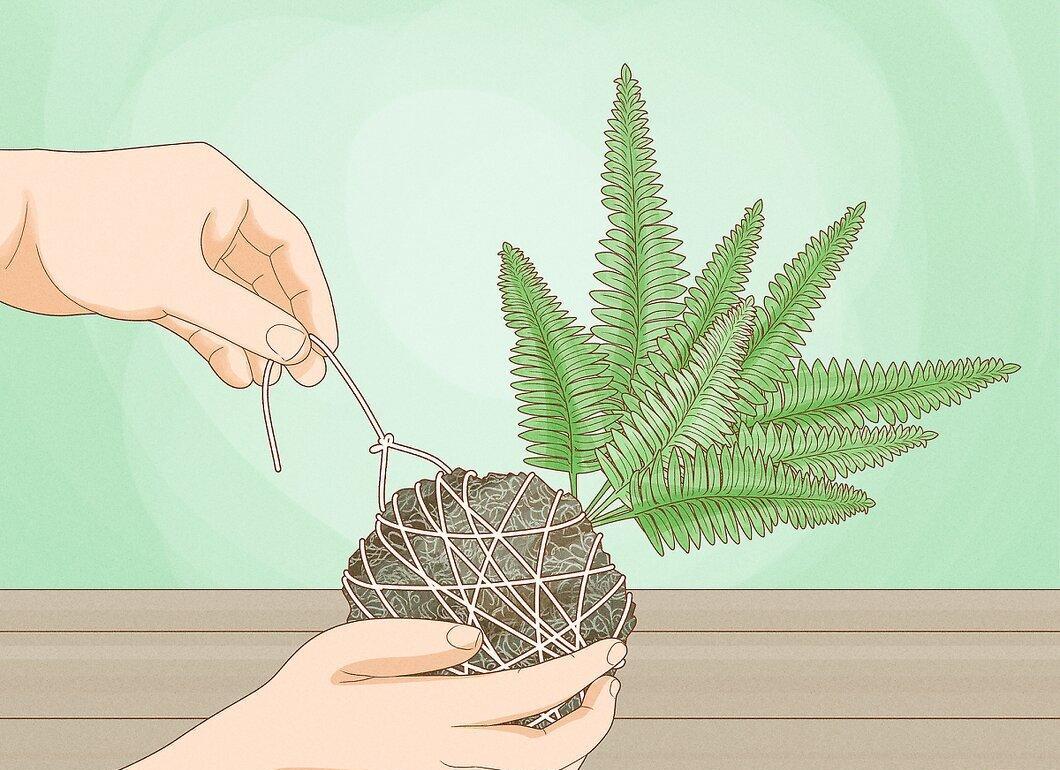
Attach a hook. Use another piece of string, the length of which depends on where you want to hang your kokedama. Tie both ends of the string to another piece wrapped around the plant to create a hanging loop.
Step 4. Hang the Plant.
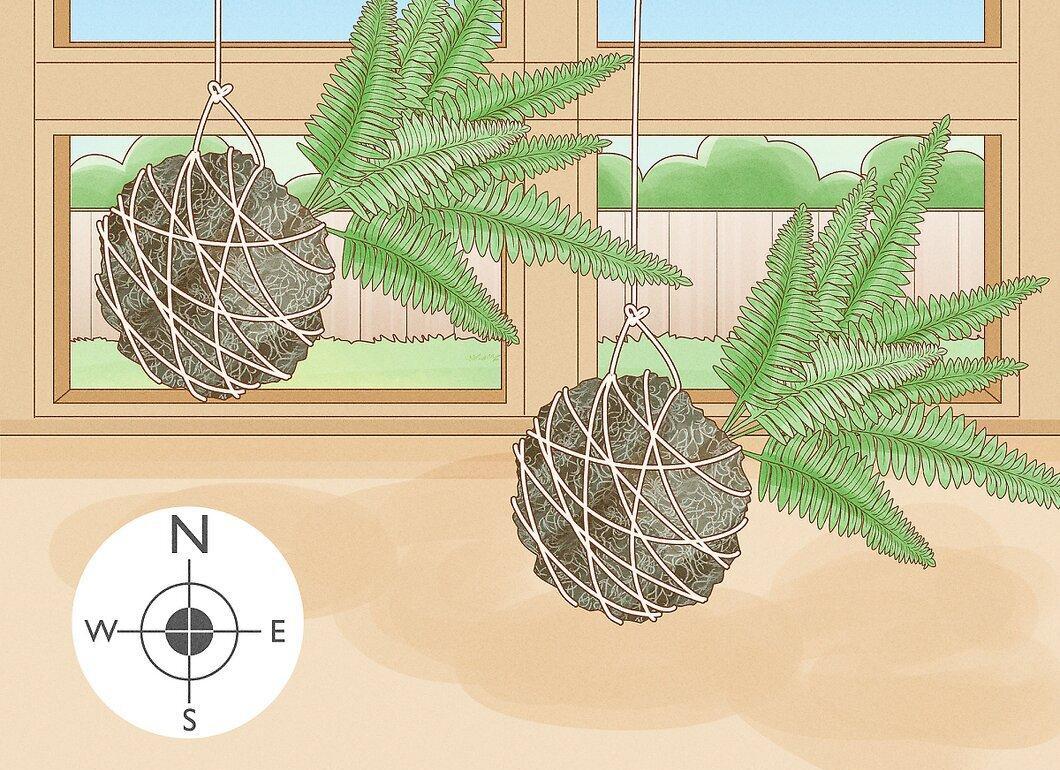
Find a suitable spot in your home for the kokedama. Try to hang it opposite a north-facing window. If you don’t have such a window, hang the plant about a meter away from a south, west, or east-facing window.
Caring for Your Kokedama
Step 1. Regularly Mist the Plant.
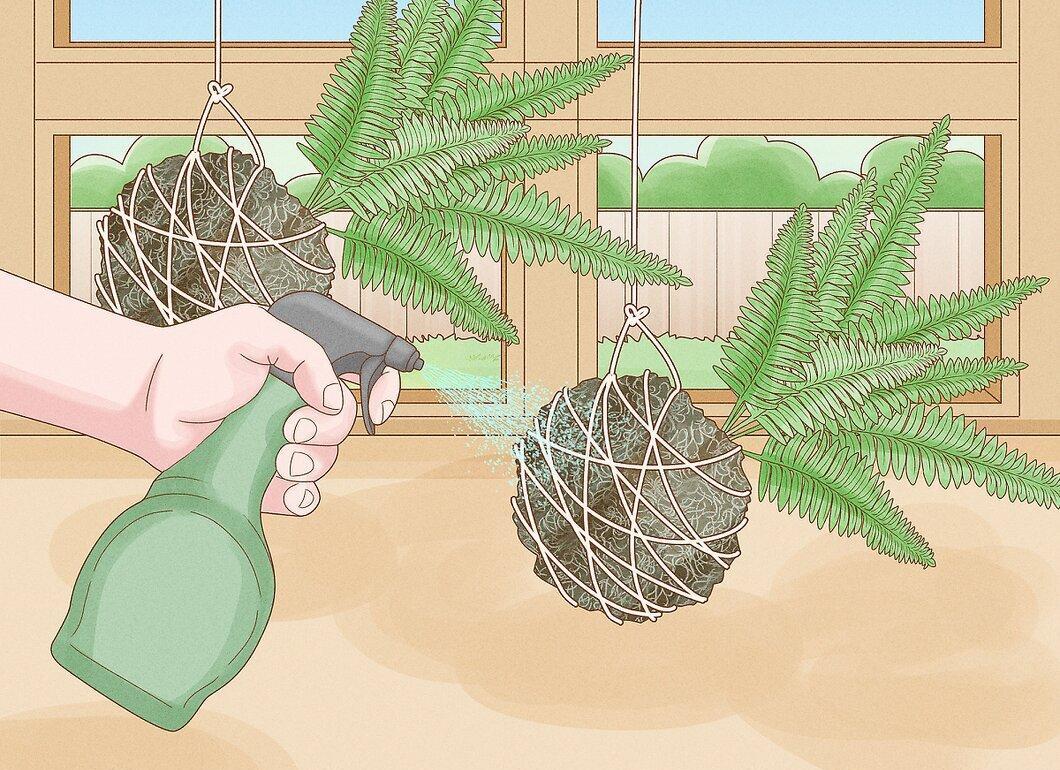
Mist the plant regularly. Fill a spray bottle with tap water and lightly mist the kokedama every day. For added humidity, you can place a tray of pebbles and water under the plant.
Step 2. Water the Plant Regularly.
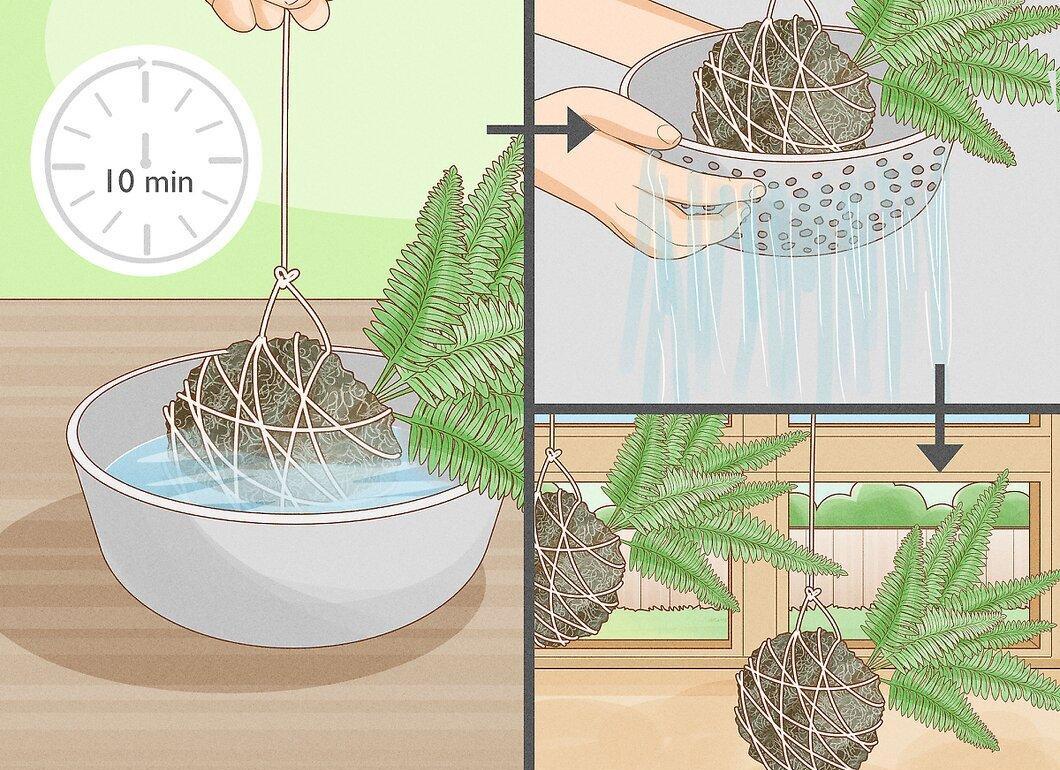
Water the plant regularly. Submerge the kokedama in a bowl of room temperature water for 10 minutes. Allow the water to drain through a colander until it stops dripping, and then return the plant to its spot.
- Water the kokedama when it starts to feel light and the plant's leaves turn yellow.
Step 3. Remove Wilting Leaves.
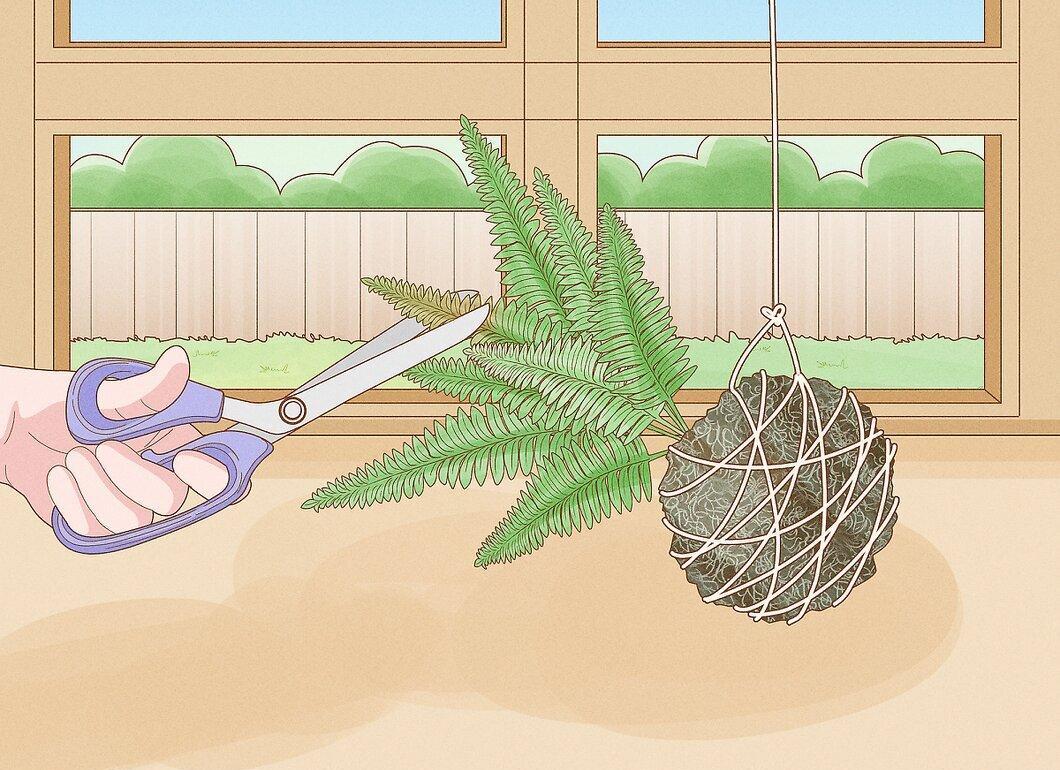
Regularly trim away wilting leaves. Keep an eye on the plant's condition: if the leaves turn yellow or wilt, carefully cut them off with regular or garden scissors.
- If leaves frequently yellow, it may indicate that you are not watering the plant enough.
Step 4. Repot the Plant.
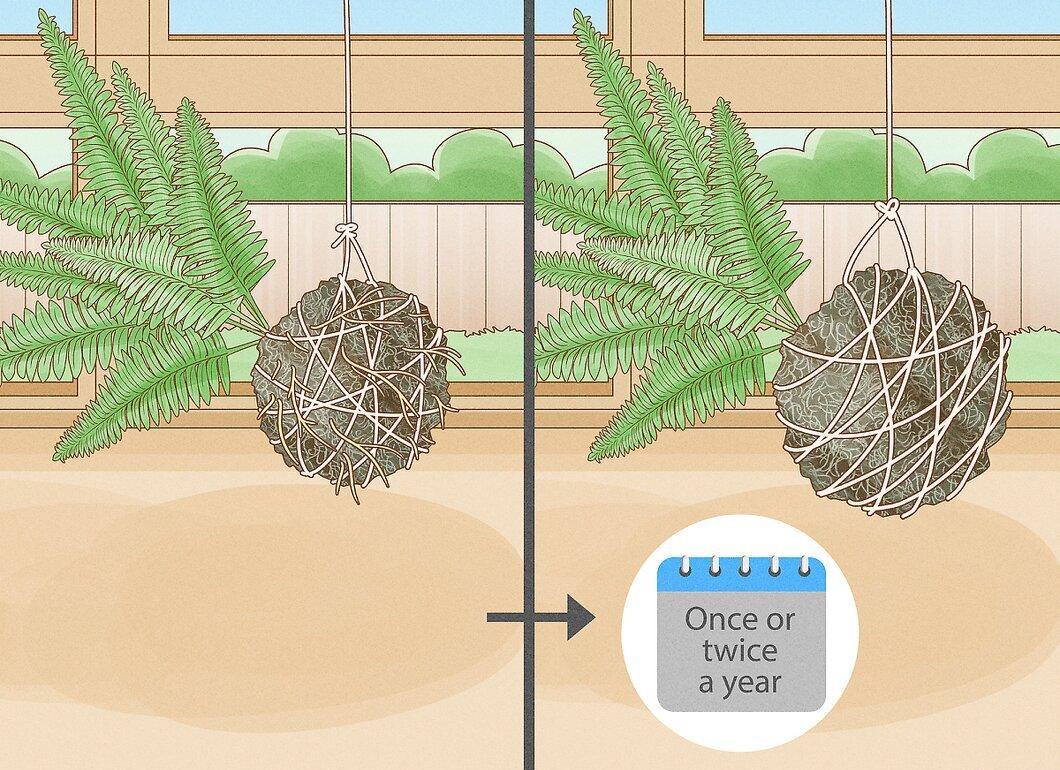
Repot the plant. Over time, roots may break through the moss and soil ball. In such cases, you will need to repot the plant into a new soil ball. Most plants require repotting once or twice a year.


