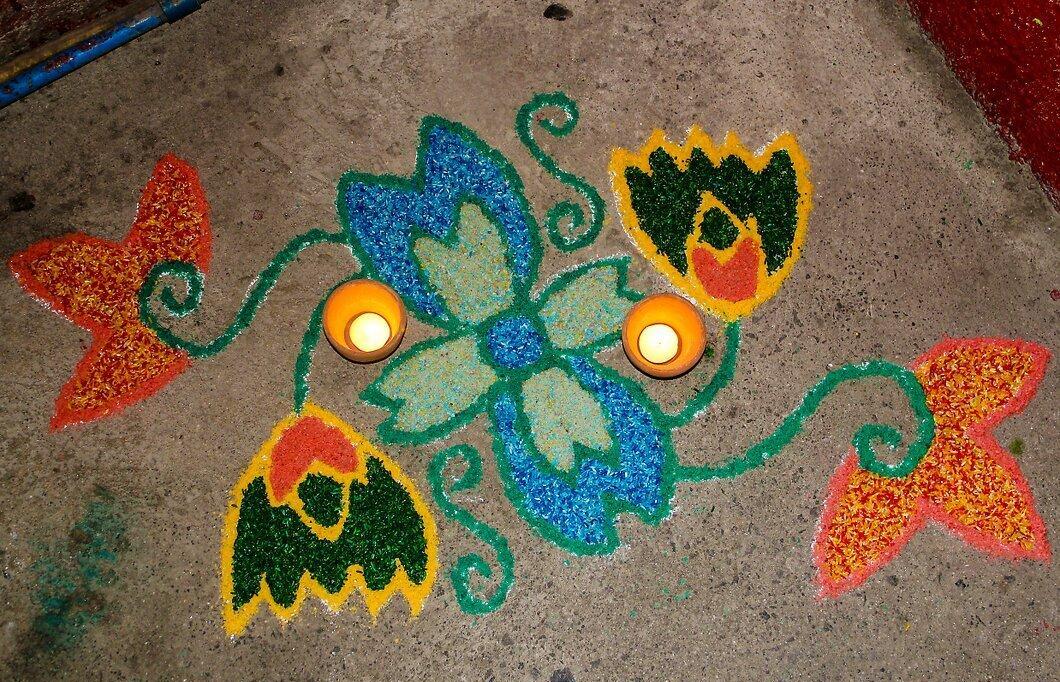
Rangoli is a traditional Indian art form often seen during the Diwali festival. These vibrant designs can vary in size and are made from a wide range of materials. You can use rangoli art as a sophisticated project for professional artists or turn it into a fun activity for children.
Simple Rangoli – Perfect for Kids
Step 1. Choose the size of black paper you will use.
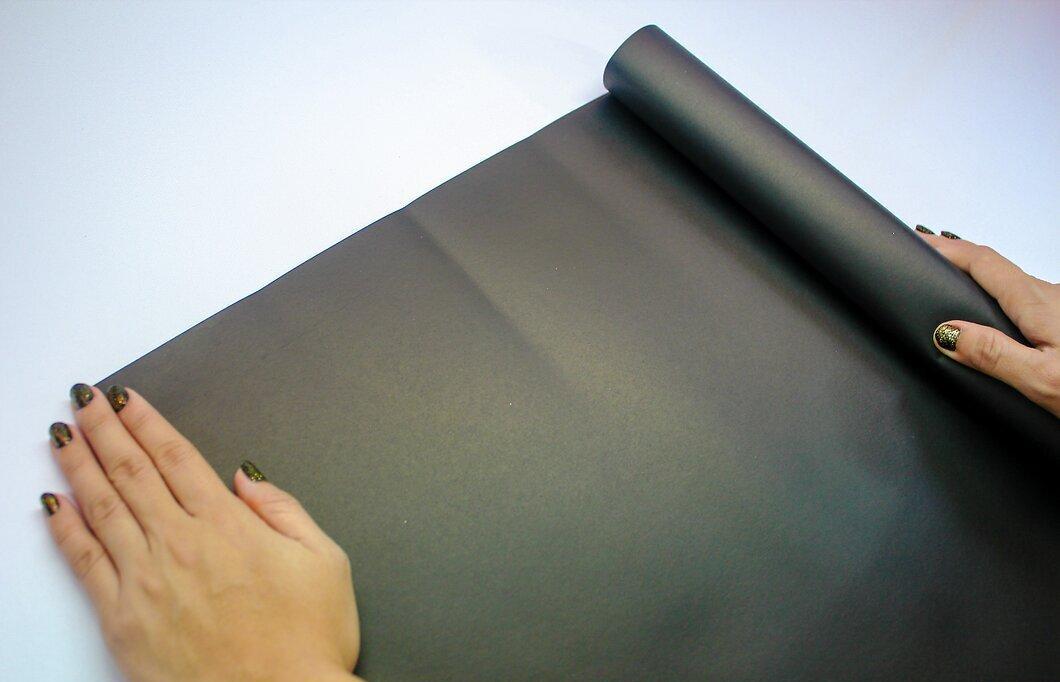
Choose the size of black paper you will use. The size should be big enough to include some intricate designs but not too large to make it a long-term project.
Step 2. Select your desired design.
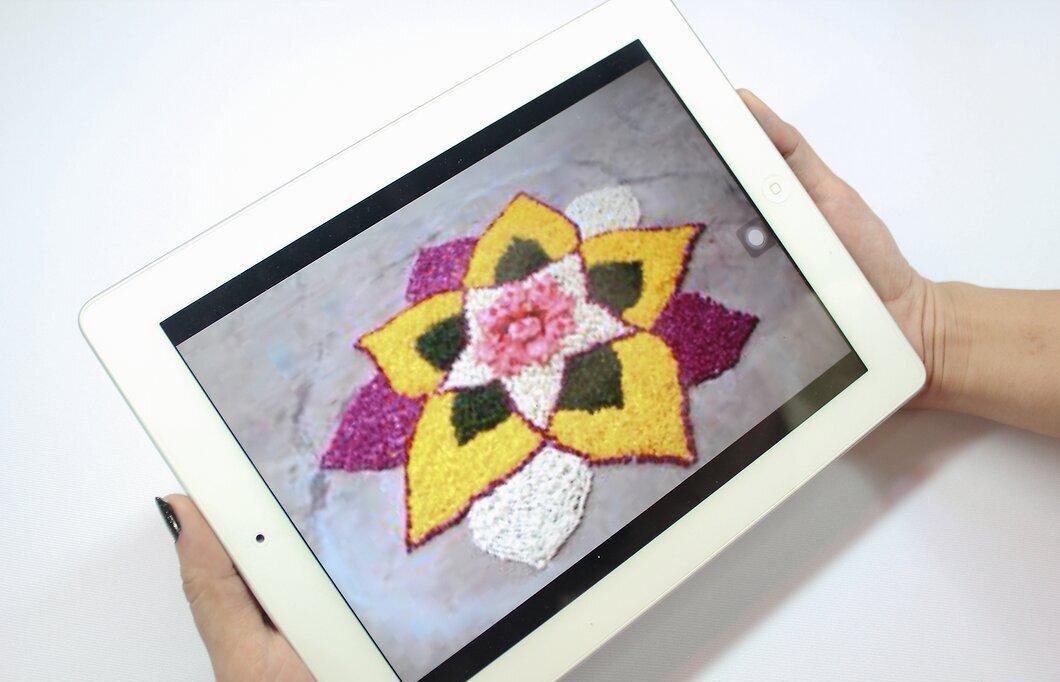
Select your desired design. Most of them are symmetrical and based on images of animals or plants, with flowers being especially popular. Look online or in specialized Indian art books for design ideas.
Step 3. Sketch the design on paper.
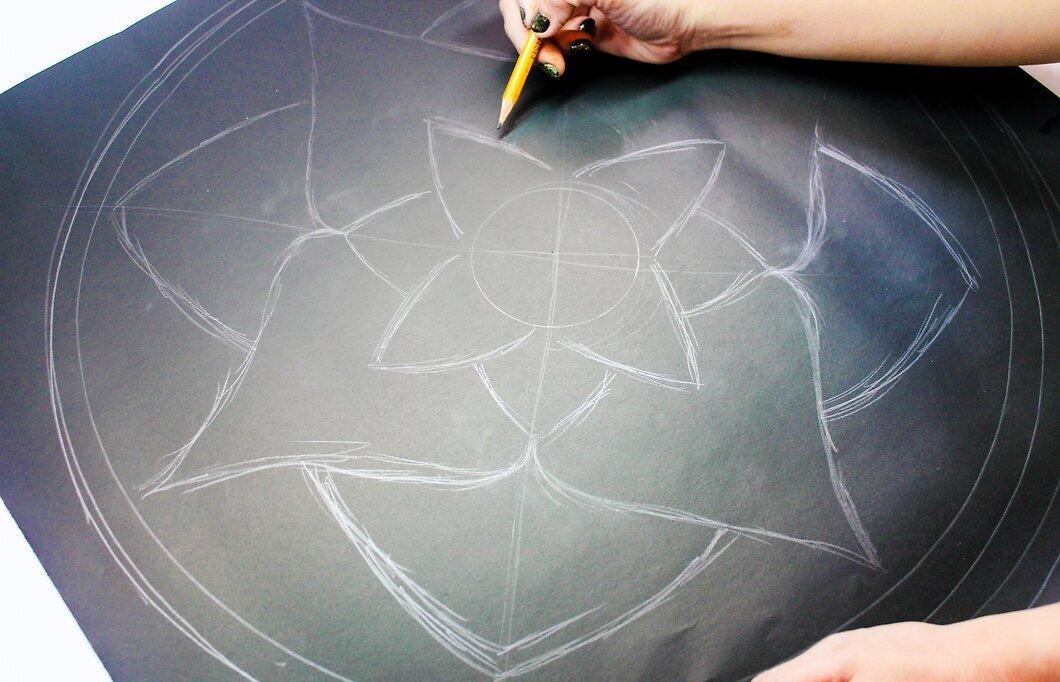
Sketch the design on paper. Make light sketches so that they are easy to erase if necessary.
Step 4. Once you are satisfied with your drawing, outline it with white chalk.
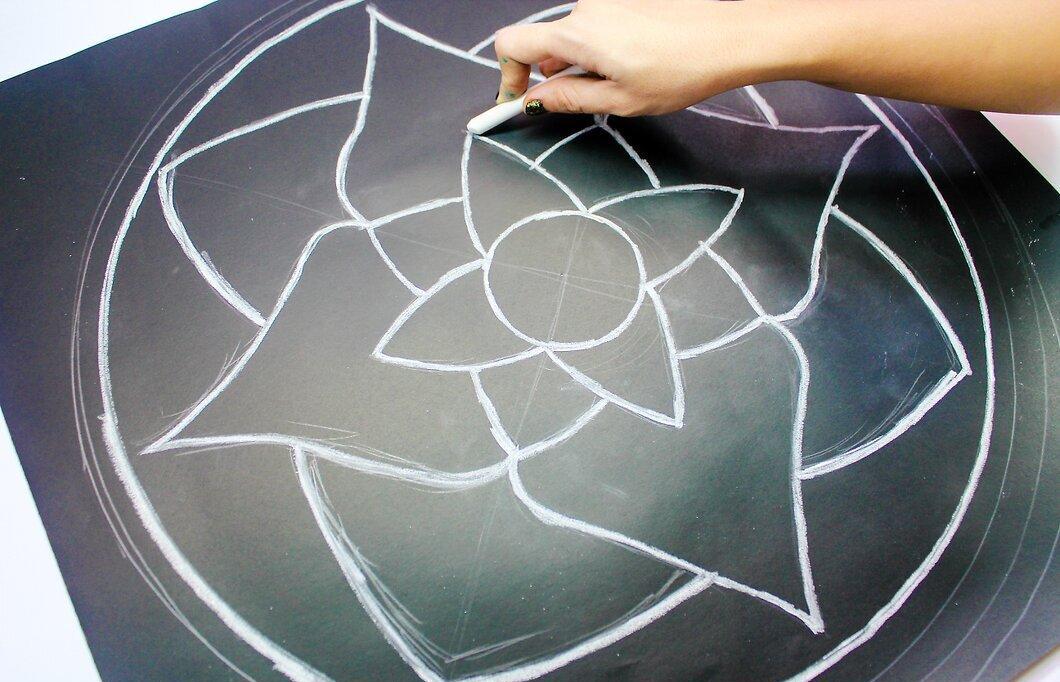
When you are happy with your drawing, outline it with white chalk. This is a very important step for beginners, while professional artists often skip it.
Step 5. Fill in the drawing with colored chalk.
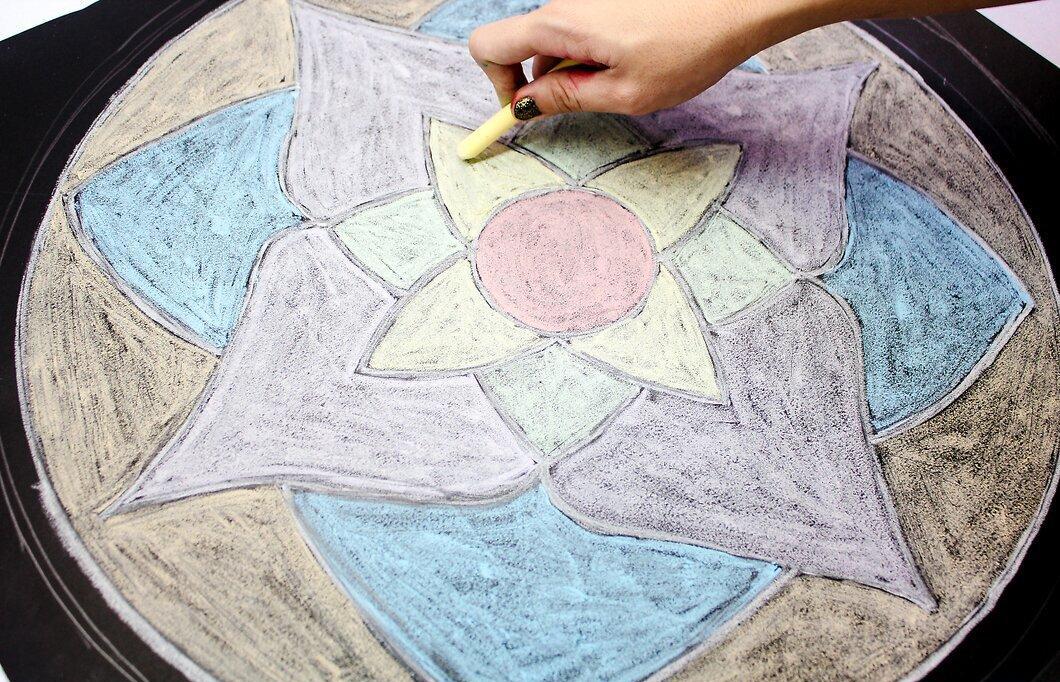
Fill in the drawing with colored chalk. This is the most exciting step and usually the most fun. Use as many colors as you like.
Step 6. Proudly display your artwork.
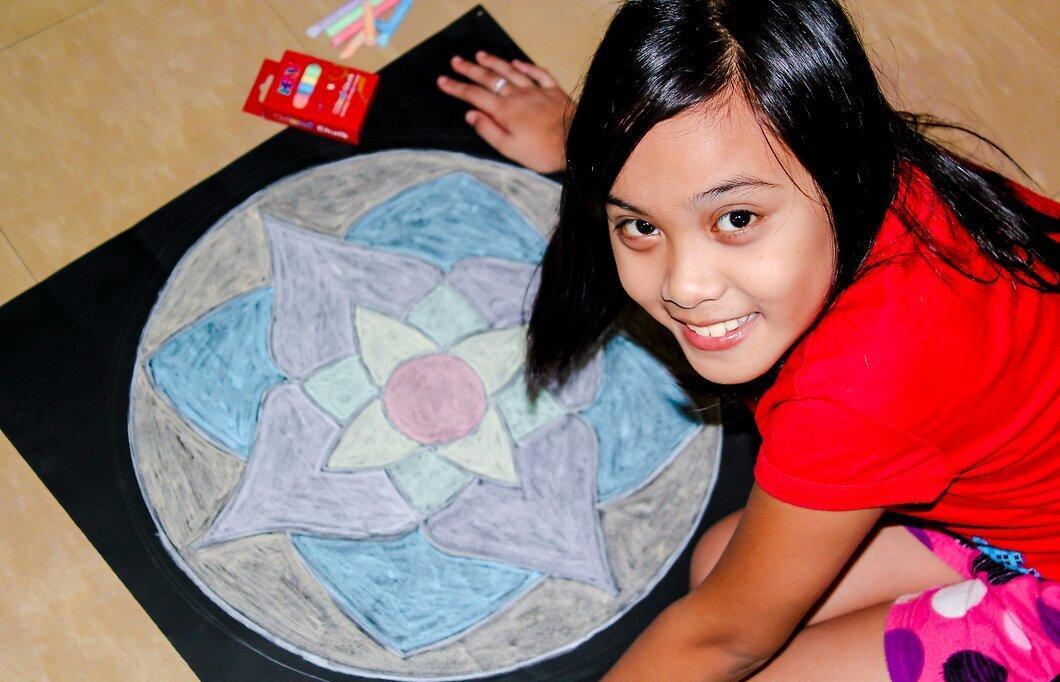
Proudly display your artwork. Pin it up somewhere visible to others: on a door, in a hallway, or in the kitchen.
Rangoli for Beginners
Step 1. Choose where you want to create your rangoli.
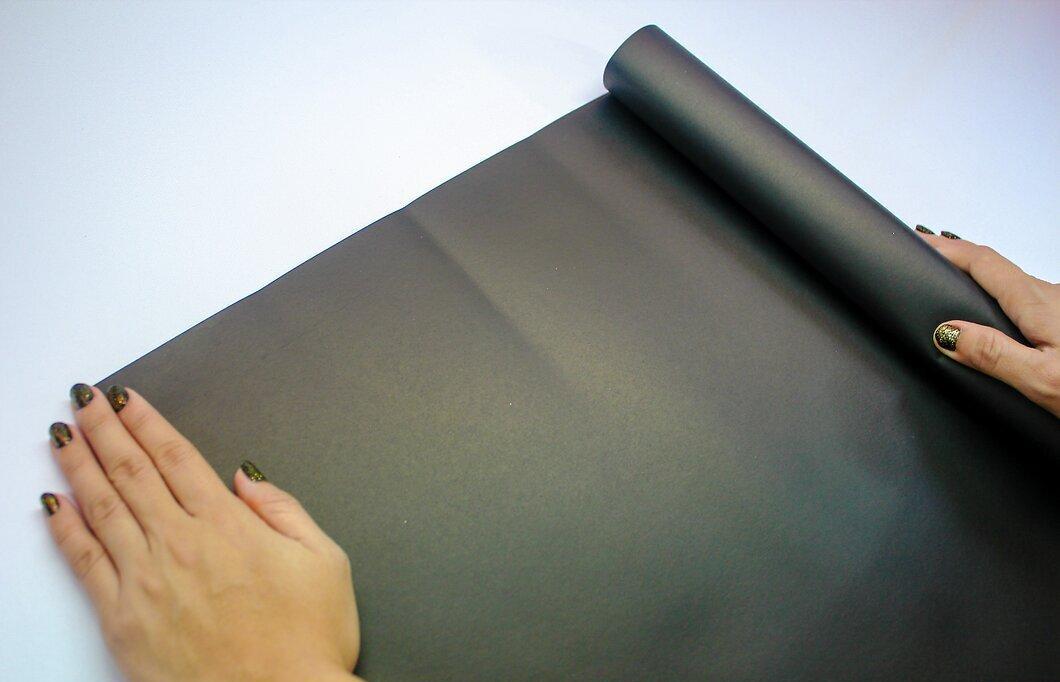
Choose where you want to create your rangoli. This can be on paper or, more traditionally, on the ground. If you decide to draw on the ground or pavement, first ensure that you won't obstruct foot traffic.
Step 2. Select your desired design.
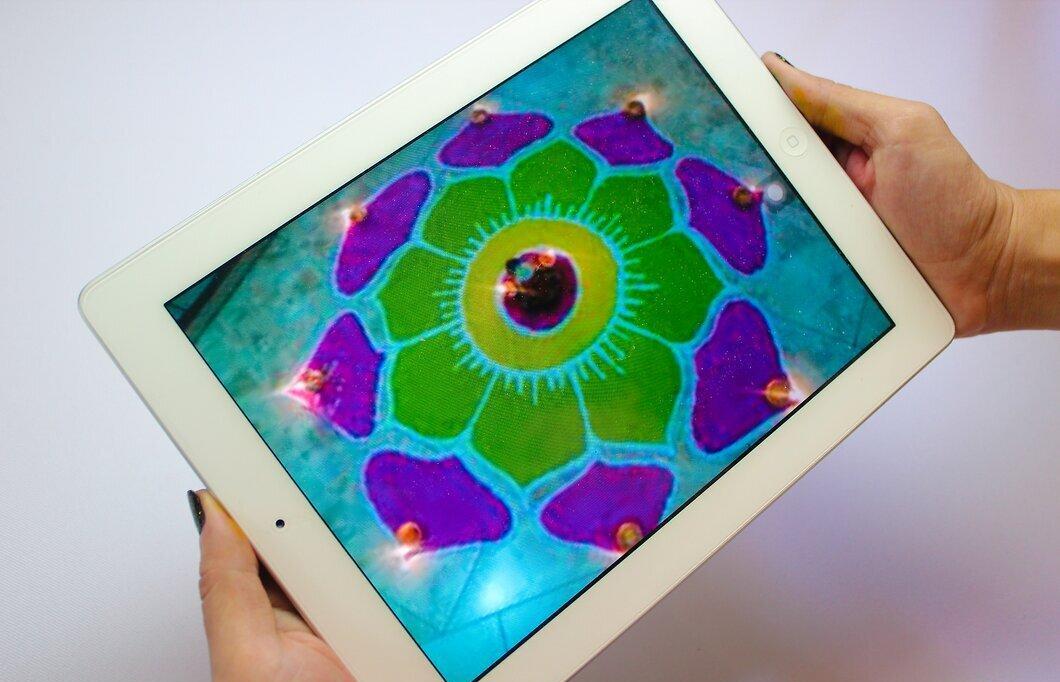
Select your desired design. Most are symmetrical and based on images of animals or plants, with flowers being particularly popular. Search online for design options and choose one that looks simple and beautiful.
Step 3. Sketch the design with a pencil or chalk.
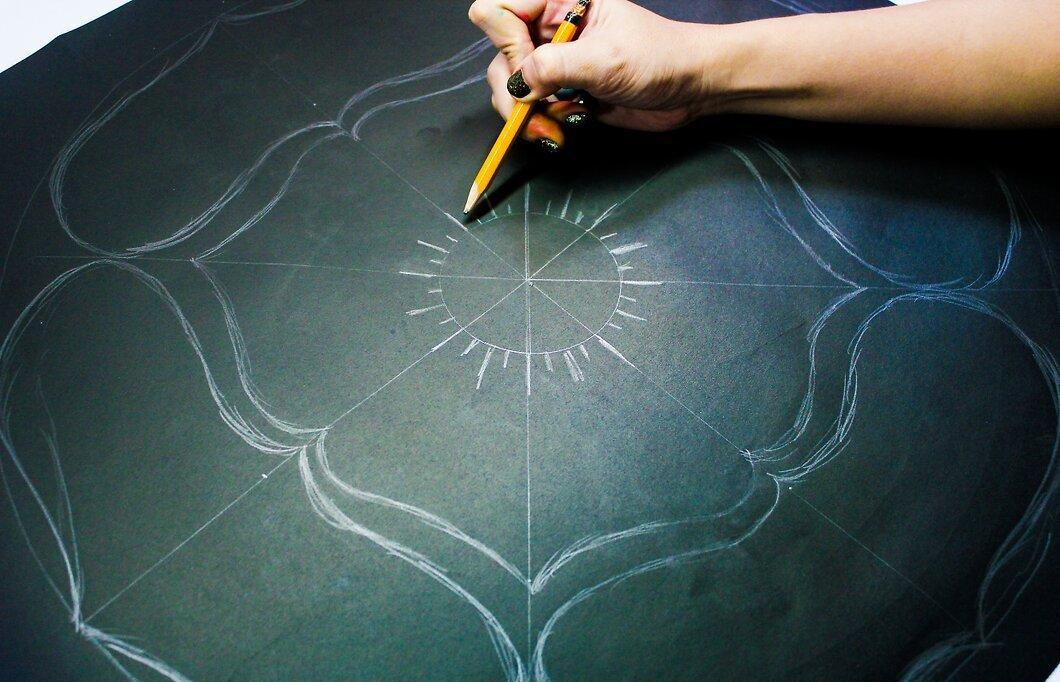
Sketch the design with a pencil or chalk. If you are working on pavement or dirt, only use chalk.
Step 4. Once you are satisfied with the drawing, darken the lines.
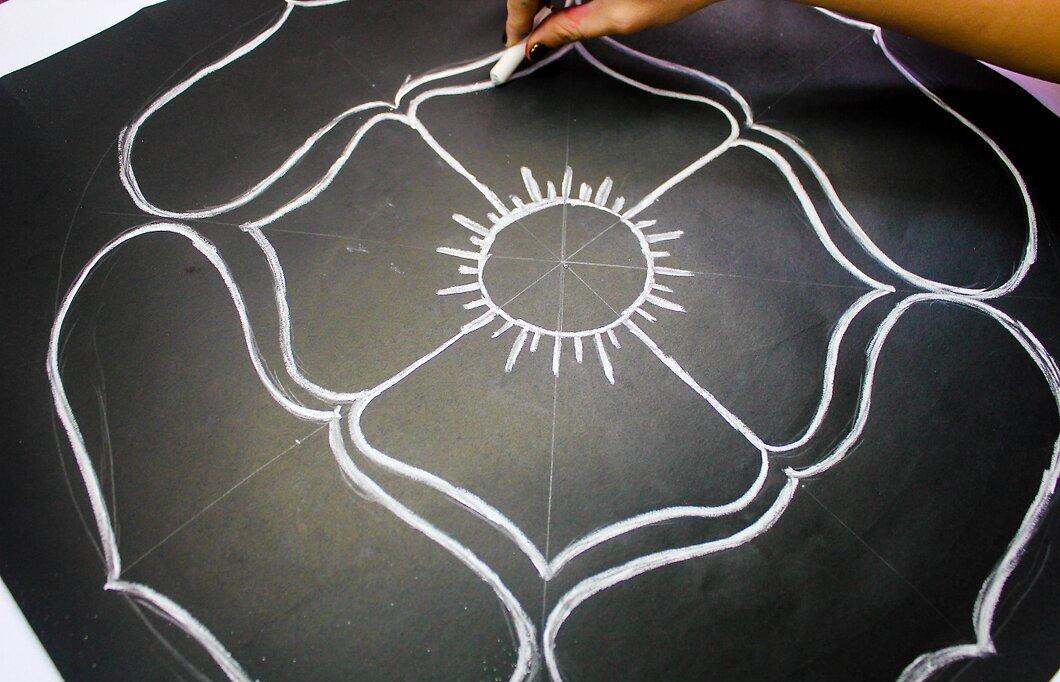
Once you are satisfied with the drawing, darken the lines. This will add clarity to your drawing, especially on the ground. This is an important step for beginners.
Step 5. Outline the design.
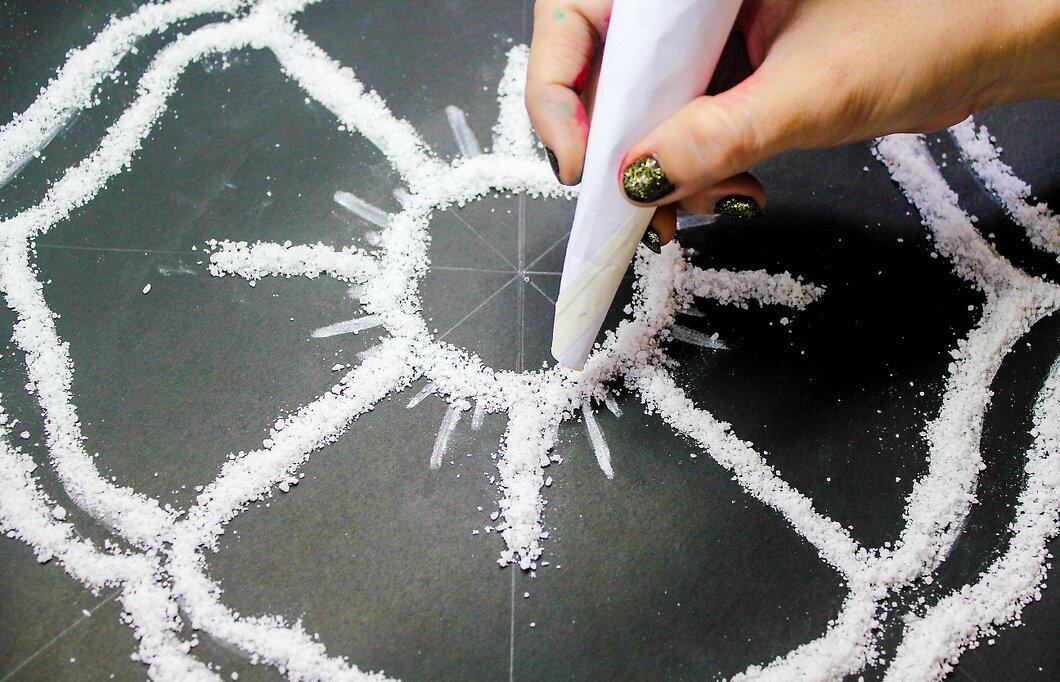
Outline the design. Roll a piece of newspaper into a cone and leave a small hole at the bottom. Fill it with sand or semolina. Use your finger to stop the flow.
Step 6. Fill in the drawing.
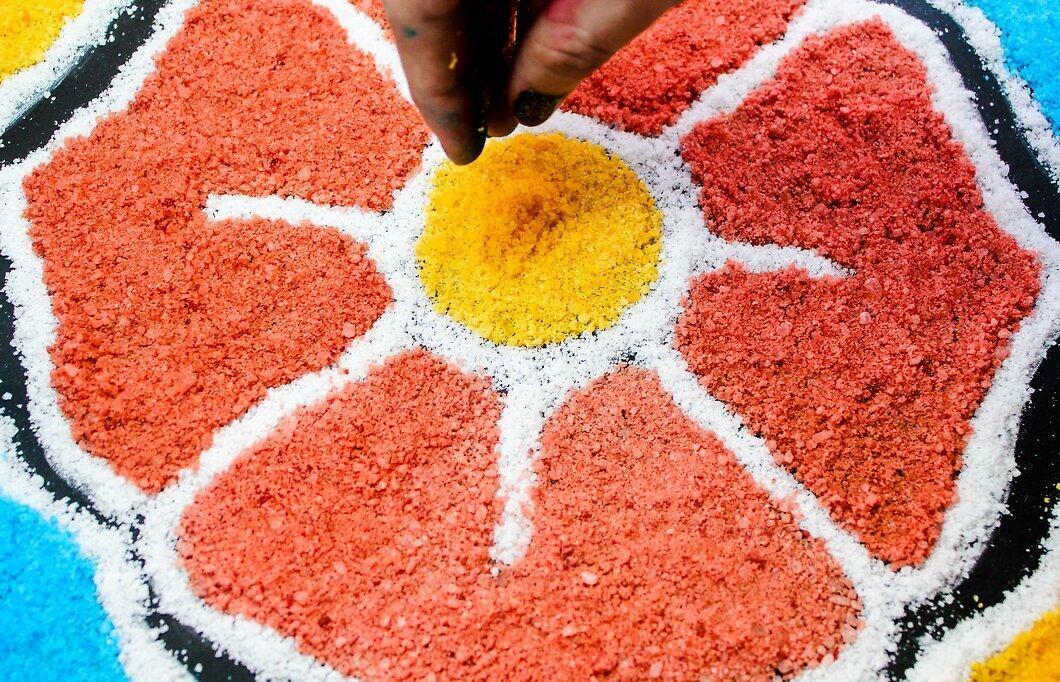
Fill in the drawing. This is the most exciting step and usually the most fun. You can use various materials to fill in:
- Powder paint mixed with sand or semolina
- Paints
- Colored sand or sawdust
Step 7. If you drew on paper, hang it in a visible place.
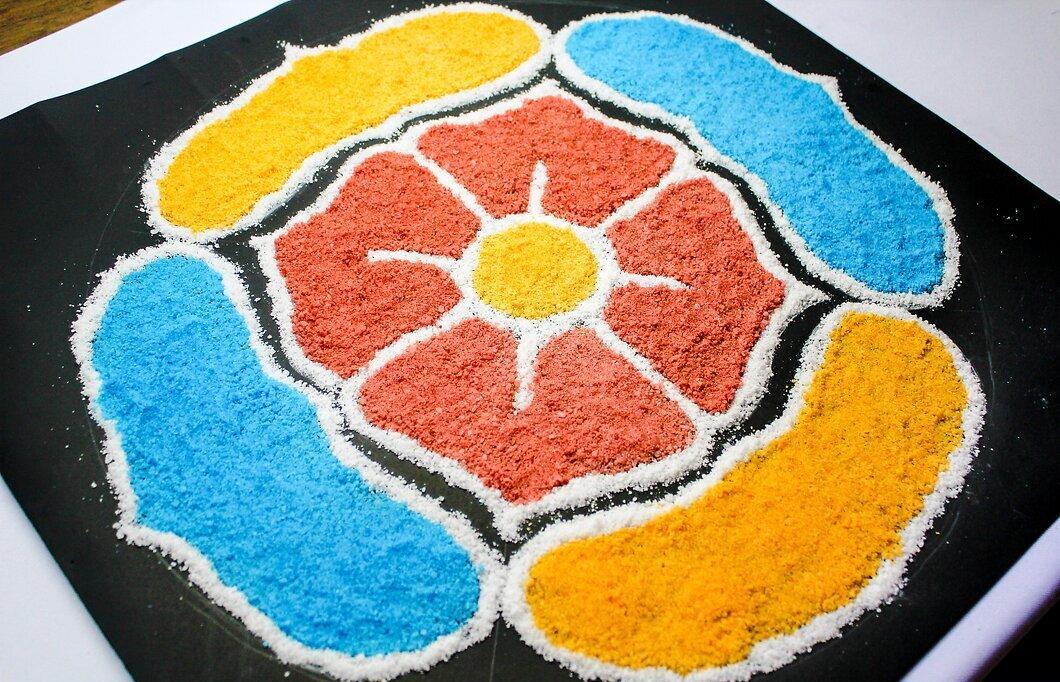
If you drew on paper, hang it somewhere visible. If you drew on the ground, make sure that your design doesn’t obstruct foot traffic.
Rangoli for Professional Artists
Step 1. Choose a traditional place for your rangoli.
Choose a traditional place for your rangoli. This can be the ground or a wall. If you are working on the ground, avoid high foot traffic areas to not disturb others.
Step 2. Select your design.
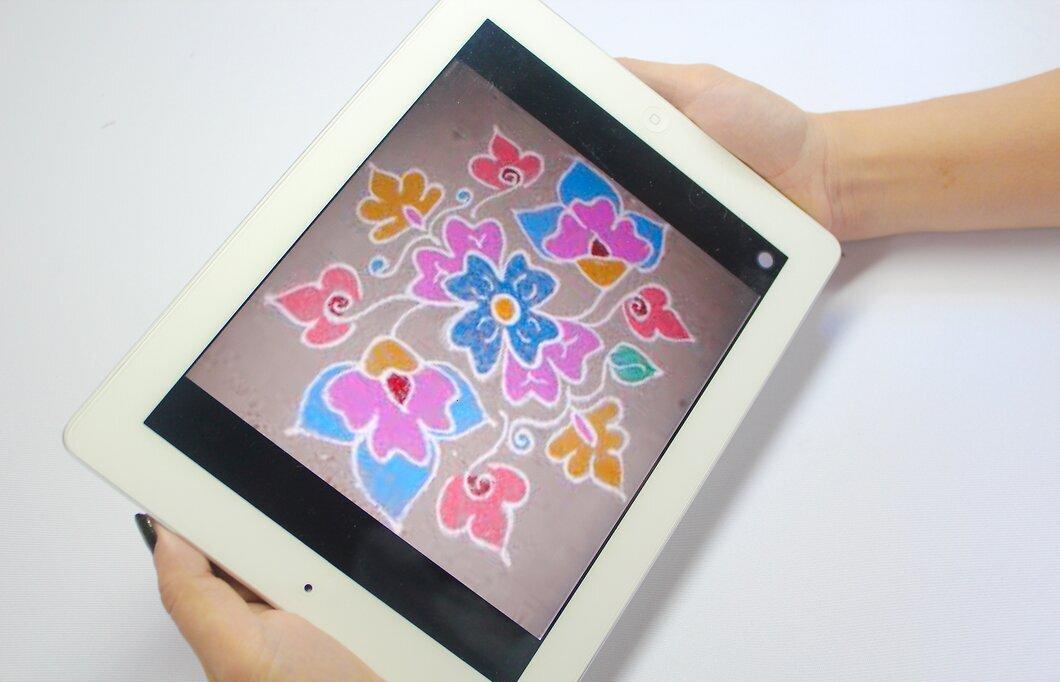
Select your design. Whether it’s simple or complex, typically all designs are symmetrical. You can draw inspiration from animals or plants or come up with your own design. You may even depict a character or scene from a story, which is common in traditional rangoli. Look online for rangoli options and choose one that suits you.
Step 3. Make a sketch on paper and refine your idea.
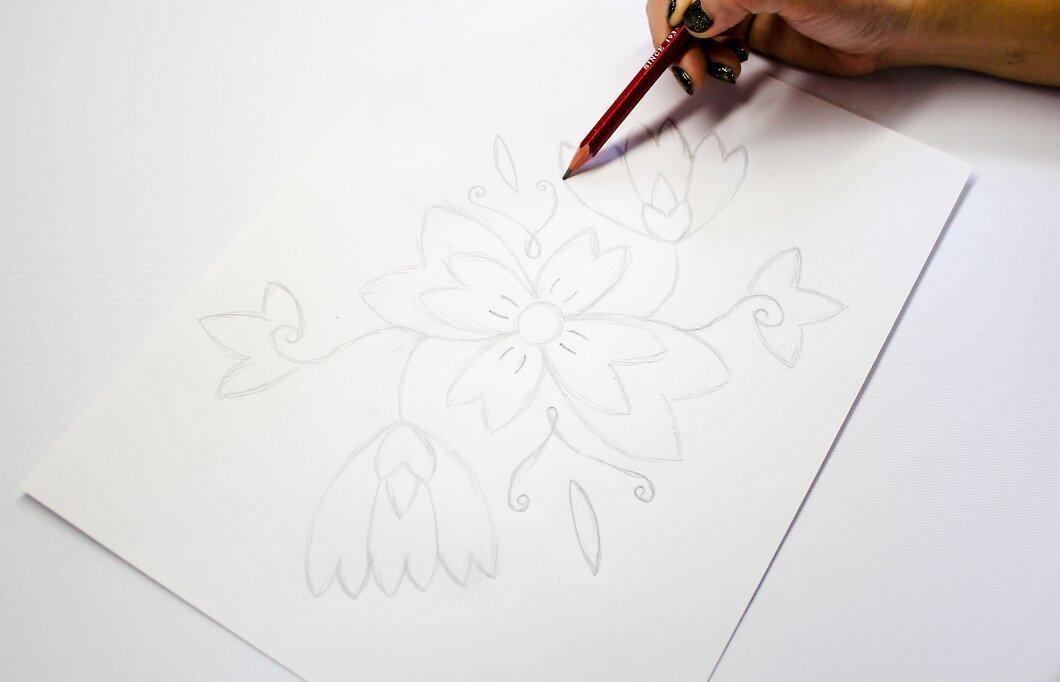
Make a sketch on paper and refine your idea. Remember to create clearly distinguishable lines and leave space for colors and inserts to create textured rangoli.
- What to use for building structure? Sand, semolina, dry lentils or peas, powdered paints mixed with colored sand or sawdust, etc.
Step 4. Use semolina or colored sand to highlight your design.
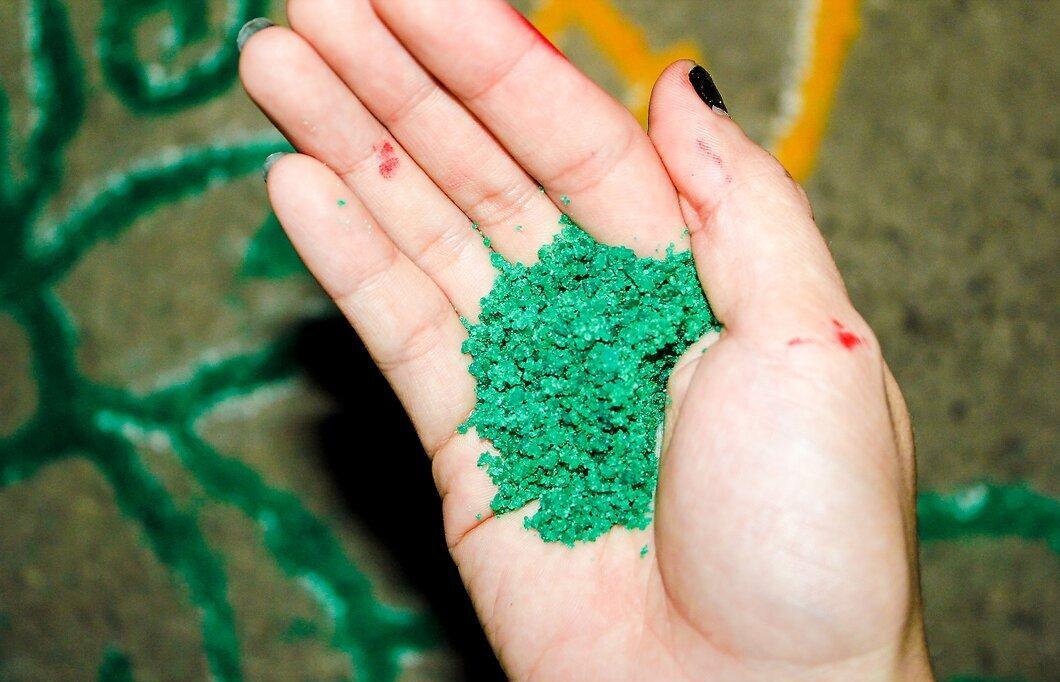
Use semolina or colored sand to highlight your design. To do this, take a bit of semolina in your palm, form a cone with your hand, and slightly tilt it so that the sand or semolina flows evenly.
Step 5. Fill in the design.
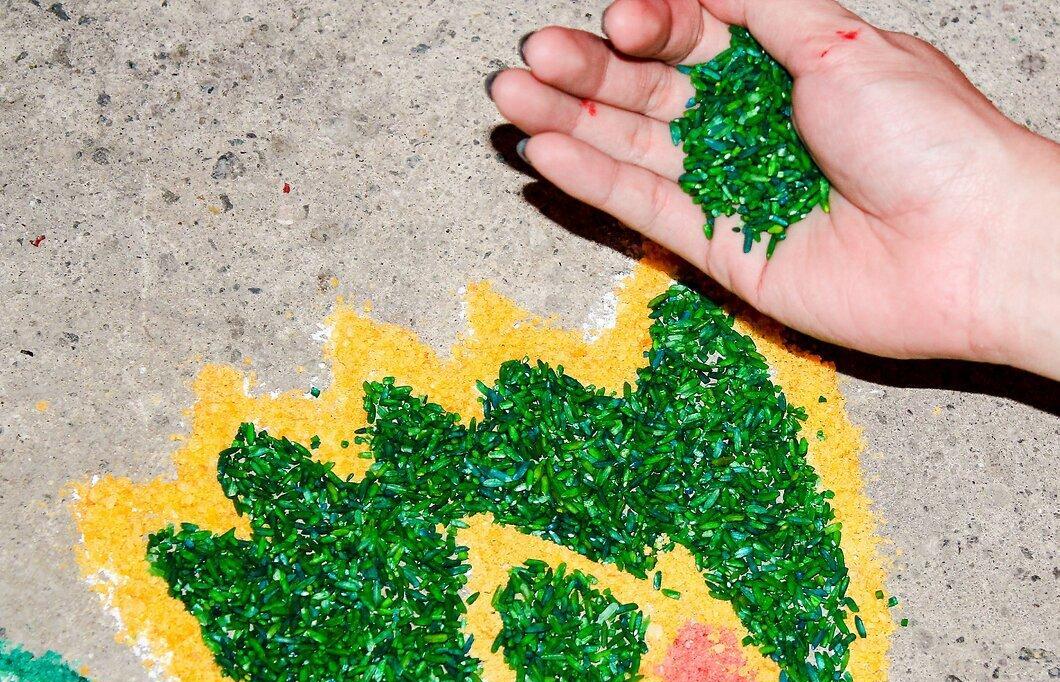
Fill in the design. This is the most exciting step and usually the most fun. You can use various materials for filling:
- Powder paint mixed with sand or semolina
- Flower petals or leaves
- Paints
- Colored sand or sawdust
- Anything else of your choice
Step 6. Add the finishing touches.
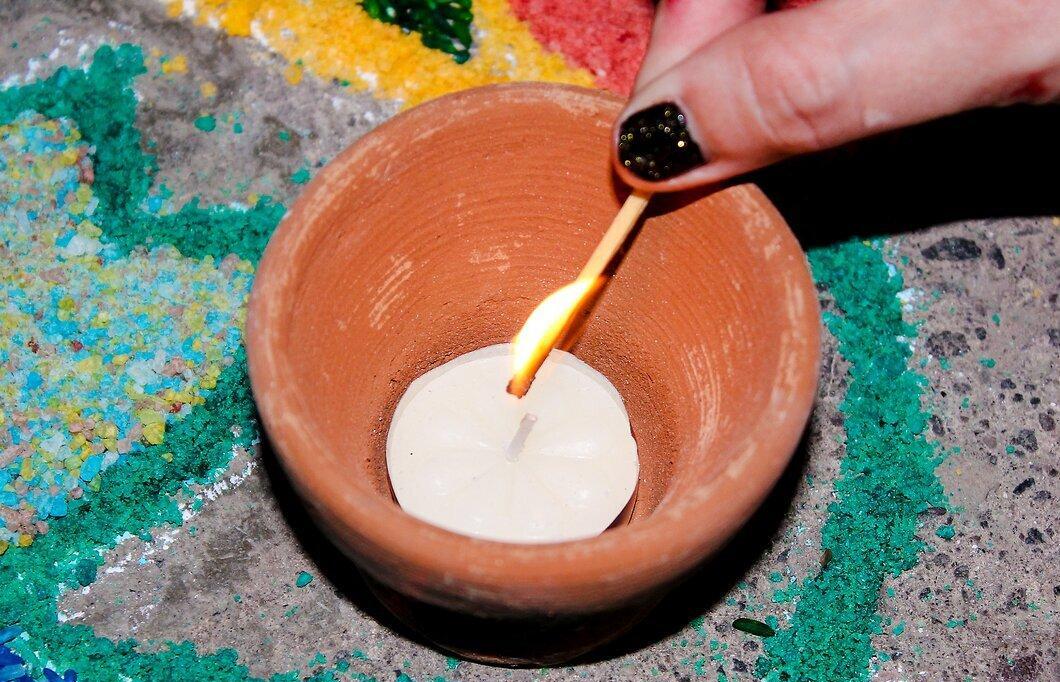
Add the finishing touches, such as candles, lanterns, etc. Don’t be afraid to get creative.
Step 7. Display proudly.