
A workbench is an essential tool for any DIY enthusiast. To create a traditional workspace or a bench that effectively utilizes space, follow these steps.
Creating a Unique Workspace
Step 1: Determine the Size of Your Workbench.
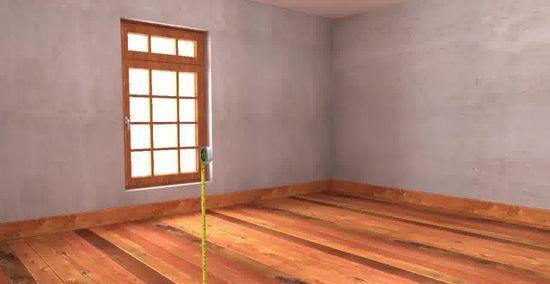
First, define the dimensions of your workbench. Measure the necessary length, width, and height based on your workspace, and jot down these values.
Step 2: Choose the Top of the Bench.
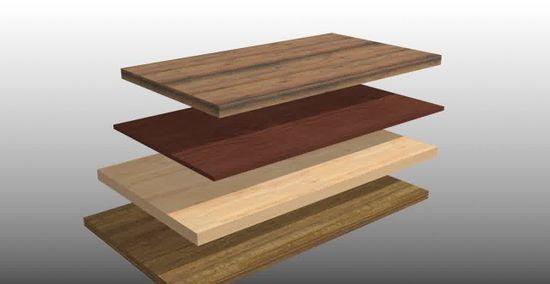
Decide on the material for the top of the bench. You can use thick wooden boards suitable for butchering (although they are expensive), or thinner, sturdy sheets of wood for more industrial benches (more affordable), or several layers of plywood. A reliable option could be to use a door core. Make a list of the materials you need, visit a recycling center, or inquire at local workshops. The key is to ensure the surface is flat and durable.
- Prepare the top of the bench by cutting it to the required dimensions.
Step 3: Cut Four Legs from 4x4 Lumber.
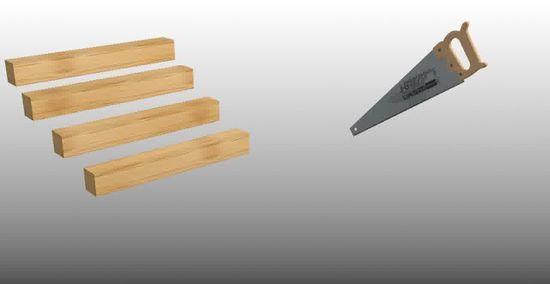
Now, cut four legs from 4x4 lumber. The length of each leg should equal the height of the bench minus the thickness of the top.
Step 4: Make Four Braces for the Legs from 2x4 Lumber.
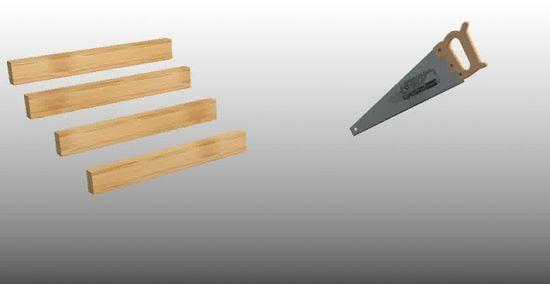
Cut four braces for the legs from 2x4 lumber. If you want the top of the bench to be flush with the frame you will build in the following steps, each brace should match the width of the top minus the width of the two 2x4 pieces. If you want the structure to protrude a bit, which can be useful for storing clamps, make the braces equal to the width of the top.
- Keep in mind that 2x4 lumber doesn’t always come in standard sizes, so measure their width for accurate cutting.
Step 5: Attach Each Upper Brace to a Pair of Legs.
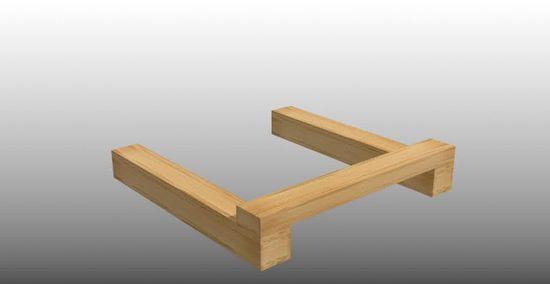
Attach each upper brace to a pair of legs. Position two 4x4 pieces parallel to each other so that the distance between their outer edges matches the length of the brace. Place one of the braces on the legs so that it is level on both sides (this will become the top of the legs). Repeat the process with the other pair of legs.
Step 6: Secure Each Upper Brace to the Legs.
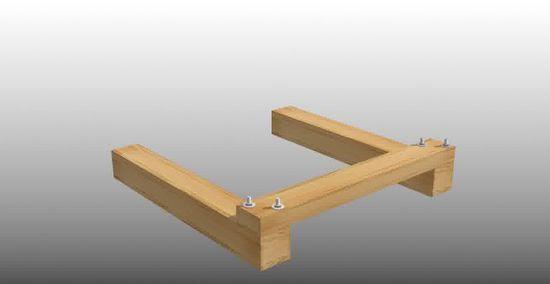
Fasten each upper brace to the pair of legs. Using a 3/8 inch (10 mm) drill bit, drill two holes through the 2x4 and 4x4. Ensure the holes are diagonal from each other (for example, one top left, the other bottom right) so you can insert a third bolt between them. Pass bolts through the drilled holes and secure them with washers and nuts that can be tightened with a wrench. When you finish, the ends of the bolts should protrude from the 4x4 lumber. Repeat with the other pair of legs.
Step 7: Secure the Bottom Legs with Special Brackets.
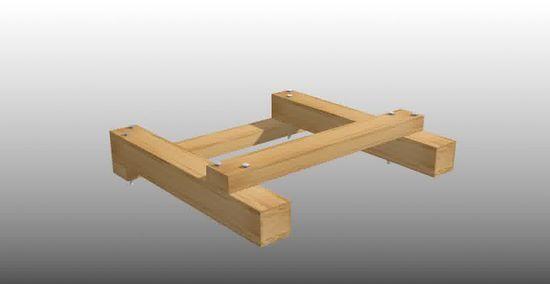
Secure the bottom legs with special brackets. Rotate one of the pairs of legs and repeat the process you used in steps 6 and 7 with the other brace; but instead of placing the brace at floor level, raise it a few centimeters so it is not level with the floor. In the end, you will have the upper brace on one side of each pair of legs and the lower brace on the other.
- If you want to add a lower shelf, position it no higher than one-third of the height of the legs; the lower the braces, the more stable the bench will be.
Step 8: Cut Two Support Beams from 2x4 Lumber.
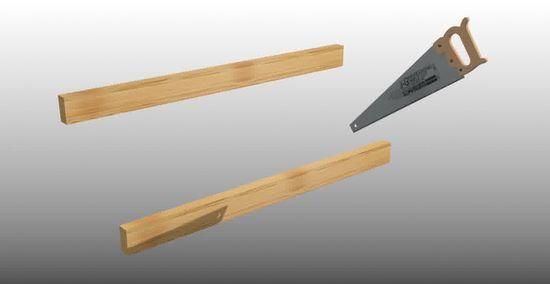
Cut two support beams from 2x4 lumber. Each beam should match the length of the top of the bench.
Step 9: Secure the Support Beam.
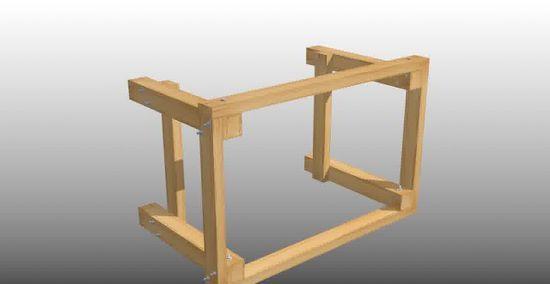
Secure the support beam in place. Position the pairs of legs so that the upper braces face outward. Install one of the support beams between the pairs of legs, aligning it with the main braces. Drill holes in the support beam and attach it to the legs with bolts. Flip the structure and repeat on the other side.
Step 10: Place the Top on the Bench.
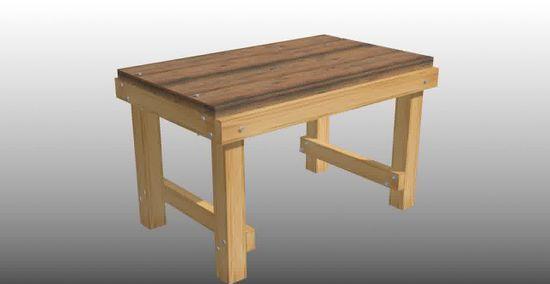
Put the top on the bench. Assemble the parts together and drill bolt holes through the main beams where necessary. Secure the bolts in the holes.
- If the top is thick, consider fastening it from the back to keep the surface smooth.
Step 11: Optionally, Install a Lower Shelf.
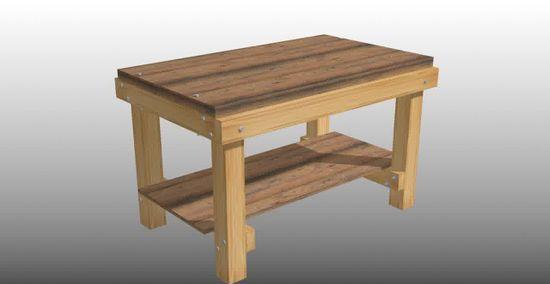
If desired, attach a lower shelf. Simply measure the distance between all four legs, cut a shelf from your chosen material (like plywood), and secure it.
Step 12: Optionally, Finish the Bench.
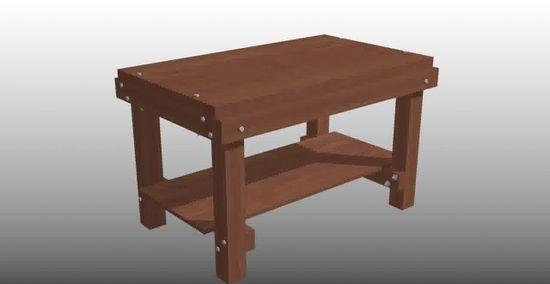
Finish the bench as desired. Smooth out rough edges with sandpaper and apply varnish or polyurethane.
Create a Sturdy Floating Shelf for Your Workspace
Step 1: Attach a 2x4 (38 × 89 mm) Horizontally to the Wall.
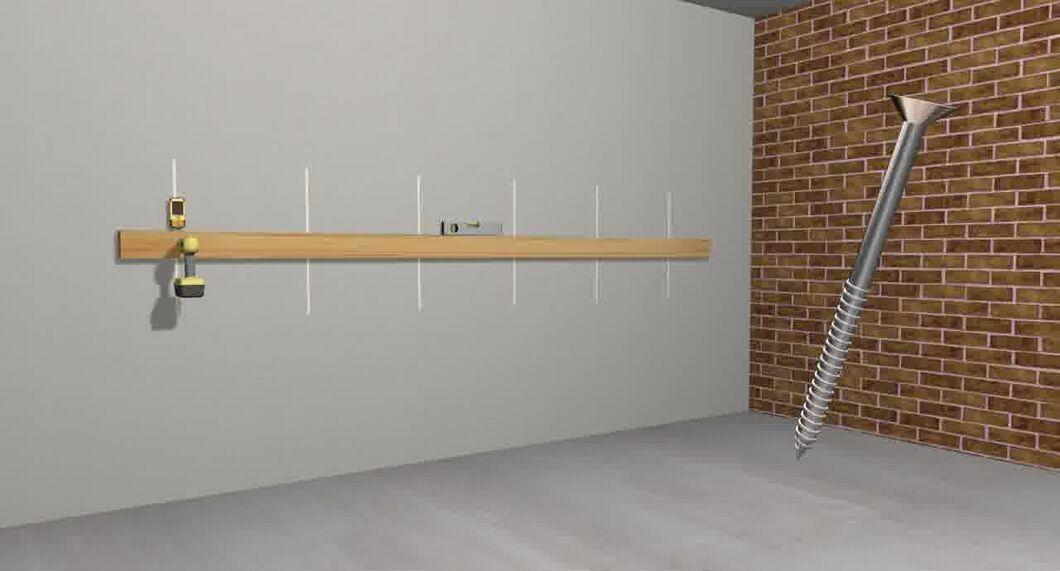
Attach a 2x4 (38 × 89 mm) horizontally to the wall. (If your wall is made of solid brick, stone, etc., this method will not work). The length of the 2x4 will equal the length of the workspace. (In this example, we are using a 4.8-meter 2x4.) Make sure it is installed horizontally using a level.
- You might need a 2x6 (38×140 mm) depending on the design of the brackets and the spacing of the holes.
- The top of the 2x4 in this example should be between 90 to 105 cm from the ground. If you plan to park a car in the garage, ensure there is enough clearance under the shelf for it.
- Use screws that are 2.5/6.5 cm long (or 3/7.5 cm with extra for drywall) to secure 4 (89 mm) flat surfaces to the garage wall.
Step 2: Install a Second 2x4 Below the First.
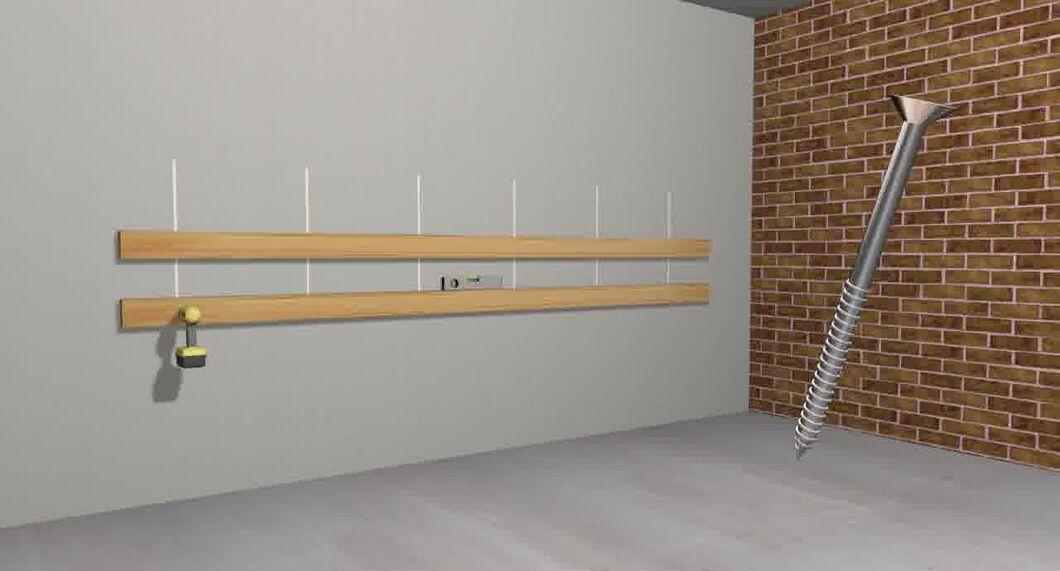
Install a second 2x4, similar to the first, below it. The distance between the two parallel 2x4s should match the length of the steel bracket.
Step 3: Secure Brackets to Both 2x4s.
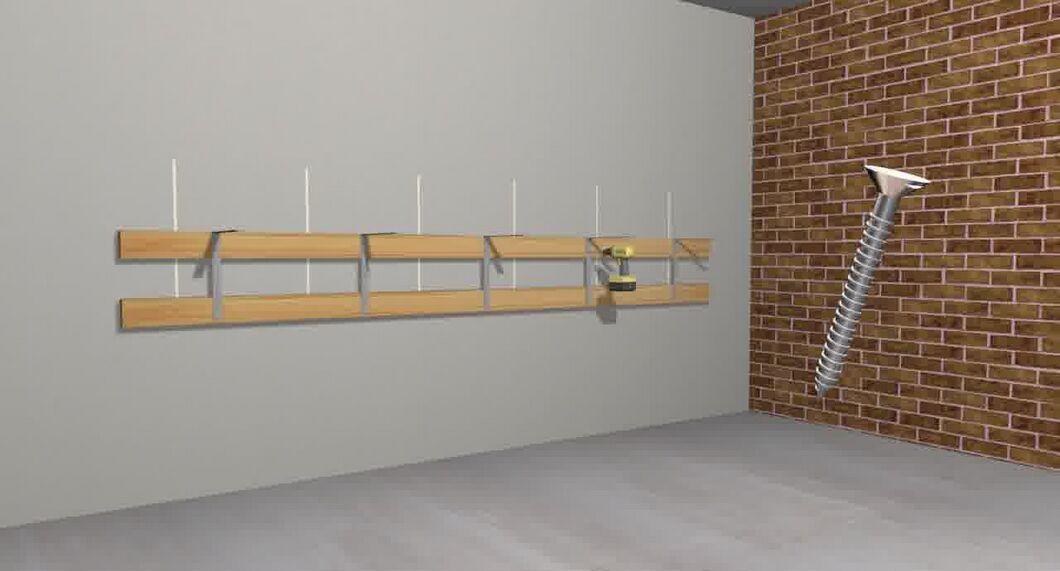
Secure brackets to both 2x4s. The more weight they can hold, the better. The top of the brackets should be level with the top surface of the upper 2x4. Use plywood for a temporary shelf and attach the brackets to it. Use screws that are 3.8 cm long. You will end up with two 2x4s next to the wall, to which brackets are attached approximately every 60 cm.
- Brackets can support various loads, from light to heavy. Also, consider the placement of toolboxes and the convenience of placing a chair under the workspace.
Step 4: Cut 2 cm Thick Plywood to a Width of 60 cm.
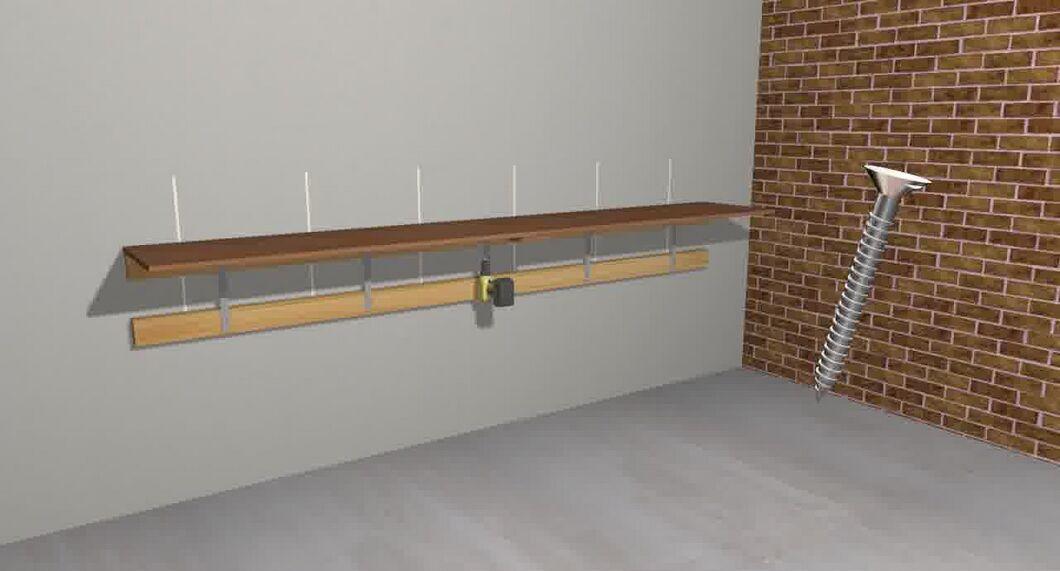
Cut 2 cm thick plywood to a width of 60 cm. A sheet measuring 1.2 x 2.4 m will work perfectly for this purpose. Place one of the boards on the brackets and attach it to the back of the upper 2x4. Place the second board next to the first and connect them with two additional pieces of plywood measuring 15.25 x 45.7 cm, attached under the ends of the board.
Step 5: Install Another Shelf on Top and Secure It to the Wall.
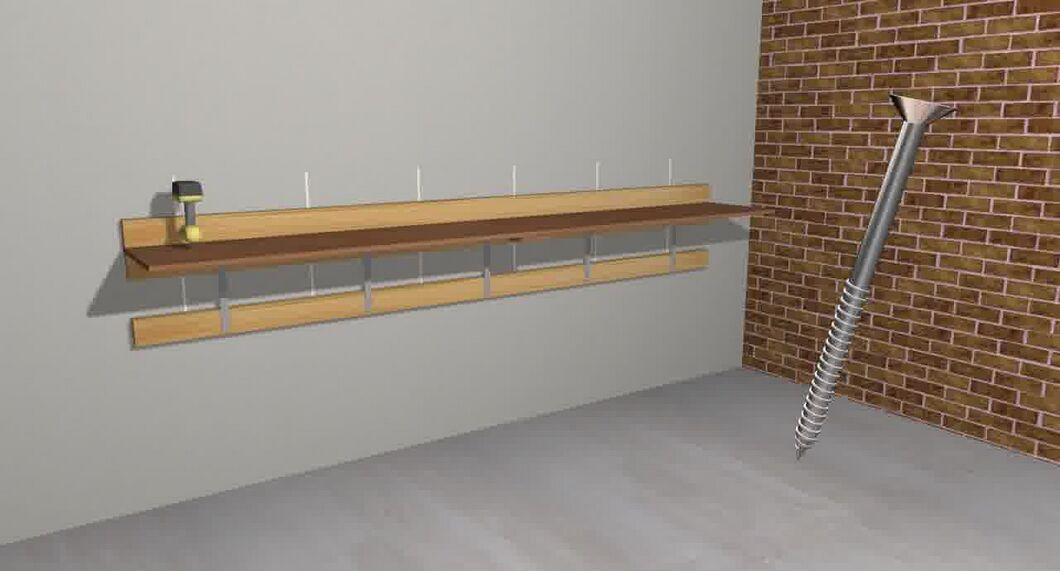
Step 6: Add a Front Strip Along the Bottom Edge of the Shelf.
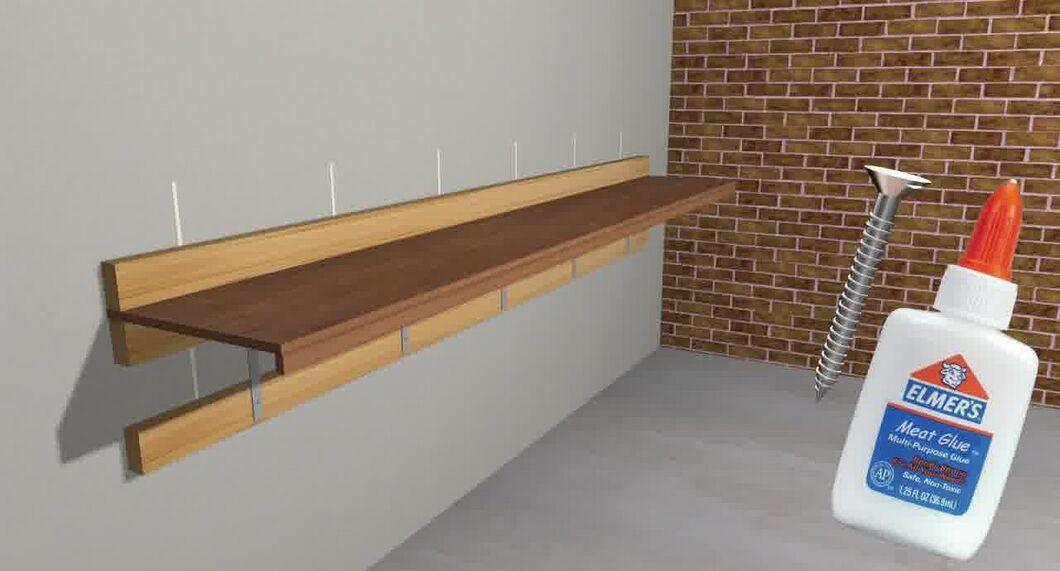
Add a front strip along the bottom edge of the shelf. Glue and attach a maple strip 1.9 cm thick to the top to reinforce the surface of the workspace and protect it from wear.
Step 7: Install Drawers on the Underside of the Shelf.
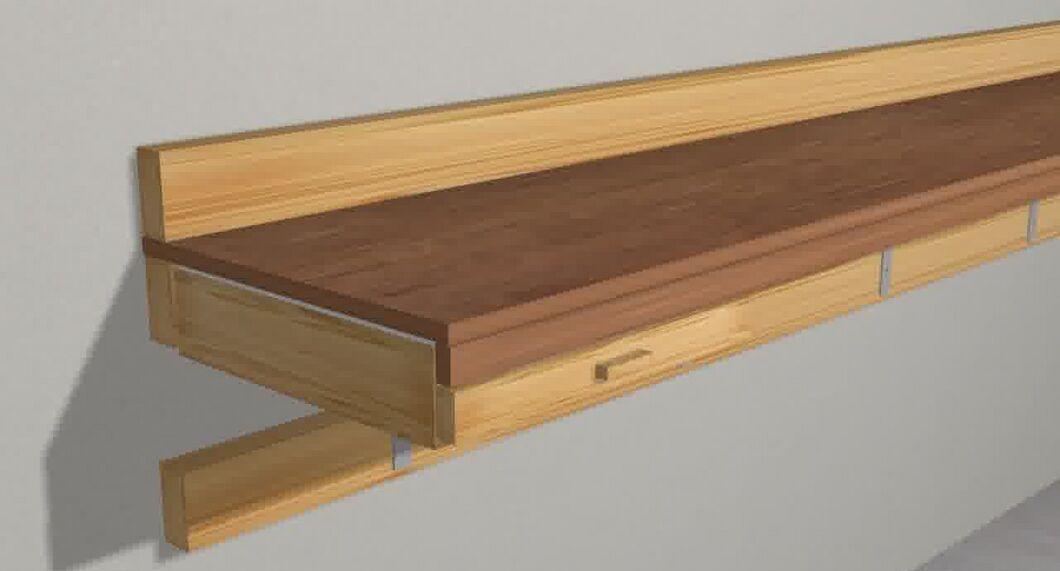
Secure drawers to the underside of the shelf. These compact drawers are perfect for storing small tools. They should be 60 cm wide, 3.8 cm deep, and extend 45.7 cm towards the wall. To make and attach them:
- Use pine 1x4 (19×89 mm) lumber for the drawer base. The short part of the lumber can be glued and screwed to the plywood sheet.
- Attach metal drawer slides.
- Build drawers from MDF and pine lumber (1x2 or 2.5 x 5 cm). Cut the edges according to the dimensions of the pull-out drawers.


