If you dream of creating your own movie, it's important to understand where to begin this exciting journey. How do you organize makeup for actors? How do you create graphics? And how do you film car chases? To tackle all these questions, check out our recommendations on how to start working on your first film.
Key Steps
Step 1. Get a Camera.
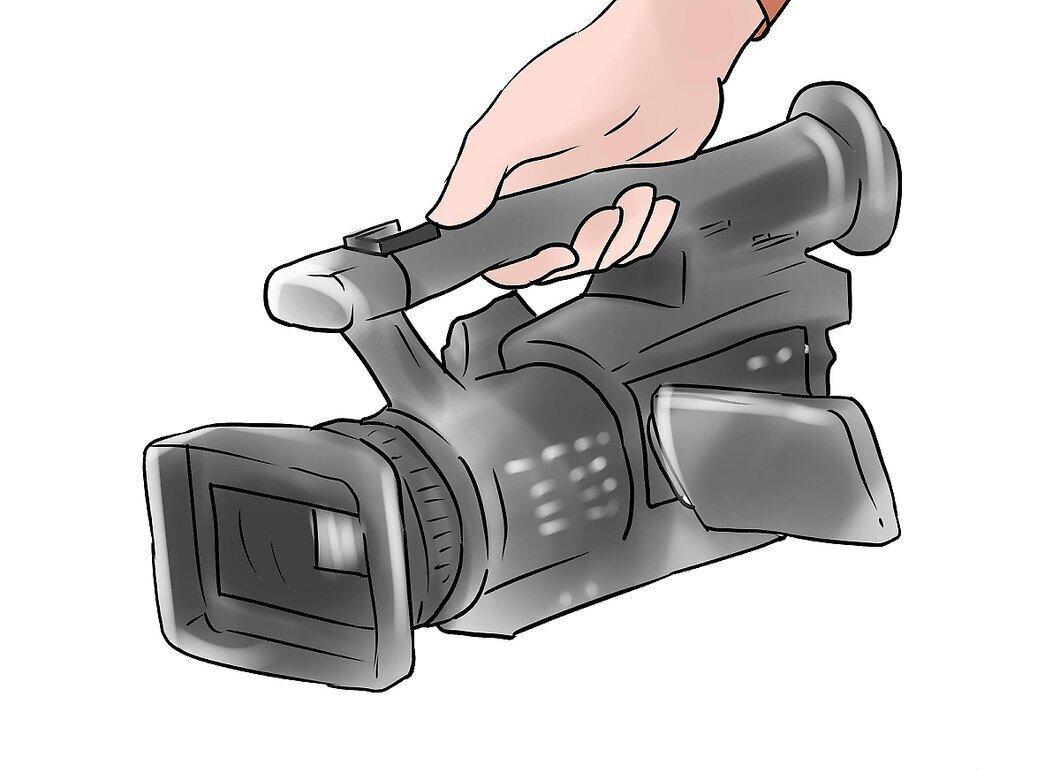
Acquiring a camera is the first and very important step. Many independent filmmakers use budget models to create their films. That said, a "home" shooting style can often be directly related to how your film will look. Determine what camera you need and what budget you can allocate. Prices range from a few thousand to hundreds of thousands of rubles. If you already have a low-cost camcorder, try starting with a film that can be presented as "home video."
- You can find quality home recorders within the range of 4,000 to 8,000 rubles. Manufacturers like JVC, Canon, and Panasonic offer affordable models that look impressive and are very user-friendly. For example, the film "The Blair Witch Project" was shot on an inexpensive RCA camcorder.
- If your budget is between 20,000 and 35,000 rubles, you can purchase more professional cameras from Panasonic and Sony, which were used in the making of films like "Open Water" and many documentaries. If you're serious about filmmaking, invest in quality and reliable equipment.
Step 2. Decide How You Will Edit the Film.

It's important to decide how the editing will be done. If you don't plan to edit the material on the camera, which requires perfect shooting sequences, you will need a computer. Basic editing software includes IMOVIE and Windows Movie Maker, which will allow you to process your footage, add sound, and titles.
- More advanced software like Video Edit Magic or Avid FreeDV can also be used. If they are not available for free download, try Open Shot or Light Works — free and professional video editors.
Step 3. Find a Suitable Filming Location.
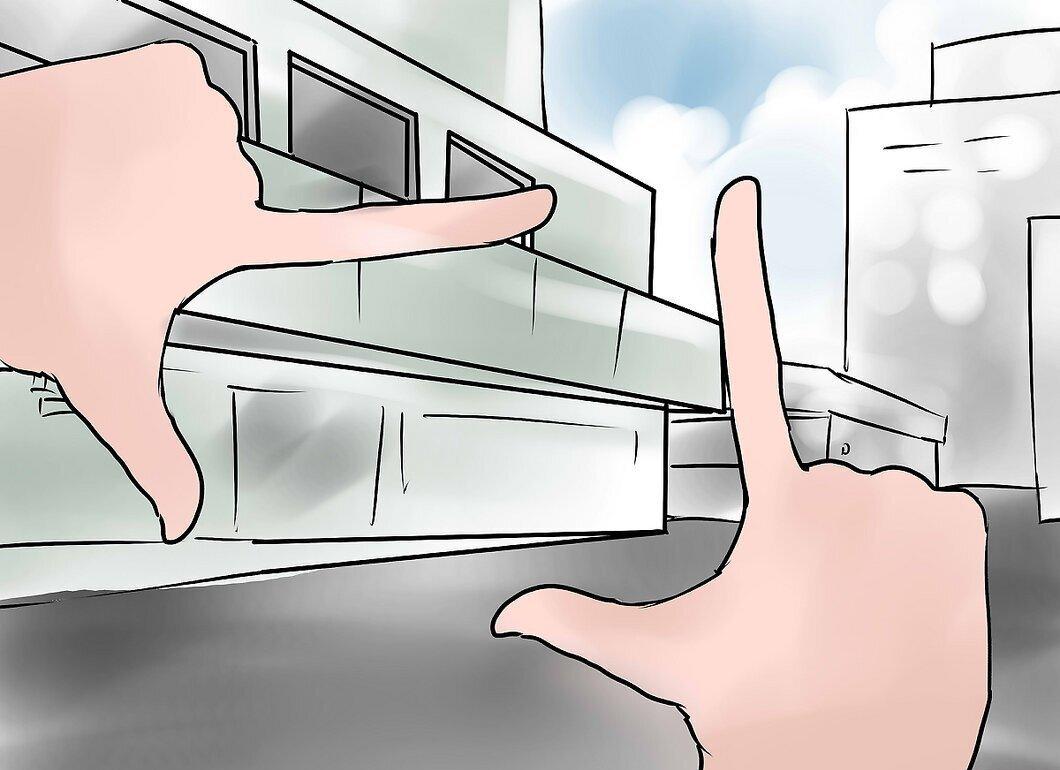
Determine the location for filming. Shooting a space odyssey in a dorm room will be challenging, so choose accessible places and think about what stories can unfold in those locations. For example, in the film "Clerks," the events revolve around a group of guys working at a convenience store. Without access to a 24-hour shop, filming would have been impossible.
- Various establishments and restaurants may not allow filming on their premises, but don't hesitate to ask for their assistance. Some people will be more than happy to let you shoot.
Step 4. Assemble a Team.

Find people who can help you. Typically, many people are involved in the filmmaking process. You will need both actors and assistants. Ask friends to participate in the filming or post ads on social media. If you don't plan to pay for their work, be sure to communicate that.
- If you are in a college town, put up flyers inviting participation — you might find local talent interested in your project.
Writing the Script
Step 1. Develop a Visual Story.

Start by developing a visual story. Since most films are visual narratives, the first step is to create the idea you want to realize. It should be something that you need to see to believe. You don't have to envision every detail, but the main concept should be clear in your mind.
- Think of films or books that you enjoy. What makes them interesting? It could be the characters, plot, visual solutions, or themes. Keep this in mind while planning your film.
- Make a list of props, locations, and characters that are available, and based on that, craft your story. Keep a journal, jot down ideas on a portable computer, and read the news — if you have a basic idea, develop it as you write the script.
Step 2. Turn Your Idea into a Full Story.

Focus on creating a plot. Your story should be character-driven. Who is your main character? What does he want? What obstacles stand in his way? How does his character change? If you can answer these questions, you're on the right track.
- Note that most stories are built on two main premises: a stranger comes to town and changes the lives of the locals, or the main character goes on a journey.
- Ensure your story has a beginning, where characters are introduced; a middle, where the conflict unfolds; and an end, where the conflict is resolved.
Step 3. Write the Script.
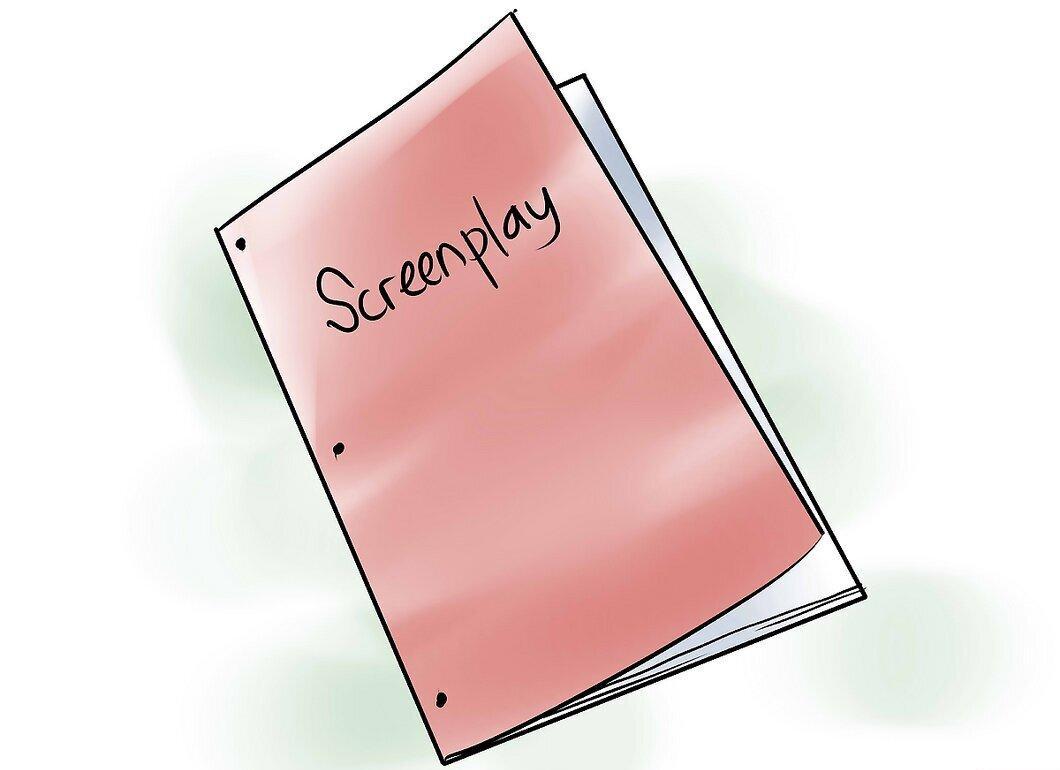
The script is the foundation of your film, where each moment is turned into a separate scene. It’s best to plan the sequence of scenes in advance rather than shooting them randomly.
- The script should outline all dialogues for the characters, as well as physical directions, exposition, and camera movements. Each scene should start with a description (e.g., interior, time of day).
- Don’t overcomplicate the writing. It might be better to cut a 30-minute chase and jump straight to the aftermath, such as how the main character, bandaged up, lies in a hospital bed wondering, "What happened?"
Step 4. Create a Storyboard.

Create a storyboard for your film. This is similar to comics but without dialogue. You can make a general storyboard for major scenes or a detailed one for each shot and angle.
- This process helps avoid problems. You can try shooting without a storyboard, but it will not only help visualize your ideas but also explain your vision to other team members.
Visualization
Step 1. Define the Aesthetic of Your Film.
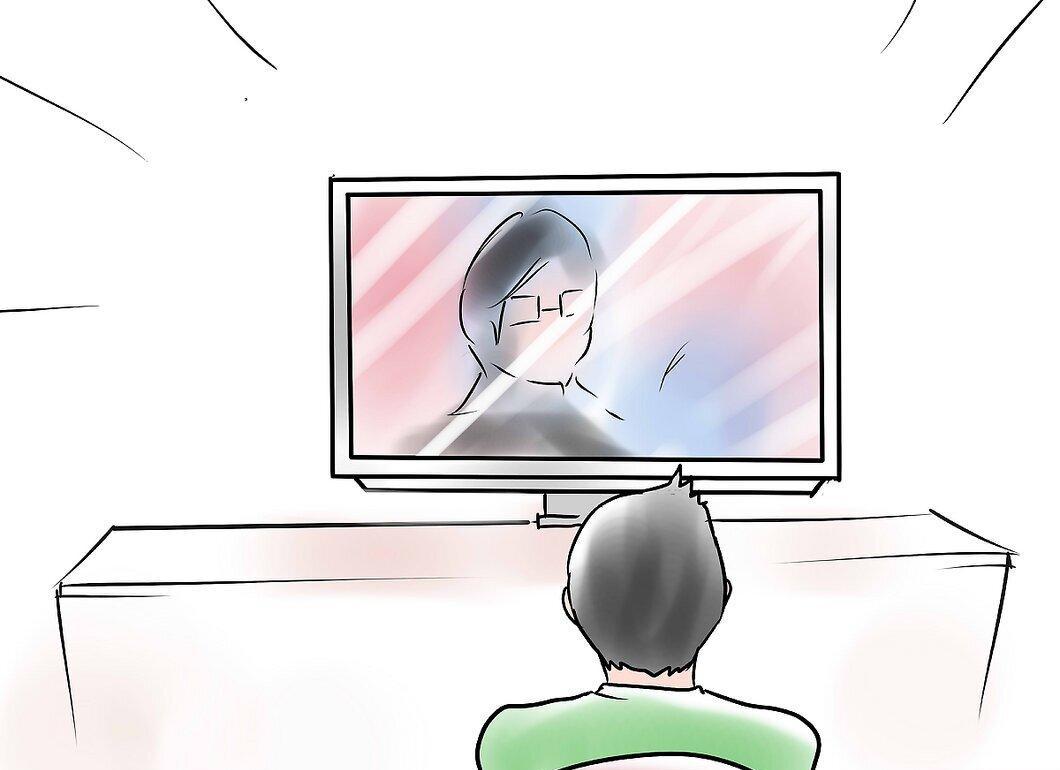
Develop the visual style of your film. Since cinema is a visual art, it's worth taking the time to "view and feel" your film. Consider two examples: "The Matrix" with its monochrome, yellow-green hues creating the atmosphere of a digital world, and Richard Linklater's "Waking Life," which uses unique rotoscoping.
Step 2. What Shooting Style Do You Want? Crisp Shots or Handheld?
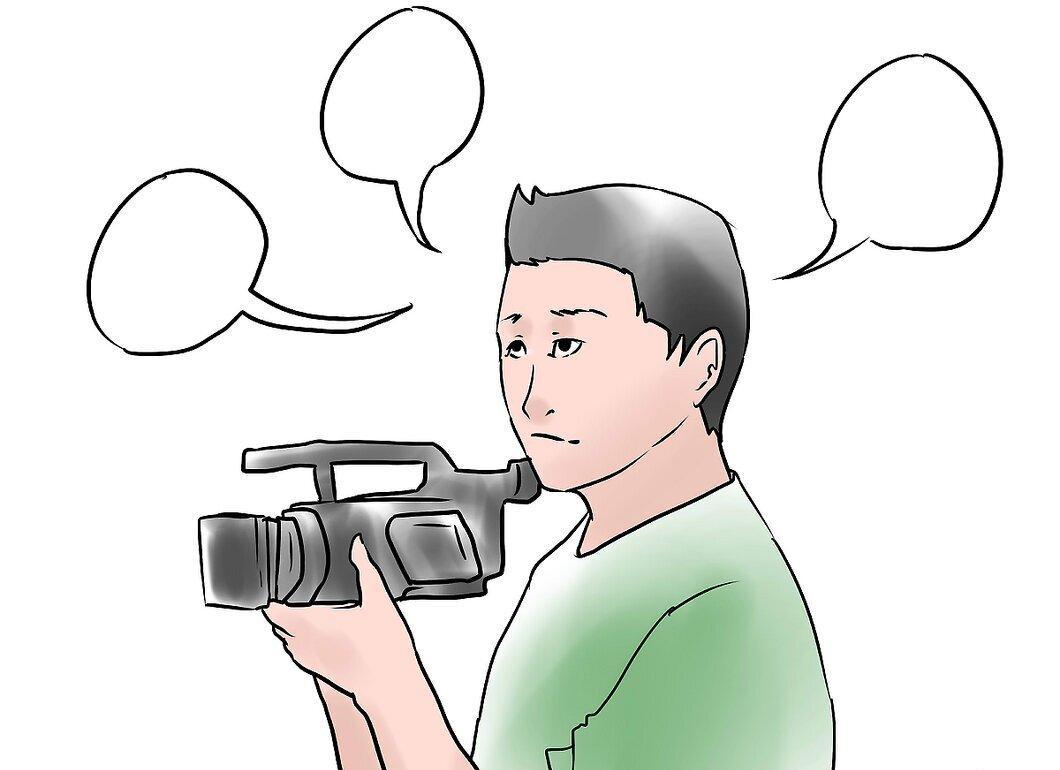
What style do you want for your film? For instance, in Lars von Trier's "Melancholia," the introductory scenes were shot at a high speed to create a slow-motion effect, while most of the other scenes were filmed with a handheld camera to convey emotional conflicts.
Step 3. Consider Costumes and Sets.
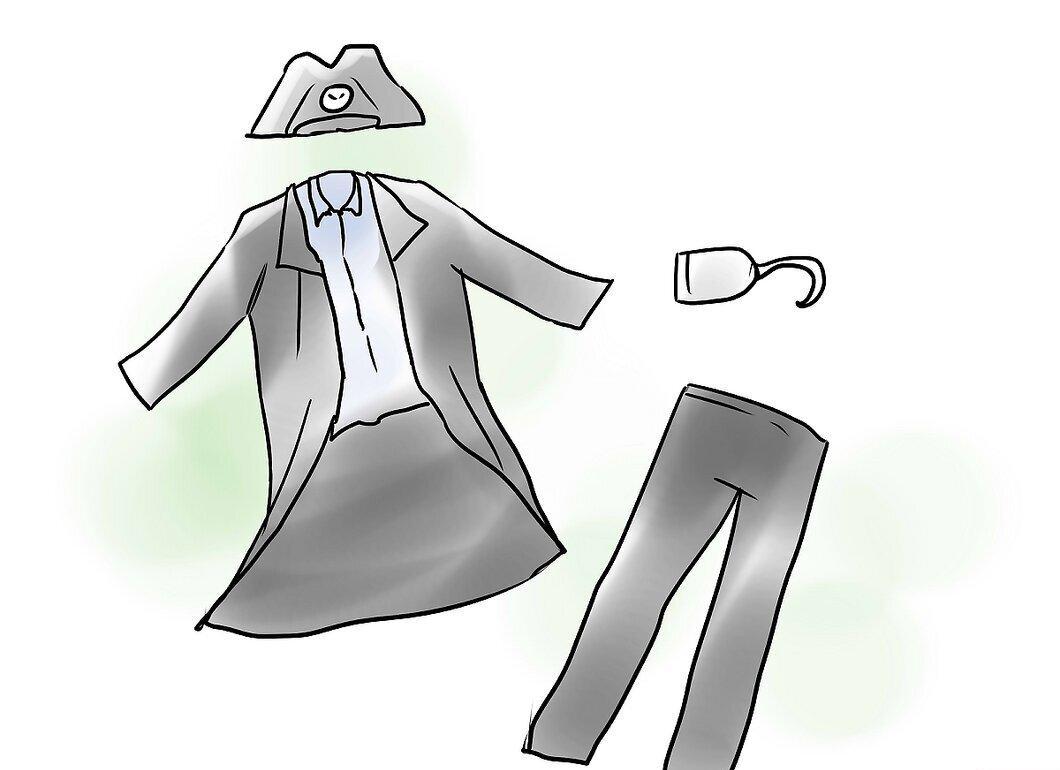
Decide whether you will shoot in real-time or need sets. In the widescreen films of the 60s and 70s, open spaces and studio sets were combined. For example, "The Shining" was filmed in a ski lodge in Oregon, while "Dogville" was shot on an empty stage with fake buildings.
- Costumes play an important role in a film; they can tell a lot about a character. For instance, in "Men in Black," the costumes help create the atmosphere.
Step 4. Pay Attention to Lighting.
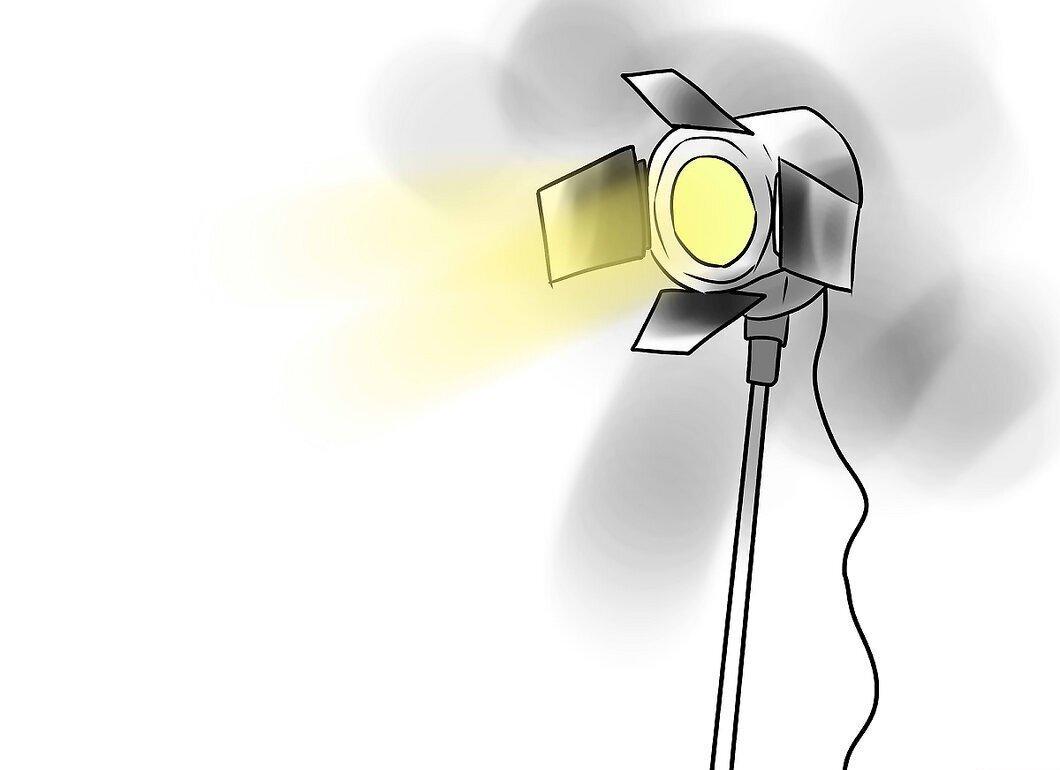
Lighting in a movie also matters. Some films use soft, almost imperceptible lighting that makes actors more appealing and creates a fairy-tale atmosphere. In contrast, other films use lighting that approximates real colors, as seen in "Domino" with Keira Knightley.
Step 5. Prepare the Set or Scout the Location.
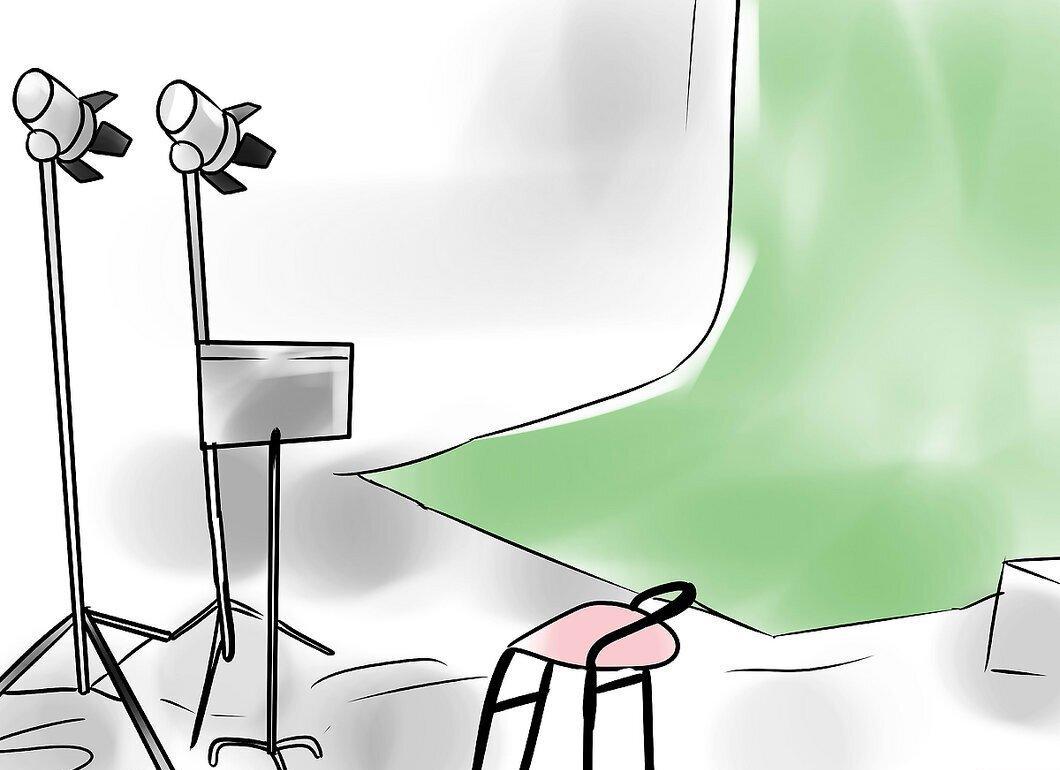
If you will be shooting in an existing location, find an appropriate spot and ensure that filming is allowed. If you're working on a set, create your decorations and gather the necessary props.
- Whenever possible, choose real locations for shooting. For example, it’s much easier to film in a real diner than to turn an ordinary room into a café.
Assemble Your Team
Step 1. Appoint a Director.

Choose a director who will manage the creative process and serve as a link between the team and the shooting. If this is your project and you have a limited budget, you probably will have to take on this role yourself. You will be casting actors, overseeing the shooting process, and making changes as needed.
Step 2. Find a Cinematographer or Director of Photography.

Find a cinematographer who will be responsible for lighting and the quality of the shoot. This person will become the director's advisor, helping to choose the right angles and lighting, managing the shooting crew or just the camera on a small project.
Step 3. Assign a Production Designer.
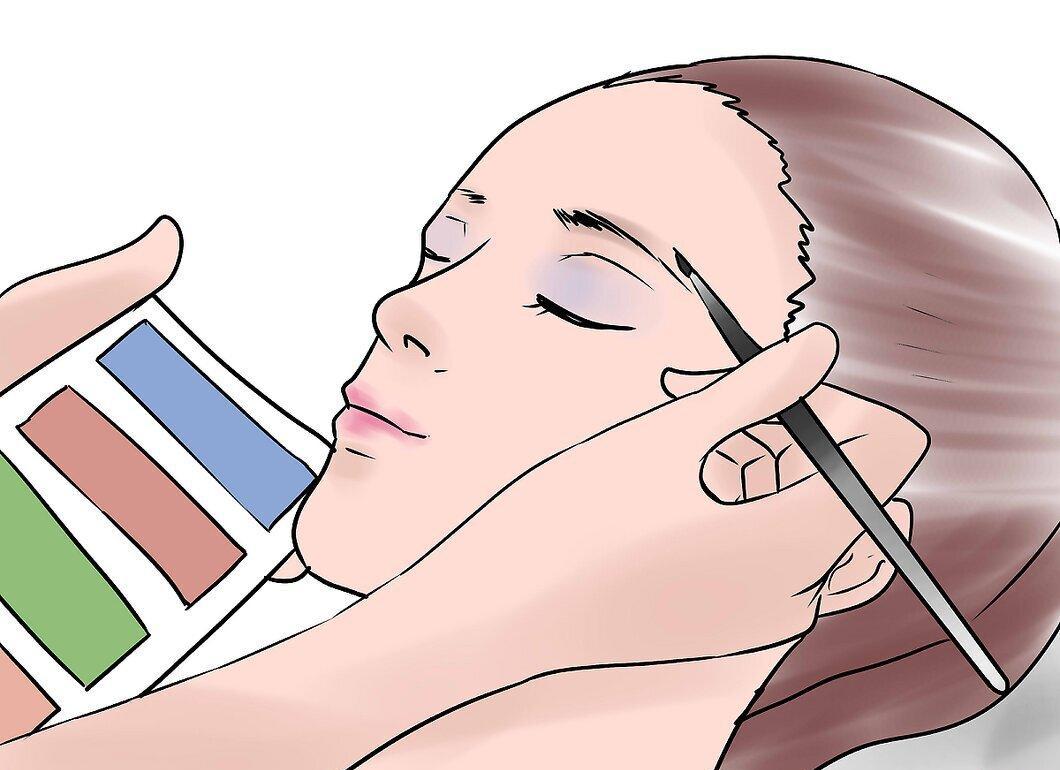
Select someone who will be responsible for the set design. They should ensure that all elements align with the director's creative vision. Typically, this person wears several hats.
- In small projects, costumes, hairstyles, and makeup need to be coordinated in a single style.
Step 4. Hire a Sound Engineer.
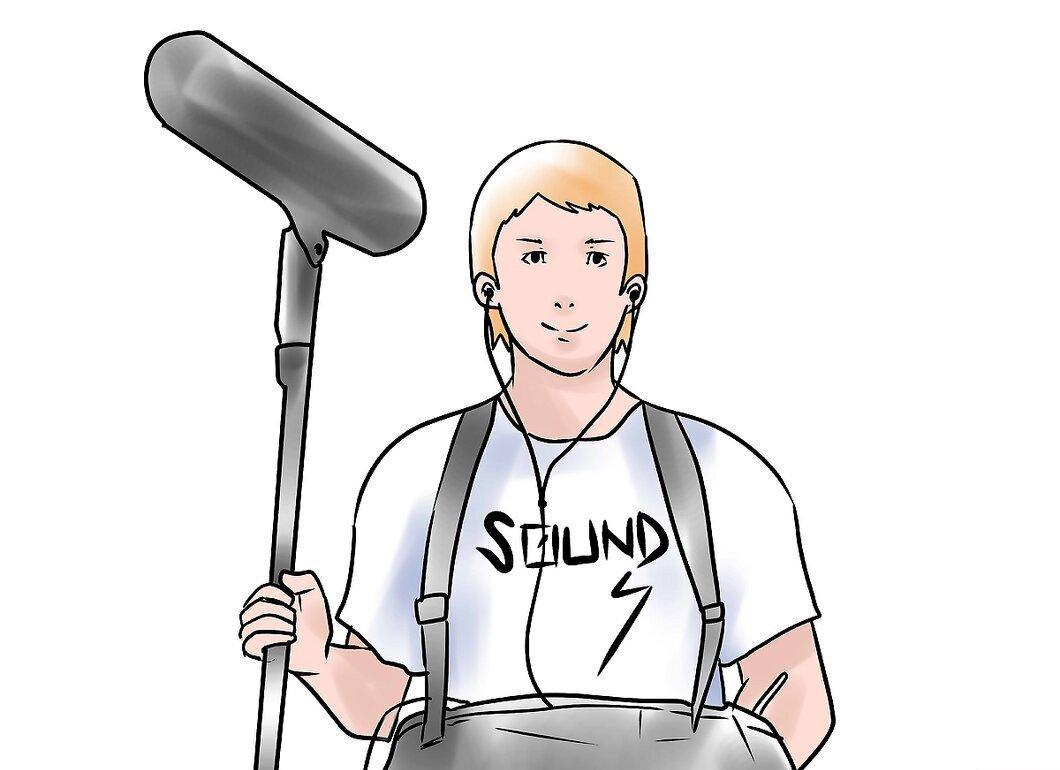
Be sure to find someone responsible for sound and music. This can be one person or several specialists. Dialogues can be recorded during filming or added later. Sound effects, like lasers or explosions, also need to be created. It’s best to record music in advance and then mix it. You’ll also need many sound effects, such as footsteps or doors opening, which will need to be edited in post-production.
Step 5. Form Your Cast.
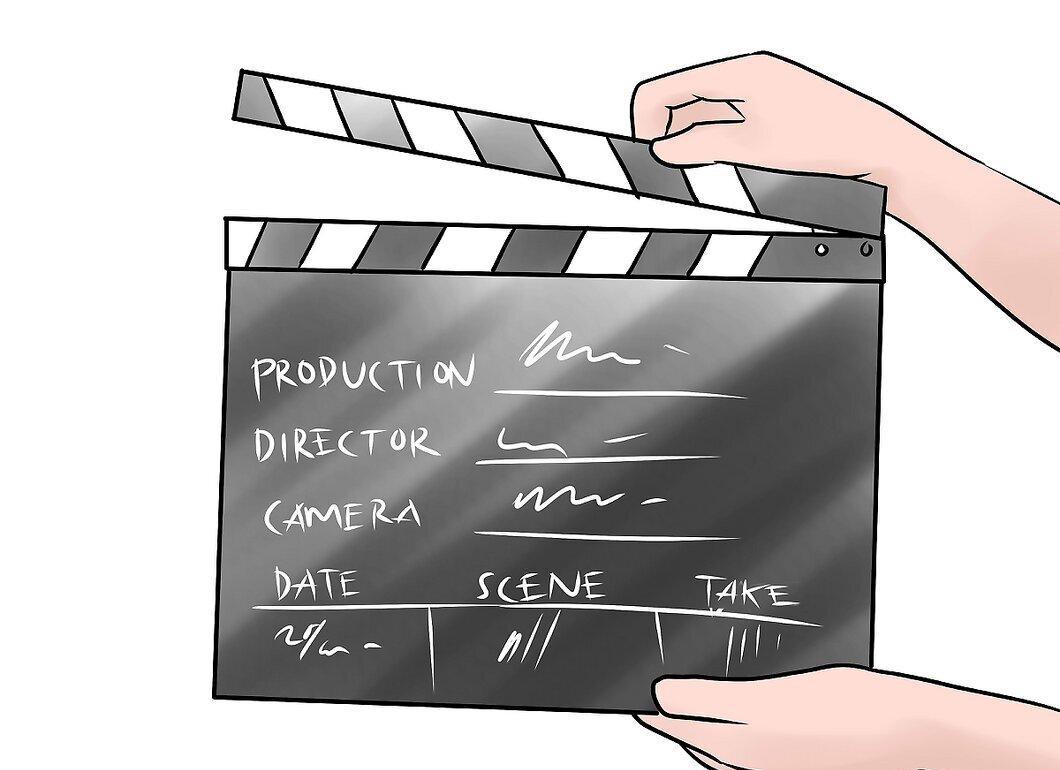
Select actors for your film. People in your circle might agree to participate in a low-budget project just to see their names in the credits. However, it would be great to invite a known actor for the lead role. For example, Seth Rogen is successful because he doesn’t need to act; he just plays himself, and the film becomes successful. If you need a police officer, try reaching out to a friend who works in law enforcement or a college instructor.
- Make sure your actors have the necessary skills. If someone needs to cry in one of the scenes, ensure they can do it before signing the contract.
- Avoid scheduling conflicts. Ensure that actors will be on set when you need them.
Shooting and Editing
Step 1. Prepare and Check Equipment.
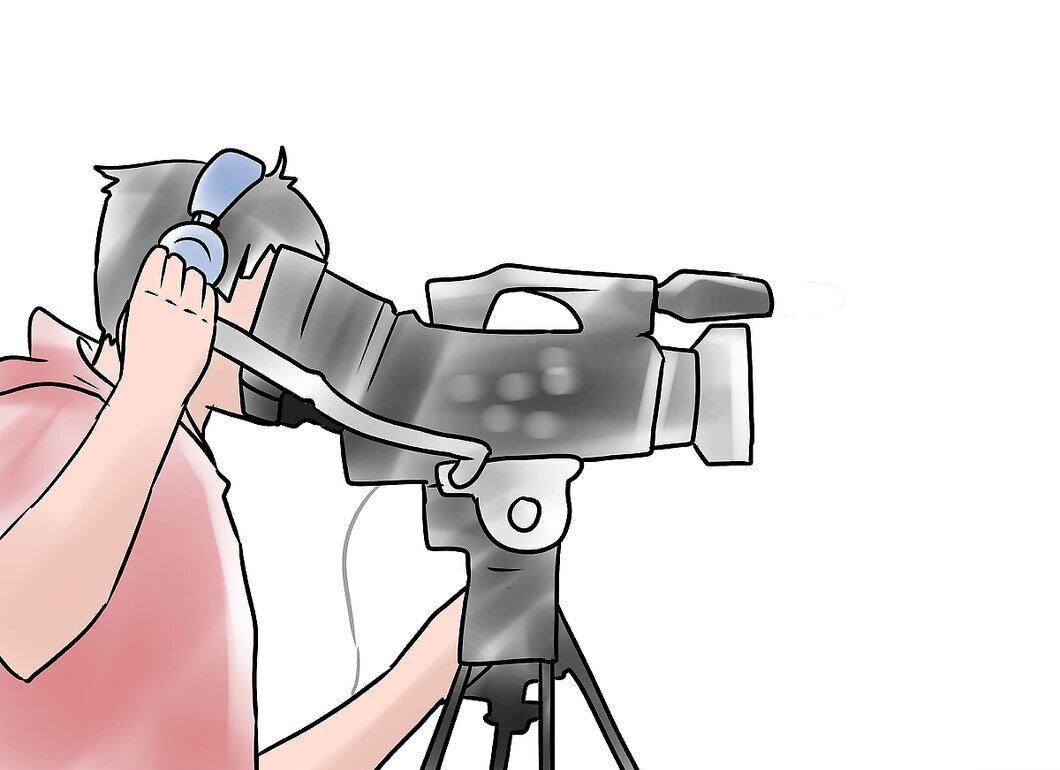
Gather and check all the necessary tools: camera, tripod, light, and sound.
- Conduct a few rehearsals so that actors can practice and the crew can hone their actions.
Step 2. Plan Thoroughly.
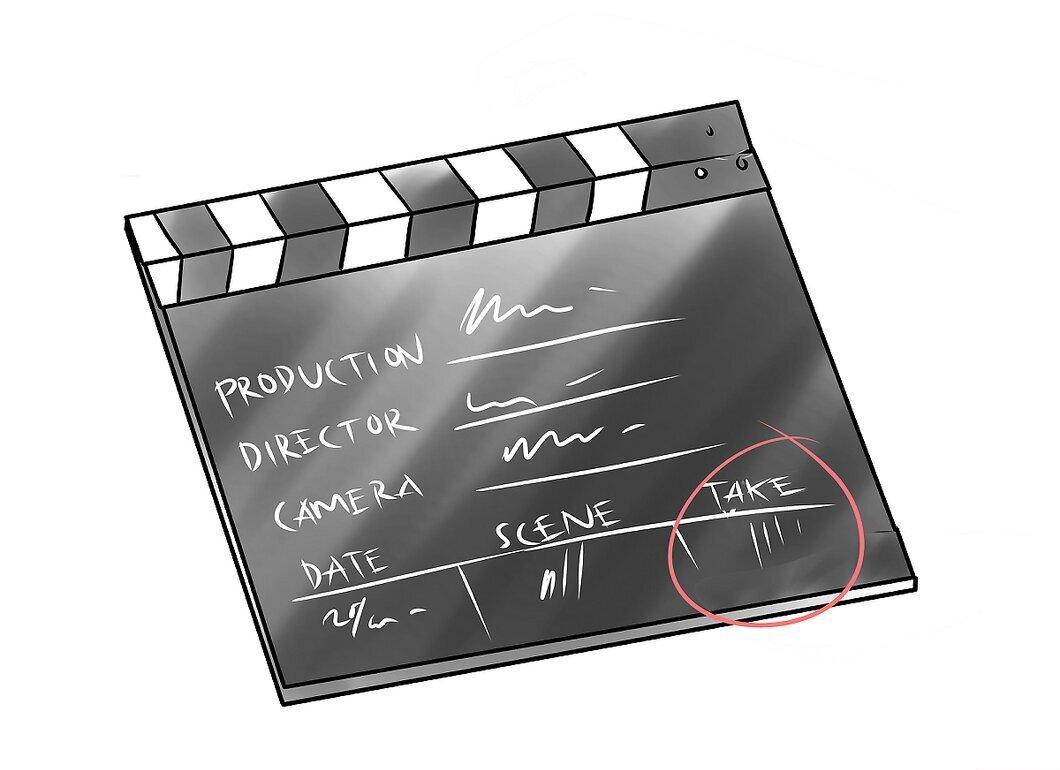
Make sure you know which angle will work best for each scene. Choose good shots right away to simplify the editing process.
- Ensure that all participants are in their places and that actors are ready to shoot the same episode, not different ones. The team should work as a cohesive unit.
Step 3. Start Filming.
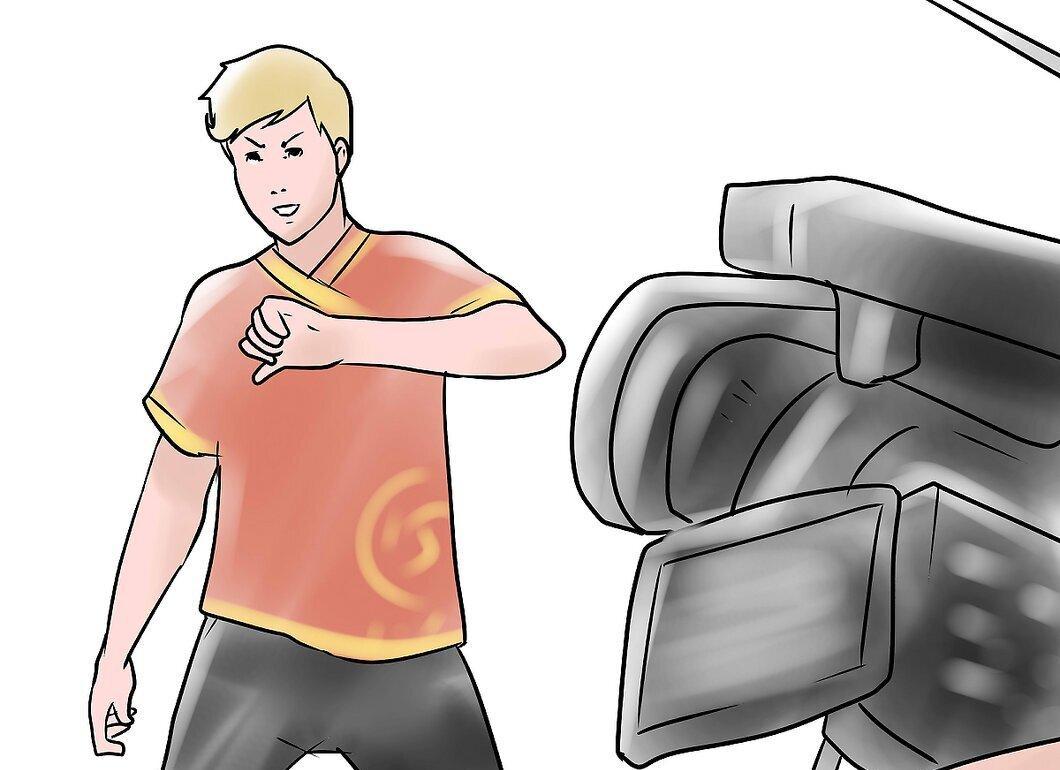
Filming a movie is a process that defines how your project will look: like "home video" or a professional film.
- Some suggest filming multiple takes from different angles to provide more options for the final edit. Typically, professional cinematographers shoot each scene from a wide, medium, and close-up shot.
Step 4. Edit Your Film.
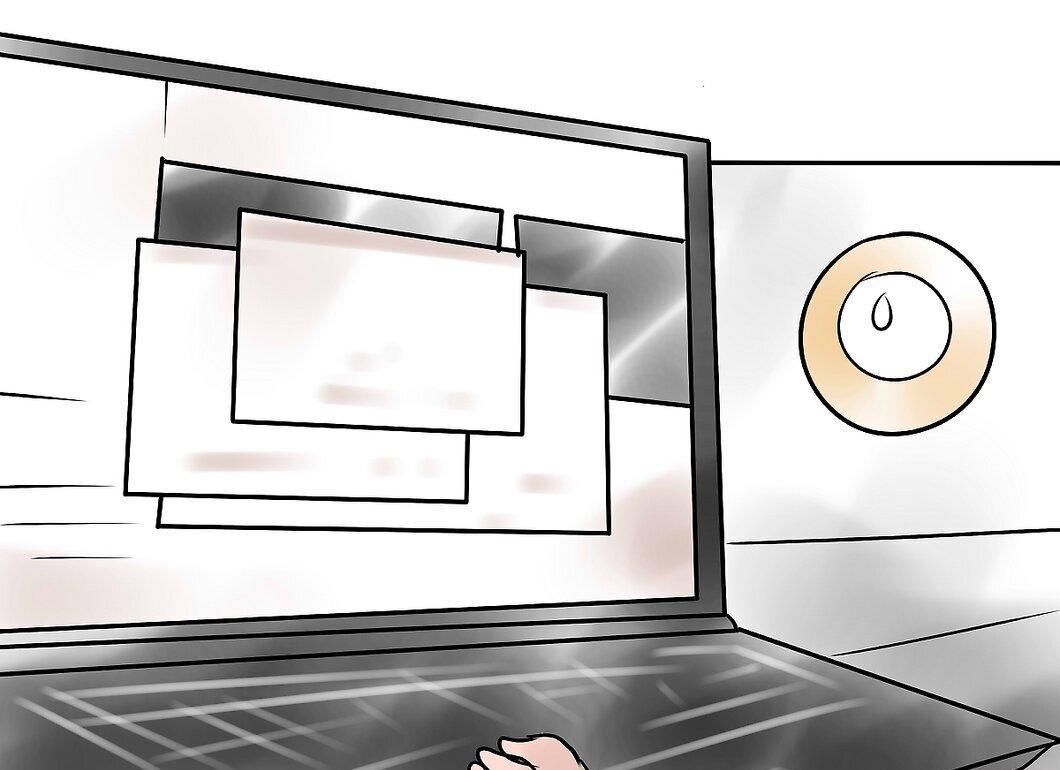
Edit your film by reviewing all the footage on your computer. Upload the necessary files, sort them, and determine which shots work best. Create a rough cut — this will affect the final result.
- Use sharp transitions between scenes to keep viewers engaged. This will give your film style. But remember, long scenes can also significantly affect perception. Pay attention to the beginning of "The Good, the Bad and the Ugly."
- Edit the film to music to match the mood. For instance, in calm moments, the music should be appropriate.
- Mix shots from different angles to show the scene from various perspectives. Use different editing tools to create short clips from different shots and then assemble them in the desired order. This way, you’ll quickly acquire skills in digital filmmaking.
Step 5. Sync Sound and Music.
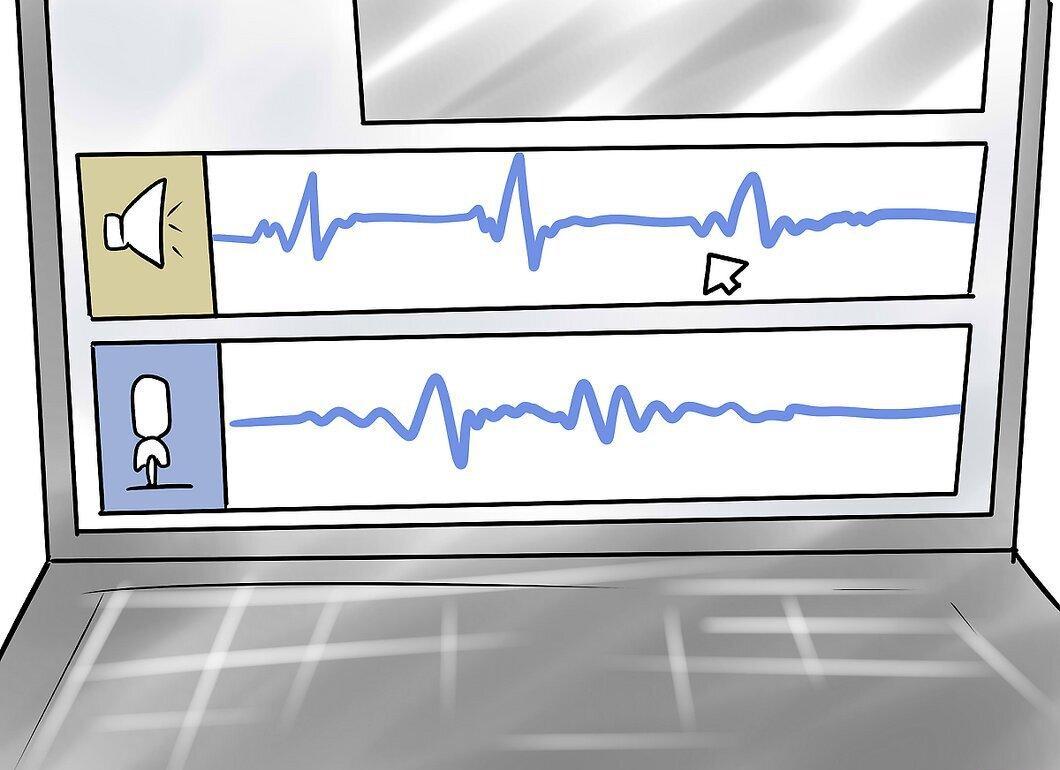
Check that the music matches what is happening on screen and that the recorded sound is clear and loud. Don’t hesitate to re-record important moments.
- Remember that using existing music can become an issue when distributing your film, so it’s best if the music is composed specifically for your project. There are many talented musicians willing to help you create a soundtrack.
Step 6. Create Credits and a Title.

Create a title and credits that include all participants in the process, including organizations that provided filming permissions.
Step 7. Convert the Film to DVD Format.

Edit the film to DVD format. Create a teaser or trailer. If you plan to promote your film online or in theaters, select a few parts for the promo video. Don’t delve too deeply into the plot; the trailer should entice but not reveal all the secrets.
- Don’t forget to upload your film to Vimeo or YouTube so viewers can see it.