
A private network is one that is either not connected to the internet or uses it along with Network Address Translation (NAT) to ensure internal IP addresses are not visible on the internet. This structure enables connections between computers within the same network, which is especially useful when multiple devices need to share data without needing an internet connection.
Part 1
Step 1. Plan Your Network.
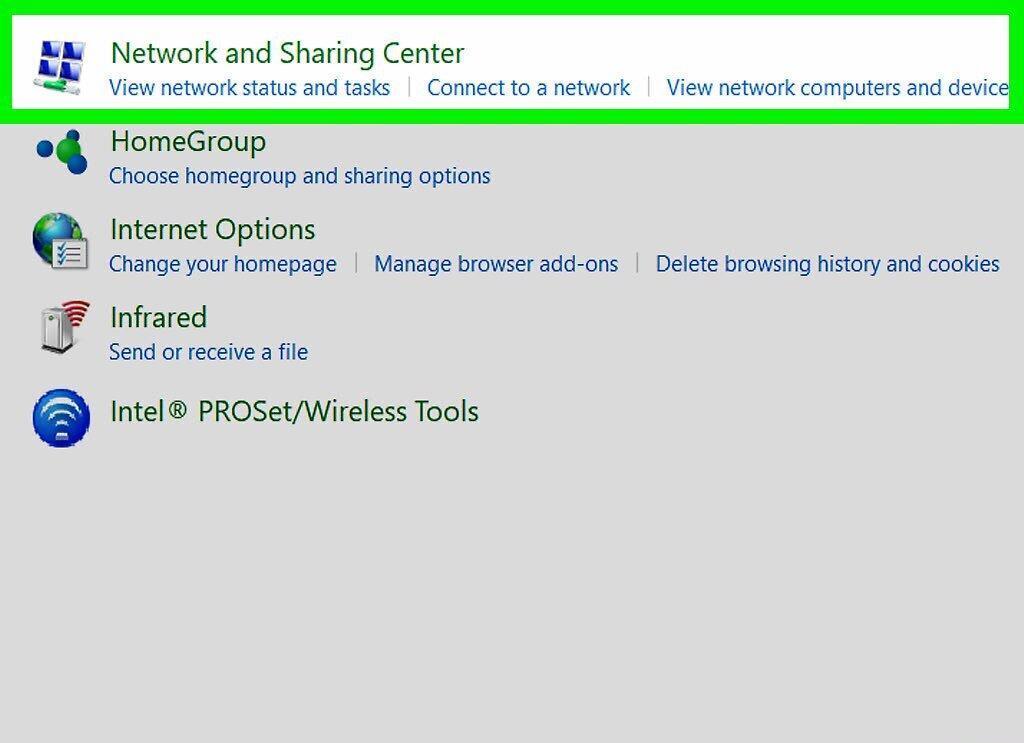
Start by designing your network. This may turn out to be the most challenging step. Identify the routers you plan to use for segmenting the network. In small networks, routers are not always necessary, but they can be useful for management. Routers are required if you: a) split the network into subnets, b) use the internet via NAT. Next, add switches and hubs. For small networks, a single switch or hub will suffice. Represent computers as rectangles and connect them with lines to symbolize wires. This sketch will serve as your network. Although the diagram is for your use only, feel free to use any notation.
- Routers: can be depicted as circles with four arrows radiating from the center, or as a cross in a rough draft.
- Switches: are represented as squares or rectangles with four arrows, two on each side, indicating signal switching.
- Hubs: are drawn similarly to switches but with one double arrow, symbolizing that signals are sent to all ports.
- Lines and squares can represent wires connecting computers.
Step 2. Develop an IP Addressing Plan
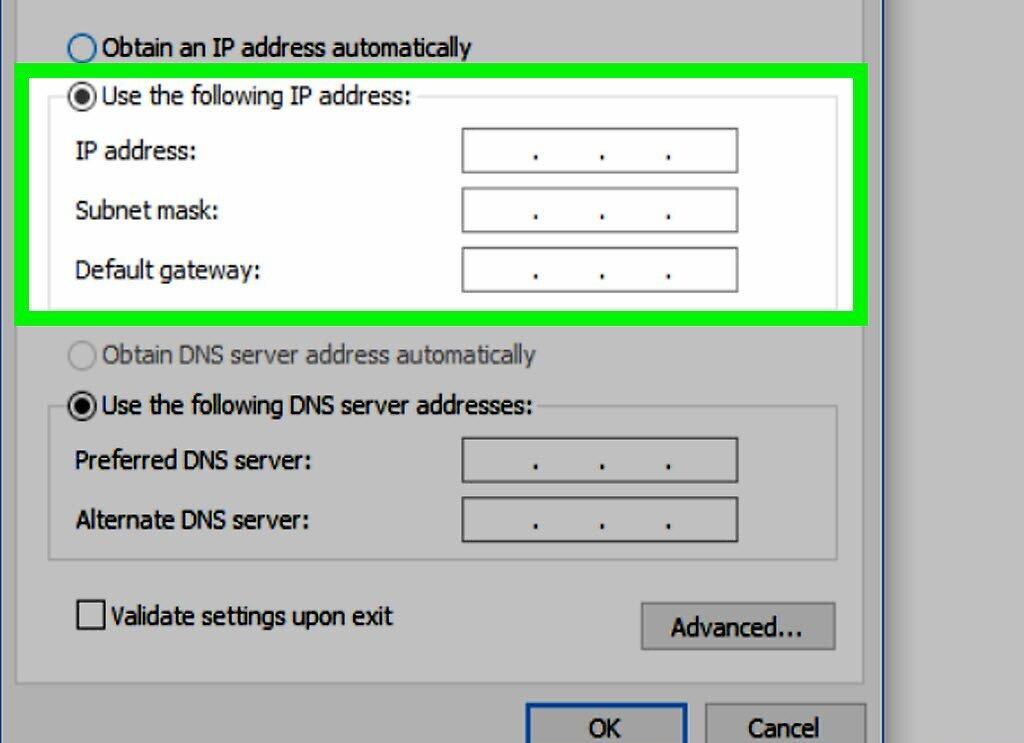
Create a plan for distributing IP addresses. Identify the type of your network. A network is a set of connections managed by a router. If you only have one router for internet access, your network will be a single entity. Choose an address range that will accommodate all your devices. A Class C network, for example, 192.168.0.x, supports up to 254 addresses (from 192.168.0.1 to 192.168.0.254), which is suitable if you have no more than 254 devices. If you have 255 or more devices, you may want to consider a Class B network (like 172.16.x.x) or splitting your network into subnets.
- IPv4 addresses are represented in the format: xxx.xxx.xxx.xxx (four numbers separated by three dots), according to the RFC-1166 standard. Each number ranges from 0 to 255. This notation is called decimal. The address is divided into network and host parts. For "classful" networks, the division may look like this: ("n" - network part, "x" - host part). If the first number is from 0 to 126, it’s a Class A network (e.g., 10.xxx.xxx.xxx).
- The lowest address represents the network address (e.g., 172.16.xxx.xxx is the network address 172.16.0.0). This address identifies the network and cannot be assigned to a device.
- The highest address is the broadcast address (e.g., 172.16.xxx.xxx, in this case, the broadcast address is 172.16.255.255). It is used when information is intended for all devices in the network and cannot be assigned to a specific device.
- The remaining addresses in the range can be used for hosts (e.g., 172.16.xxx.xxx, range from 172.16.0.1 to 172.16.255.254). These addresses can be assigned to computers, printers, and other devices. Host addresses are unique within the network.
Step 3. Write down "192.168.2.x" somewhere.
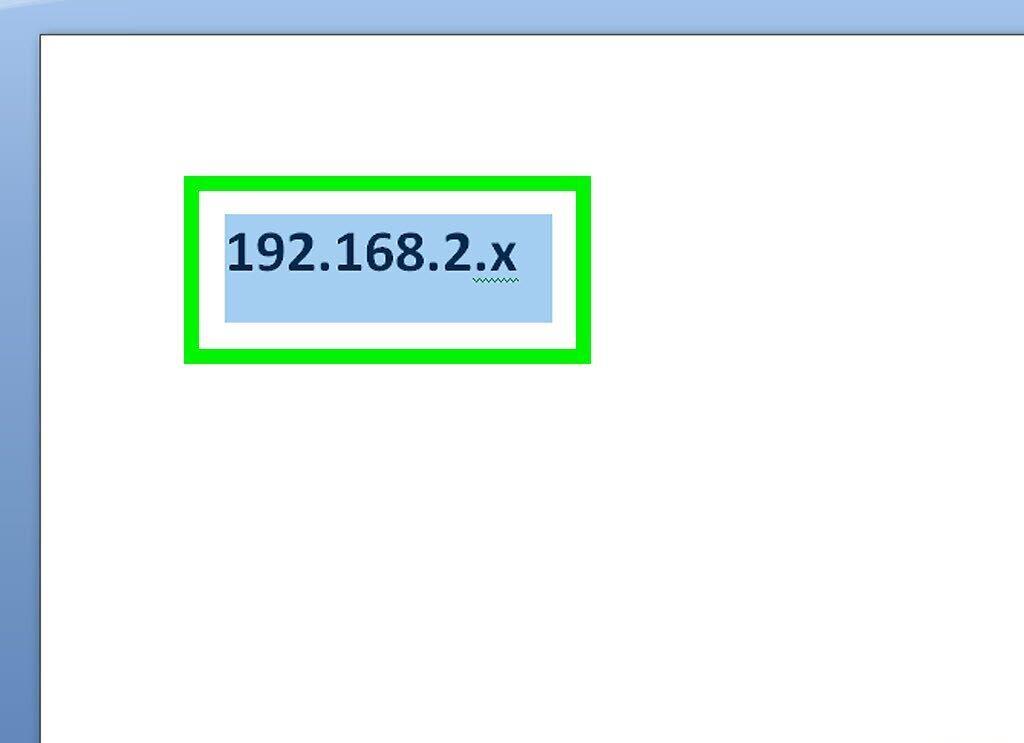
Write down "192.168.2.x" in a convenient place. If you have multiple networks, it’s helpful to label the address ranges for each of them.
Step 4. Assign Host Addresses from 1 to 254 to Each Computer.
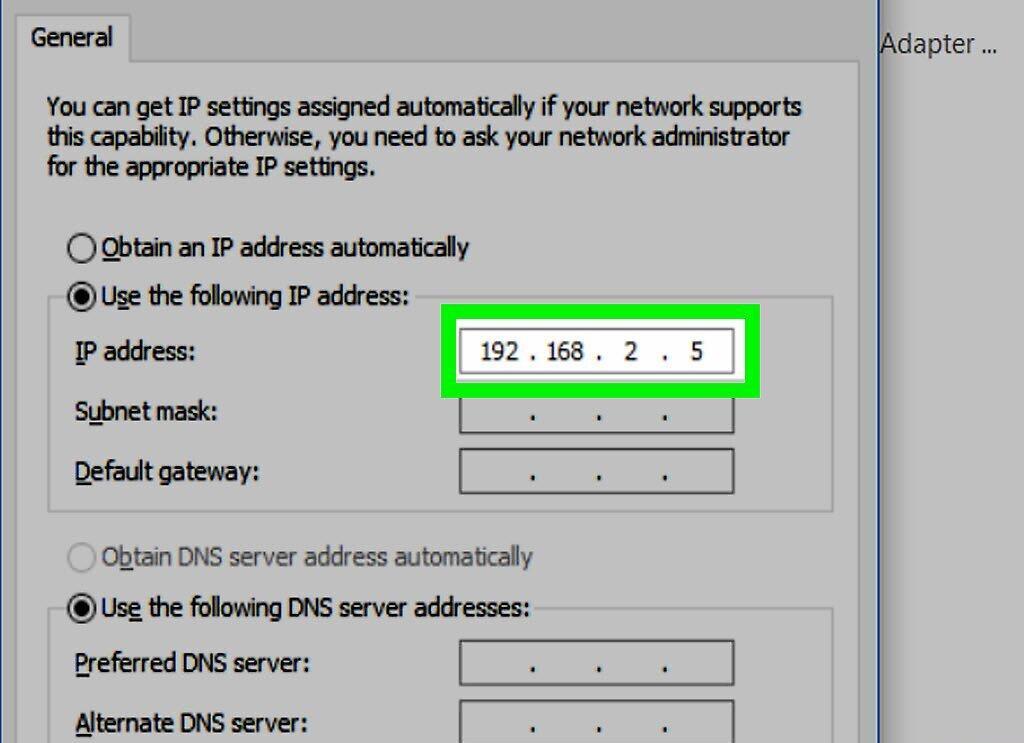
Assign host addresses from 1 to 254 to all computers. Indicate the host addresses next to the corresponding devices on your diagram. Initially, write the full address (e.g., 192.168.2.5) next to each device. Over time, you can just indicate the last part of the address (e.g., .5). There’s no need to specify addresses for switches, but for routers, you should include the addresses as noted in “Important Notes.”
Step 5. Write the Subnet Mask Next to the Network Address.
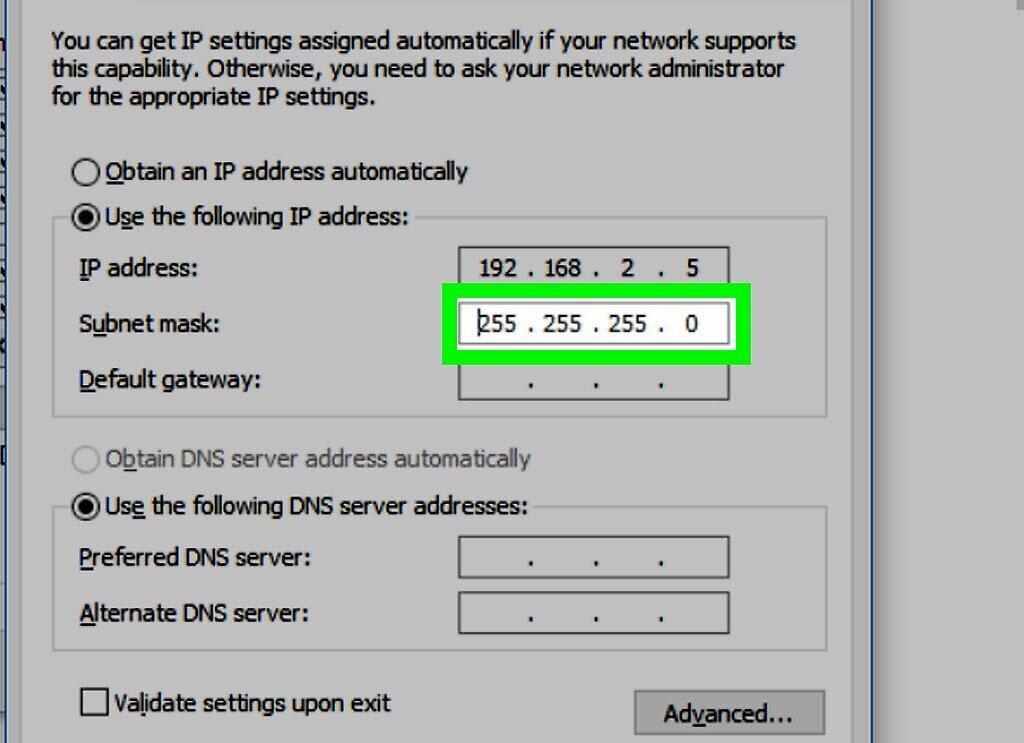
Write down the subnet mask for the network address. For 192.168.2.x, which belongs to a Class C network, the mask will be: 255.255.255.0. This helps the computer determine which part of the address belongs to the network and which part belongs to the host. IPv4 uses the first digit (192) to indicate class membership. However, with the emergence of subnets and classless networks, the need for subnet masks has increased. For Class A, the mask will be 255.0.0.0, and for Class B, it will be 255.255.0.0.
Step 6. Connect Your Network.
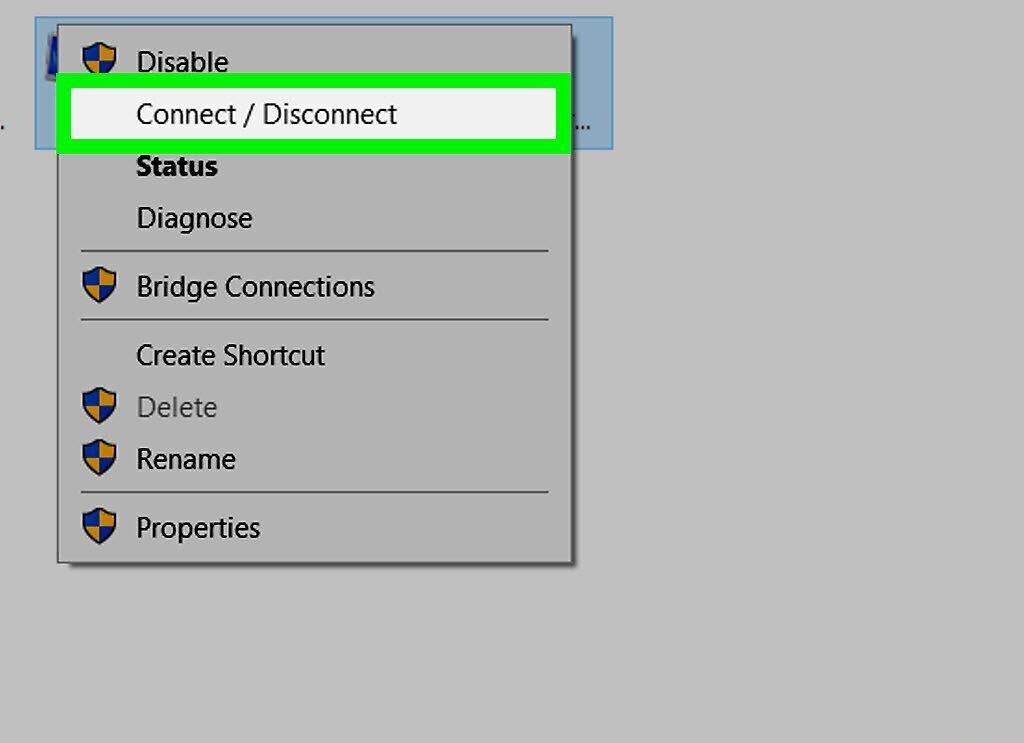
Connect all components of your network. Gather the necessary materials, including cables, computers, switches, and routers (if used). Locate the internet ports on the devices. Network cables have 8-contact modular connectors (RJ-45), which are larger than telephone connectors. Connect all devices according to your diagram. If you deviate from the original plan, be sure to note this.
Step 7. Power On All Computers in the Network.
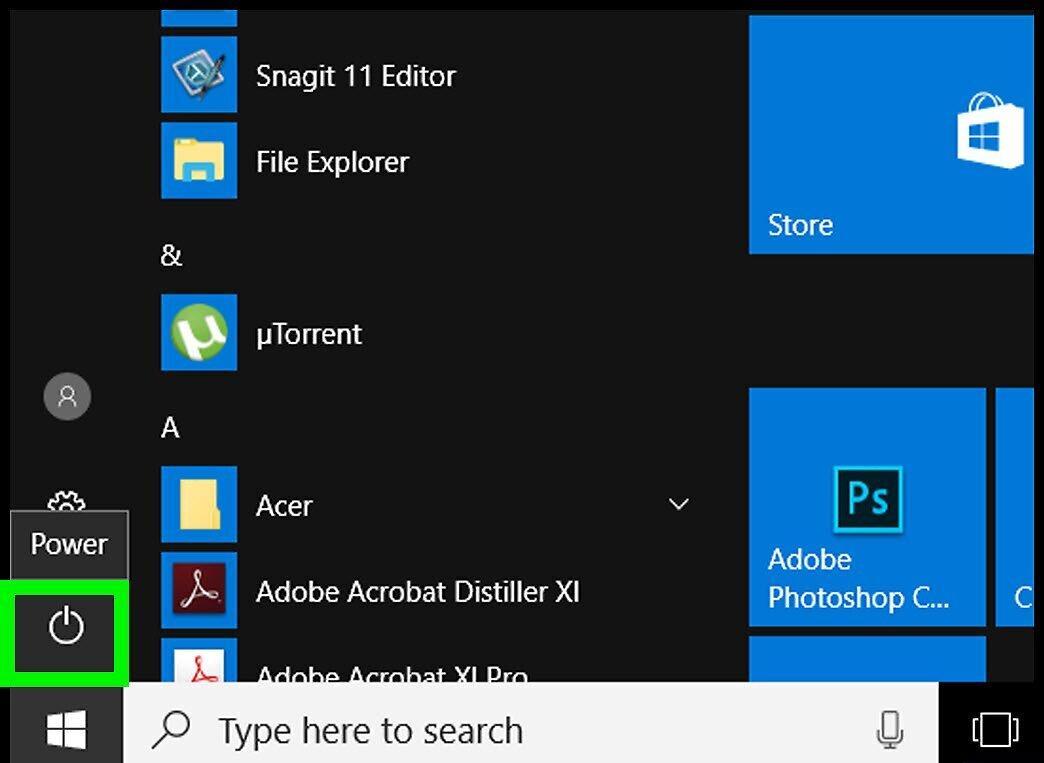
Turn on all devices connected to the network. Boot up your computers. Keep in mind that some devices may not have a power button and will start automatically when connected to the network.
Step 8. Configure the Network on Computers.
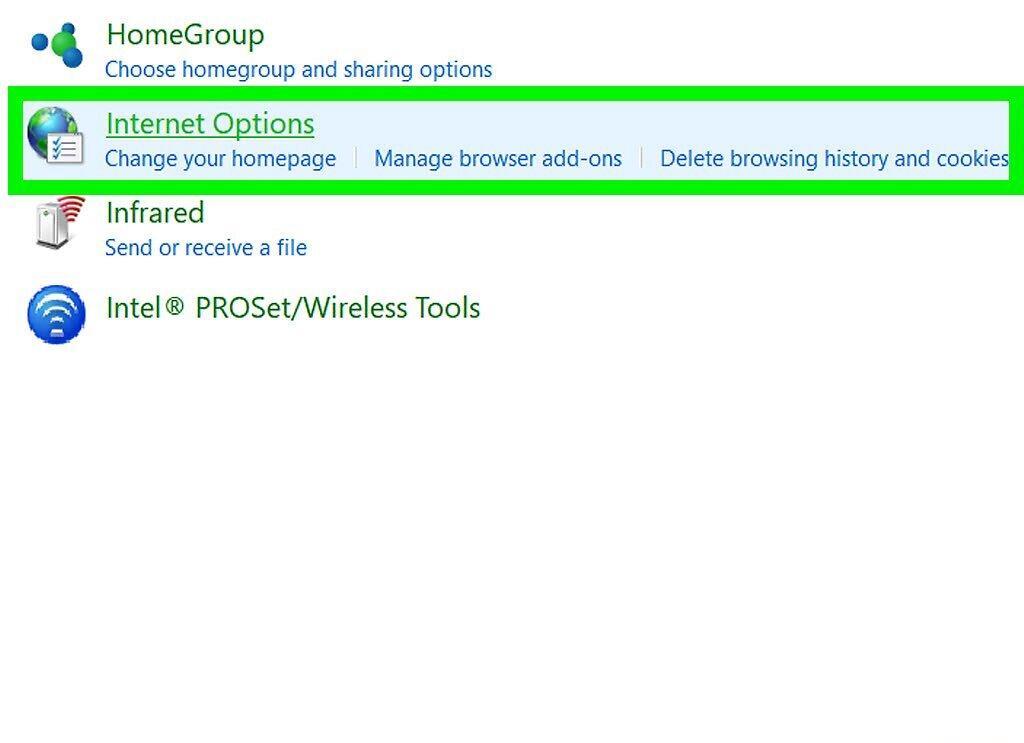
Adjust the network settings on the computers. Access the internet connection settings (depending on your operating system) and navigate to the TCP/IP protocol changes. Change the IP address acquisition setting from “Obtain an IP address automatically” to “Use the following IP address:”. Enter the required IP addresses for your computers with the corresponding subnet mask (for Class C — 255.255.255.0). If you are not using routers, leave the “Default gateway” and “DNS server” fields blank. If you have more than one router, refer to the “Important Notes” section. If you are setting up the network with a new router, this is not necessary, as the router will automatically assign the required IP addresses to all devices.
Step 9. Check the Connection.
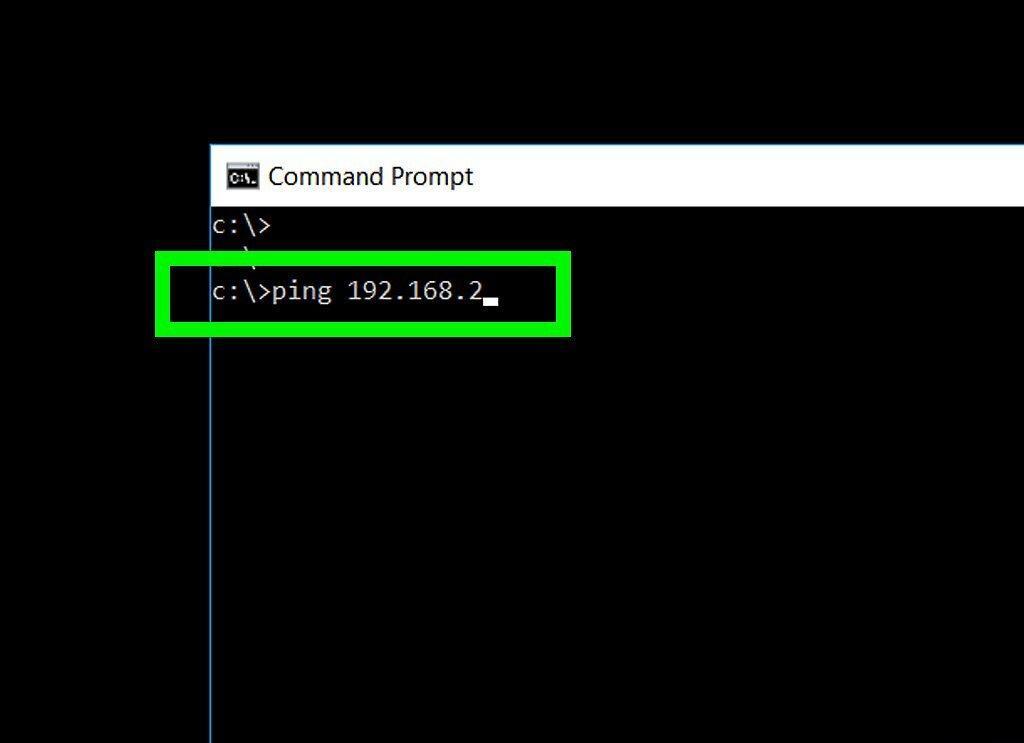
Verify that the connection is working. The easiest way is to execute a ping command. Open any MS-DOS application (in Windows, this can be done through the command prompt in the Start menu — Applications — Command Prompt) and type: ping 192.168.2.[number corresponding to the specific host]. Check connectivity with one device, and then with the others. Remember that your router is also a host. If the connection fails, review the instructions or seek assistance from a specialist. NAT allows devices in a private network to access the internet by converting their IP addresses to public ones that are permitted for internet use. Thus, to the outside world, all devices will appear to be connected to a single network.


